Week8 : computer-controlled machining
Kids make believe
observing my child and her cousins play in the backyard with all the different materials they could find to construct different life size objects (A house, a car or even horse wagon with imaginary horses !) often it's flat on the ground. This gave me the idea of building large scale press fits that can be shaped to different 3D objects, finding the best unit/s that can work like simple 2D lego bricks was a bit challenging. I decided to start with one large object and work my way back to single elements that made this shape.
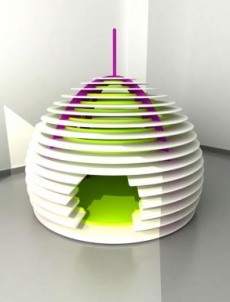
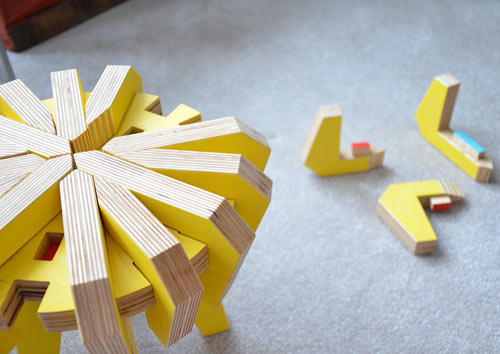
Igloo and stool
I found inspiration in those two projects, Lucia Koldova Igloo bookcase and Christina Sicoli Asterisk puzzle stool.
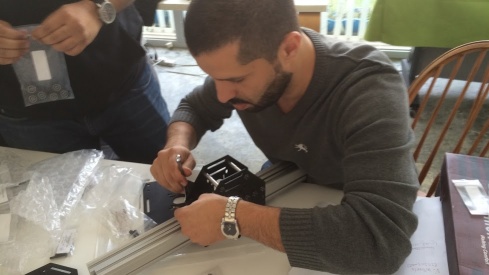
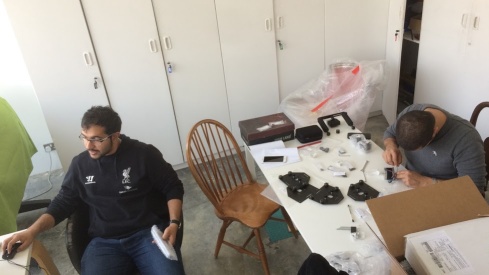
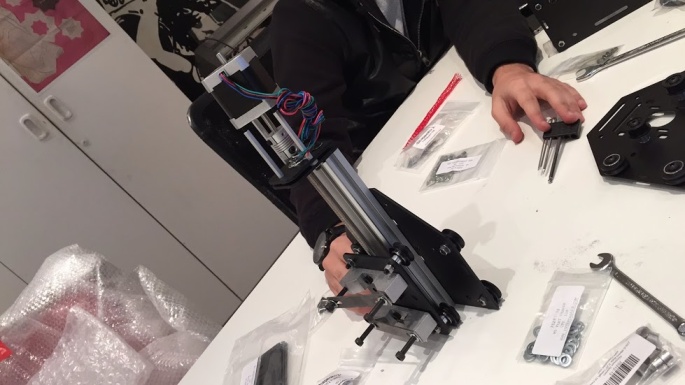
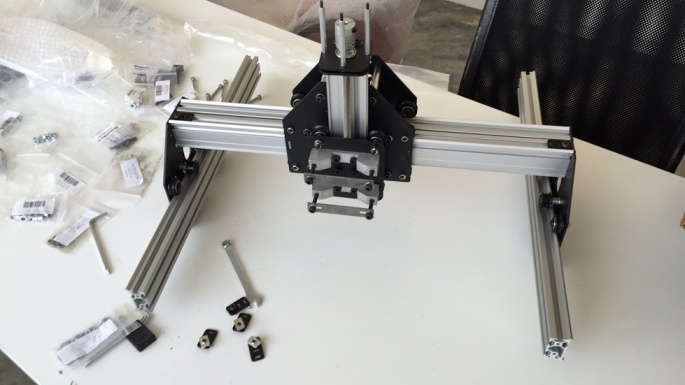
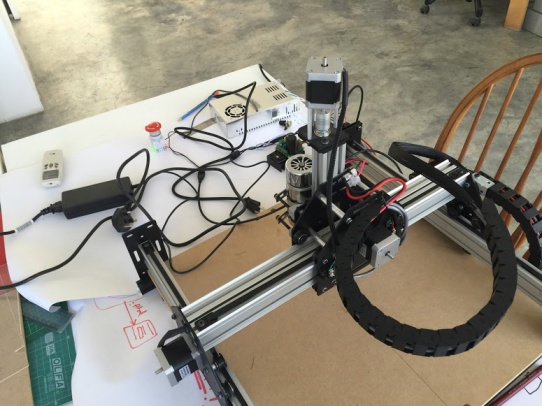
Assembling a CNC
We started fab Academy 2015 just a couple of weeks before our Shapeoko CNC machine, we followed the on-line manual and videos which were not always very easy. But after few weeks and all the team sharing the building task we managed to get it ready before the assignment week. But I ended up having a larger design than the build area, of the Shapeoko.
First Design
Using Antimony
I tried to use antimony in previous weeks, but I was not successful. This time I decided to spend more time, look at some examples and give my self some more time to get use to it. It turned out to be not so difficult, but my first attempt in creating the desired object was not exactly what I had in mind.
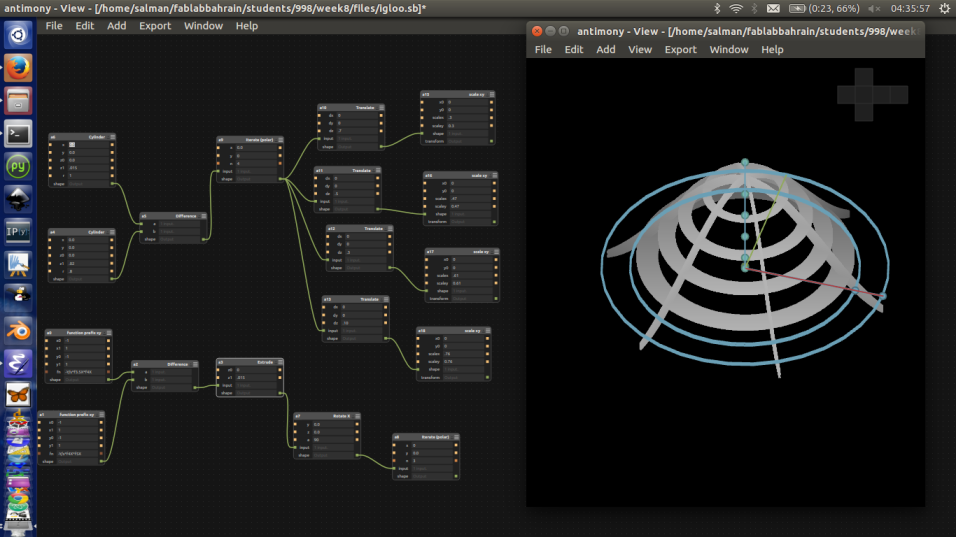
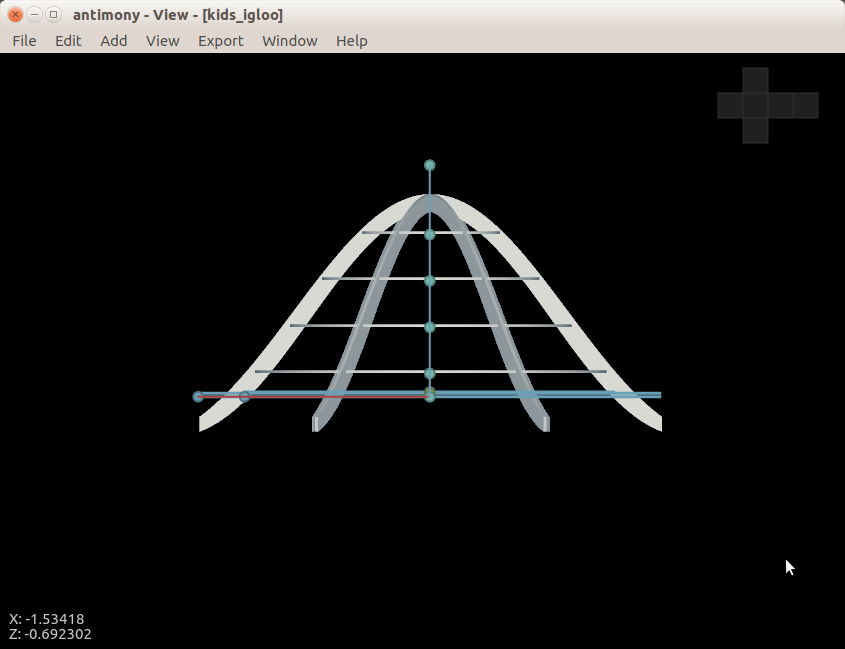
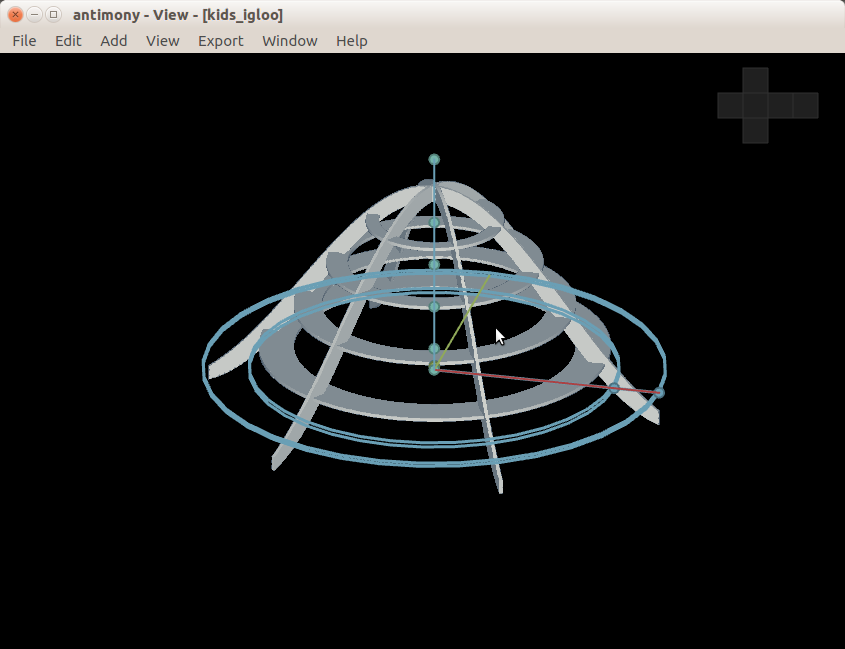
the file needs antimony version 0.78 to be opened, I couldn't save it with a recent version
Second Design
Designing with inkscape
My design was meant to be large enough to accommodate 2-3 kids, and they should be able to build it themselves. I used inkscape to make the file to be cut by a large CNC.
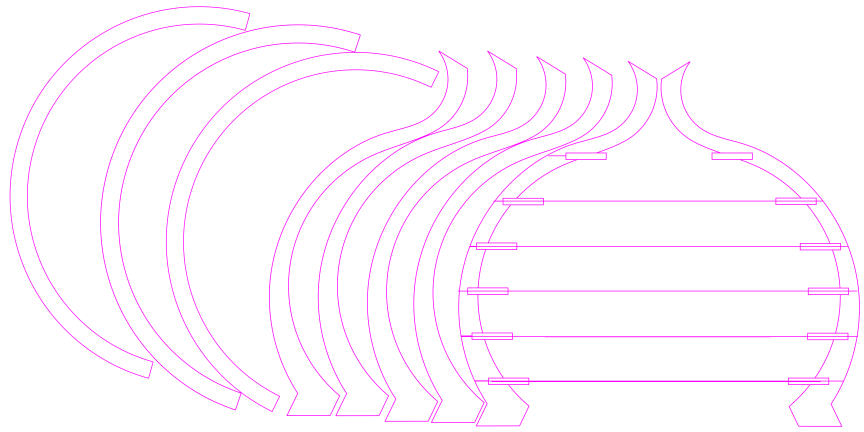
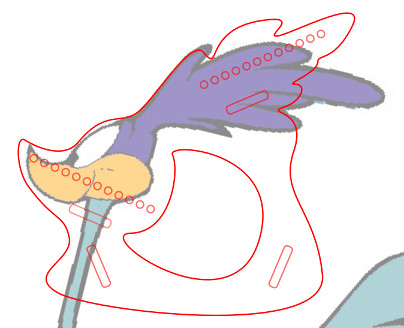
While working on the design it gradually start to look like a pomegranate.

Gradually I had to add more details for the parts to fit together.
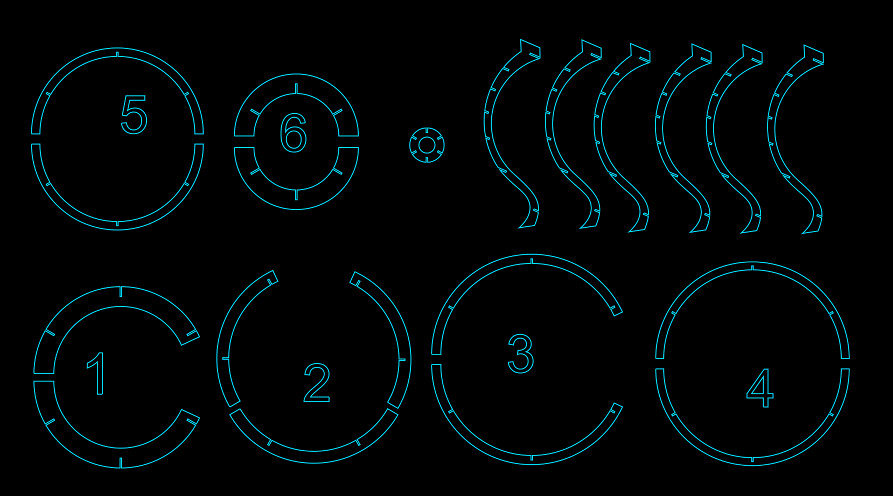
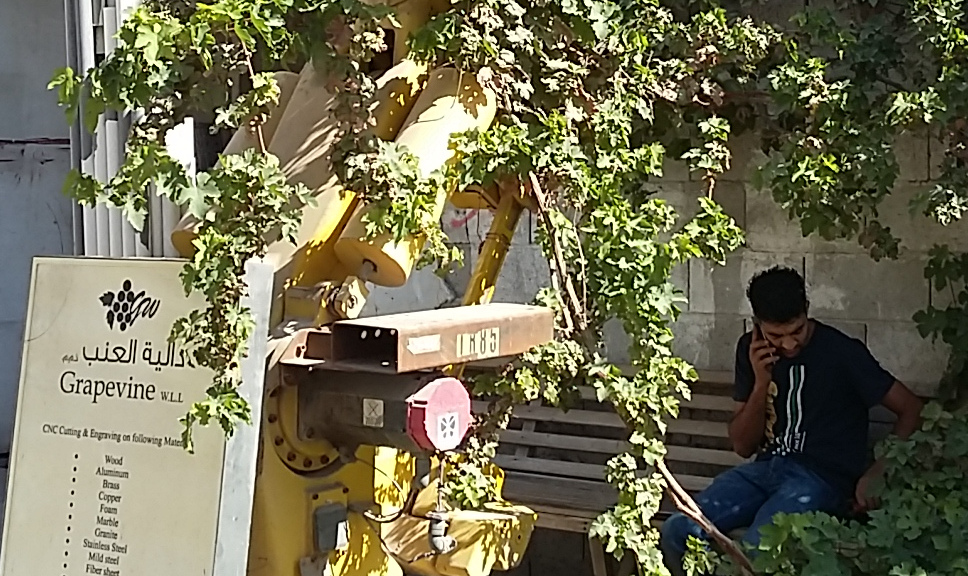
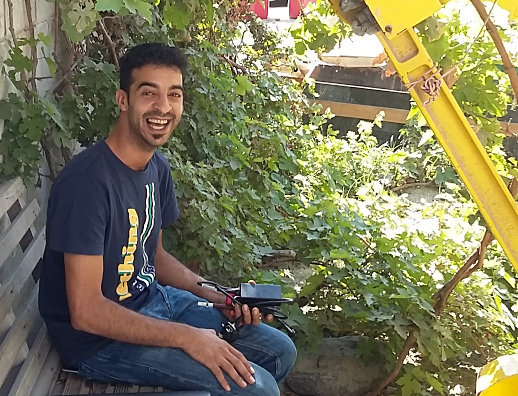
I decided to cut at a shop for one of our fablab partners, GRAPE VINE and the amazing 'SAYED ALI'.
After completing the details I decided to use the autonesting feature in ARTCAD software, prior to sending to the CNC machine. But It turned out that the design would need 4 sheets of (4x8 feet). Which would cost much to produce.
I decided to call off the cutting for the day and went home disappointed trying to figure out how I could reduce the size. But the purpose was to have this igloo for 2-3 kids to sit in comforably ( or atleast have some space to move in and out) hence the diameter was 1.2 meters at the base.
Third and Final Design
Inkscape Again
That night I decided to give up on the Pomegranate-Igloo for now and try to think of a design that could fit in one sheet or less.
I had an idea of doing something I always wanted to own. I was very close of purchasing it on-line once, but I remember thinking this is simple to do on a CNC.
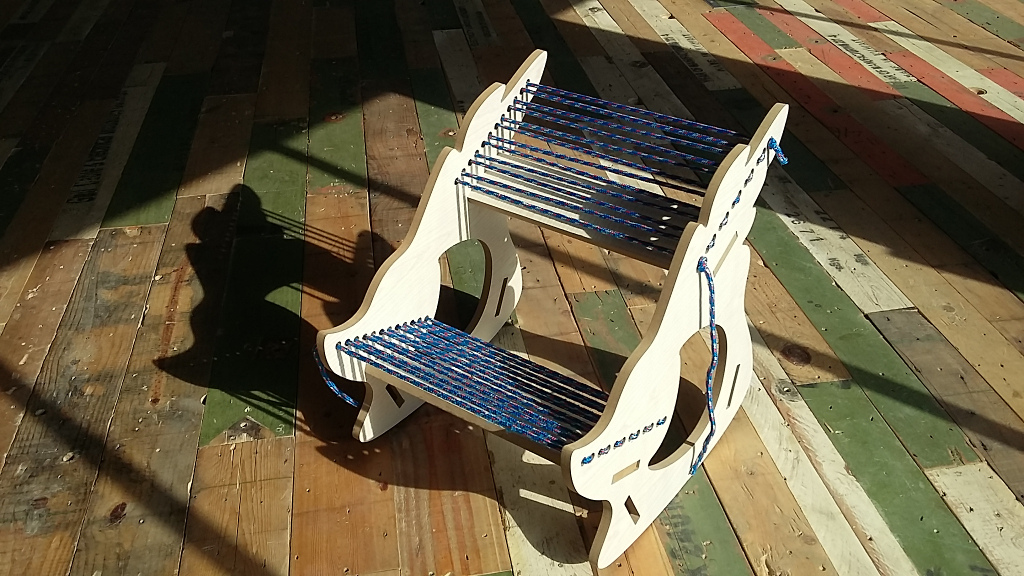
I tried it once at a friends house and it was really very comfortable and for someone like me who finds himself sliding gradually in my seat after few minutes i thought I should try and do one for myself. Obviously it the chair also help to maintain a straight posture and less pressure on the lower back.
I wanted the sides of the chair to look interesting and after staring for a while at the design profile a familiar image appeared in my head.

And that's how the chair profile started shaping.
I did my measurements based on a diagram meant for an adult chair.
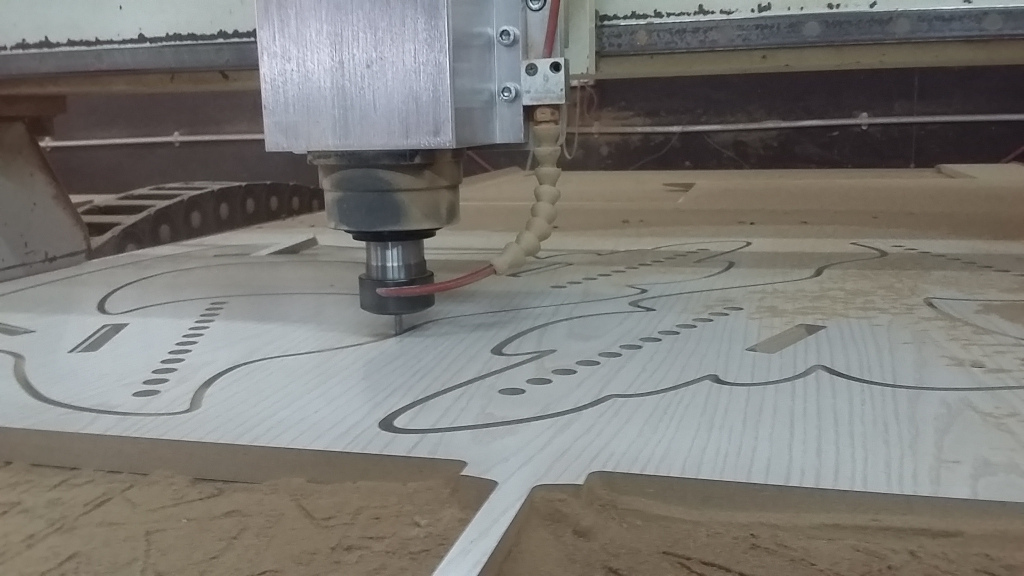
And thought I would cut it in 18mm laminated MDF boards so I decided to have the slits measure 17.8mm to have a fit joint. I used A 6mm drill bit with a 3 axis spindle CNC.
For the seating and the knee support I thought of using fabric rope ( 3/8 inch).I had to keep the structure supported from the sides, because as I was tightining the rope the lower part started going further apart which gradually forced the joints out. I thought for the next iteration I would add a dowel to secure the joints against tension.
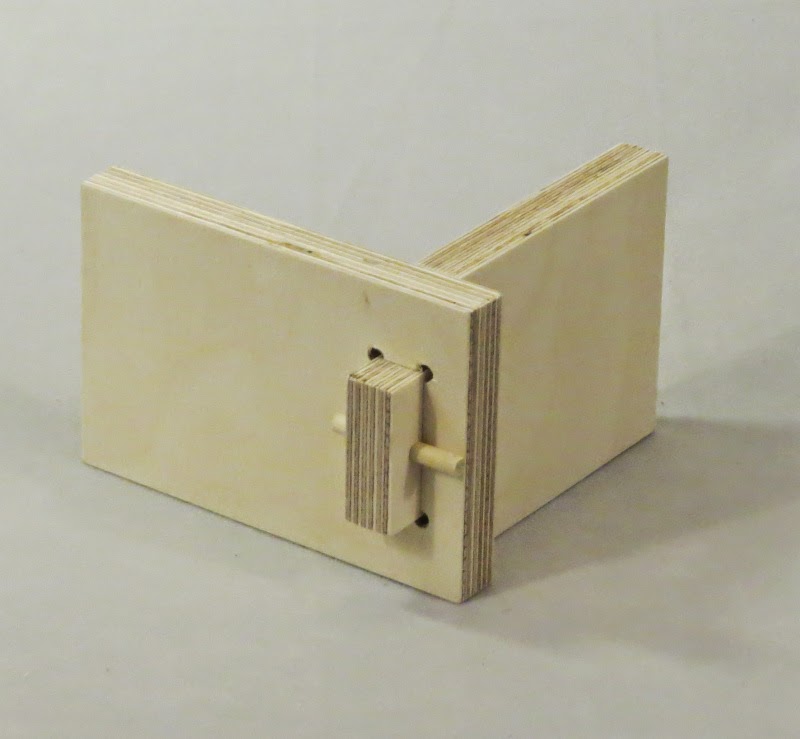
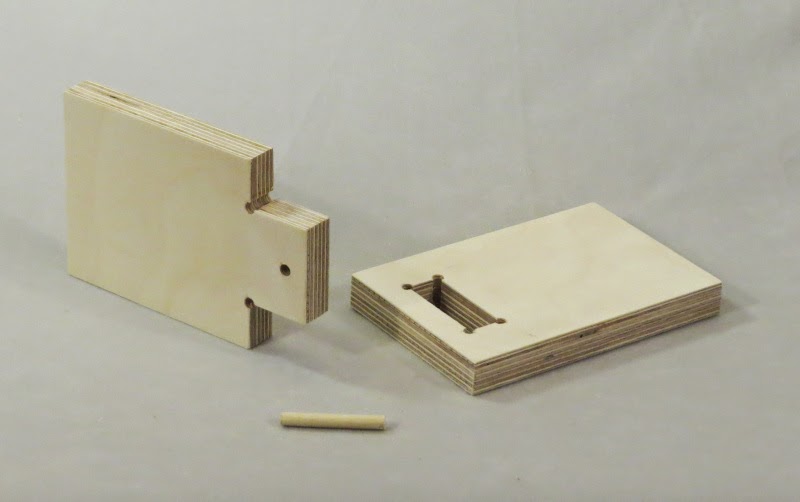
And obviously something that I forgot all about until I started assembling, are the DOG-BONES!!!
I started to notice the lamination over the boards to crack around the corners when I realized that I forgot all about dog bones.
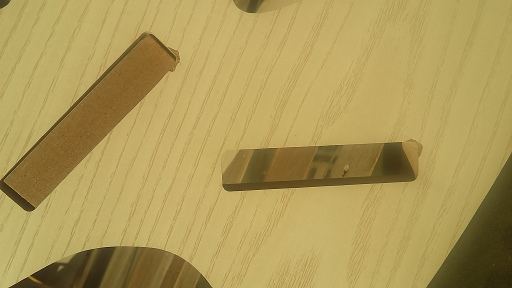
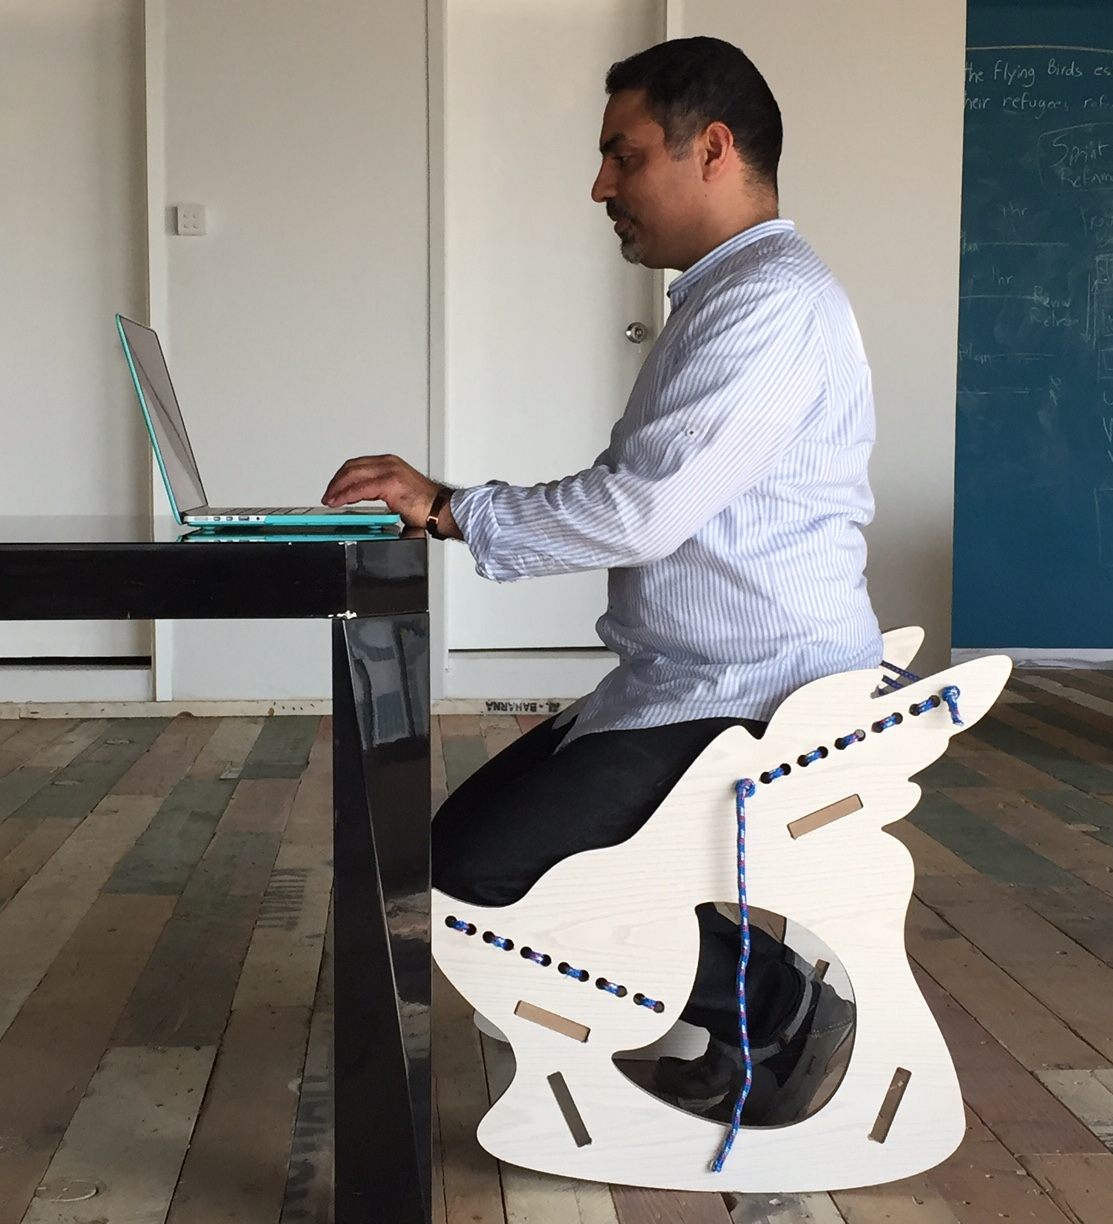
But despite of that the design was able to hold well together after using the robs to bring the pieces closer.
And It was able to hold my weight comfortably.
Future improvements
In the next iteration of the design I added the dog bones on the joints, for future cut.

The following are good sources to design joints :
http://discourse.fablabelpaso.org/t/basics-of-cnc-joinery/18