Week9 : Molding and Casting
![]()
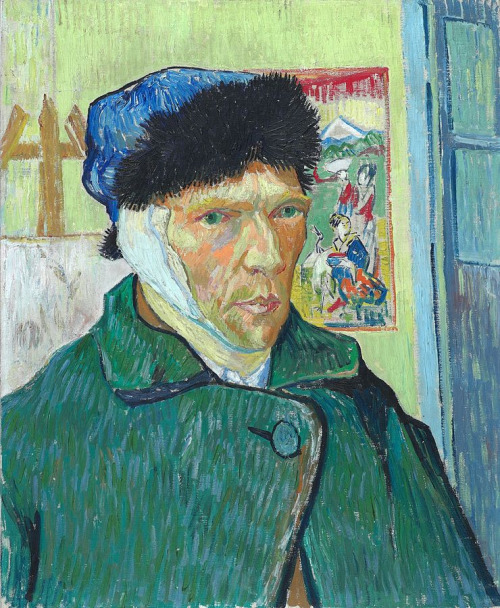
At one point I had some sort of an obsession with Van Gogh and his work. I even directed a performance inspired by his work in the summer of 1995.
 (found this image online and couldn't find a larger version in my archive)
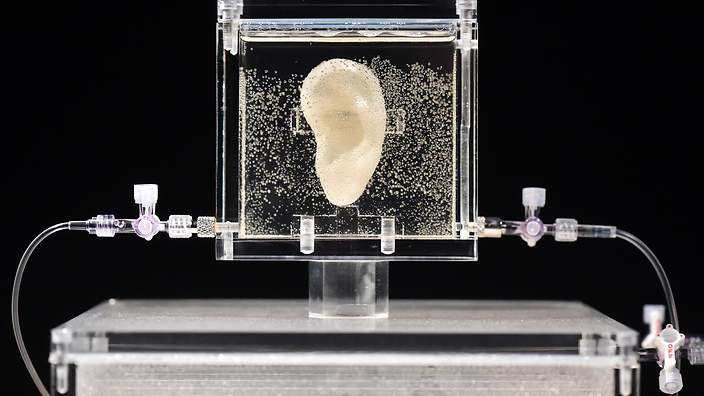
When i thought of something to mill and cast in this session I immediately recalled cartilage carving session in an Ear Reconstruction workshop. I took part in organizing the workshop and when I was asked to chose the art work cover vincent self portrait with his bandaged ear was my first choice.
The story of his ear though is not very clear but the version I am interested in for this weeks exercise is the one where he severed his left ear lobe ( or part of it ) and handed it to a women. I thought some choclate ear lobes would have been much better instead. I decided to make a mold for chocklate 'EarBites'.
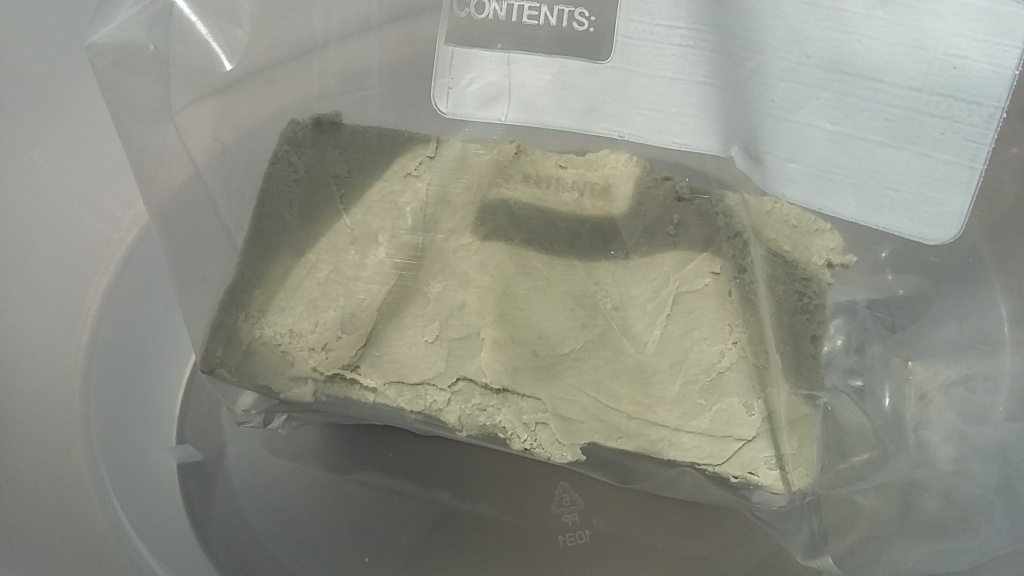
The first choice for milling was a hard modeling compound.
http://www.chavant.com/castilene/index.html
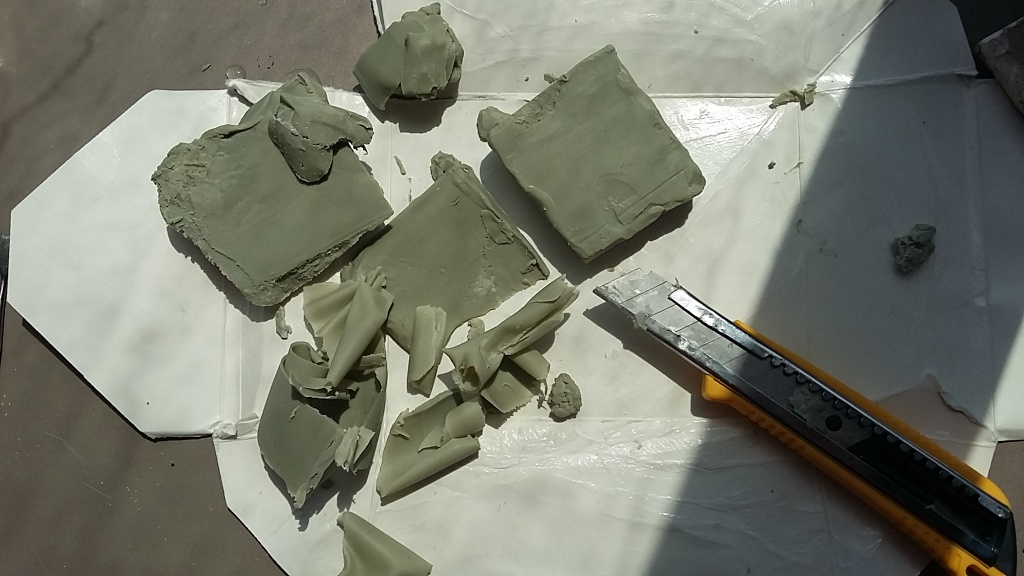
I had first to cut the block and to do so I needed to heat it and according to the describtion on the packet this could be done with hot water.
I started milling with the mdx-15 using fabmodules ( not the web based one) I used an STL file for an ear lobe I foung on thingeverse.
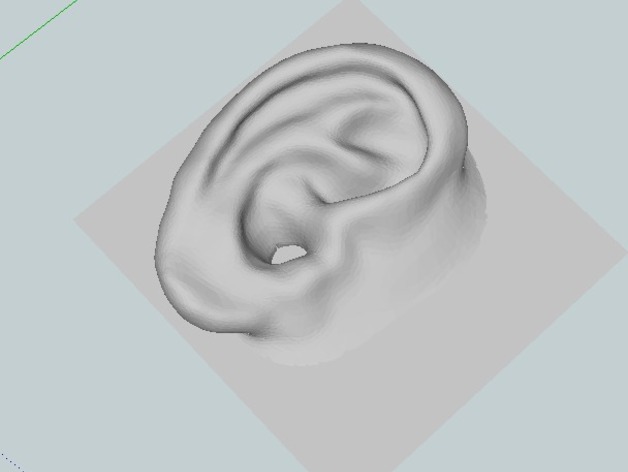
http://www.thingiverse.com/thing:304657
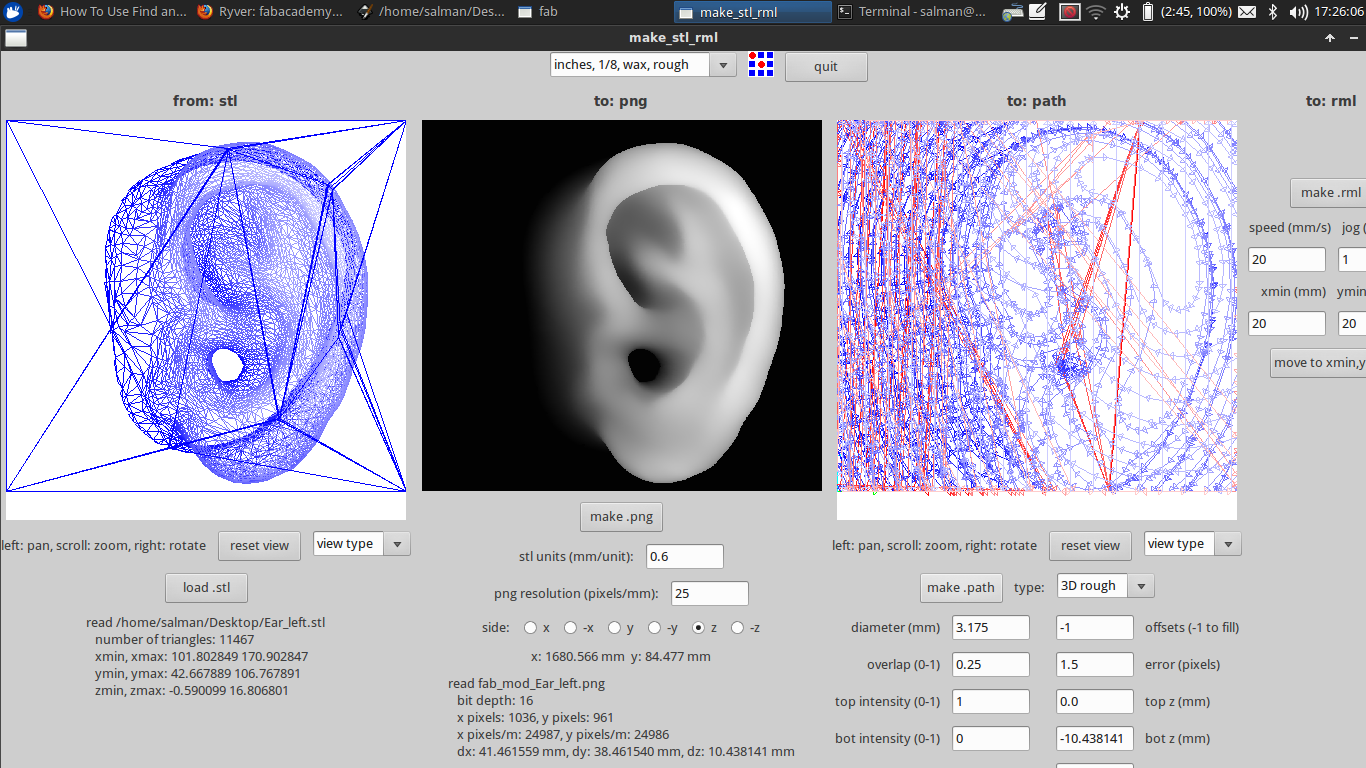
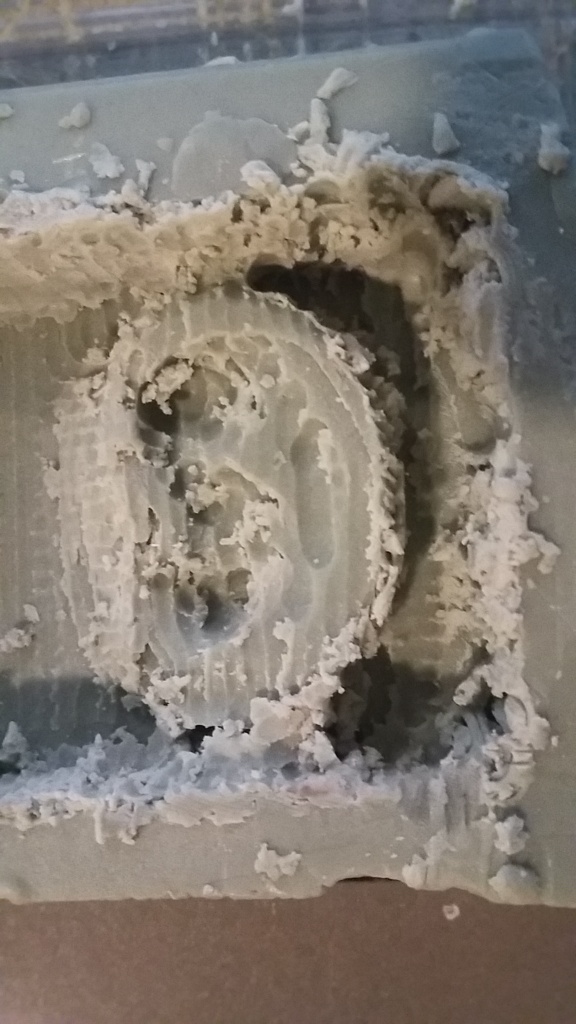
The fine milling was not much better than the rough one. I though at first that the wax was still warm and soft, but even after some time when I did the fine milling the results where not as expected.
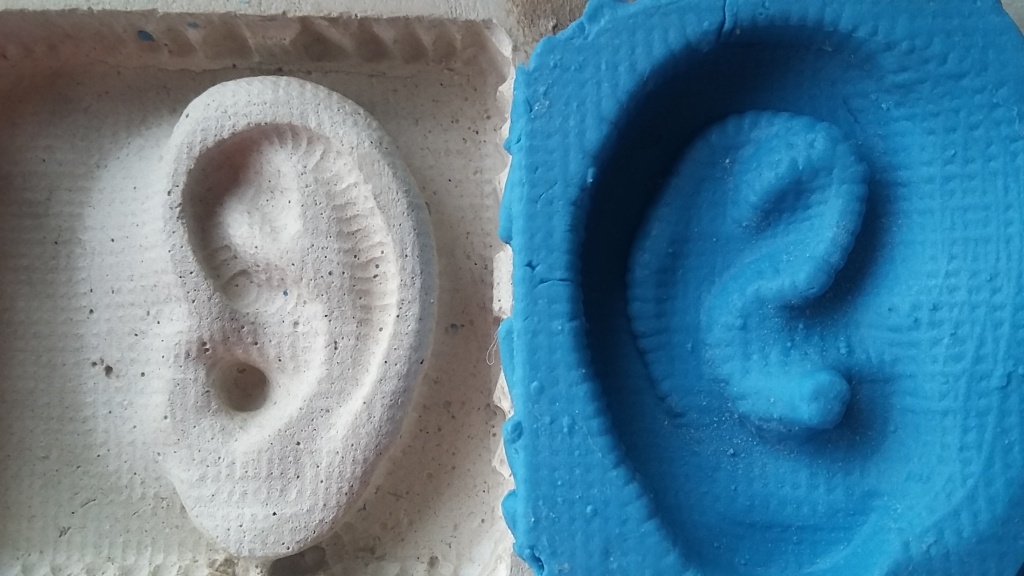
So my second choice for milling was a piece of drywall (gypsum board) I found in a nearby construction site.
first I thought I should test a simple design
and the results where good from the rough mill
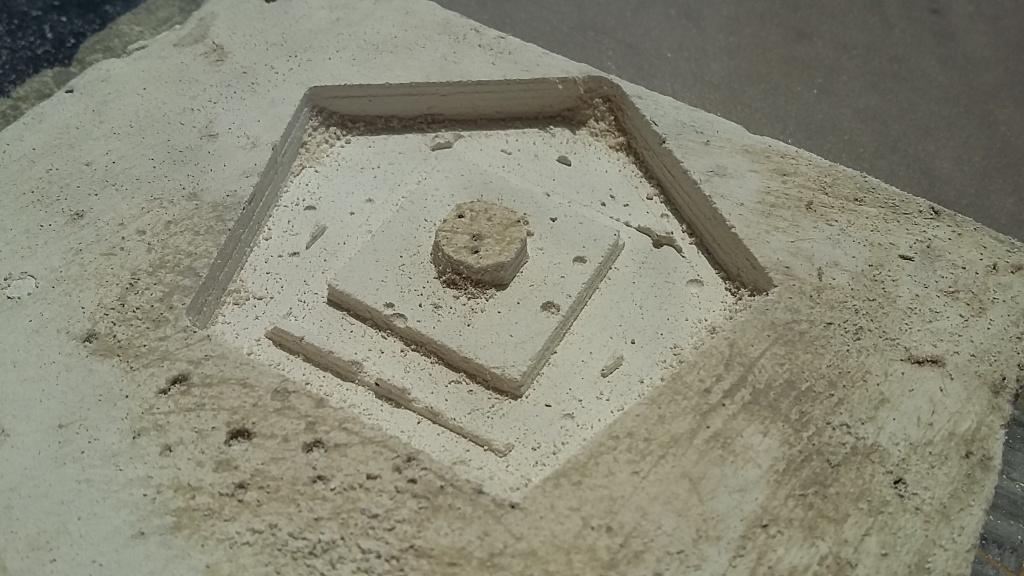
Then I though I can start immediately with the design I intend to use.

the results with drywall where good, I just had to adjust the stl unites ( mm/unit) to have the depth to number around <=12 mm just to avoid cutting through the board which is usually just under 18mm in thickness. I though in case more depth is needed sticking many layers of drywall might be possible.
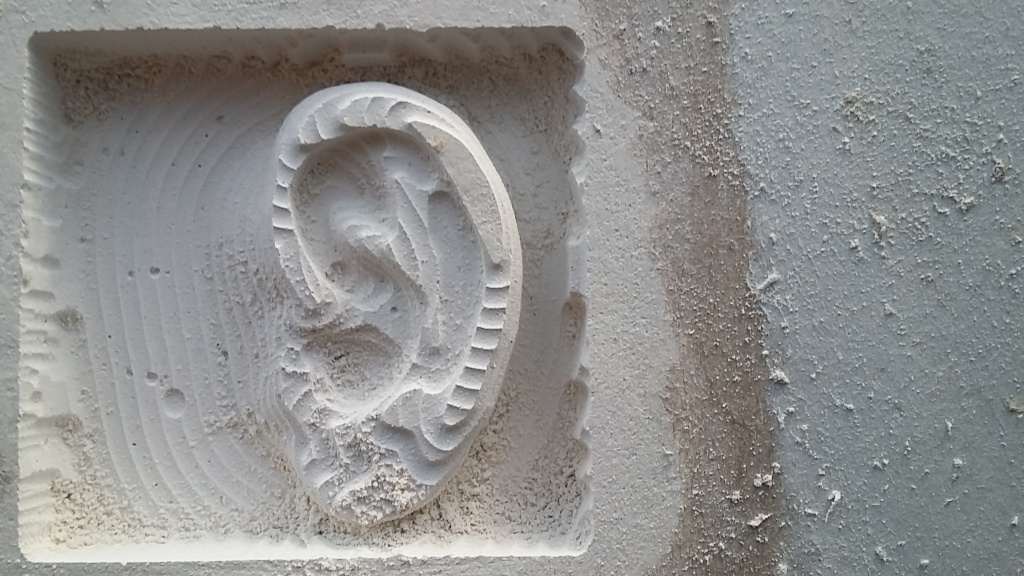
The model started to take shape
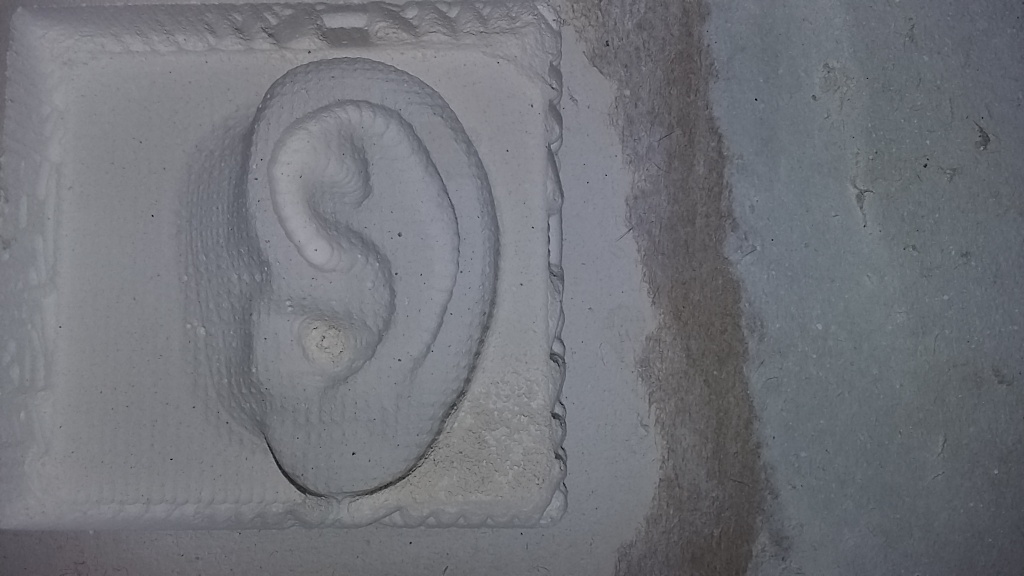
and after the final milling I am happy with the results despite the rough textured surface. Possibly another drill bit is required, but for my purpose that was quite good.
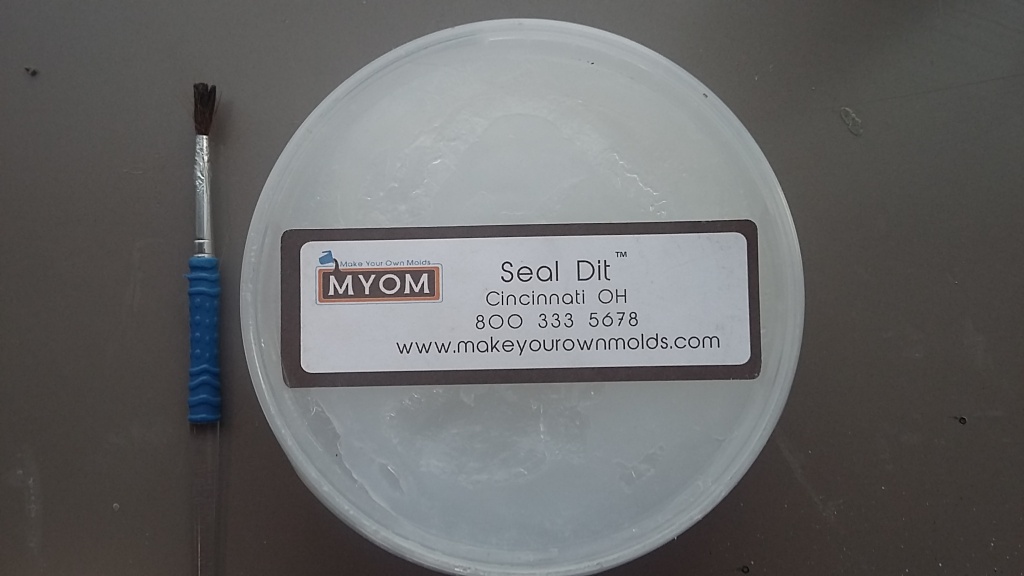
I used the food grade two parts silicon putty (Silicone Plastique) The process is simple
1- Cleaning and brushing the mold with sealant since it's a pourous material.
2- mix equal amounts of part A & B, to calculate the needed amount I calculated the volume from fab modules but divided the number by 2 since I don't need to cover the whole area other than the ear shape.
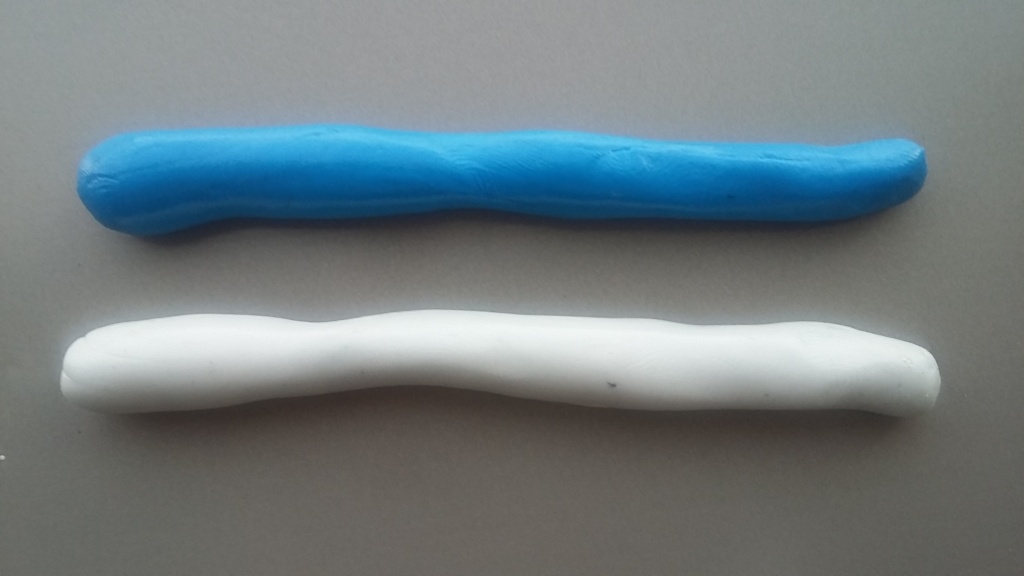
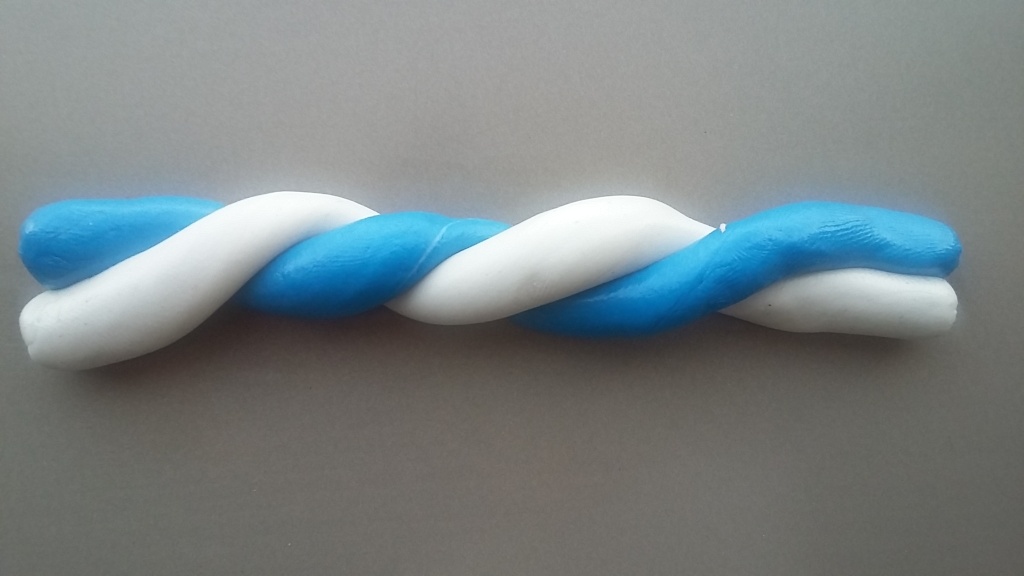
3- Knead them very well, I have less than 10 minutes after they are mixed well to cover my design
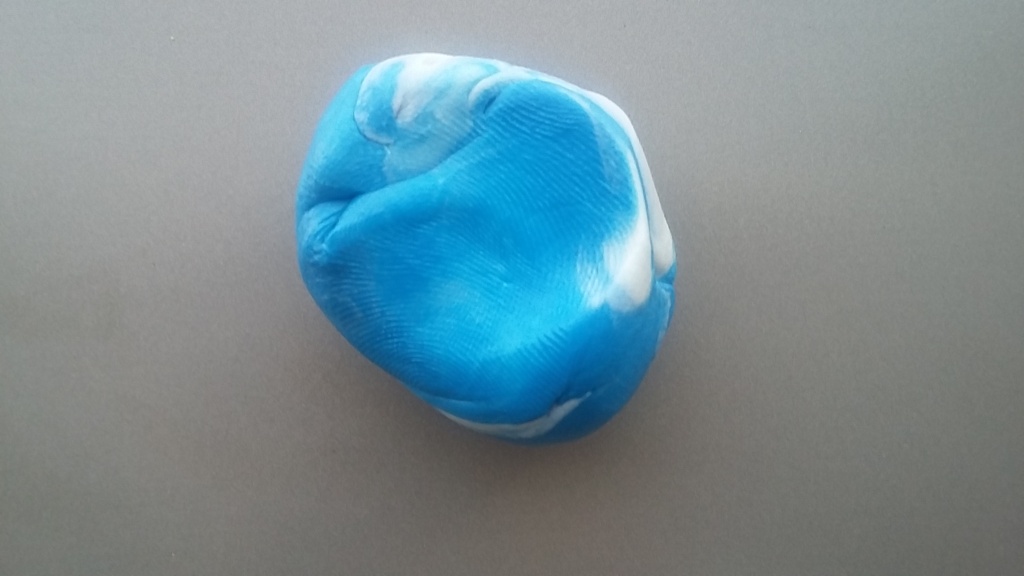
4- Cover the piece with silicon in layers, the first layer is almost adherent to the mold.
5- Leave it for 1 hr 1:30 hrs ( in 21 degrees Celsius), but it was ready in 30 minutes I think the room was much warmer.
I melted some chocolate bars in a souce pan, some had crunchy stuff. I poured the chocolate in the mold and left it in fridge for an hour.
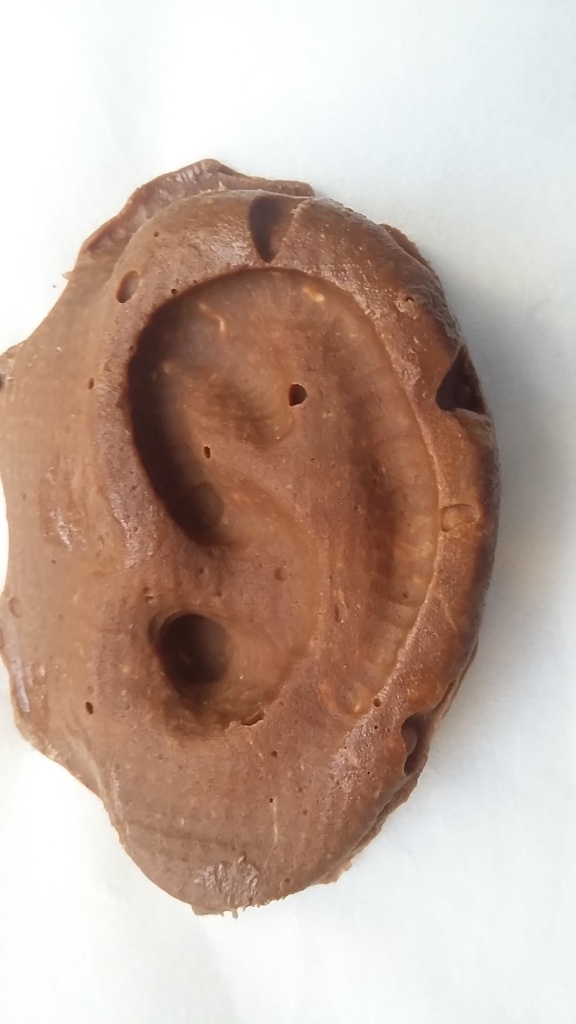
but the result was not as expected because of many air bubbles trapped in the lower part of the mold. and resulted in what looked like bites.
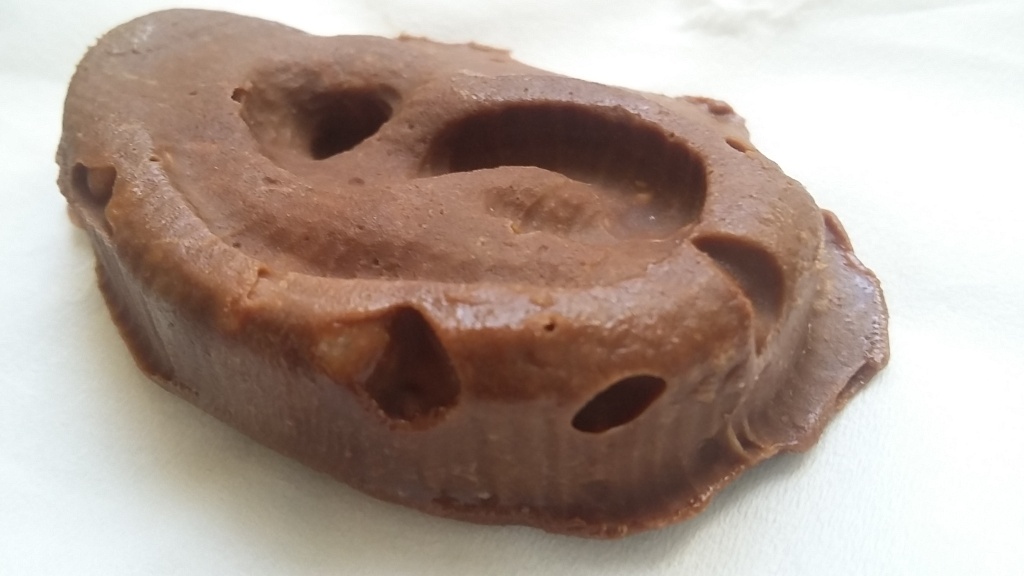
I think I should have used some chocolate chips that are used for this purpose and tried to melt them to a more liquid form. And I should have tried to shake the mold to get trapped air out.
This is what I should do next time I use the ear bites in kids party.