
Moulding and Casting
To design the object I used Fusion 360 and for the milling I used Roland MDX-40A machine.
Designing the object
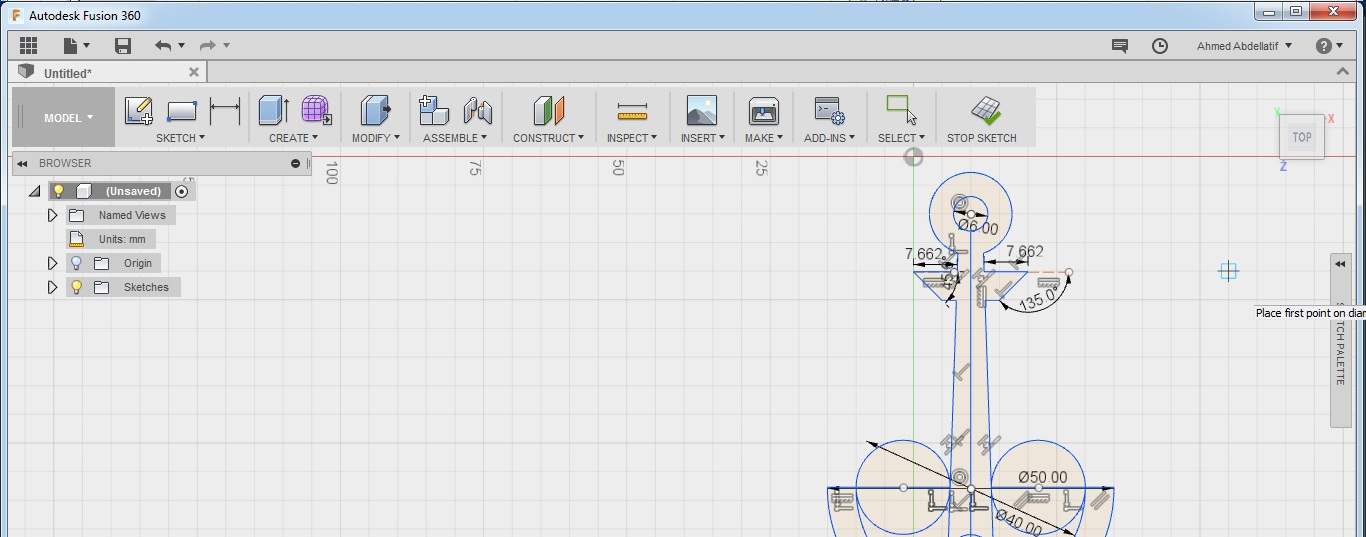
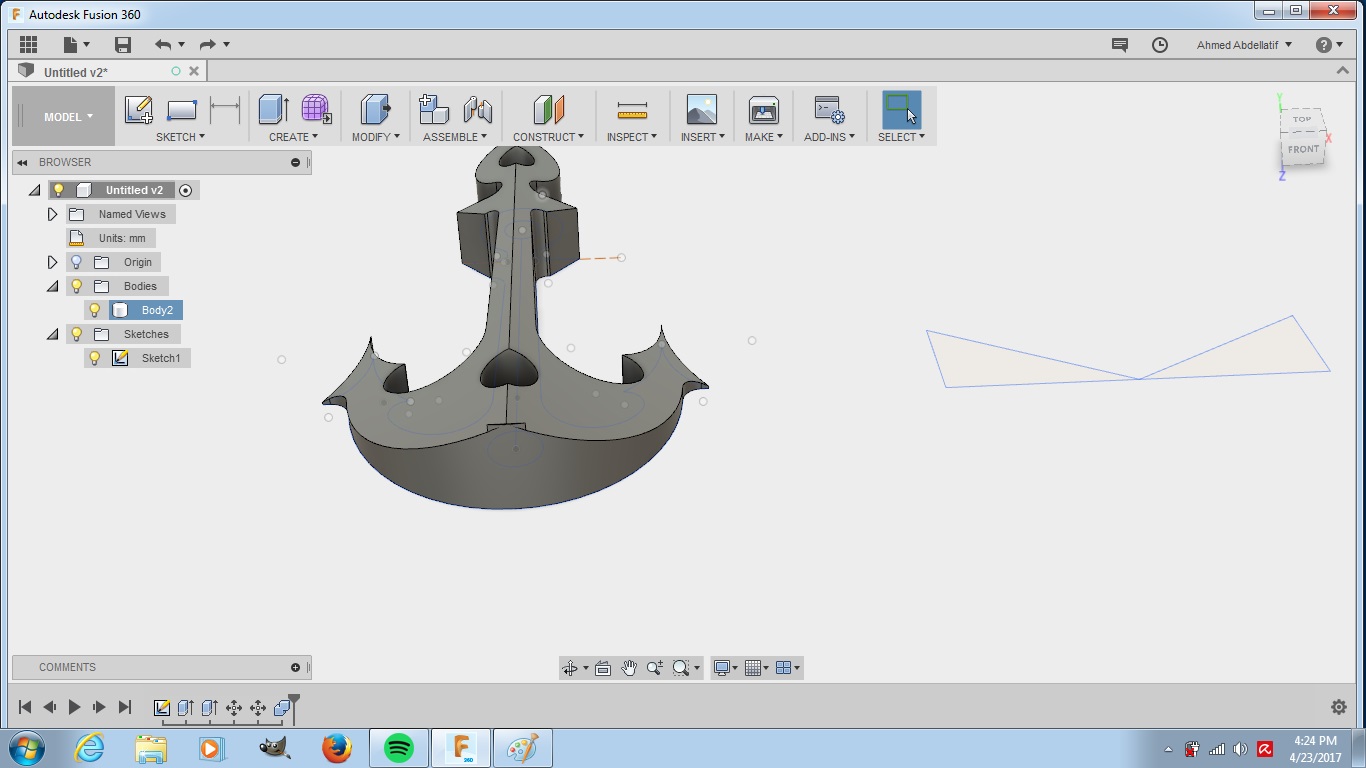
-My Idea was to make a mainture of an Anchor. I decided to draw it from scratch rather than importing an image and using it.
-I started by drwaing a 2D sketch of the object. The tools I used are all already mentioned in previous documentation.

-I addded more circles and arcs.
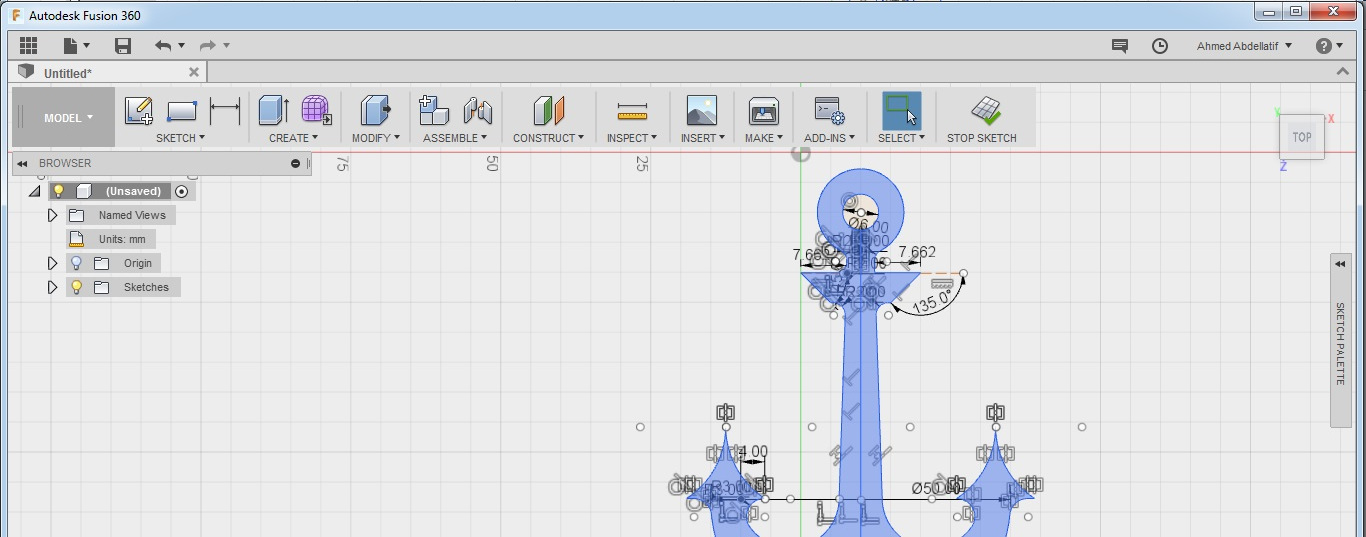
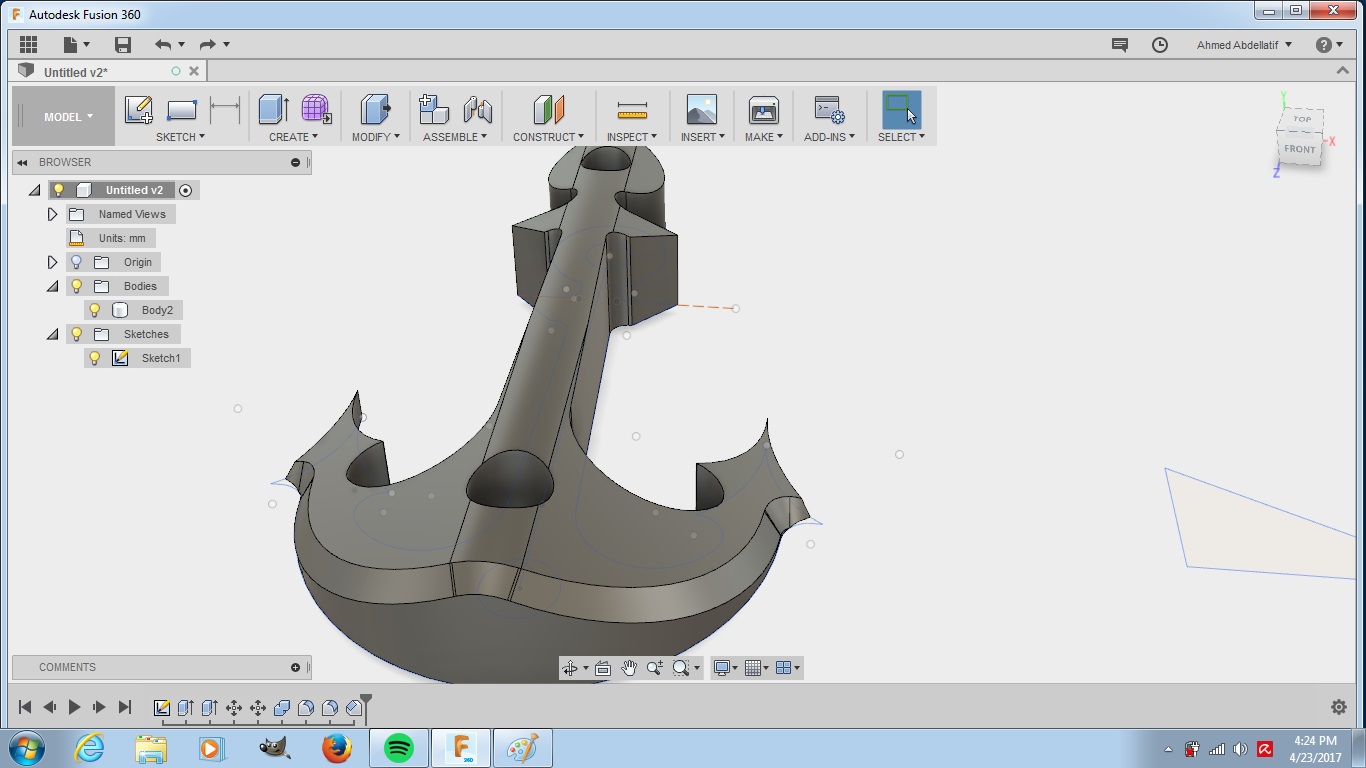
-I addded some more details, filleted some edges and finally got to the final version.

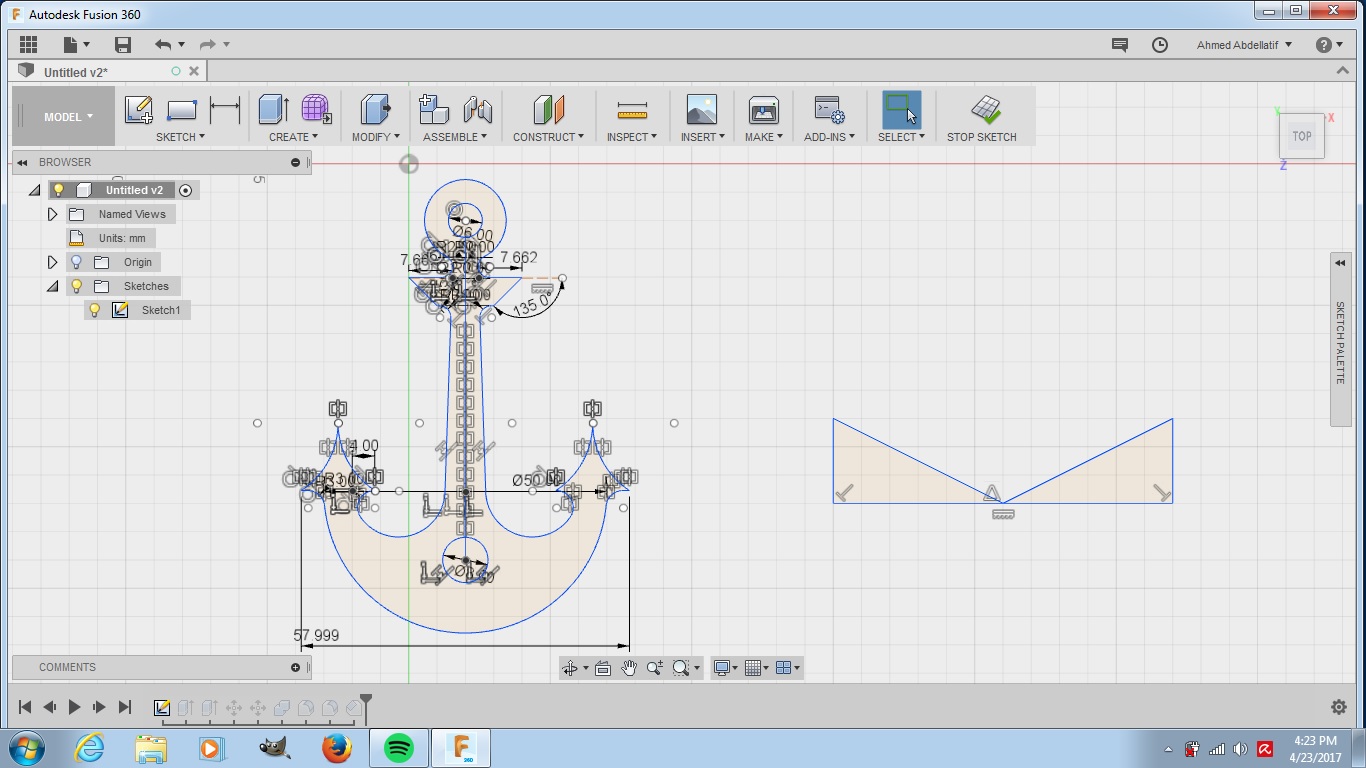
-I sketched a profile for a tool that I will be using the cut the object.
-I extruded the 2 bodies and placed them correctly.
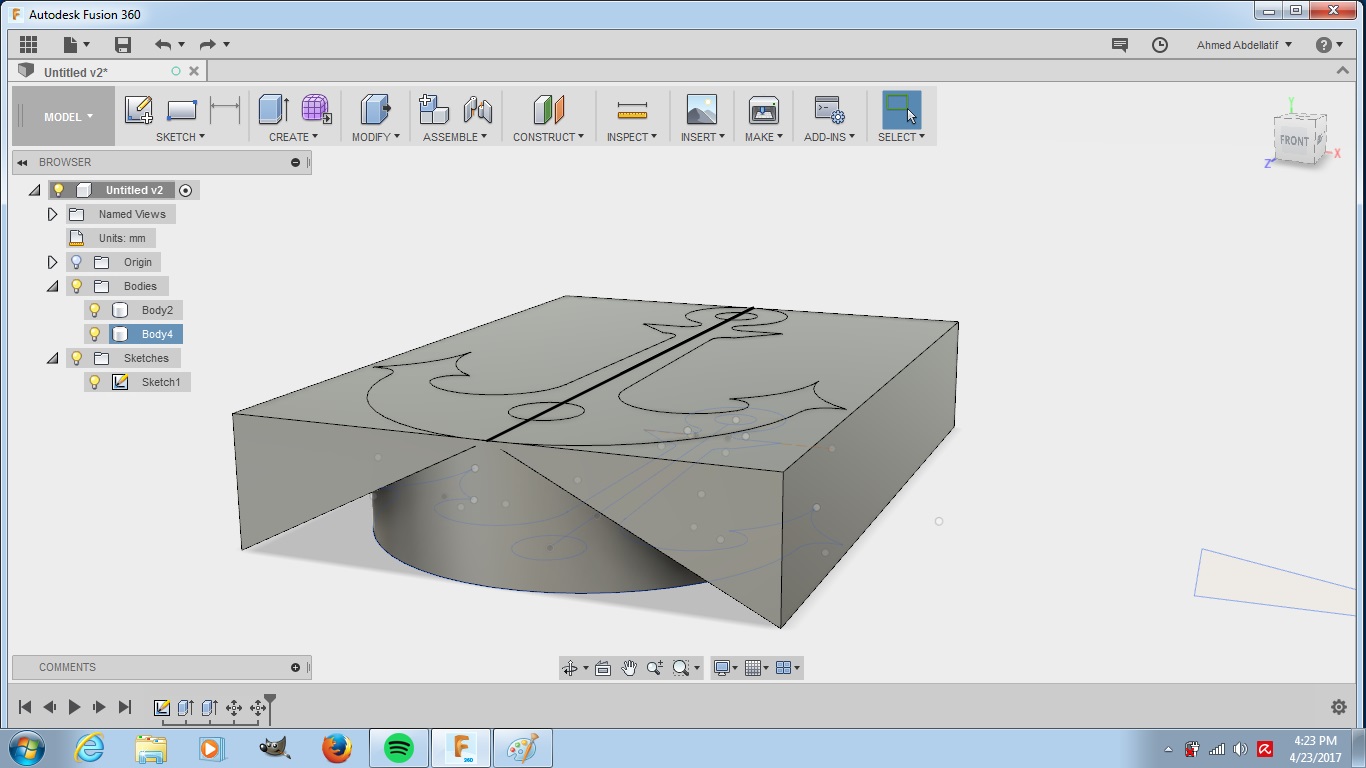
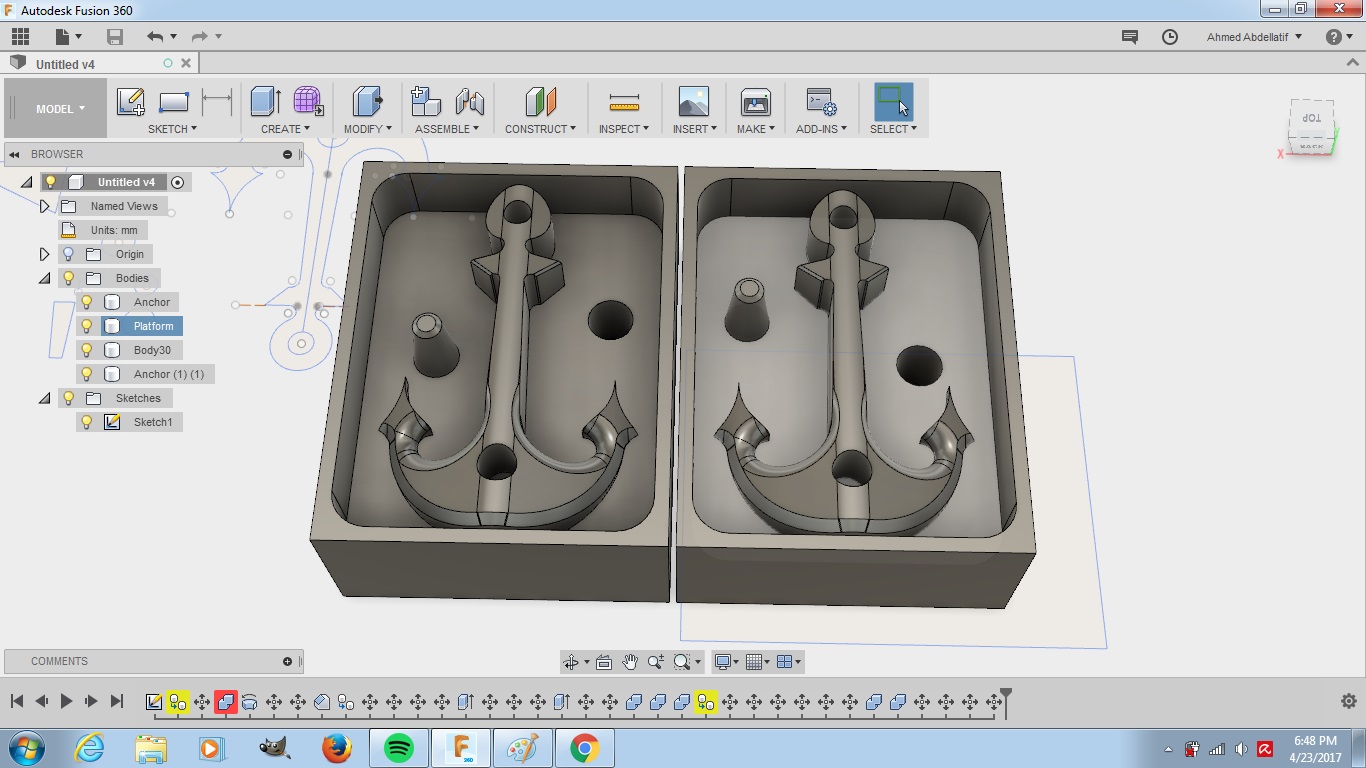
-I cut the object using combine command.
-I added some chamfering to the sides.
-I added the final model inside a casting space and duplicated it. Final step was to add the pivot pilot points to have it in the final mould to be able to align the two halves later on while casting the object. The idea behing those pivots is to design them in one half and the mirror and reverse them in the other as shown in the picture.
Milling
I used the CAM processor of Fusion 360.
-I switched from the Model to the CAM workspace.

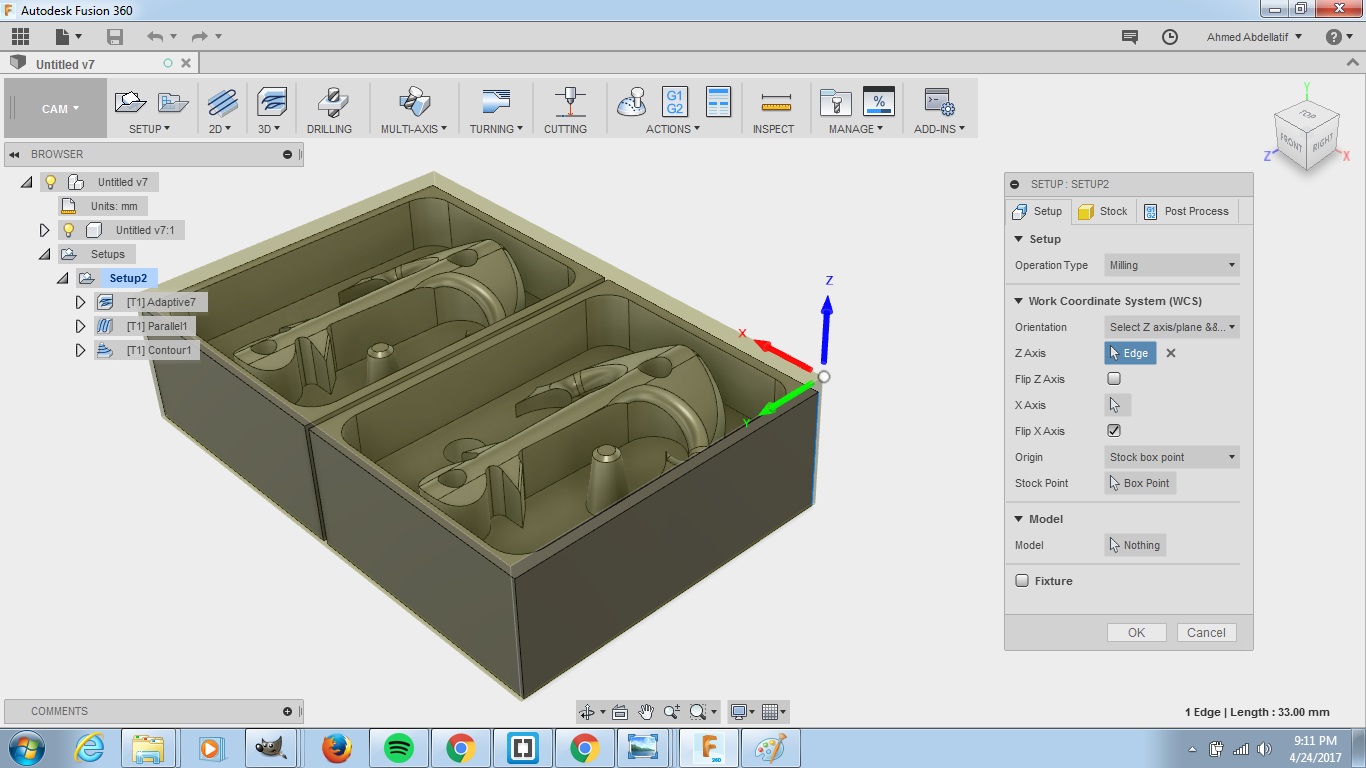
-Then I created a new setup.
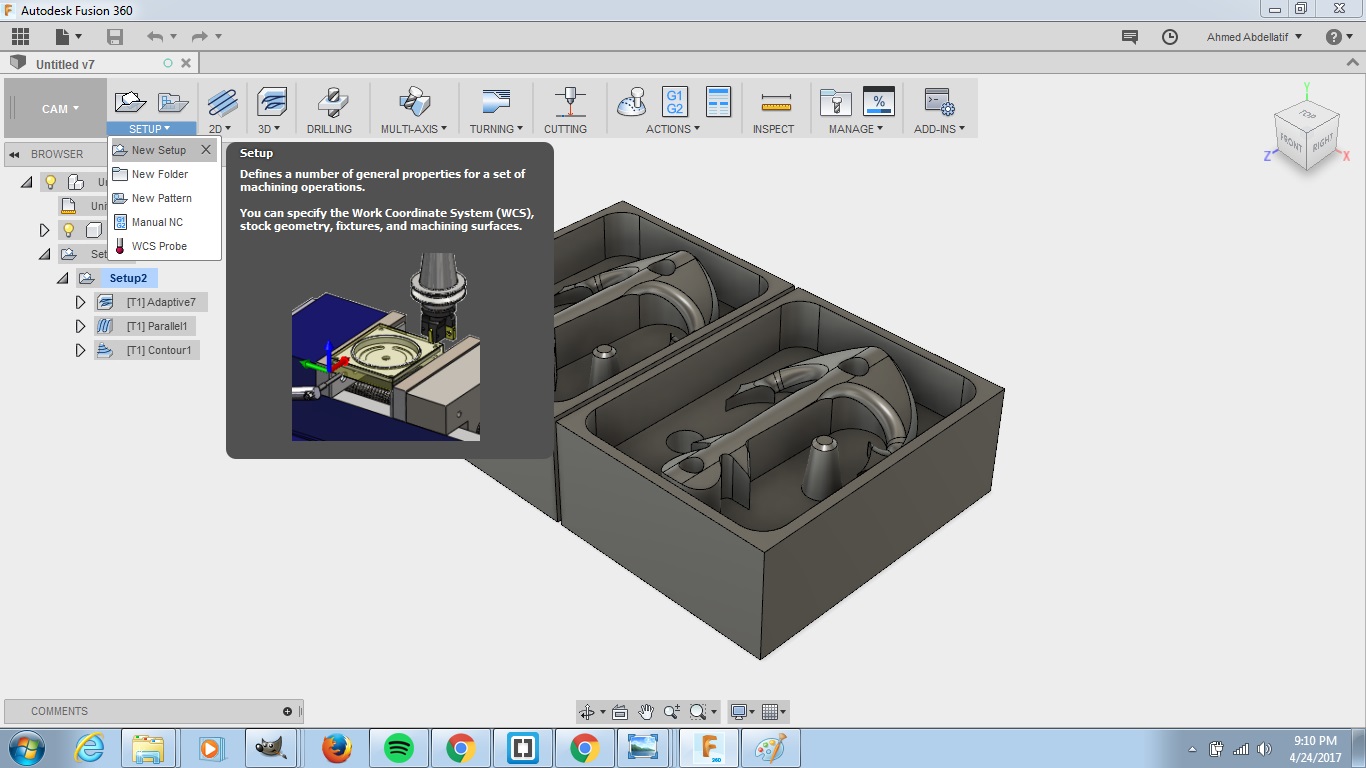
-Here are the setup settings I used:
- Orientation: Select Z-Axis
- X-axis: I chose this based on the axes orientation of the Roland MDX-40A and then placed the stock accordingly
- Origin: Stock Box Point
- Stock Point: Box Point.
-Here are the stock settings I used:
- Mode: Fixed size box
- Width (X): 142 mm
- Model Position: Center
- Depth (Y): 92 mm
- Model Position: Center
- Height (Z): 37 mm
- Model Position: Offset from bottom

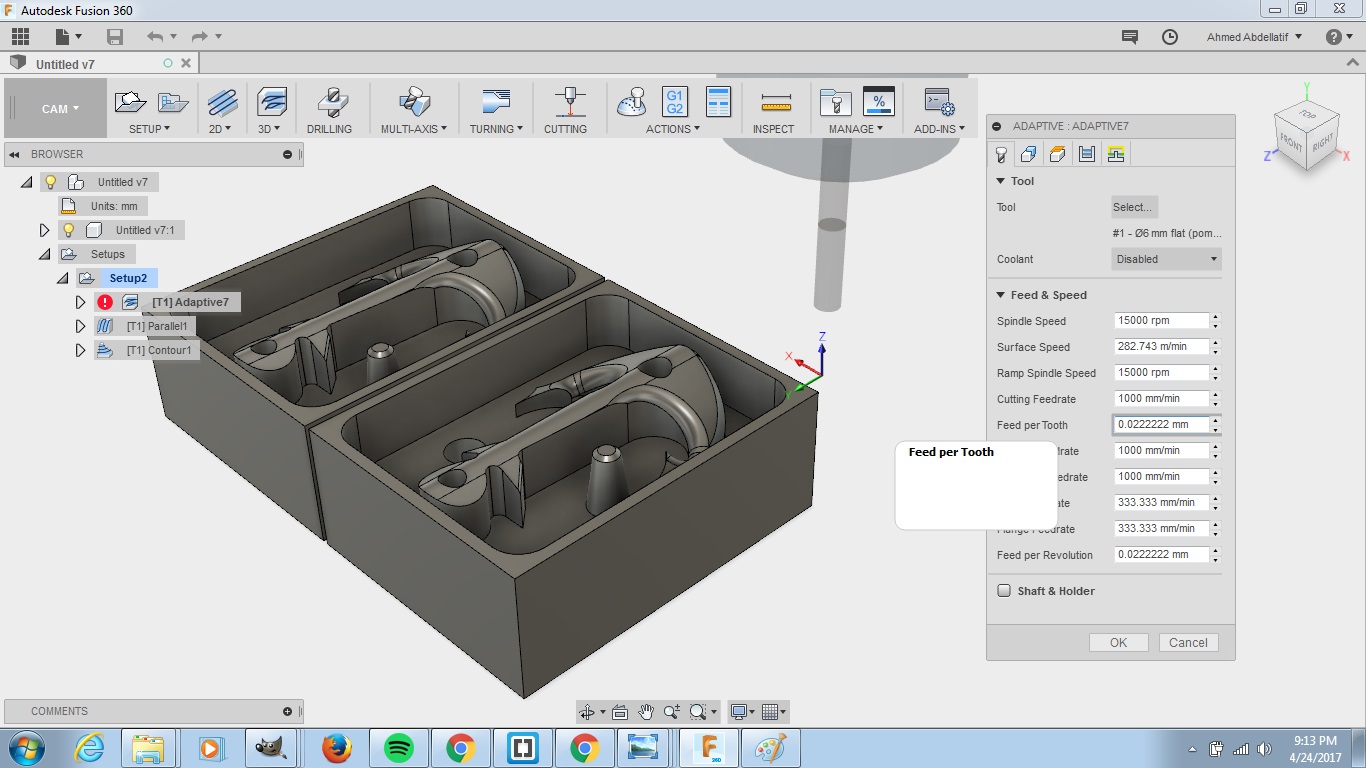
-I clicked on 3D and chose adaptive clearing. Here are the setup settings I used:
- Cutting Tool: 6 mm flat end mill
- Spindle speed: I changed it to 15000 rpm
- Cutting Feedrate: 1000 mm/min
- Rest of settings: I kept the default settings of fusion 360
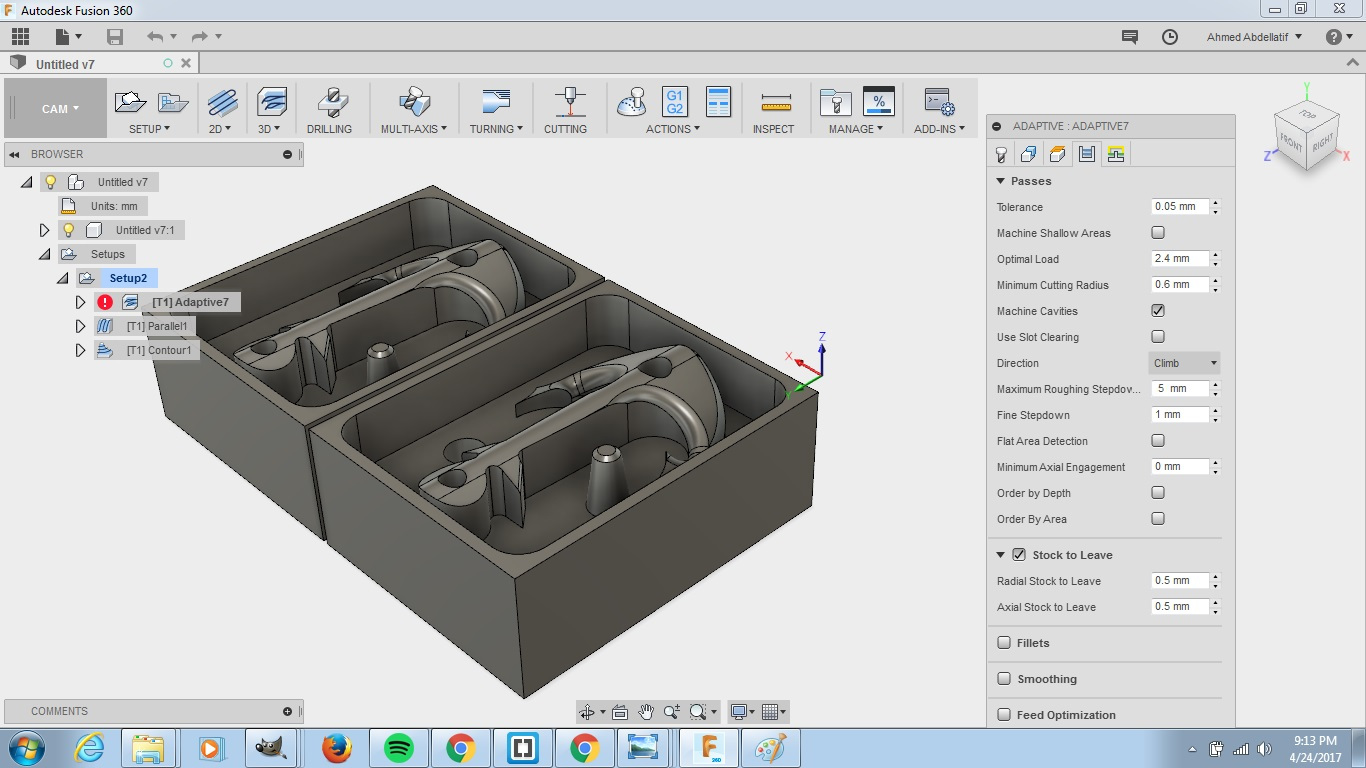
-I switched then to passses
- Tolerance: I changed it to 0.05 mm
- Maximum roughing stepovre: 5 mm
- Fine stepdown: 1 mm
-I finally simulated the job by clicking on simulate from the actions drop menu. I found no collisions in the job info so I posted this process by clicking on post process from the same drop menu of actions. I chose MDX-40A as the machine for the job.

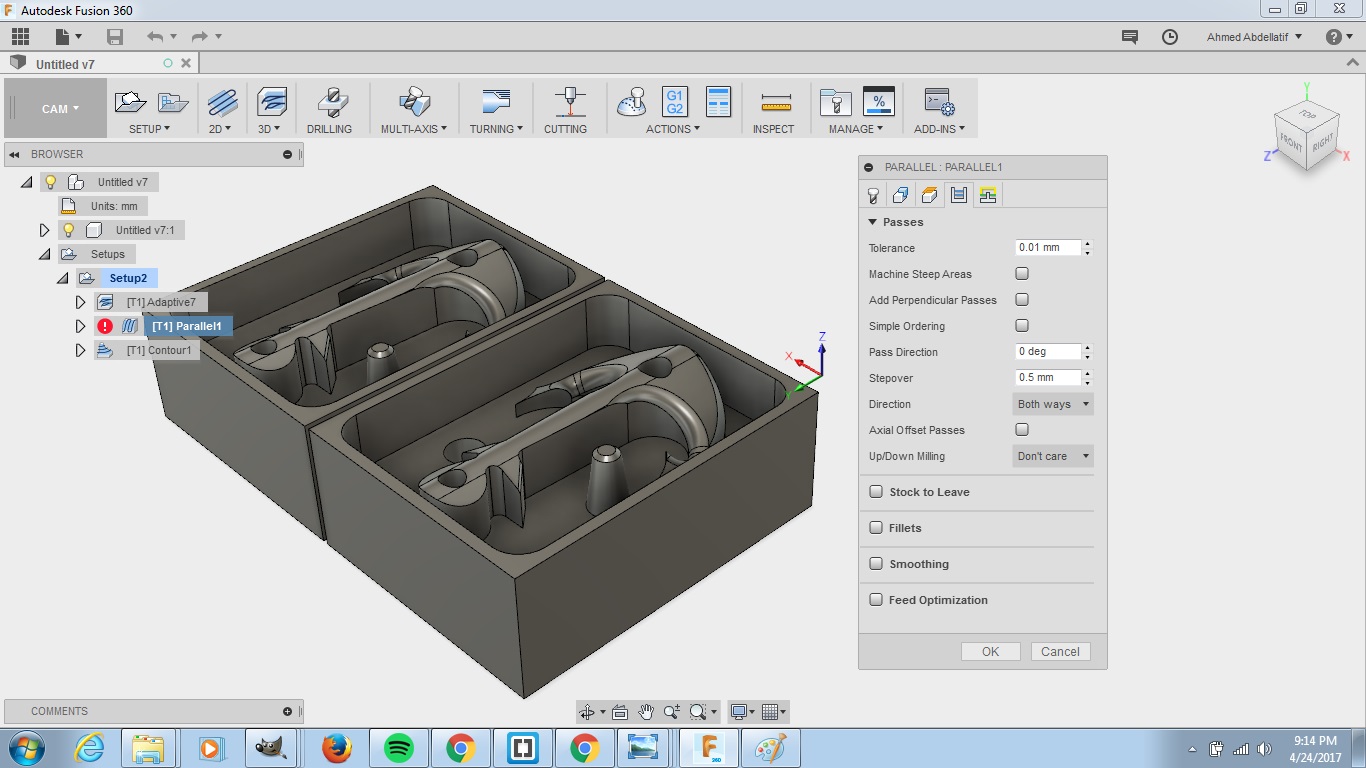
-I added another finishing job using the parrallel technique and using a finer tool of 2 mm. I used more or less the same settings the only changes were in passes' settings.

-Here are the settings for passses
- Tolerance: I changed it to 0.01 mm
- Fine stepdown: 0.5 mm
-I simulated this process and I found out there was one collision in the very beginning, I checked it and I found out it's a false one it was not a true collision.

-I fixed the block of wax to a scrap piece of wood using double face tape.
.JPG)
-The upper part of this image is how it looked after the rough cut and down one is during the second process.
.JPG)
.JPG)
-Unfortunately at this point the milling tip broke although there were no collisions in this in the simulation, But I think the reason why the tool broke is because it made contact with 2 surfaces while moving with high speed. The red arrow points to where the tool broke
.JPG)
-I took it out of the machine and decided to clean it manually
.JPG)
.JPG)
-This is how it finally looked like
.JPG)
-I used ProtoSil RTV 245 Silicone Rubber along with ProtoSil RTV 245 Comp. B 1 as a curative. Mixing ratio, usage instructions and further information are mentioned in the data sheet.
.JPG)
-I put the right amounts and mixed them thoroughly
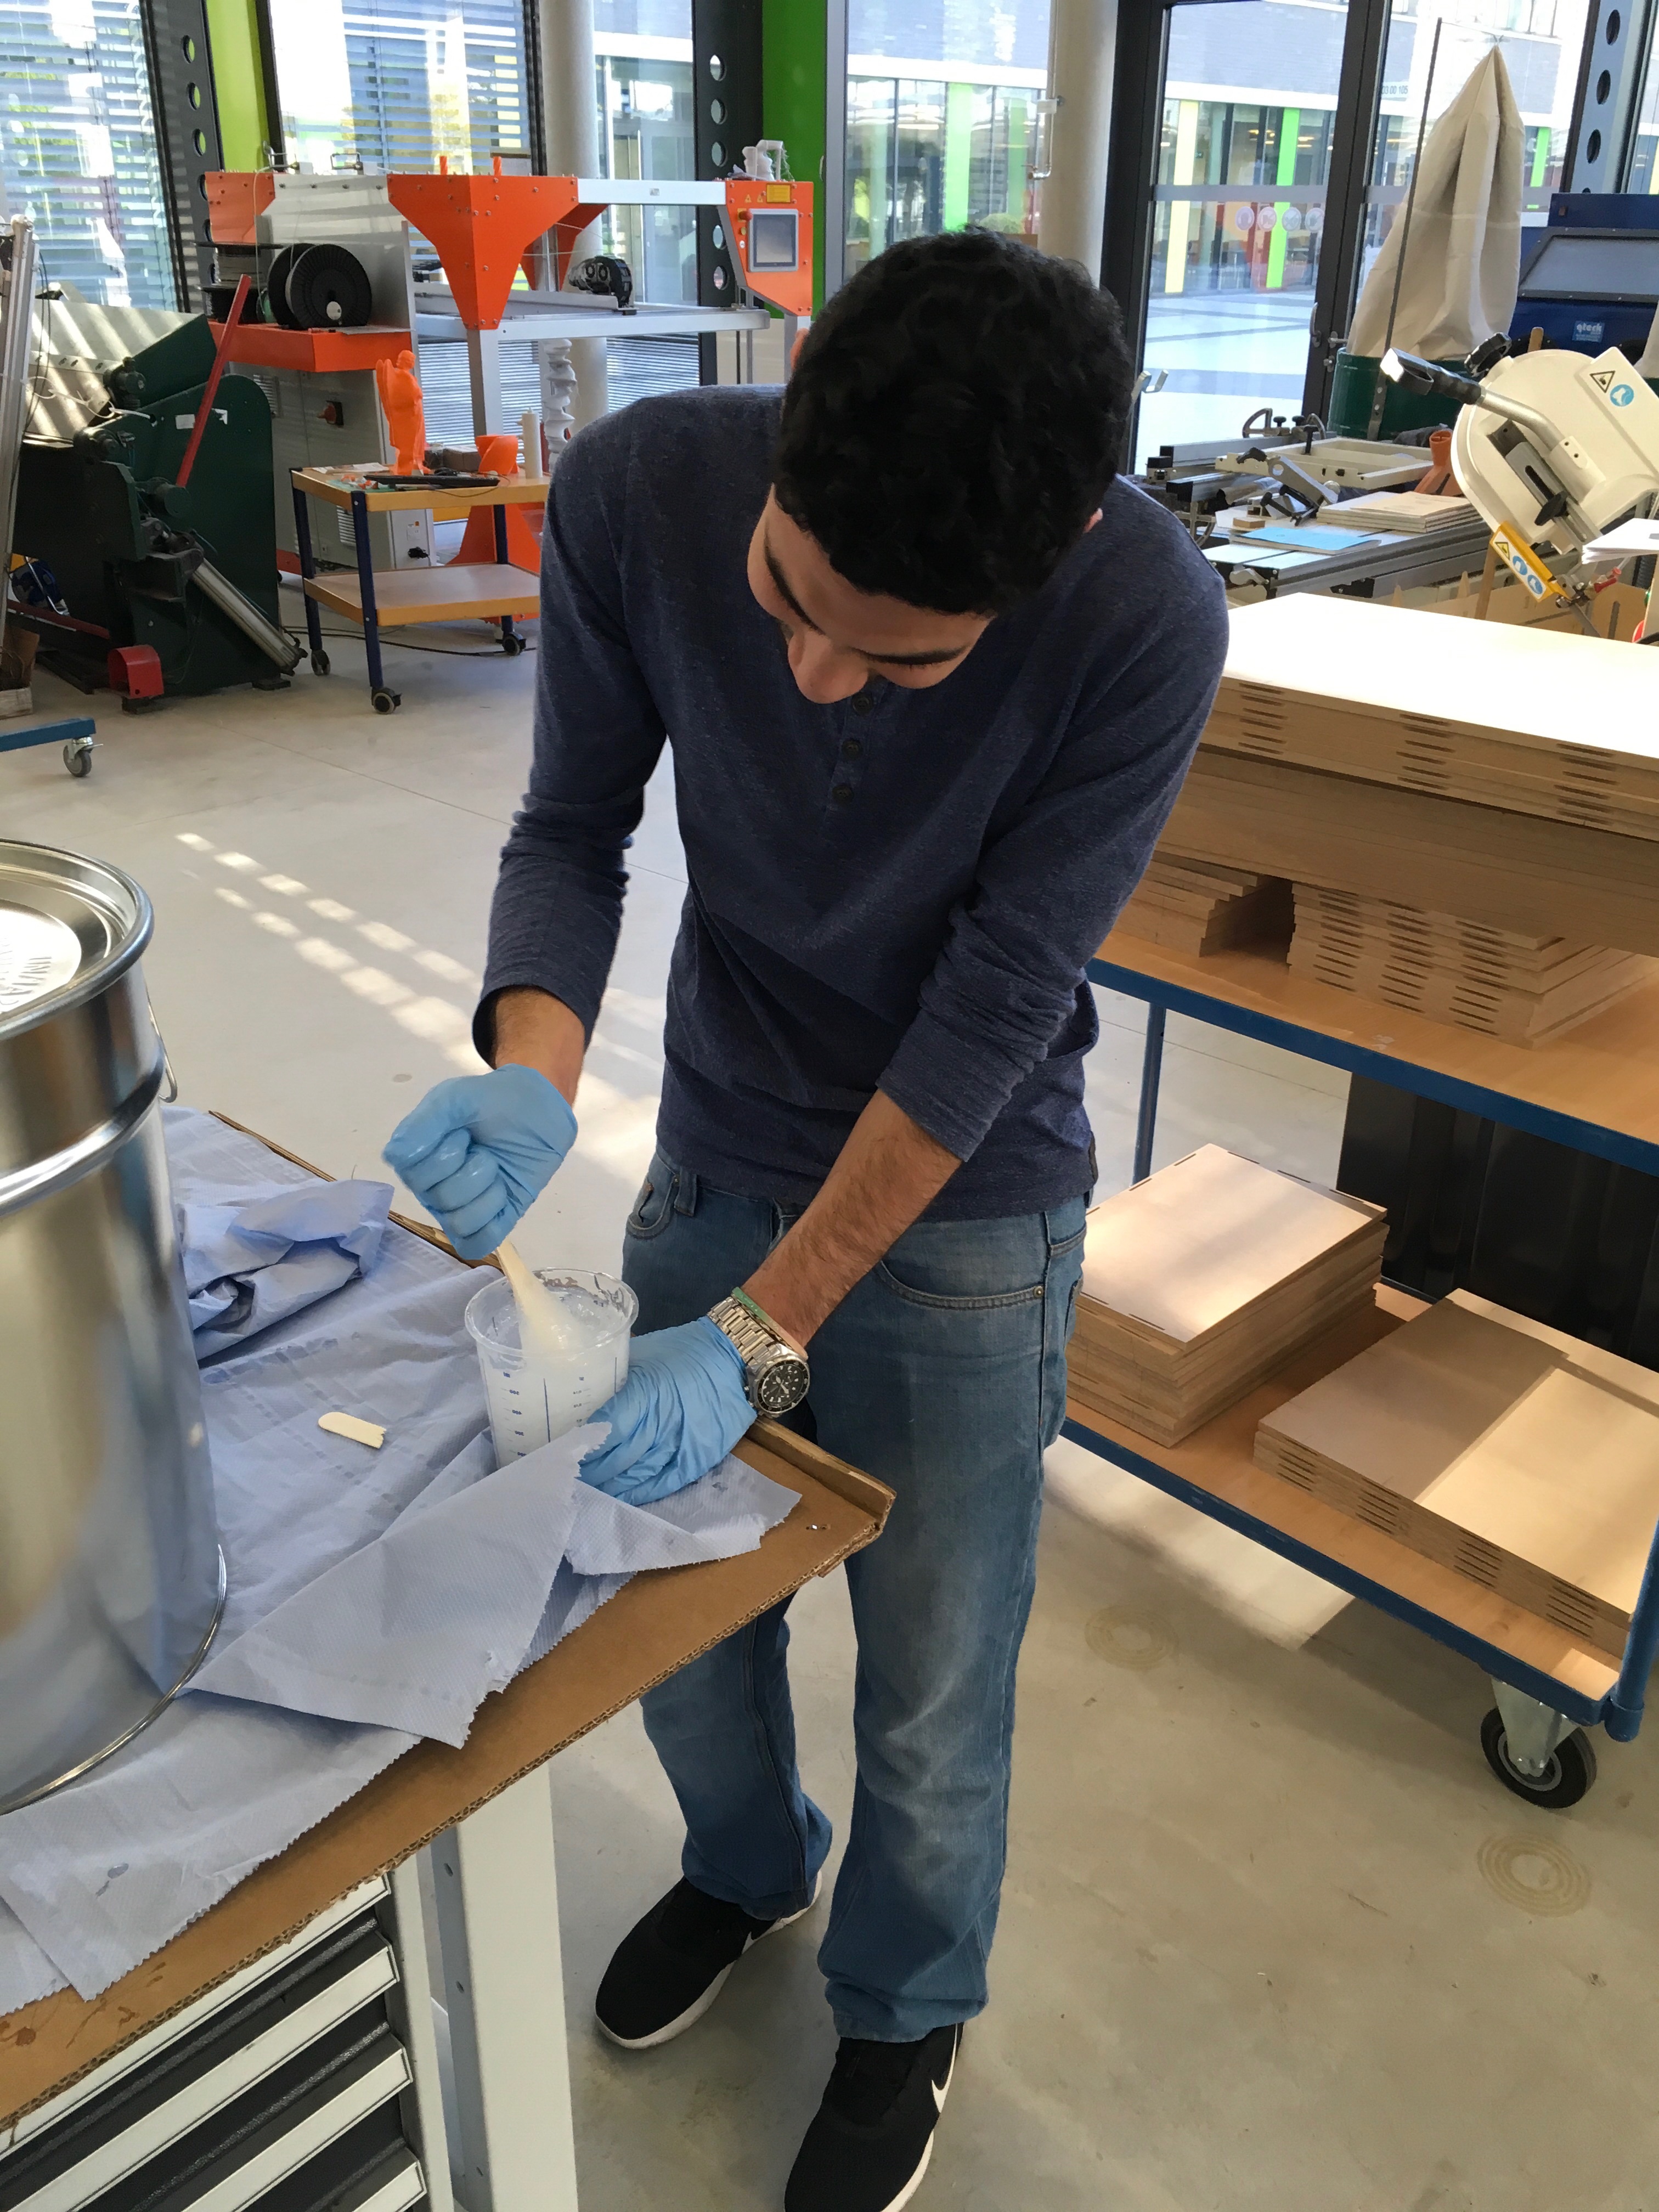
-We were doing this task together so we decided to put all our silicon in one container and place it in the vacuum machine in one go. This is how it looked at 2 hPa
.JPG)
-And this is after releasing the pressure
.JPG)
-We poured it inside the moulds and left it to set over night.
.JPG)
-This is how mine looked the next morning
.JPG)
.JPG)
.JPG)
-I removed the wooden frame
.JPG)
.JPG)
-Then I pealed the silicon off the wax
.JPG)
.JPG)
.JPG)
.JPG)
.JPG)
.JPG)
-I placed it in the vacuum machine
.JPG)
-I placed it in the oven for 30 minutes on 70 degrees as mentioned in the datasheet
.JPG)
.JPG)
-After 30 minutes I got it out and this is how it looked like
.JPG)
.JPG)
-It was a fail because I put it in the vacuum machine after pouring the resin inside. I found out that this is not the right way to do it.
.JPG)
.JPG)
-I went for a second go without putting it inside the machine.
.JPG)
.JPG)
Final Product
.jpg)
.jpg)
Downloads
-Fusion 360 files