06.- Electronics design
Mar 08
assignments:
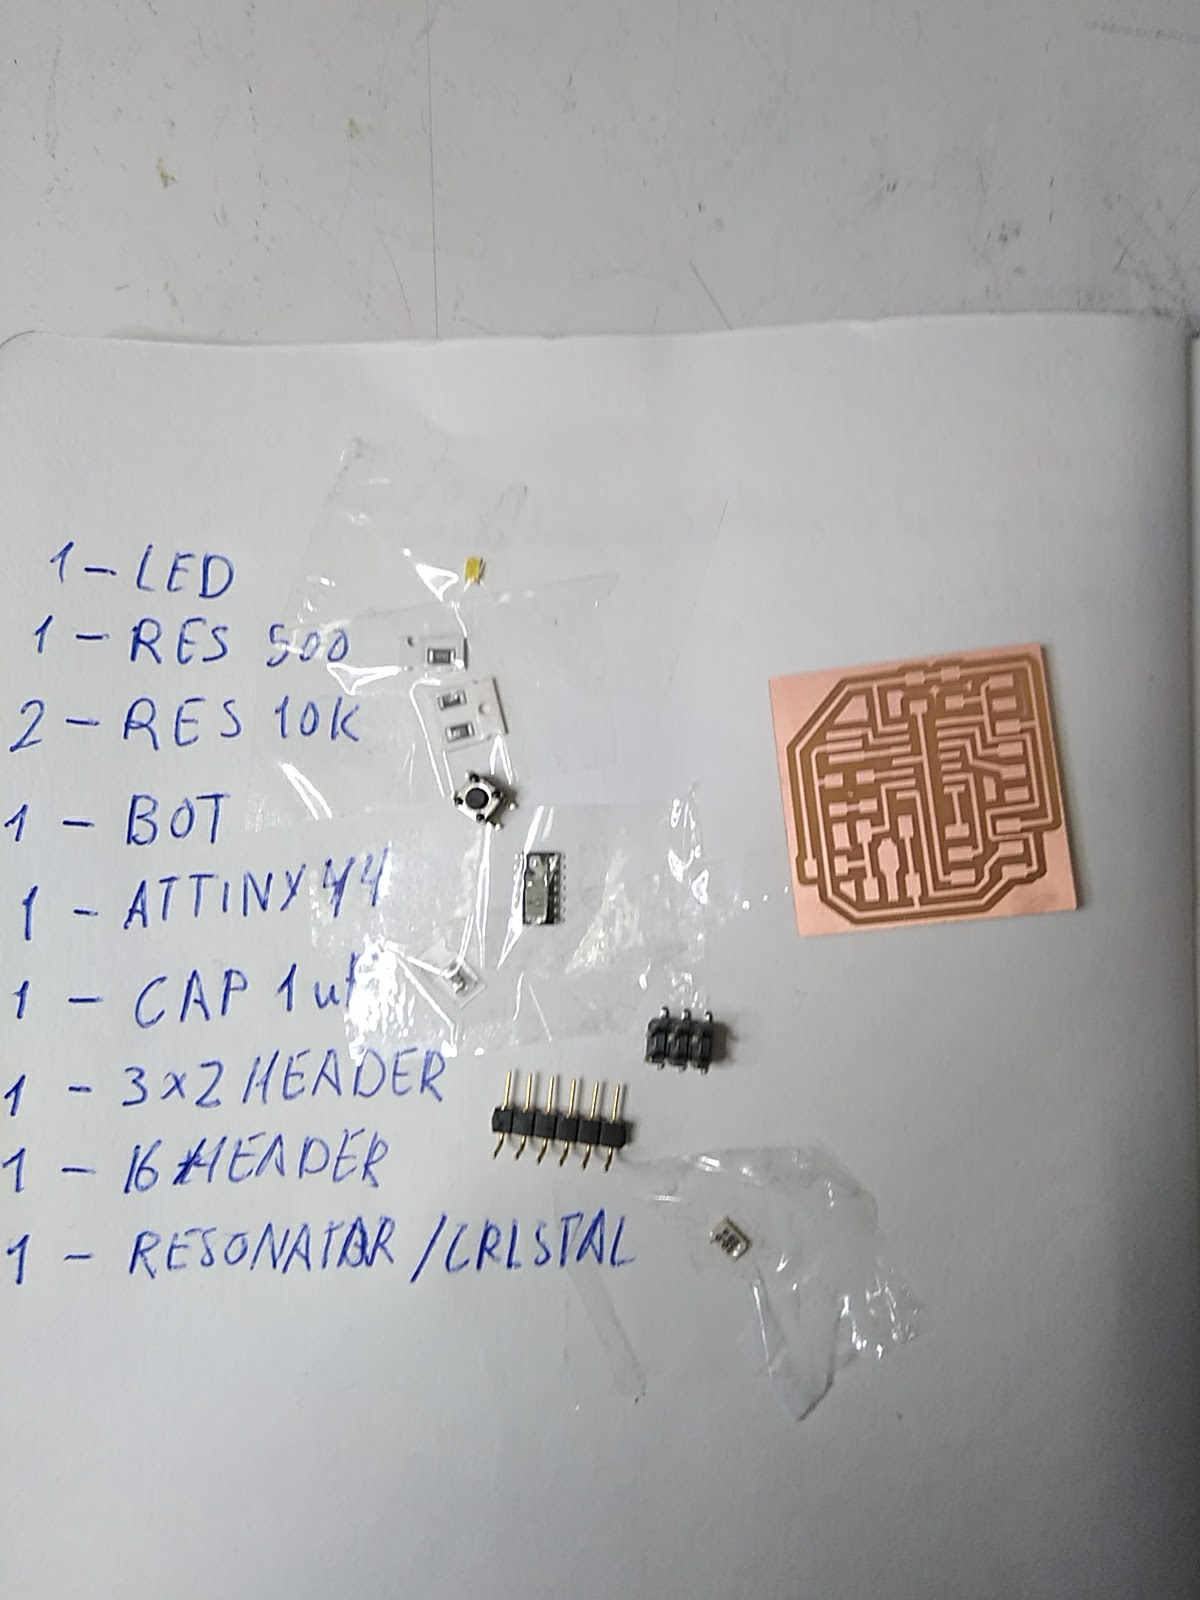
- redraw the echo hello-world board and:
- add (at least) a button and LED (with current-limiting resistor)
- check the design rules, and make it
- extra credit: simulate its operation
- extra credit: measure its operation
- Eagle proces
- FabModuls
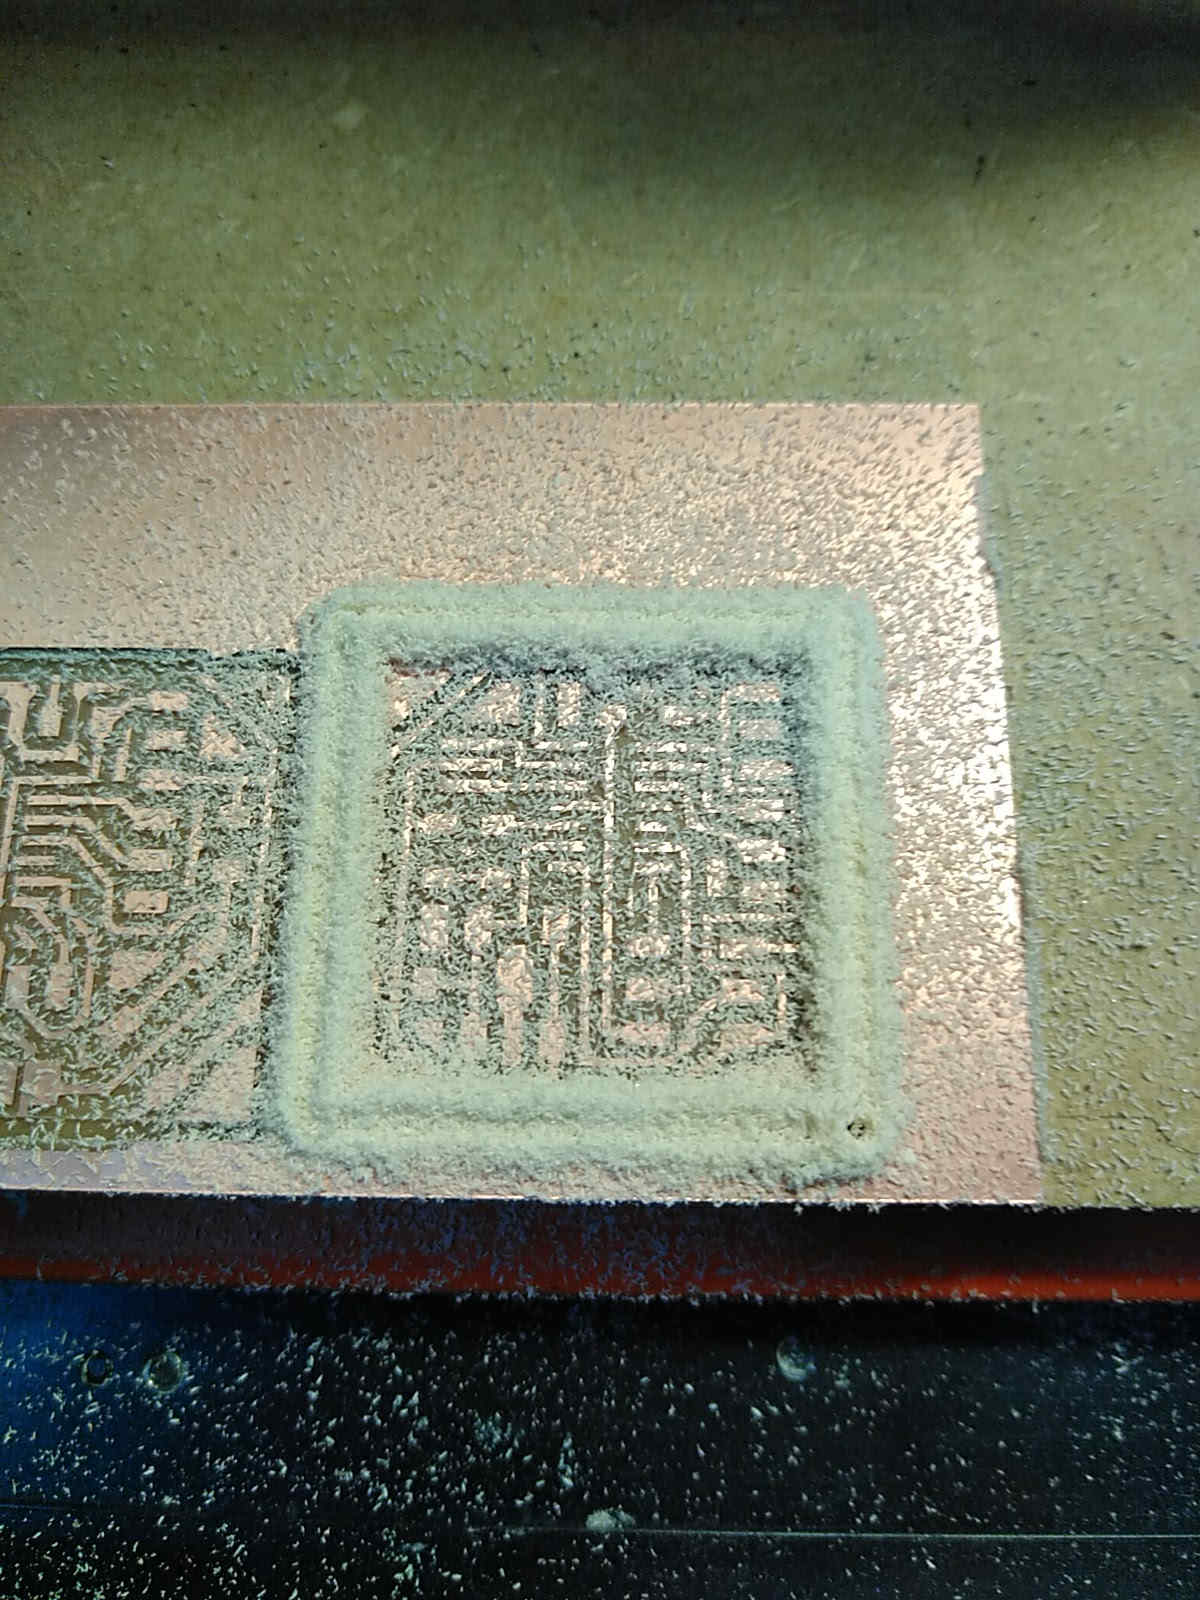
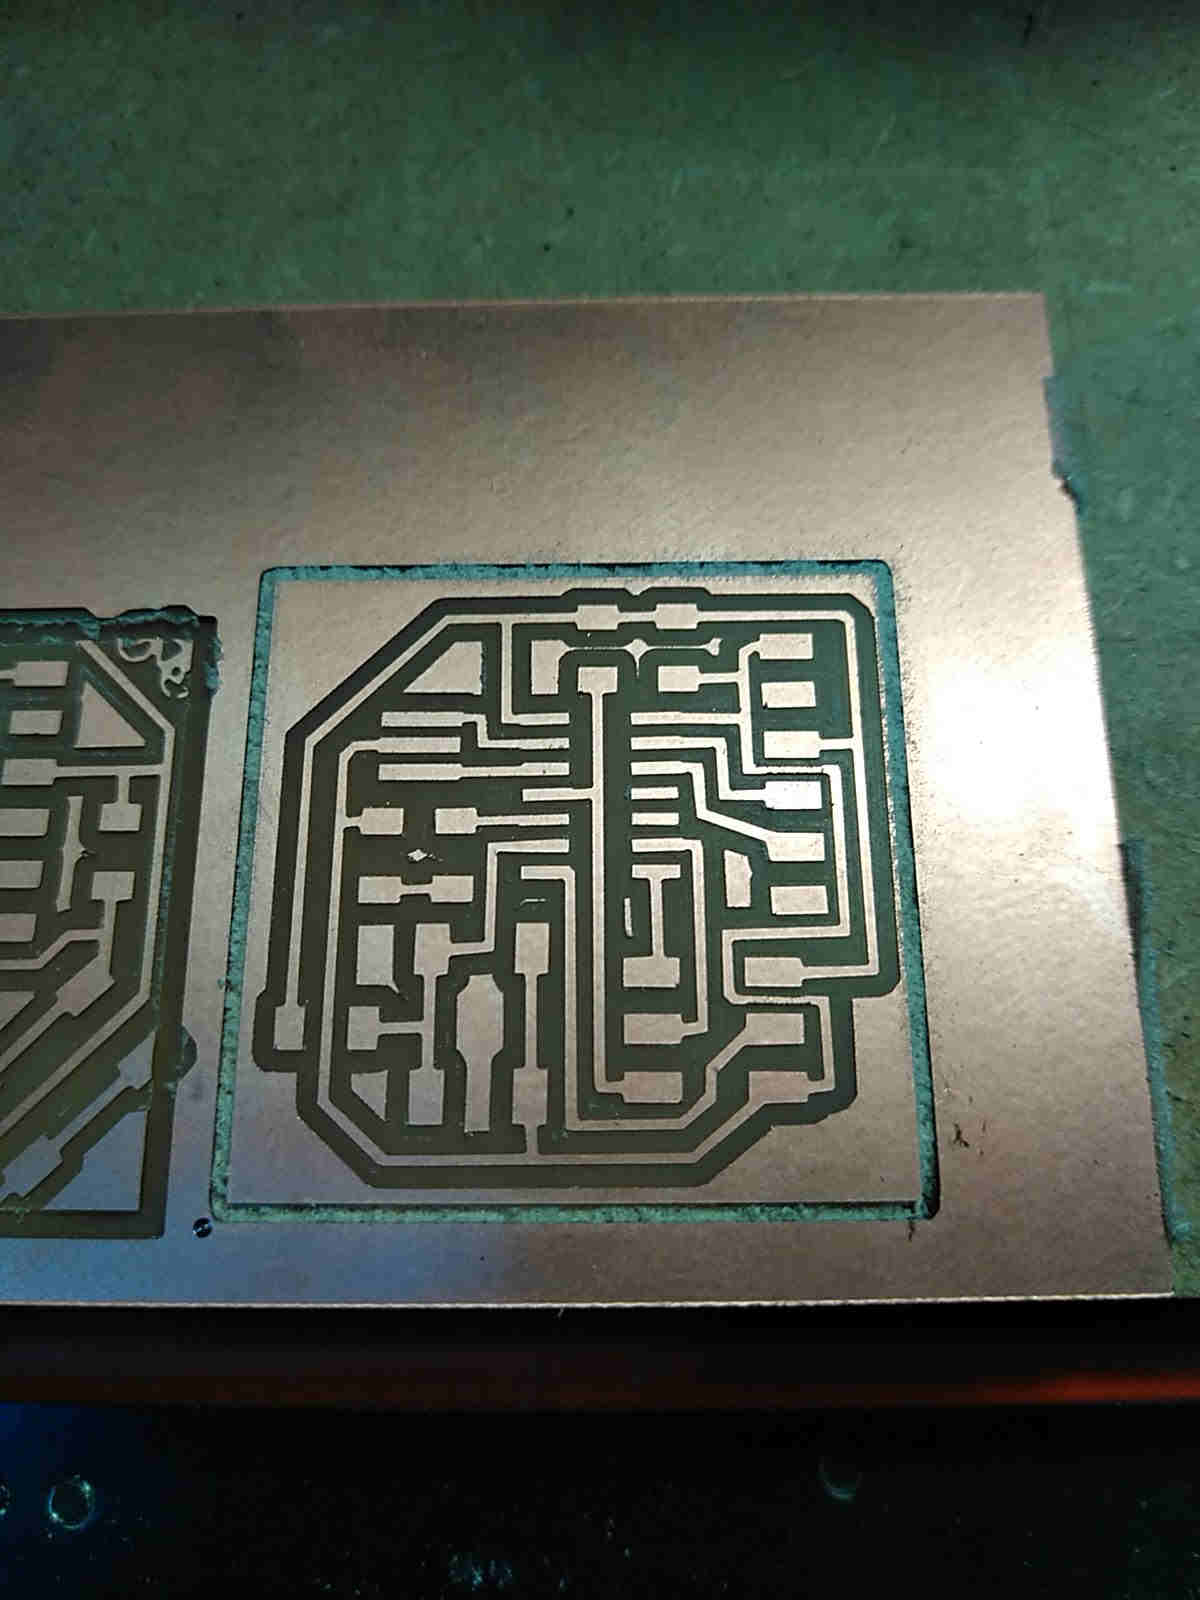
- Millin an solder
Eagle process
I had no experience but the references from local instrutos and the Steven Chew documentation have served as a guide
Eagle
Fortunately for us, there is an Eagle library,
fab.lbr available, containing most of the parts needed for many of the Fab Academy boards.
To bring fab.lbr into Eagle, simply download the library and copy it to the Eagle library folder,C:\EAGLE 8.0.1\lbr in my case
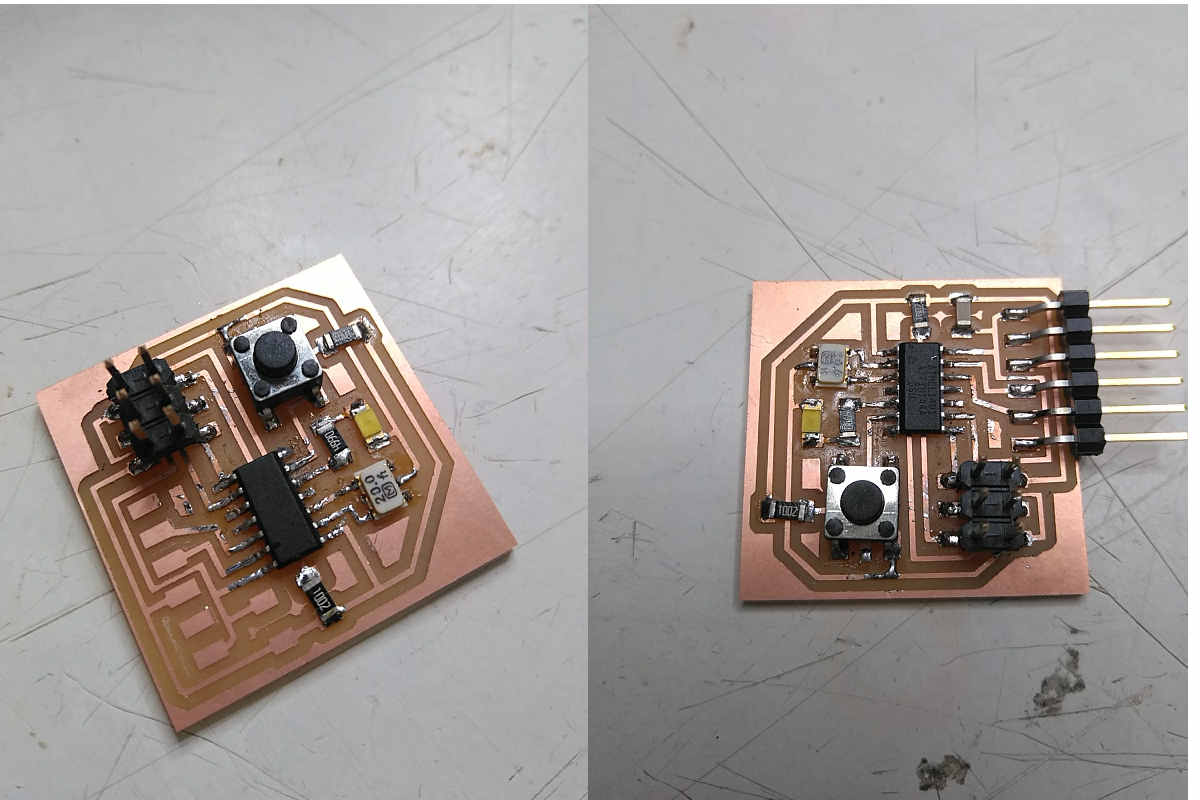
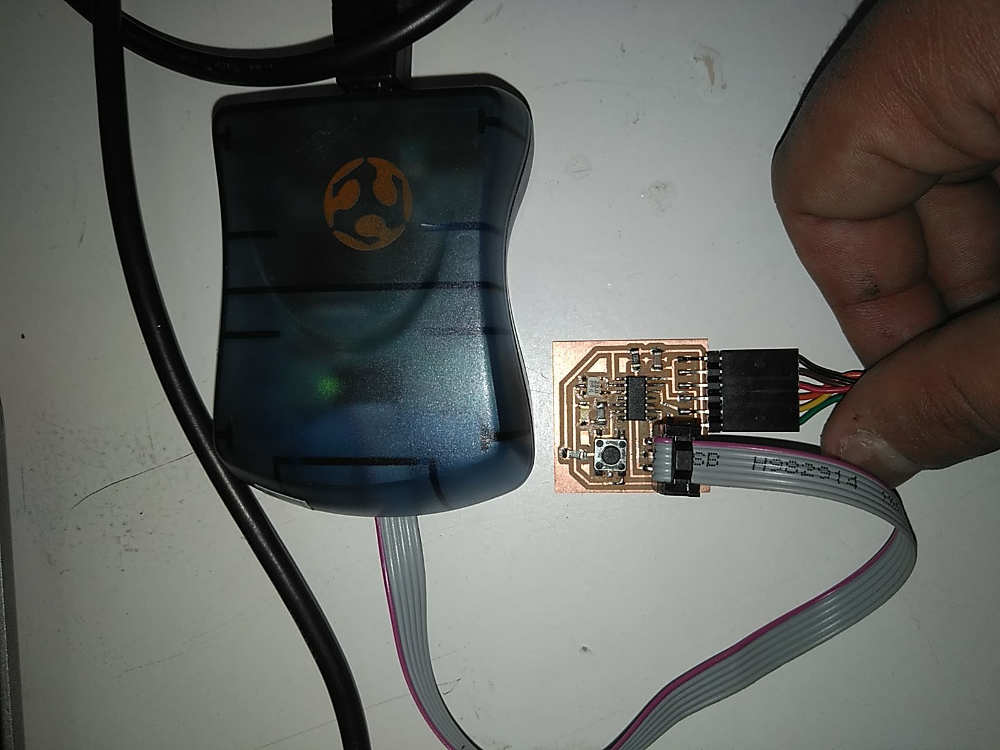
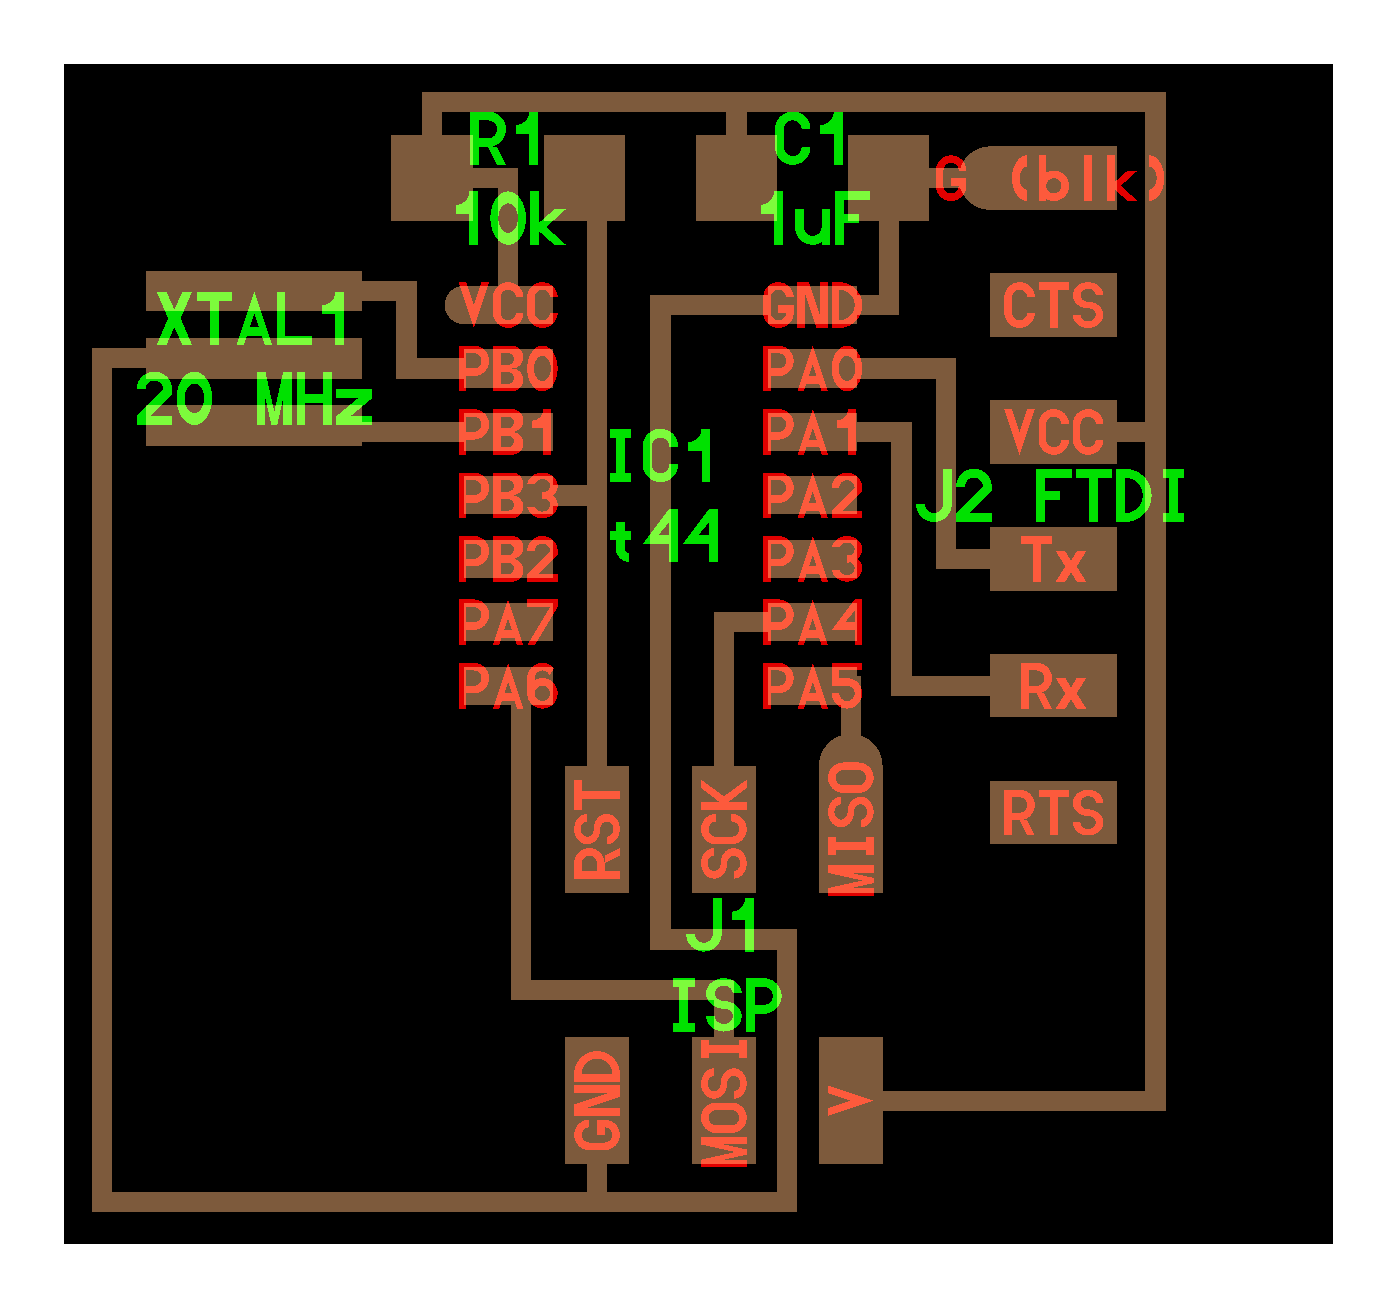
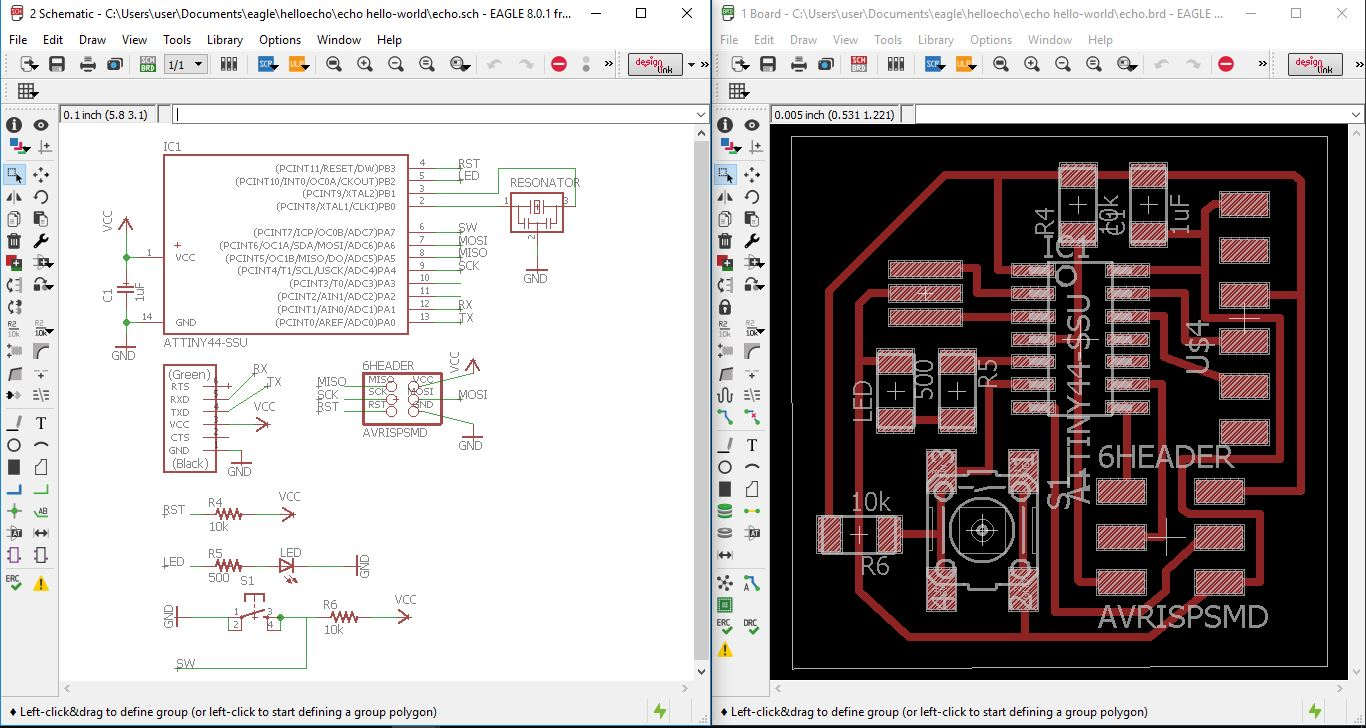
After checking on to Neil's hello.ftdi.44 board I started by creating a new project in Eagle's Control Panel, then a new schematic. I then added the parts that I needed for the hello.ftdi.44 board, mostly from fab.lbr.
When wiring the components together, it is important to remember to use the NET command, rather than the WIRE command.
If you want to link two different pins or traces together but do not want to run the wiring all over the place, simply assign the same NAME to the pins. The assigned names can be displayed using the LABEL command.
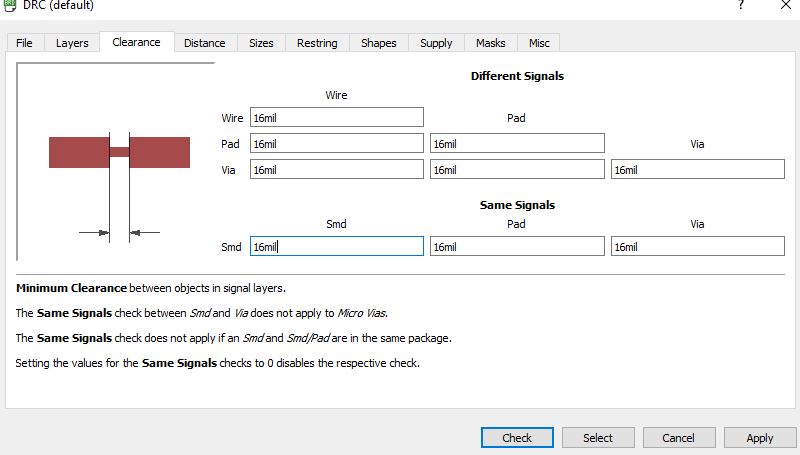
To run a Design Rule Check (DRC) on my board, I first had to set up the rules for DRC. For my board, I set up the DRC with a wire-to-wire and wire-to-pad clearance of 10 mil and a minimum trace width of 12 mil, which is easily achievable using the pcb milling machines that we have.
Adding a button and led
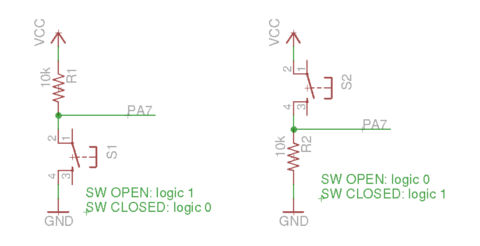
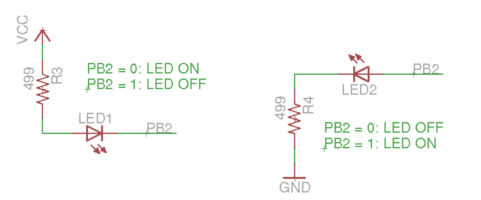
Thanks to Steven Chew I understood that there are two possible ways to connect both the led and the button that should be taken into account for programming.
LED: I have used a 499 ohm resistor to limit the current through the LED to about 6 mA. I've configured PB2 as an output pin to sink current from the LED when it is turned on.
BUTTON:I used a 10k pull-up resistor to tie the digital input pin (PA7) to Vcc.
Download the files of this section here : aegle files zip
Processing imajenes
Export board as png in monochrome and at 500 dpi resolution. This is the image exported from eagle.
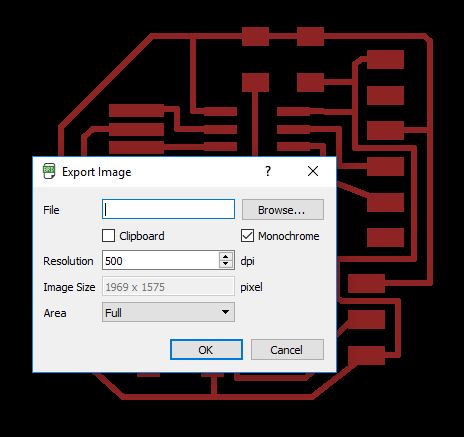
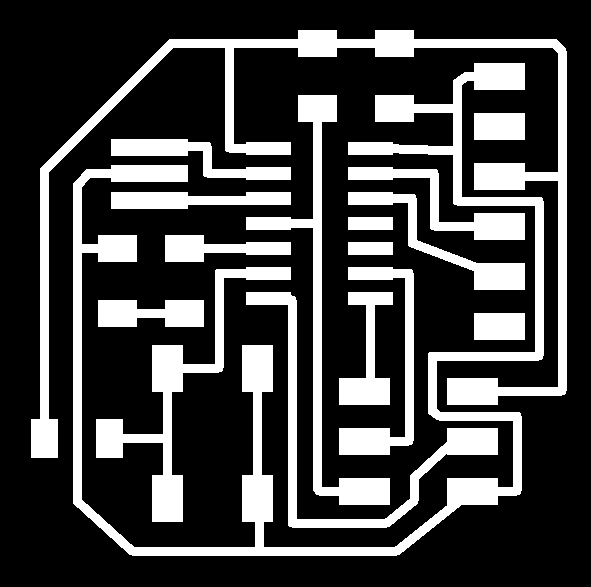
I used gimp to get two png of the same size by adding the border.
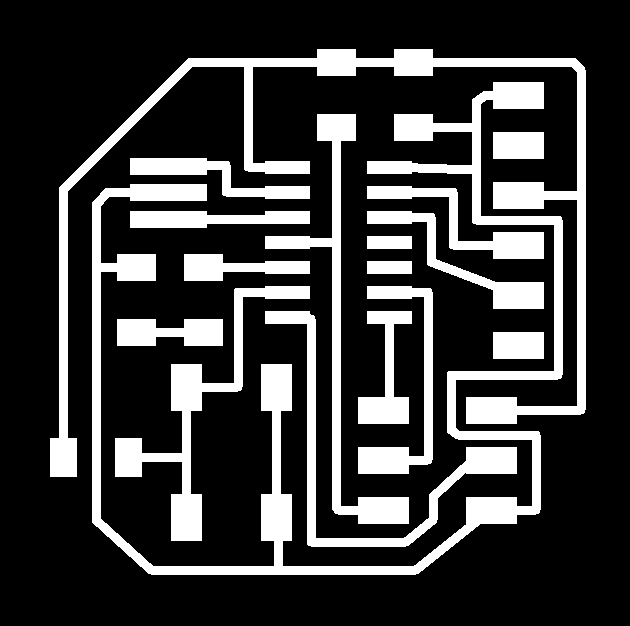

image used as imput in fabmodul traces
image used as imput in fabmodul outline
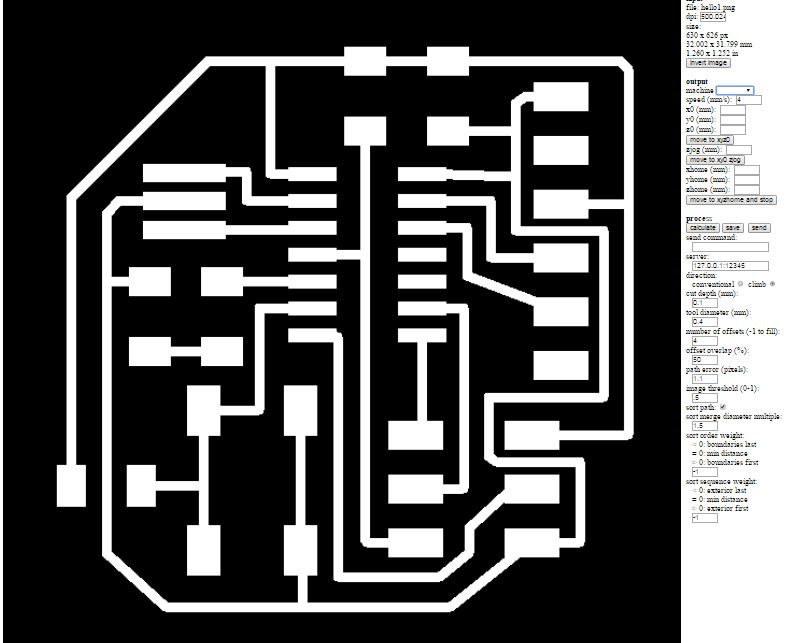
FabModuls
In week 04 I explain how to use http://fabmodules.org.
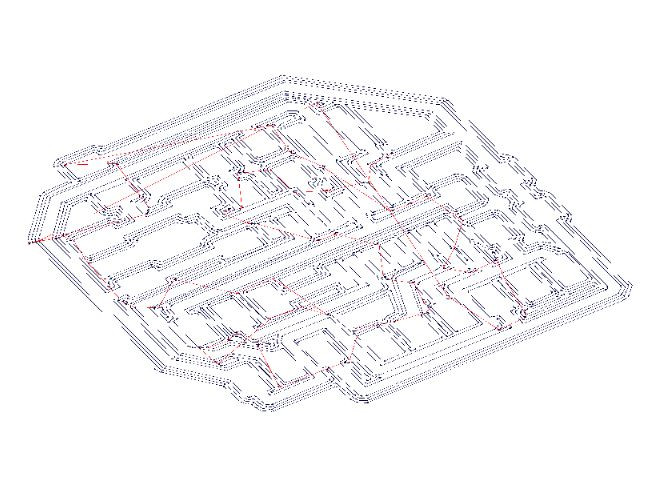

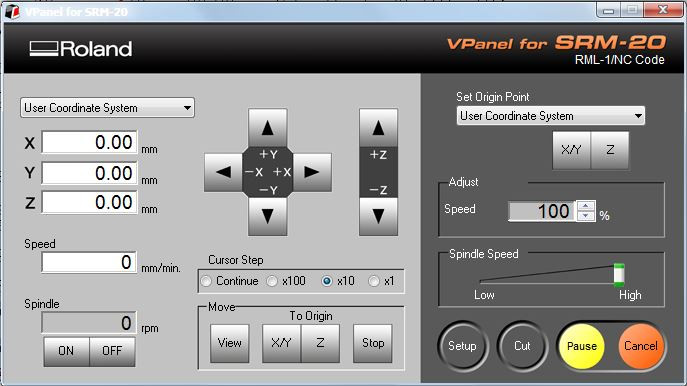
wiki.fablabbcn.org/Milling machine Monofab SRM 20