07.- Computer-controlled machining
Mar 08
assignment:
- Make something big (on a CNC machine
- Start with
- Chest of drawers
- Desing
- Test pieces
- RhinoCam
- Milling
Start with
In this week I wanted to solve the problem of order the 3d printing room with a chest of drawers.
The material provided by fablab is Plywood board Calabó Ureal
To develop this project I was inspired by the assignment of elina Monaco
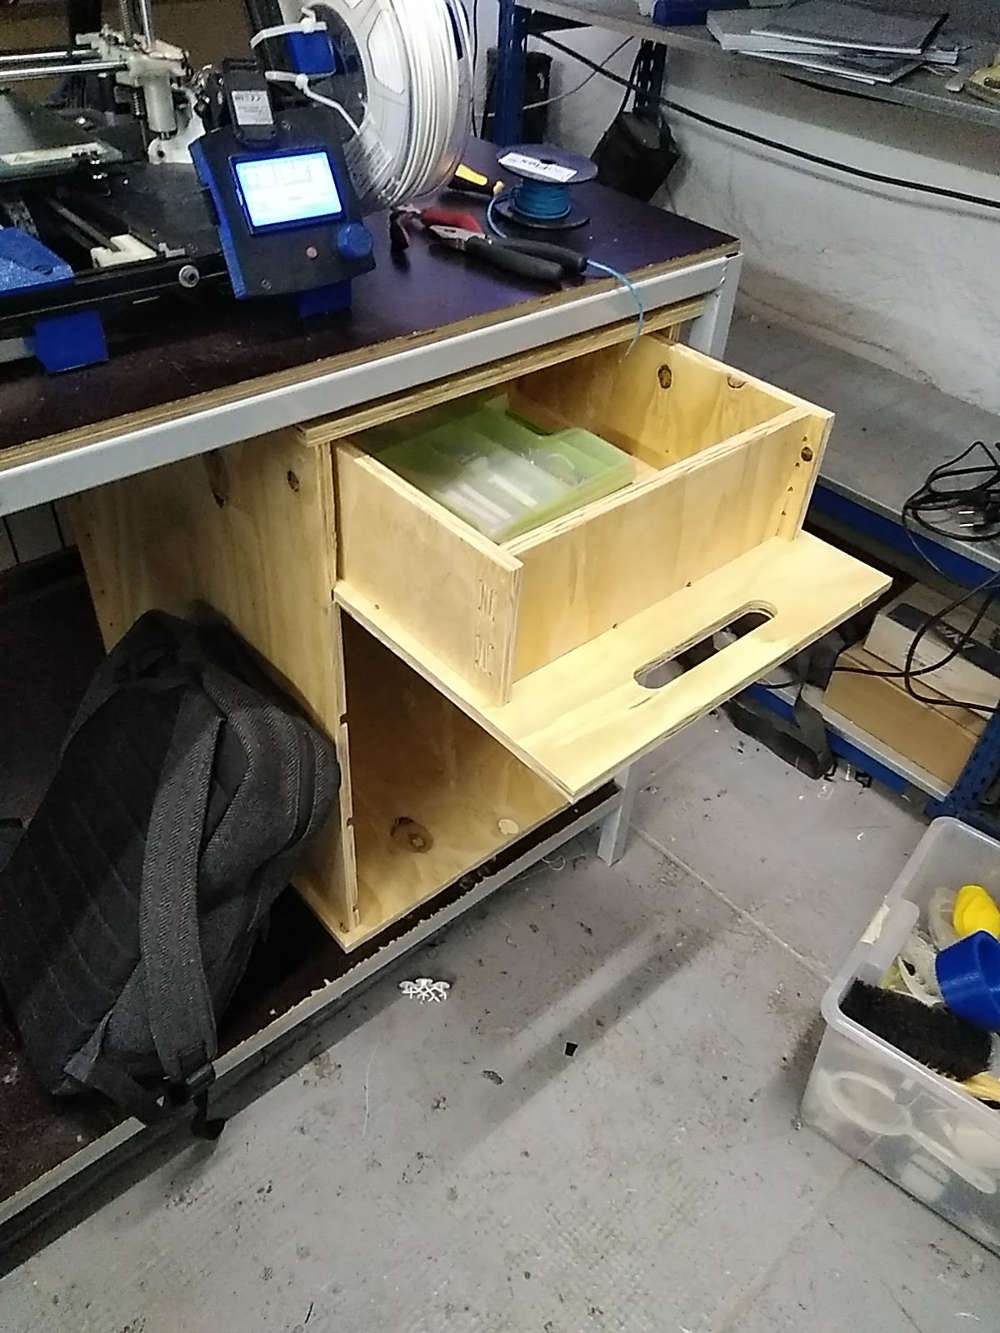
Chest of drawers
The dimensions are designed to be below 3d room table
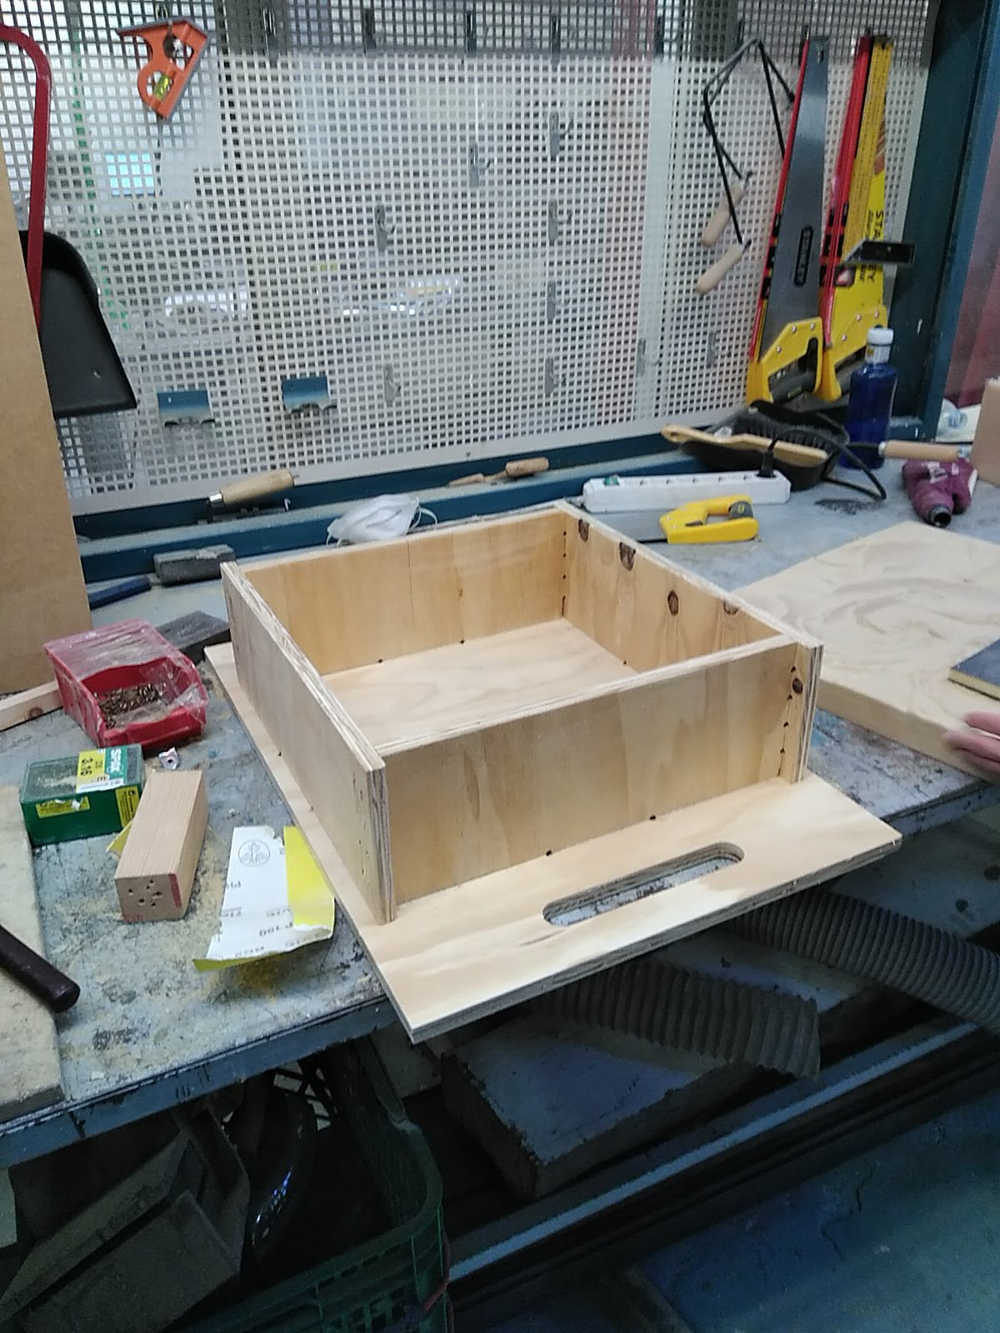
The concept of my design is based on the fact that the base of the drawers is wider to allow stronger press fit unions and also the part that protrudes from the base of the box makes of rail and handle
The sides of the cabinet have four recesses to accommodate the four drawers.
Design
Design first in SolidWorks to get an idea of the proportions.
Download the files of this section here : SolidW.zip
Export Solidwords pieces as iges in order to open the pieces in rhinoceros.
I used engrave, poketing, profiling
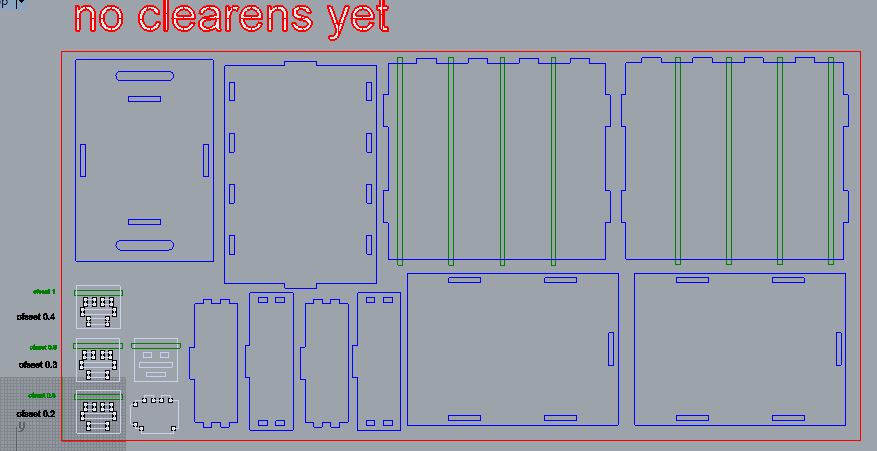
Nesting
Measure the dimensions of the material to mile and try to place as many more components as possible, leaving a space for a small area for the test.
The clearance I make with an offset of the curves of the inner holes after obtaining the test pieces
In my first board I was able to put the furniture, a drawer and a test area.
In the second three more drawers.
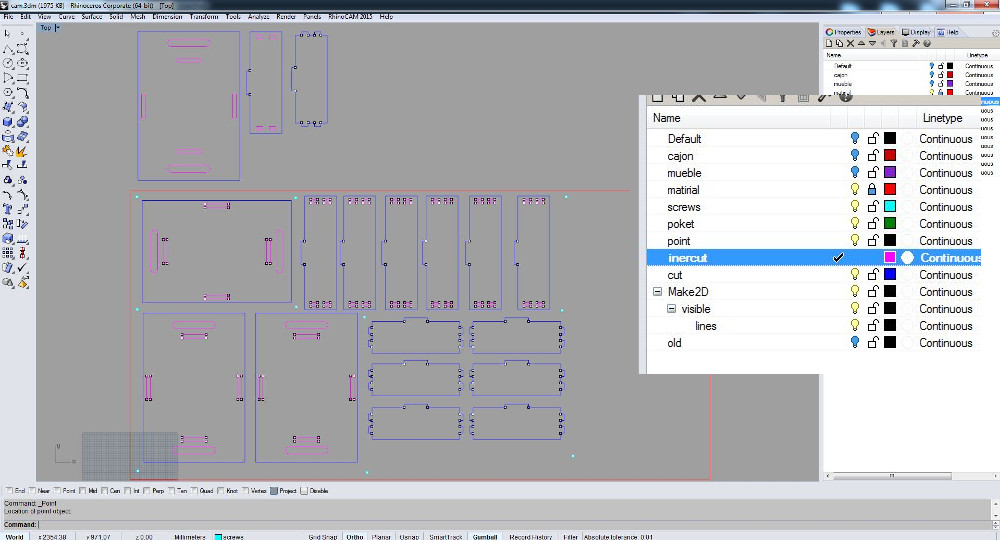
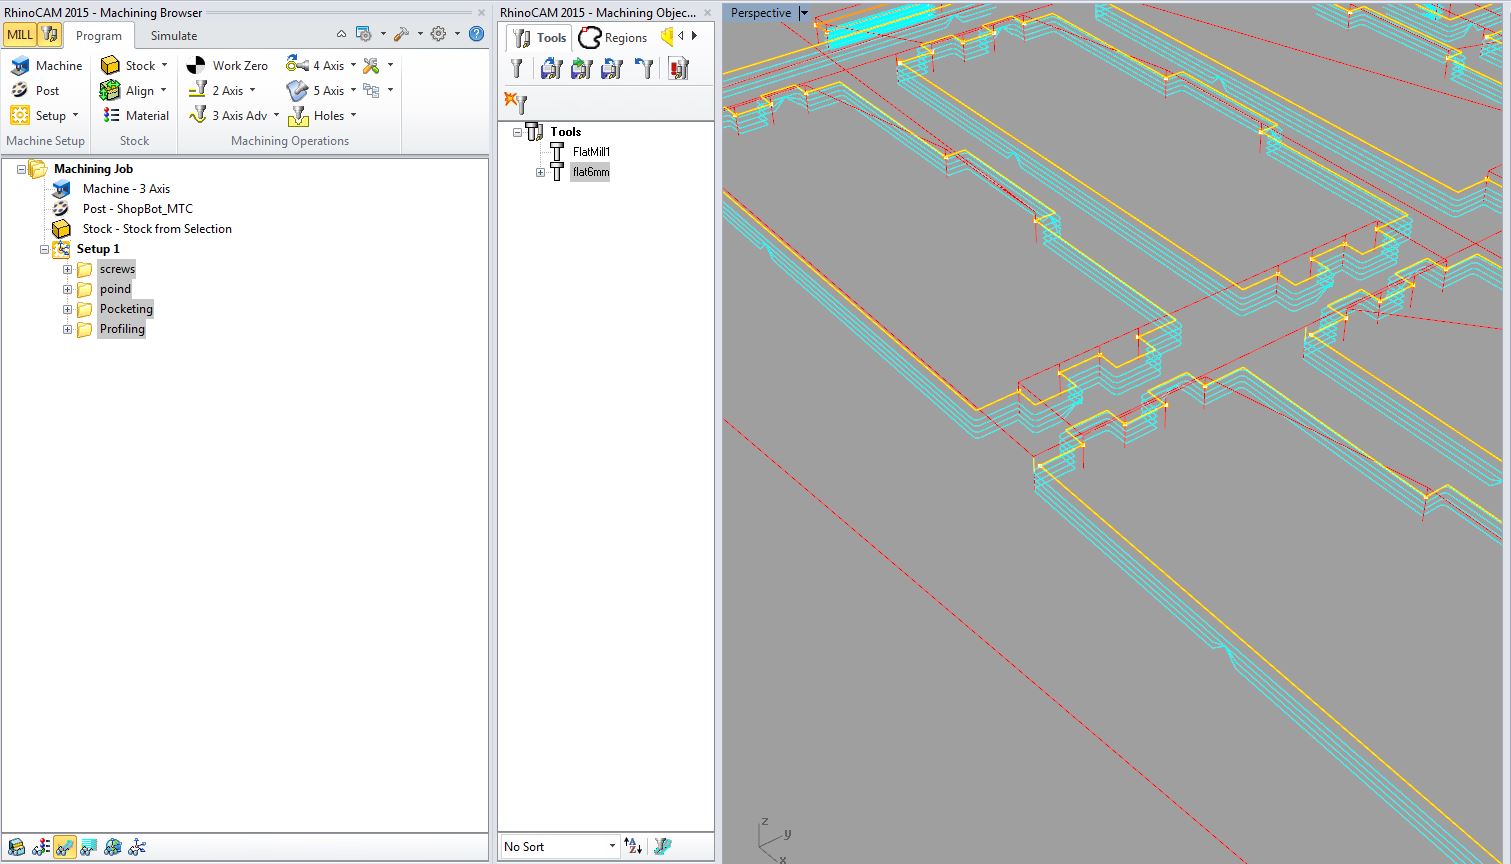
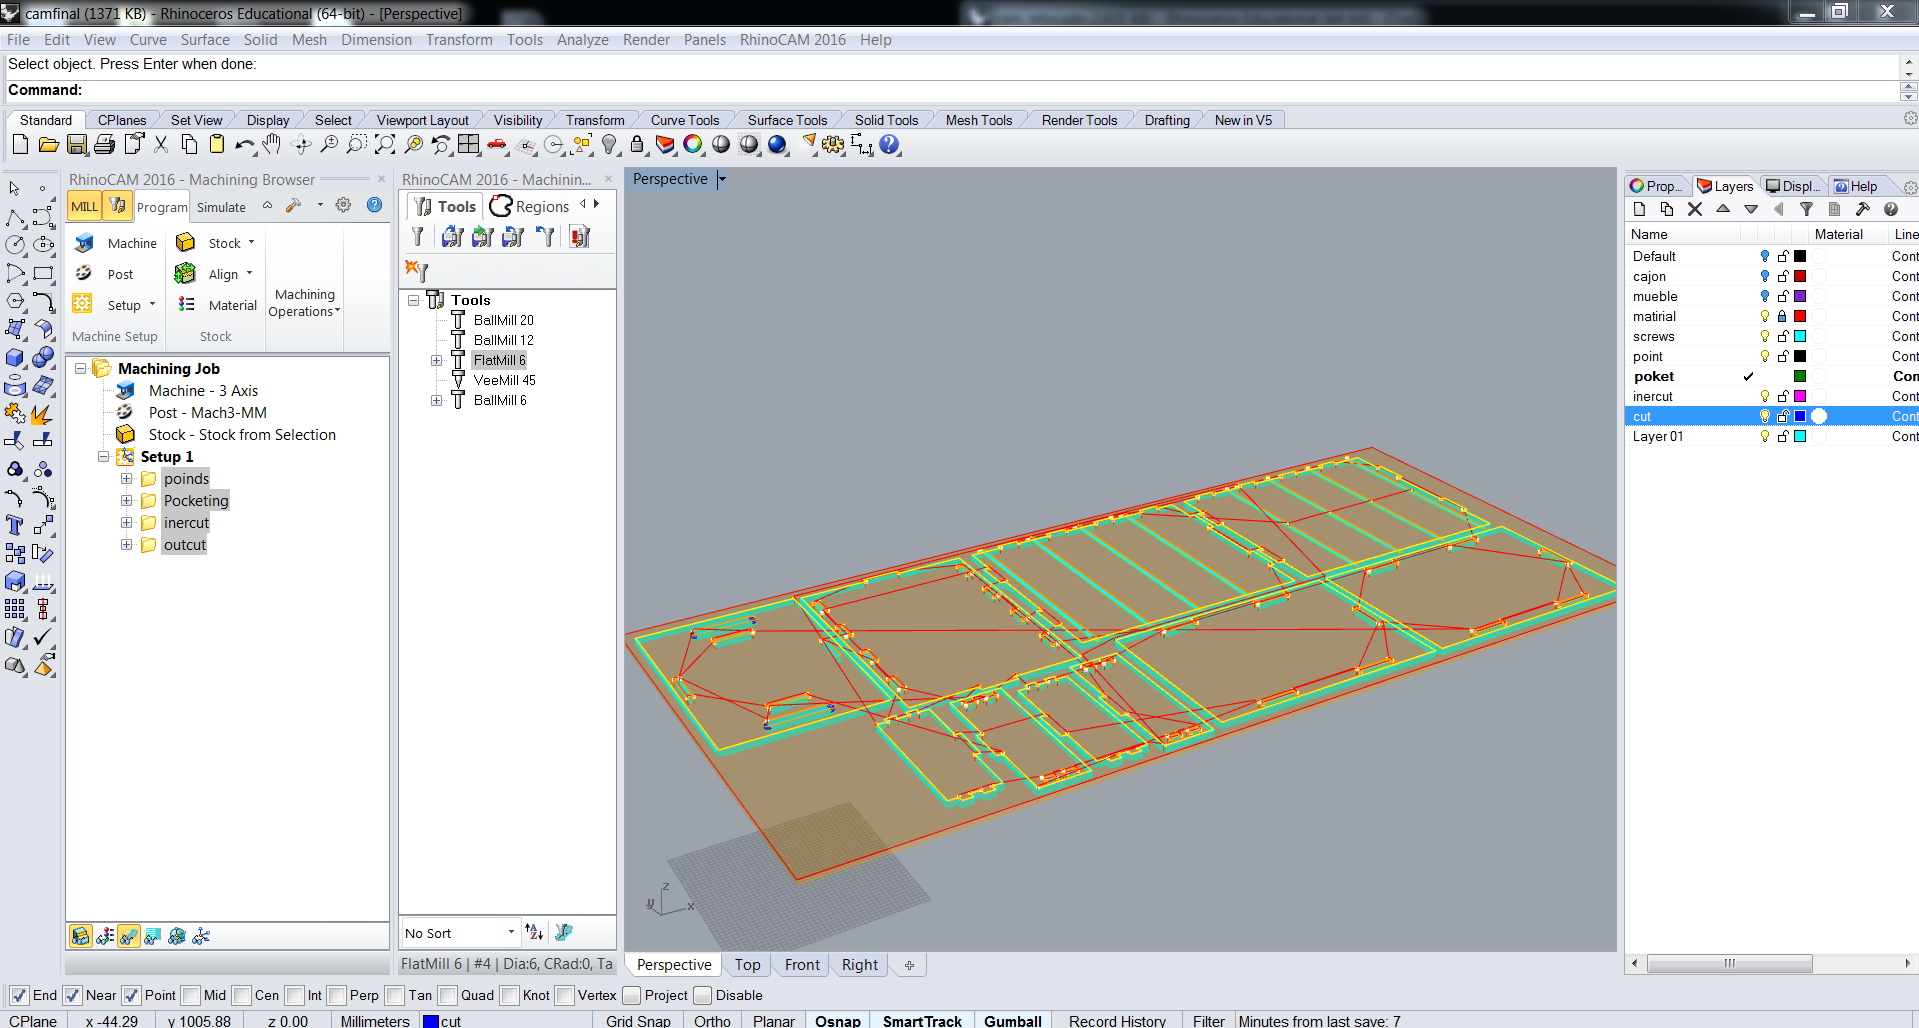
Transform the surfaces in closet lines by "bordup" command.
Create layers for each strategy: material, screws, points (dogbones), poket, inercut, outcut.
Download the files of this section here : rhino_gcode.zip
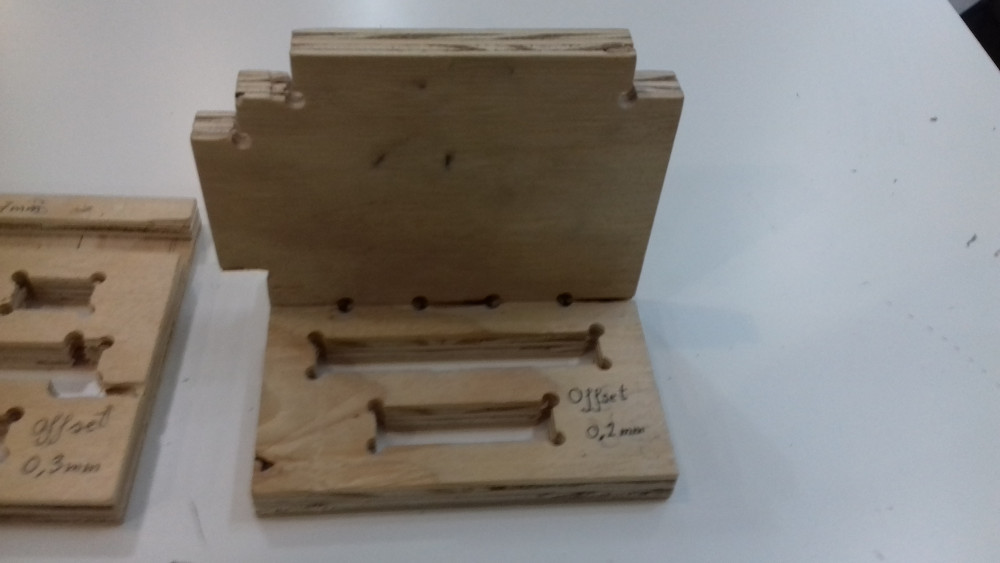
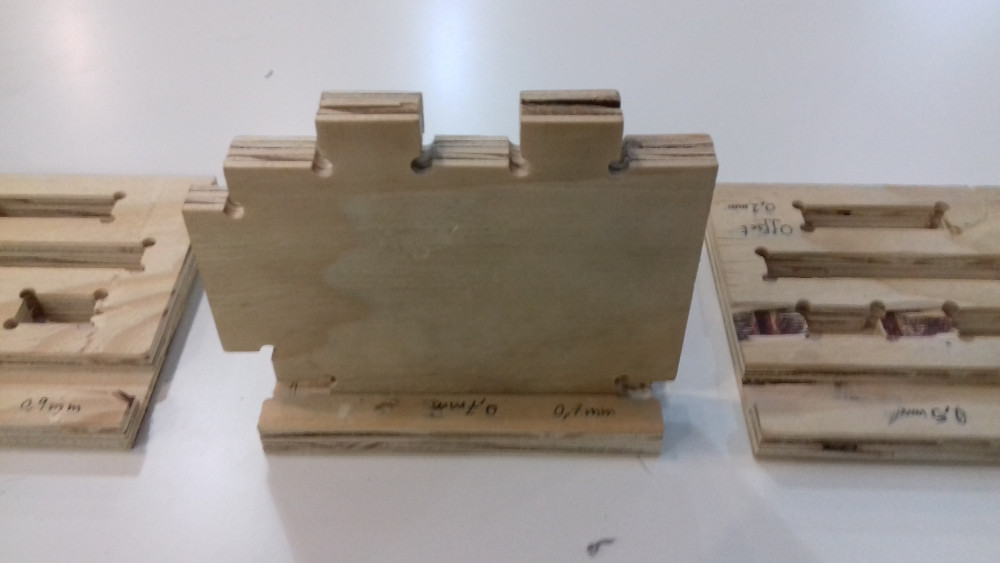
Test pieces
In the test pieces I'm basically testing the three sizes of press fit unions and the poketing of the rail with three different tolerances.The piece that contains the males is only one because in this case the offsets are applied in the female part of the joint
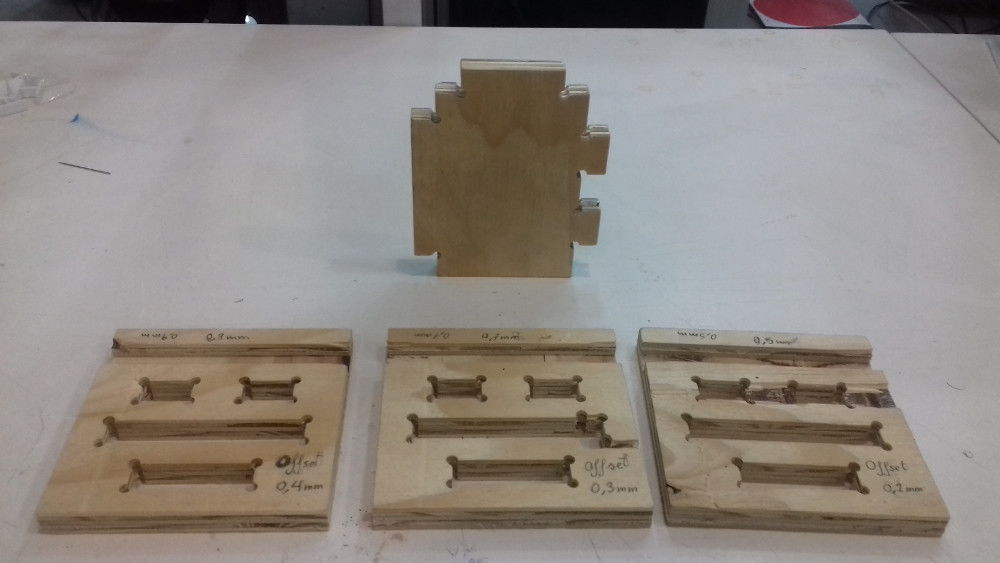
For the press fit joint the offset of 0.2mm out offset results a tight and correct joint
For the part of the rail, a offset of 0.5mm allows to slide the drawer with comfort without too much movment
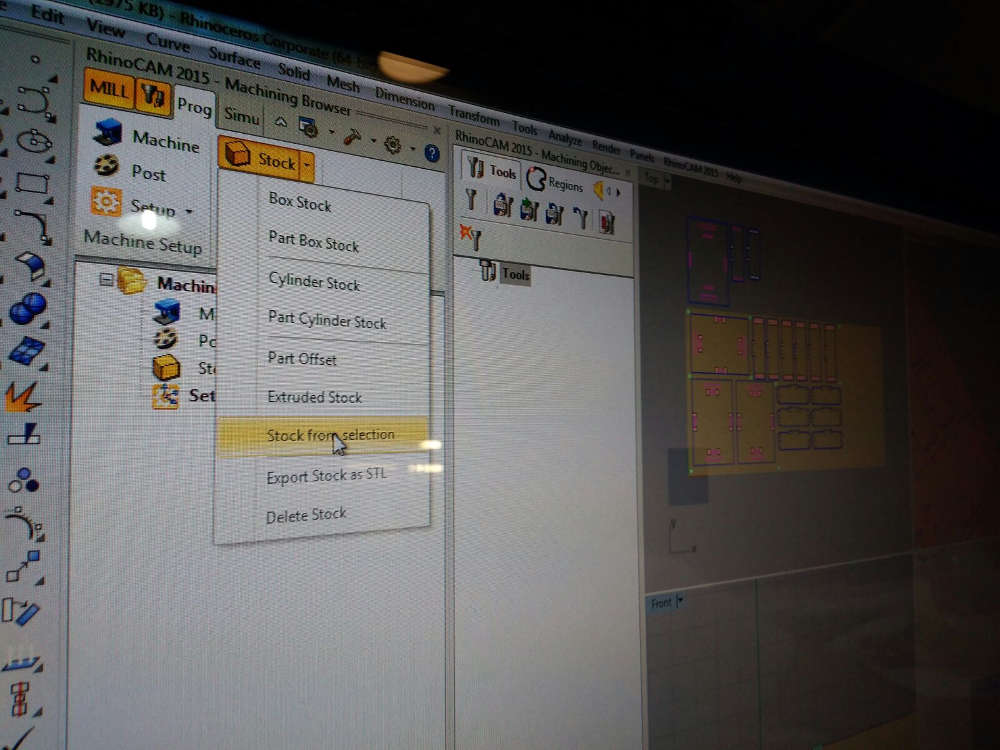
RhinoCam
Define material stock,select a 2 axes strategy from machine operation. I used engrave, poketing, profiling
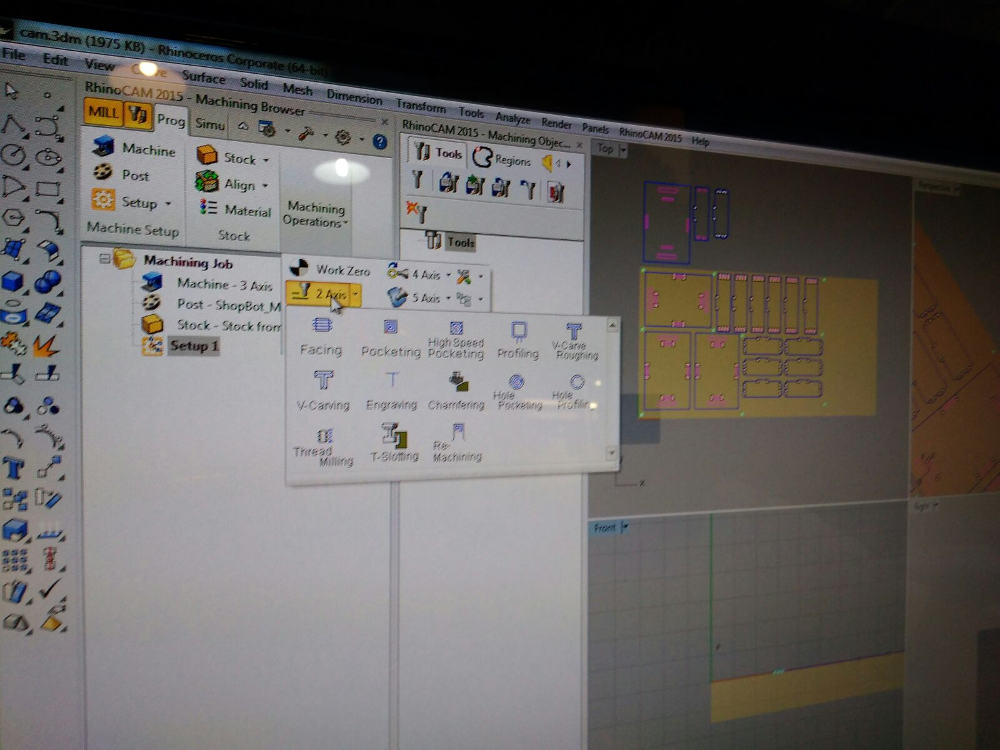
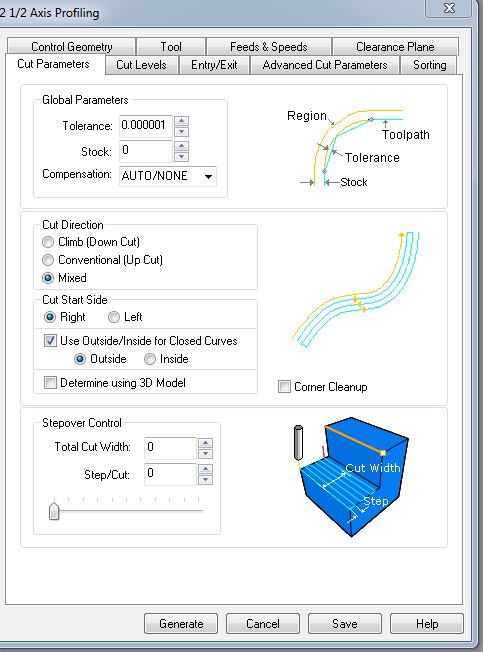
The options of the strategies are organized in the following sections:
1.-Control geometry:select curves, right click on the layer, select objects and enter
2.-Tool:Select the tool and its characteristics
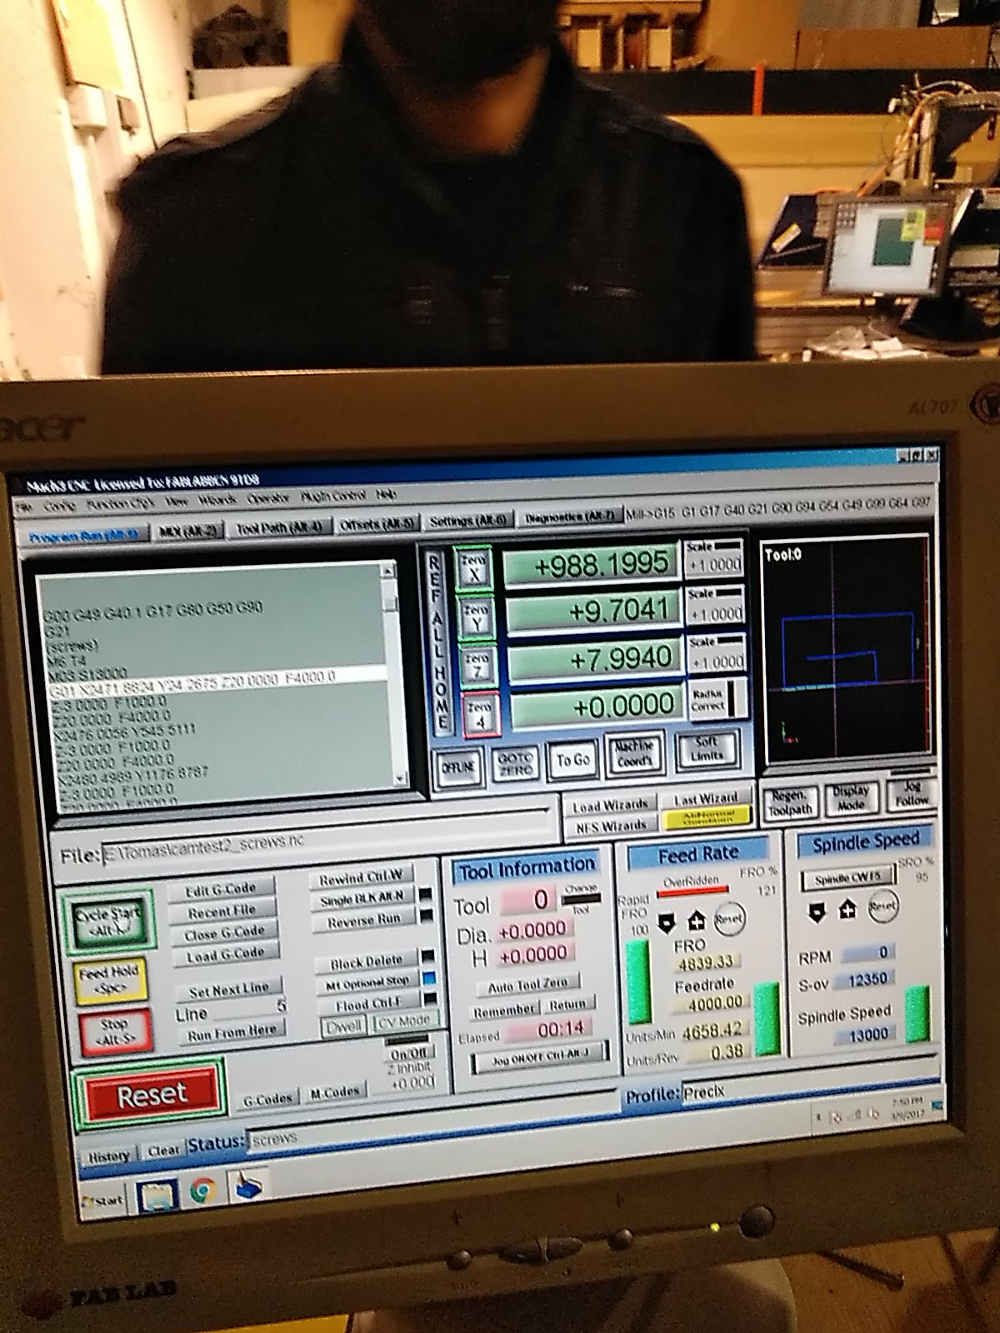
3.-feets and speets:For Plywood speed 12000rpm, 1000 the first option 4000 the last 2000 the rest


In this video you can see how set engraving and poqueting
Milling
The steps to do the milling are:
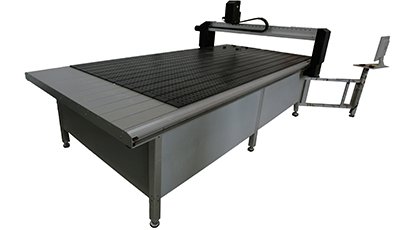
1.-Place the board on the work surface so that it parallels the axes of the shopbot.
2.-Put the milling bit in the spindle, in this case a milling bit flat of 6mm diameter and a flud will be used for the whole process, saving to change the tool.
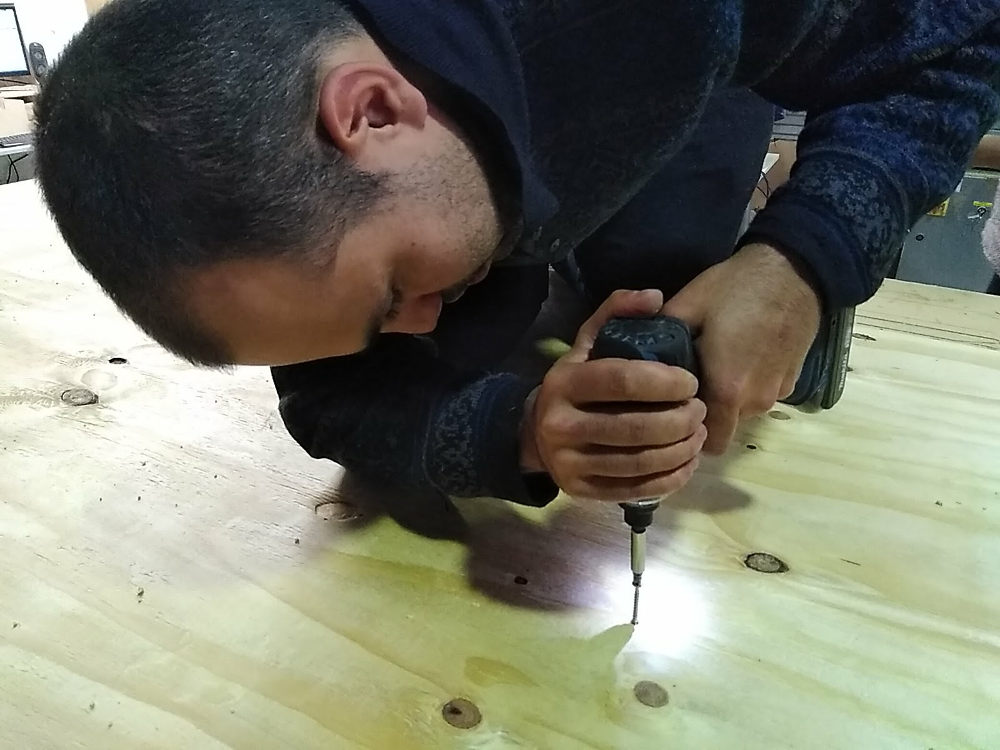
3.-Run the gcode made on rhinoCam for all the screws that secure the material. And put the screws.
4.-Gcode test is released,The same home position and the same tool.
5.-Now with the information of the test we apply the corresponding offset in the rhinoCam file, we generate the gcode and we launch it.
This third and last code contains all the remaining strategies in this order: 1.-dogbones for the iner joints 2.-Poketing for the rails 3.-Iner cuts (holes) 4.- out cut (perimeter)
6.-Clean.
Tip: As you can see in de video I decided to use poketing in the inercut pieces because in the test I realized that this pieces are easy to jump while the milling, by using c im removing all the material.
