Week 4 - Electronics Production
Assignment
Make an in-circuit programmer
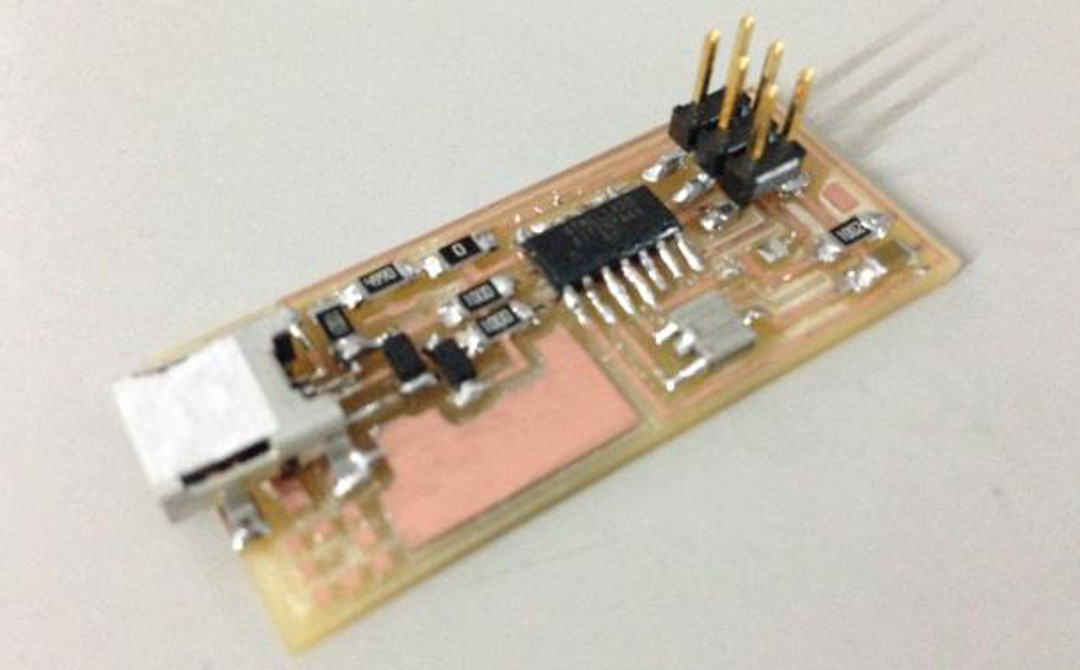
The goal is to mill this board and stuff it with all the components:

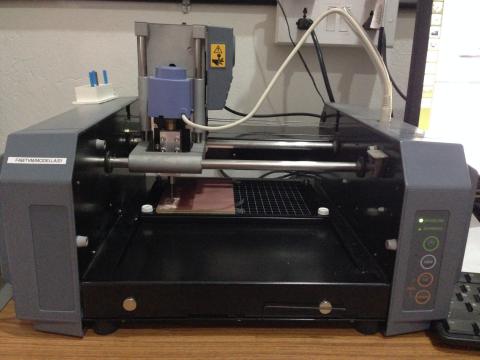
Milling the Board
I followed this excellent tutorial by Adam Harris to get familiar with PCB milling.
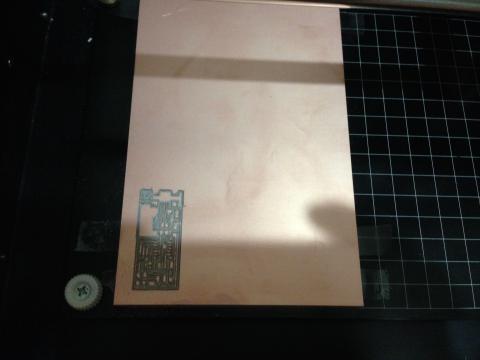
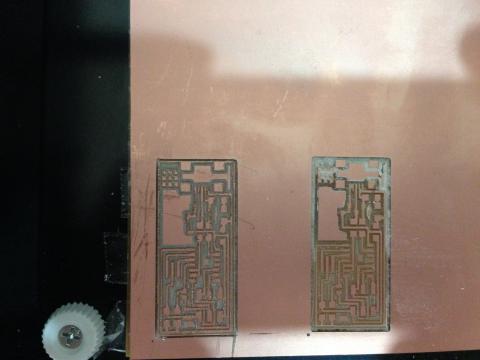
My first attempt did not work out well.
I used the 1/32nd end-mill for cutting the traces instead of the 1/64th one and the traces were either too narrow or completely missing in some cases.
Also, the board wasn’t stuck tightly enough to the sacrifical layer and was moving around a little during cutting.
Here is the board:
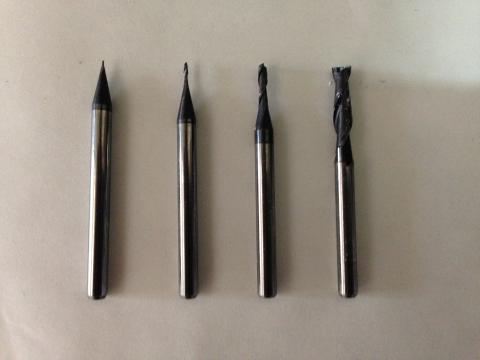
Here are the different end-mills from 1/64th, 1/32nd, 1/16th and 1/8th, so that I don’t make this mistake again!
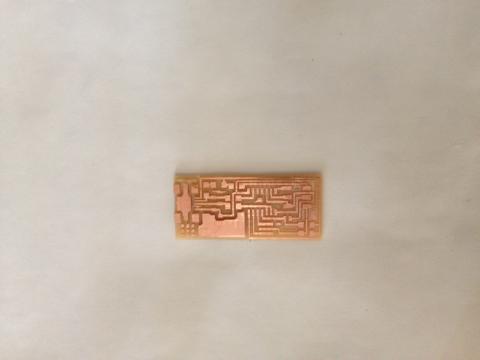
Here’s the 2nd attempt. This time I used the correct end-mill and used double-sided tape to stick the board tightly to the substrate. This time the traces were much wider.
Here it is after cleaning it with soap (to get fingerprints off):
Stuffing the Board
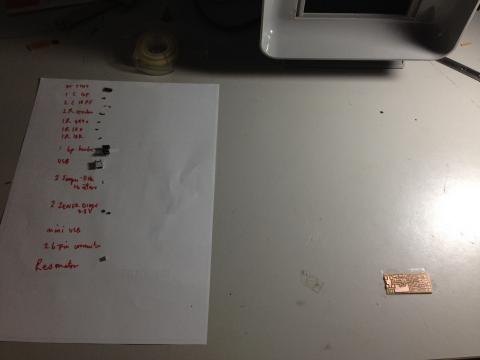
Here’s the inital inventory:
I watched this Collin’s Lab tutorial on surface mount soldering, which helped a lot. But it did take a while to get a hang of the soldering process and figure out the correct way to get the solder to flow.
This is after the first 2 components were soldered.
I’m using double-sided tape to hold down the board.
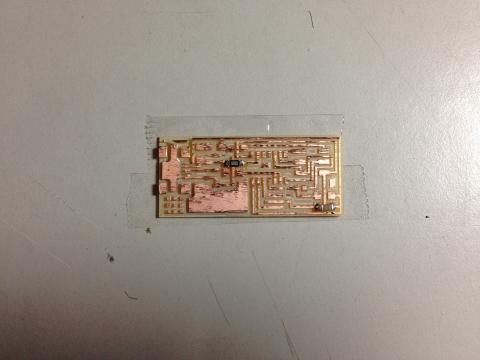
Here is the board strapped up:
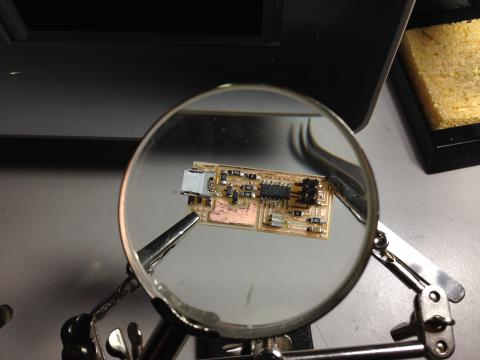
While soldering I noticed that one of the traces (the right most one coming out of the Mini USB pads) had got cut during milling. I bridged this trace with some solder.
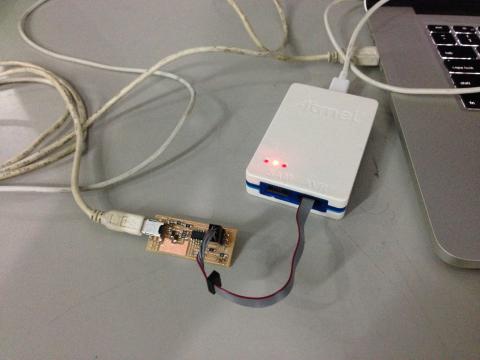
I then followed this tutorial to program the ISP.
Here it is hooked up to another FabISP to be programmed:
Here is the final ISP: