NOTE: This Week's major Videos has been hosted online on youtube..
WEEK 7
Computer Controlled Machining
WEEK ASSIGNMENT: Evolution Door
Using: ShopBot
1. Introduction and Exploring
This week, we have to make something big.
Before that, it is interesting to know about CNC's.
CNC router (Or Computer Numerical Control router) is a computer-controlled cutting machine related to the hand held router used for cutting various hard materials, such as wood, composites, aluminium, steel, plastics, and foams. CNC stands for computer numerical control. CNC routers can perform the tasks of many carpentry shop machines.
Firstly i went through the assignments of previous fabbers to see what is big and how big it can be.
I came across really nice designs and documentations.
Also, going through websites like OpenDesk, Shelter20.
2. Designing and Prototyping
There was this one thing, which i really wanted to try on Shopbot, not for the product but to understand the mechanism.
Evolution door by Klemen Togglers, it fascinates me how simply and elegantly it has been designed and used.
While discussing with others, I decided that why not use this mechanism for window for Vigyan Ashram's auditorium which is being constructed.
Well, even i plan to tinker with the design so why not window.
I took their plan and elevation details.
I had to now change my dimentions according to the window , keeping the mechanism requirements intact, I went ahead understanding its working and mechanism as much as i could.
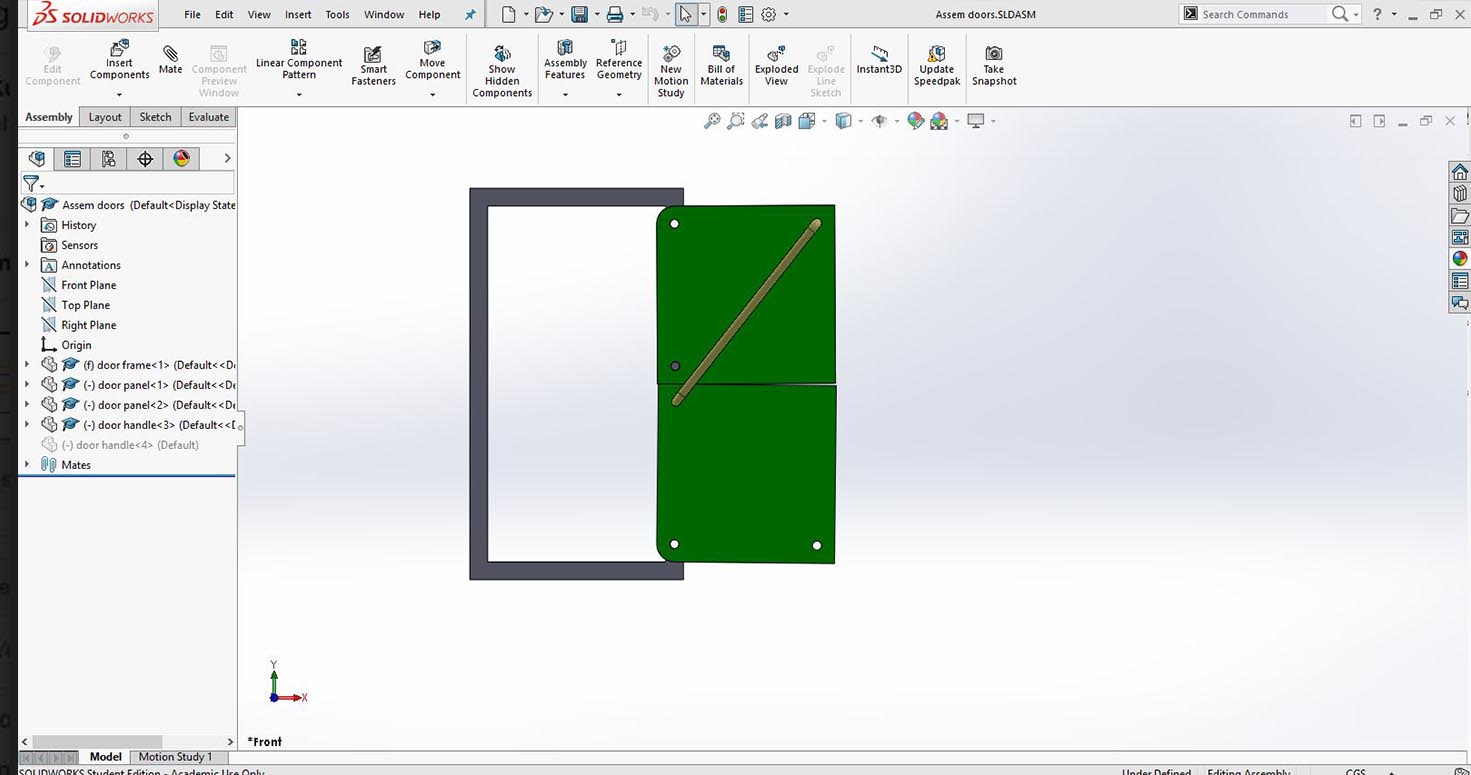
I started designing it in solid works,
Part 1- Panel
Part 2- Frame
Part 3- Handle
but i felt it was out of my scope due to its dimensions while i assembled,
But fortunately, i found its design files online on grabcad, which i used as reference to 3D design.

It helped me understand what are its dimensions and distance that this mechanism works well. So i went ahead designing in Solidworks.
So I laser cut this design on MDF to practicallly try with below 2D file.
Download door Solidworks design
For that i saved part files in dxf in solidworks,
Download dxf file (Door)
Imported to sketchup, changed camera view to parallel and top and then scaled it down and saved it as dxf. Further went on, implementing on a random board.
Presently, Im still in process to understand that i wish to print it as it or change it into a window. Also, after getting this design on board , i could visualise it well and i felt that the purpose of a window is that its never totally open or closed. Its half open or fully closed. I would say mostly in my opnion. So I decided to go ahead with it as door, which can be used in Vigyan Ashram for trial.

Due to unavailability of Shopbot and 3 public holidays, we were not able to access Shopbot of COEP, Pune. It will soon be updated. Thanks for reading.
I redesigned the Door on Sketchup after trying it on smaller version.
3. CNC Routing
We visited College of Engineering pune to use Shopbot of their Fablab.
We were introduced to shopbot and machine working by Ms.Apeksha Last week when we visited College of Engineering, Pune.
I made some changes in the CAD file to compensate the kerb of the mill.
Steps followed Setting the Path:
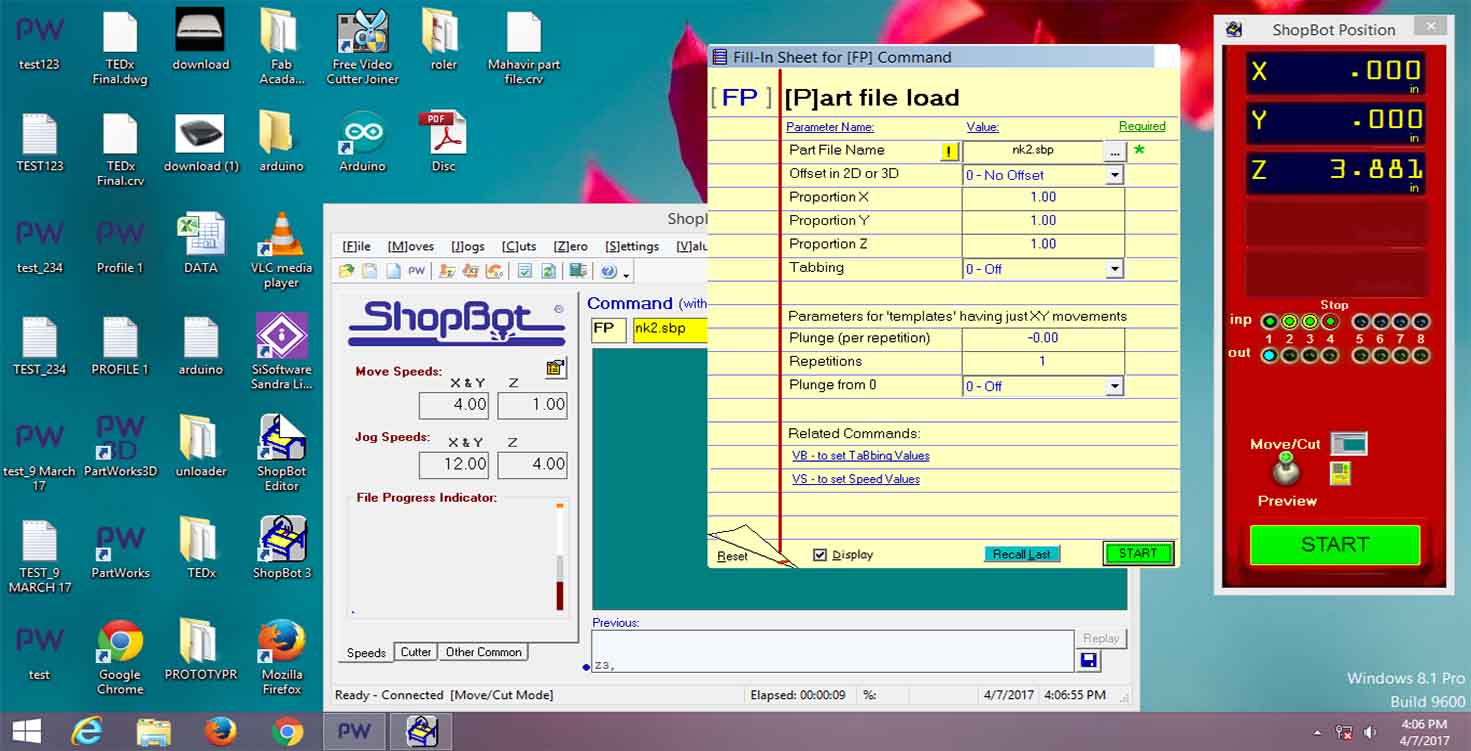
Steps for Machine Software:
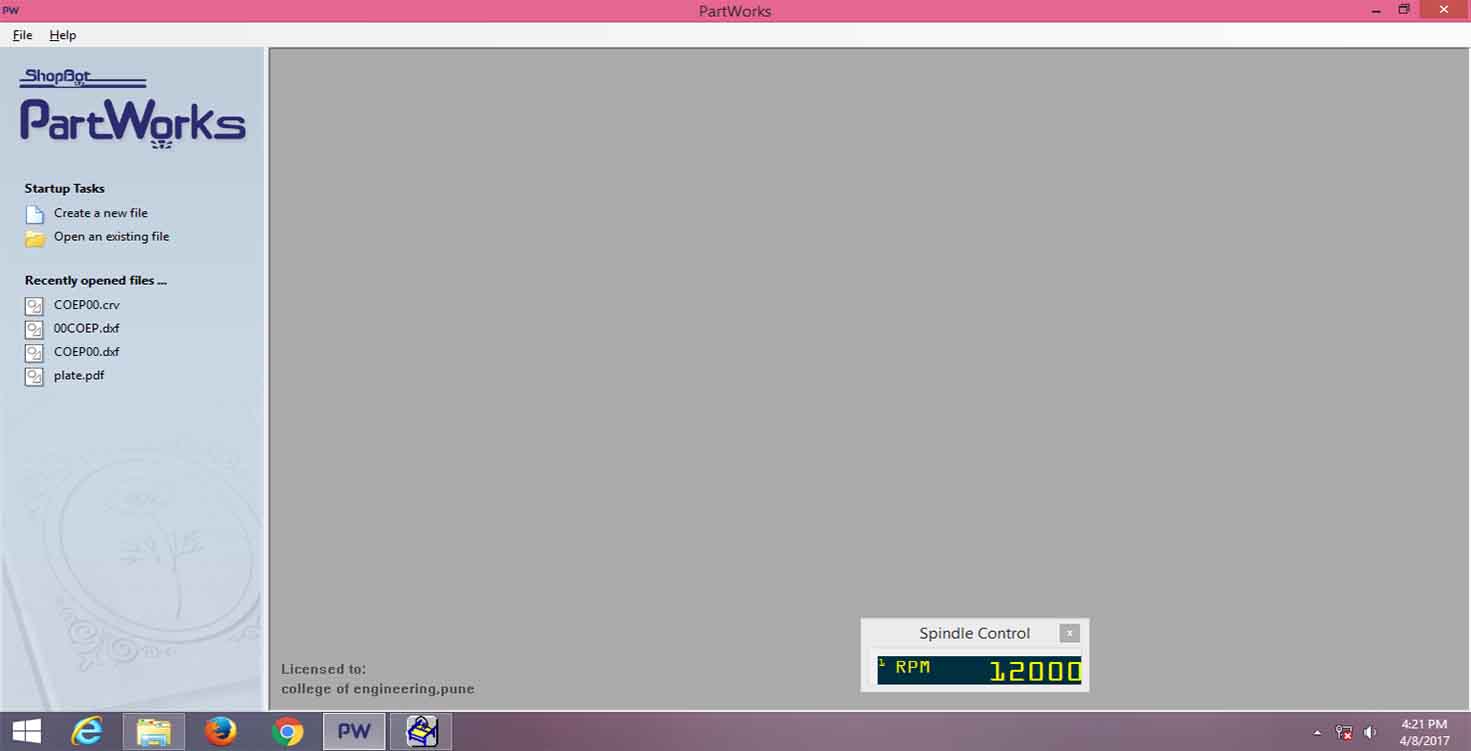
1. Loading Files to Pathworks
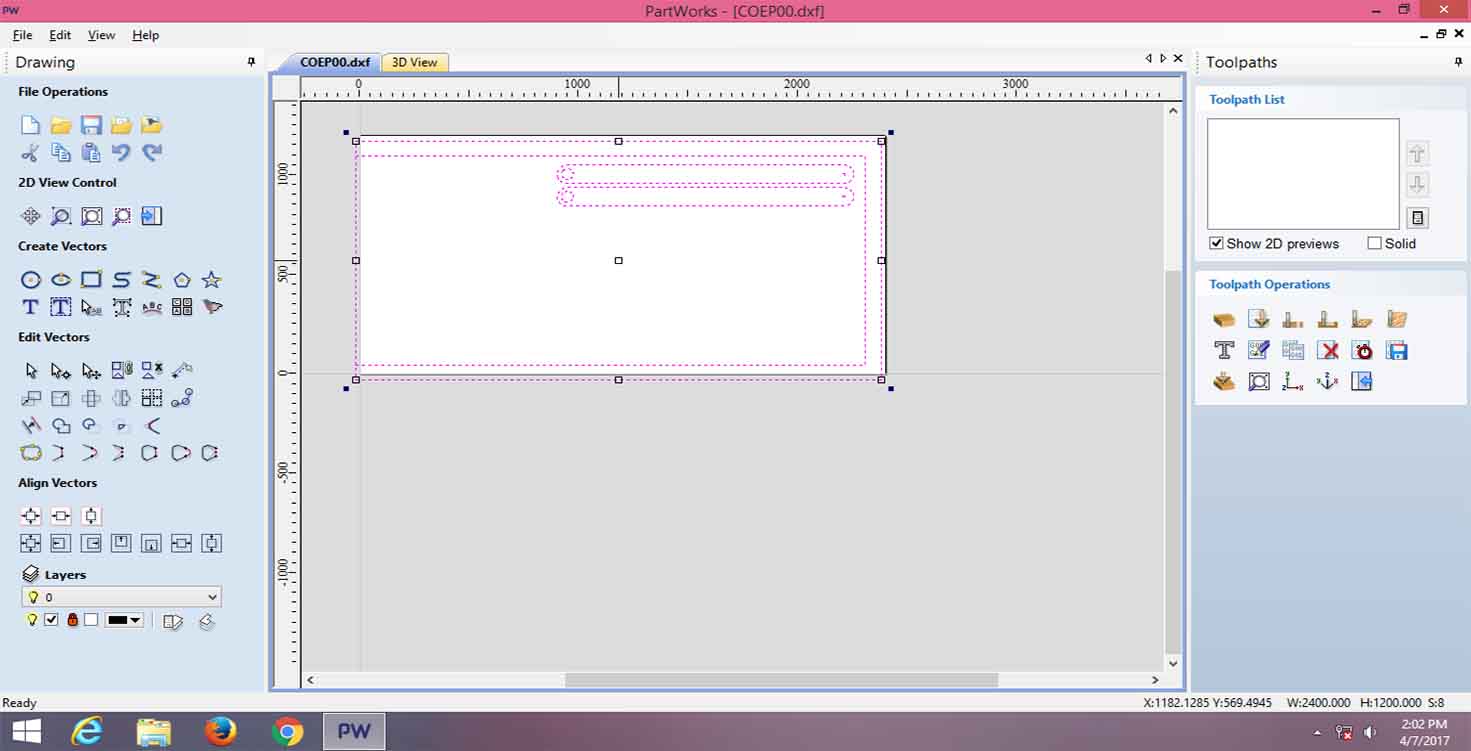
I and my classmates combined our files into one file to save material and resources.
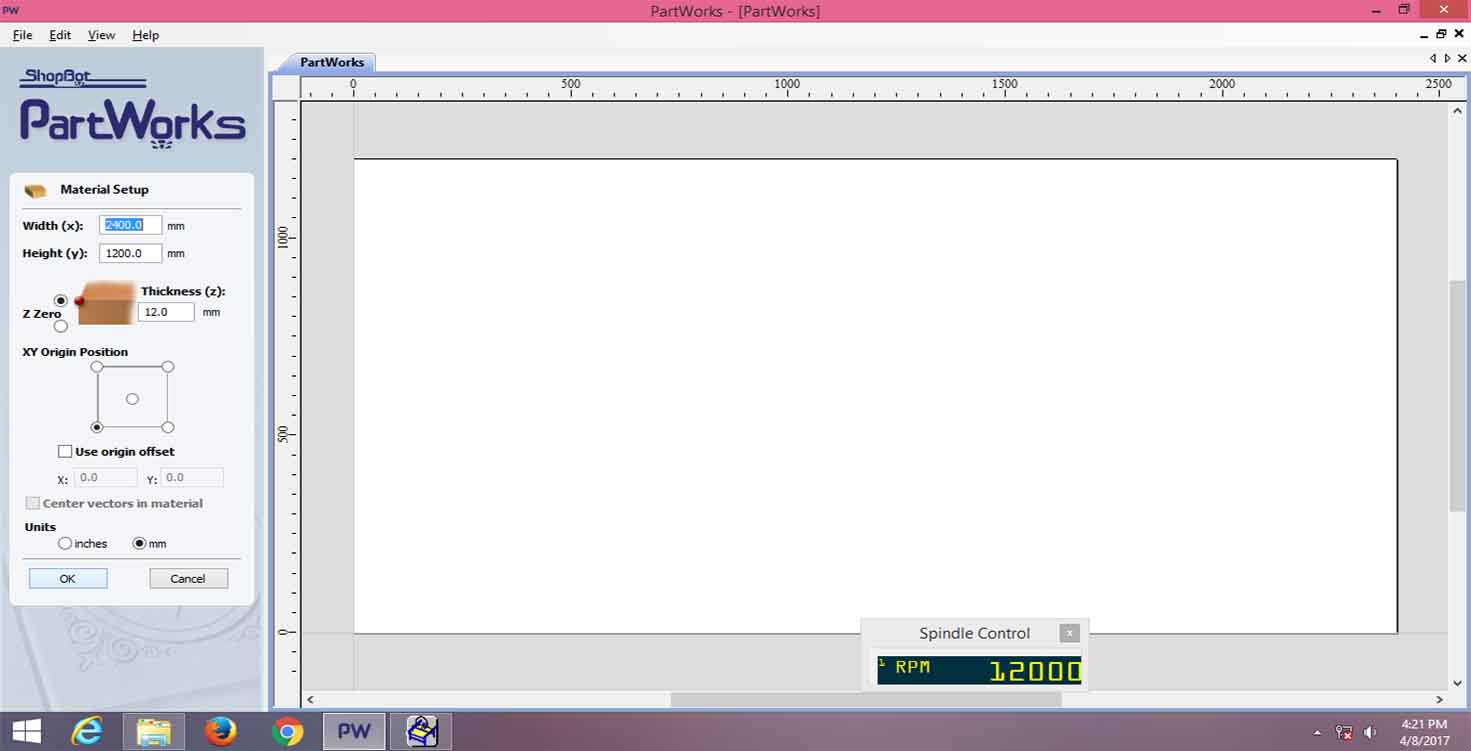
Setting the Width and Height of my board, Width-2400 mm and Height- 1200mm
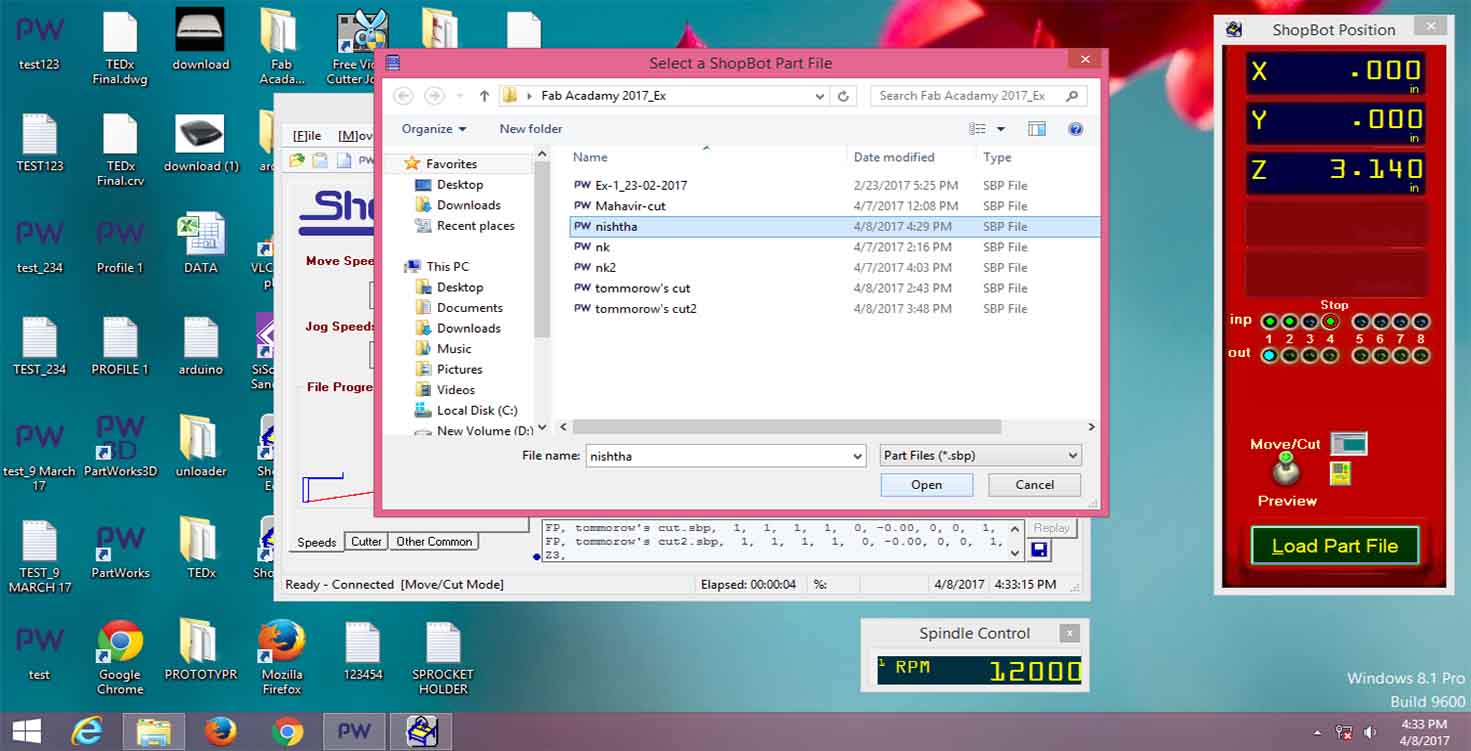
Selected my file

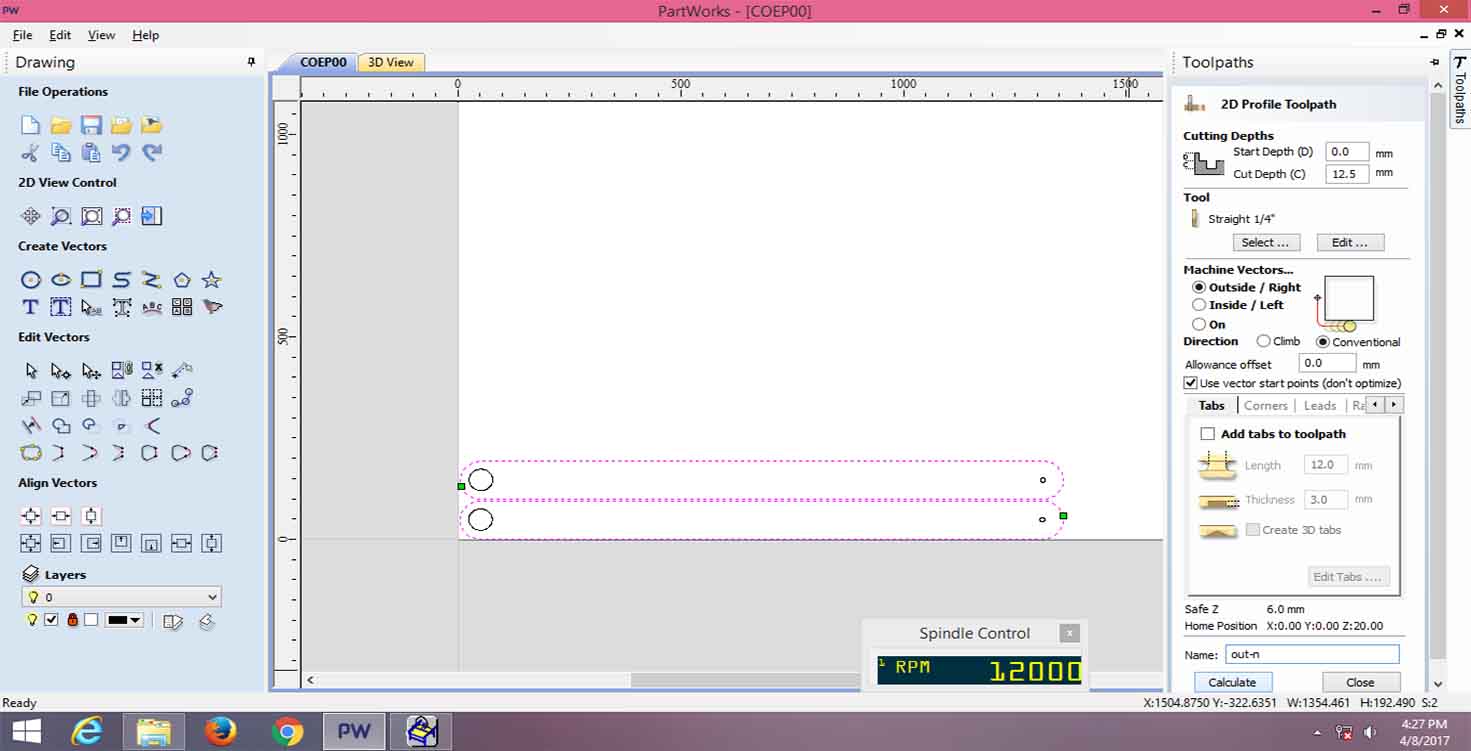
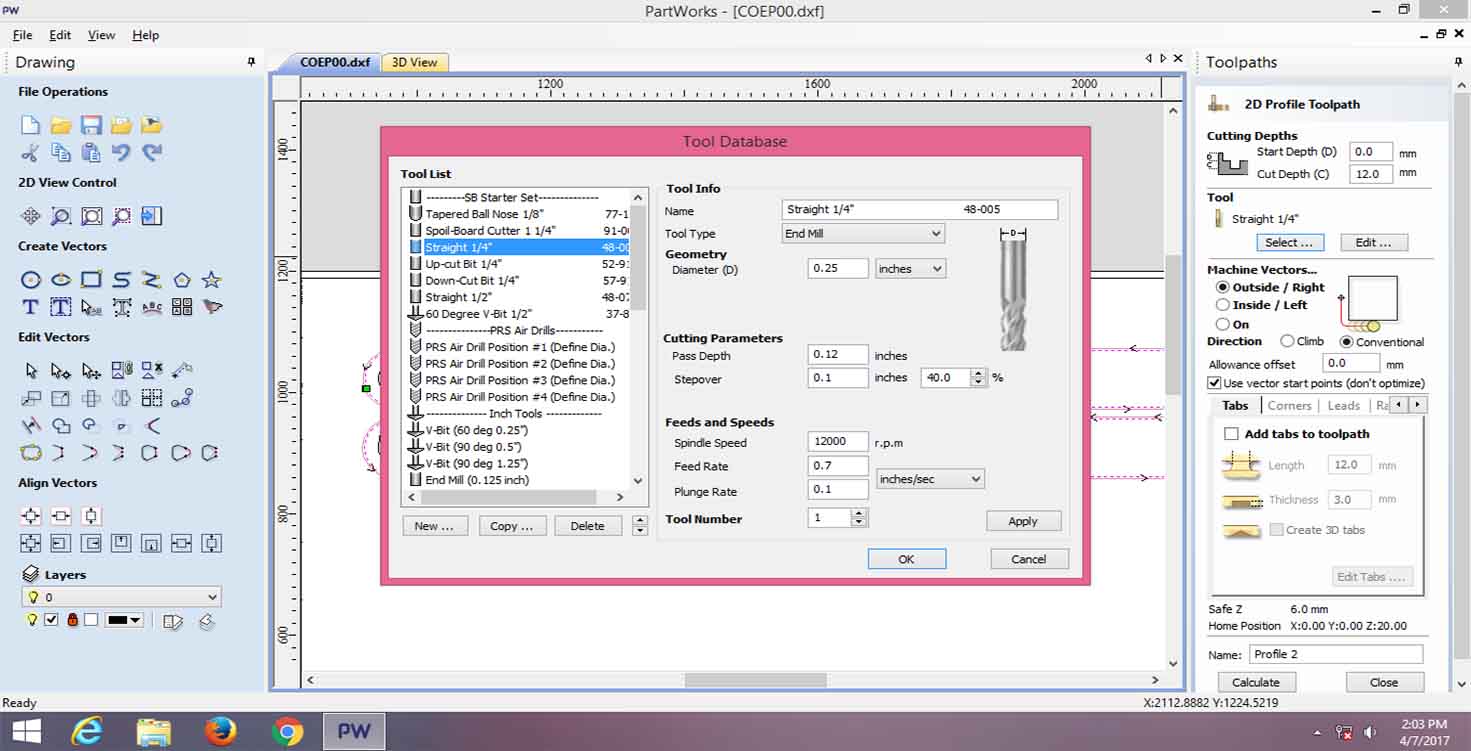
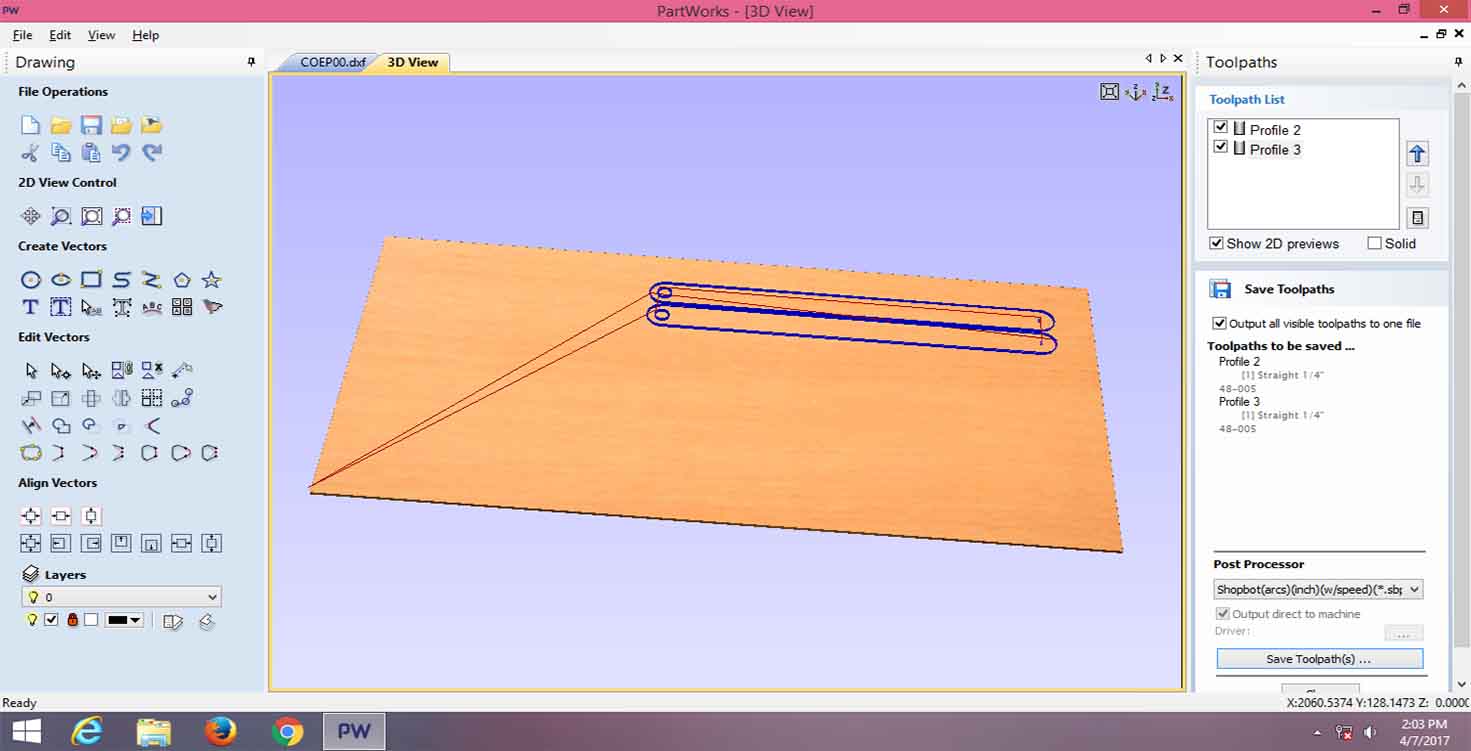
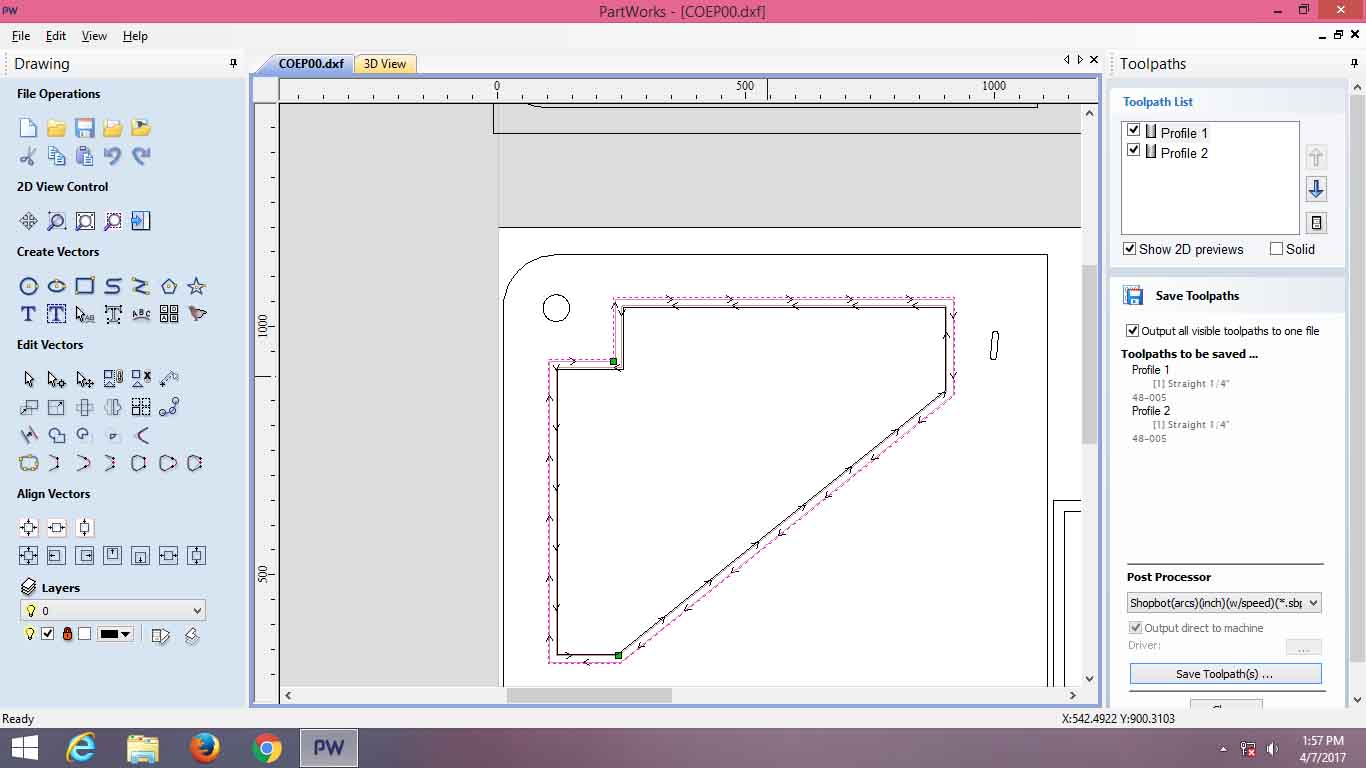
I selected Toolpath, where ill be creating path for the shopbot to mill, So here you have options like Outside r Inside, which means there would be few parts in your design like i had which will affect the size of other parts, we keep them as outside. For example in the image below, my strips doesnt matter because they are independent, so i went for outside vector. Next important thing is: Cut depth, if you want to mill, pocket or cut, cut depth is important to check.
Selecting Tool, So were provided with Straight1/4, Tool Type-end mill. there are different types of milling bits available for shopbot.
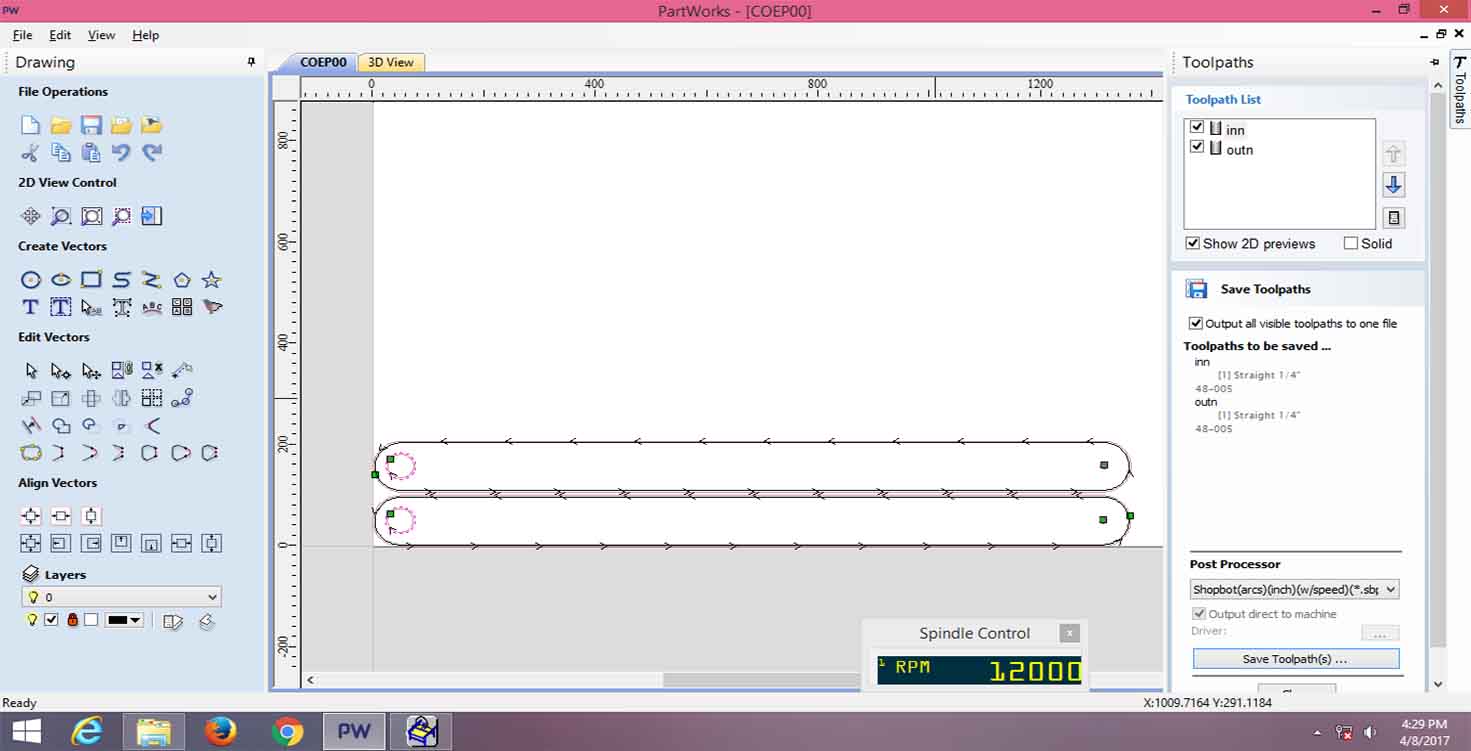
Now we can arrange which part we wish to cut first, for example I preffered cutting inn elements before out elements. So that my board doesnt move while its cutting the inner parts.
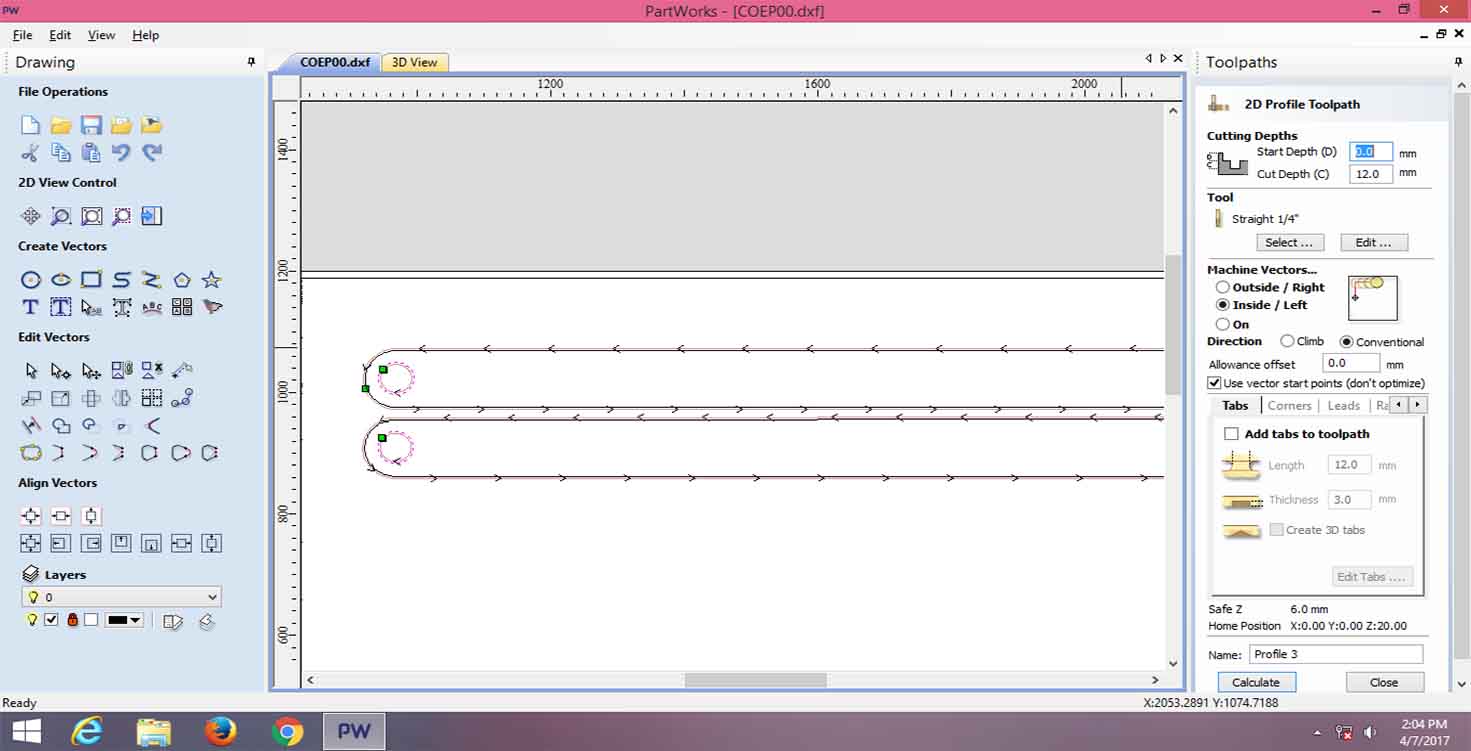
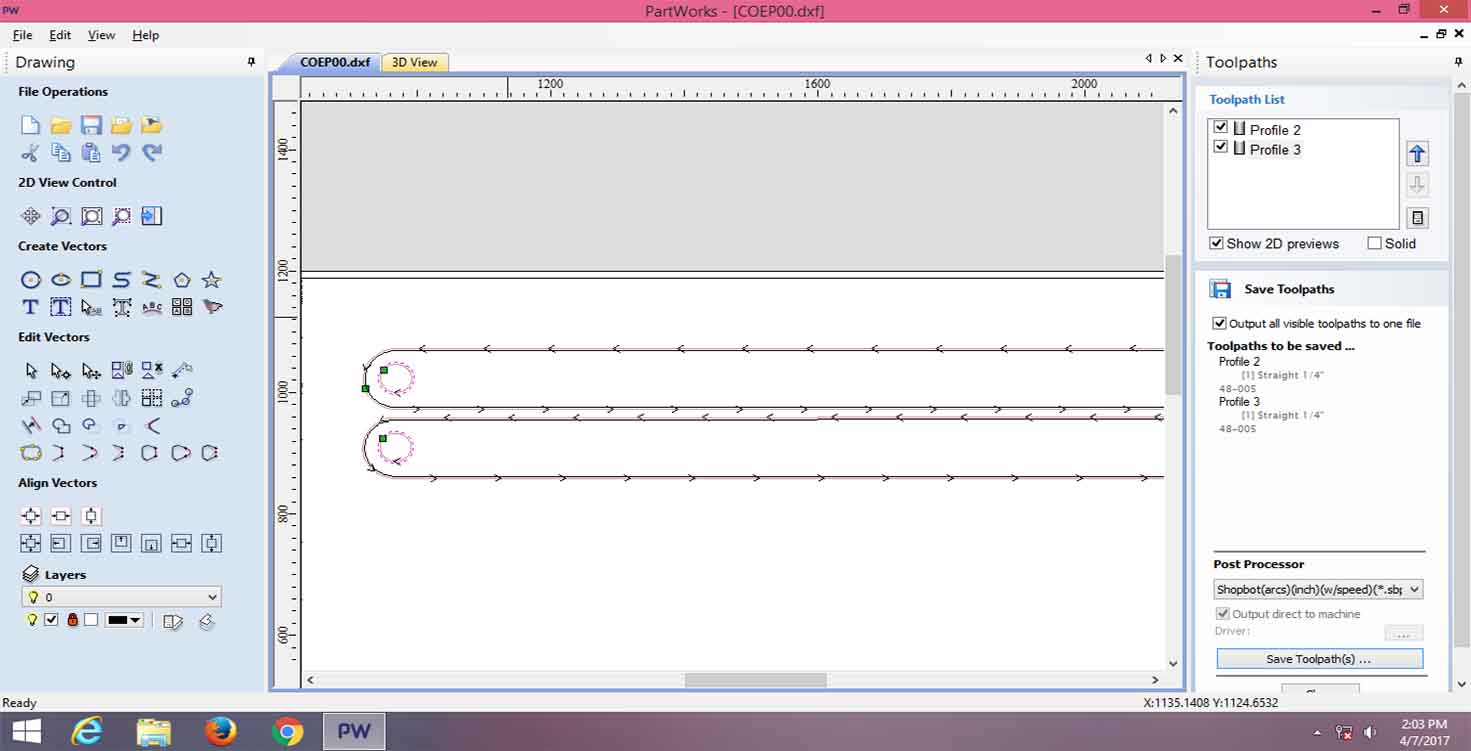
Making different Profiles
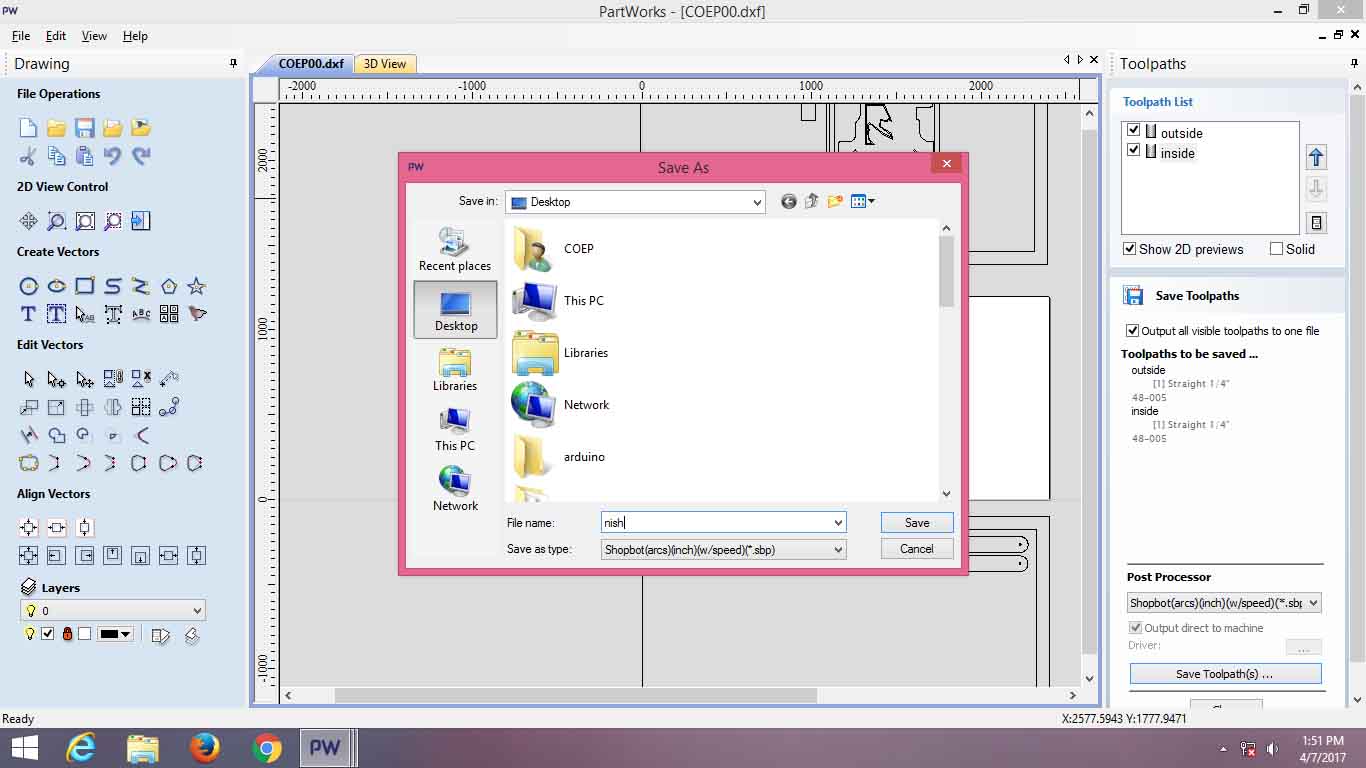
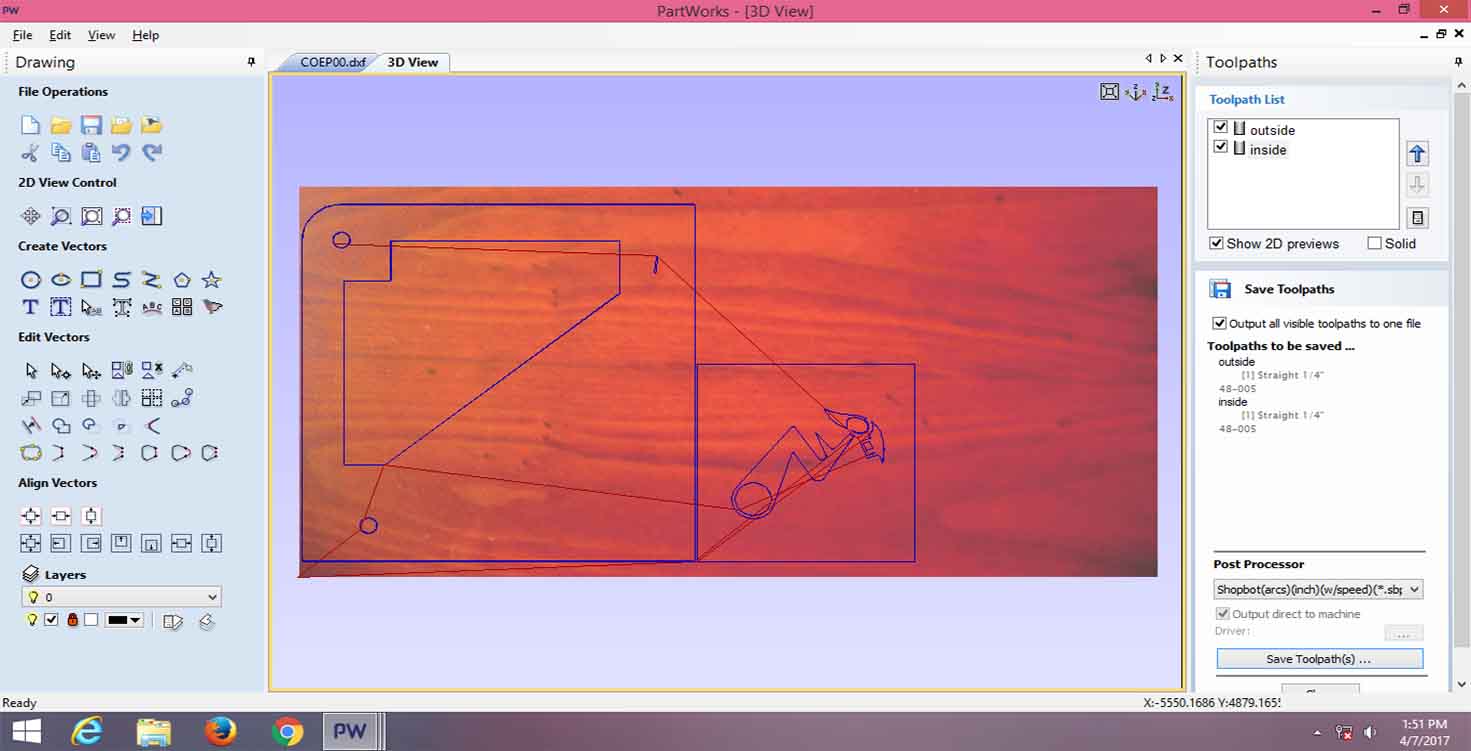
Saving the Toolpath and 3D view
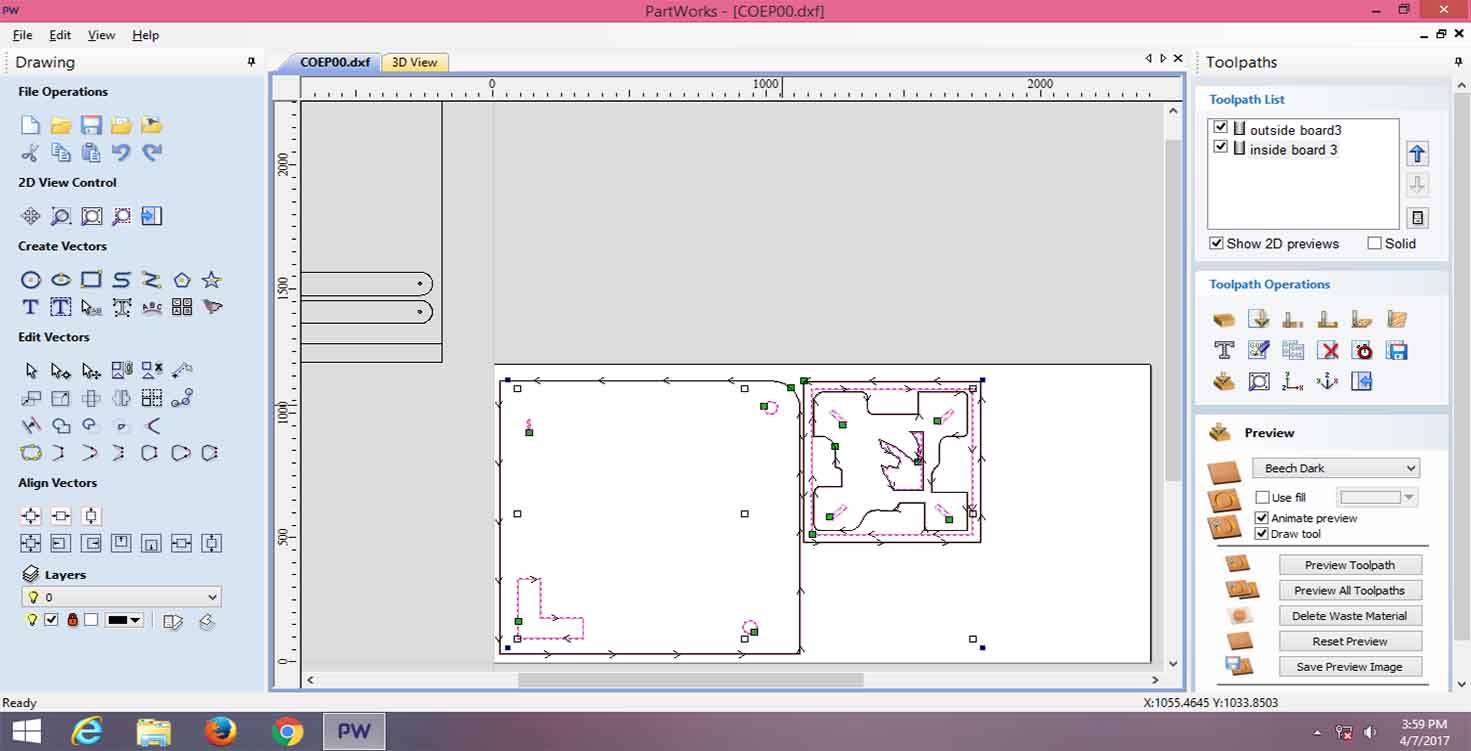
Now, due to lack of time, and to manage resources well, we combined all our files into one file and milled it.
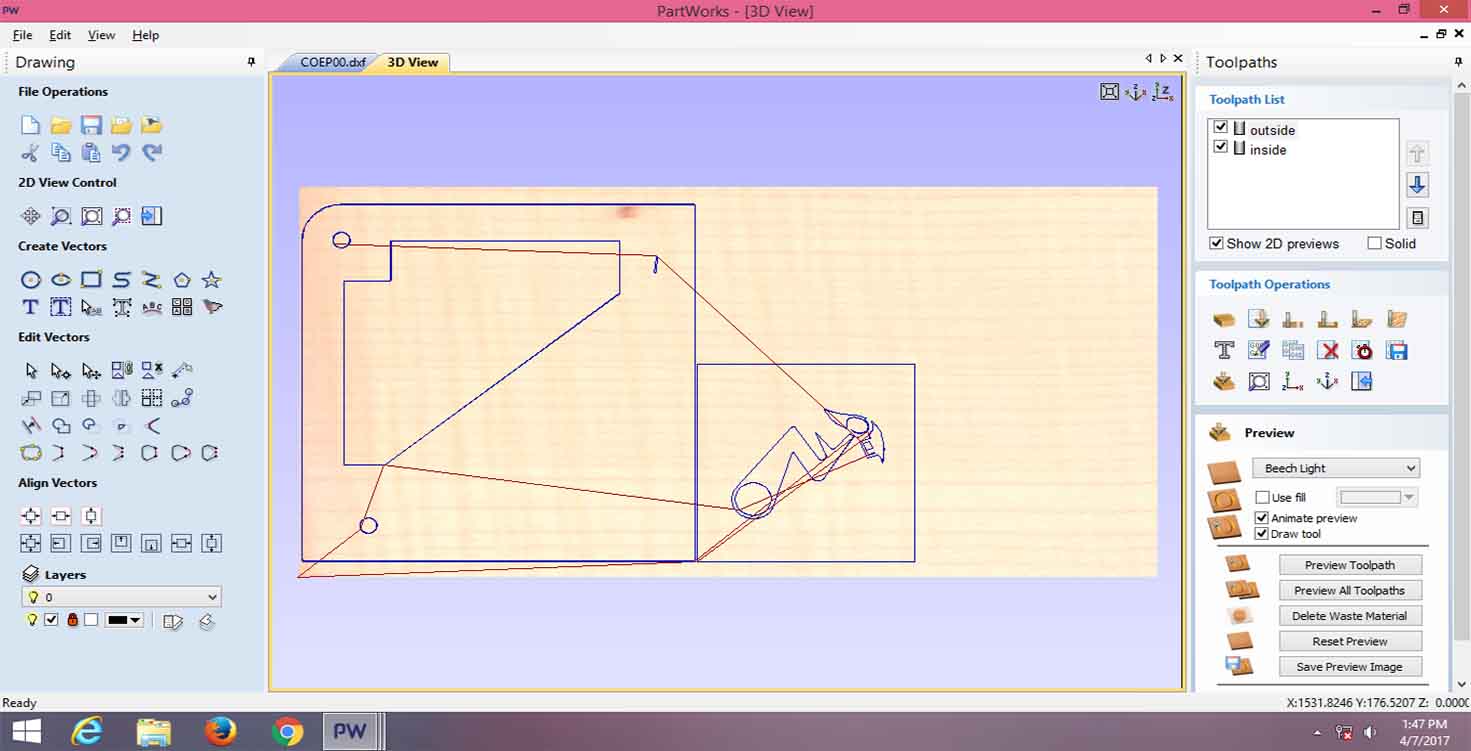
Generating toolpaths again.

Saving tool paths

Creating Toolpath for other part of the Door
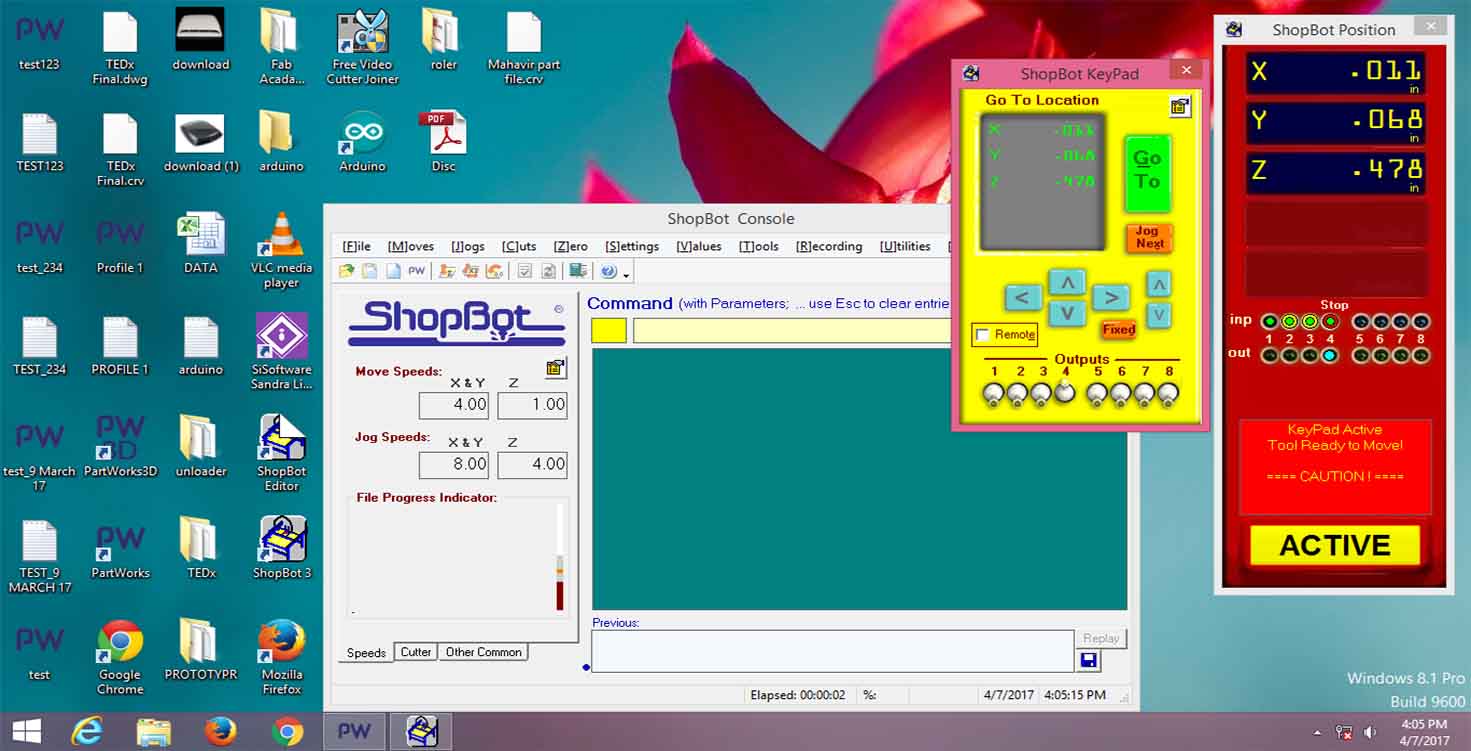
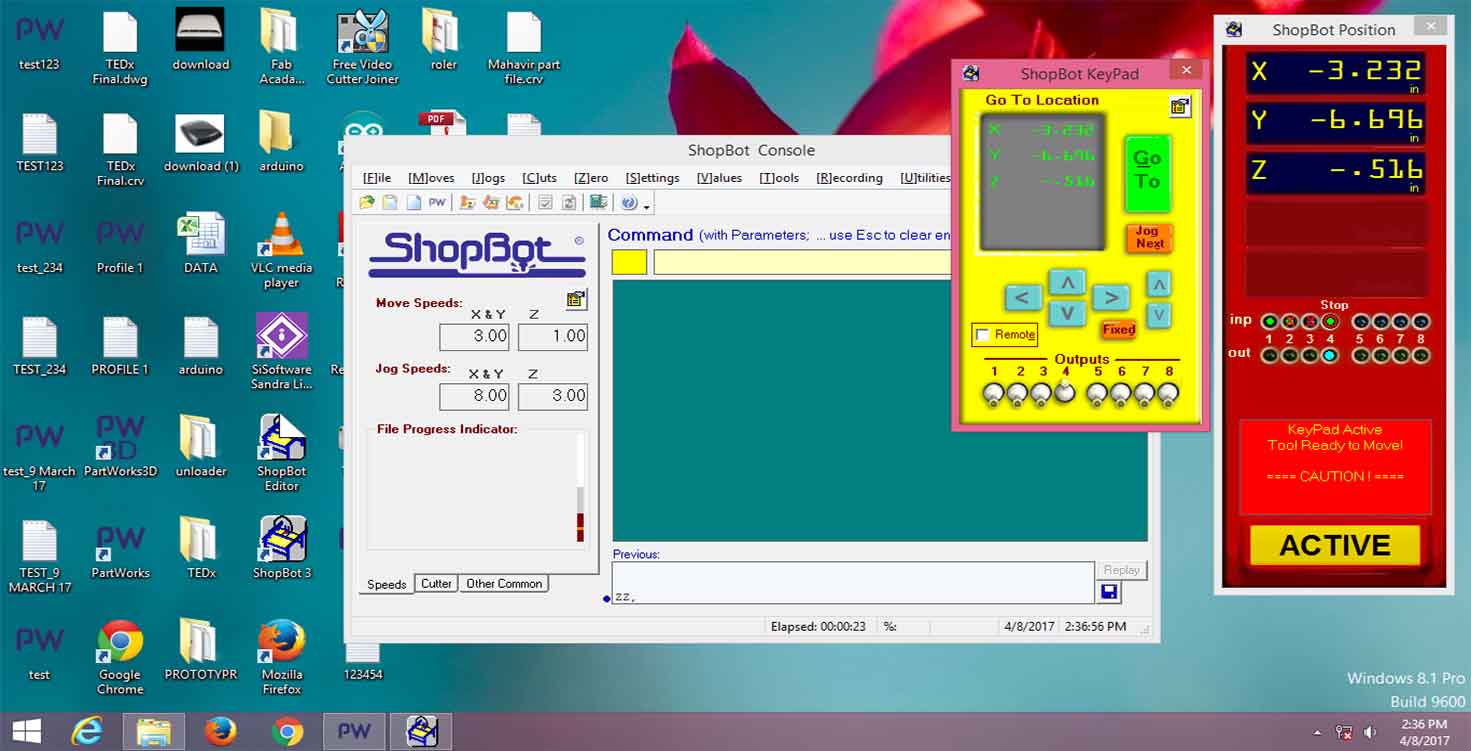
I did had an error in the machine when it was notmoving up after recognising the origin and used to drag itself to the starting point, so I got it checked and got sorted by restarting the machine.

Download shopbotfile (Door)
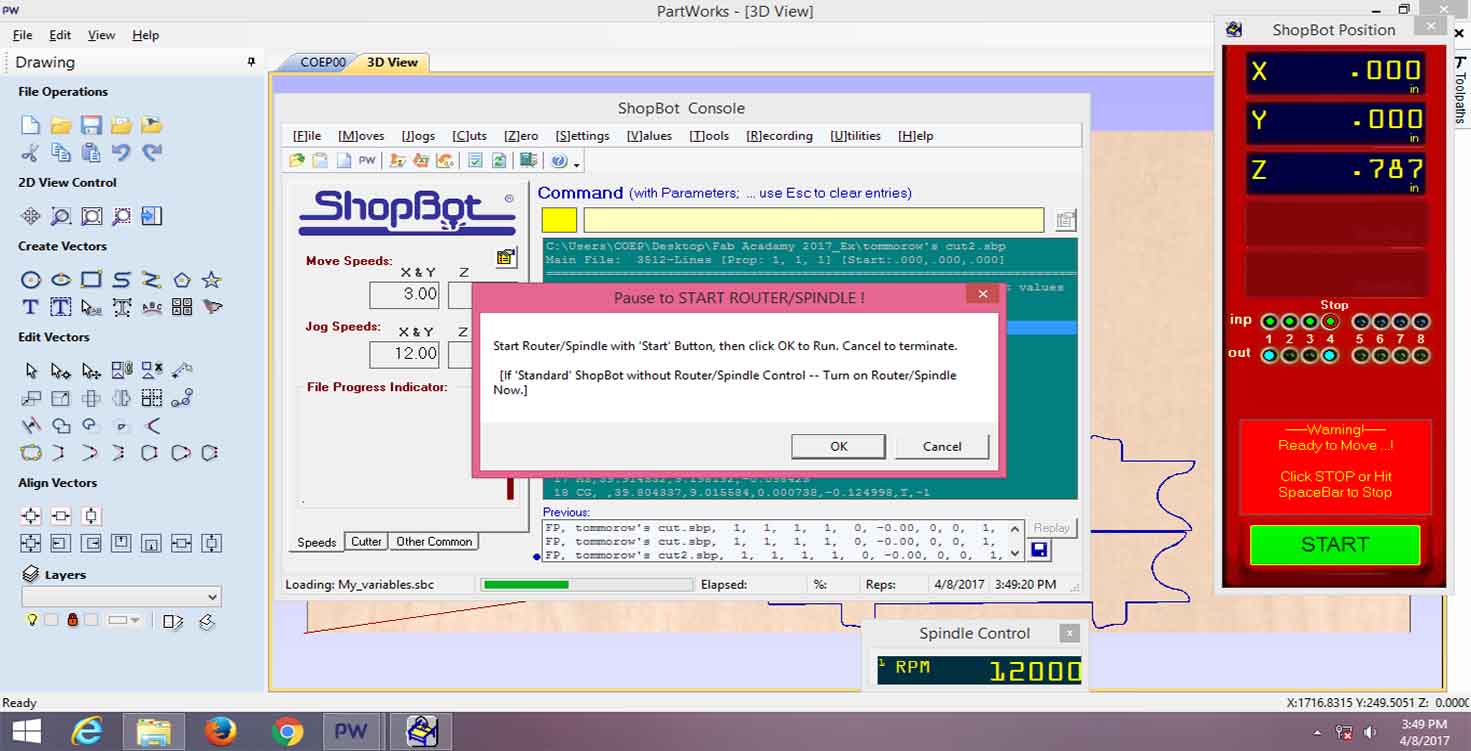
2. Milling my door
I started by loading the ply board on to the sacrificial layer, this layer is to protect the base of Shopbot and in case milling depth is too much or something happens , it should not go beyond sacrificial layer.
.JPG)
Using clamps for the board so that it doesnt move and shopbot is able to cut/mill accurately.
.JPG)
You have to be very careful when the machine is running, it takes sudden movement and also lot of sound. So its recommended to wear headphones and gloves and maintain distance
.JPG)
Cutting inner profiles
.JPG)
SHOPBOT MIILING: Details about Use of Shopbot can be referred in this:
TUTORIAL My Shopbot door Milling:
.JPG)
We were able to cut , utilising whole board without wasting anything as below.
.JPG)
We left our Assignments at Collee of Engineering , Pune's fablab, which as told by Ashram will be picked in a week or so and then we can assemble. PIECE 1 below:
.JPG)
PIECE 2 below:
.JPG)
After a week, when our fablab went to pick our Shopbot work, they found that my door was used by other people, it had lot of cuts and due to unavailability of time and access further, i went ahead assembling it and use it in my composites.
3. Door trial:
Before, I fix it, we preferred assembling it and checking if it all fits well and if no, then how can it be done. Because i had no plans about how to assemble it.
.JPG)
Though i wanted to keep natural shade of the door but it had some scratches, so we further painted it.
.JPG)
.JPG)
.JPG)
Few interns from France who came to Ashram for some internship, wanting to have fun with my door !
.JPG)
4. Made washers for the door:
So After assembling it , I went to Pune and bought some bolts, big bolts of around 5cm size. I coudnt find Washers of the Diameter of the hole in board where I will fix Wooden strips.
5. Made rods for the door:
I didnt find Rods to which door will rotate of the required size, so I basically learnt using Leth machine and made our own rod.
FINAL PRODUCT:
