What are Composites?
Composites (also called a composition material or composite materials) is a material made from two or more constituent materials with significantly different physical or chemical properties that, when combined, produce a material with characteristics different from the individual components. The individual components remain separate and distinct within the finished structure. The new material may be preferred for many reasons: common examples include materials which are stronger, lighter, or less expensive when compared to traditional materials.
Composite materials are generally used for buildings, bridges, and structures such as boat hulls, swimming pool panels, race car bodies, shower stalls, bathtubs, storage tanks, imitation granite and cultured marble sinks and countertops. The most advanced examples perform routinely on spacecraft and aircraft in demanding environments.
Natural composites exist in both animals and plants. Wood is a composite – it is made from long cellulose fibres (a polymer) held together by a much weaker substance called lignin. Cellulose is also found in cotton, but without the lignin to bind it together it is much weaker. The two weak substances – lignin and cellulose – together form a much stronger one. The bone in your body is also a composite. It is made from a hard but brittle material called hydroxyapatite (which is mainly calcium phosphate) and a soft and flexible material called collagen (which is a protein). Collagen is also found in hair and finger nails.
A polymer matrix composite (PMC) is a composite material composed of a variety of short or continuous fibers bound together by an organic polymer matrix. PMCs are designed to transfer loads between fibers through the matrix. Some of the advantages with PMCs include their lightweight, high stiffness and their high strength along the direction of their reinforcements. Other advantages are good abrasion resistance and good corrosion resistance.
ypically use silicon carbide fibers embedded in a matrix made from an alloy of aluminum and magnesium, but other matrix materials such as titanium, copper, and iron are increasingly being used. Typical applications of MMCs include bicycles, golf clubs, and missile guidance systems; an MMC made from silicon-carbide fibers in a titanium matrix is currently being developed for use as the skin (fuselage material) of the US National Aerospace Plane.
This is the major type and examples include silicon carbide fibers fixed in a matrix made from a borosilicate glass. The ceramic matrix makes them particularly suitable for use in lightweight, high-temperature components, such as parts for airplane jet engines.
Workflow of making mould design and construction
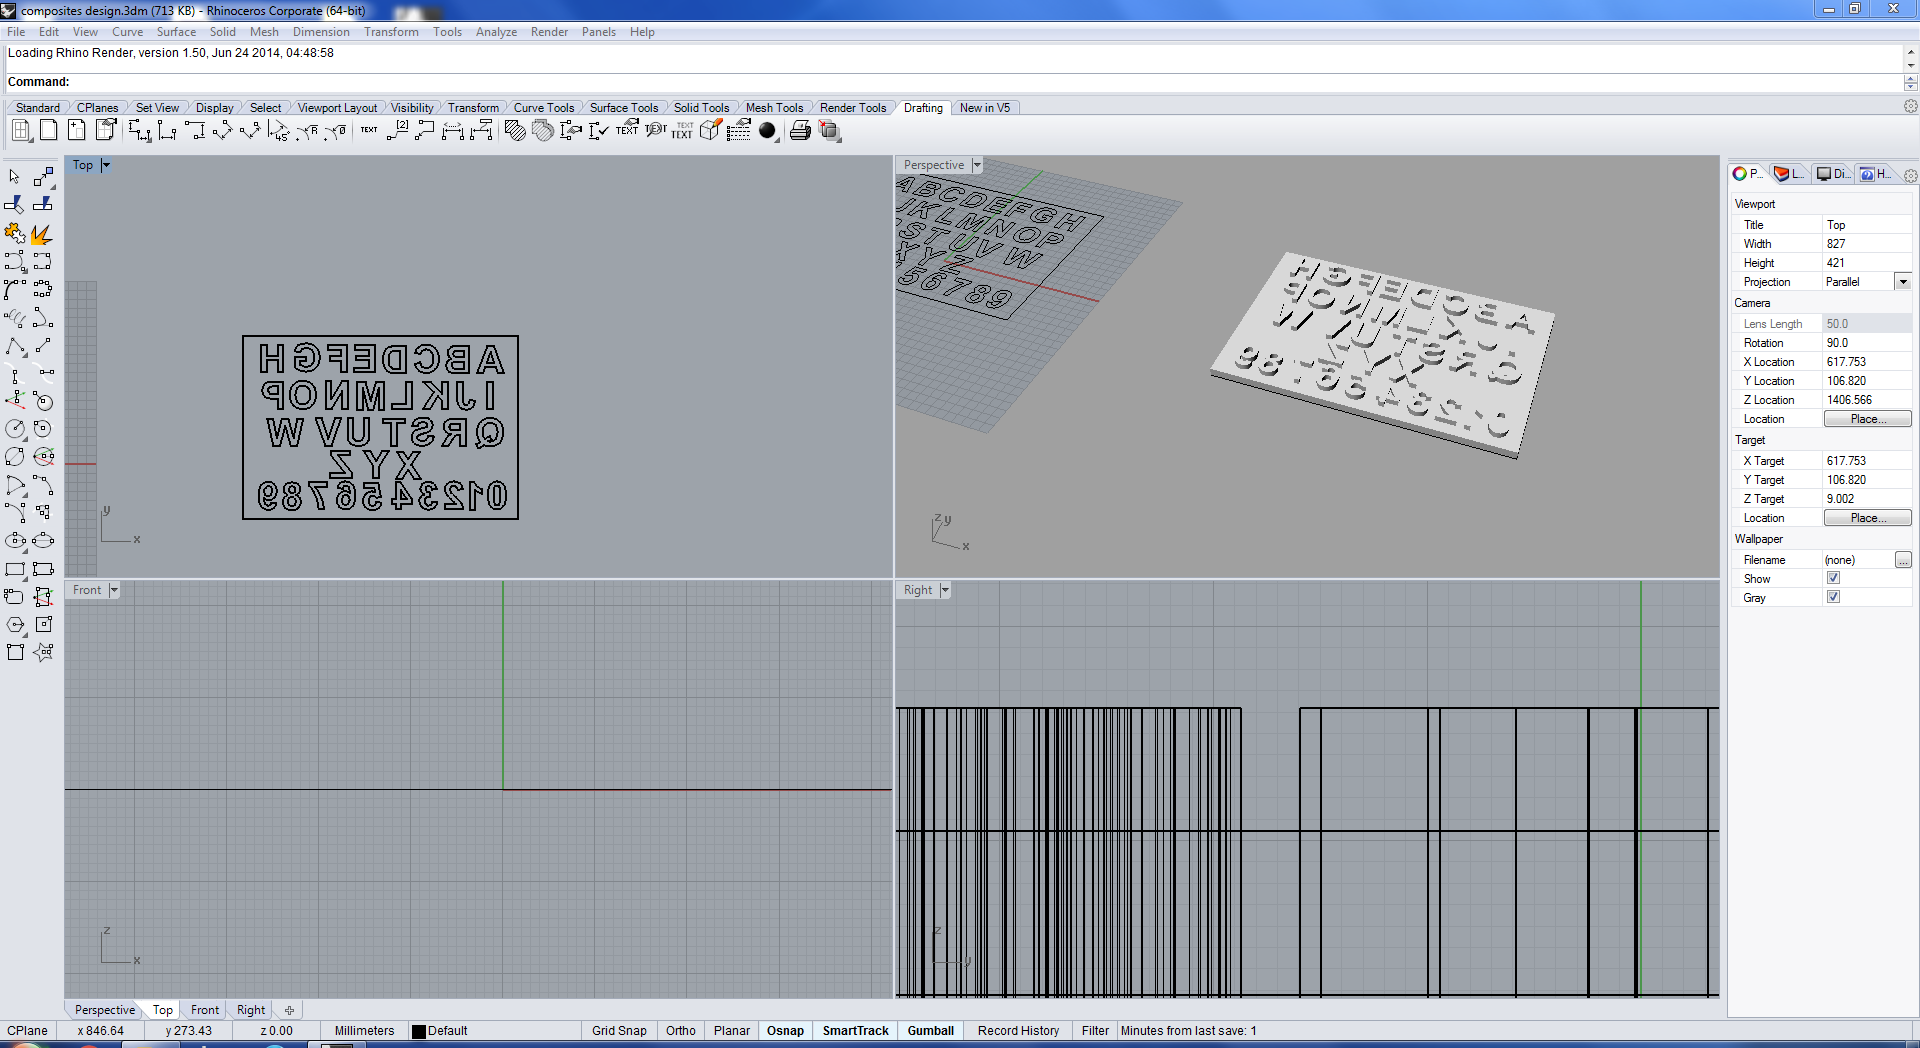
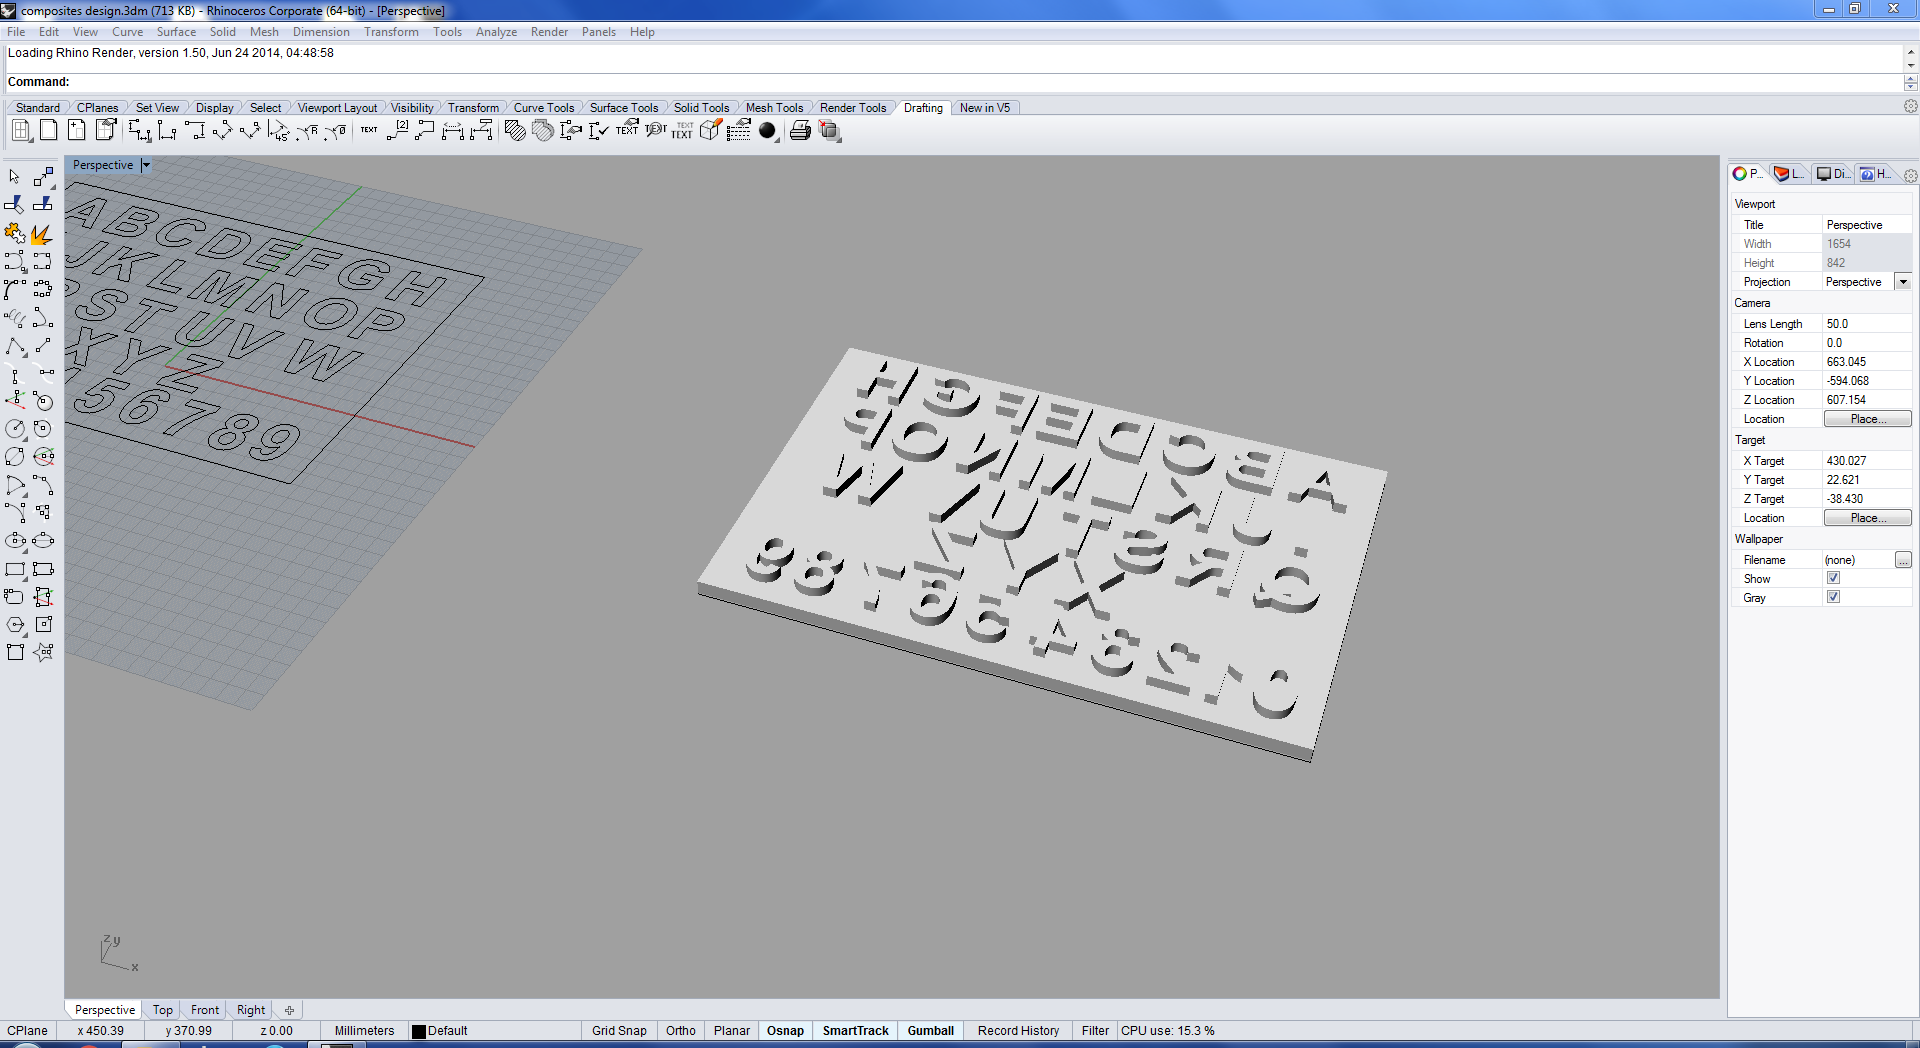
i have desided to make a slate for kids with alphabets and numbers 0 to 9 grooved so kids can trace ,but i had also thought i can a back cover for my mobile using the composites as i have recently lost one,i have planned to design the shape of my mobile (Redmi 3S Prime),i have searched for the dimentions but i had only outer dimentions ,so i have to measure the fillet and champers at the edge i thought i could find the dummy models might be available in the thingiverse so i have searched and found the Redmi 3S Pro which is slightly similar ,i have modified it and designed a two piece mould
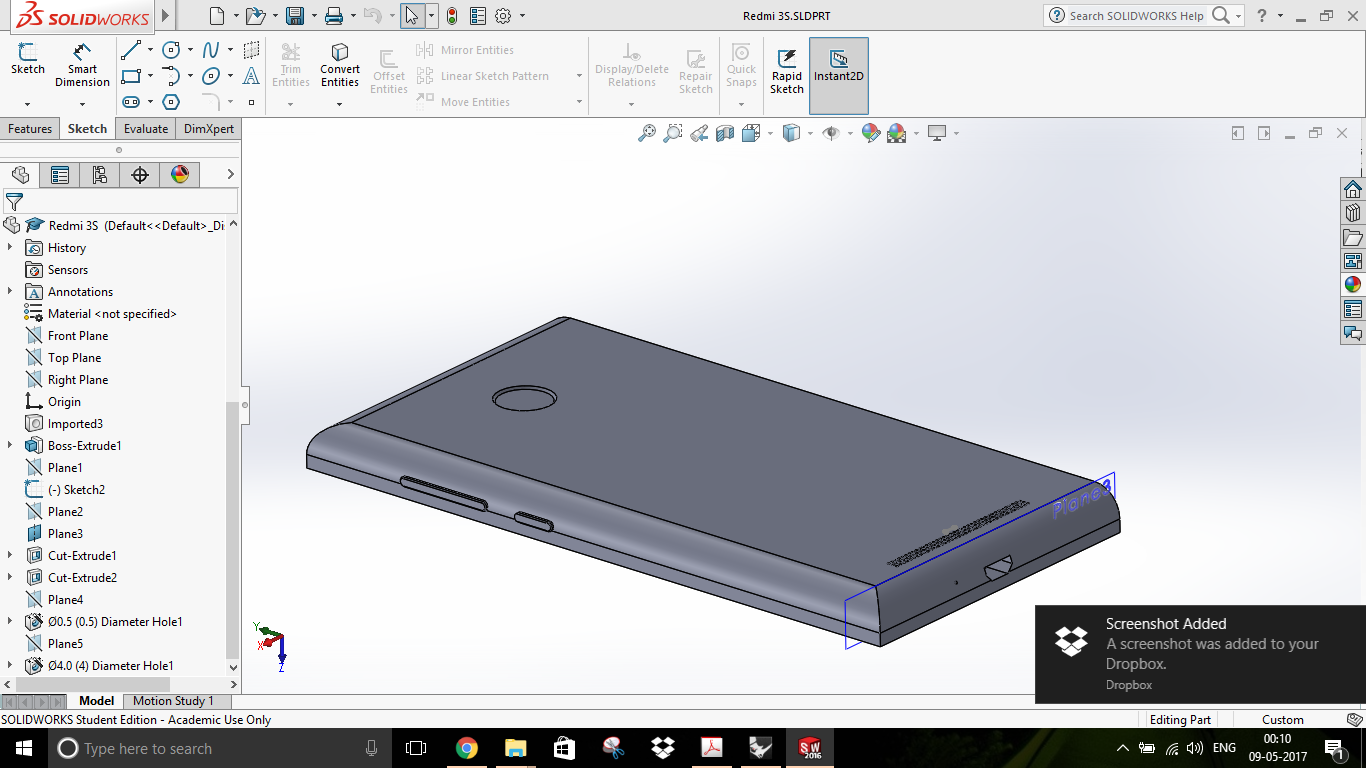
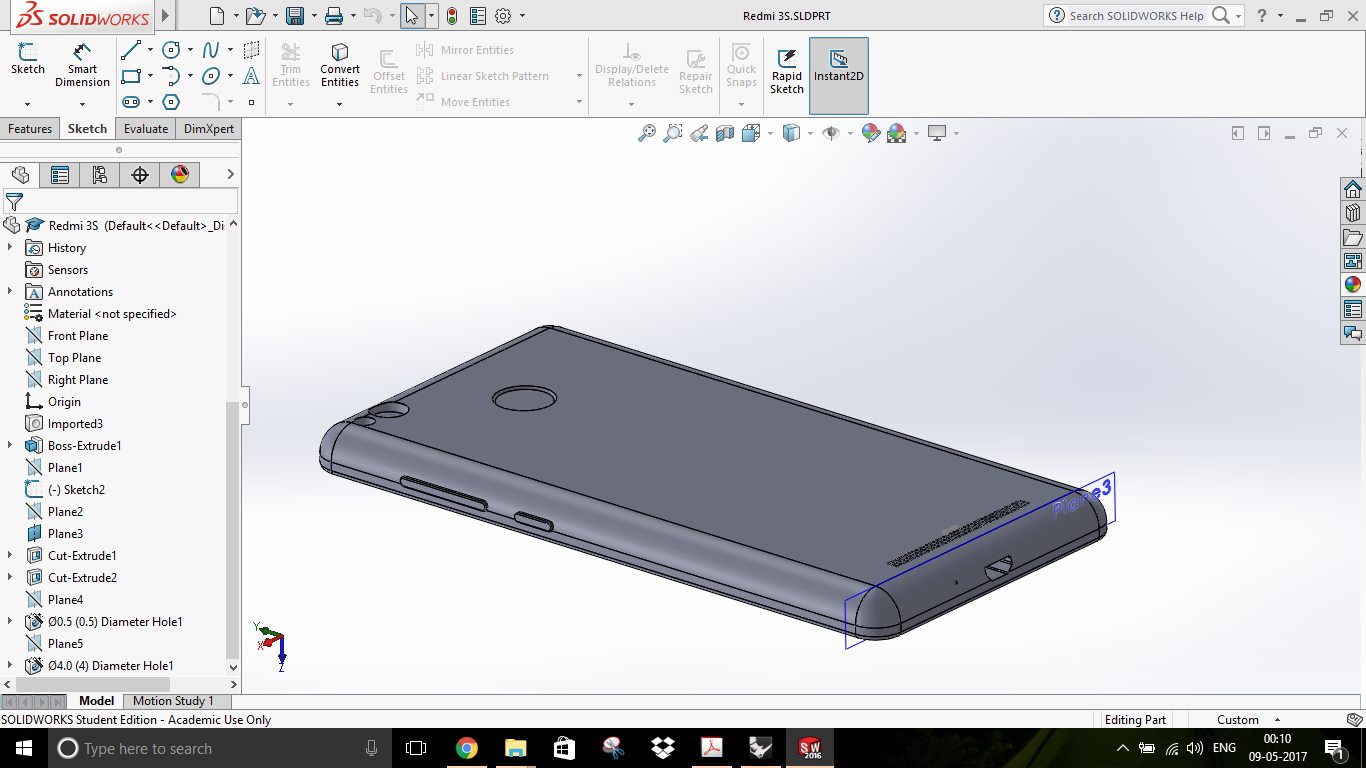
but i had a discussion with my instructors the prescribed size is ~1ft2 so i have planned to go with first idea and i have started designing it in Rhino and i have sucessfully designed it as below
Now the making the mould starts here
Machining of Fab Slate
The first part of machining is to make the profile path of the model. The design file was exported into .STL format and saved. In week7 (computer controlled machining) we used Vcarve pro for cutting the 2D designs, since this is a 3D design we cannot use V carve. The particular software used to process the 3D designs is Partworks3D software. All you need to open the saved stl file in partworks3d. The setup is shown in the below pictures.
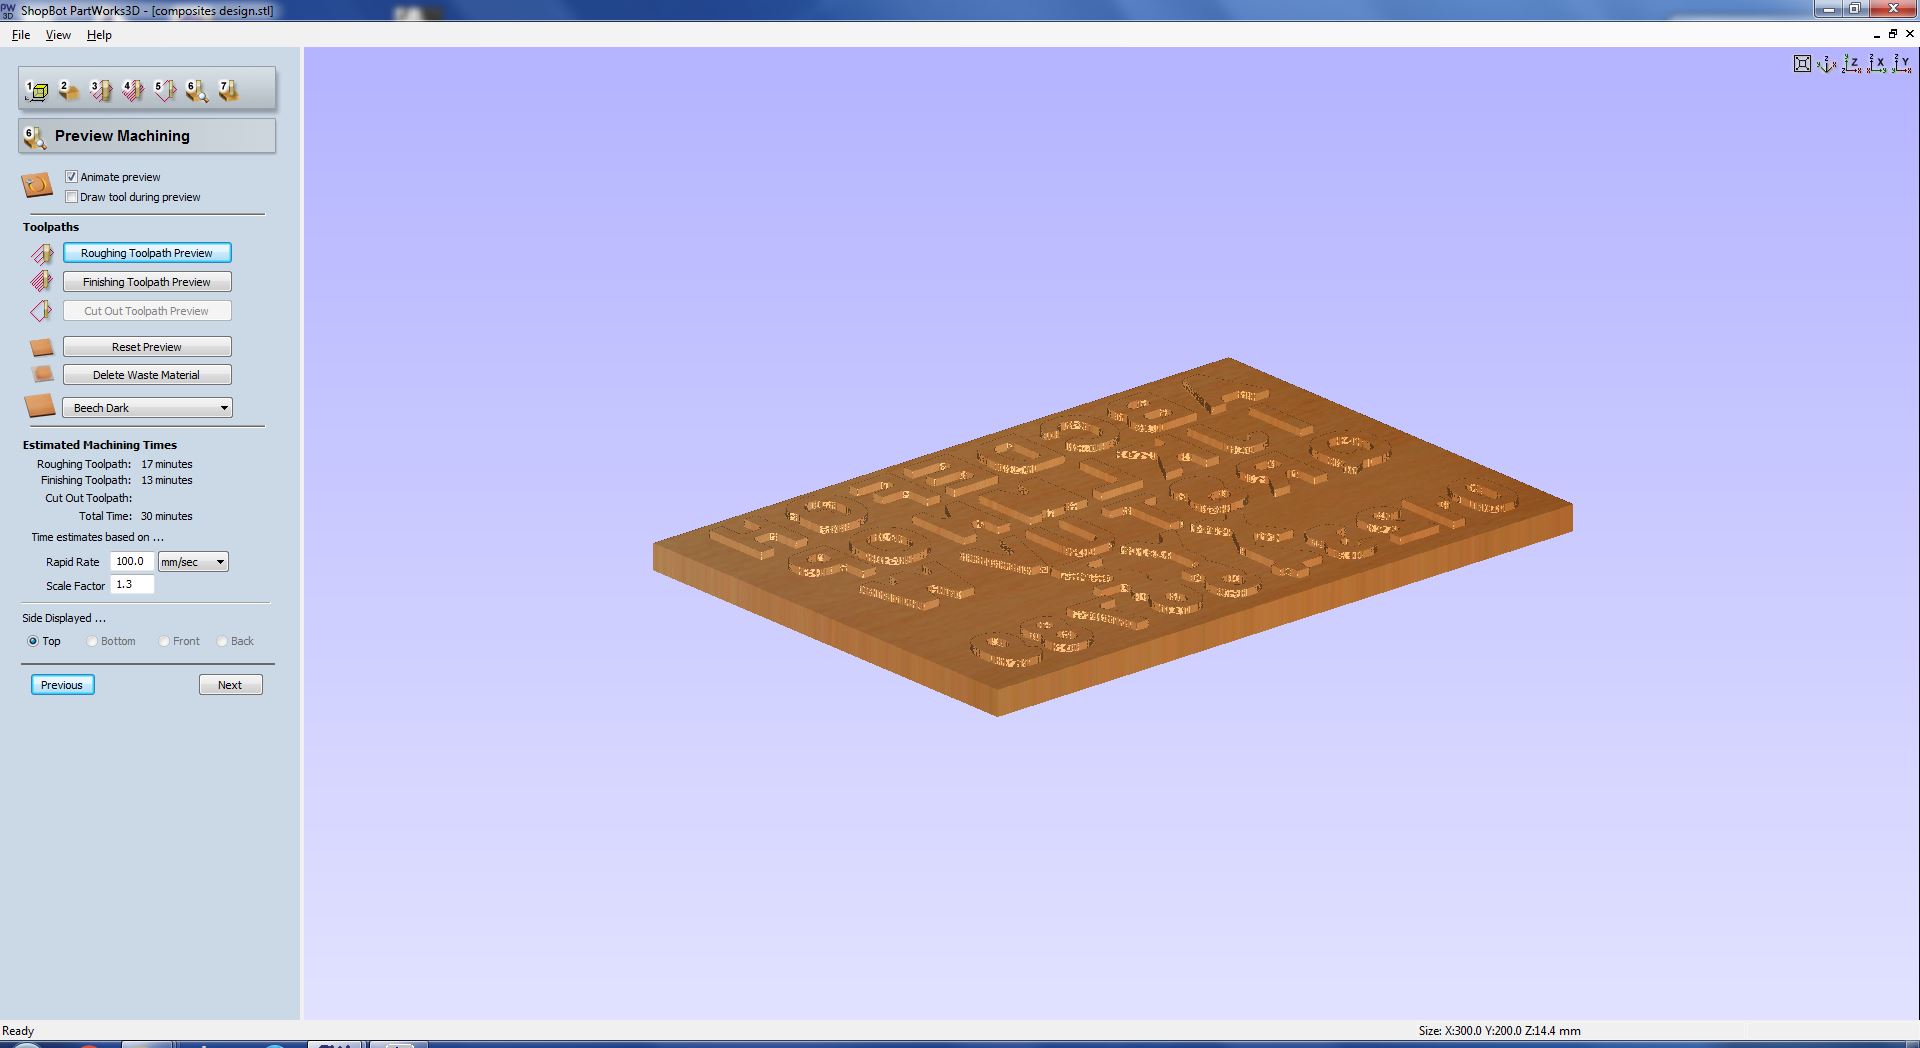
Step1: The below showed image is the first step and in this you can see the dimensions of our model and we can change the orientations of the model for machining.

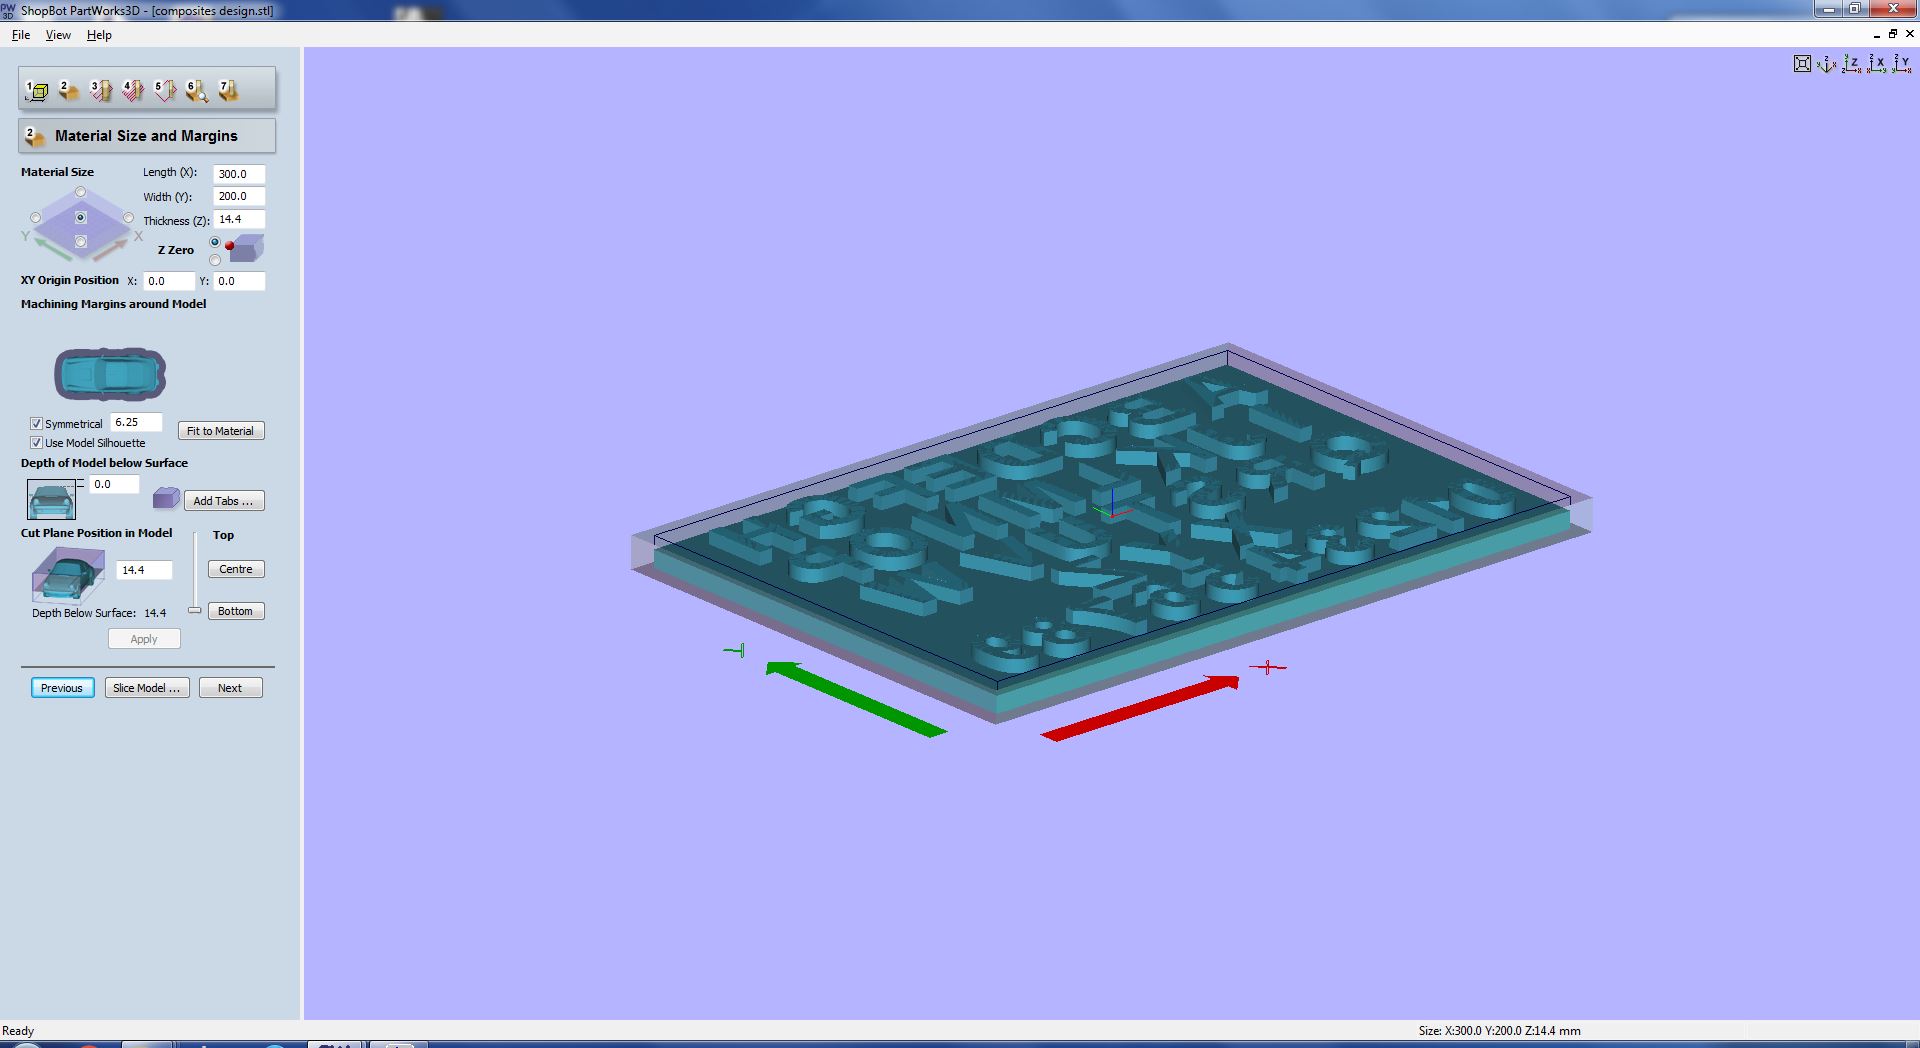
Step2: In this step you can set the material sizes ,margins and set the xy origins and the Z zero positions etc.
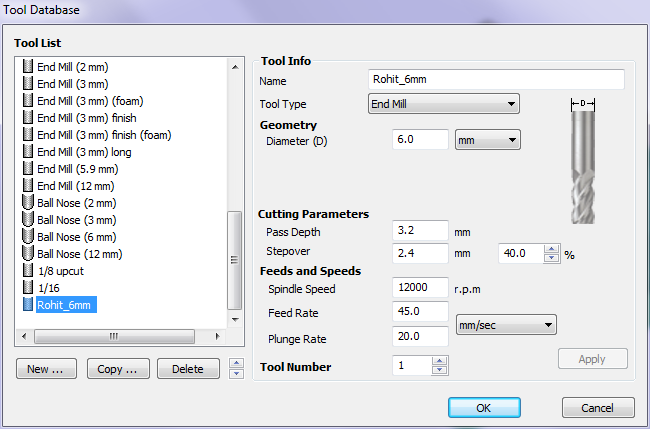
Step3: Next is the roughing toolpath creation, In this step we can select the bits we are going to use in my case i have selected a 6mm flat end mill for doing roughing. we can directly change the tool parameters and other stratergies from this window. After setting the parameters we can simulate the profile to know about the time estimate. It showed 17mins for me. We can jump to the next step by just clicking the next button also we can go back to a previous step by pressing the previous button. The parameters given for 6mm bit is showed in the next image.

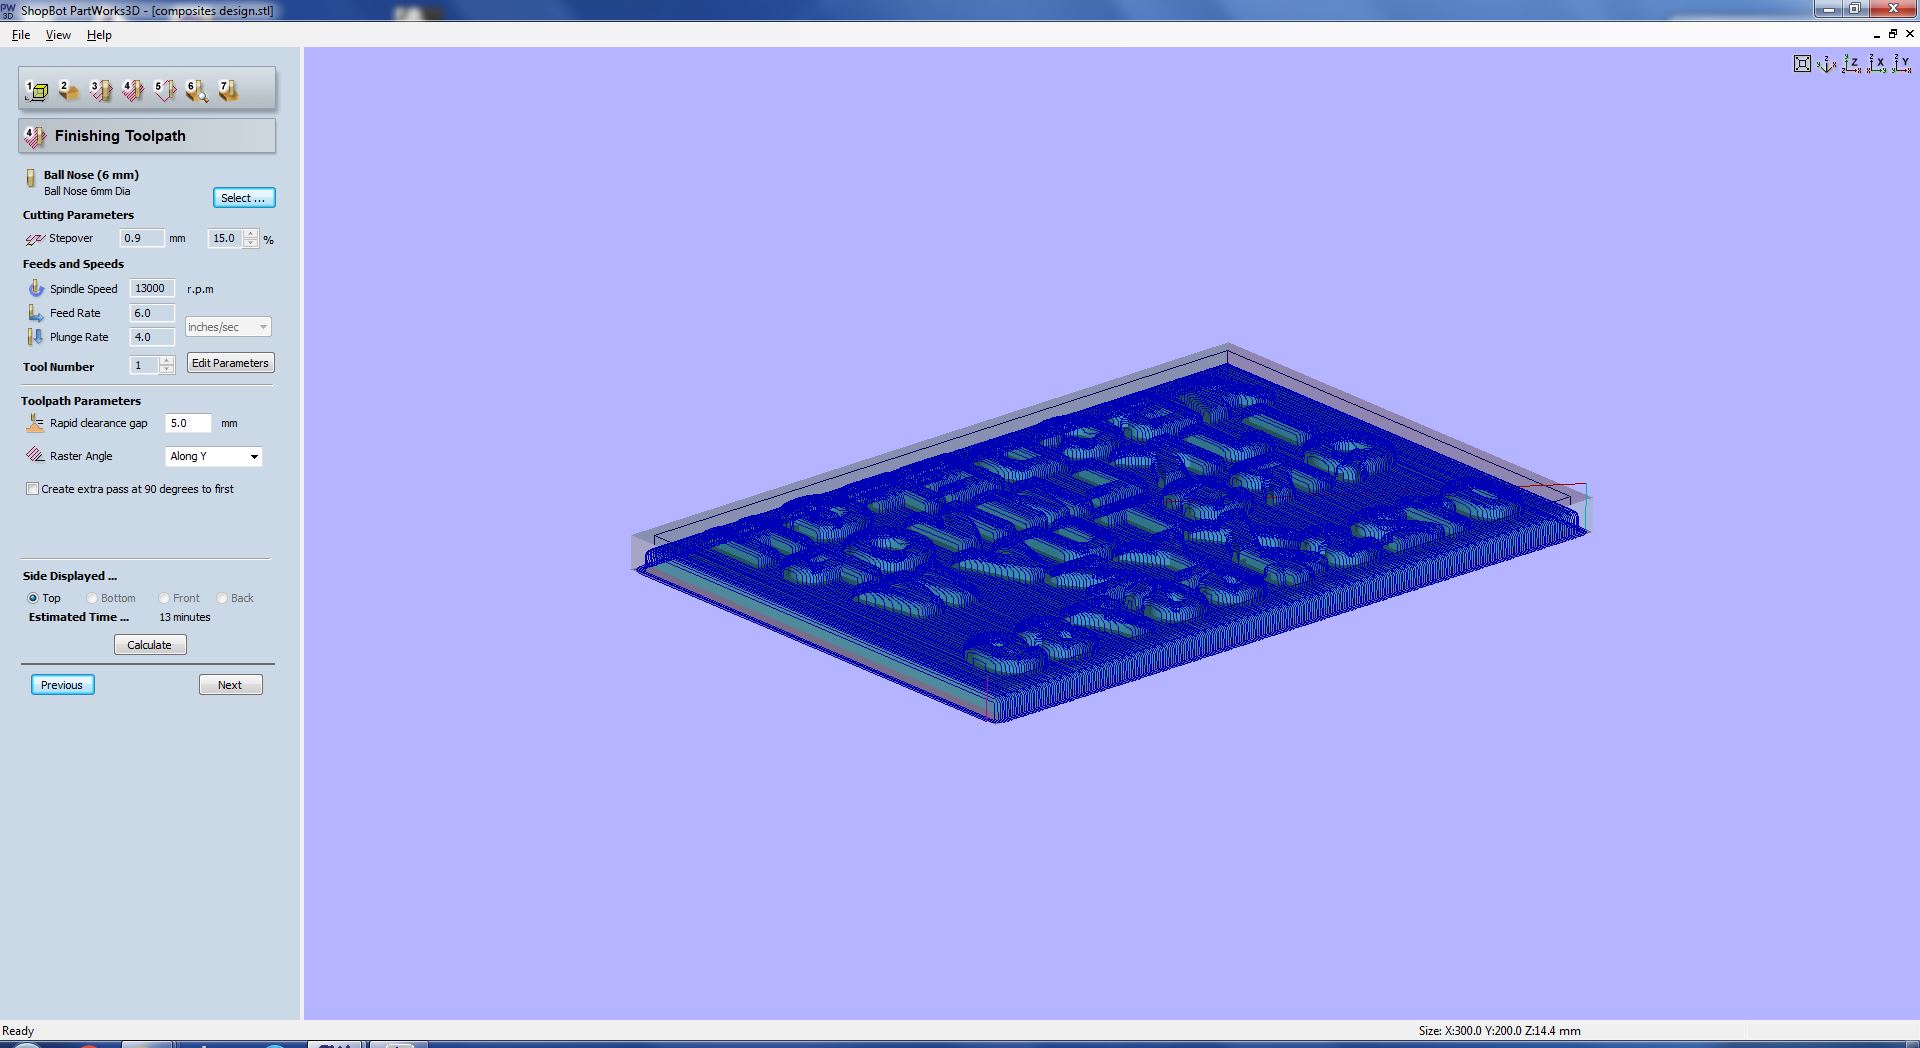
Step4: This is the finishing toolpath of the model, In this also we can select the bits and other parameters for finishing the part. I have selected 6mm ballnose endmill bit for finishing purpose. Simulated the toolpath and showed 13mins of finishing tool path.
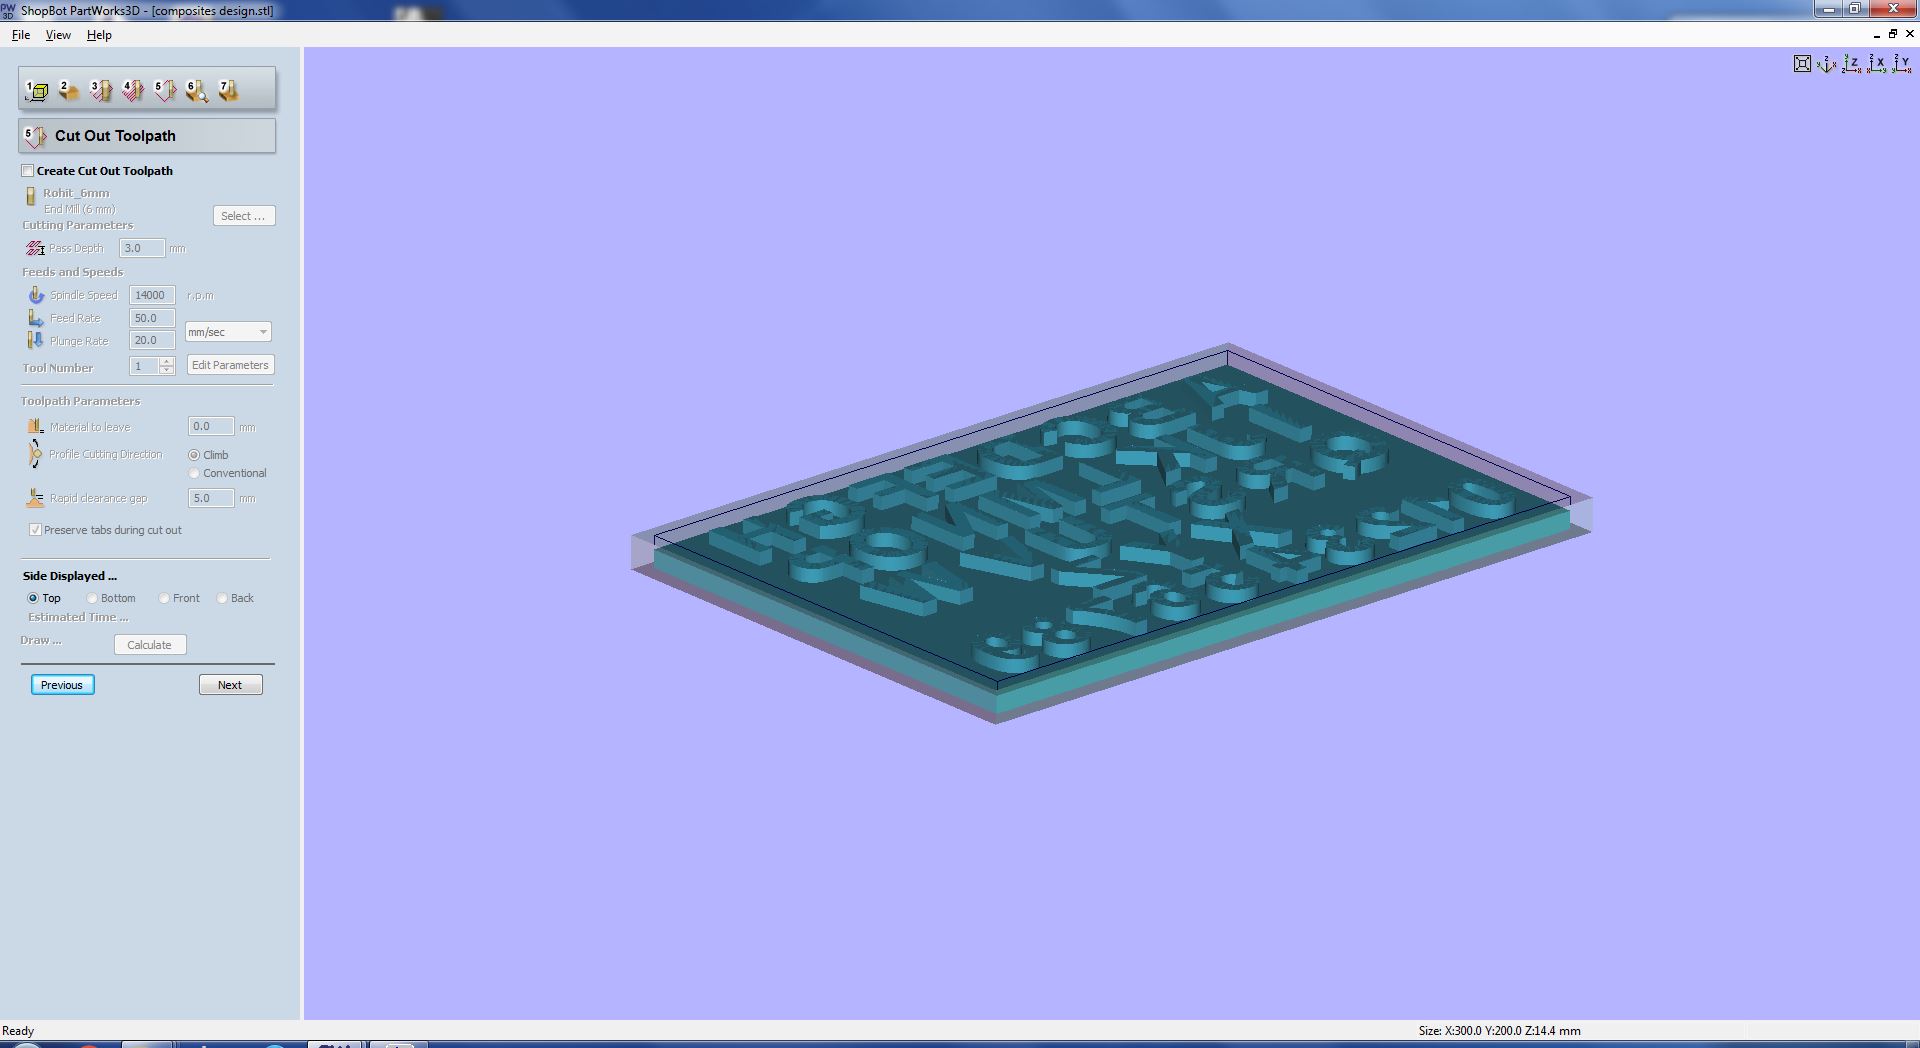
Step5: This is the final profile path, if you want to cut out the model from the piece we can give the cut out toolpath. In my design i added some extra dimensions to fix the part on the shopbot, So i selected the 6mm bit for cut out the part. It showed aroung 4minutes to cut the part.
Step6: In this window we can see the simulations of each profiles, we can check and if necessary we can go back and do the modifications in each profiles. After the check you can click next so that the final window will appear and from that we can save the individual shopbot files in .sbp format so that we can process in shopbot.
Fab slate machining in Shopbot
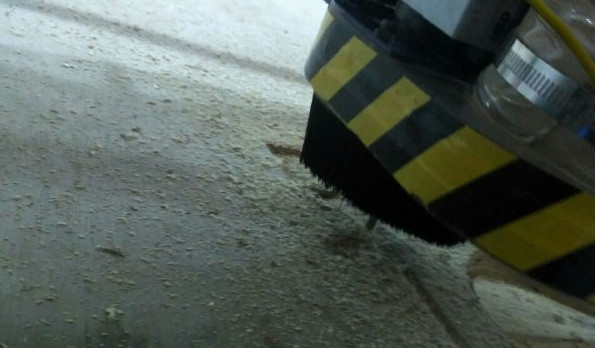
You can follow the procedures i had done in my week7 documentation regarding the settingup of shopbot, i followed the same. First set the 6mm flat end mill and started the machining process.
Now i had a problem with the machine it was running continuesly as this week everybody have to make something bigger than 1sqfeet.it started behaving randomly then i had shutdown the PC and the shopbot and restarted the work then it went well
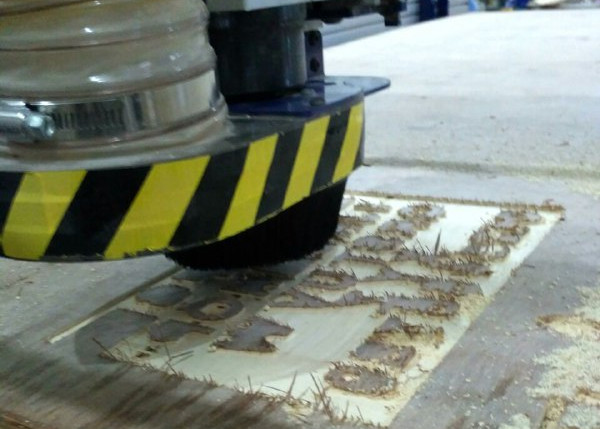
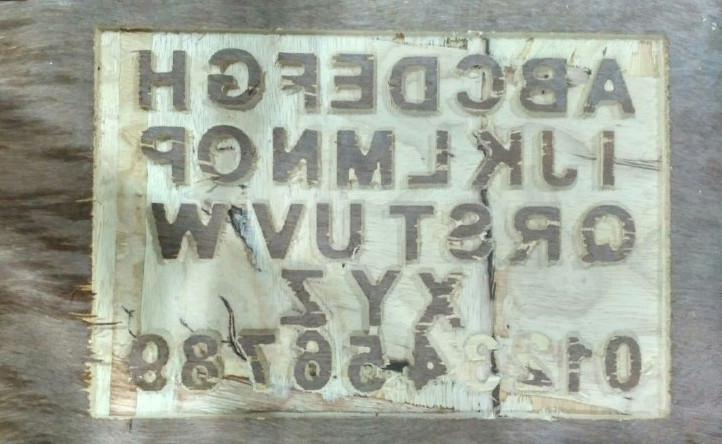
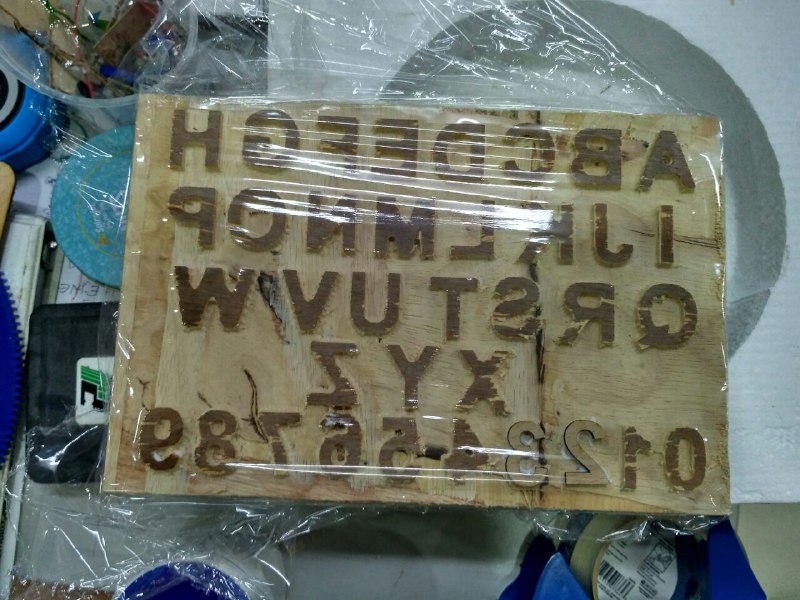
after this i have seen there was problem in the ply wood and two letters 2 & 3 where missing a layer so i have planned add them using laser cutting the 3mm craft ply wood
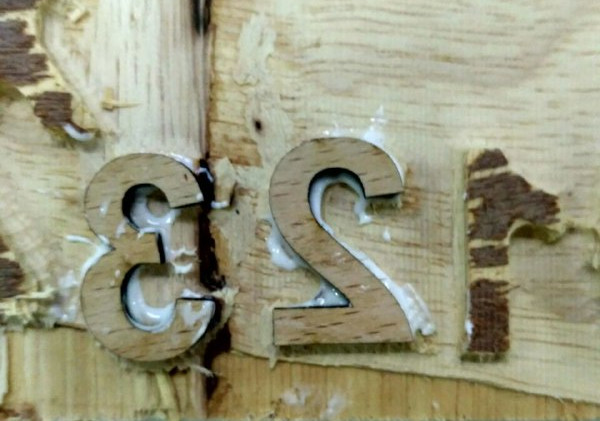
Thus the mold for the making composites is made
Materials preperation for composite
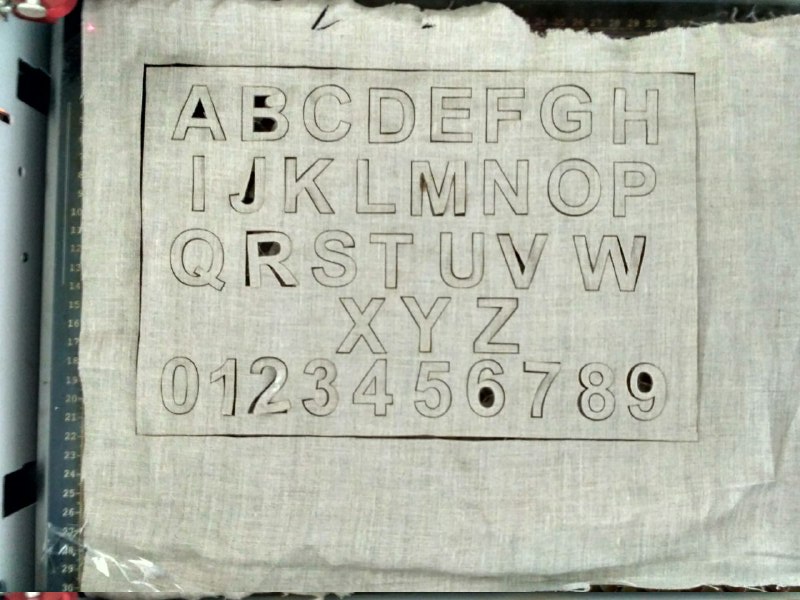
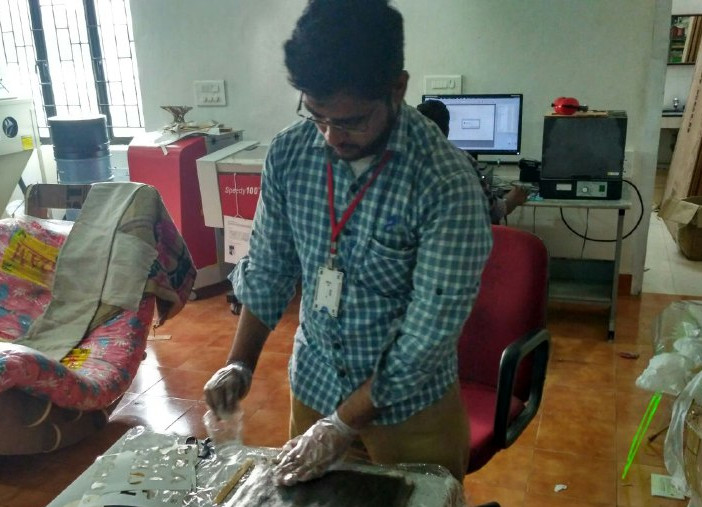
Next is preparing the fibre materials for making the composite. I purchased some burlaps and we had cotton lint cloths available in our lab as fabinventory. I am planning to make the cuts in the cotton lint with the LASER so i can fit to the alphabets perfectly and also planning to have the 4layers of the cotton lint and 1 layer of the burlap.
Vaccum bag preperation
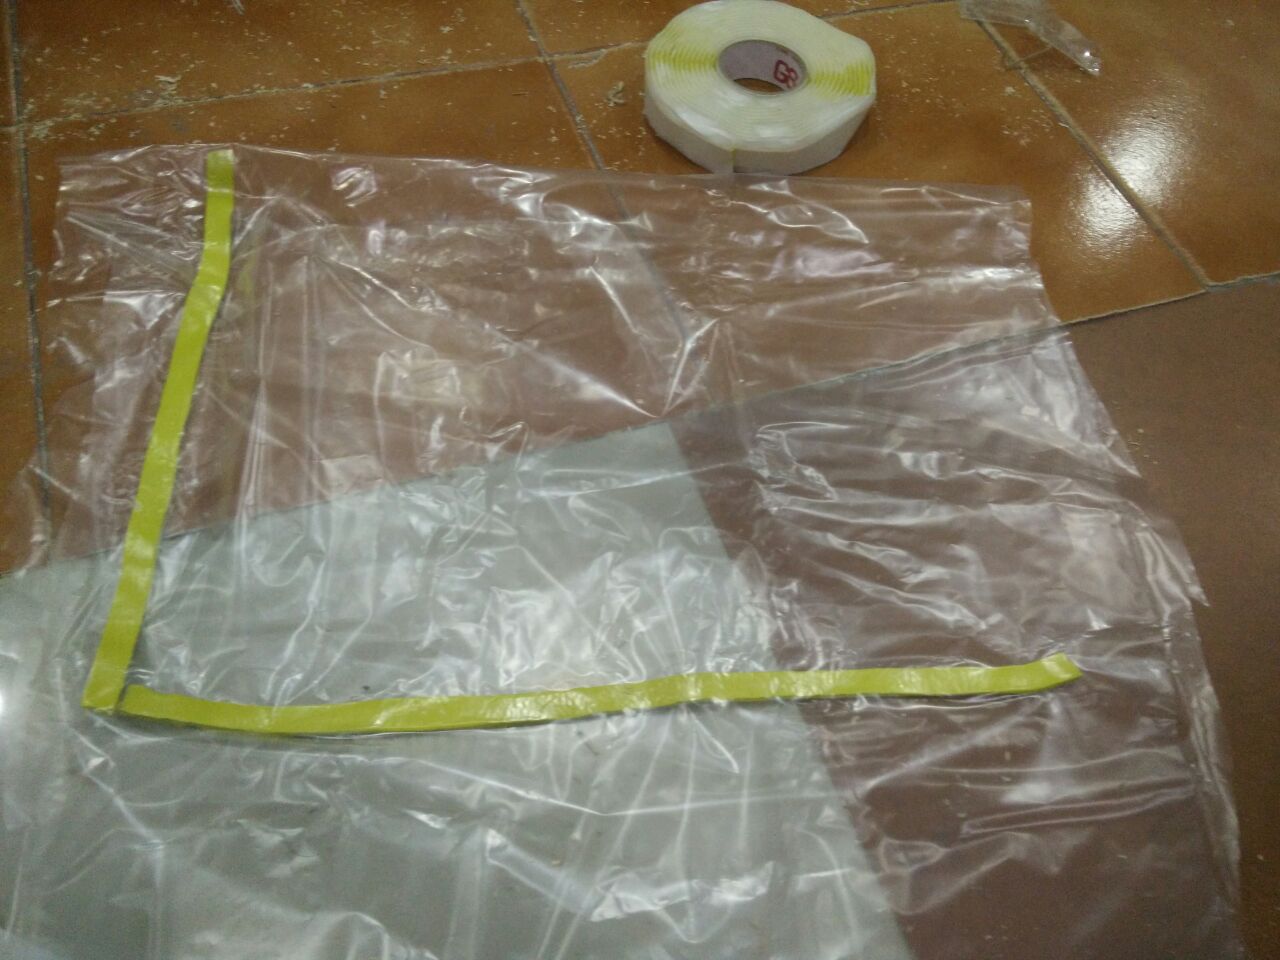
Vaccum bagging uses a vaccum pump to extract air from inside of the polythene bag where the casted composite mold is placed and compress the part under atmospheric pressure inorder for the compacting and hardening process to takes place. We can use the vaccum sealed storage bags with seals, Some bags are available here from the last academy but it was leaky. I planned to make a vaccum bag with polythene bleeder release bag and vaccum sealing tape. Required dimension of bag sheet are cut using scissors and made the bag by sticked the sides using vaccum seal.
Now Prepartaion of the composite resin solution
Matrix
In our lab we had Easy cast epoxy 33 a epoxy resin purchased locally is available. It is a two part transparent epoxy resin, gone through some of the specifications of it from the product website, and understand the use of it and its technical specifications. The mixing ration of the resin is 100 : 50 (Part A:Part B) some features i found from the technical document is listed below.
- Very less viscosity like water
- Will cure at room temp in 24 hours
- Can Cure in 30 minutes if heated at 65 degree centigrade and poured
- Resting time:2hours
- Shore hardness: ~ 80 shore
- Safety: wash the area with soap under plain water.
Preparing Matrix
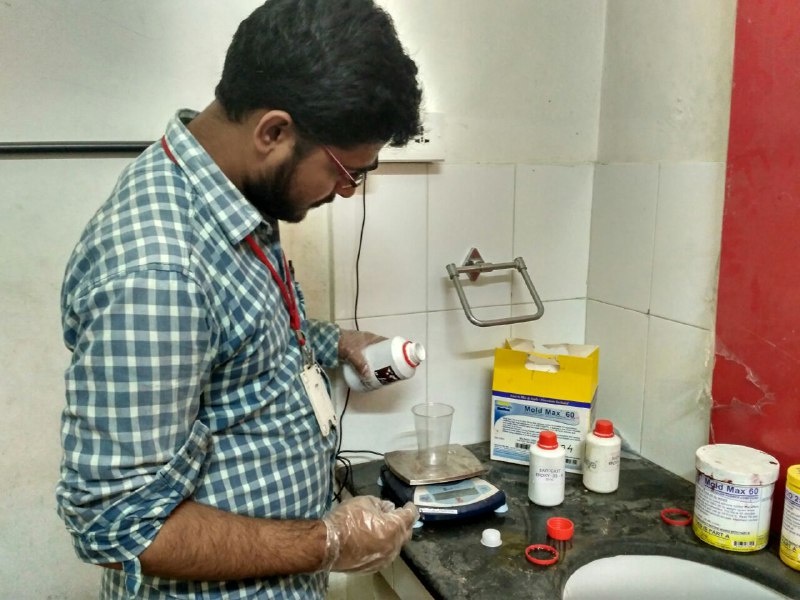
The mixing proportion of the material is 100:50, I had taken 200 grams of epoxy A part and 100 grams of epoxyB part in a plastic glass and mixed it very well with the wooden stirrers. Don't forget to take the safety precausions while using the epoxy. You have to wear apron sheets, eye glasses, gloves etc.
Before making the composite, We have to first cover our mold using adhessive tape/polytheen sheets , otherwise the resin may stick to the wooden mold. I used single side transparent tape to cover my mold.
After that, shaped cotton lint was dipped in the mixture and placed in the mold as first layer then in the next layer burlap was put. Like this four layers i made and in the final layer one more cotton swap was layered using my hands i spreaded the resin throughout.
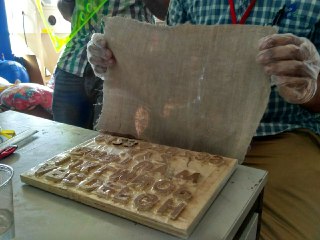
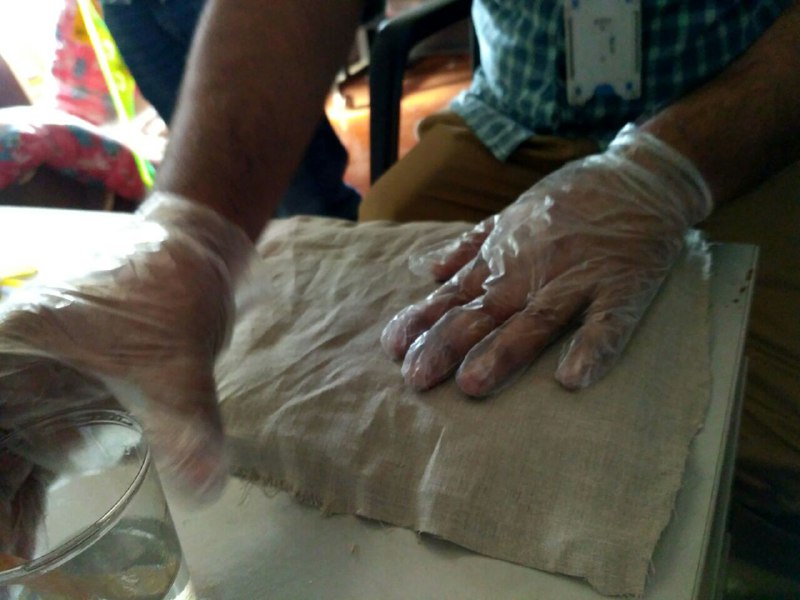
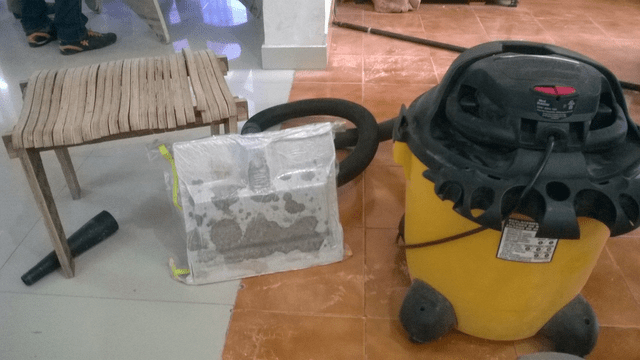
Next the entire part is covered with polythene sheet and over that i covered with the breather fabric , the breather fabric will absorb the extra resins from the mold. The entire part is kept inside the vaccum bag i made earlier and used Shopvac 6.5HP vaccum cleaner and is shown below.
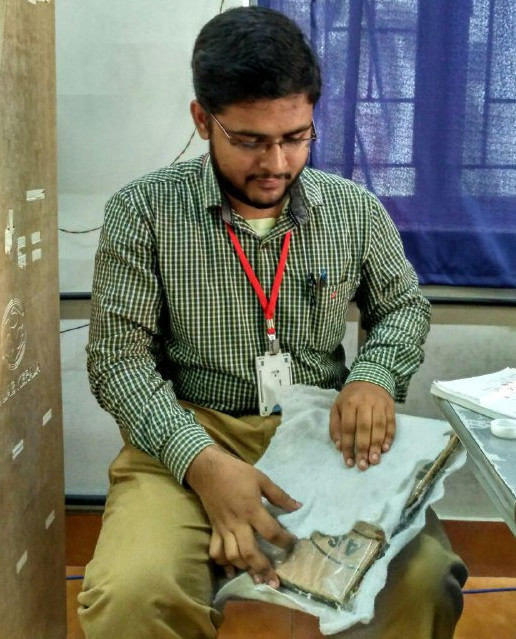
after leaving your mold unattended and we can get the final product made using the composite materials
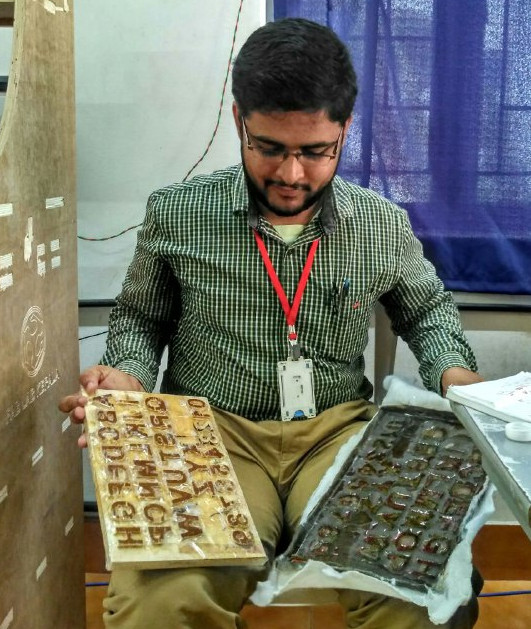
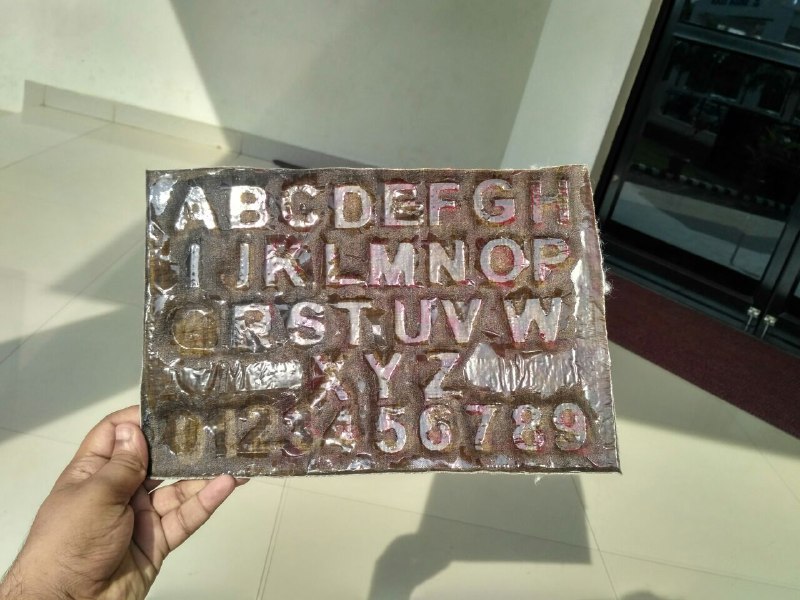
Hero Shot
Now here we comes to the Hero Shot of this Week
FAB Slate made Using Composites
