Assignment 13
input device
Have you:
- measure something: add a sensor to a microcontroller board that you have designed and read it
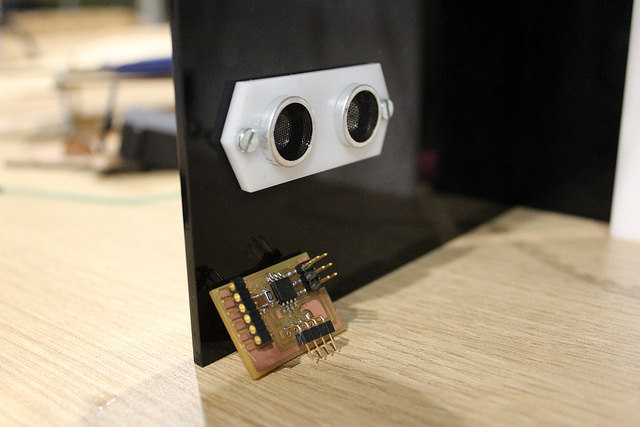
For this homework, I chose make a Distance Sensor but, for advice of instructors I decided make a Sensor Hall Effect, because is the easyest sensor to realyze and my final project not have an input exactly.
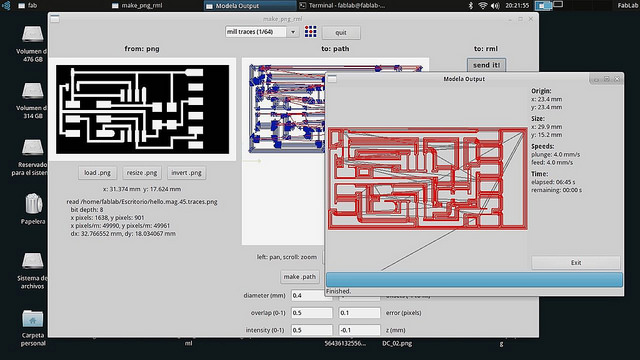
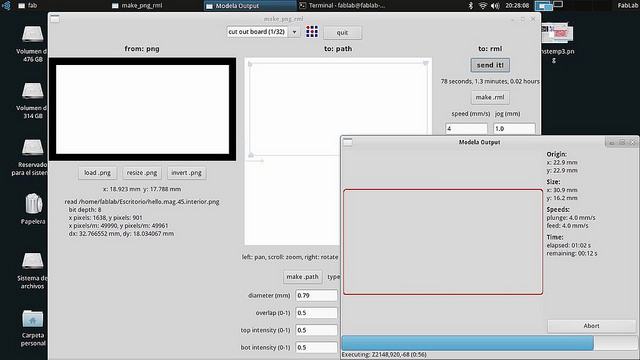
I redesigned the Hall sensor, but as it is so small and easy I followed the example of the web of the academy (Traces and Interior)
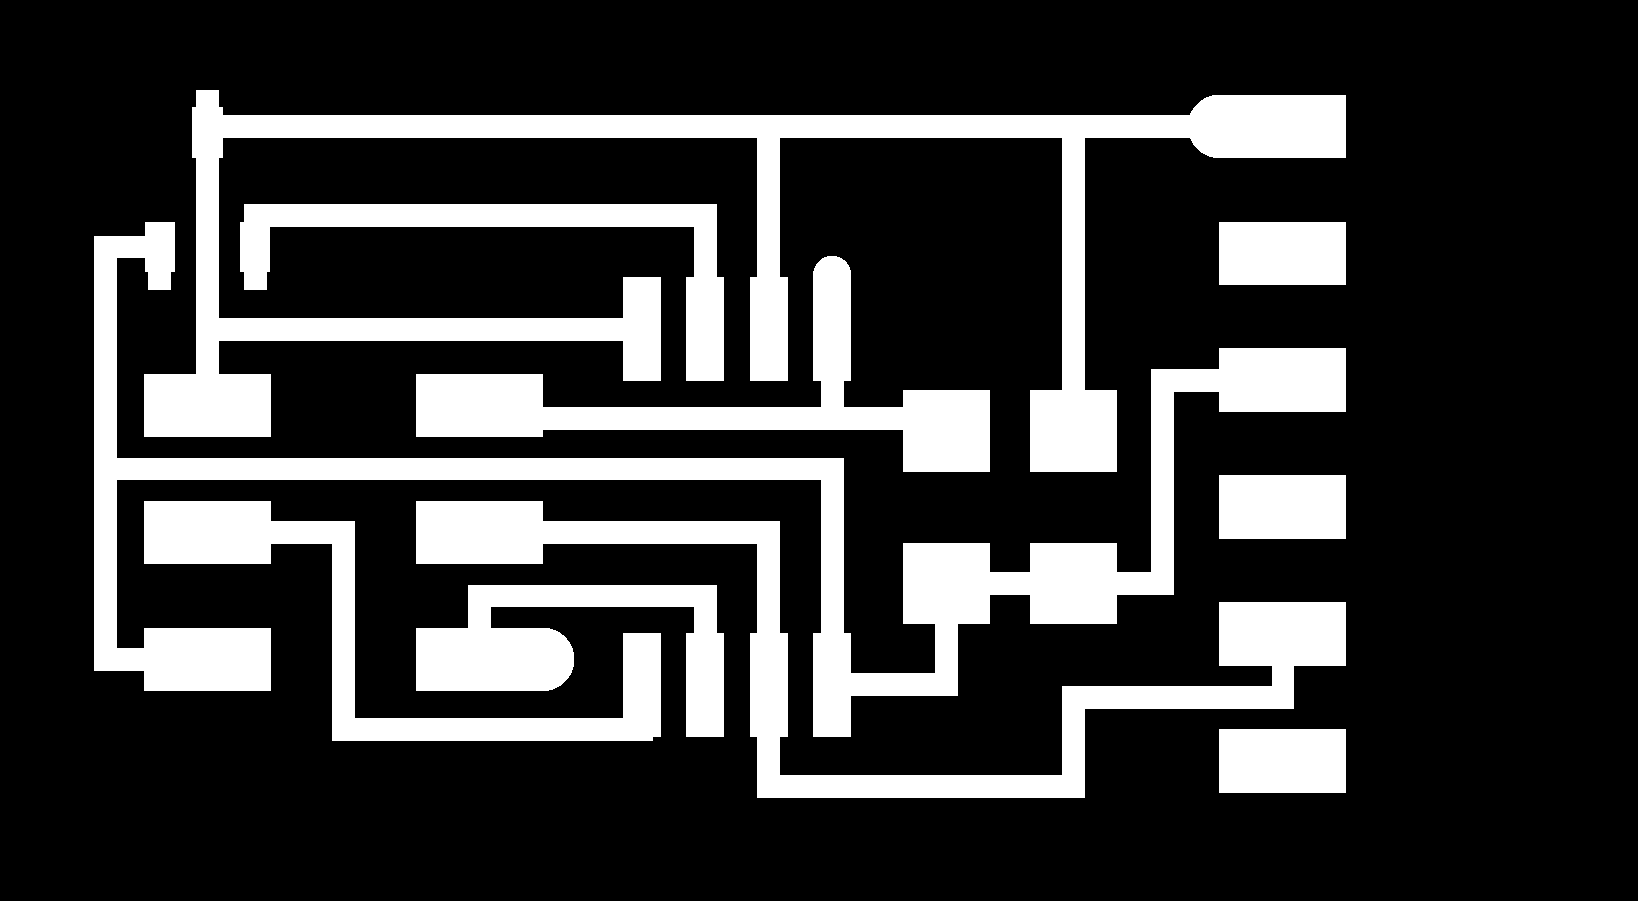
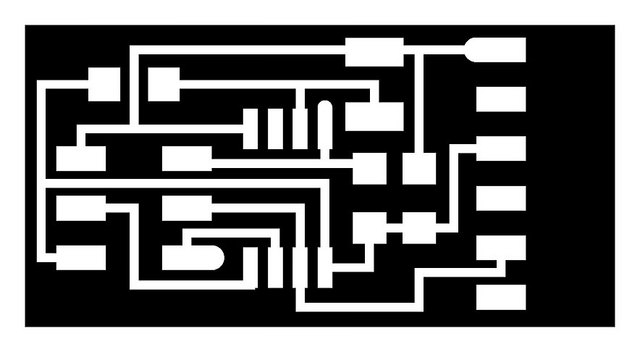
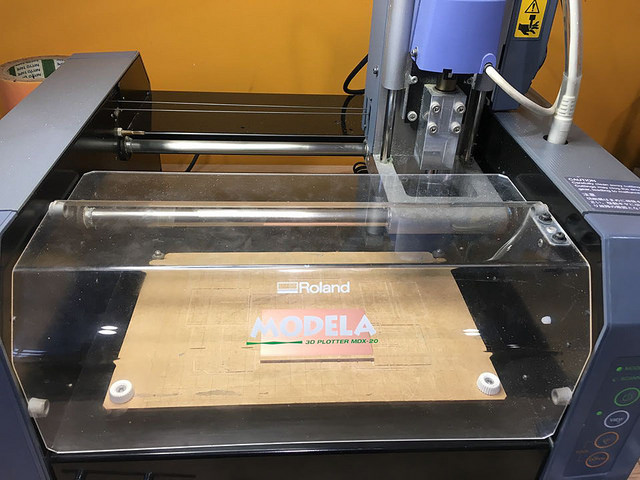
Then, I had to mill it, follow the steps in the Assigments 4 and Assigment 6.
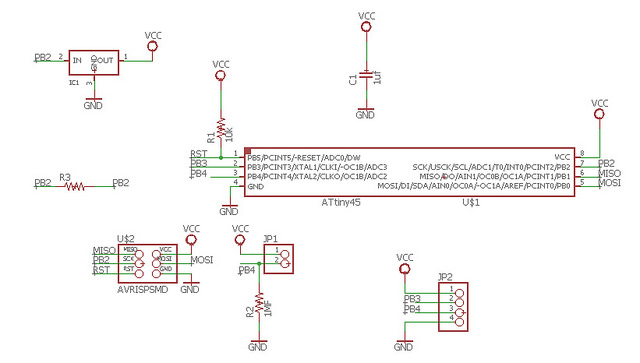
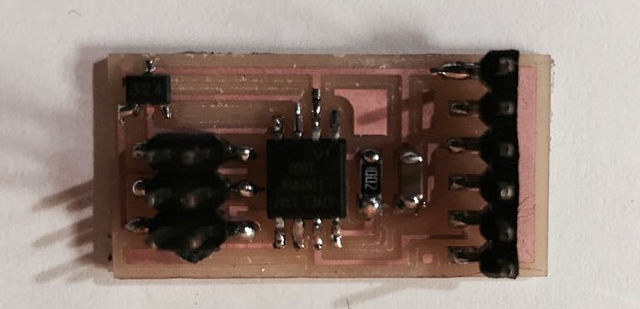
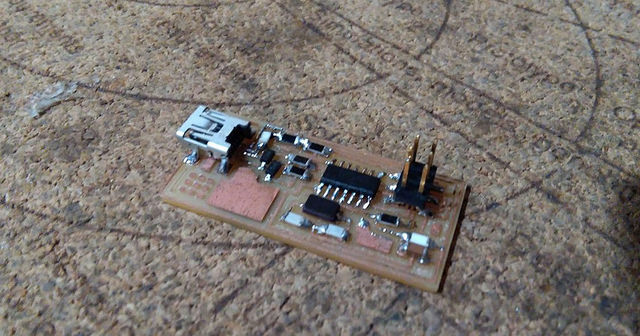
As with previous boards, I sold it and I check the continuity, the components neccesaries are:
- RES 10.0 K OHM
- CAP 1 UF
- ATTINY 45 (the sold position is important)
- IC SENSOR HALL EFFECT
- PIN HEADER 2X3
- PIN 1X6
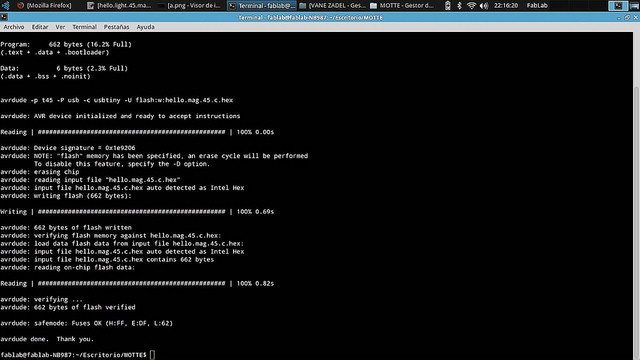
PROGRAMMING : To program the sensor we need an FTDI 5V cable and our FABISP we did in week 4.
According to the Assigment 8, save the file .C (code of the sensor) and the .make files (where indicate the programmer, the type of MCU and others) in the same folder for then programmate
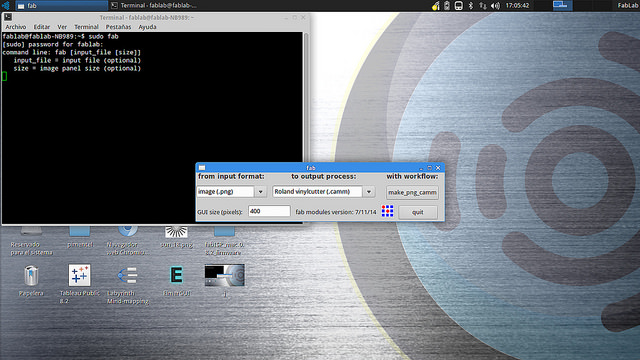
Connect the sensor board and the FABISP and then, open the terminal in Linux and write:
Hello.mag.45.make programa-usbtiny
This is other form to programmed the files into the sensor.
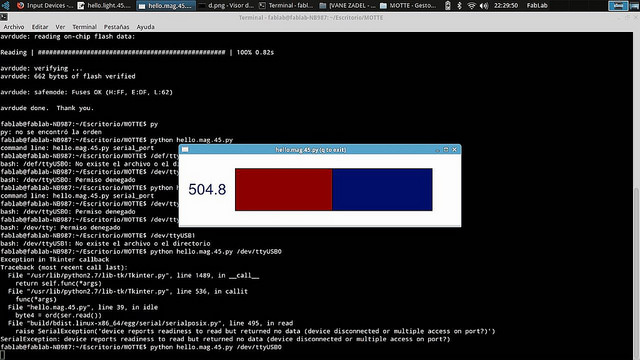
We execute the code in Phyton and we will be able to see a bar that indicates to us when there is something magnetico near.
FINAL PROJECT : For my final project I think used a distance sensor (Input device) for measure the distance between the car and the door and whit this information communicate to my App for open the door.
Then I realized that it was not necessary to make the plate "distance sensor" because my sensors will communicate with my Fabduino directly and both are communicated by serial, so it is not necessary to make a plate as an intermediate