
Project Final
project development

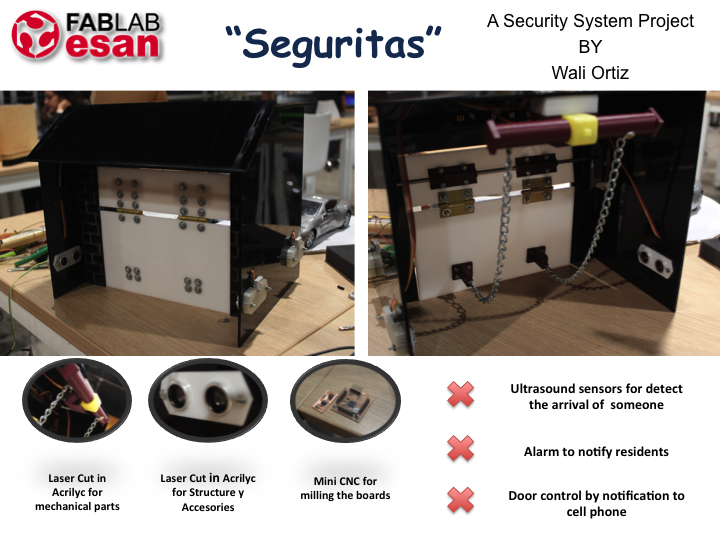
For my final project I create a vehicle security system for homes, where you can have an automatic control of who enters and can allow you to authorize from the cell phone the entry to people that are not registered in the database of the system .
Due to the scope of the diploma, it was only possible to recognize that there is a vehicle and to alert the person (Authorizer) by means of a notification in an application that was designed to open when someone is detected very close to the door and let you open it.
For this, I was divided in 3 Stages: STRUCTURE, ELECTRONIC PART AND PROGRAMMING.
STRUCTURE
This are divided in 2 fabrication processes:
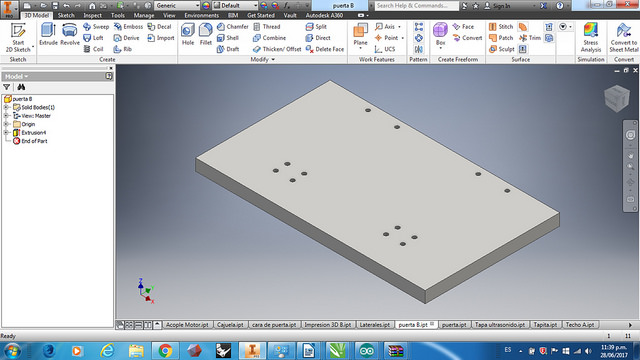
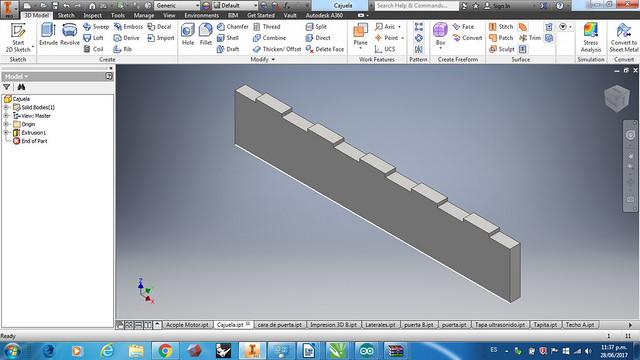
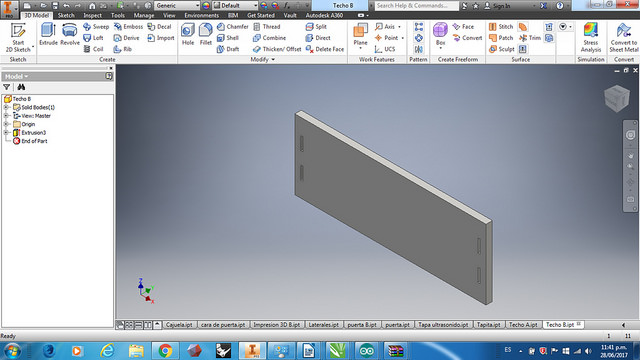
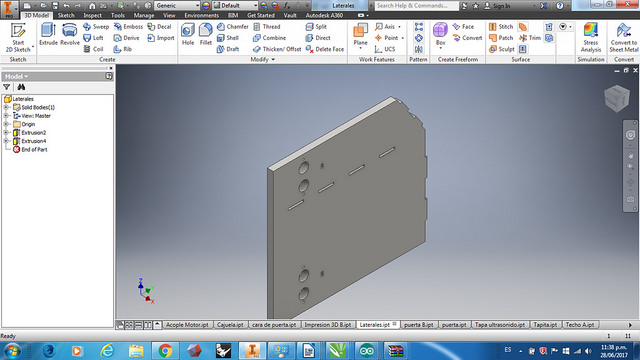
LASER CUTTING: First, I started design the structure, in this case a scale model of a house, because if I make a project bigger the motor and the components should be more potent and did not have these materials in the laboratory. I use Inventor and then export to Corel Draw trhough DWG format, for laser cut. its important consider the tolerances for prefit. It is advisable to do make tests before cutting something big.
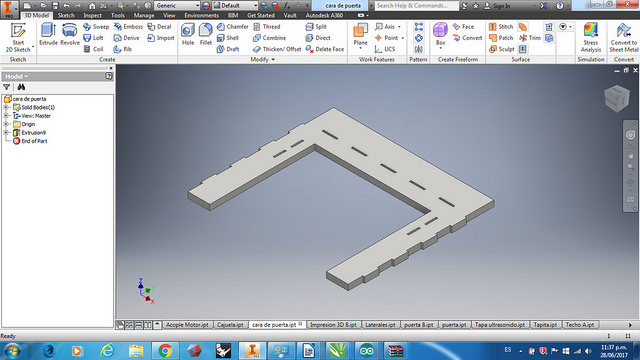


In this case, use the new TROTEC laser machine, which is much more powerful and has a thinner cut. I thought Kerf would have different that EPILOG, but it's the same as the other.
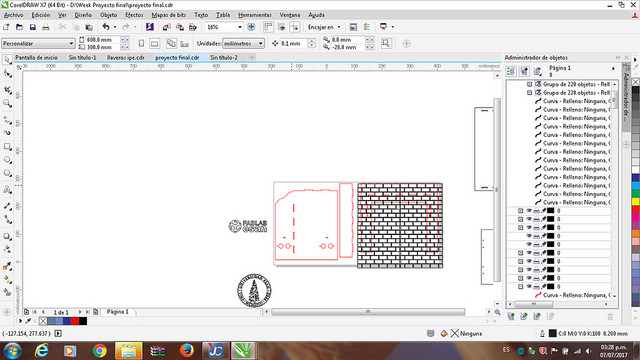
Import the files in Corel Draw and order:
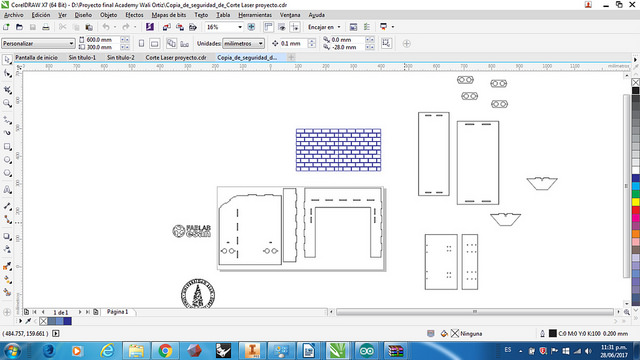
Then I wanted to add a brick engraving on the front and stick it on the design.
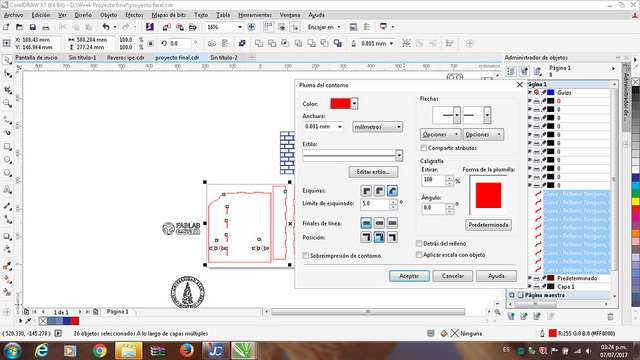
The laser recognizes as cut the lines in red color with thickness of 0.001 millimeters and in engraving the black lines in thickness "Very Fine"
Then, we have to print and in preferences we configure the dimensions of the iron to use and select the type of material to use. In this case Plastic, Acrylic.
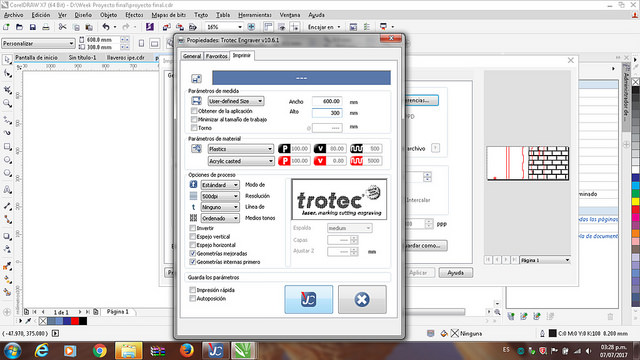
We identify the file and place it in the software template of the TROTEC cutter, the good thing about this cutter is that it allows you to place the coordinate axis wherever you want.
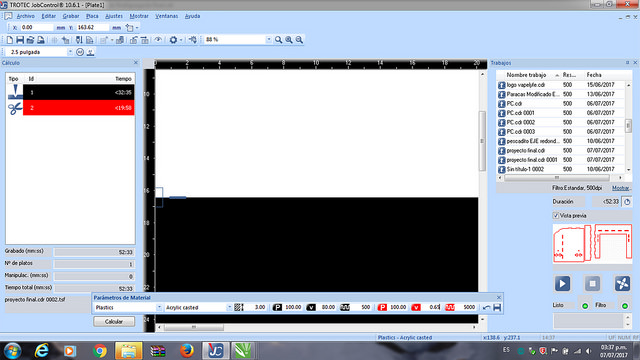
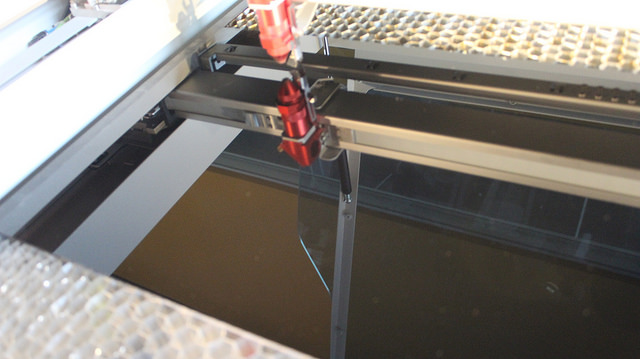
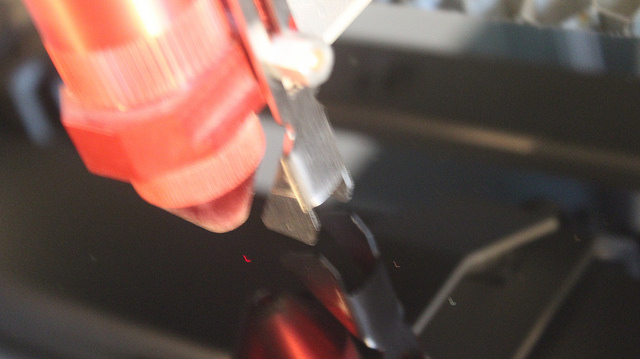
Place the material and calibrate the distance of the laser, in this case must be done manually.
We verify the cut and engraving parameters and we send it
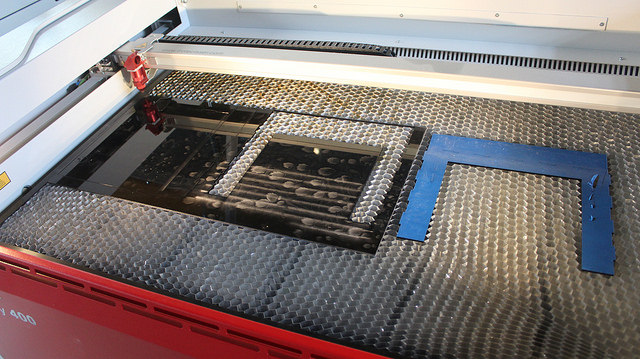
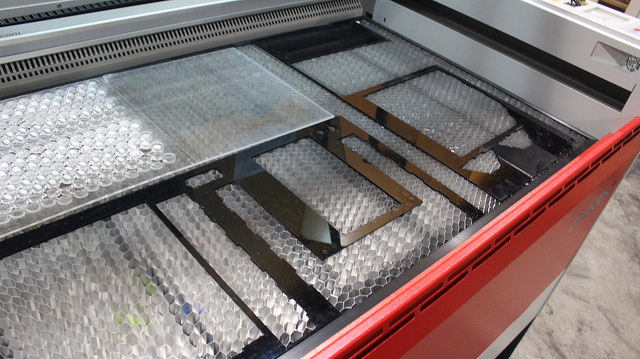
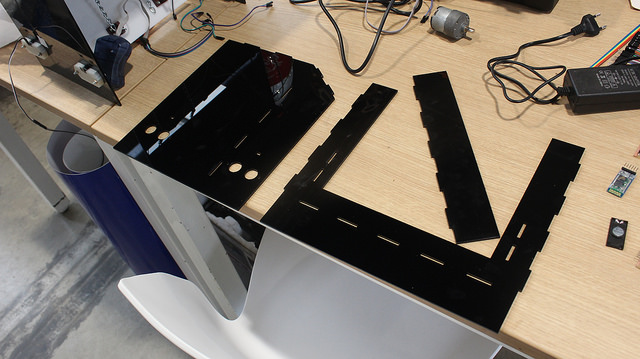
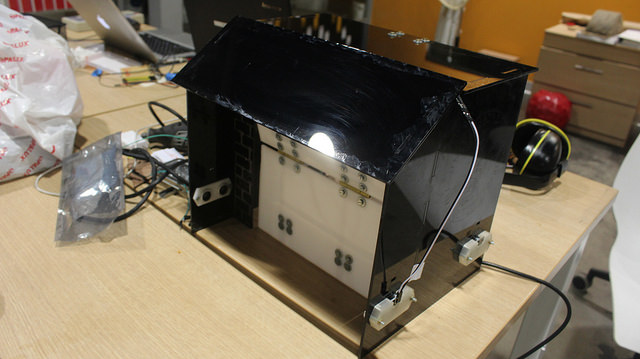
The tests were done in MDF not to waste but the final cut I did in black acrylic as it is more beautiful.
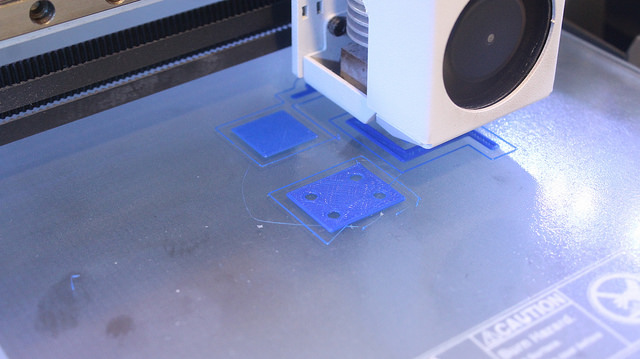
3D PRINTING: Use 3D printing to design couplings that would resist weight, I did not do it with prefit because in tests I realized that it came out very fast and it was broken.
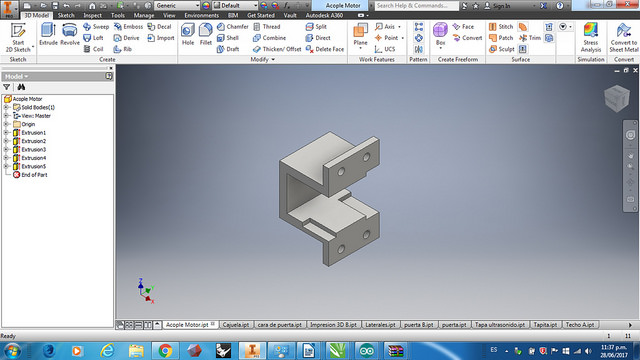
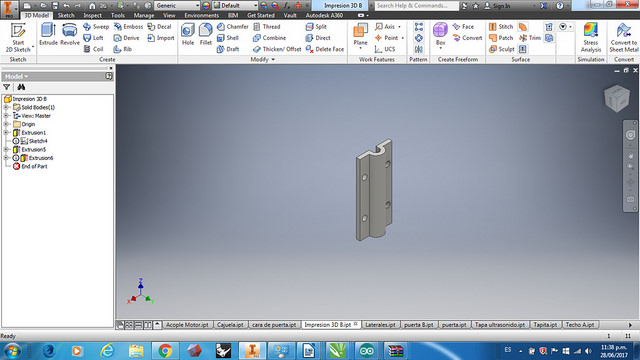
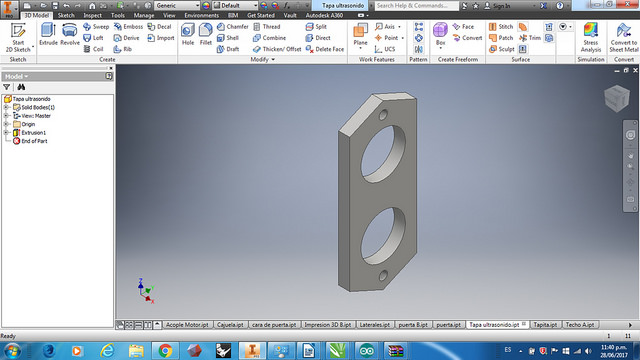
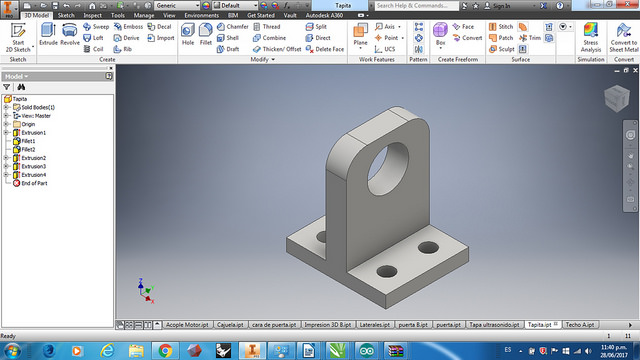
To print it, as it would have to resist a certain weight, we increased the density of the impression to 60 percent and we sent everything in one go
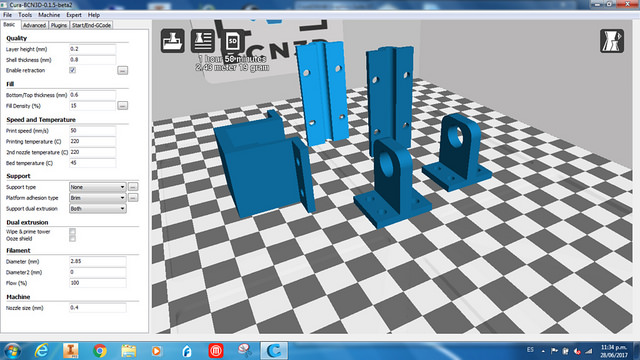
It took about two hours but the pieces went well on the first try
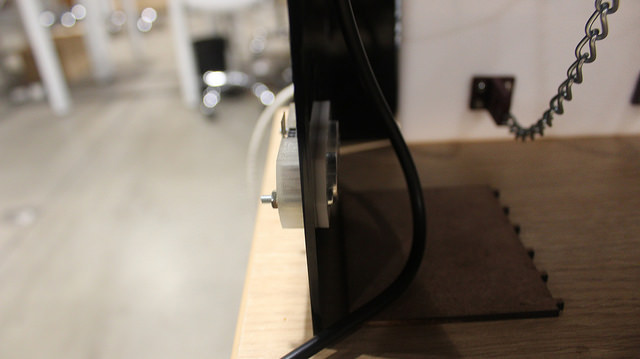
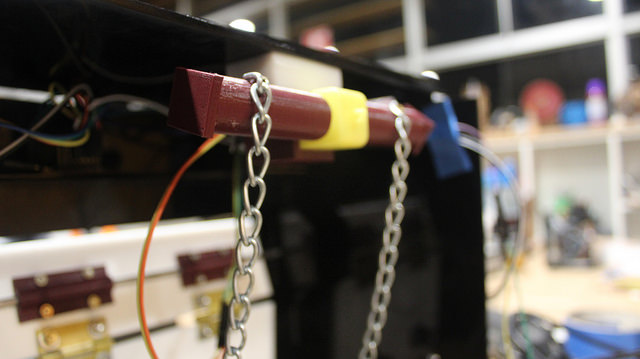
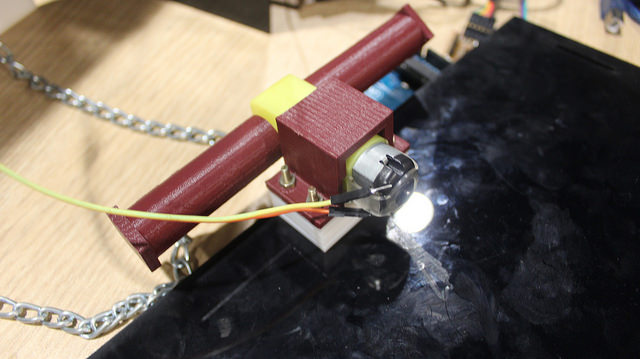
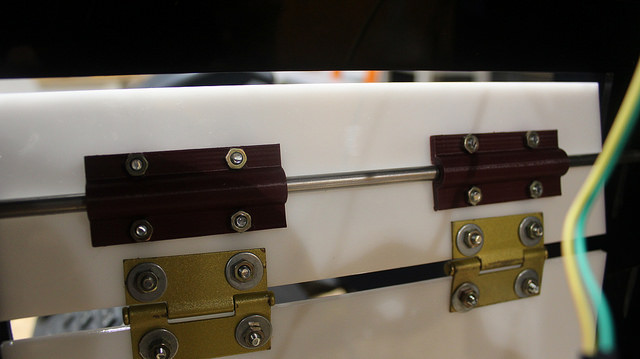
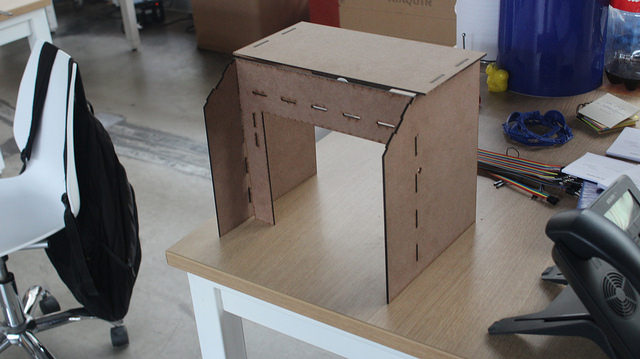
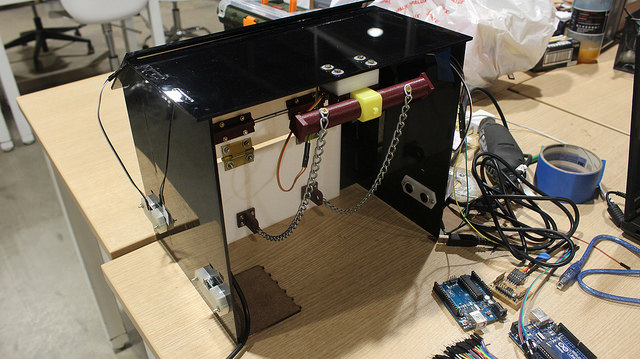
ASSEMBY: Once all the mechanical part was solved proceed to assemble the mo del
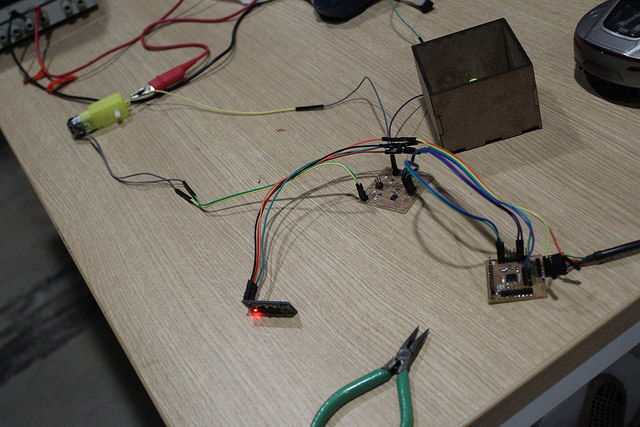
ELECTRONIC DESIGN
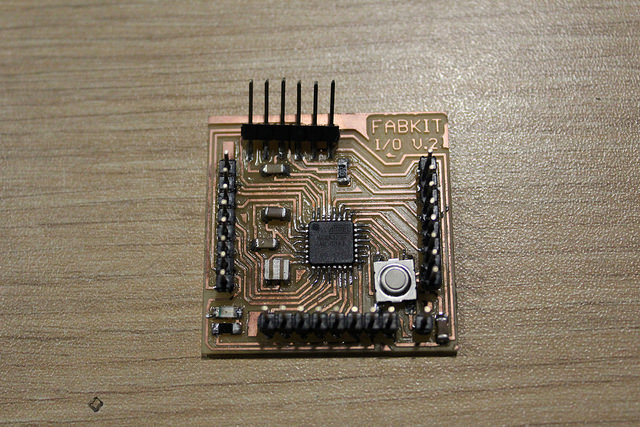
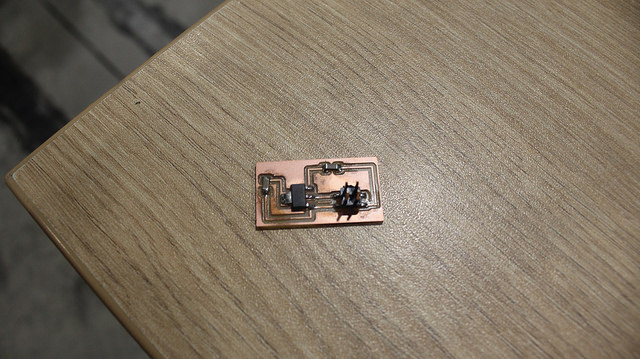
Use twice Fabduino that I did in week 8 and the bridge H that I did in week 10
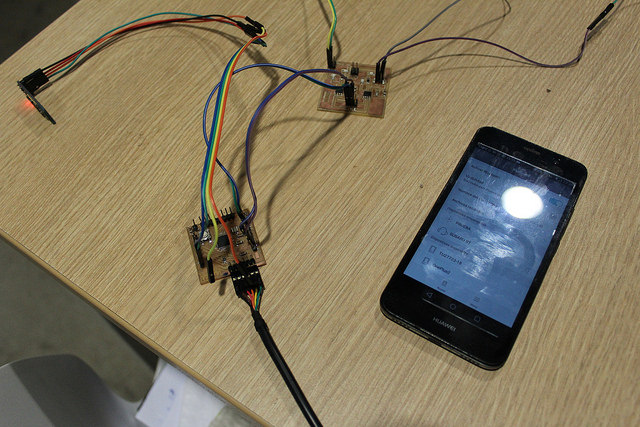
I gathered all the components I was going to use and started the connections.
To facilitate this create a wiring diagram according to the ports of each component to facilitate the process.
I only had transformers of 12V so I had to create a plate to regulate the current to 3.3 V.
.jpg)
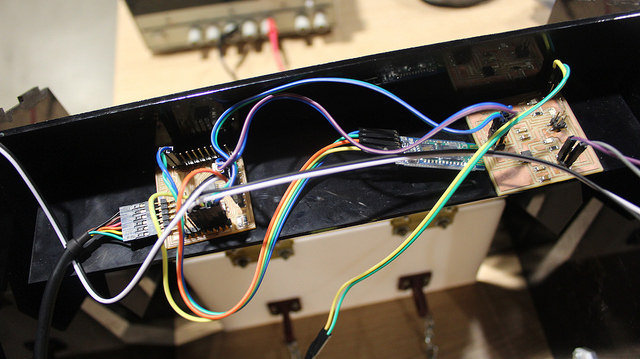
Connect the Fabduino with Bridge H according to week 10
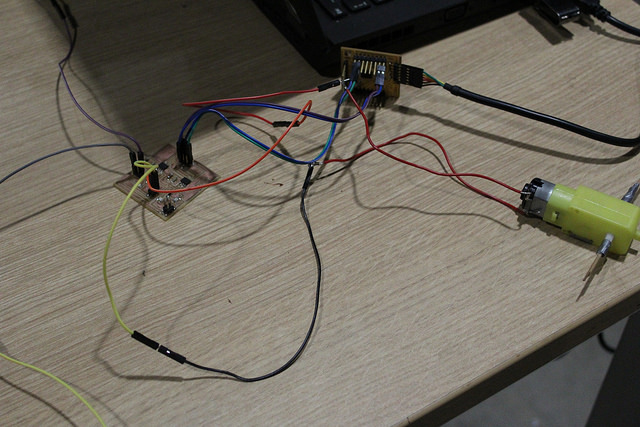
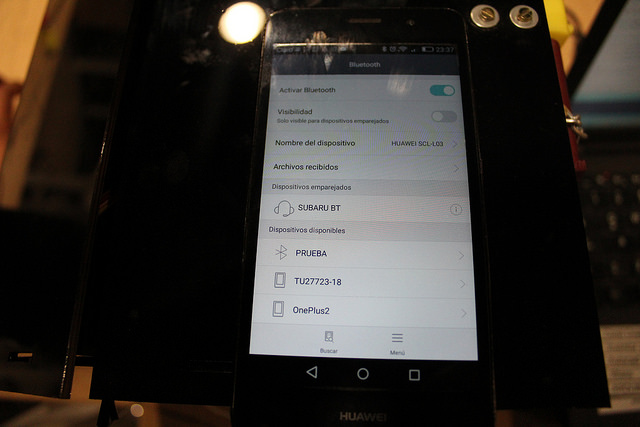
Them, connect with the bluetooth and FTDI cable, according to Week 15
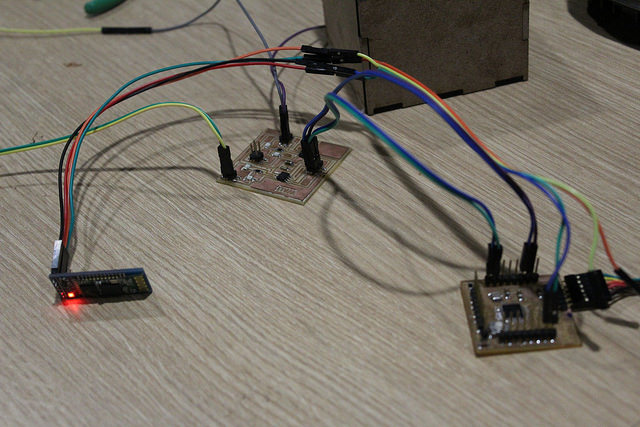
And connect the bridge H with the motor and with the power source, according to the motor test in the Week 10
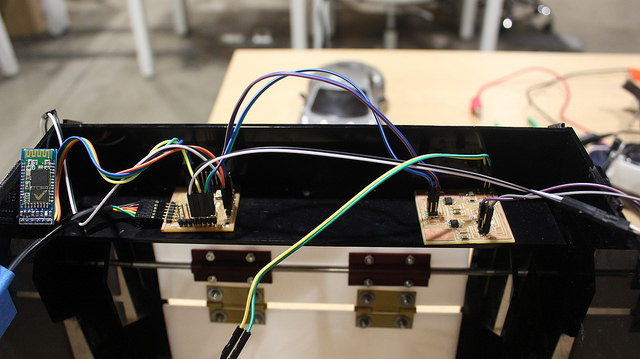
Accommodate the plates in the space left in the structure for the electronic part
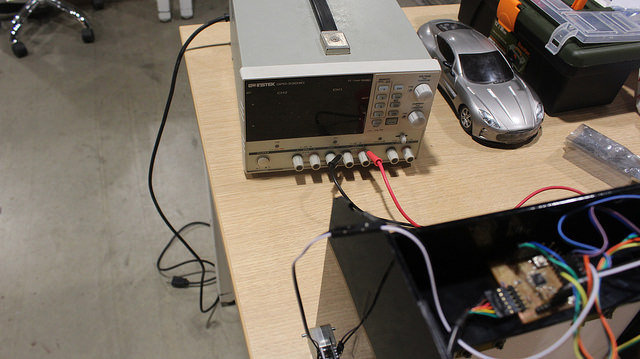
Put the power source in less power than 12 V and more than 7V, otherwise the motor will not move.
PROGRAMMING
APP INTERFACE: Once the QR code of our application for the project has been scanned, we proceed to connect to the bluetooth (Week 16)
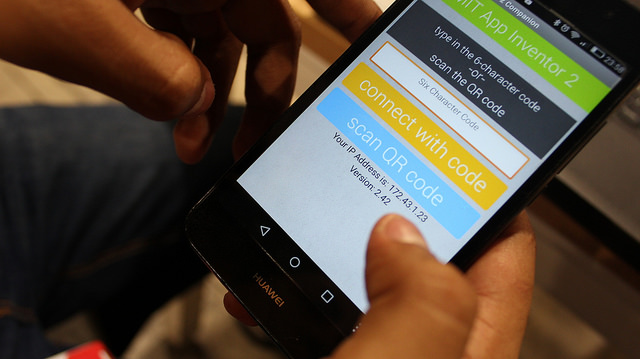
We have everything ready to go, we put everything in the structure and we test the project.
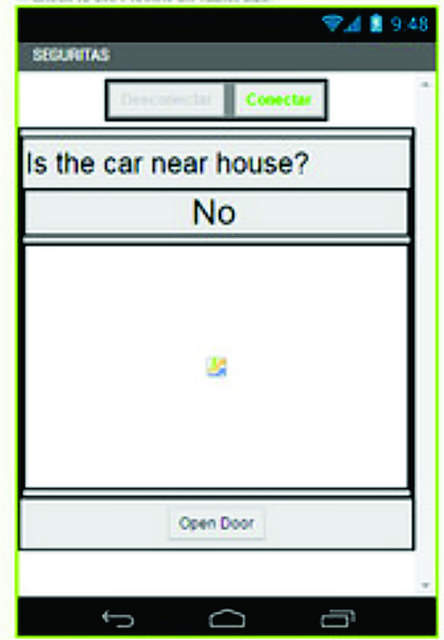
ARDUINO : The programming is designed to send a notification to the cell phone App via Bluetooth when both ultrasound sensors detect an object at a time less than 5 centimeters (to be sure it is a car). Once the car is entered and the other sensors detect a similar object, after 5 seconds the door will close.
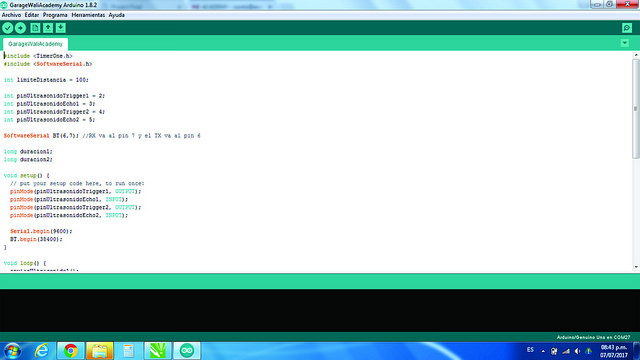
You can test the distance you require according to the standard width of the car.
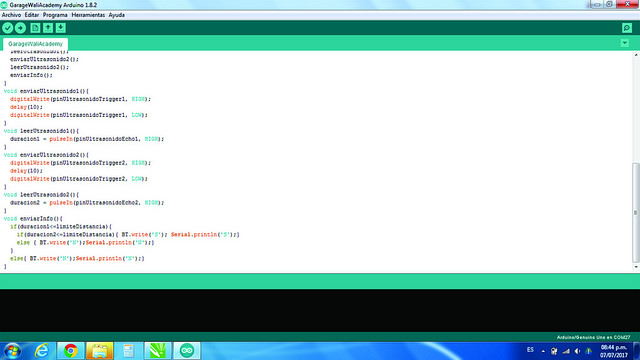
It is important to specify that for this delivery it was only possible to identify that there is a vehicle in front and send a notification for the application to the cell phone of the person who approves and opens the door.
The idea, as I mentioned before, is that the people who live in the house are recognized and do not need an approval, however notify the other members of the house that entered; And strangers (guests) require approval to open the door. Beyond creating a door you want to create a security system.
CC-BY-NC
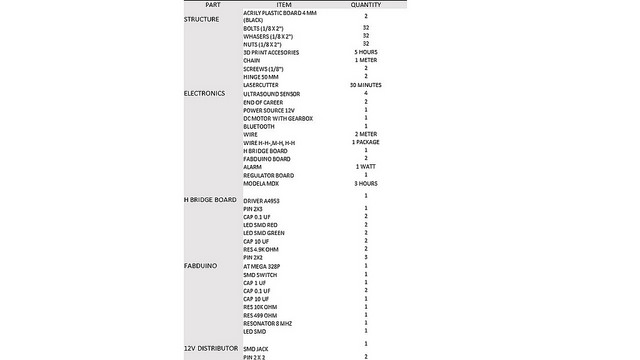
LIST OF MATERIAL USED (BOM)
VIDEO FOR PRESENTATION: HERE
LINK OF SLIDE: HERE
LINK OF VIDEO: HERE
DOWNLOAD THE FILES: HERE