
Assignment 15
networking and communications
Have you:
design and build a wired &/or wireless network connecting at least two processors
Inter Integrated Circuits bus or I 2C : It is a standard of digital communication between the different components of an electronic system.
A rule that specifies the protocol to follow to achieve an open communication.
The IC2 has the following characteristics:
1. Two-wire control protocol, one for transmitting data, SDA and another, the asynchronous clock that indicates when reading the SCL data. More GND and 5V.
2. Each device connected to the I2C bus and each has its unique address, 7 bits, (so, in theory, we can connect 27 = 128, devices).
3. One of these components, must act as master, ie controls the clock.
4. It is multi master, the master can change, but only one can be active at a time, and provides an arbitration protocol and collision detection.
This is the I2C scheme:

The idea is that all components are connected in parallel to the two bus lines, SDA and SCL. In each moment there can only be one master, in this case, our Arduino and the others are configured as slaves .
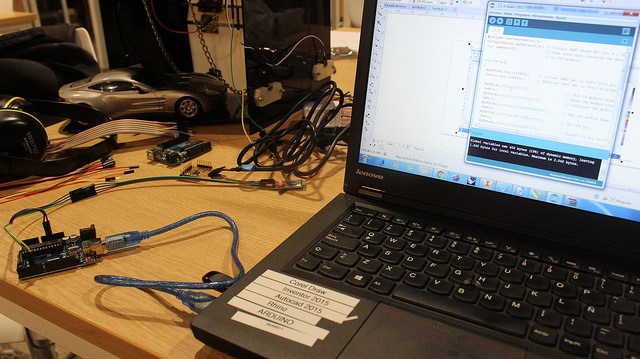
The good news is that our Fabduino supports it from the factory with a standard library, which uses two of the analog pins for the SDA (Data) and SCL (Clock) functions.
The I2C library in Arduino IDE is called Wire (so you do not trust), and manages the complete communications protocol, which is a detail, as it saves us the boring part of studying the protocol and writing programs for it.
Simply Fabduino A4 to SDA (Data) and A5 to SCL (Clock), plus GND and power.
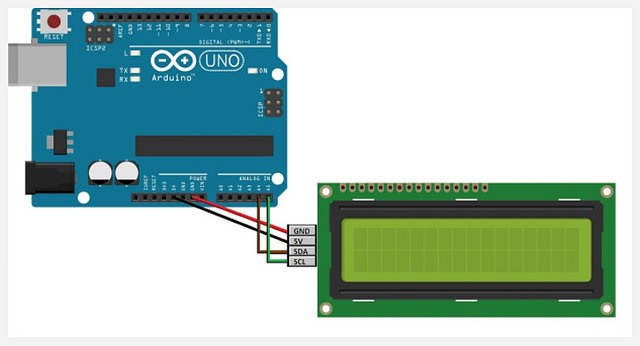
The first thing is that you download a new library to handle the display with I2C, is called LiquidCrystal_I2C and is an addition to the standard library that comes with the Arduino IDE.
Download the LiquidCrystal_I2C library and instal l it.
Now you have to include the normal LiquidCrystal library and then the LiquidCrystal_I2C library. We should have 3lines like these:
#include <Wire.h>
#include <LCD.h>
#include <LiquidCrystal_I2C.h>

Finally we create an instance of the object LiquidCrystal_I2C to which we pass the dir address of the display and several numbers that indicate that pins should use the library for the display, not Fabduino. Ignore it and copy it for the displays.
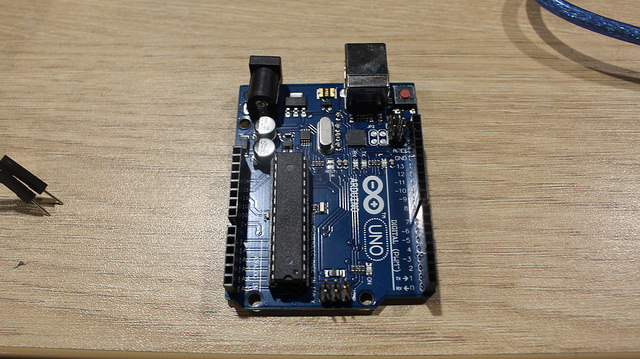
ARDUINO WITH BLUETOOTH : For this homework, I need communicate two proccesors, in this case I chose a communicate a Arduino with Bluetooth. In my final project I communicated a FabDuino with Bridge H through Bluetooth.
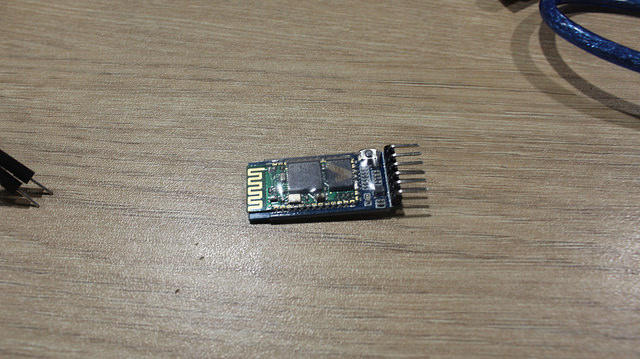
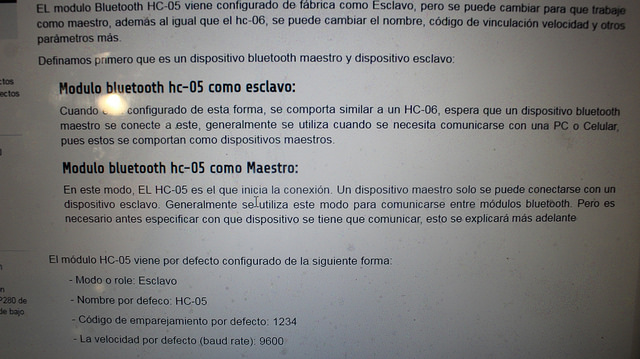
It is important to mention that the bluetooth comes factory configured as slave, that is, you always need to connect to a master device. But, it does not mean that it can not be configured as a teacher.
If you need to communicate with another bluetooht or similar device you can switch to master
To connect the arduino with the blutooth you have to check the pins. The bluetooth has pins: GND, VCC and RX and TX (can go to any digital pin of the Arduino)
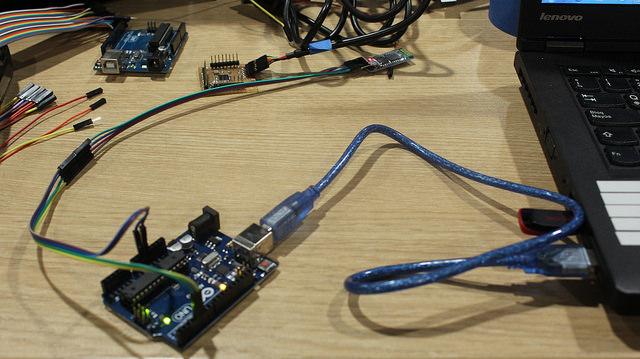
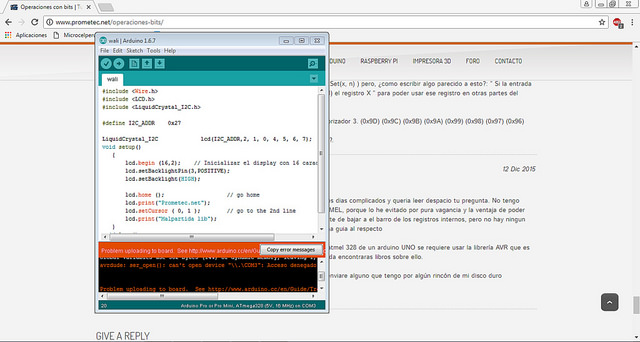
If it was a Fabduino we would connect it to the PC with the FTDI cable, but we did the tests and it would not run the program.
First, we will program in Arduino to convert Bluetooth to Maestro. For this we follow the following programming
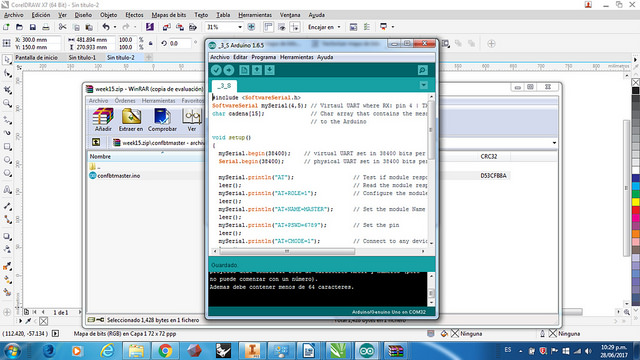
Then we program to function for serial
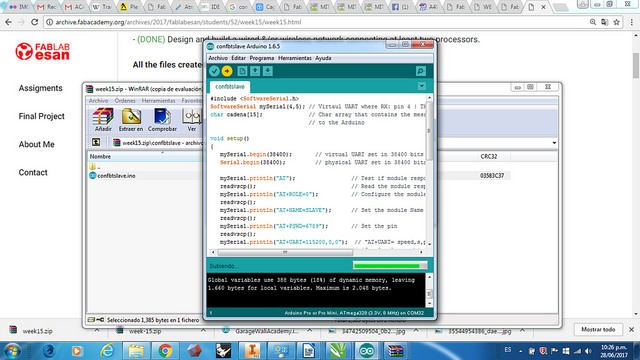
It could also be programmed by serial.
When the bluetooth is programmed the red light flashes slower
SETTING AS MASTER OR SLAVE WITH AT COMMANDS : For config with Serial Monitor use the AT commands that the form:
AT + COMMAND = < >
To change from master to slave, type:
AT + ROLE = 0 or 1, where 0 is Slave and 1 is Master and the Serial response OK
For change the speed:
AT + UART = 9600,0,0
For change the name:
AT + NAME = WALI (For example)
For stablish the vinculation pin:
AT + PSWD = THE PIN
And for reset the module:
AT + RESET
PROJECT FINAL : For my final project, I communicate the result of Ultrasound Sensors to Bluetooth through a Signal and then, communicate with the cell, it responds and communicate to bluetooth and then with the Bridge H for open the door.
View the next diagram:
