Assignment 03
Computer Controlled Cutting
Assignment:
Design and make a corrugated cardboard press-fit construction kit
Learning outcomes:
- Demonstrate and describe parametric 2D modelling processes
- Identify and explain processes involved in using the laser cutter
- Develop, evaluate and construct the final prototype
Have you:
- [ ] Explained how you drew your files
- [ ] Shown how you made your press-fit kit
- [ ] Included your designs files and photos of your finished project
This week's recitation
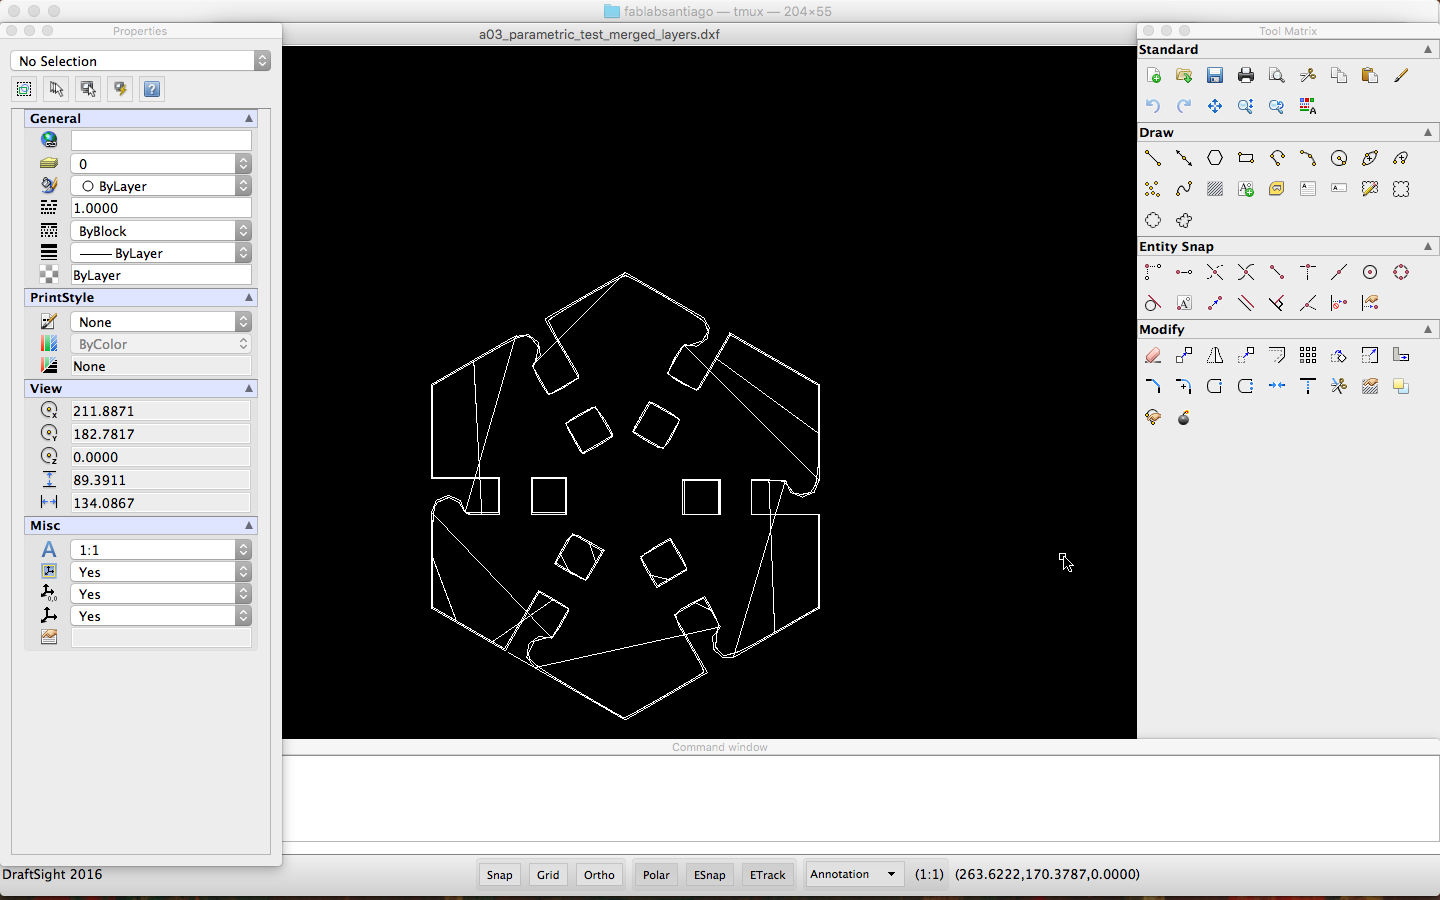
So, after the 1st attempt I came back for propietary software aiming at cleaning the mess that Inkscape made. By suggestion of Nico (#371) I downloaded DraftSight , a software with a freeware version that lets you edit .dxf (and other alike formats) and its available for Win/Mac/Linux (although when trying to install it on Fedora 23 I found a couple of dependencies issues that wouldn't let me install it; I had the missing packages but the installer wouldn't recognize them and I didn't knew where to place them).
Anyways, by looking at the .dxf file generated by Inkscape I realize that there are way too many duplicated vectors (not alone in this thought , but cleaning them with the right music it can be kind of zen), and many of them slightly displaced from their neighbors, so some dimentions might be lost during the cleaning process.
Source files: link 1
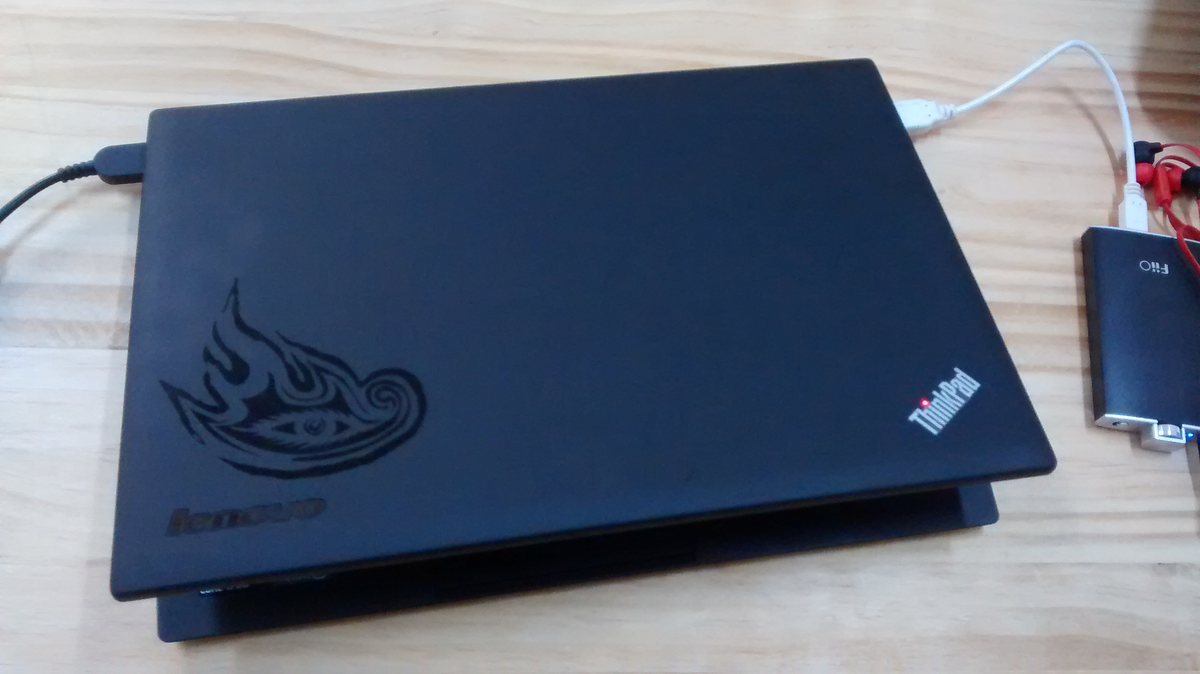
So, the extra assignment was to vinyl cut something, so I'm showing something that I made a month ago at the FAB851 (University of Chile). It is a band's logo glued to my laptop, it was done on a GX24 Vinyl Cutter.
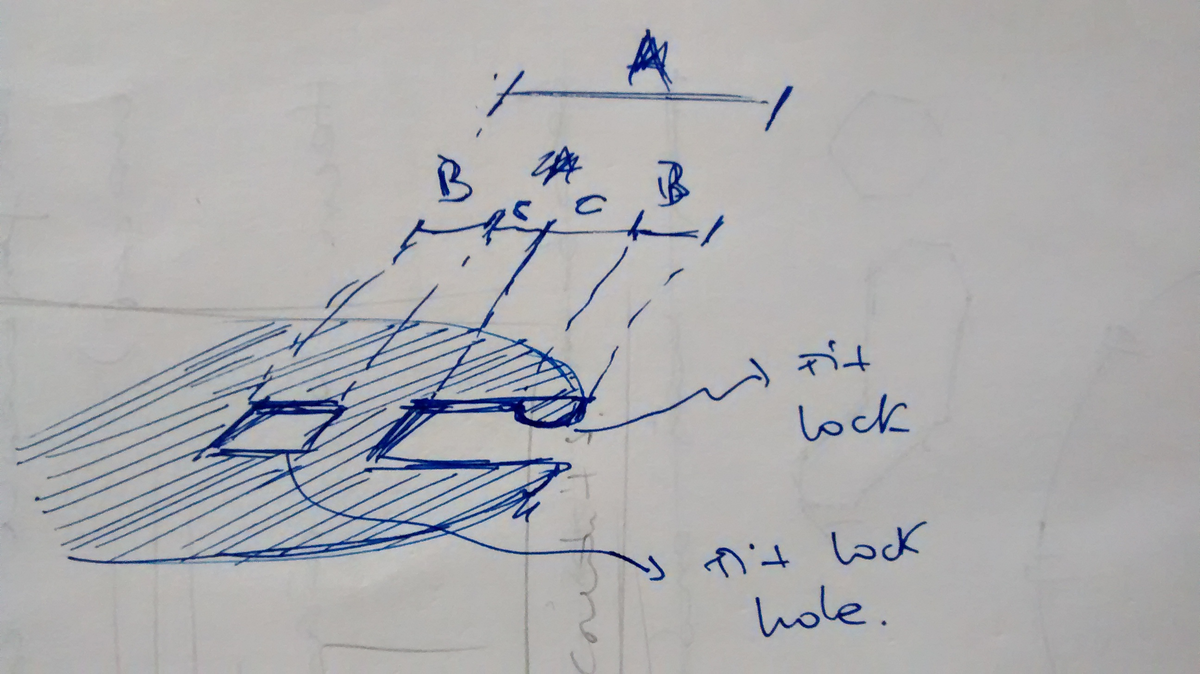
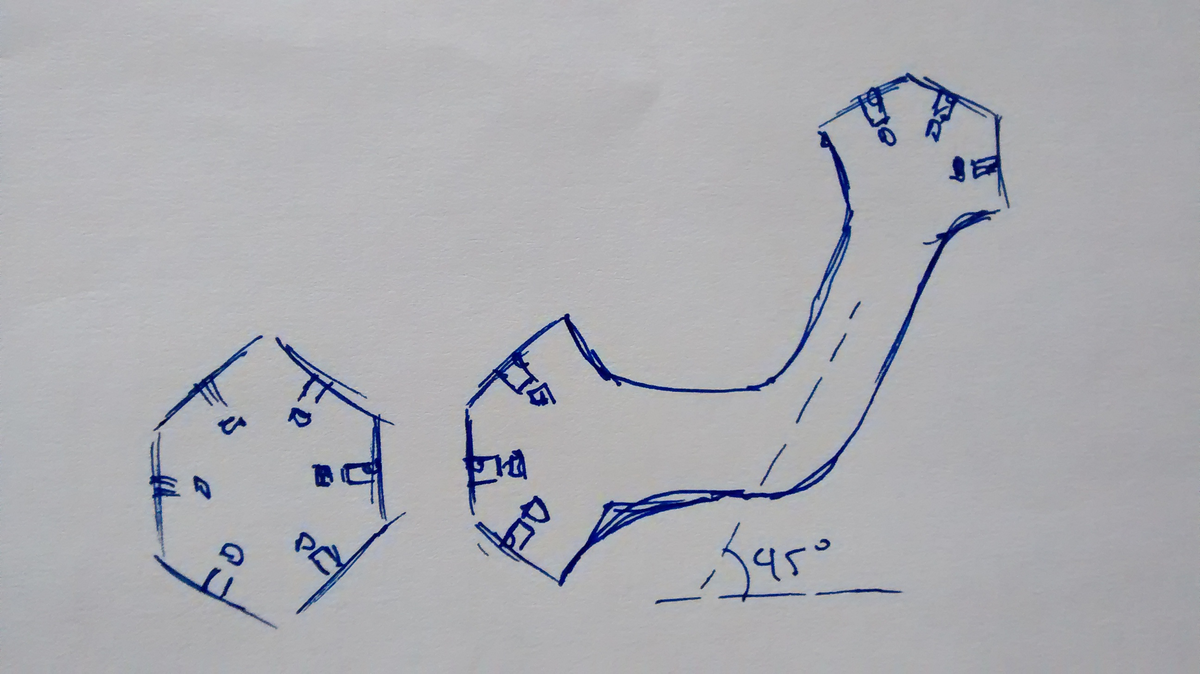
So, my idea for a fit-press kit is to have two different building blocks; the first would be a simple hexagon and the second a C-shape with the fits on its extremes.
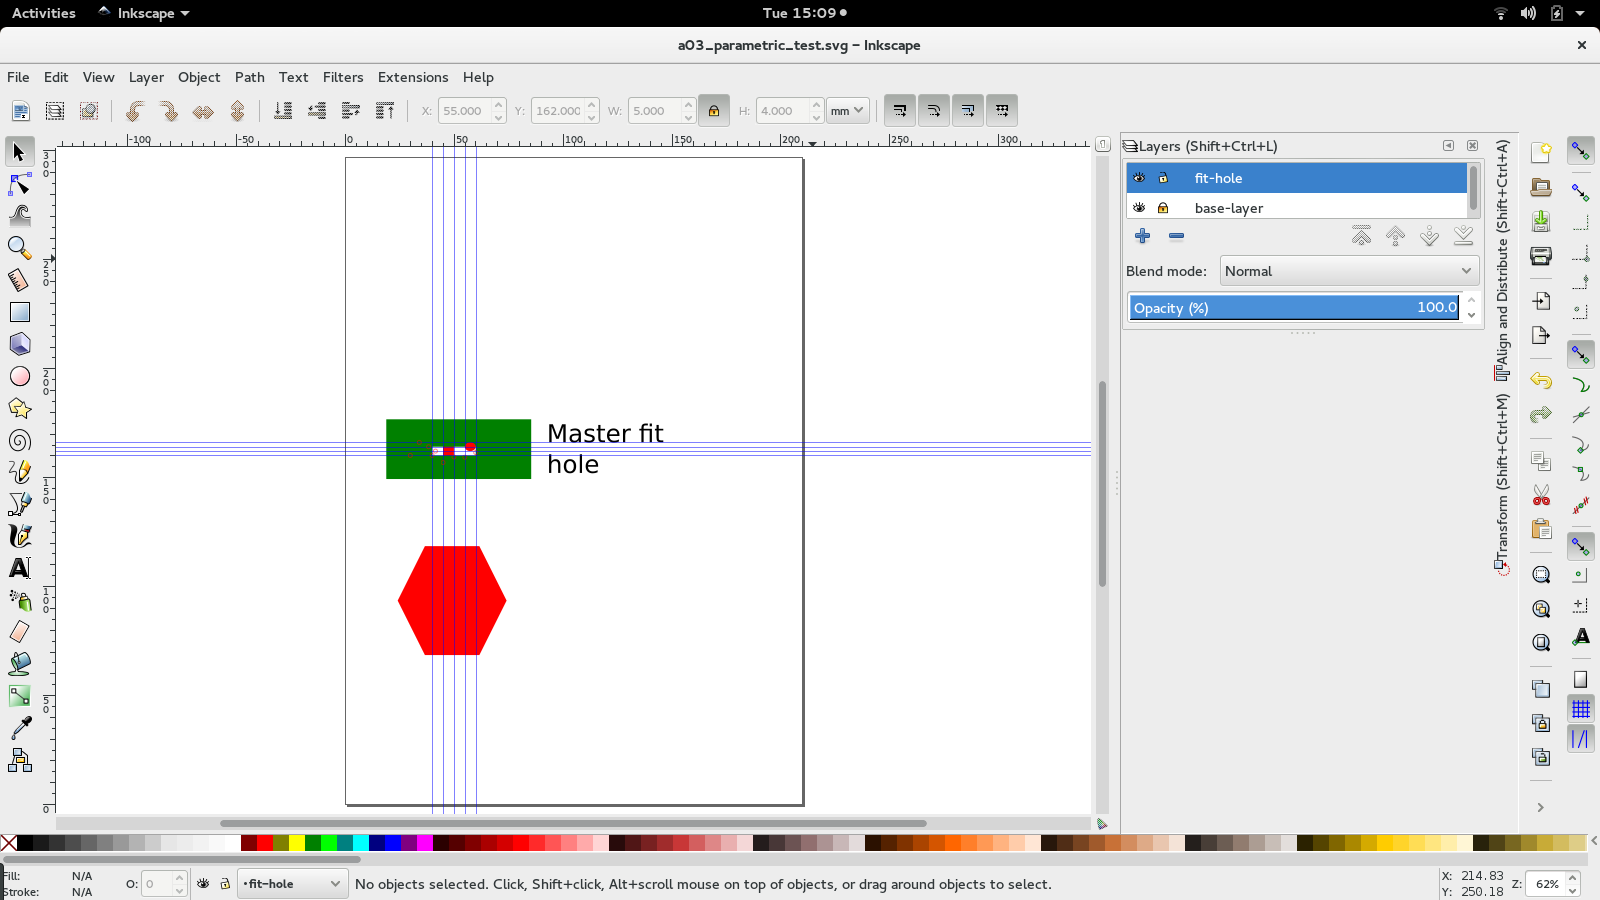
Before designing the whole thing, I'll work on building a layer with an hexagon to, then, overlap the parametrized fit (at this point I haven't yet tried the fit test, so my plan is to do that test and then update the final draft with the kit).
So, the aligning process was more difficult than expected ... finally how I solved the whole thing was to draw the hexagon with vertical lines on the sides (not horizontal at top-bottom) and the hole pattern (in different layers, just because). Then, clone the hole (Alt+d) and align the clone with the hexagon to the corresponding side, then center-align.
After aligning, I grouped the whole thing (hexagon and hole) and rotated the group in 60 degrees, and repeat until done ...
So, as I'm lazy to calculate dimensions, I went to this site to get all of the hexagon dimensions, which I chose to have a 5cm width (measured between oposed vertices).

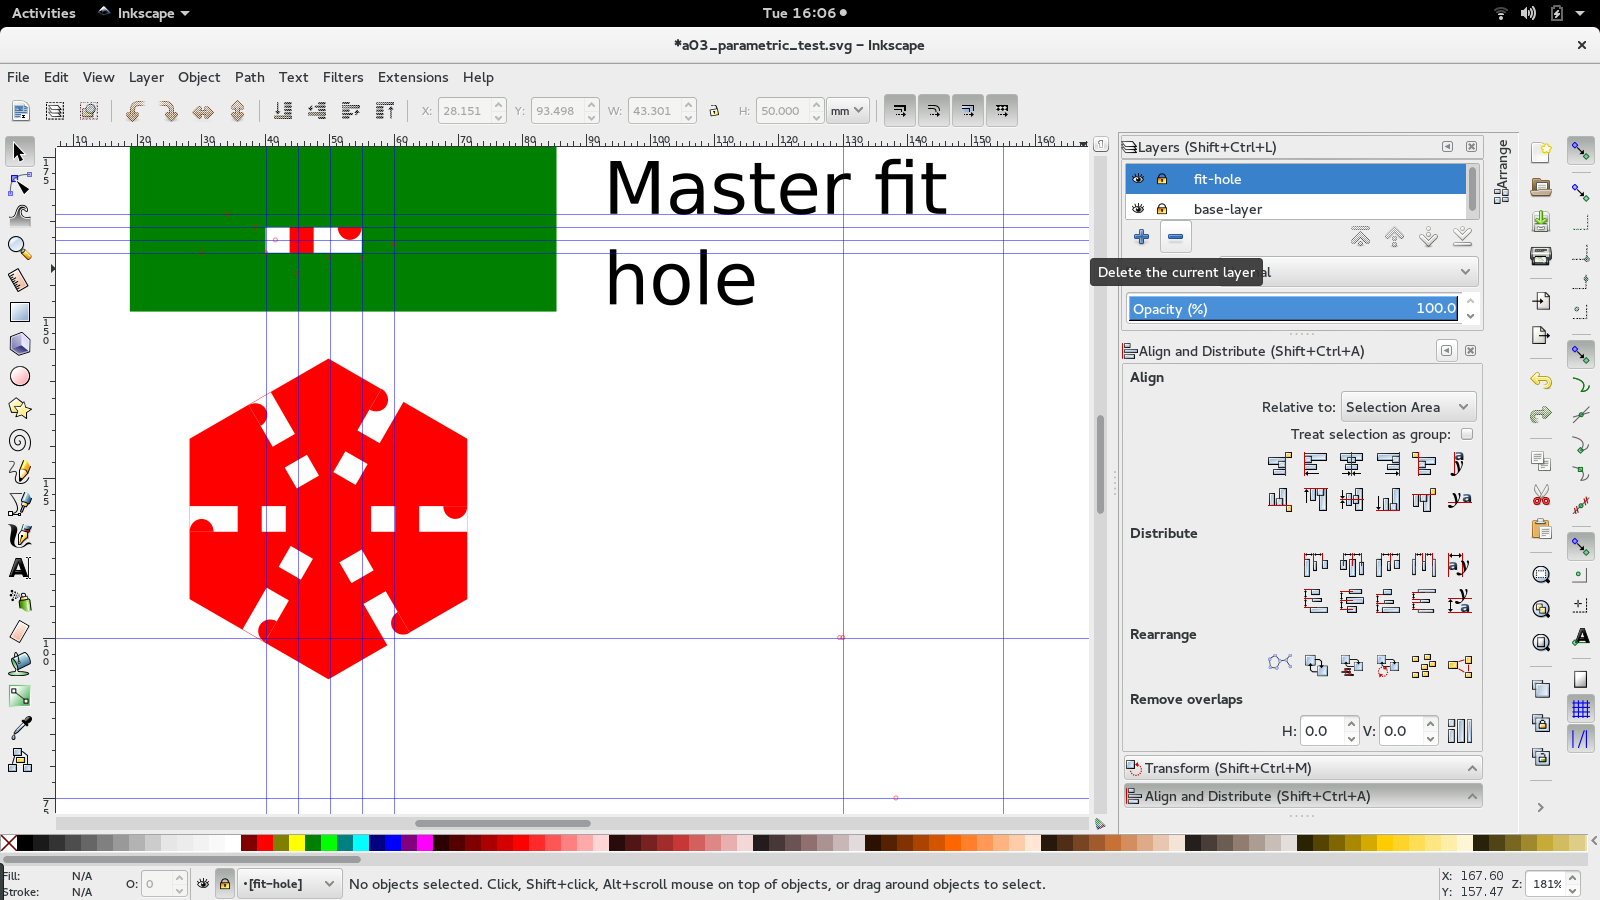
So, finally we went to cut and the problems started ... when you export the Inkscape .svg model to .dxf (required by the laser cutter) you won't get what you see in Inkscape, but the contour of each objet you created. With the fit test this was no problem, since the overlapping vectors gave the same result as wanted and it server the testing goal it was designed for and it served the purpose, although I got some burns due to a low laser speed.
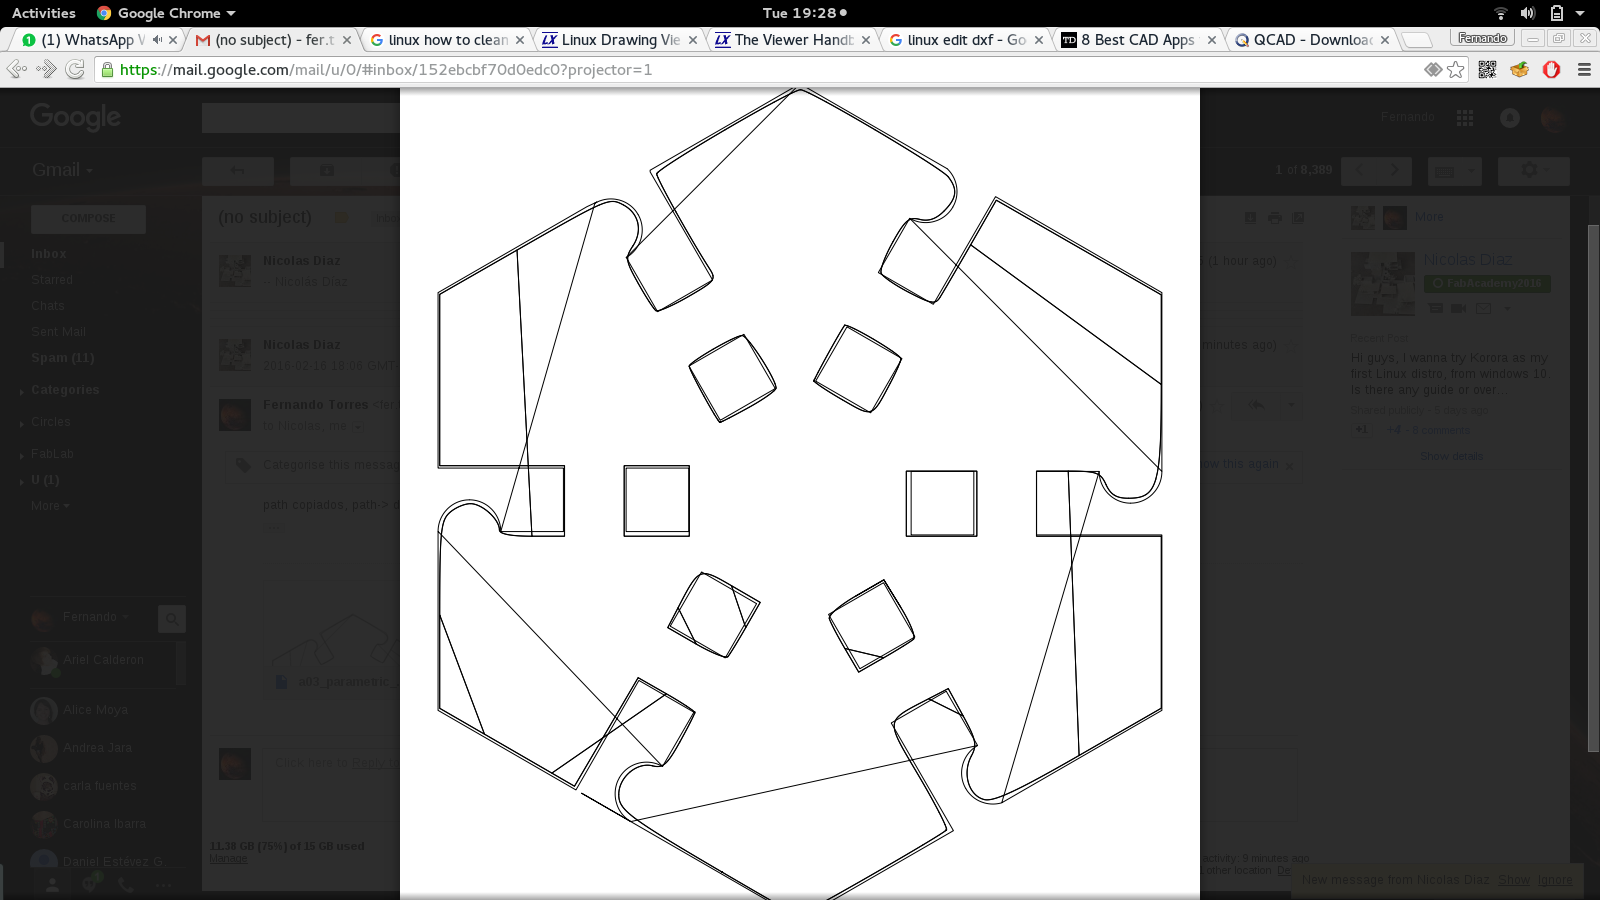
But in the case of the hexagon figure the object's contour issue couldn't be allowed, since there were vectors crossing all over the hexagon and it would have cutted the piece in many parts. So, to TRY to solve this, I converted all the objects into paths and, then, used the 'Path -> Difference' operator recursively with all the object's paths to generate a unique one surrounding the intended figure. Anywas, this wasn't enough, since noisy vectors were found after exporting to .dxf, as seen in this figure. So, I'll go for some propietary software to get a solution (next entry).
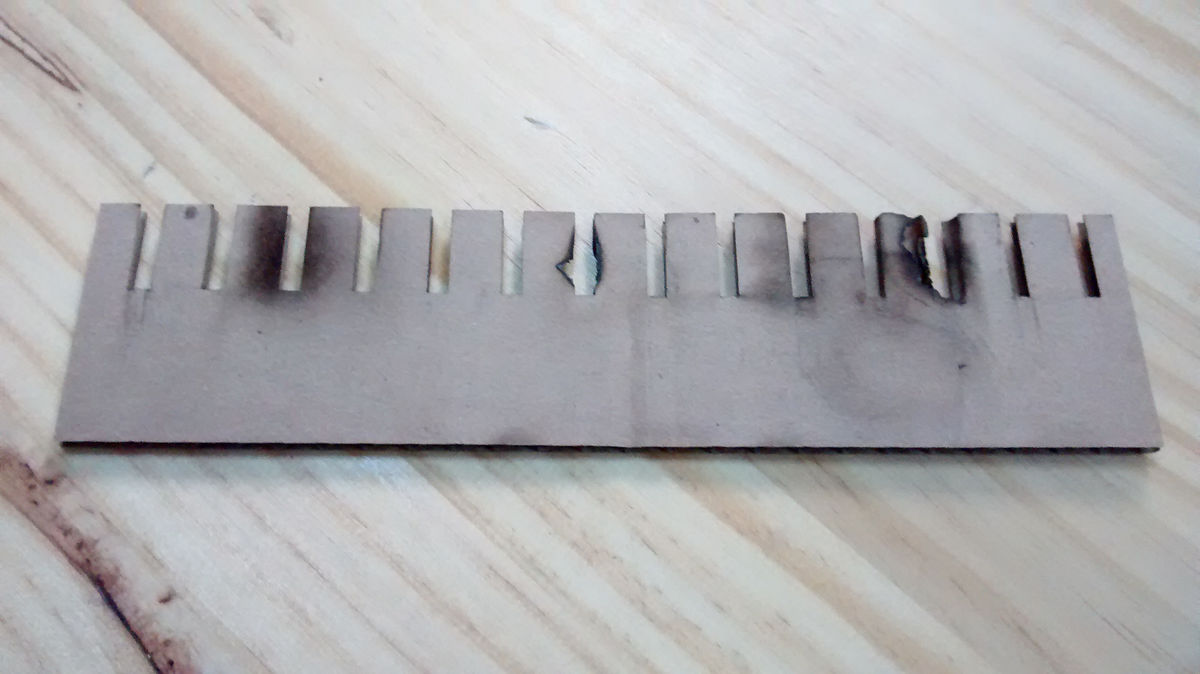
By the way, the parametrization worked perfectly!!! And the fit test showed that 3.4mm was enough for a good fit in a 4mm cardboard.
Sources file: link 1
So, I measured the carboard thickness to ~4mm, so I'll use that and thiner values on the test.
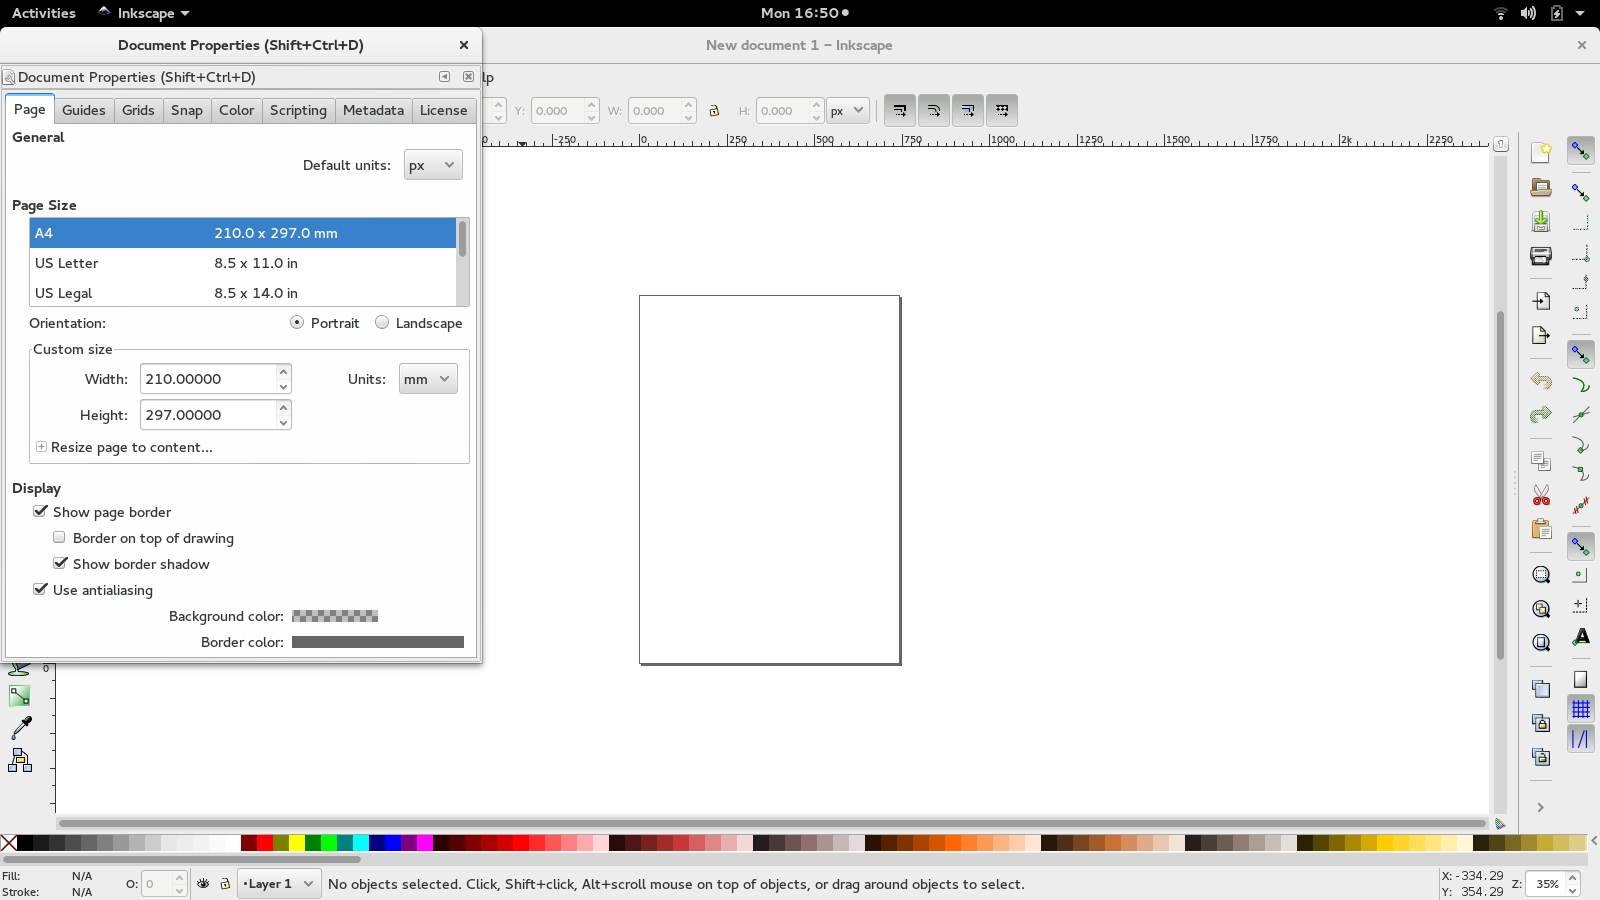
The first thing I note is that I have to resize the Inkscape's canvas to let the model fit in and change the units from PX to MM.
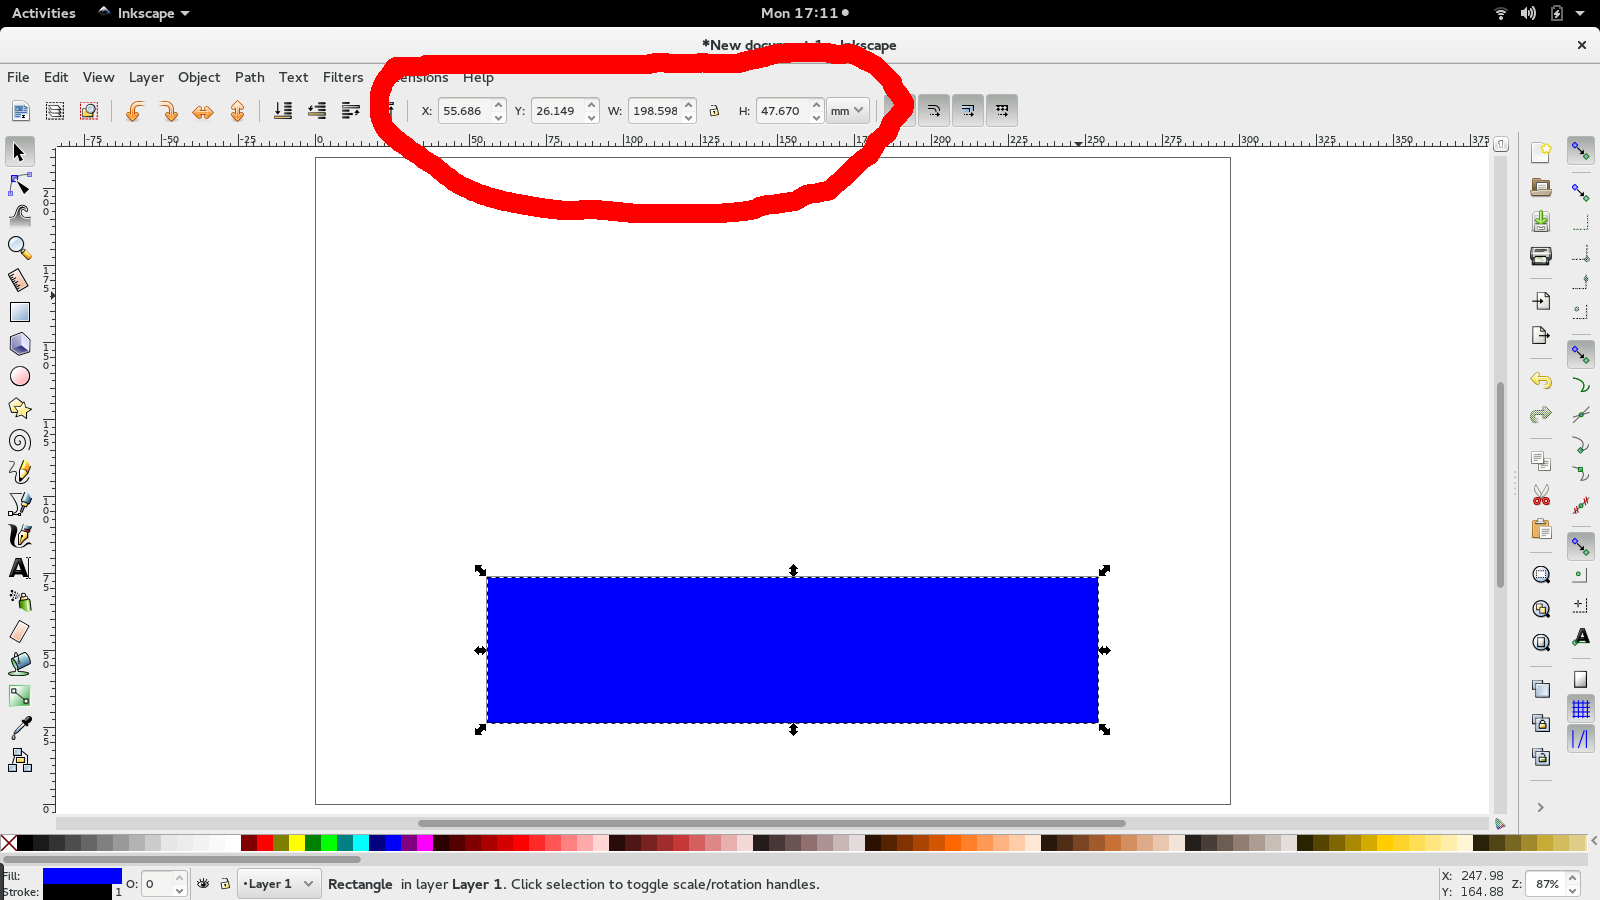
And the first noob issue comes ... how to specify the dimensions I want in the model. So, a quick search led me to this site, were it says that above the upper ruler I can find the object's size, and that there's the place to change it.
Source files: link 1
By looking at some of the last year's Week-03 works ( link 1, link 2, link 3 ) I'm realizing that it is a good idea to do a fit test with the selected cardboard before actually cutting my press-fit design (yet thinking of it). So I'll do a fit test as my predecessors to get the correct value and, in order to use parametric design, I'll start doing a press-kit proposal with the fit's width dimention parametrized, so the change will be easier afterwards.