Week 16: networking and communications
May 11 - 17
Assignment
- Design and build a wired &/or wireless network connecting at least two processors
Another Satshakit
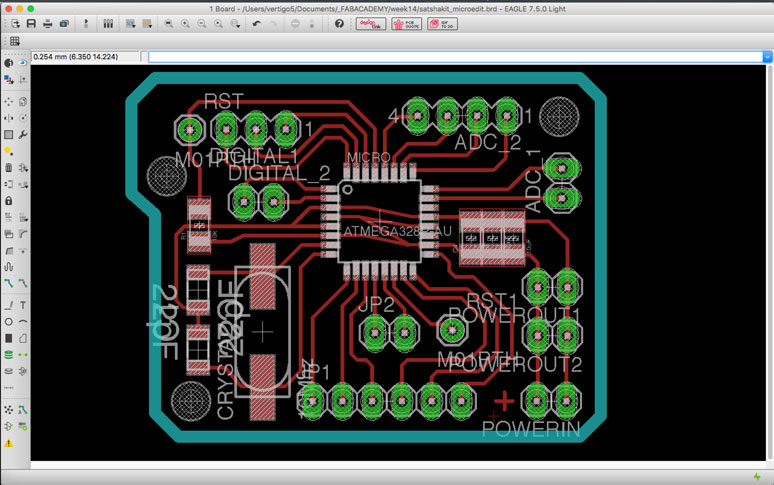
Because I needed a simple microcontroller that I could program with the Arduino IDE, I turned once again to the satshakit. However, since I had made the regular one before, I wanted to give the micro a go. I took the board files and made some adjustments. I added additional ground and power pins, and organized the pinouts in a more logical manner. The board is slightly larger and squarer, but good enough.
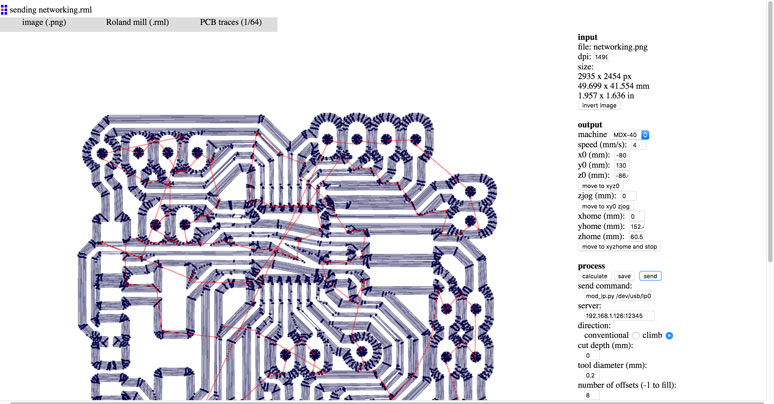
To mill the board, I usually use the cirQoid, however I wanted to give the Fab modules a go this time with the Roland MDX-40. The process was a bit long winded, requiring PNG export from EAGLE and then using an image editor to crop and create the cut PNG. However, it was nice to be able to control the milling machine over the network. The interface was a bit lacking though. It took a bit of hand holding to make sure everything is in order.
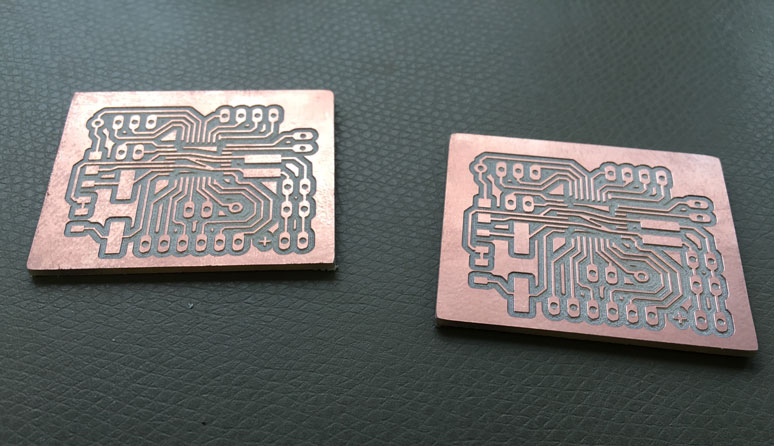
The results of the mill was quite nice, but they needed additional work.
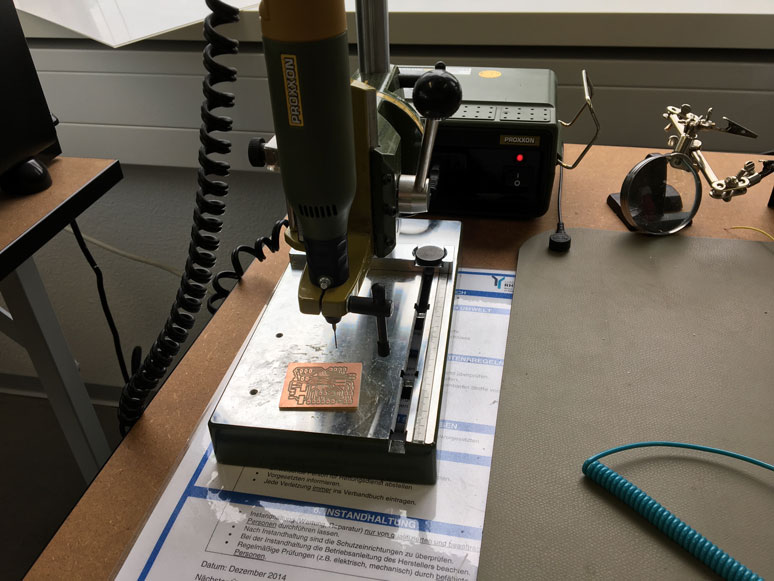
I had to manually drill the holes for the pinouts, which went by relatively easily.
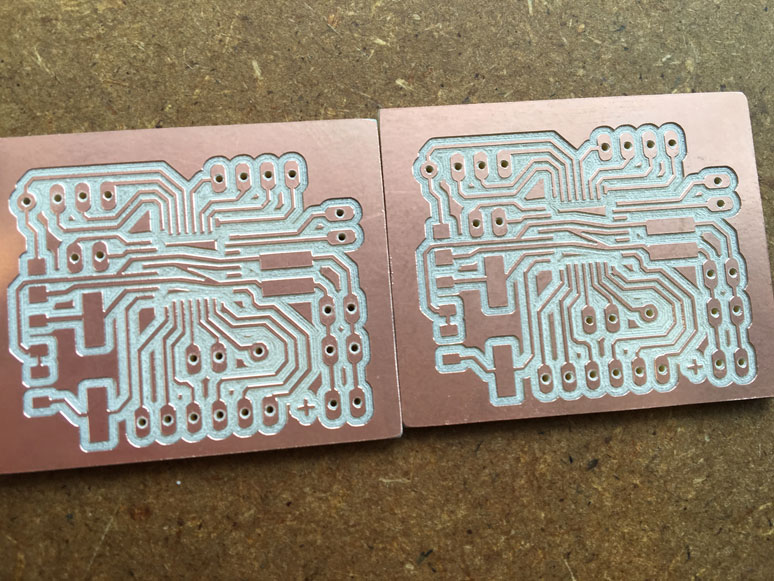
Here are the boards ready for soldering.
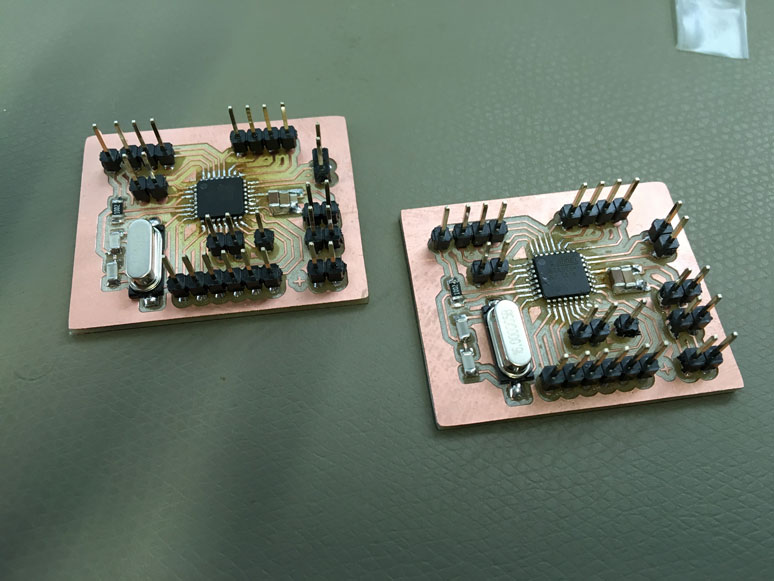
And solder I did. Having done this a bunch of times already, it went by without a hitch.
Once the boards were completed, I needed to network them together. They could only be programmed via Arduino. I tested both boards with a simple blink program and an LED. They both were up and running, so I uploaded on the first board, an example program from Arduino IDE called PhysicalPixel, located under examples>communication>. The basics of the code has the board listen to the serial channel. When an 'H' is received, it will turn a pin to 'HIGH', and when an 'L' is received, it will turn the same pin to 'LOW'. I changed the default pin from 13 to 5 and attached an LED to it.
const int ledPin = 5; // the pin that the LED is attached to
int incomingByte;      // a variable to read incoming serial data into

void setup() {
  // initialize serial communication:
  Serial.begin(9600);
  // initialize the LED pin as an output:
  pinMode(ledPin, OUTPUT);
}

void loop() {
  // see if there's incoming serial data:
  if (Serial.available() > 0) {
    // read the oldest byte in the serial buffer:
    incomingByte = Serial.read();
    // if it's a capital H (ASCII 72), turn on the LED:
    if (incomingByte == 'H') {
      digitalWrite(ledPin, HIGH);
    }
    // if it's an L (ASCII 76) turn off the LED:
    if (incomingByte == 'L') {
      digitalWrite(ledPin, LOW);
    }
  }
}
On the second board, I simply had it transmit on the serial port, an 'H' and a 'L' in one second intervals. The effect should be that the LED blinks on and off at one second intervals.
void setup() {
  Serial.begin(9600);
}

void loop() {
  Serial.print('H');
  delay(1000);
  Serial.print('L');
  delay(1000);
}
The process went without a hitch. Now I know some simple serial networking between microcontrollers and I now also have two sweet satshakit micros to use in the future!