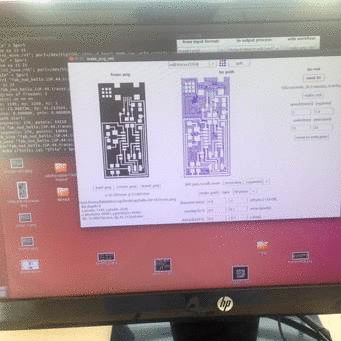
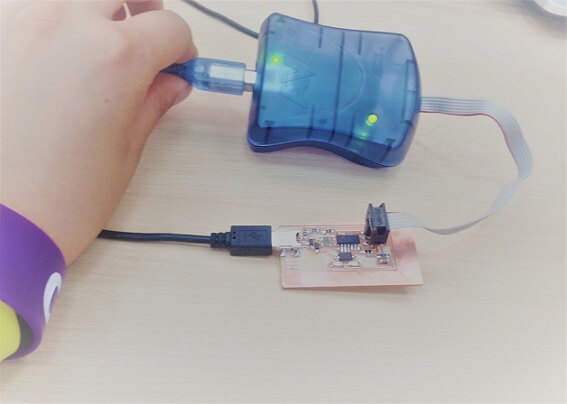
*Make an in-circuit programmer by milling the PCB (program it, so that you can use it to program your board in Electronics Design week, and in other weeks).
*Optionally, trying other processes.
*Describe the process of milling, stuffing, de-bugging and programming.
*Demonstrate correct workflows and identify areas for improvement if required.
*Shown how you made and programmed the board.
*Explained any problems and how you fixed them.
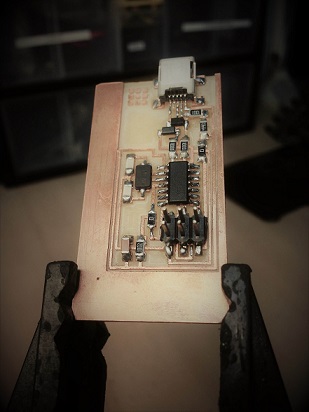
*Included a ‘hero shot’ of your board.
Make an in-circuit programmer by milling the PCB
Optionally, trying other processes.
Describe the process of milling, stuffing, de-bugging and programming.
Demostrate correct workflows and identify areas for improvement if required.
Explained any problems and how you fixed them
Included a 'hero shot' of your board
First I opened the file containing the design of the ATTiny44 card in Ubuntu and cut it using the "Roland Modela" machine. First, a little self-adhesive double-sided tape should be placed on the plate to fix it to the work platform, then X and Y axis will be configured with the software and then Z manually until the milling cutter is placed at a suitable point to start the production.
That took half an hour.
After getting the PCB, I cleaned it a little bit and started to heat it with the heat gun (this would avoid chipped fangs) to cut it with the guillotine, then I cleaned it better with a toothbrush and that's it, I already had my card.
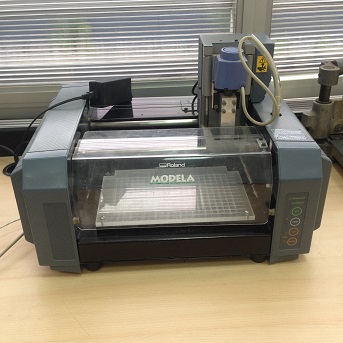
My global evaluator ask me: In the class page you can download the file to cut the board with a 1/32 mill. Instead you have used a guillotine to do it. Why have you do that?
It is a good question, I didn't try to cut with the 1/32 mill in this assignment, but you can do it, I tried but in this assignmentweek14 and week 16
Honestly, I had not done it because I was told that the sacrificial table could be damaged, and when it was the first time I made a card, the Fab Lab gave me the indication to do it with the guillotine. But after trying in the weeks that I already told you, it was effective, the detail is to do it with a lot of pressure, taking the exact measurements of where you locate the point of origin, this way you can save a lot of material (boards) Cards giving different edges, in this case I only made squares, but it occurred to me that you'd make cards with asymmetrical shapes, clouds, hearts, or others.
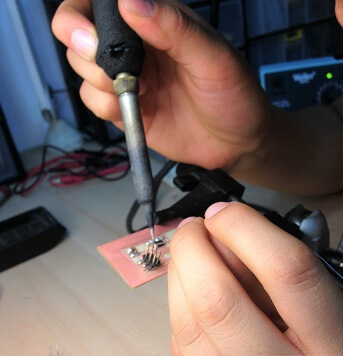
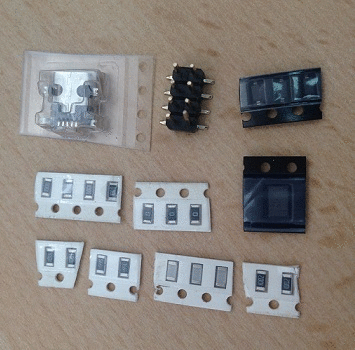
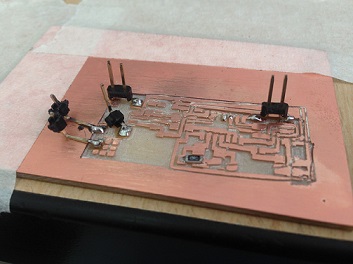
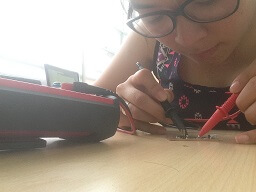
This was my favorite part, to start soldering. I had not done it before and I heard many comments about how complicated it was and the care it required.
First, I placed a suitable work area to take advantage of the light. I put the solder paste, the soldering iron tip cleaner, the soldering iron, the soldering support, the magnifying glass (I am short of sight and this was a big challenge), the lamp (I knew it was going to take time), the soldering wire and, of course, the extractor the closest I could.
Then I compiled all the components that I needed for my Fabisp. I waited for the soldering iron to reach a temperature of 75 ° Fx10 and the work began.
I performed tests on a few pieces of plaque and with components that had been discarded.
After a couple of tests, I felt ready to start working on my first Fabisp. In the videos you could observe how it was. The only thing that I can recommend is to work with patience and good mood. I applied the Niel's technique explained in class and that greatly facilitated this process, warm the work track a bit, lay the tin wire and move this to define the component welding.
The list of components I used is found here:
Well, I have to presume about my first Fabisp, I loved doing this.
This is how my Fabisp looks like. I enjoyed this challenge and I am sure I did a good work soldering, the multimeter showed it.
I did not get too much attention to finishing the details of the plate, I recommend to do it before start soldering. Be even more careful with the board's appearance, for I had to cut the board with the guillotine and sand it to look better.
For this challenge, I used the guide we have in the class files. I started working on Ubuntu, opened the terminal, entered the key of FabLabTecsup and continued with the indications, asking the man responsible that accompanied us in this sleepover and to my companions who dominate these subjects much more than I, and so, I understood each step. At about two o'clock in the morning, an ERROR message appeared and the system pointed to what it is called "make fuse". Now that I begin to compile the information on my personal page is five in the morning and we still can not find what is failing, cause we are sure to have performed the steps correctly. We guess that the AVR is the one that does not work properly. Being 11am, after reviewing several pages of previous students and searching for information on the internet, we decided to change and no longer use the AVR, I will use the UsbTiny. Eureka! I have it, I managed to program following the steps that we can find here.
To be the first time, I did a good job.
I must practice more programming.
It was my first experience making a board, milling and soldering, I found lot of oportunities to learn, in this attempt everything was successful.
I made my FabISP and programmed it. Without having a history of programmer or electronics I did it ! but I have to practice a lot to not forget it.