Computer Controlled Machining
Introduction
CNC Machining stands for Computer Numerical Control, it is a Machining is a process used in the manufacturing objects that involves the use of computers to control machine tools. Tools that can be controlled in this manner include lathes, mills, ...etc.
A computer program is customized for an object and the machines are programmed with CNC machining language that essentially controls all features like feed rate, coordination, location and speeds. With CNC machining, the computer can control exact positioning and velocity. CNC machining is used in manufacturing metal, plastic, wood… etc.
First a CAD drawing is created (either 2D or 3D), and then the Drawing format is changed to away that the CNC machine will understand. The program is loaded through its controller and finally an operator runs a test of the program to ensure there are no problems. This trial run is referred to as "cutting air" and it is an important step set the home position of the drill in addition to drill speed .
First Design
I implemented my 2D/3D design on Onshape. So I started basically on designing Shelfs. So first of all, I Set my units to mm. Used the design tools to design Shelfs. The type of wood we re using is 18mm MDF. Before we start my collage printed a test measurement piece to test the fitting of the 18mm.
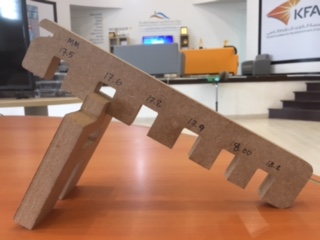
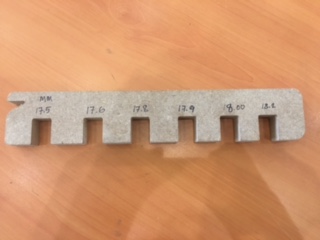
The best fit was 17.6 mm. So in my design whenever I design the press fit I keep the distance as 17.6 mm. After designing the shelfs I viewed them in 3D view and found some measurements mistake. Most of the mesurment mistakes were while using two UU shapes cross fit. As it is connected from the very end edge of a piece instead before some distance of an edge. I redo my calculations accordingly and create the correct fit.
afterward, I exported my files “ each piece “ as DXF format and opened with ARTCAM software with a laptop installed with windows as this software only compatible with windows.
File → open and choose one piece of the project.
Toolpath → new 2D toolpath it will show my piece with a side bar.
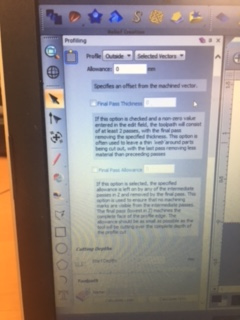

Out of this bar I need to set the allowance “Tolerance” I will go in detail in a bit. Set the drill pit to 3 mm and set the depth of cutting as 19mm since my wood thickness is 18mm. Moreover, I had set the stepdown to 3mm in order to cut a depth of 3 mm in each iteration till the end of 19mm.
In my project all my colleague followed a specific method witch is set their hole in the design to 18mm then change the tolerance to -0.3 mm and then did the cutting in CNC. As for me I put the exact hole size witch is 17.6 in the design stage and set my tolerance to zero.
If you have holes in the design, it is required to choose all holes and set them to inside cut and then the border is outside cut.
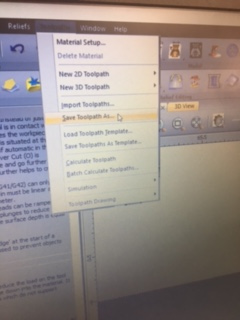
Then at the bottom of the bar you click Calculate now then go to ToolPath → save ToolPath. In new window set the order of the selected job inside cut on top and outside cut on bottom in order for the CNC machine to process the inside cut while the wood piece is fixed with nails otherwise it will be movable and the cut will fail.
I did test two pieces and the result as follows:
I faced two main issues, the first one is that number of participants in the lap is 12 people. And we only have one CNC machine so a huge queue is waiting their turn. The second issue is that the cable feeding the motor of the Z access of the CNC machine is damaged. The instructors took some time to identify the issue and try fixing the cable by soldering the end of the cable again, but unfortunately it did not work. So in the mean time I designed anther object.
Second Design
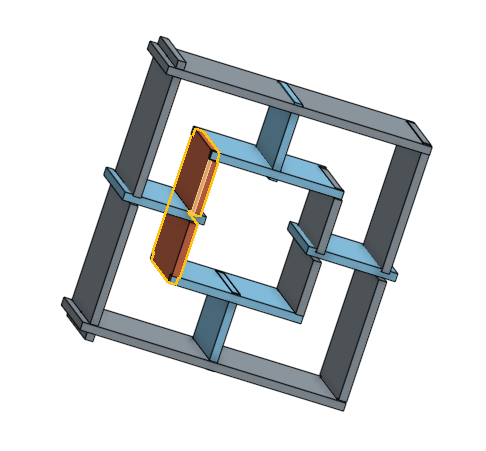
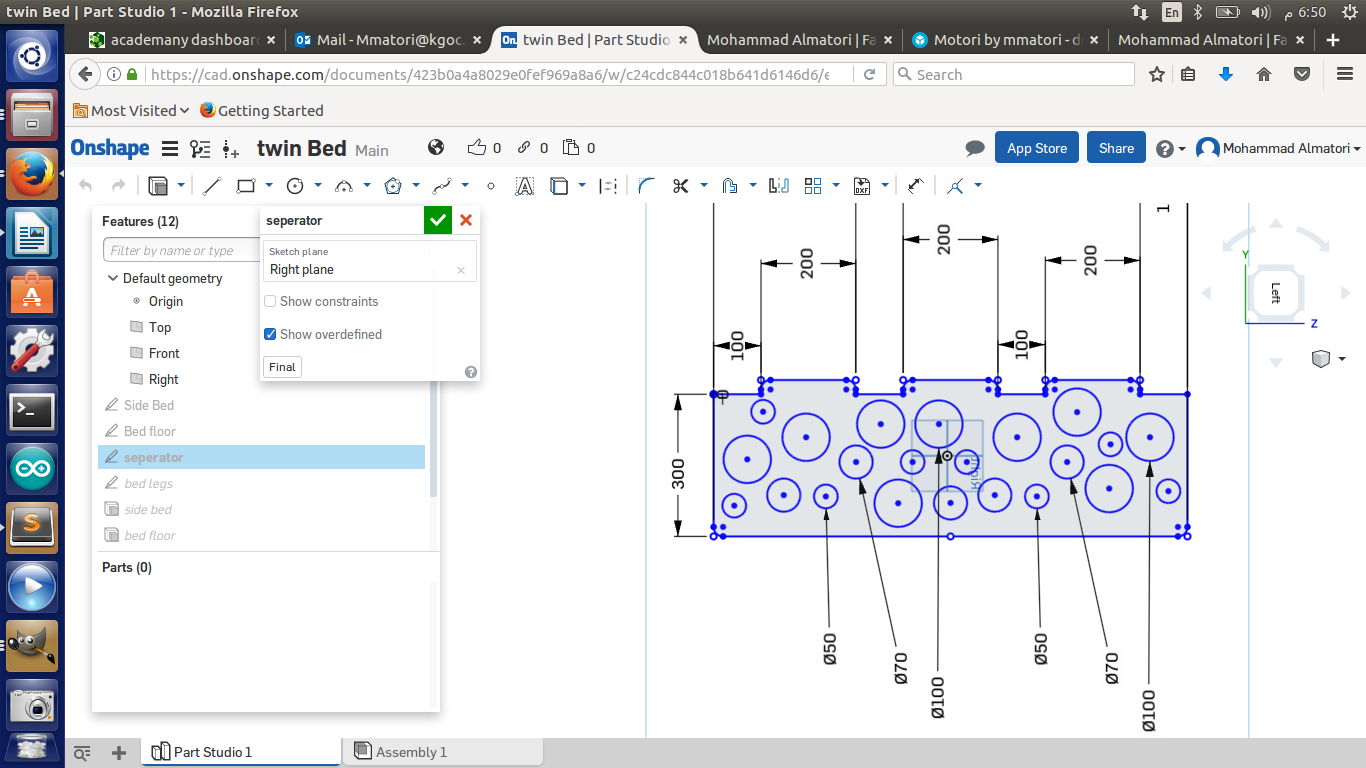
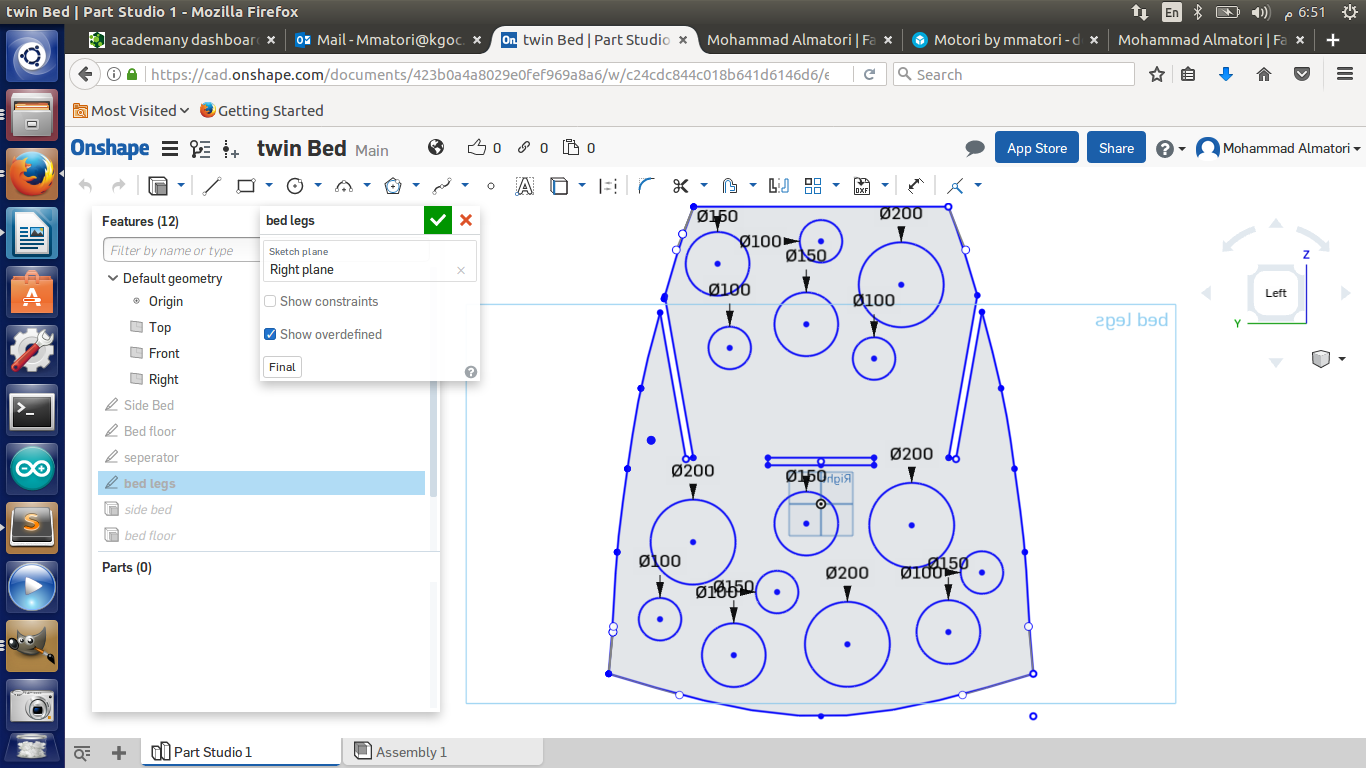
Since the CNC was not working i went ahead and designed a second Design which is a bed for twin babies.
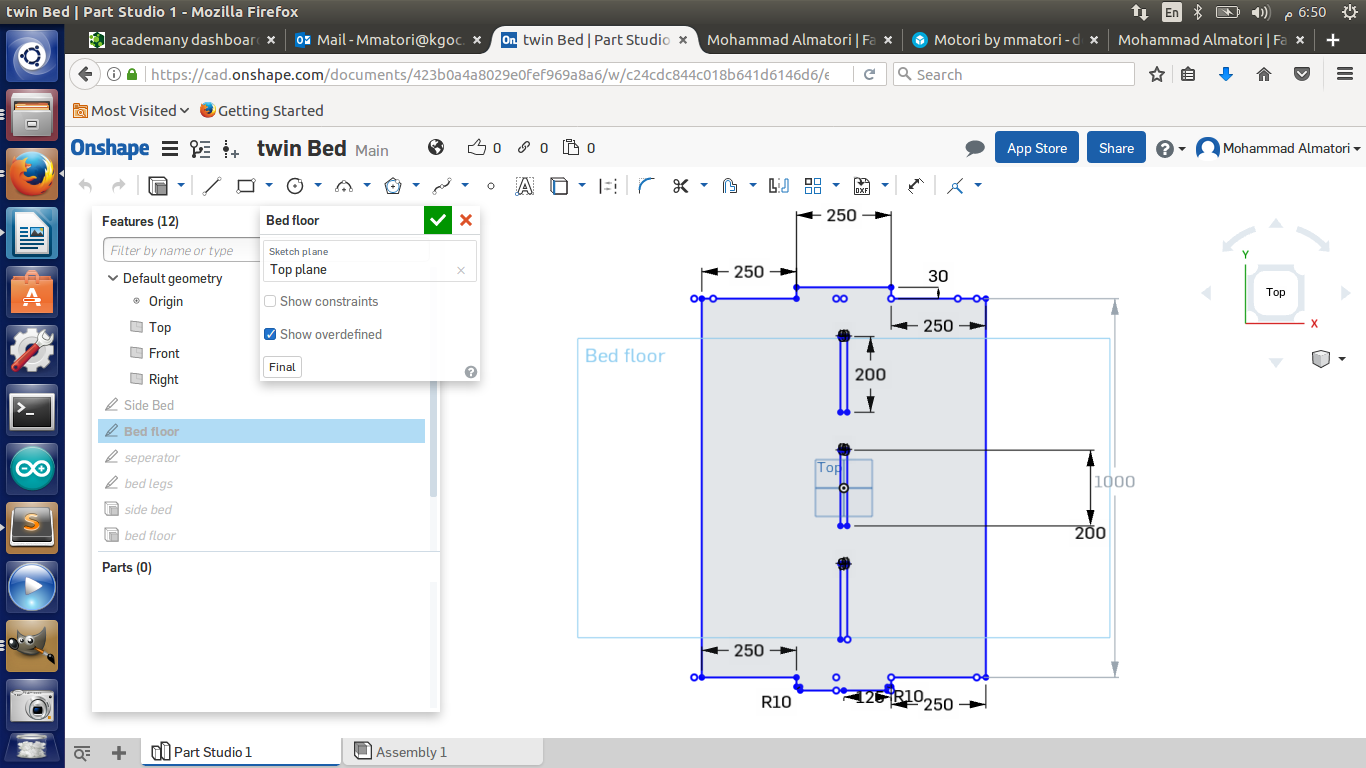
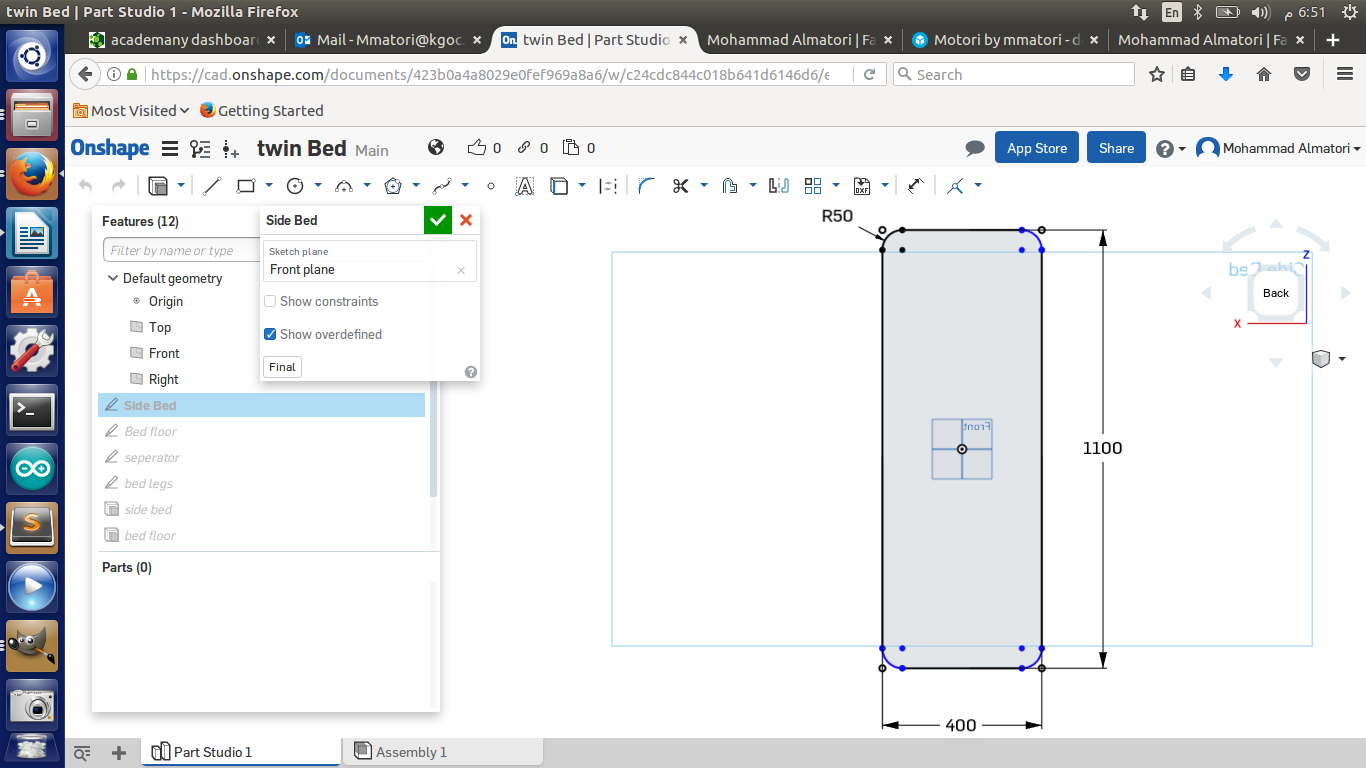
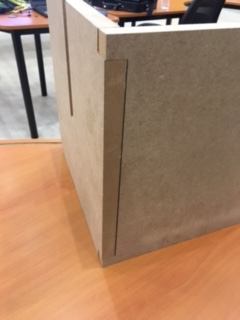
In order to make it easier to fit the pieces together, I made the edges curved. this step was really helpfull.
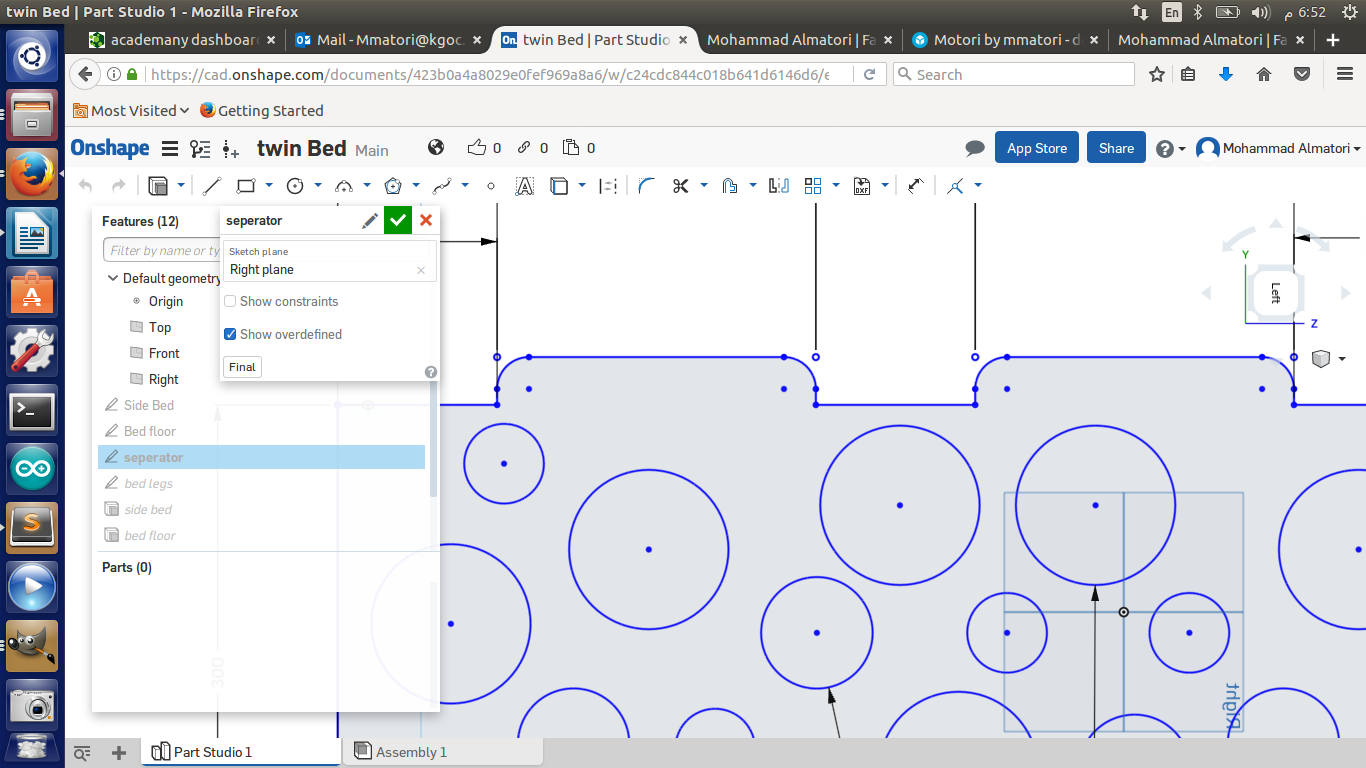
I used the same steps in design Number one above. Except that i did add a tolerance of 0.1 mm for the seperator piece in the middle.
How to Setup the CNC?
The following are the steps to cut using the CNC machine:
1- After preparing the .NC or .PLT file using ArtCaM software, we save the file to a USB Flash Drive.
2- Plug the FlashDrive into the CNC Controller.
3- Move X,Y and Z coordinates in order to set the home position.
4- Choose the file.
5- Setup the speed.
6- Run the file.
Notes:
1- Make sure to fix the wood sheet with screws with the CNC platform.
2- Make sure to avoid setting the home postion on top of the screws.
3- Set the speed of the machine to 3000.00 as shown in the tutorial.
For more details on how to run CNC, Please refer to my tutorial video hereunder:.
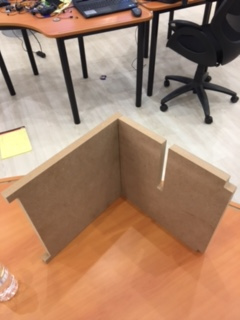
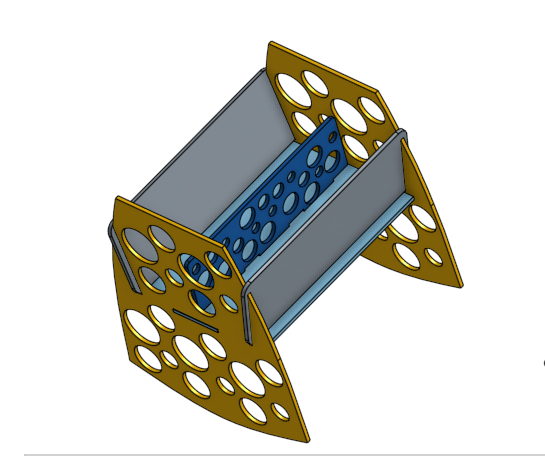
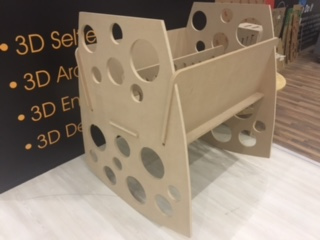
I Cut the the wood peices, i had a total of six peices. by fitting all the peices into each ather i have my final bed object.
Download Files
Shelfs Design.
Bed Design.