- Read a microcontroller data sheet.
- Program your board to do something, with as many different programming languages and programming environments as possible.
- Optionally, experiment with other architectures.
Class material: Embedded Programming
Insper FabLab's operational manual here.
- HelloBoard - customized - previous exercise.
- Programmer - another previous exercise.
- USB cable + flex-cable (item reference here.
- Jumpers.
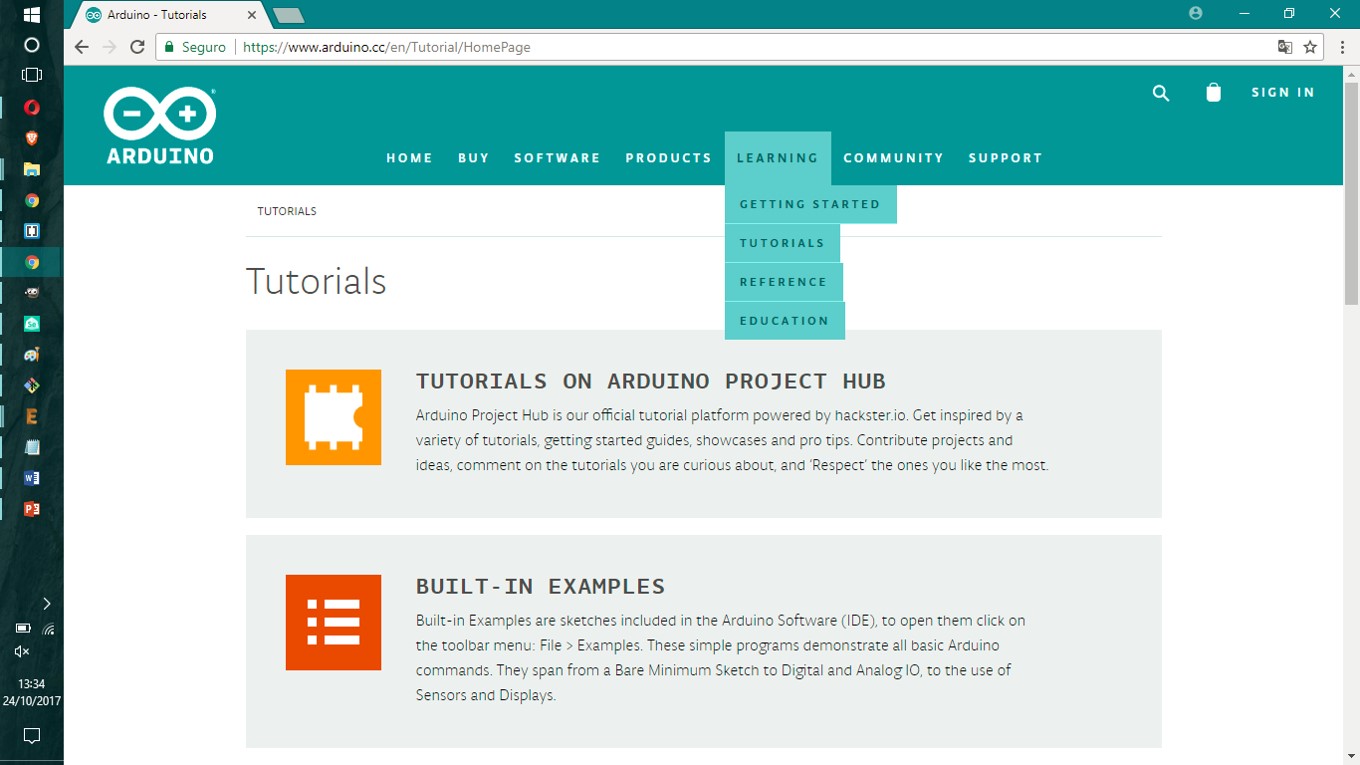
Arduino IDE is the platform to write code that is gonna be user during this assignment. In the same website one may find tutorial links. The mains menu shows a "Learning" option. There is more than only tutorials.
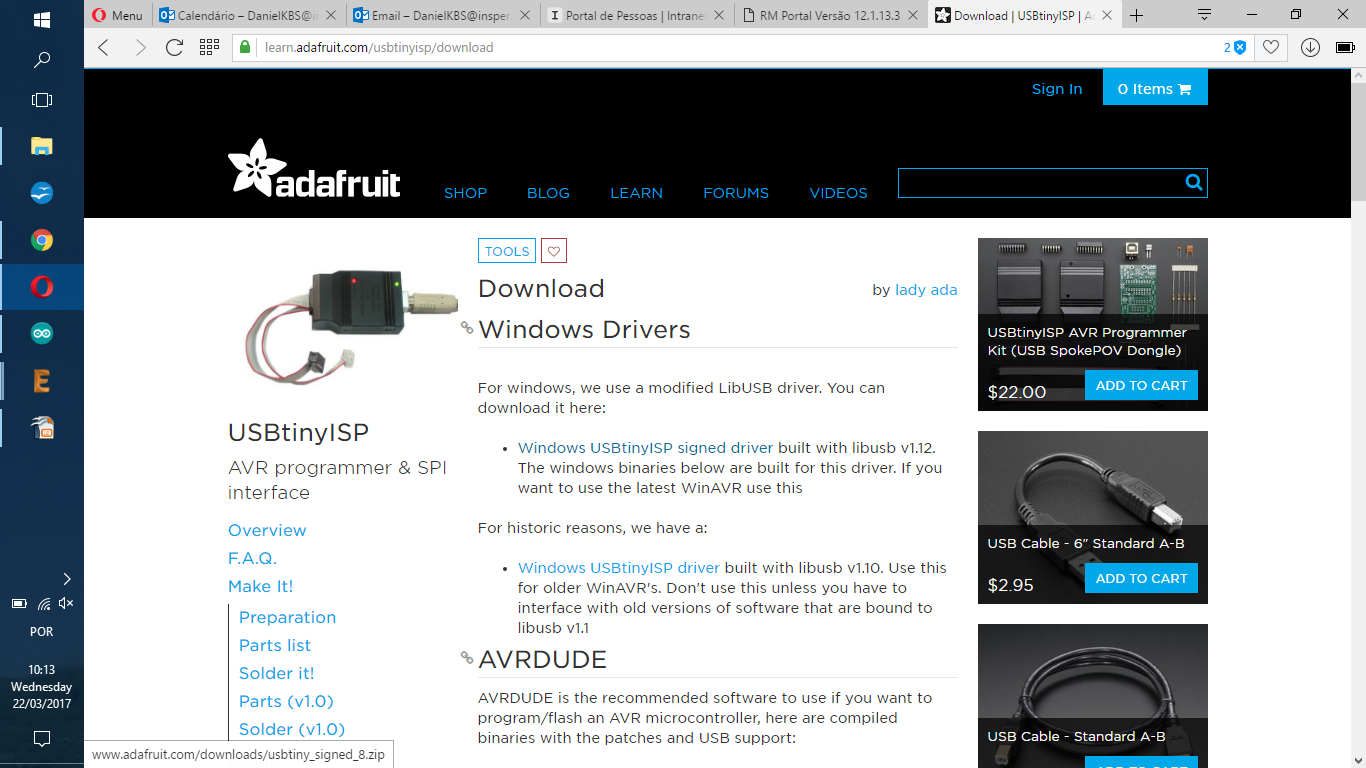
Hi-Low Tech website provided information, tutorials and links to operate ATTiny Programmer board and other ArduinoIDE based microcontroler boards. I would like to highlight two tutorial links below.
- Using the TinyProgrammer;
- Arduino board as ATtiny programmer.
This week assignment was to program a microcontroler. 'HelloBoard' microcontroler is an ATTiny44 and its data sheet is a reference documentation (there is also a complementary documentation here). The 'Programmer' has an ATTiny45 which data sheet is here. A data sheet is a manual and is meant to be a handbook you check and search for information as a project demands it. It is different than a romance that one reads from beggining to an end.
Eventhough, I took some time to examine the data sheet documentation. To make a quote that is part of this week assignment debugging, I would like to mention topic: 21.6 Serial Downloading - page 144 on. Interconection and serial communication has special pins (and that has been discussed with tutor Kenzo):
"The serial interface consists of pins SCK, MOSI (input) and MISO (output)."
These pins are always conected in a way the programmer can reach the target microcontroler and write the code for it to process independently later. It also remarks which pins are supposed to be monitored in order to collect data from the microcontroler thrugh a serial conection.
It says a little bit further that...
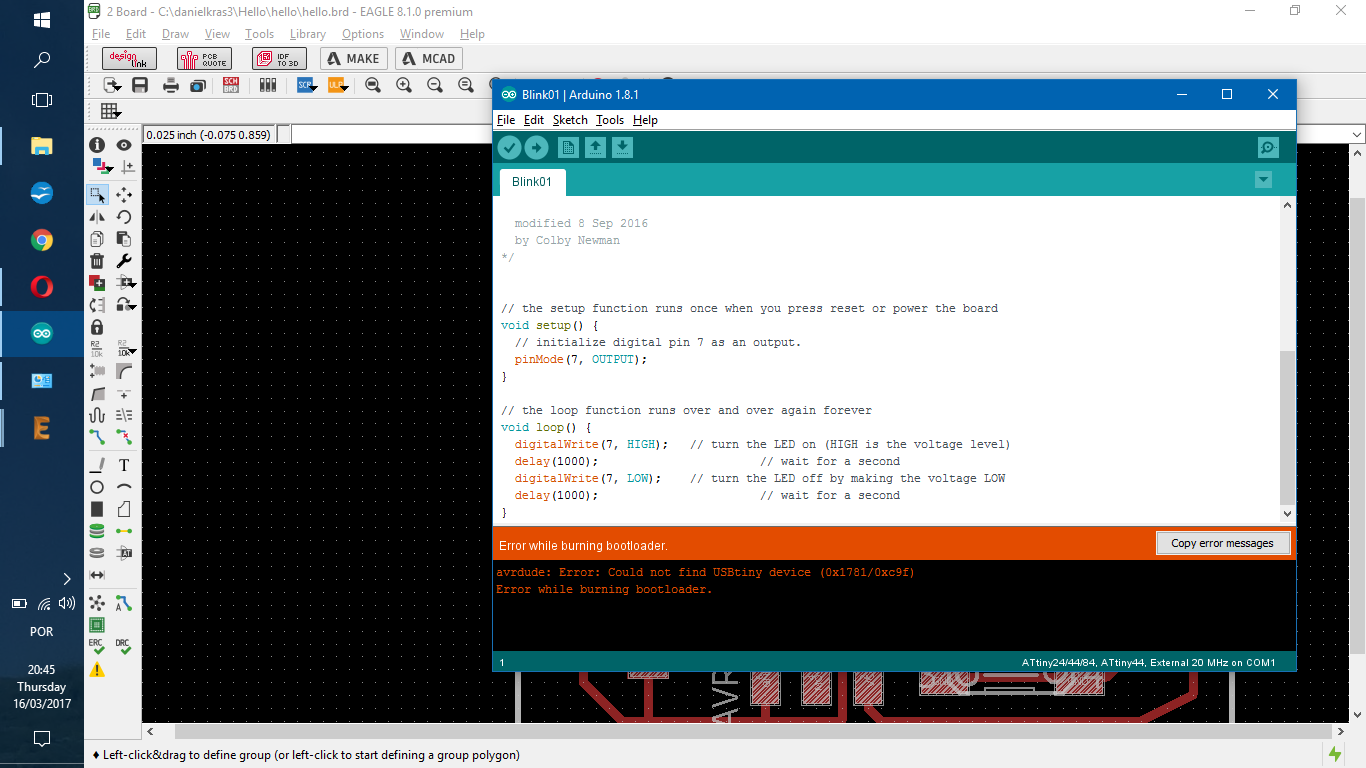
"The serial programming instructions will not work if the communication is out of synchronization."
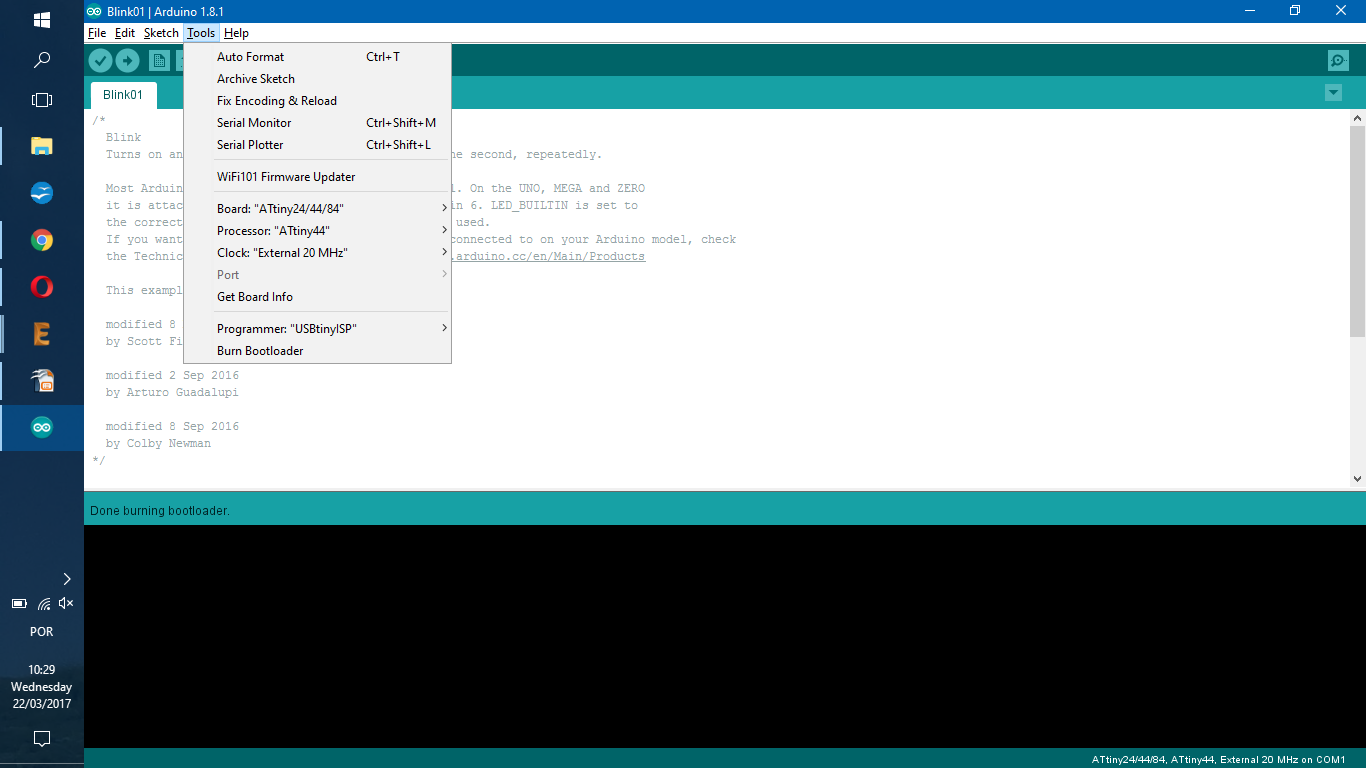
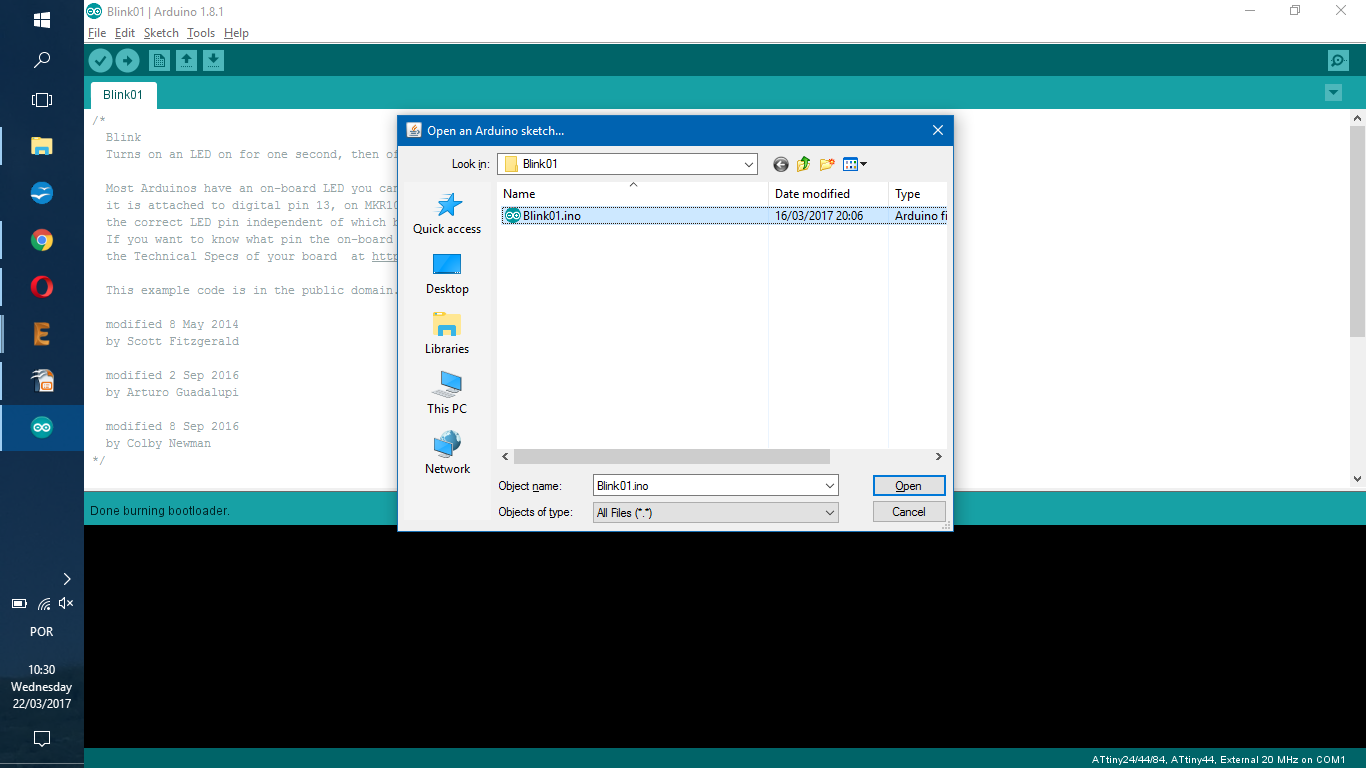
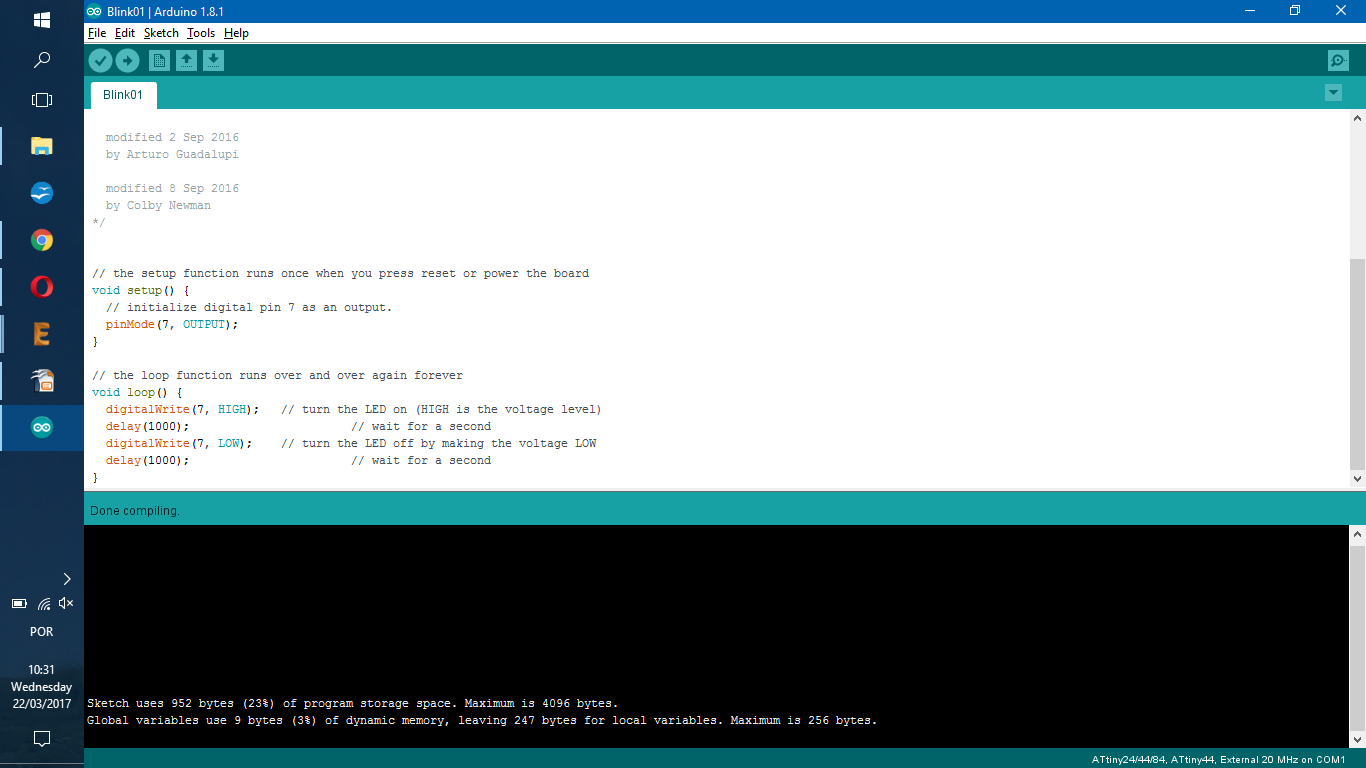
It was just what happened when I didn't select properly the microcontroles specification and its clock. There is an image below that shows ArduinoIDE's setup window and its hardware specifications.
The PIN map is another data sheet information (1. Pin Configurations - the first topic). This is one of the most usefull information for me till now. When planing a board placement, there is the need to conect the pins correctly and know which pin is responsible for what (VCC, GND, CLK, etc.). In order to turn the map meaninfull, there is the other need to understand what those pins are ready for. This enlightment comes with Schematic and Board analisys one makes (in my case with Eagle 8.0 software to help).
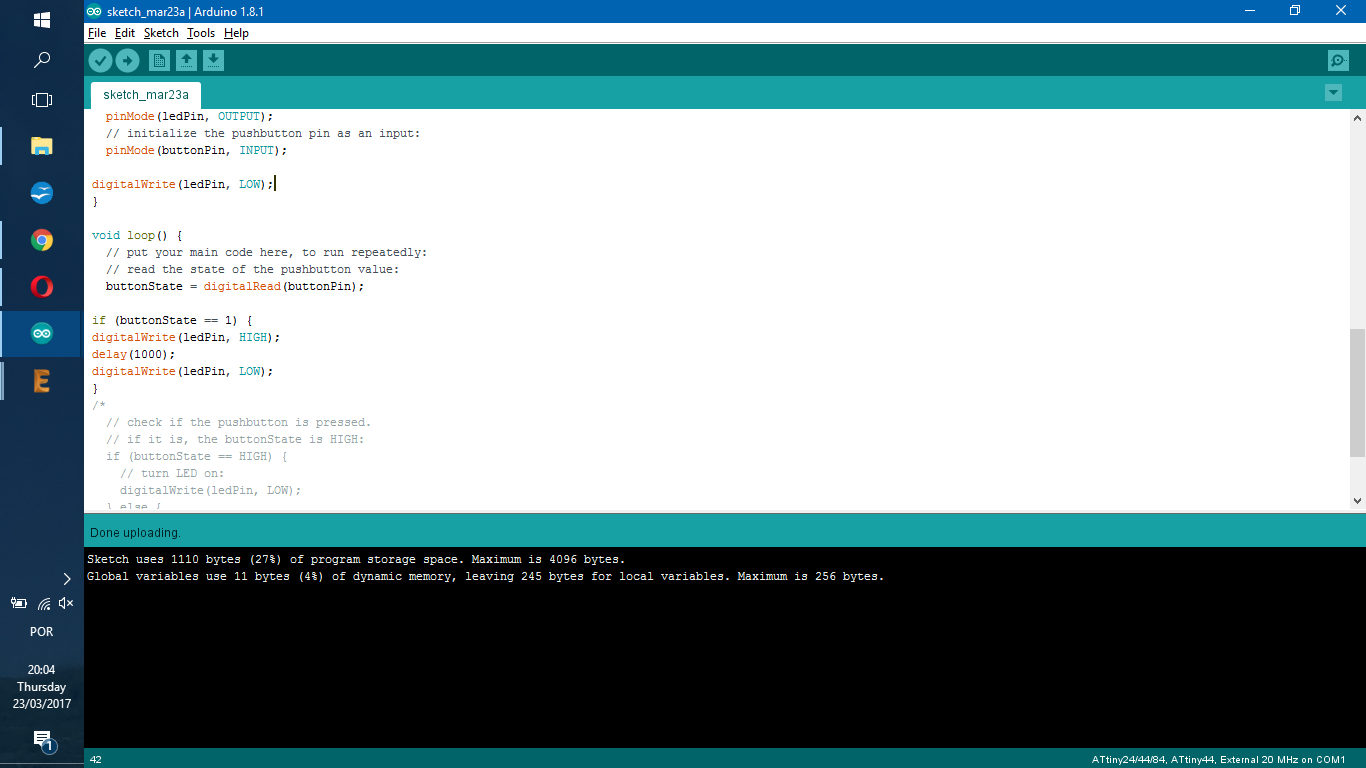
My option was to control a LED with a button. It was interesting to develop this project, but the hardware I made myself is not that good. I understand that it would be better for me to learn programming with a robust hardware. After that, I could try and test the hardware I built properly.
Regarding the Arduino programmer software, I report that I had some trouble installing all the libraries and stuff. I missed something in the way and ended starting it again a day later. To avoid this situation again I added a link to the Arduino Libraries that helped me during FabAcademy.
I would like to report that I changed the microcontroler. For some reason the board wasn't working and the last thing to try was changing this component. Continuity tests, cable and software setup were tried before that. Fortunately we had extra microcontrolers and the new one worked. The diagnosis was that I burned the component. All Fabbers respectfuly asked me not to touch their work from this moment on.
=) it is ok.
I had help from Inpser's staff to understand the logic of hardware libraries. Once I realized the library is related to each hardware in the sense of a protocol of comunication and commands atribution I could read, understand and programm by myself with ArduinoIDE.
It was dificult for me when I had to change my computer (swicht from my personal notebook to an Insper's notebook). At that point I had to reinstall everything and it is a bad thing to happen. I suggest everybody to skeep the silly idea of improving its notebook during FabAcademy. Please, don't change it, just don't.
The programming test is available at: Blink01.zip.

small.bmp)
small.bmp)
-----------

This work is licensed under a Creative Commons Attribution-ShareAlike 4.0 International License.