Week 7 - Make something BIG
In this week we shall use the Shopbot to produce something BIG. I ahve already some ideas, what that could be. For my hhome, I need a small stool, to put a lamp on. This is a good opportunity to make one.
Design concepts with the laser
I used Corel Draw to design some models for getting an impression on how it looks and how to assemble it.
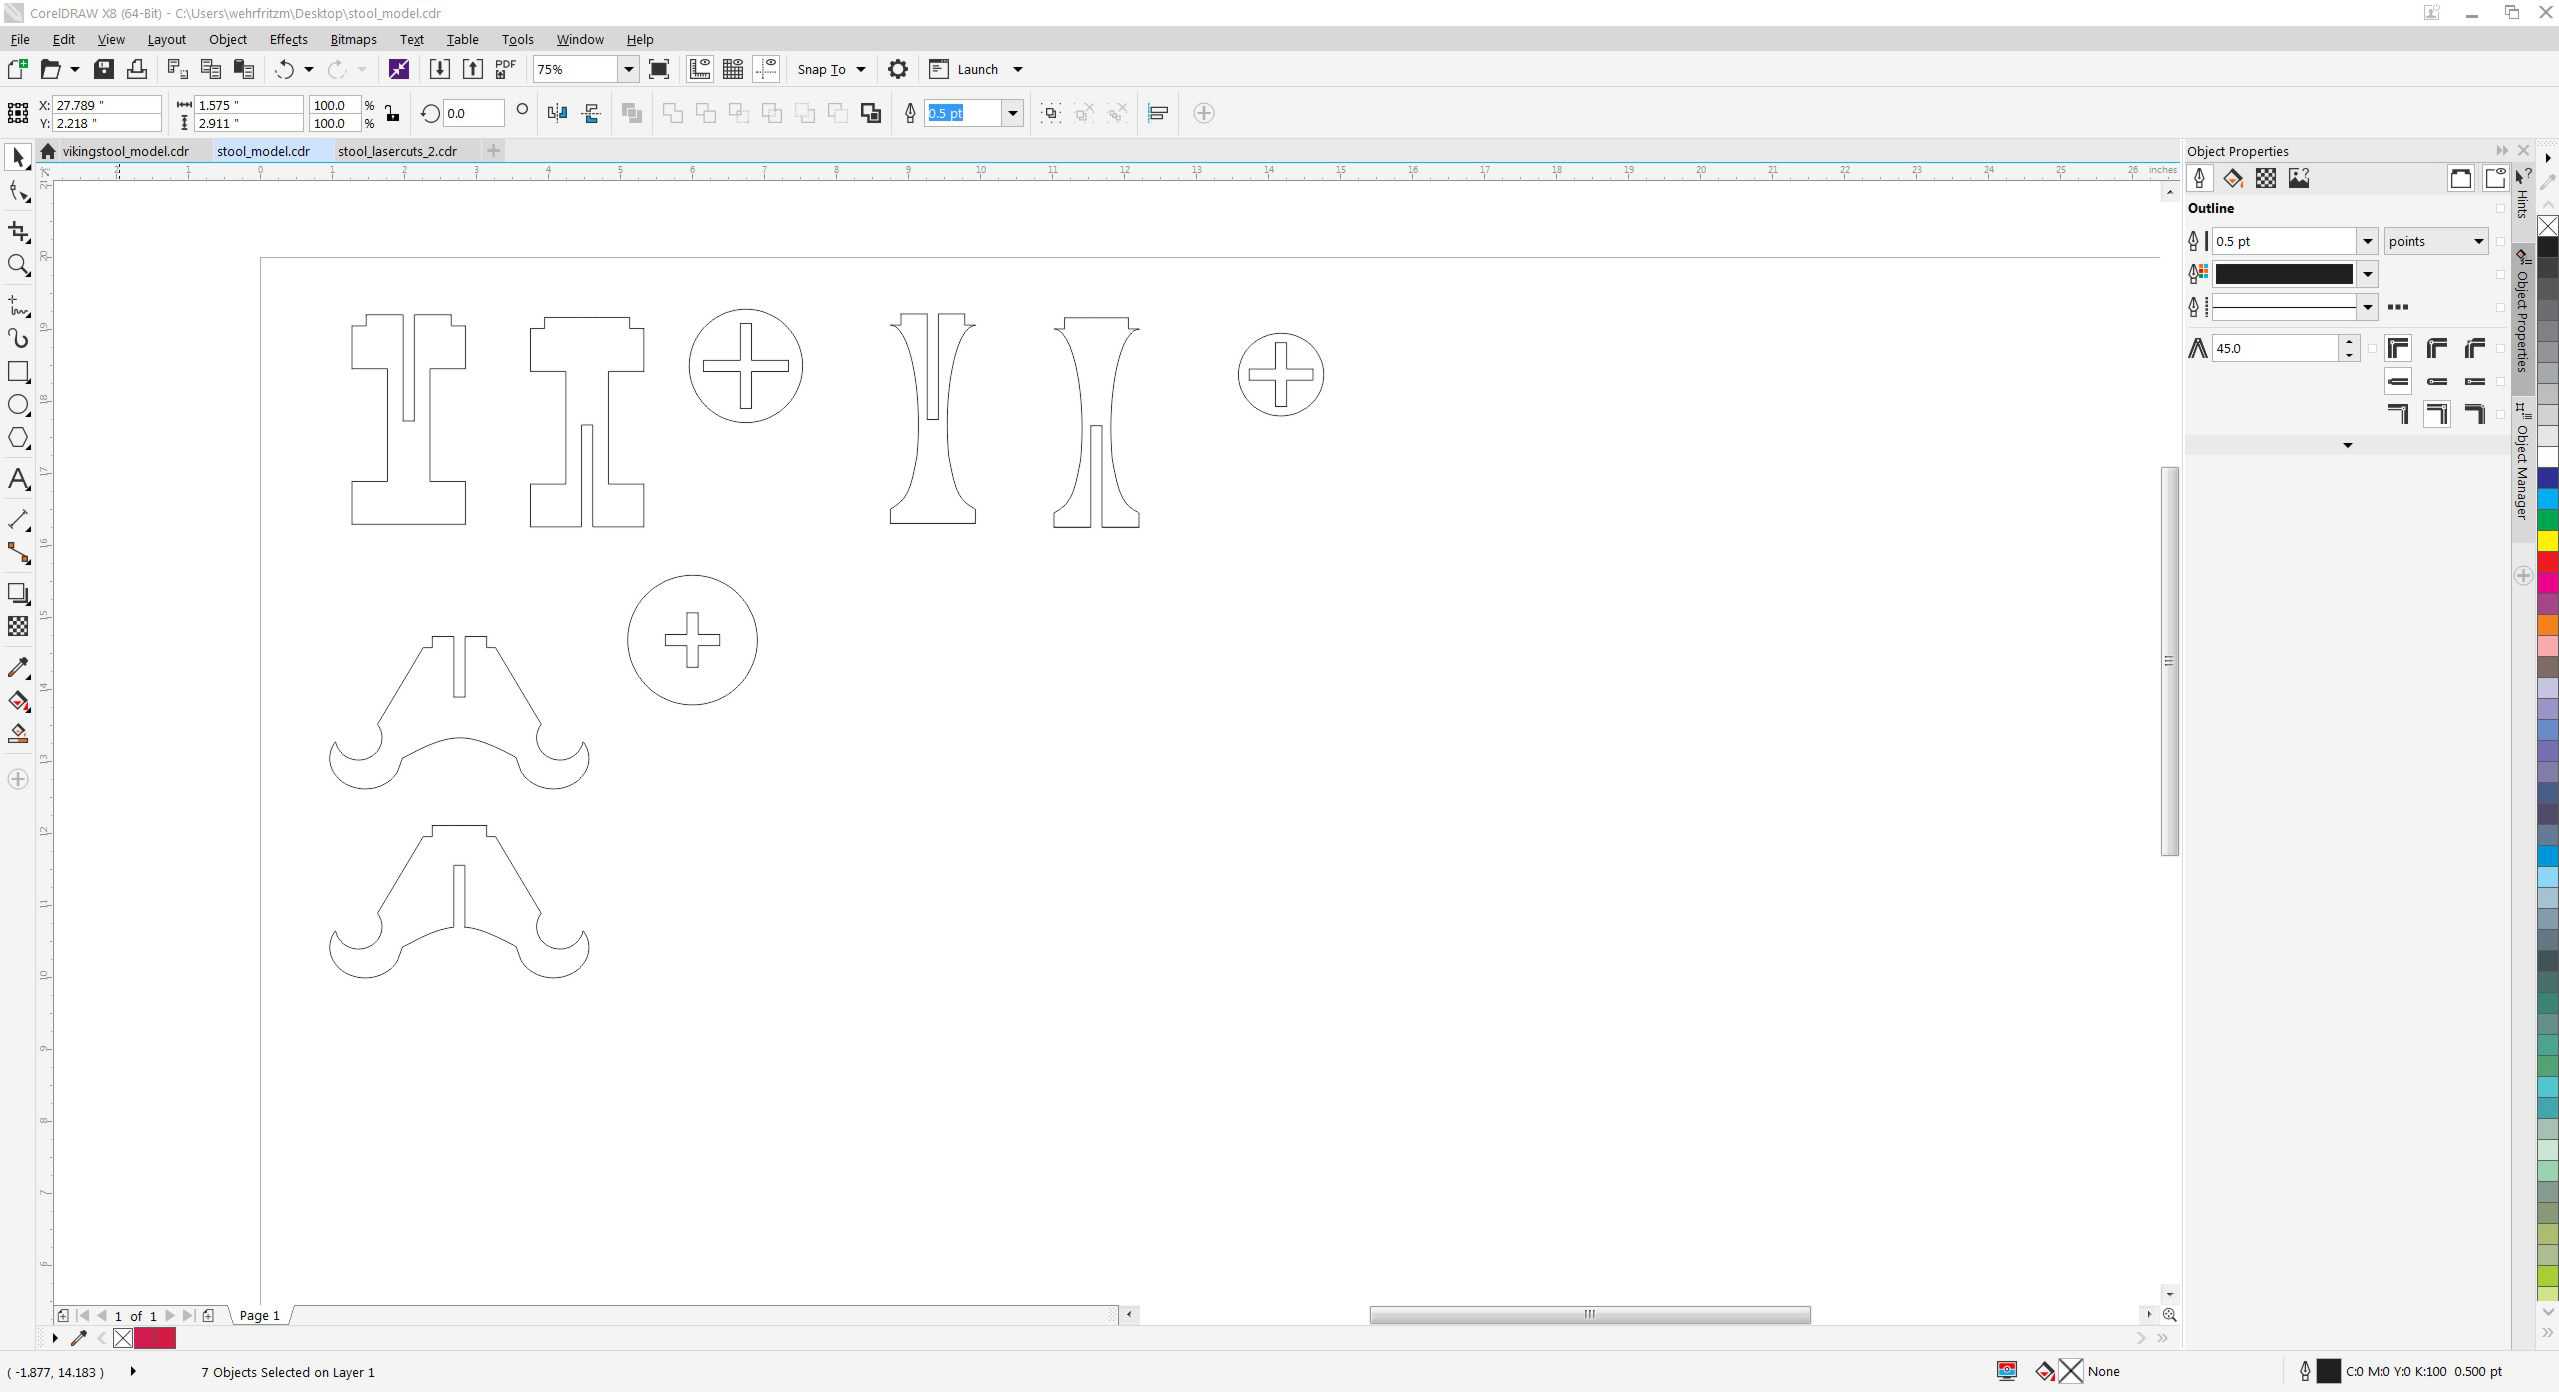
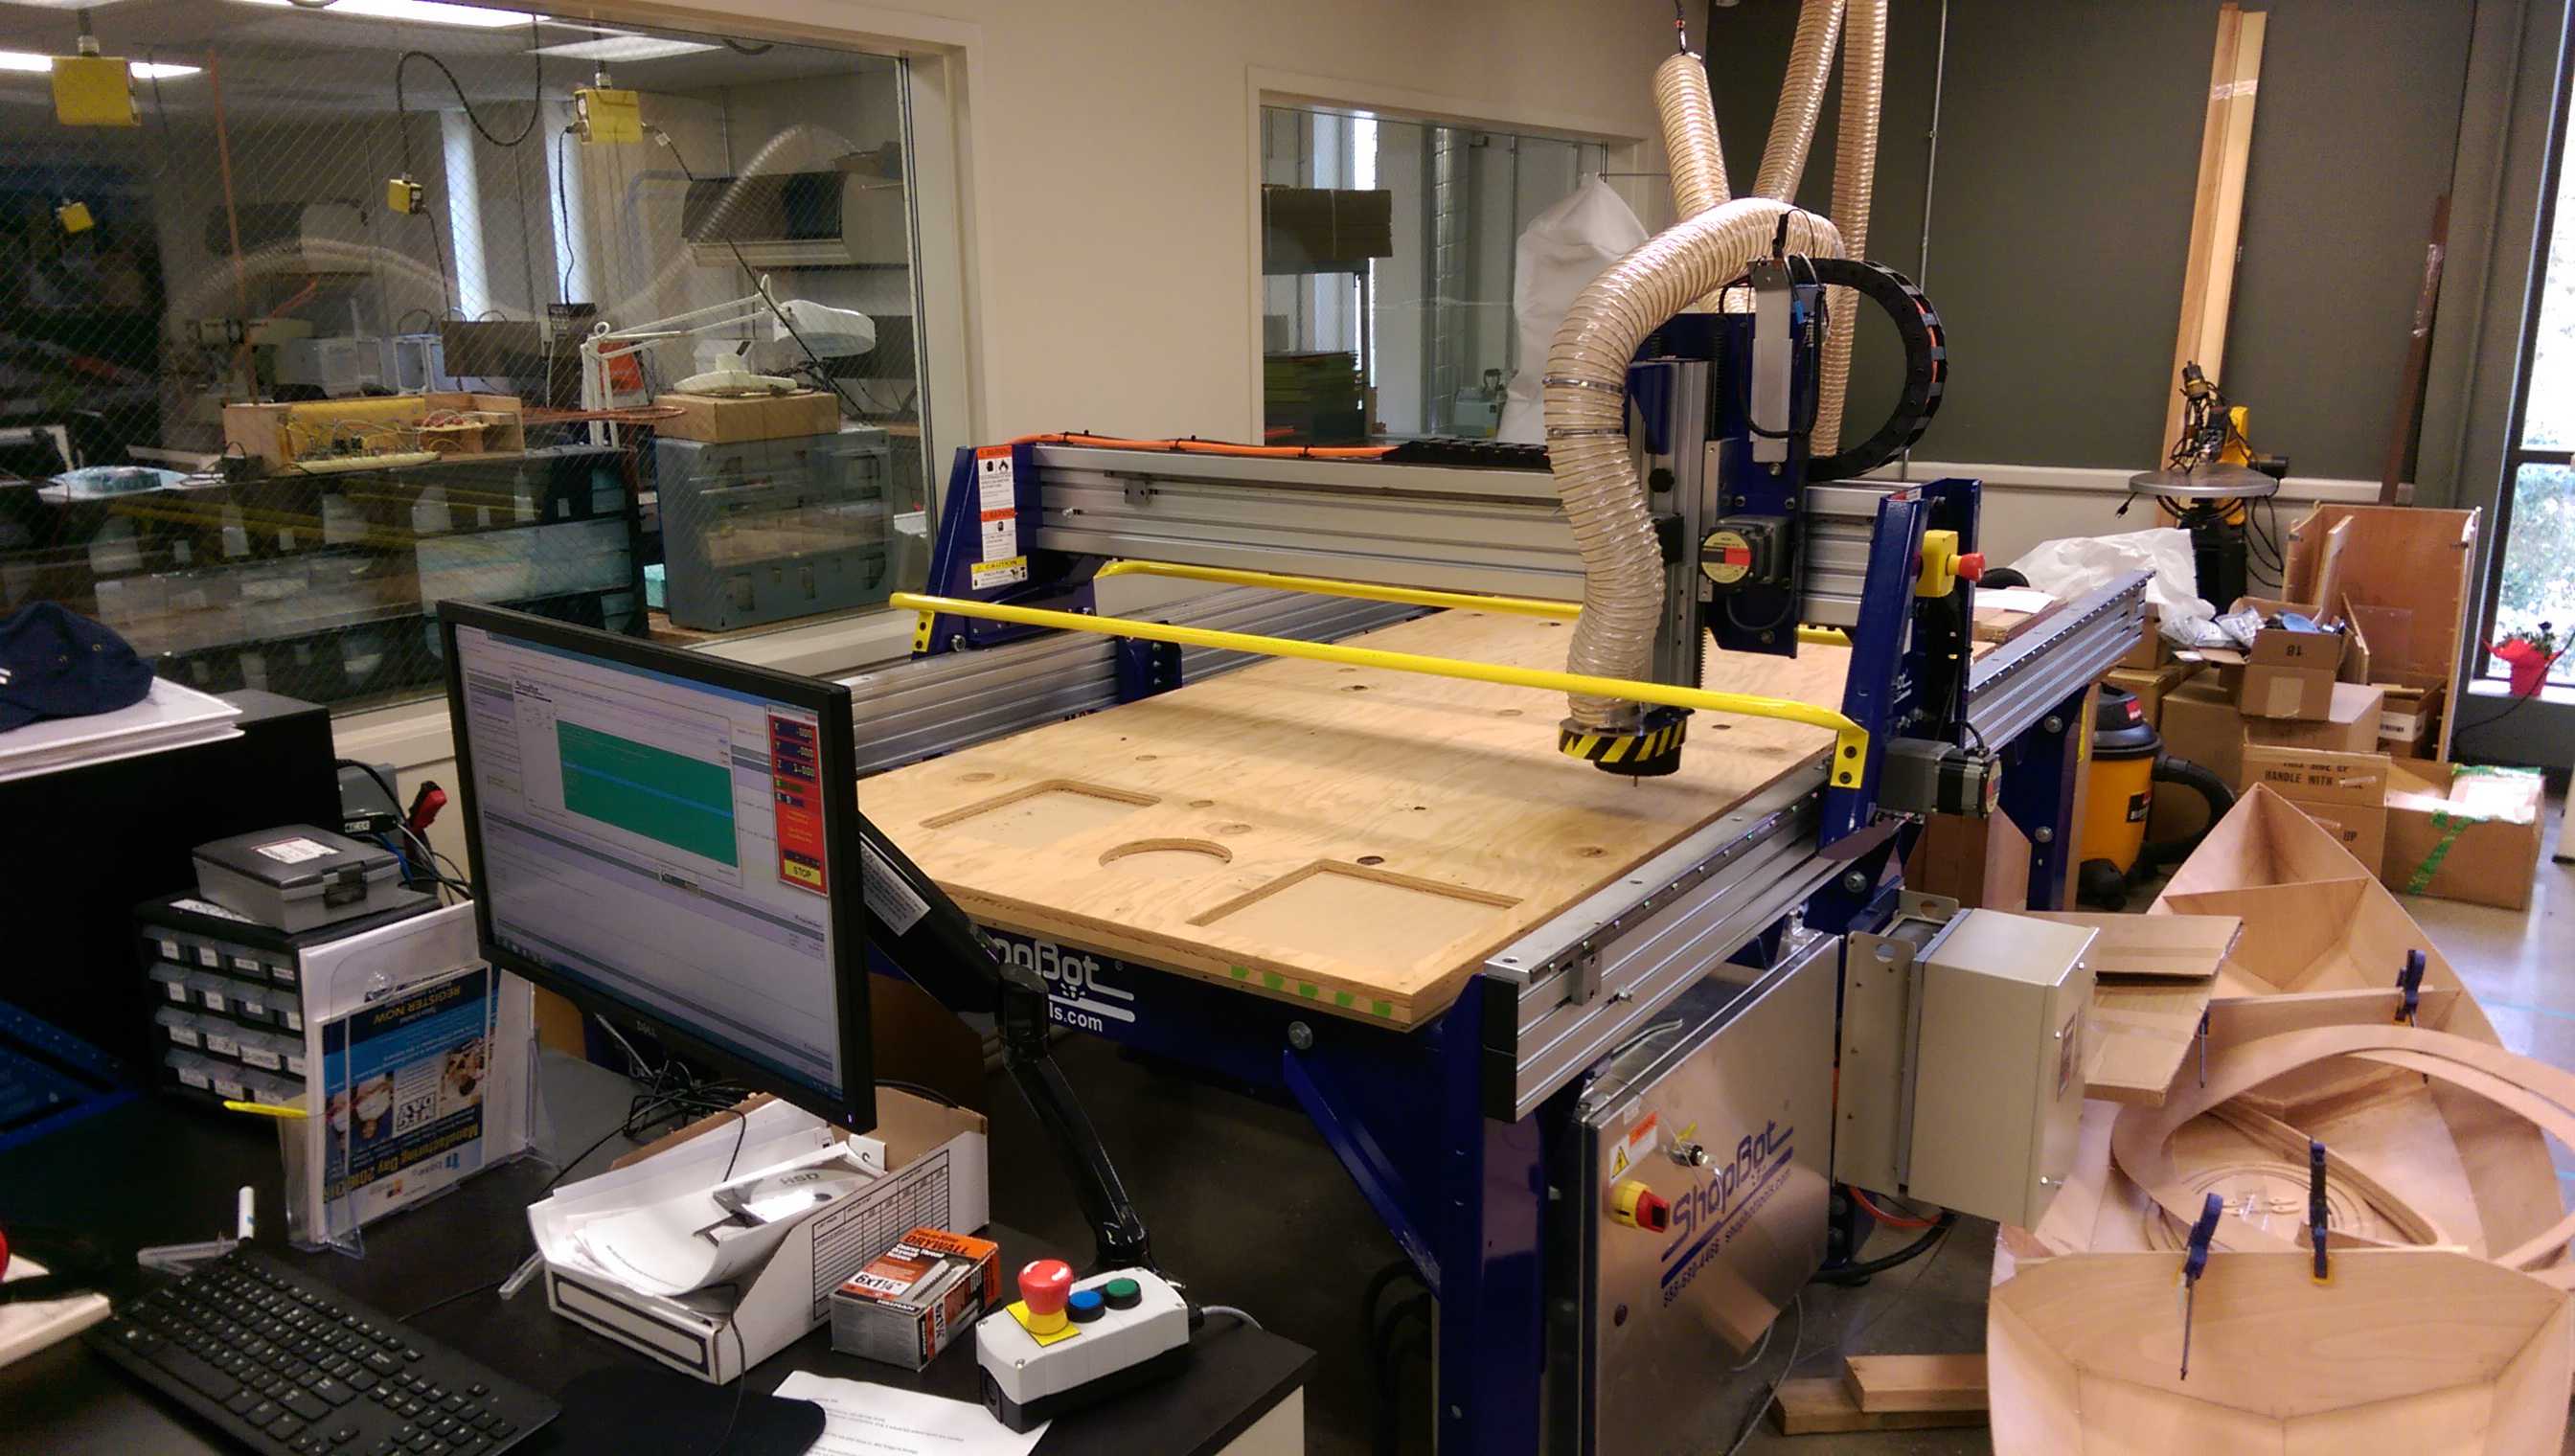
We have a Shopbot PRS Alpha 96-48-6 in our lab. To get the cuts for the stool, I used Corel Draw and saved it as .dxf file to transfer it to Vcarve, the Shopbot designing- and setup tool.
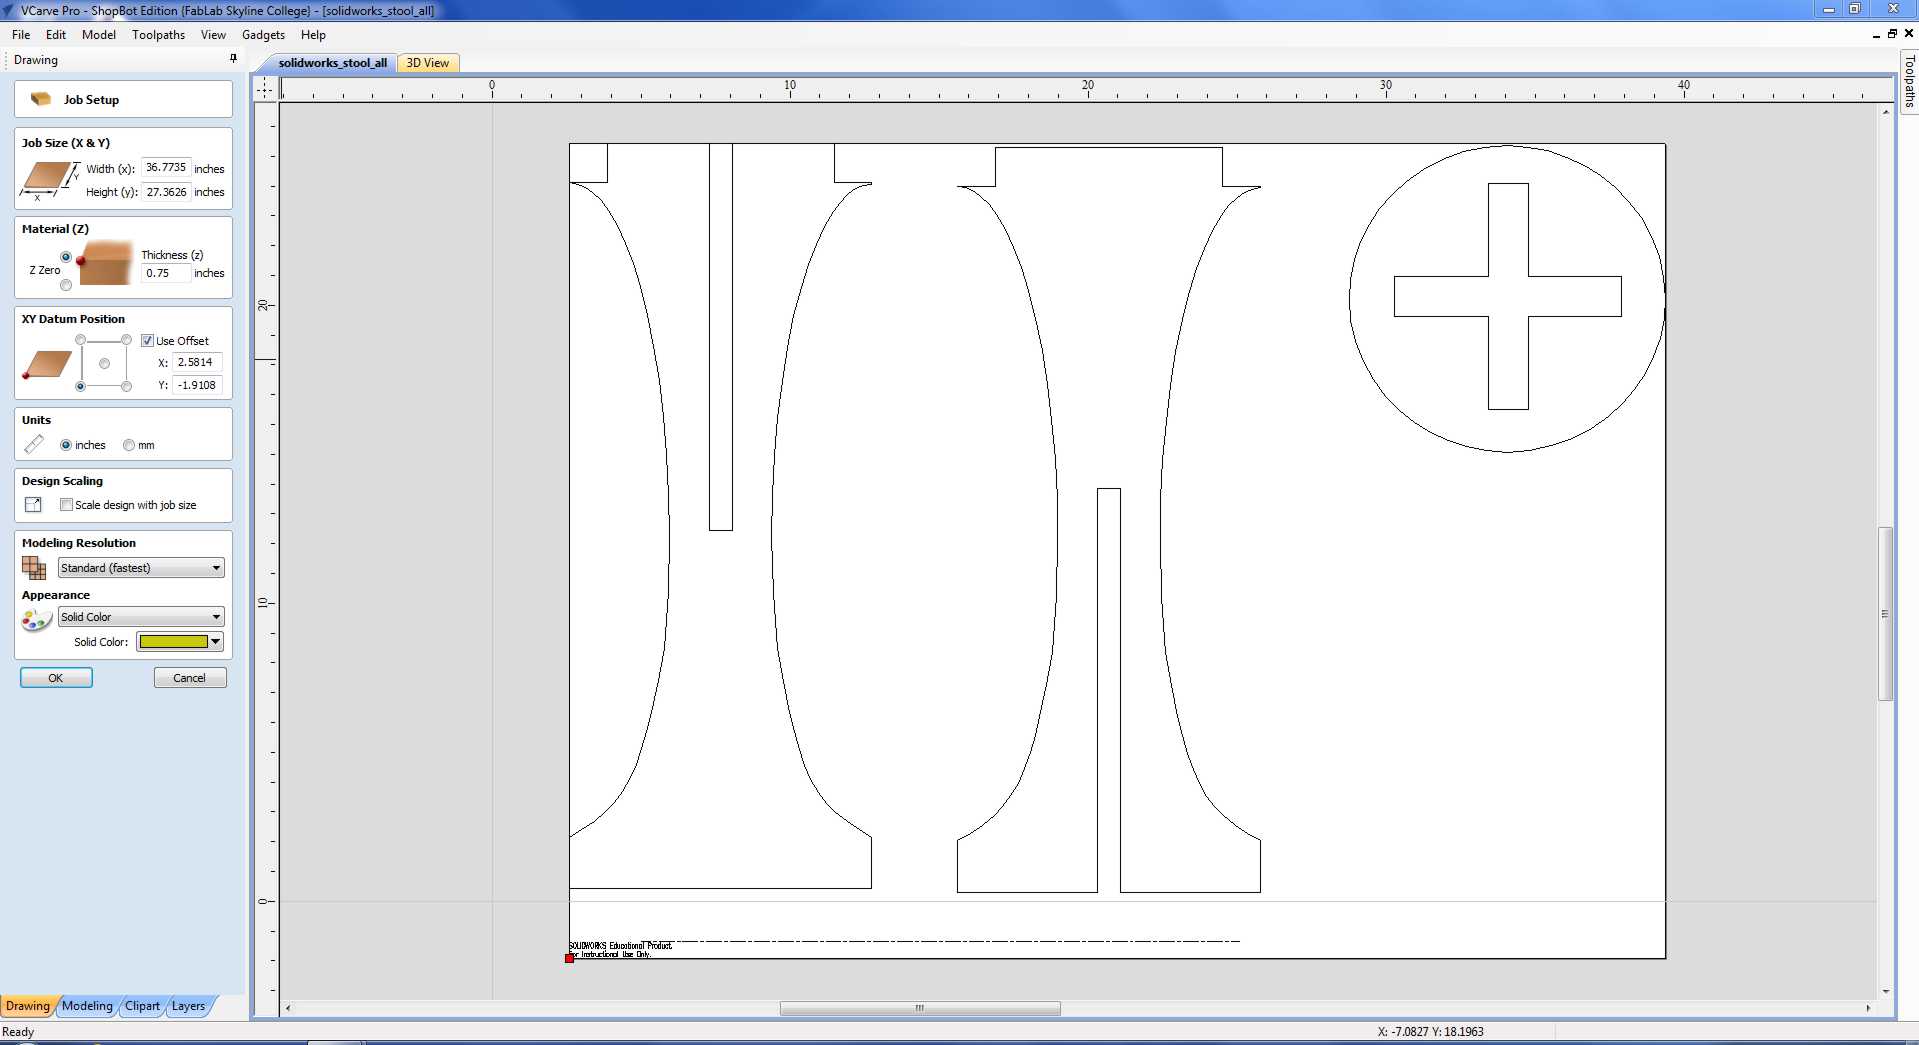
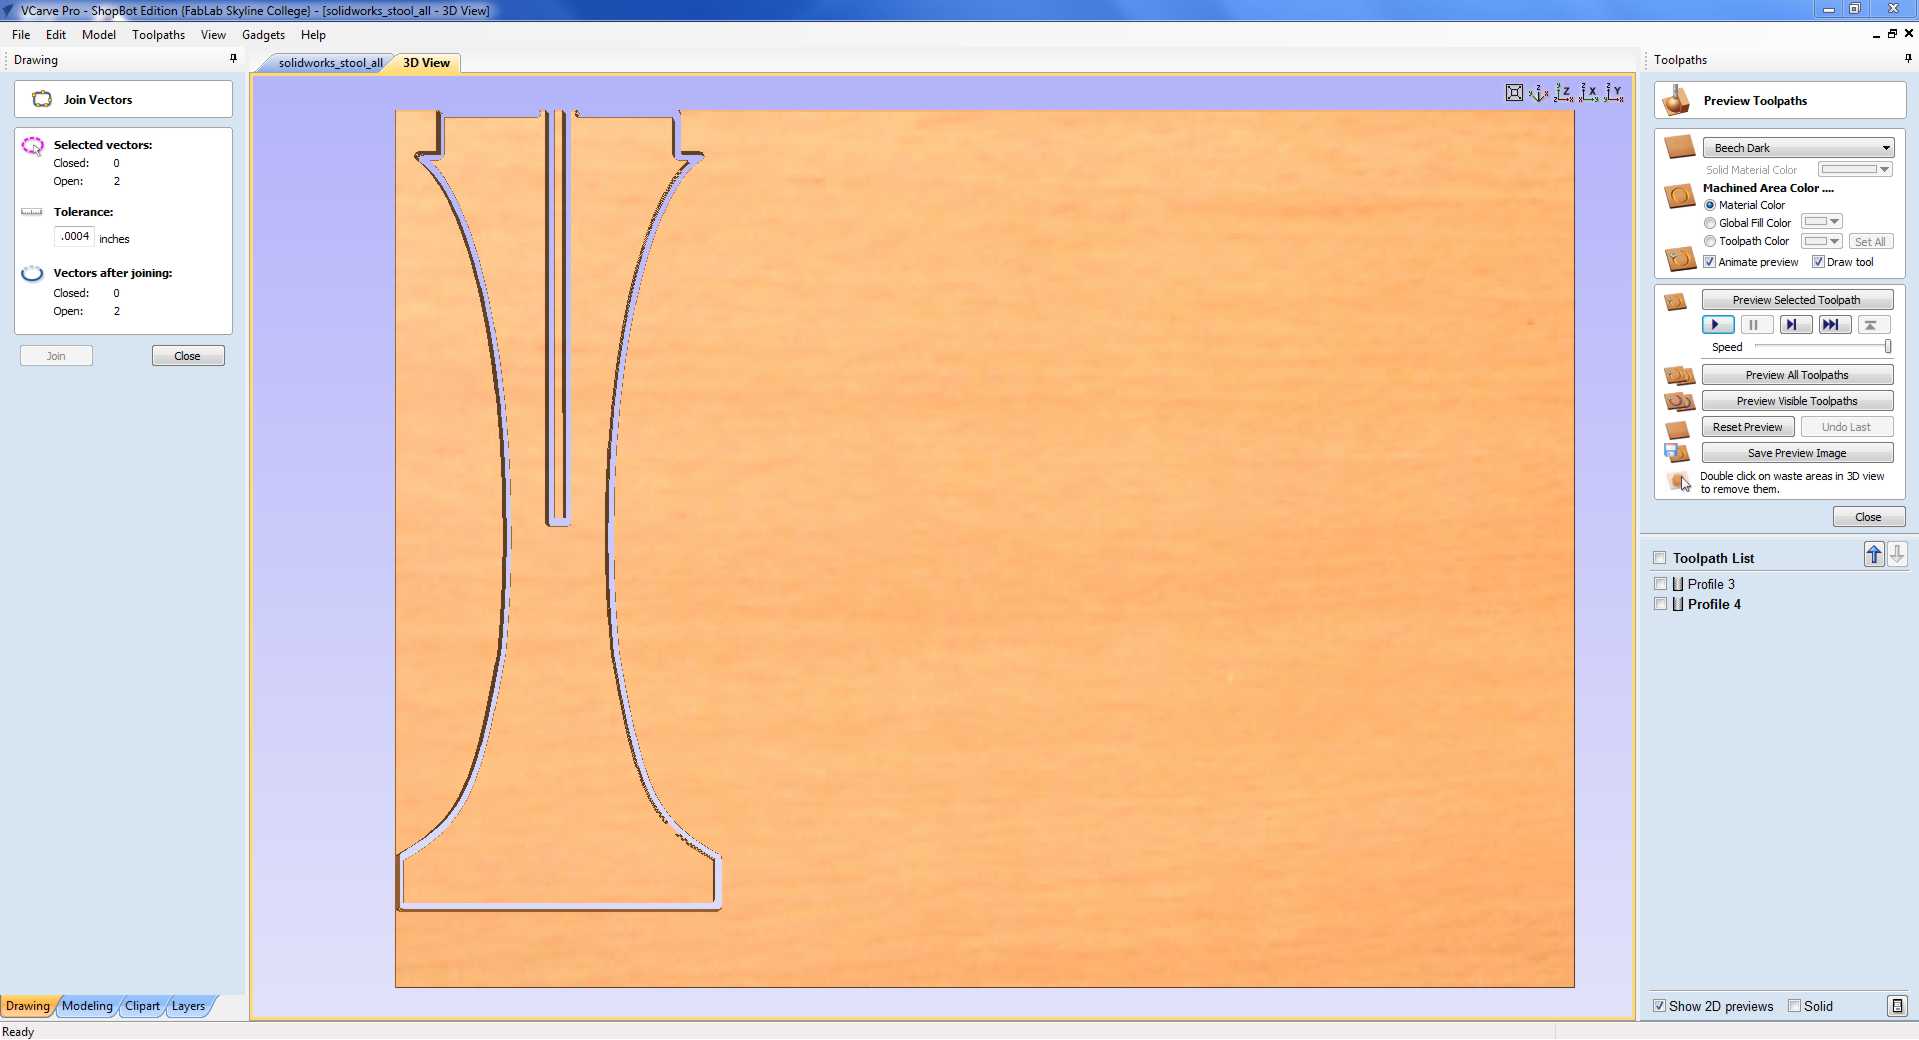
I have choosen an 0.25" upcut-endmill and created the toolpath. There, I recognized a little misalignment of the vectors in the simaltion of the cut.
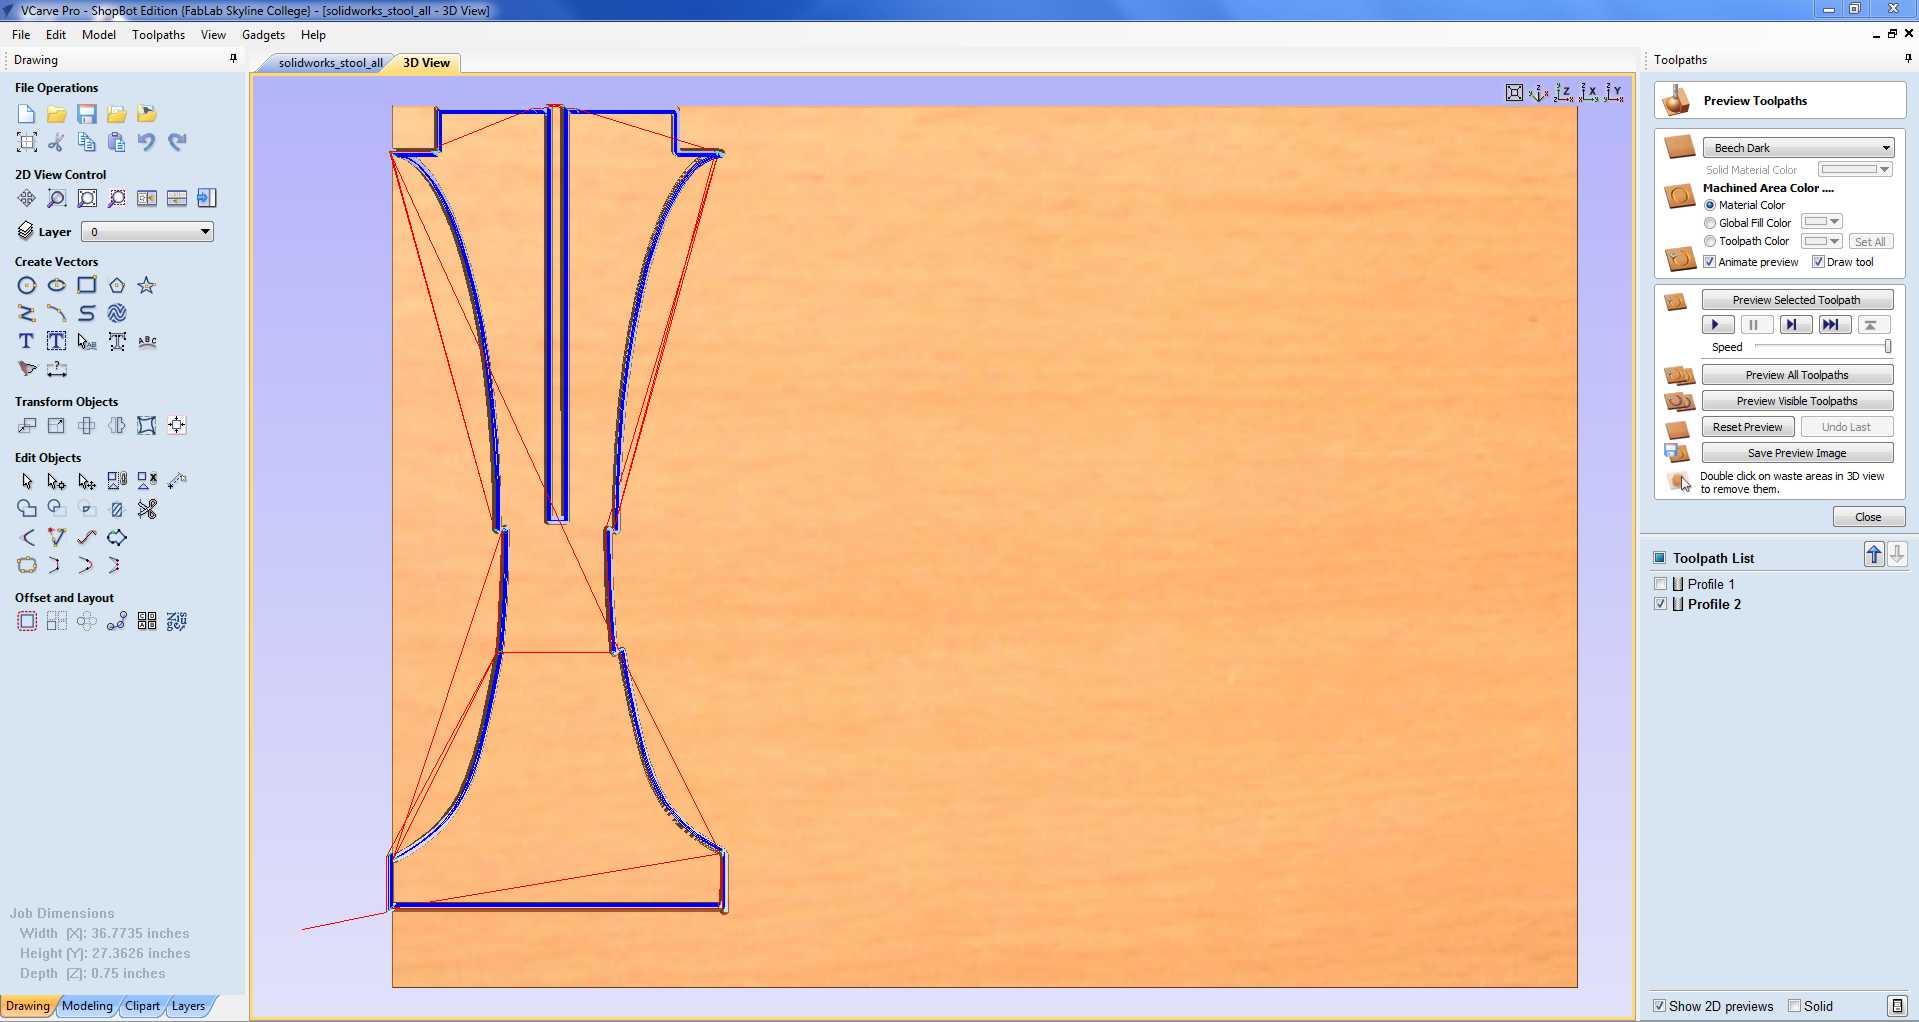
I could fix this, by combining 'loose' ends of the vectors, using the Join Vectors tool of Vcarve.
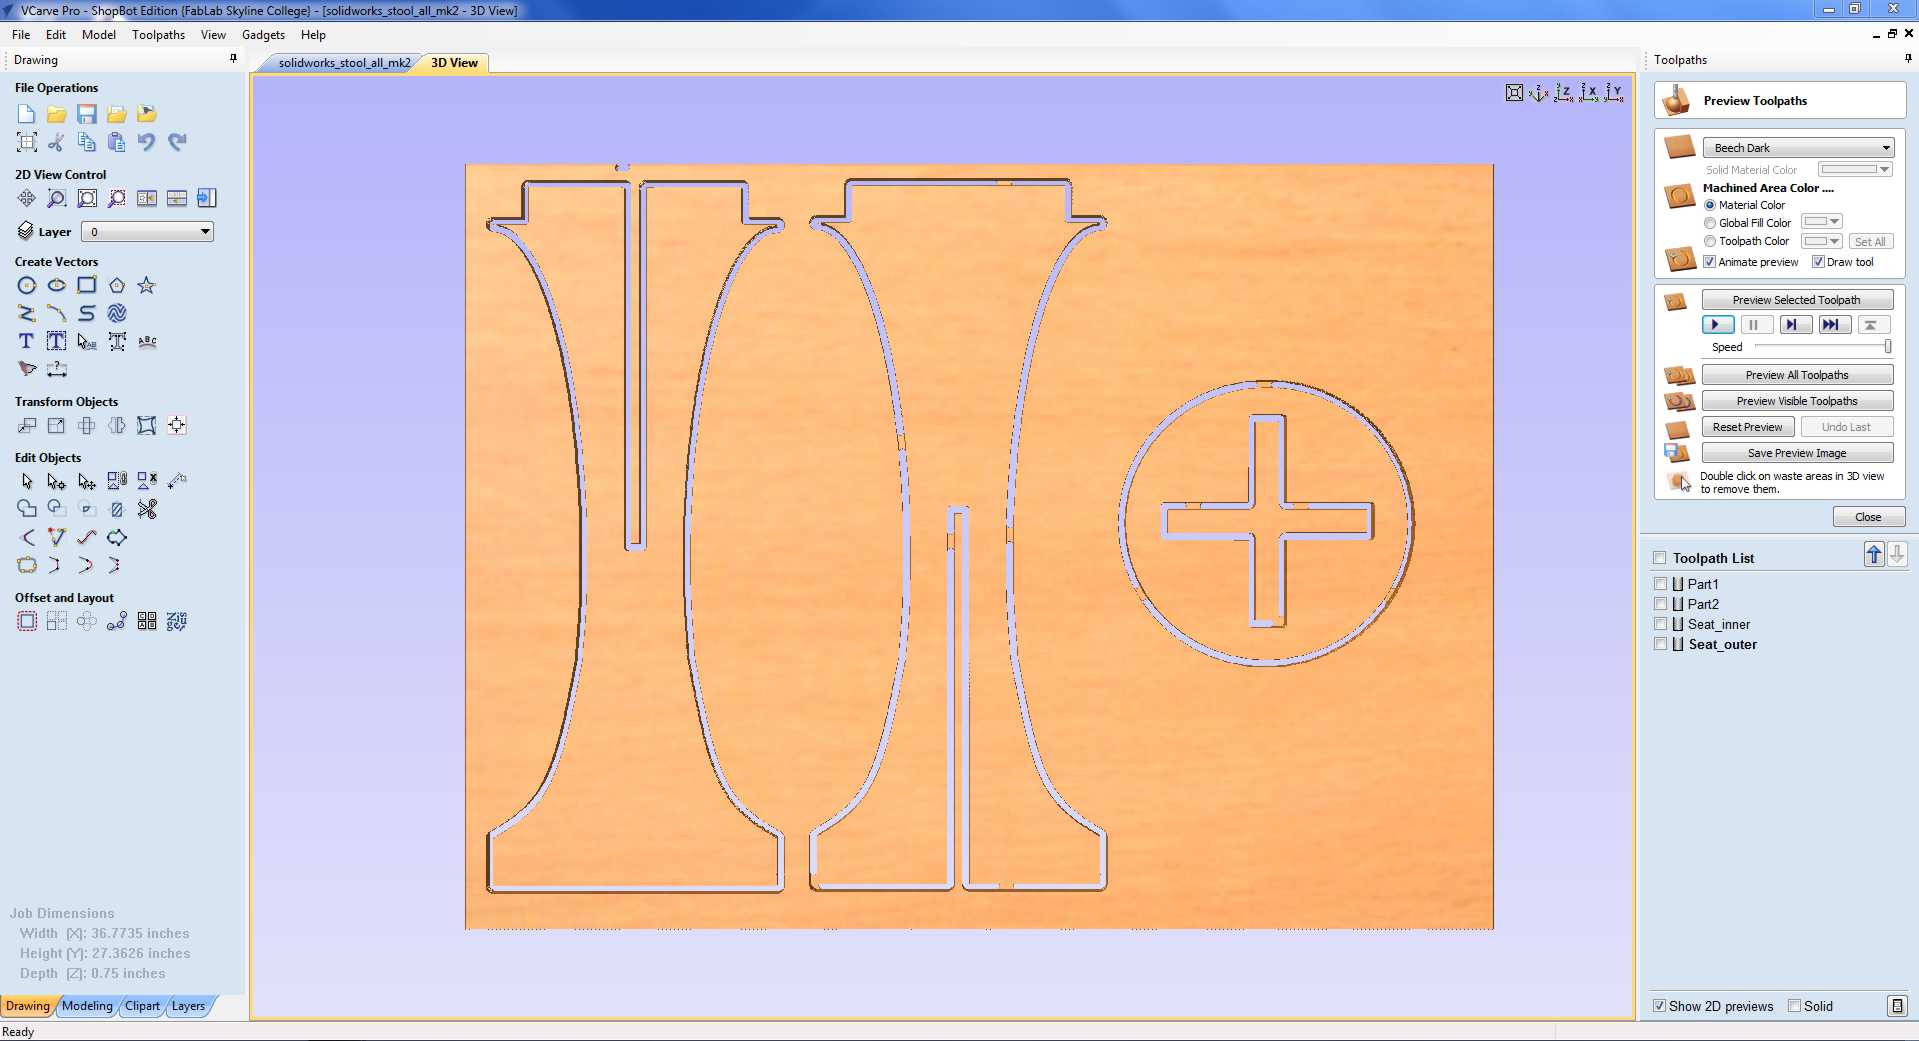
My final cuts looked like this and I could start. You can see the tabs, I have put in the cut. These are little joints, which connect the piece with the surrounding material and prevent the piece of moving around while it is been cut. They need to be removed after the job is done.
The duster and the Shopbot are pretty noisy and I need to wear ear protection. While cutting wood on a plane surface with a mill, eye-protection is mandatory.
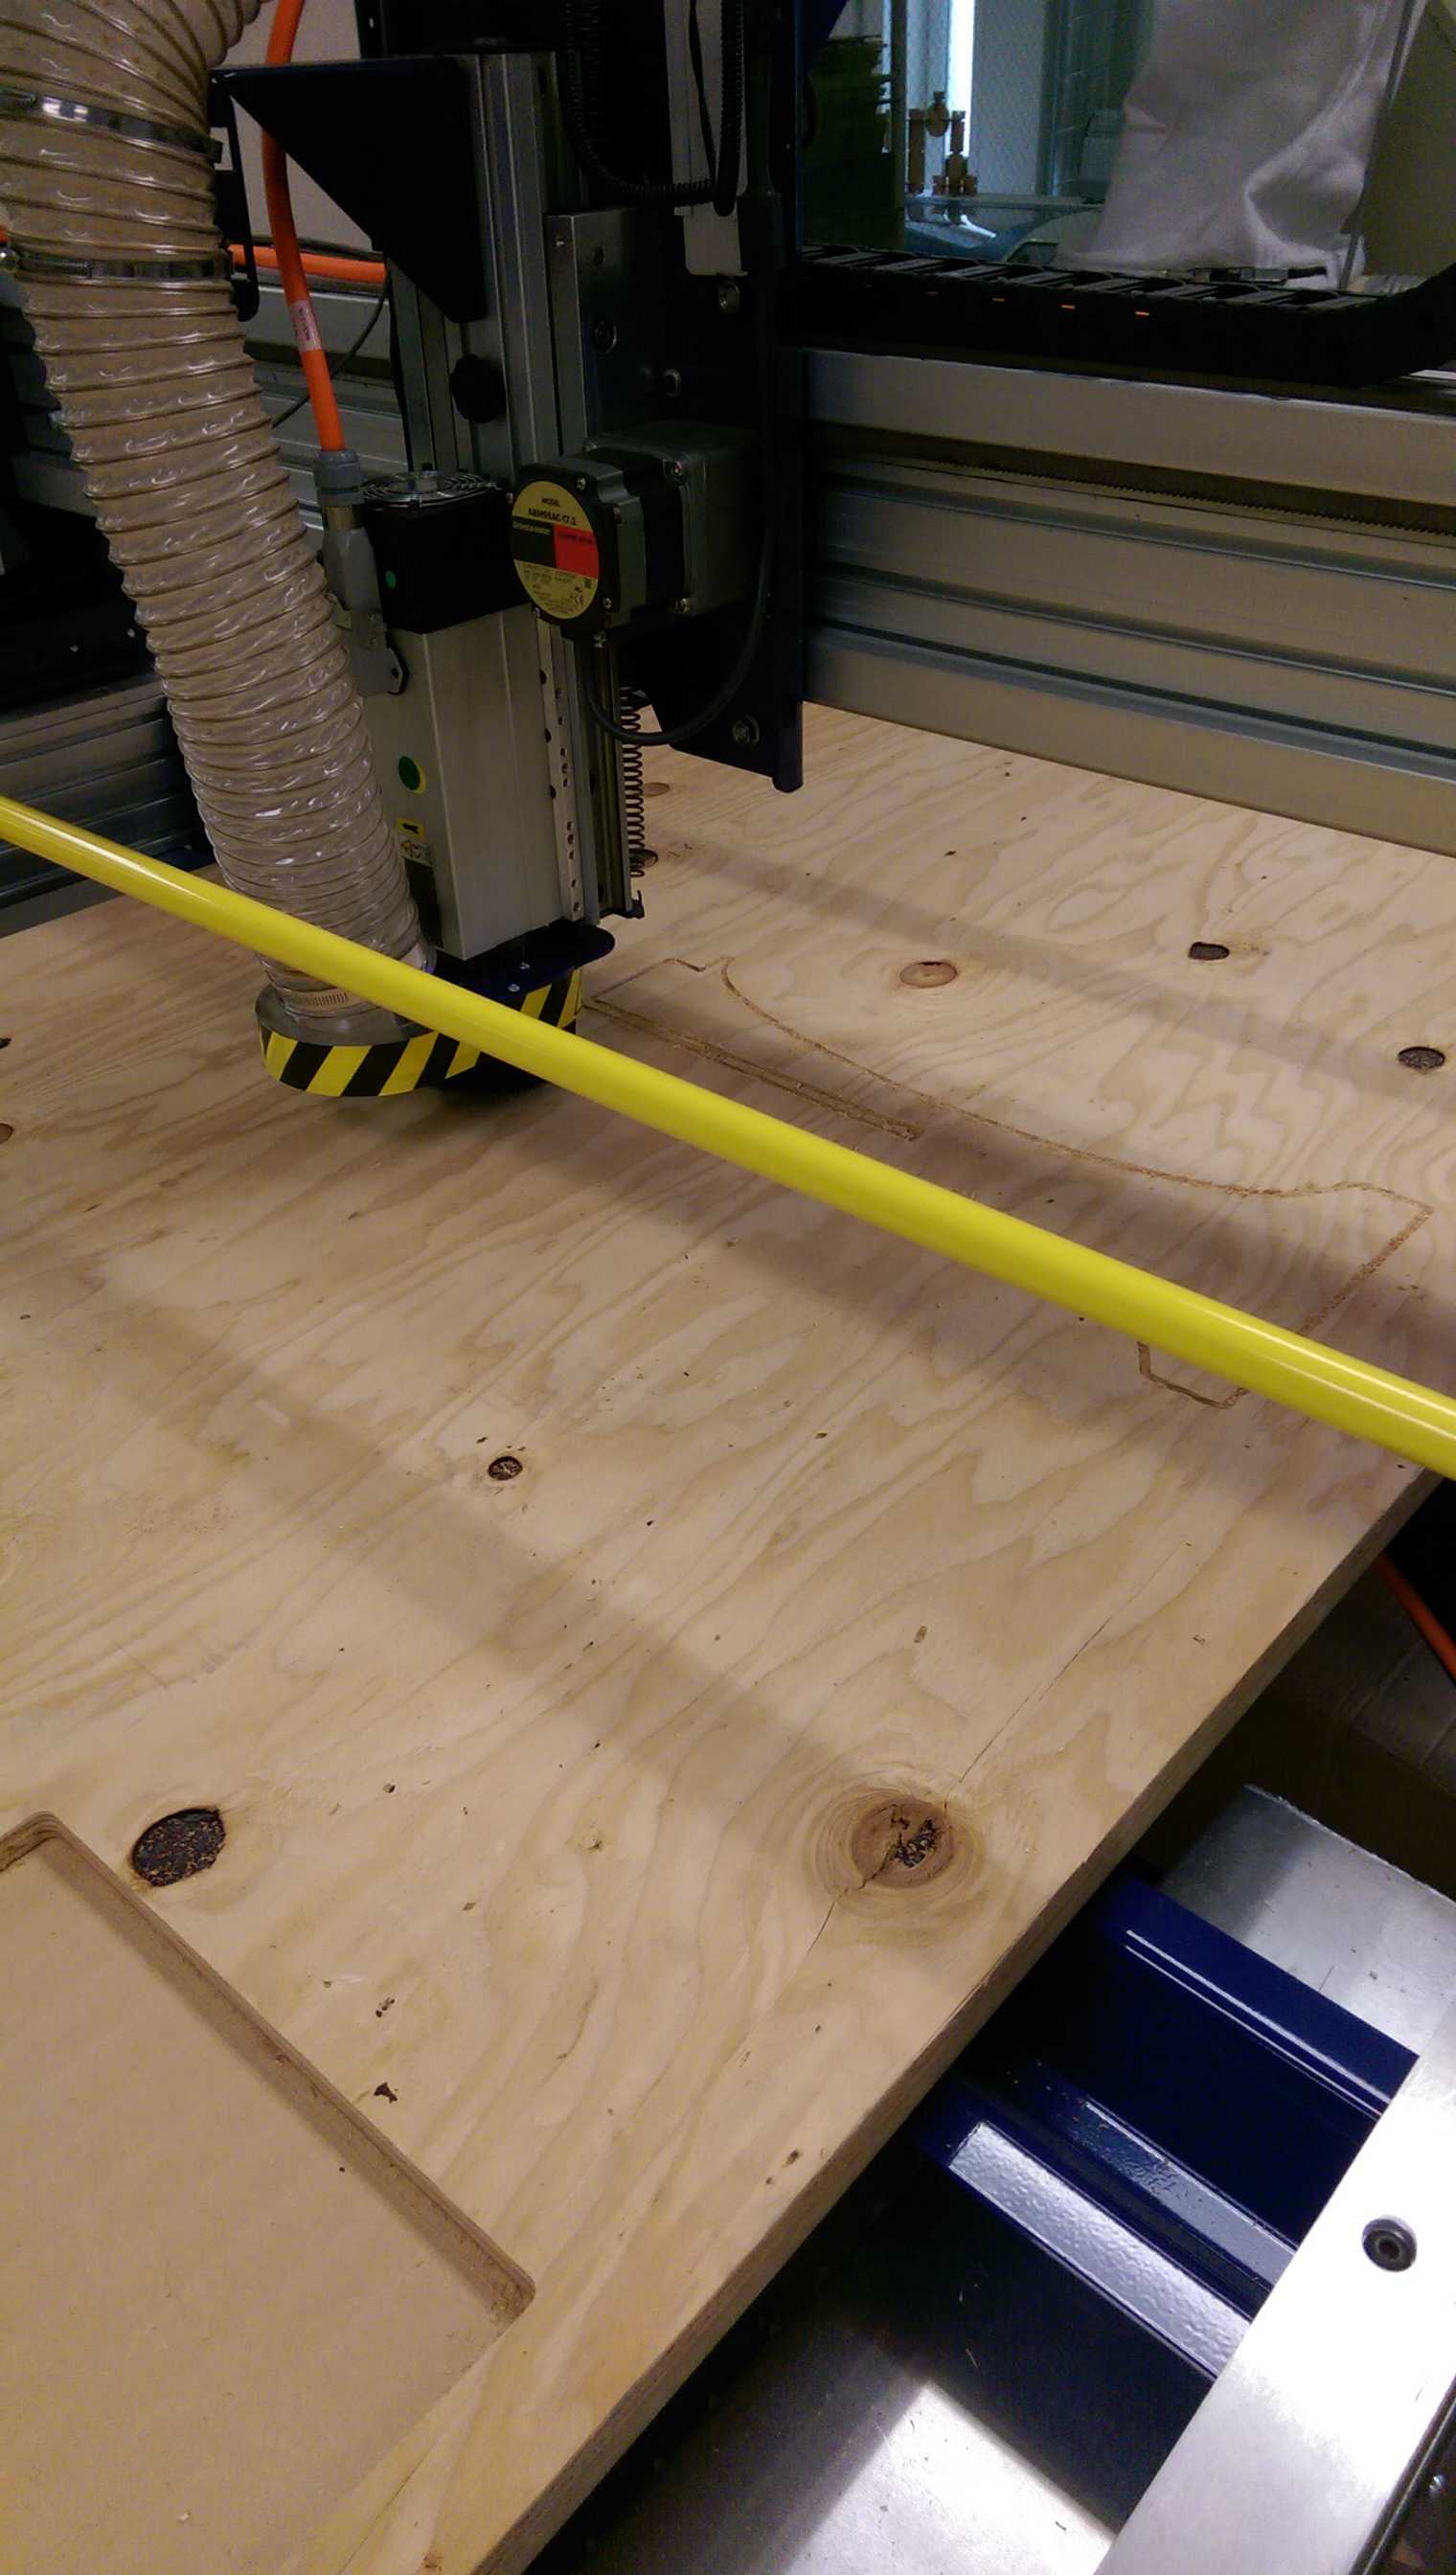
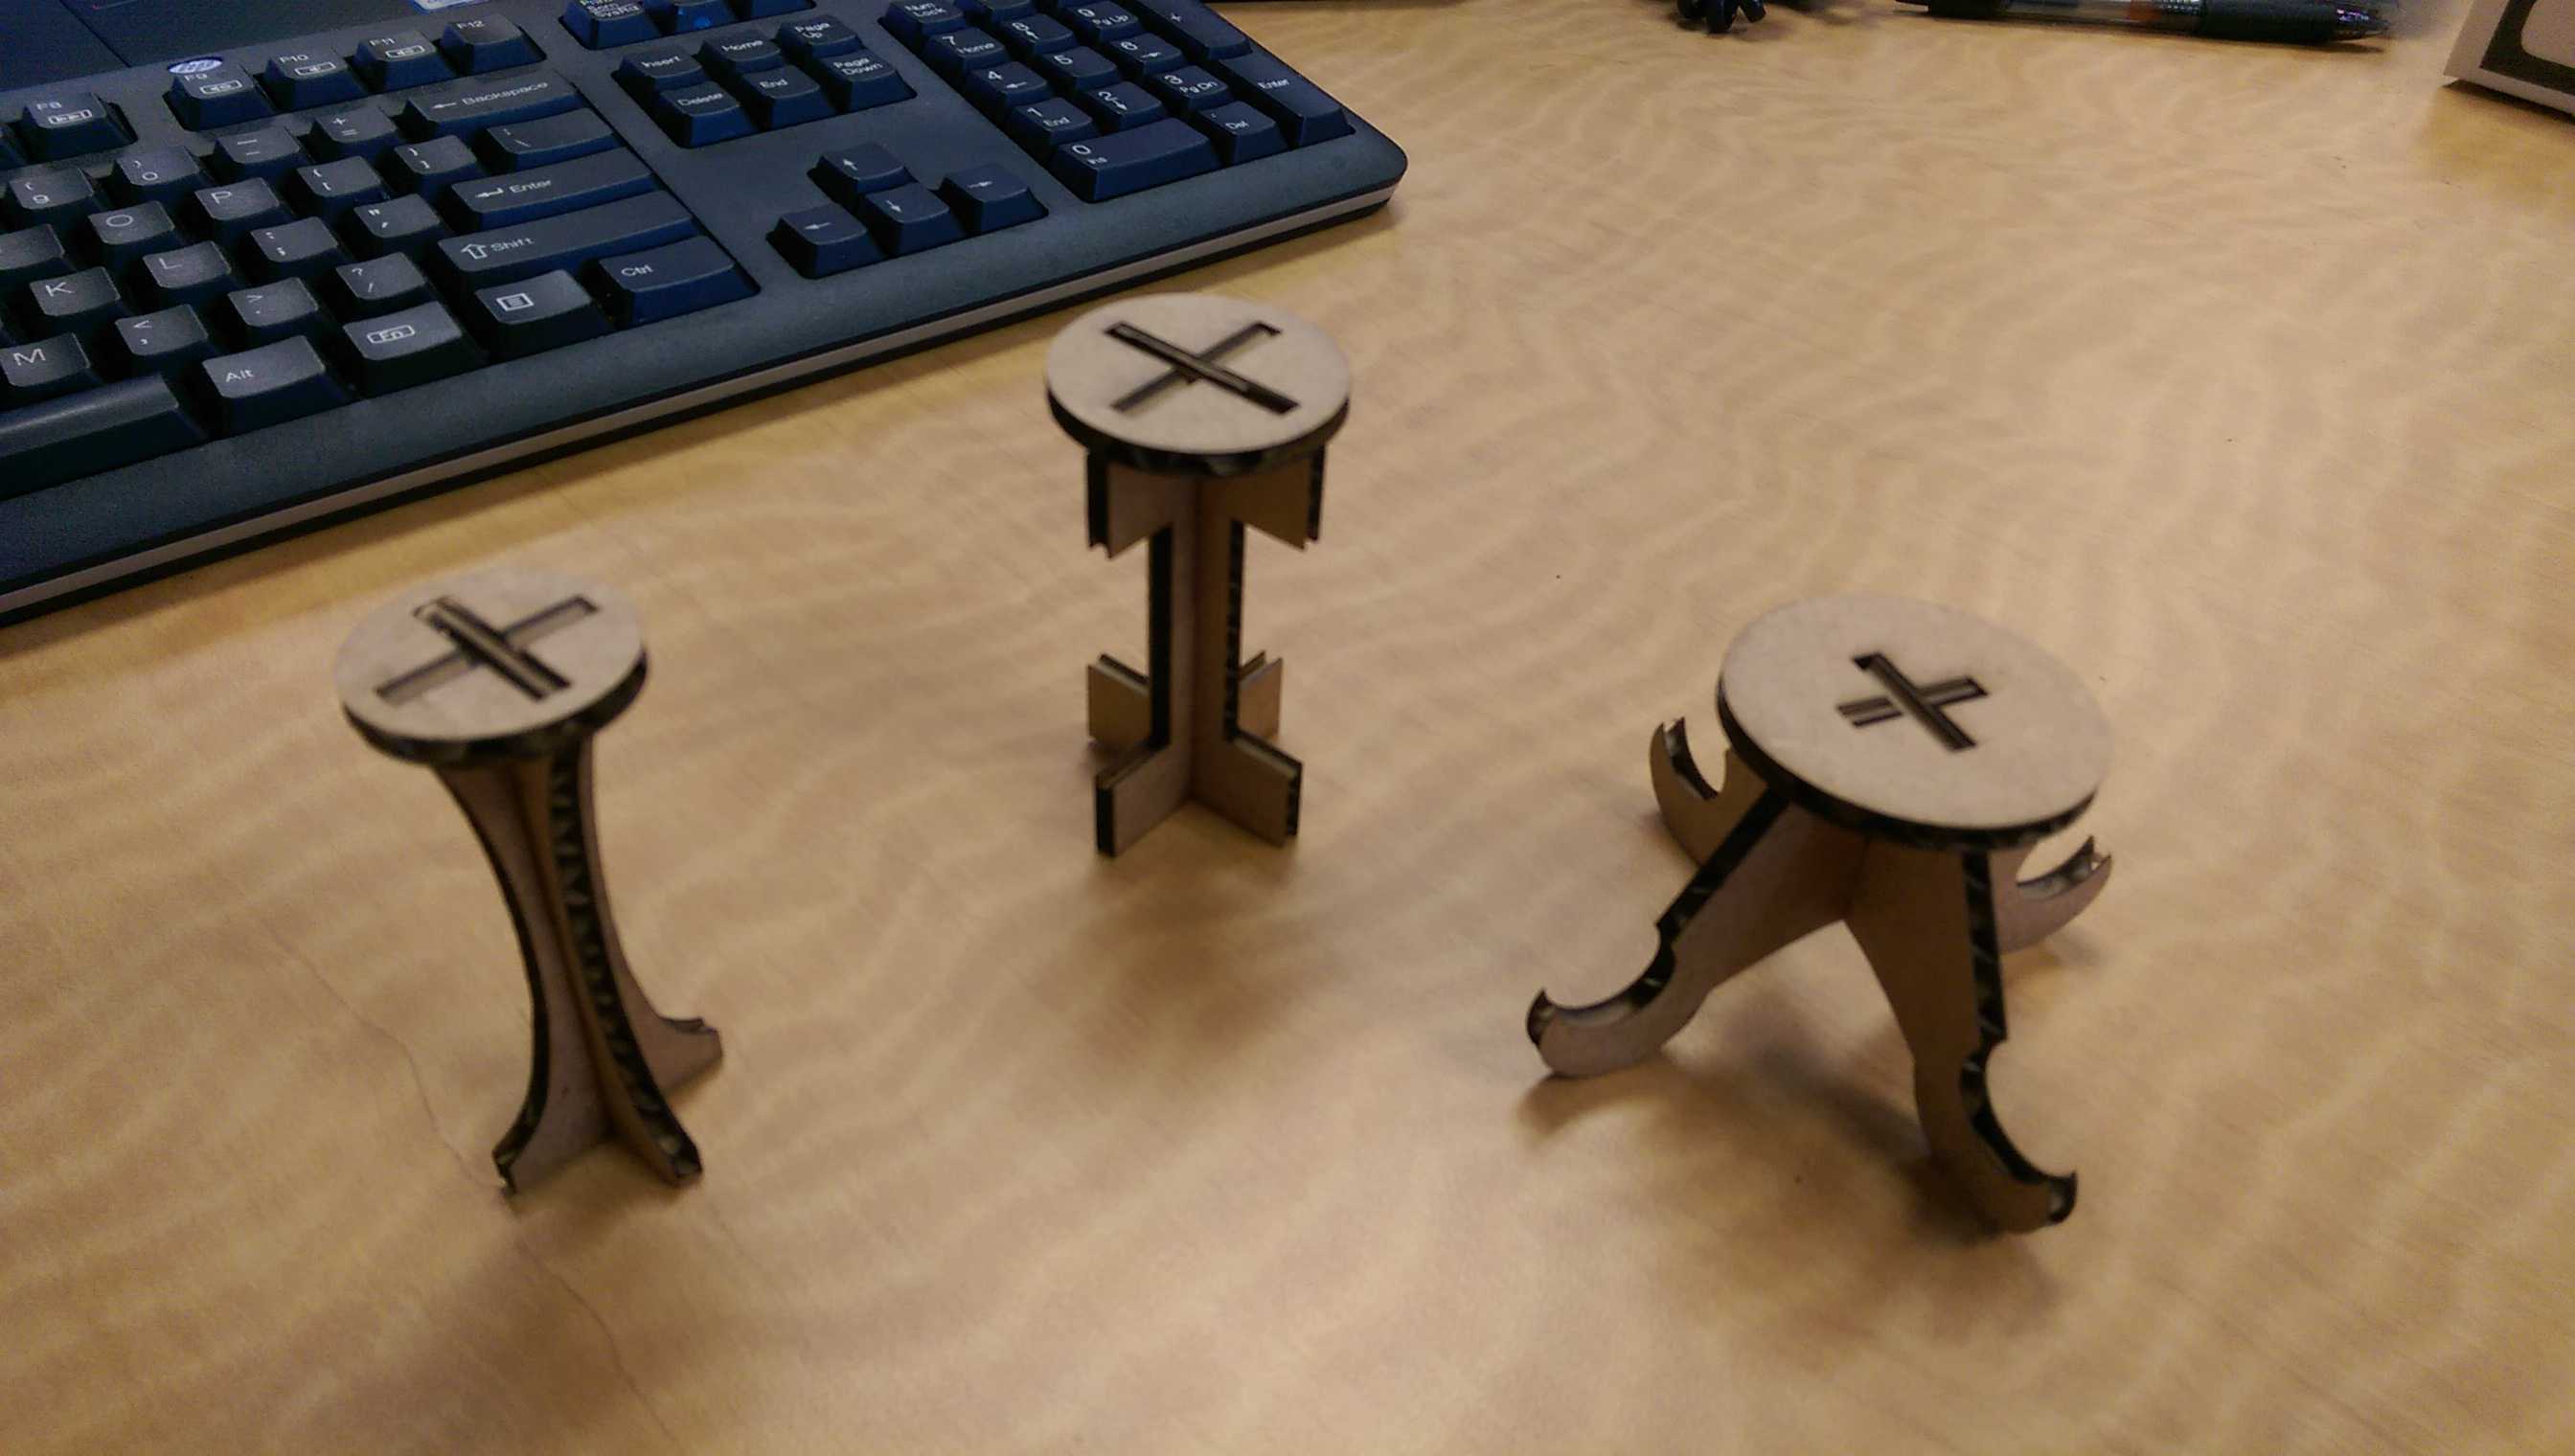
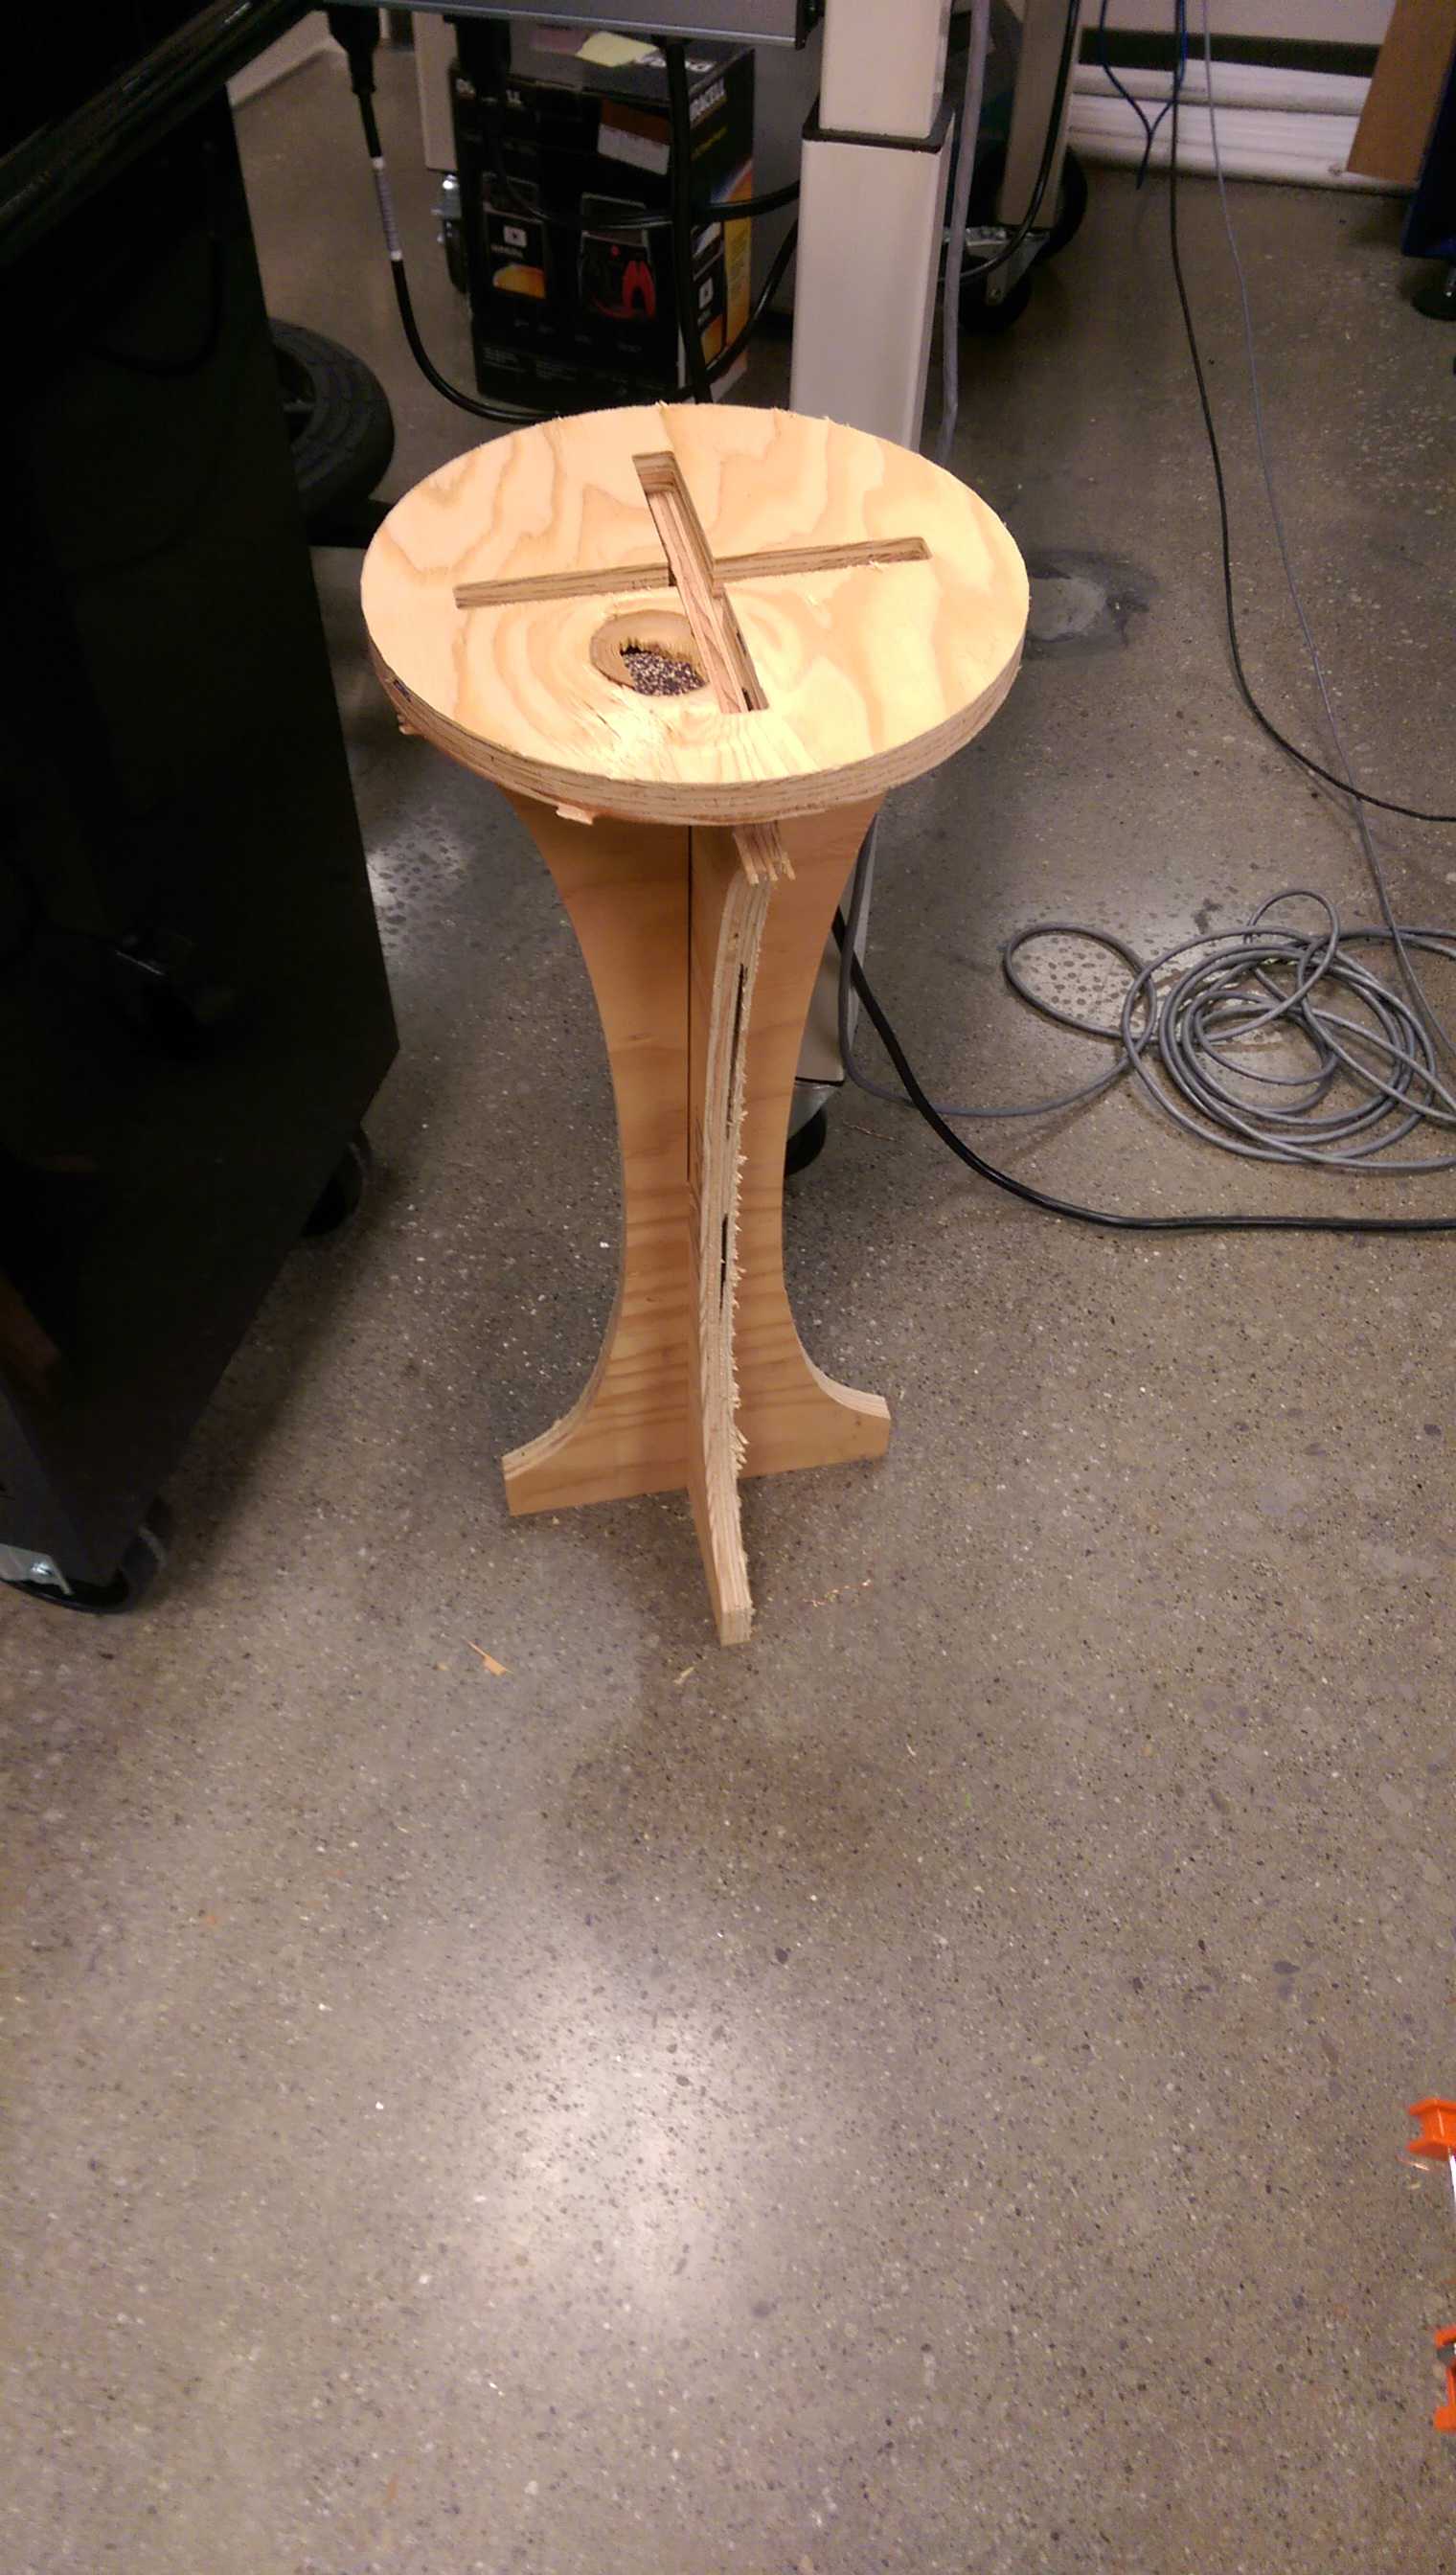
The plywood is really bad and I have some nasty splinters at the edges but it is sufficient for getting the hang of the process. Due to the tabs I need to grind the pieces anyway. My stool looked like this, before grinding and painting.
Go to top