Week 5 - 3D printing and scanning
The fifth week is dealing with 3d printing. There are three tasks, which we are working on.
Test the design rules of the printer
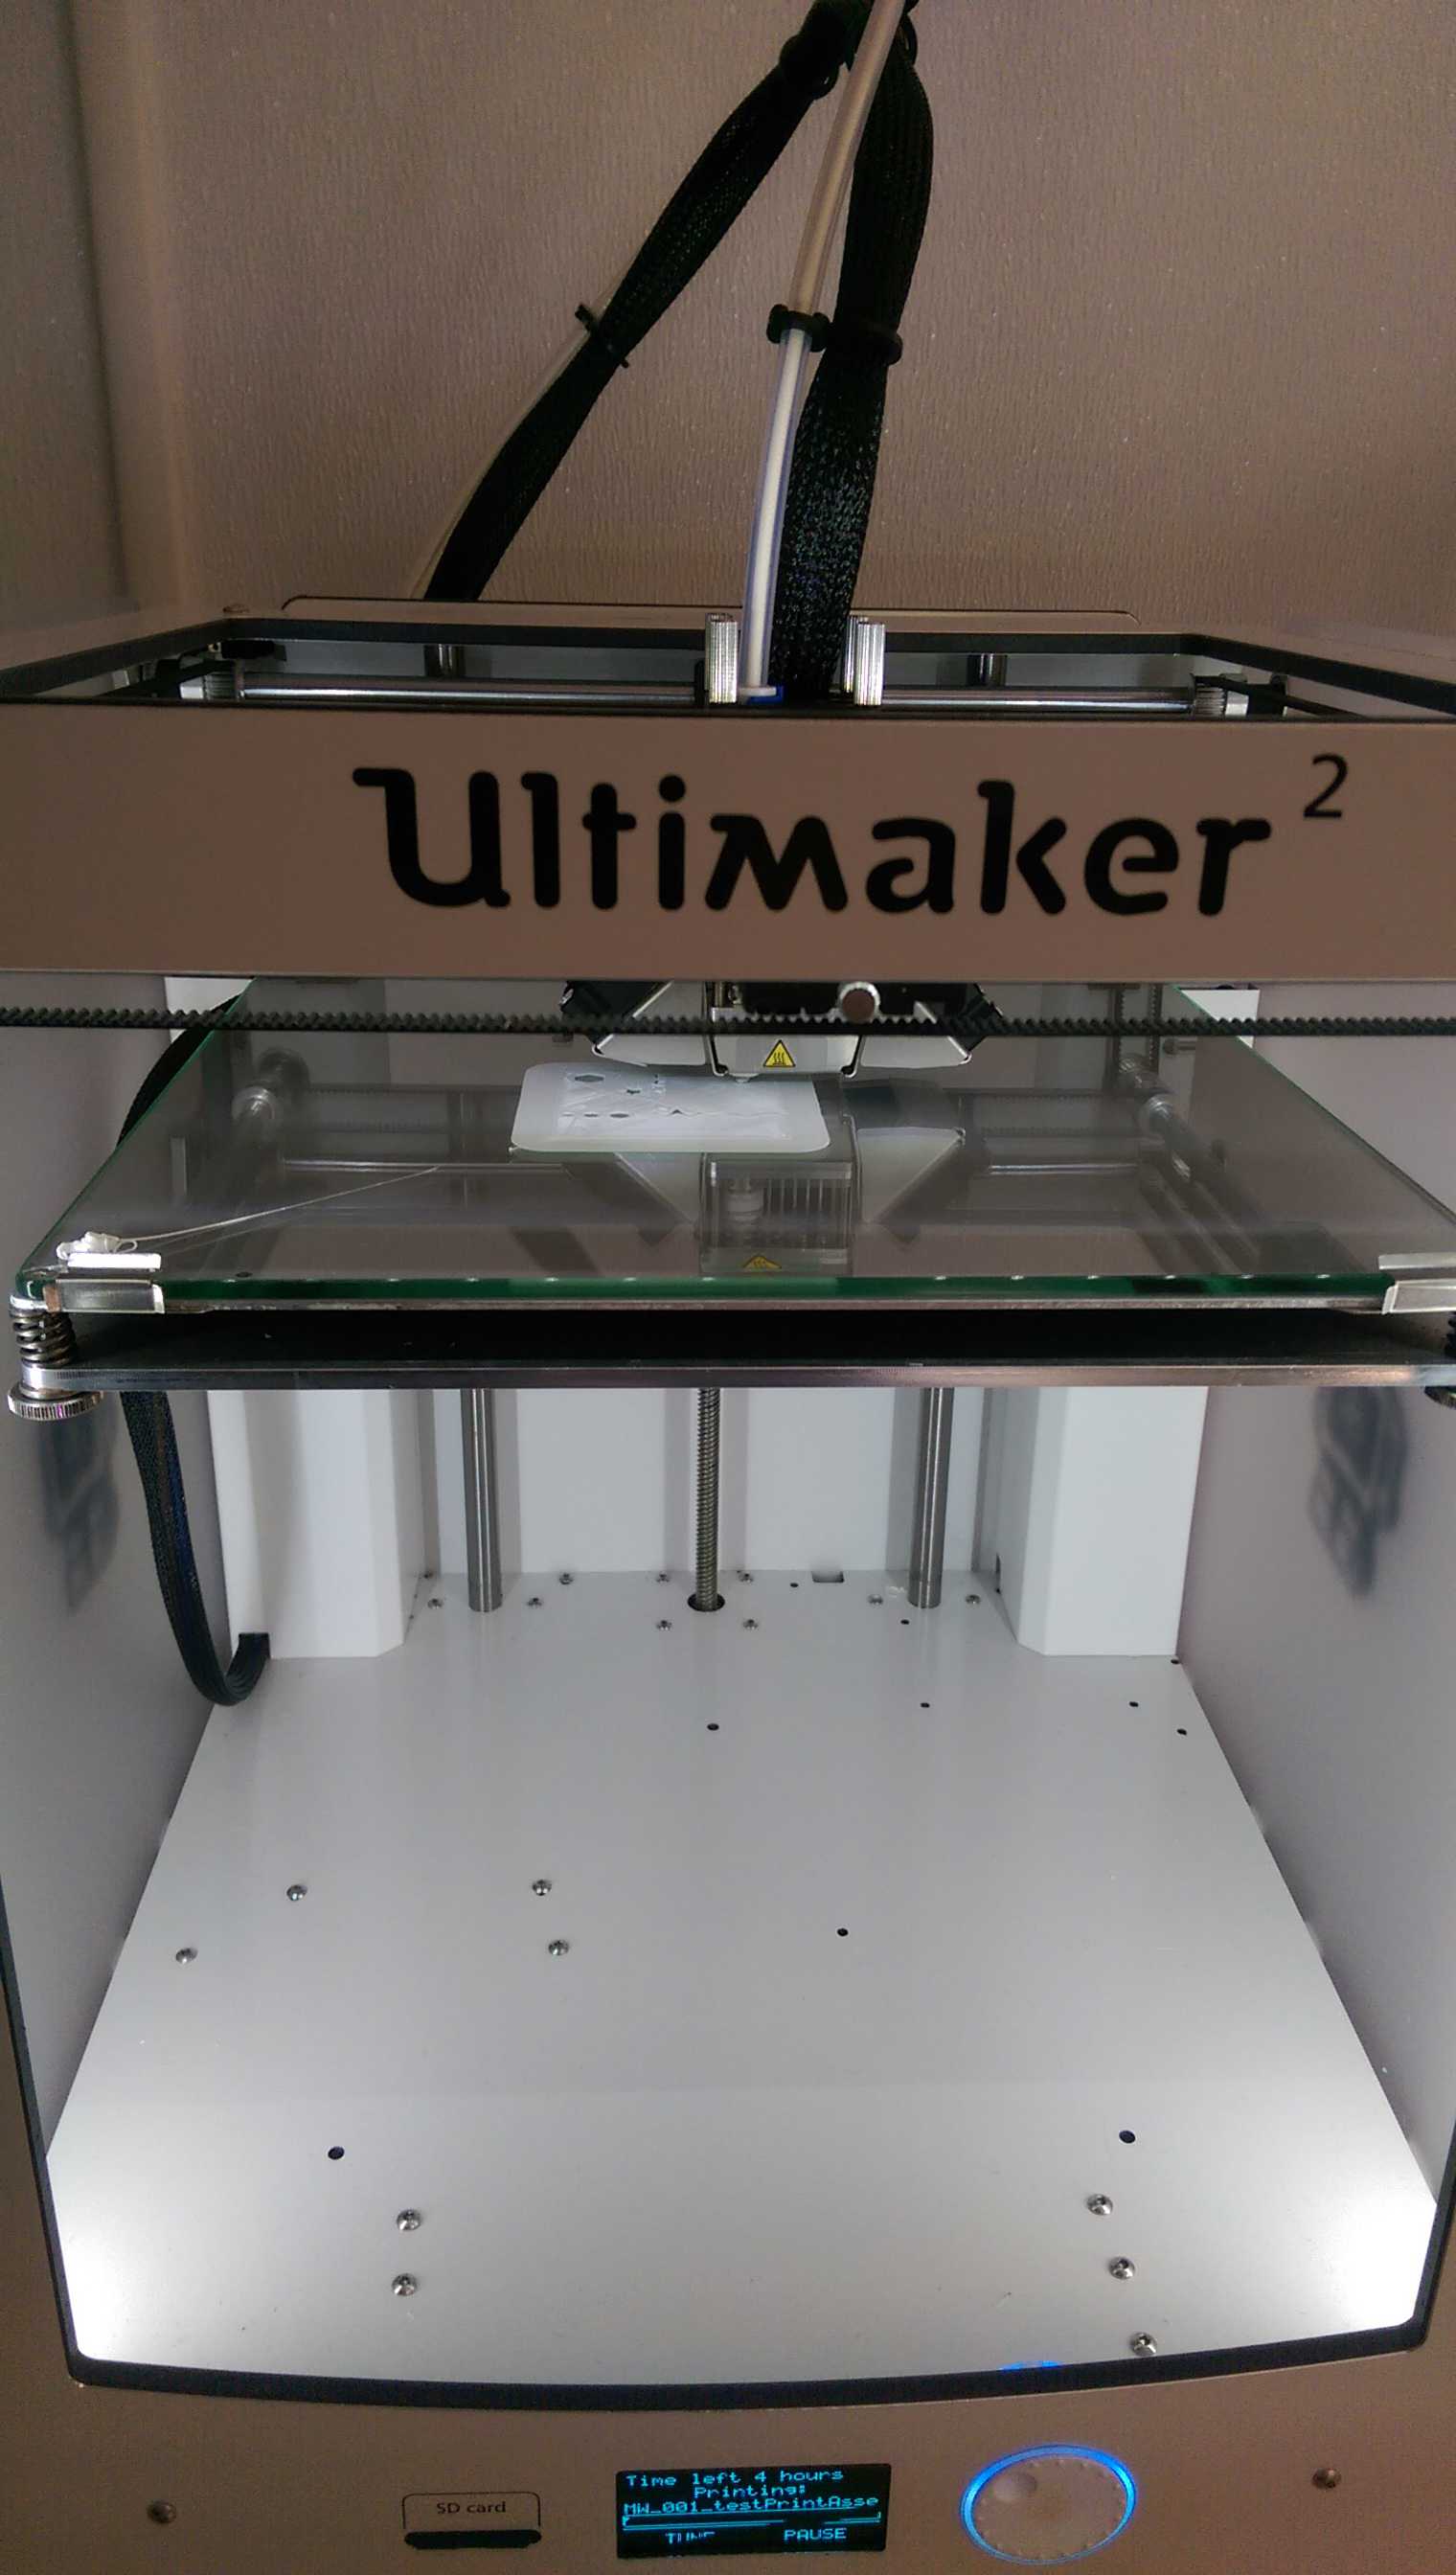
We have three Ultimaker 2 3D printer in the Lab.
These are Fused Deposition Modeling printers, which basically melt plastic and put it in place.
As printing material we are using PLA with a thickness of 2.85 mm. This stuff is based on corn starch
but not for consumption though. For interesting 3D printing projects, I strongly
recommend the webpage thingiverse. There are a lot of
projects and files, which one can download stl-files for printing. It is free and some files one even can
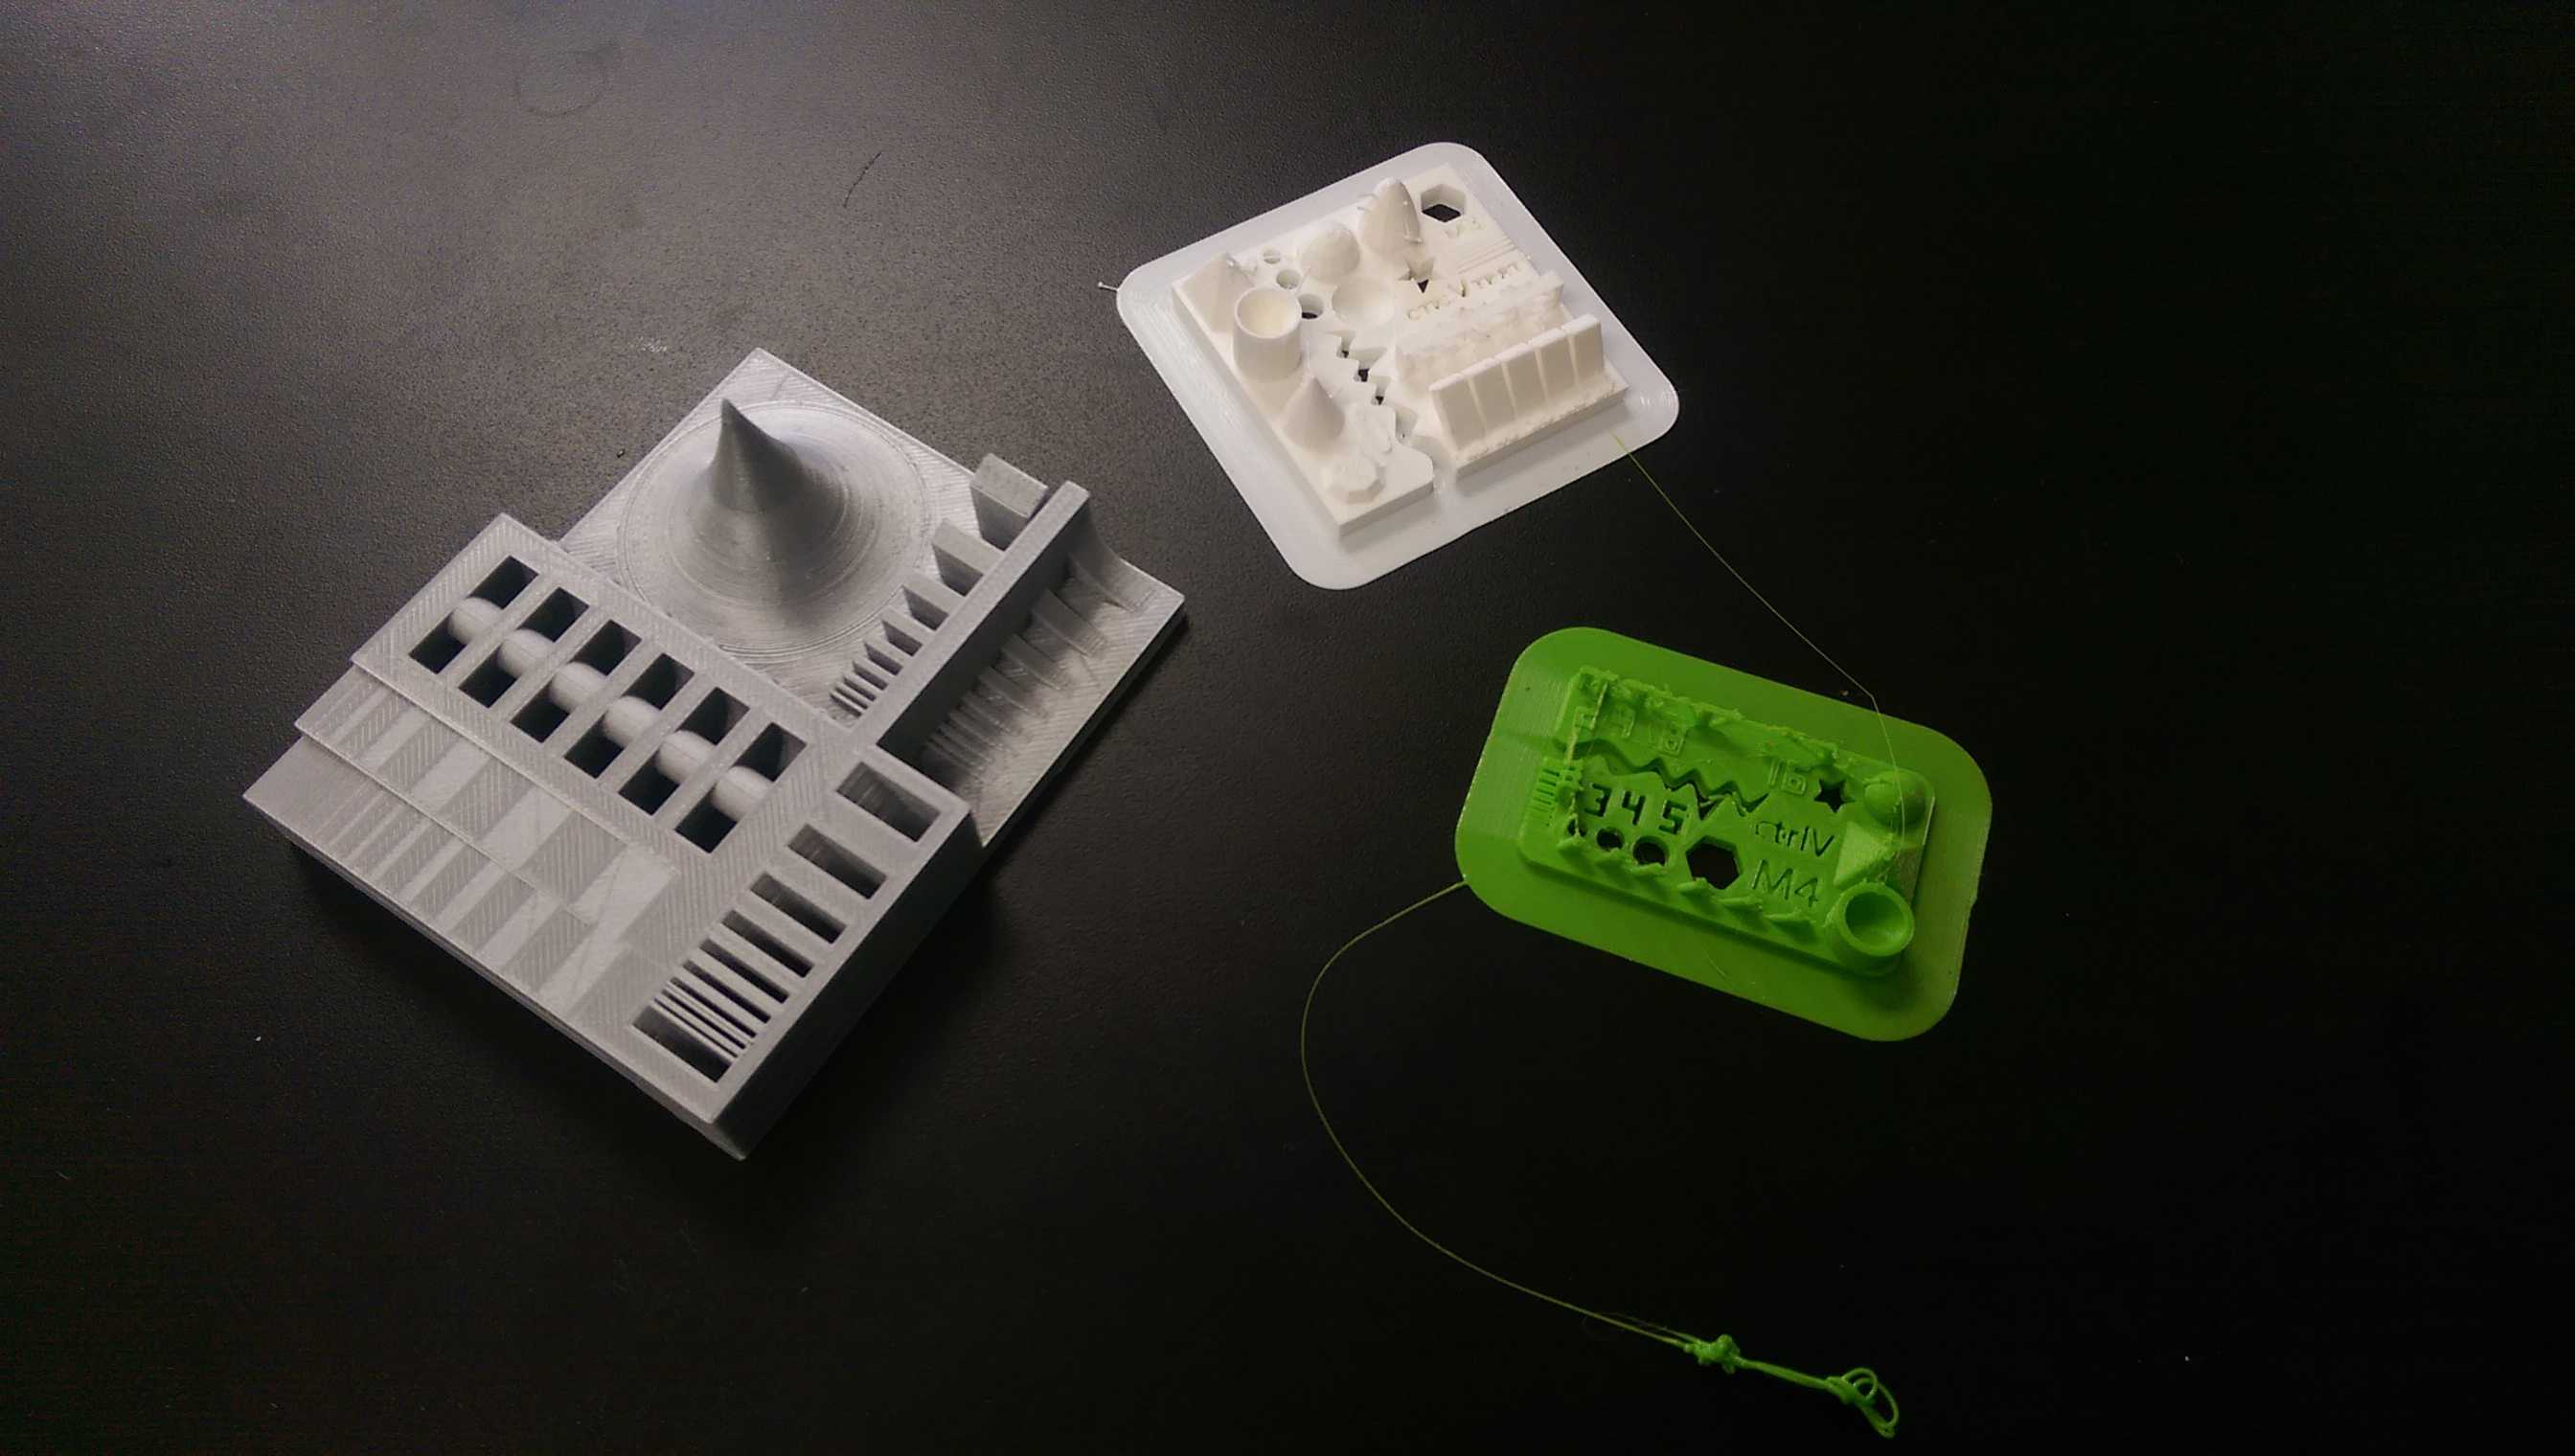
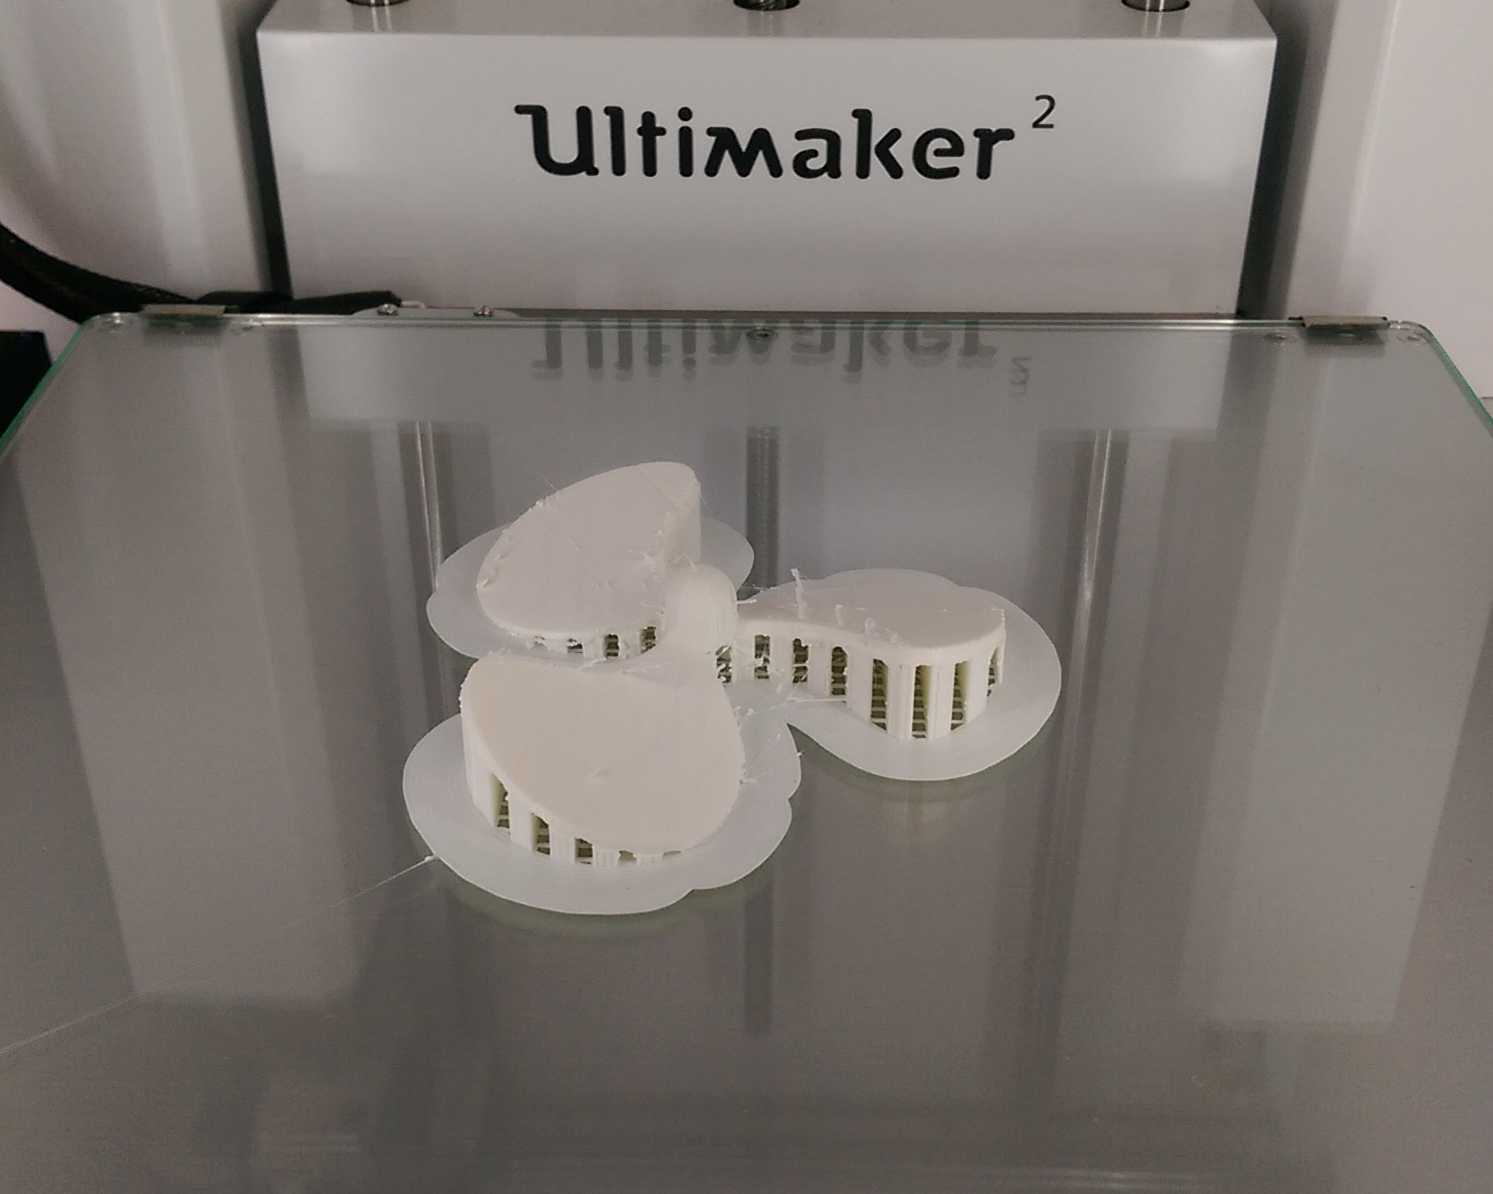
and modify. In the picture below you can see some things, which have been printed here.
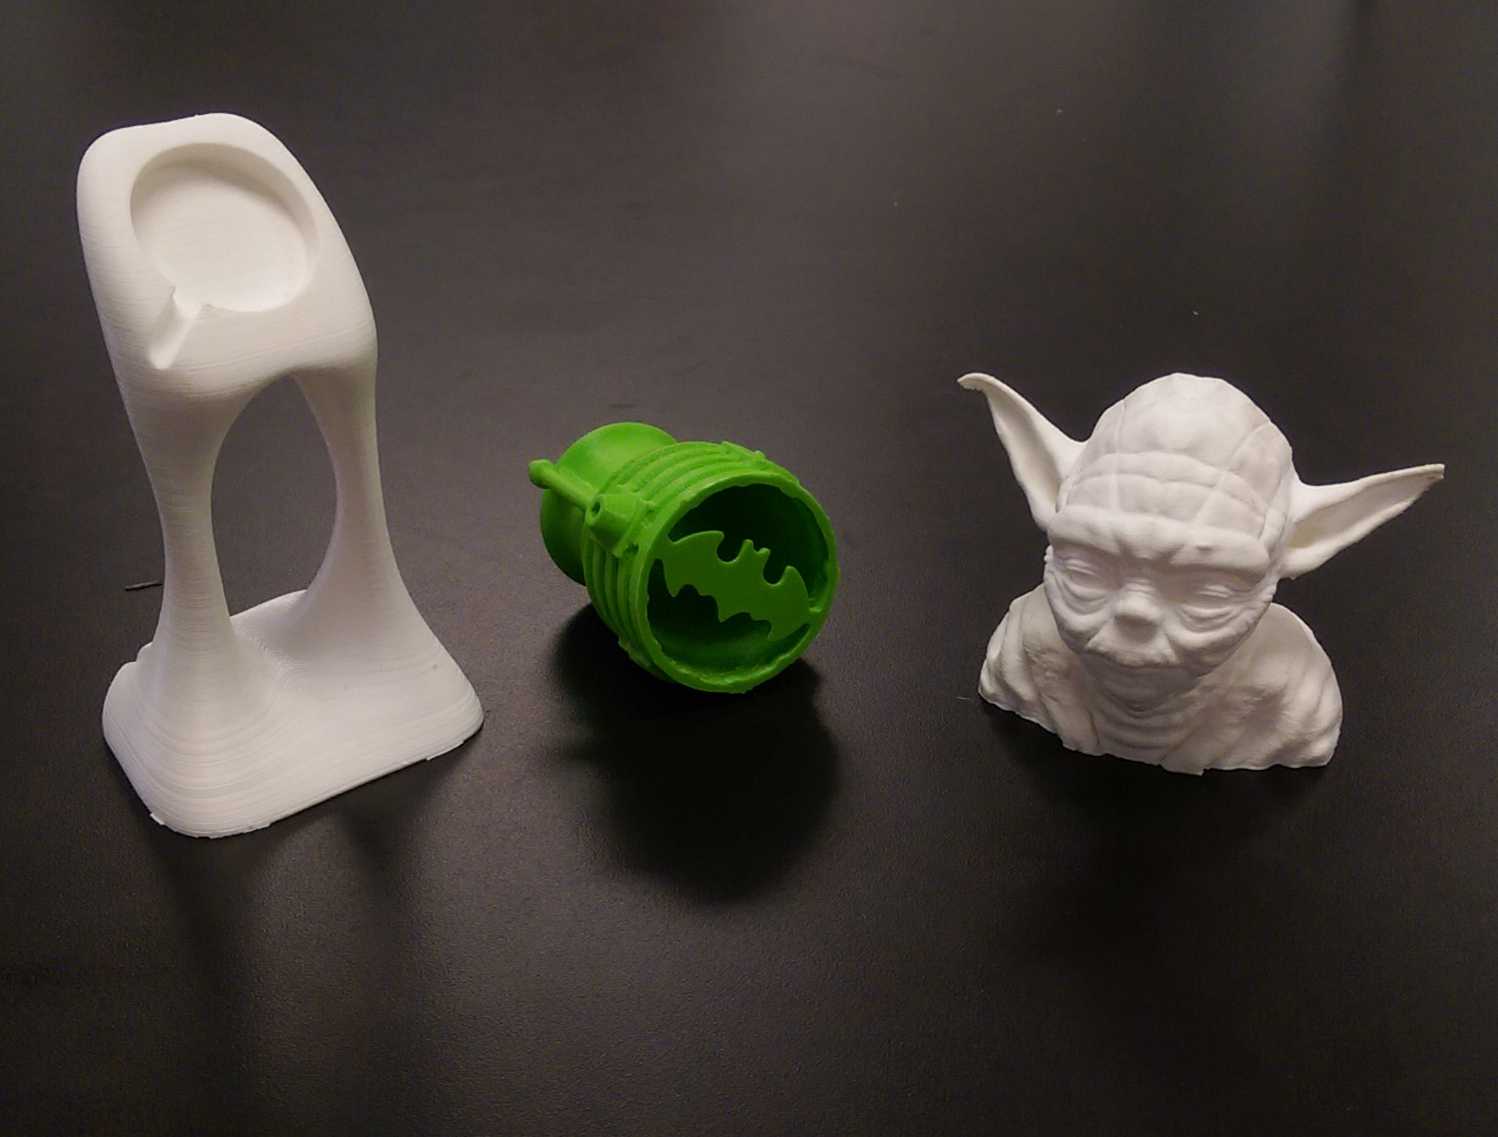
I decided to use three test pieces from thingiverse, to get an idea of
the accuracy of the printer.
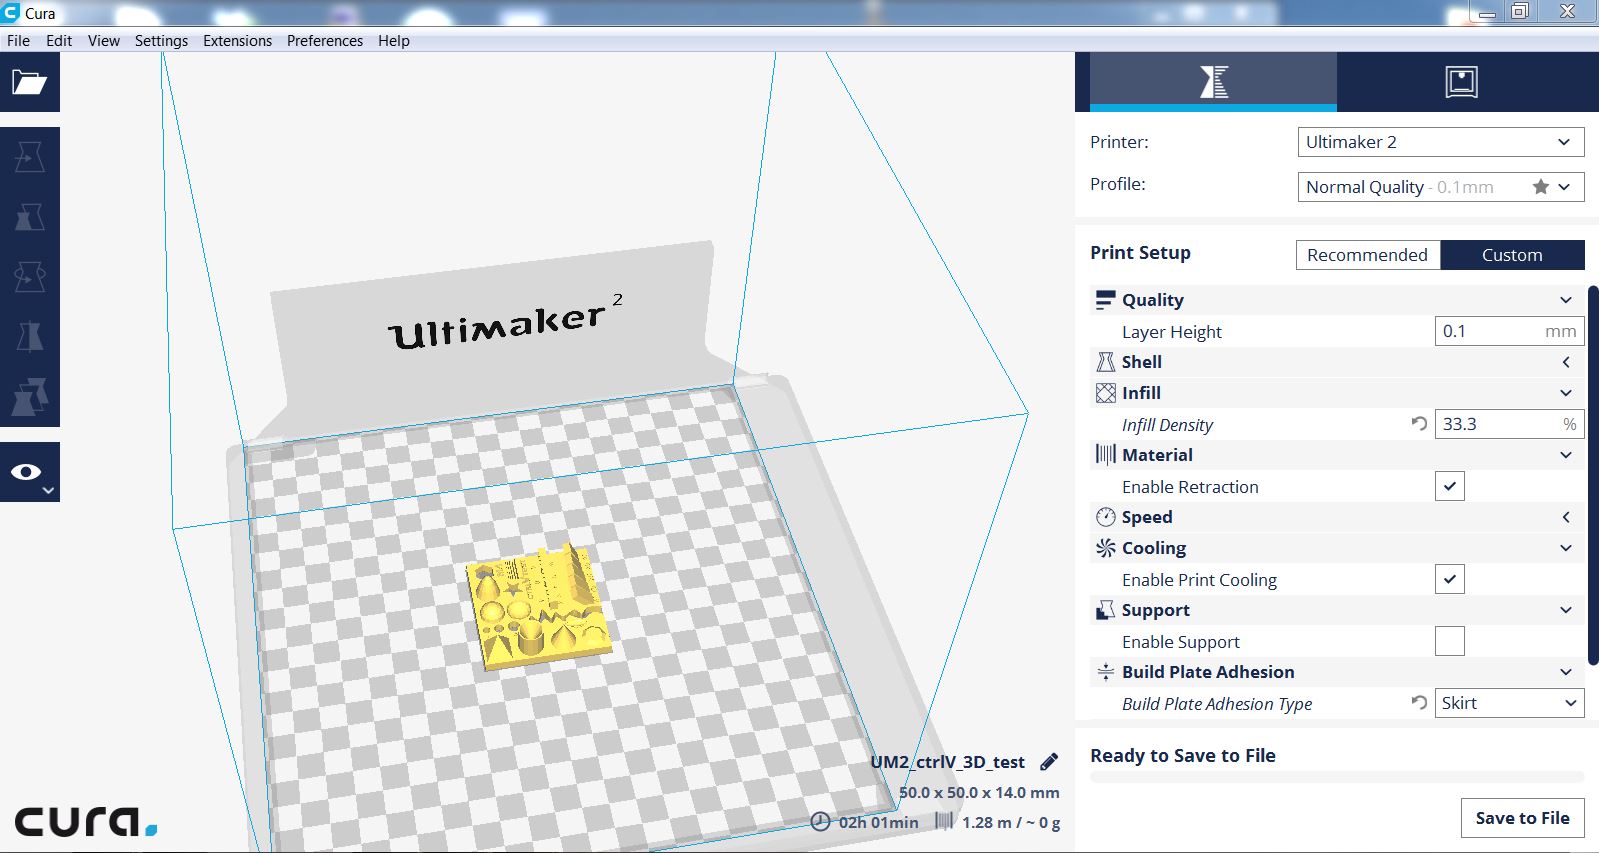
My first approach was Test 1.
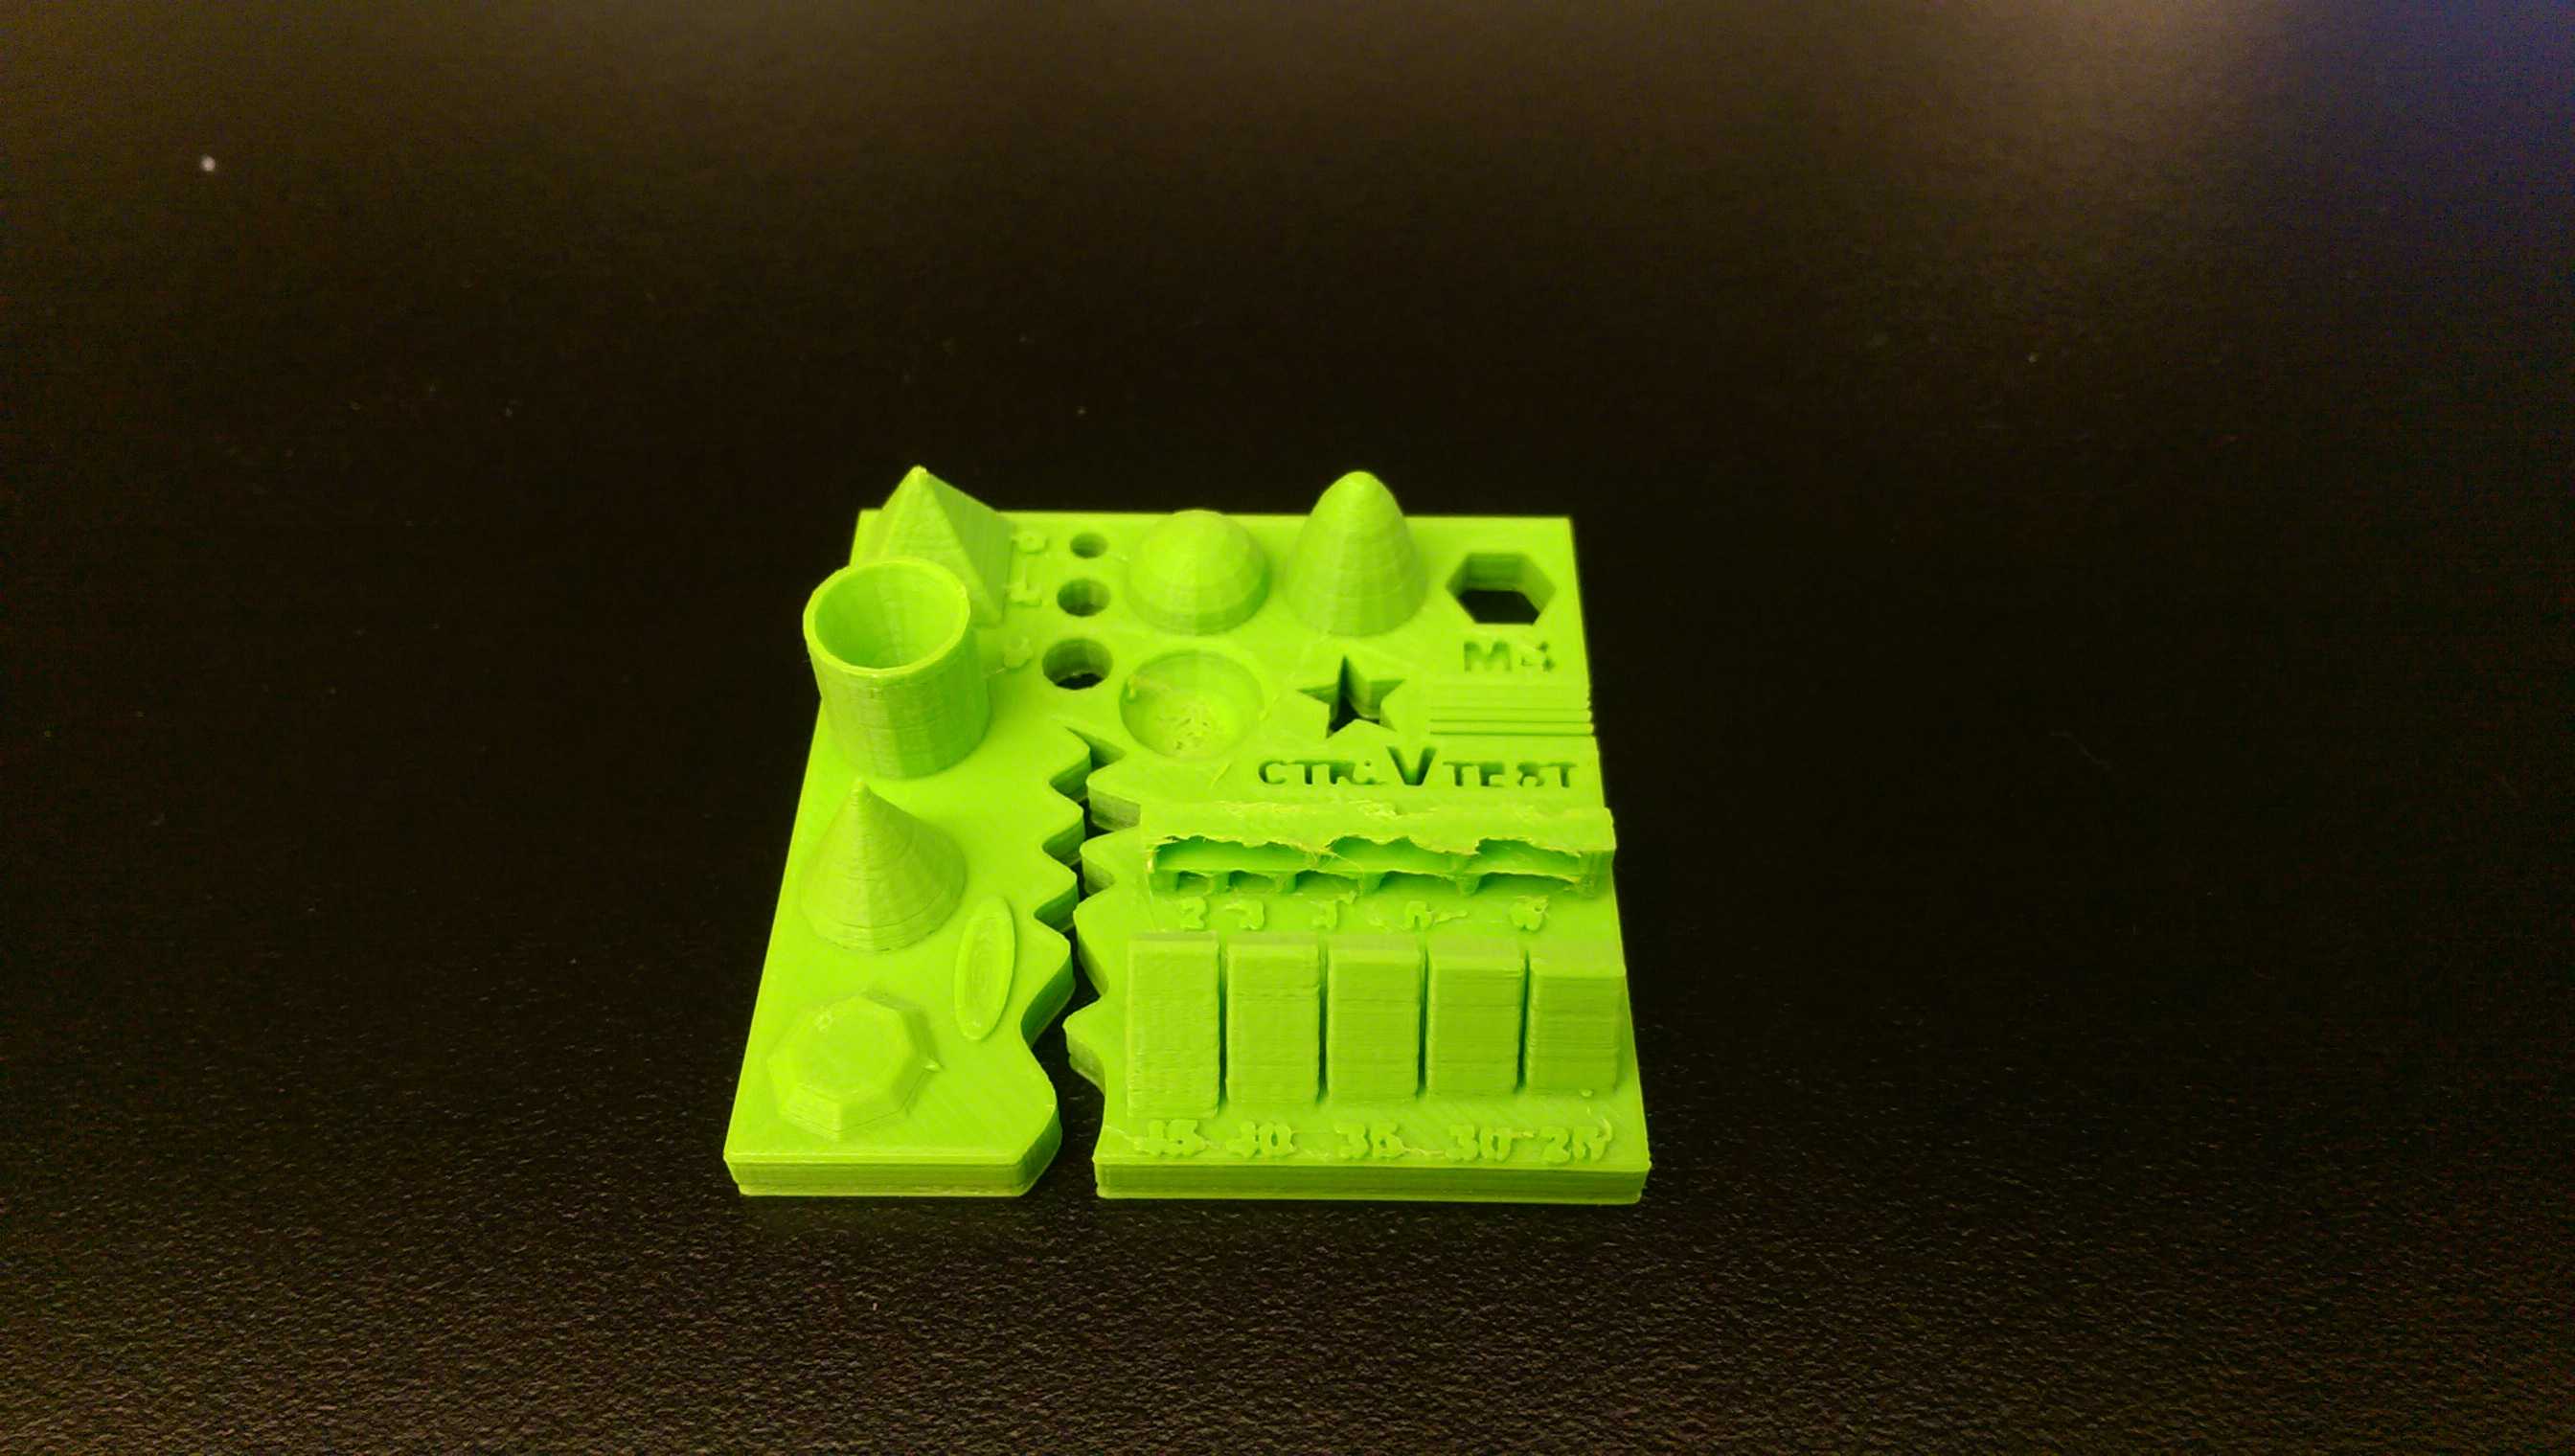
It happens, that the 3D prints come out in a way, which is not expected. A good guide for 3D printer errors is this page.
Design and 3D print an object
In this assignement we should take care, that the object which we are
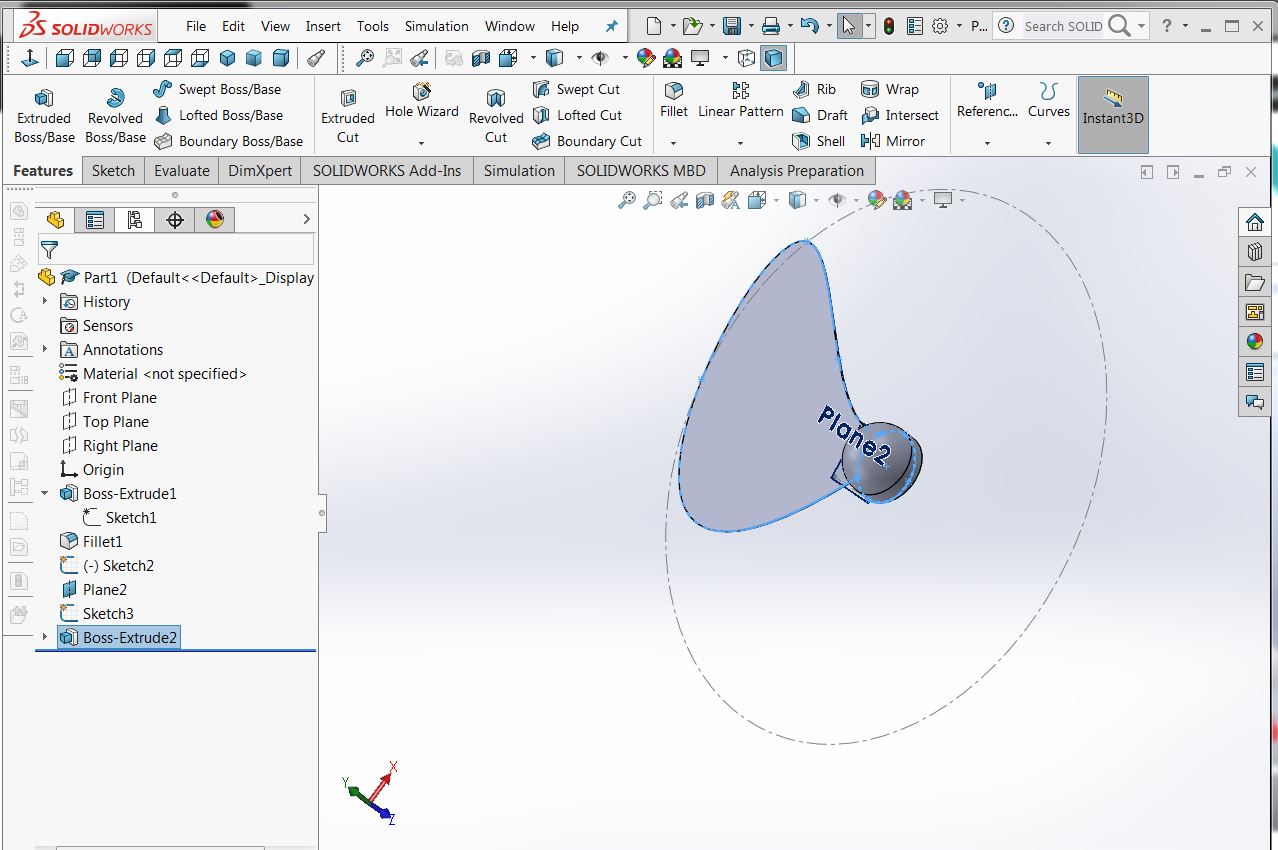
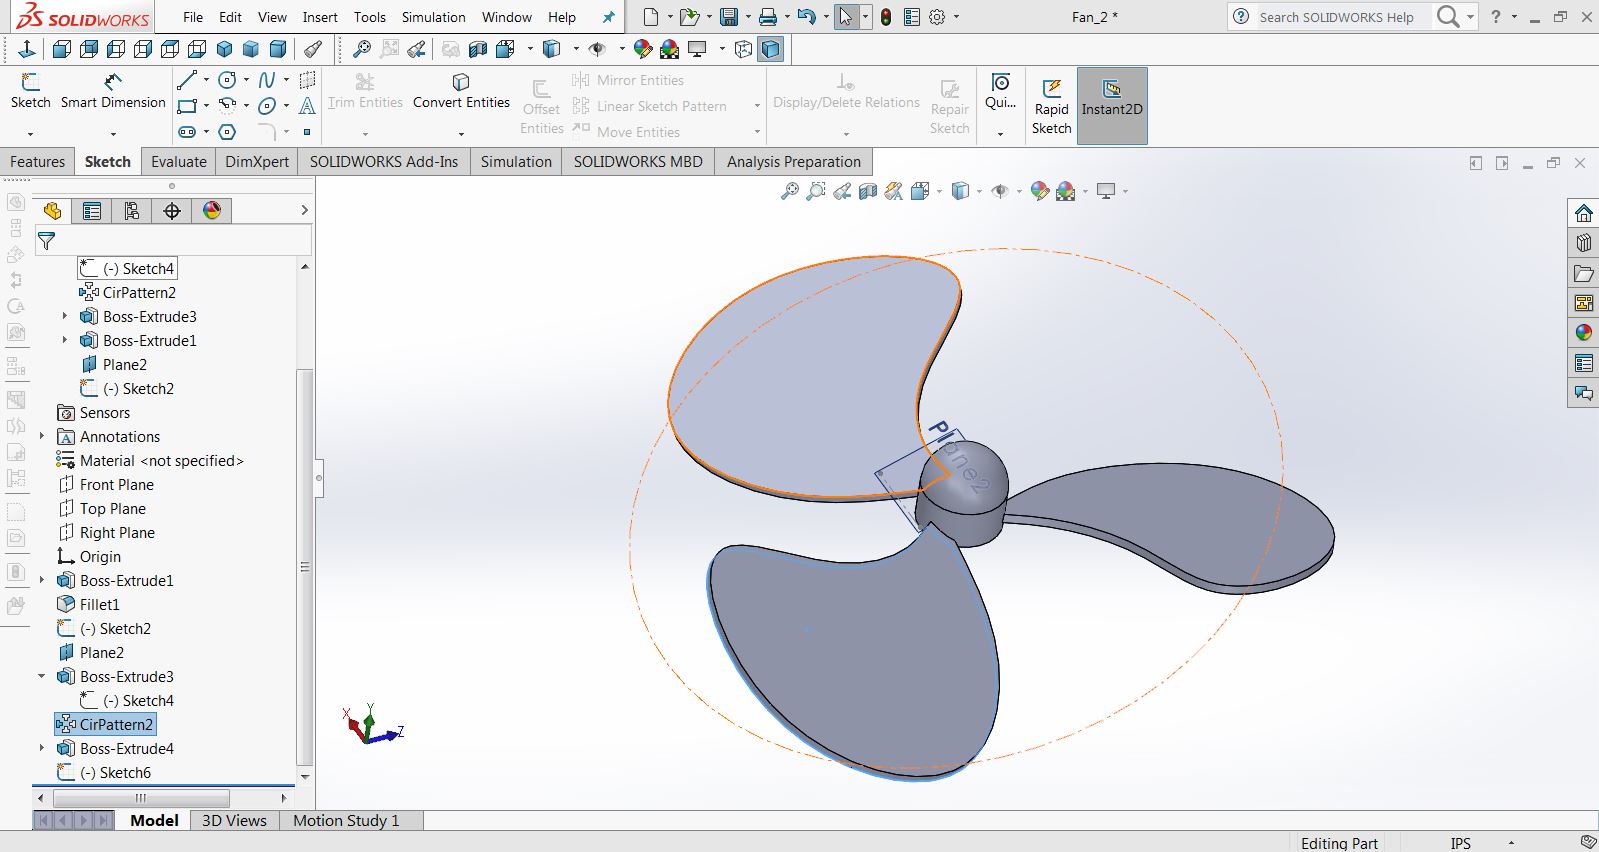
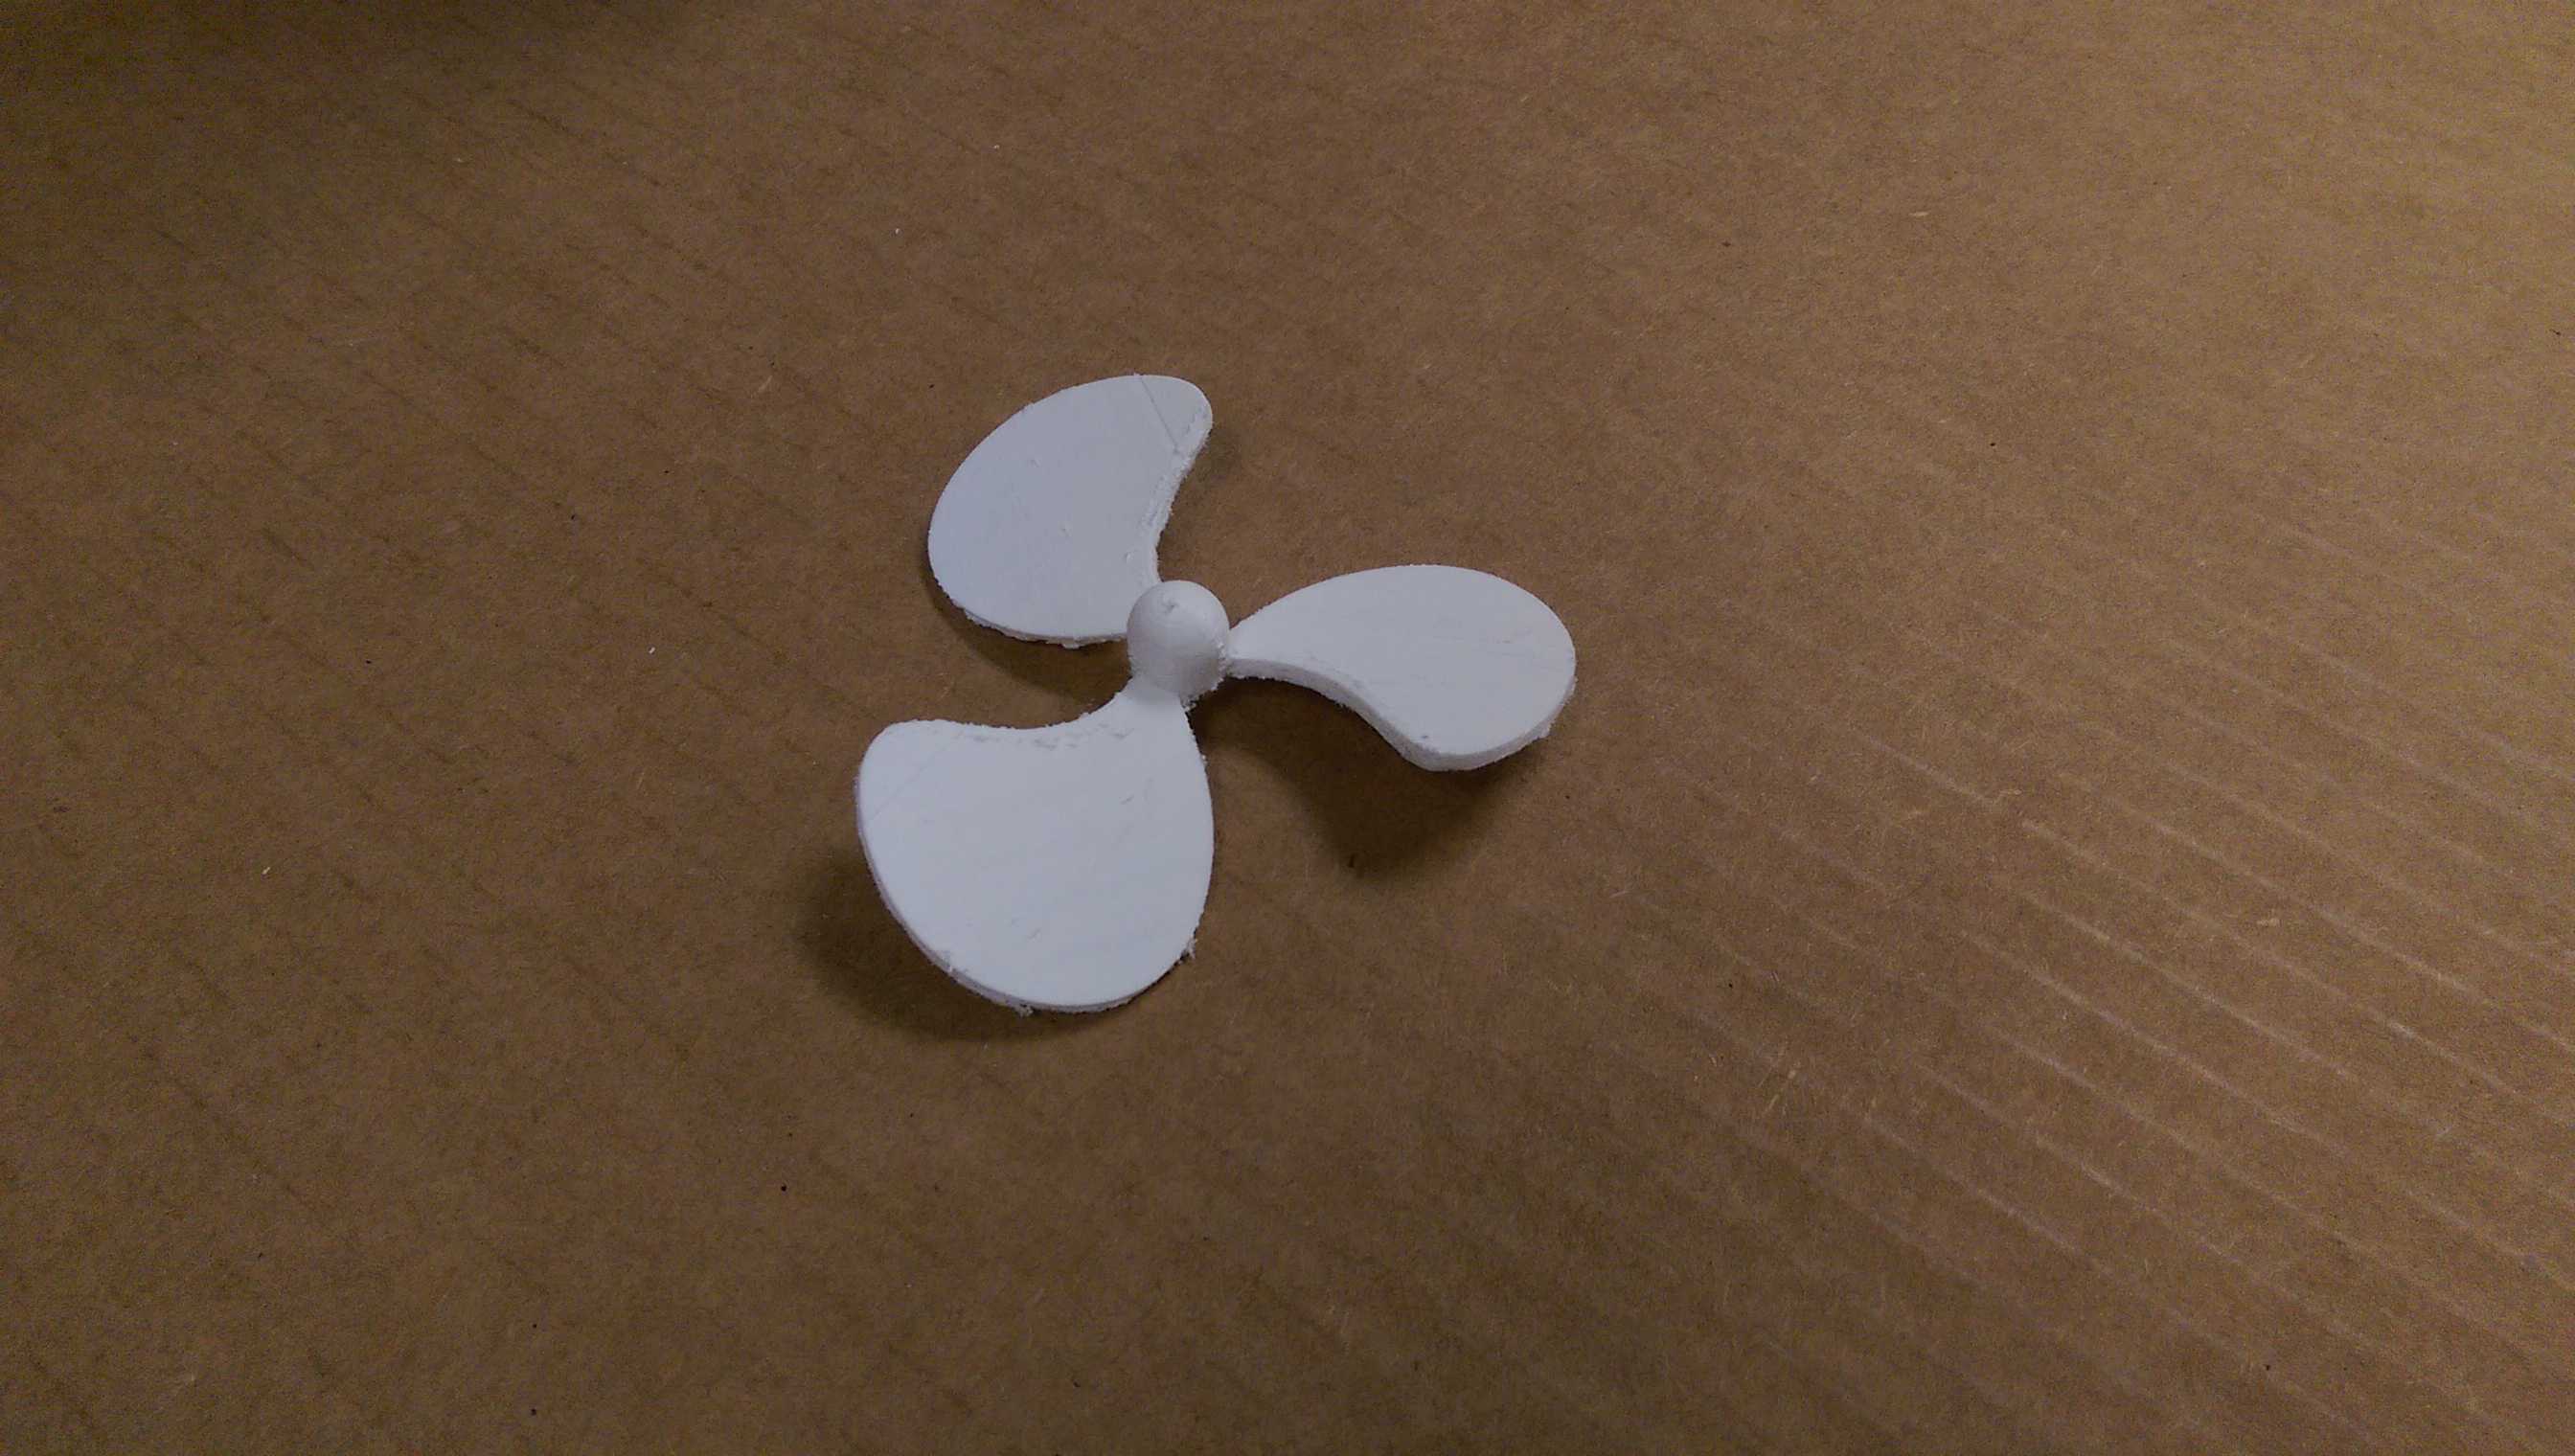
designing, can not be made subtractively. I decided to make a fan, which is warped and
has a round tip that makes it impossible to fabricate this with the 2.5D machines.
At least, not that easy. Anyway, in the first picture on this page you can see
In addition this has two more advantages for me: it helps me later, when I want to build my final
project (Booty-dryer) and it is also a good practice to work with Solidworks...and I am saving the
environment by not printing anything to throw away.
While researching the web for making a fan, I found this
Video.
Thanks to the Solidworks-tutorials, I don't need to start from zero on this one.
3D scan an object and optionally print it
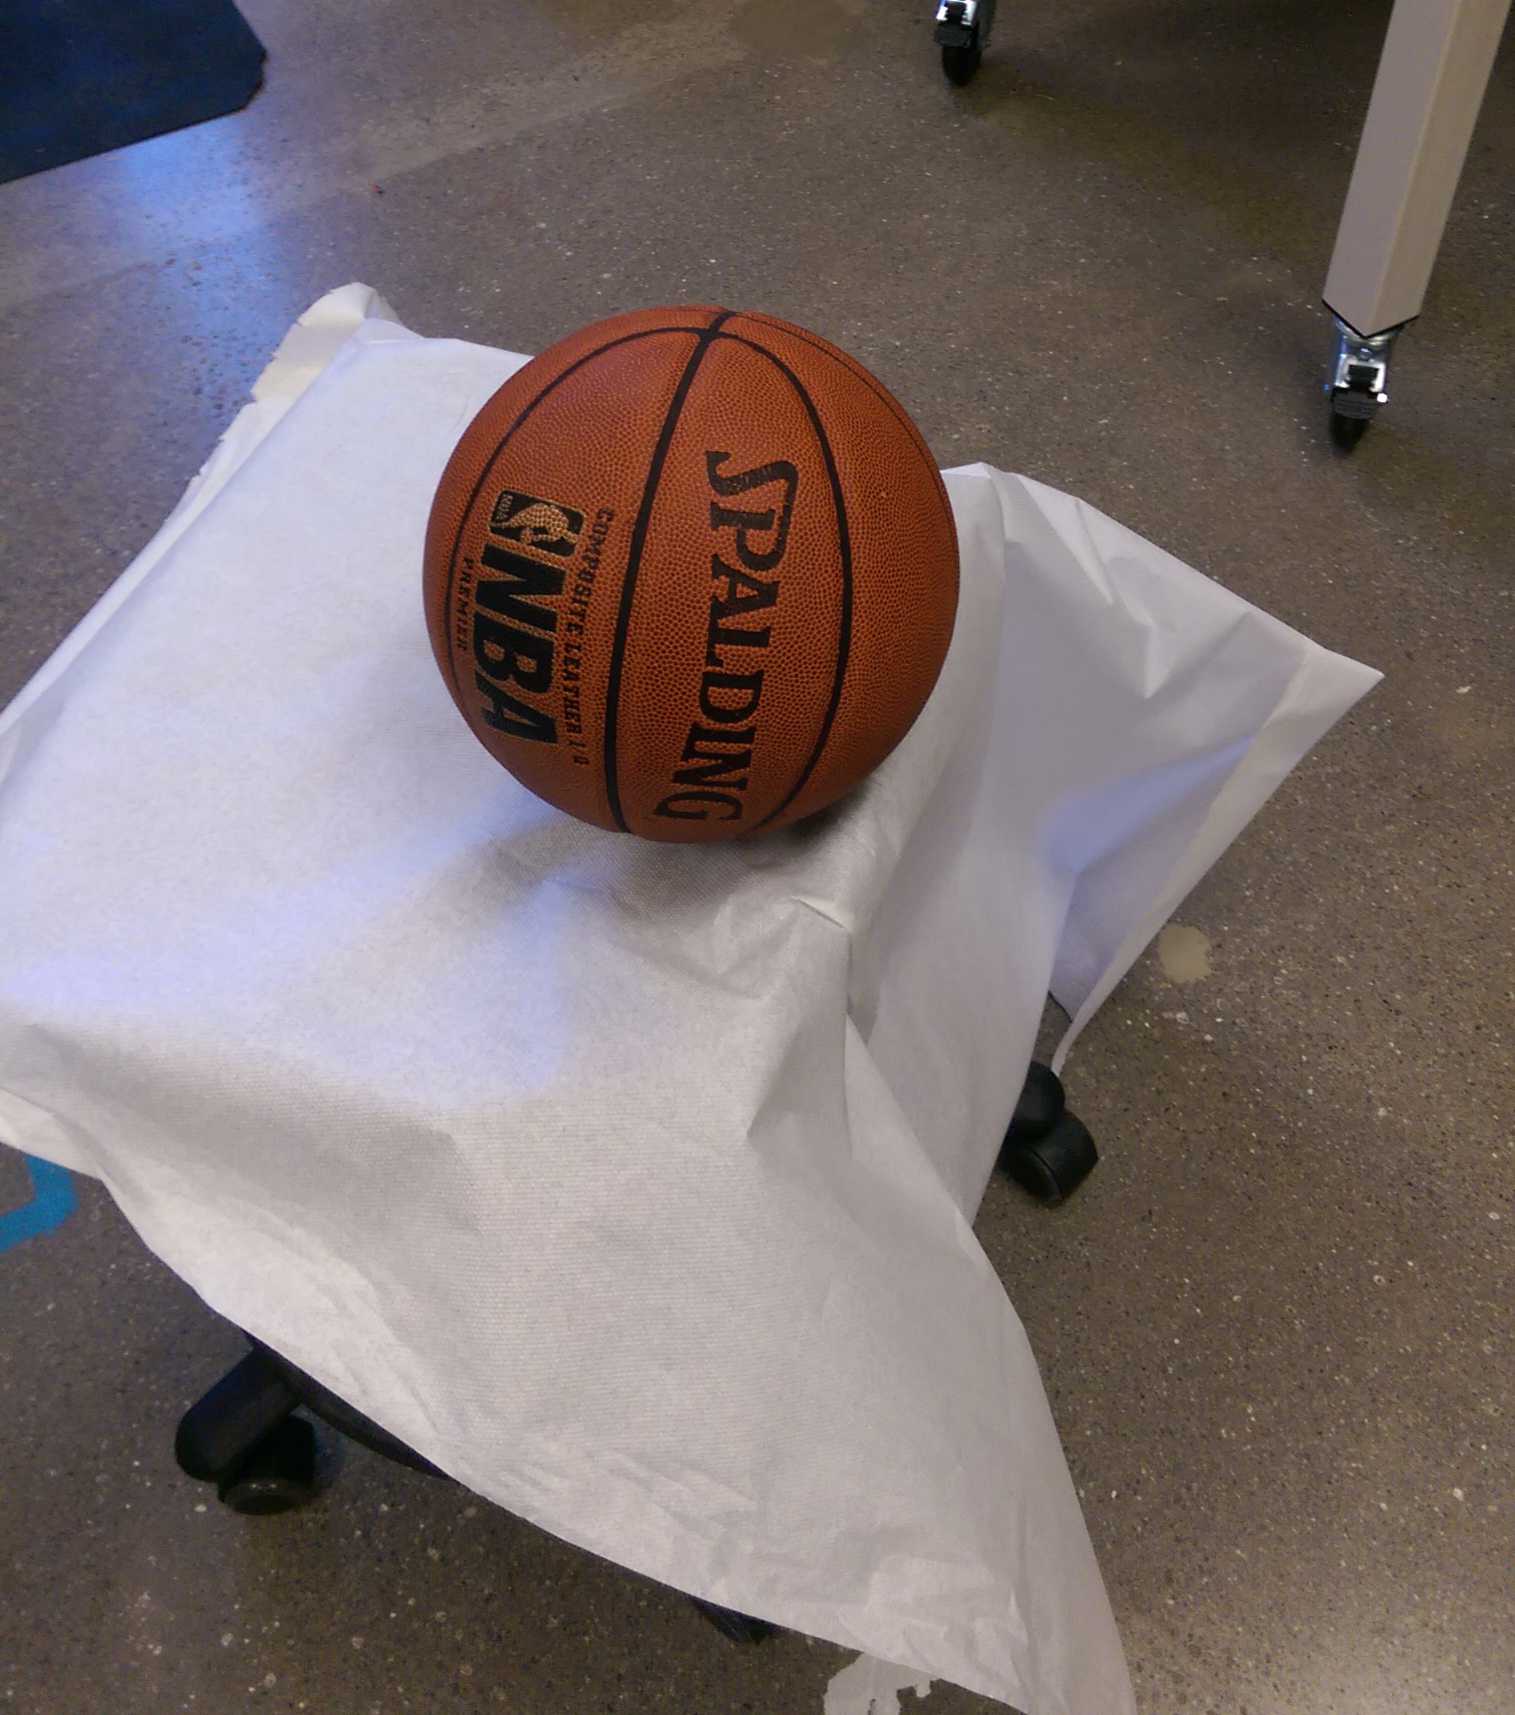
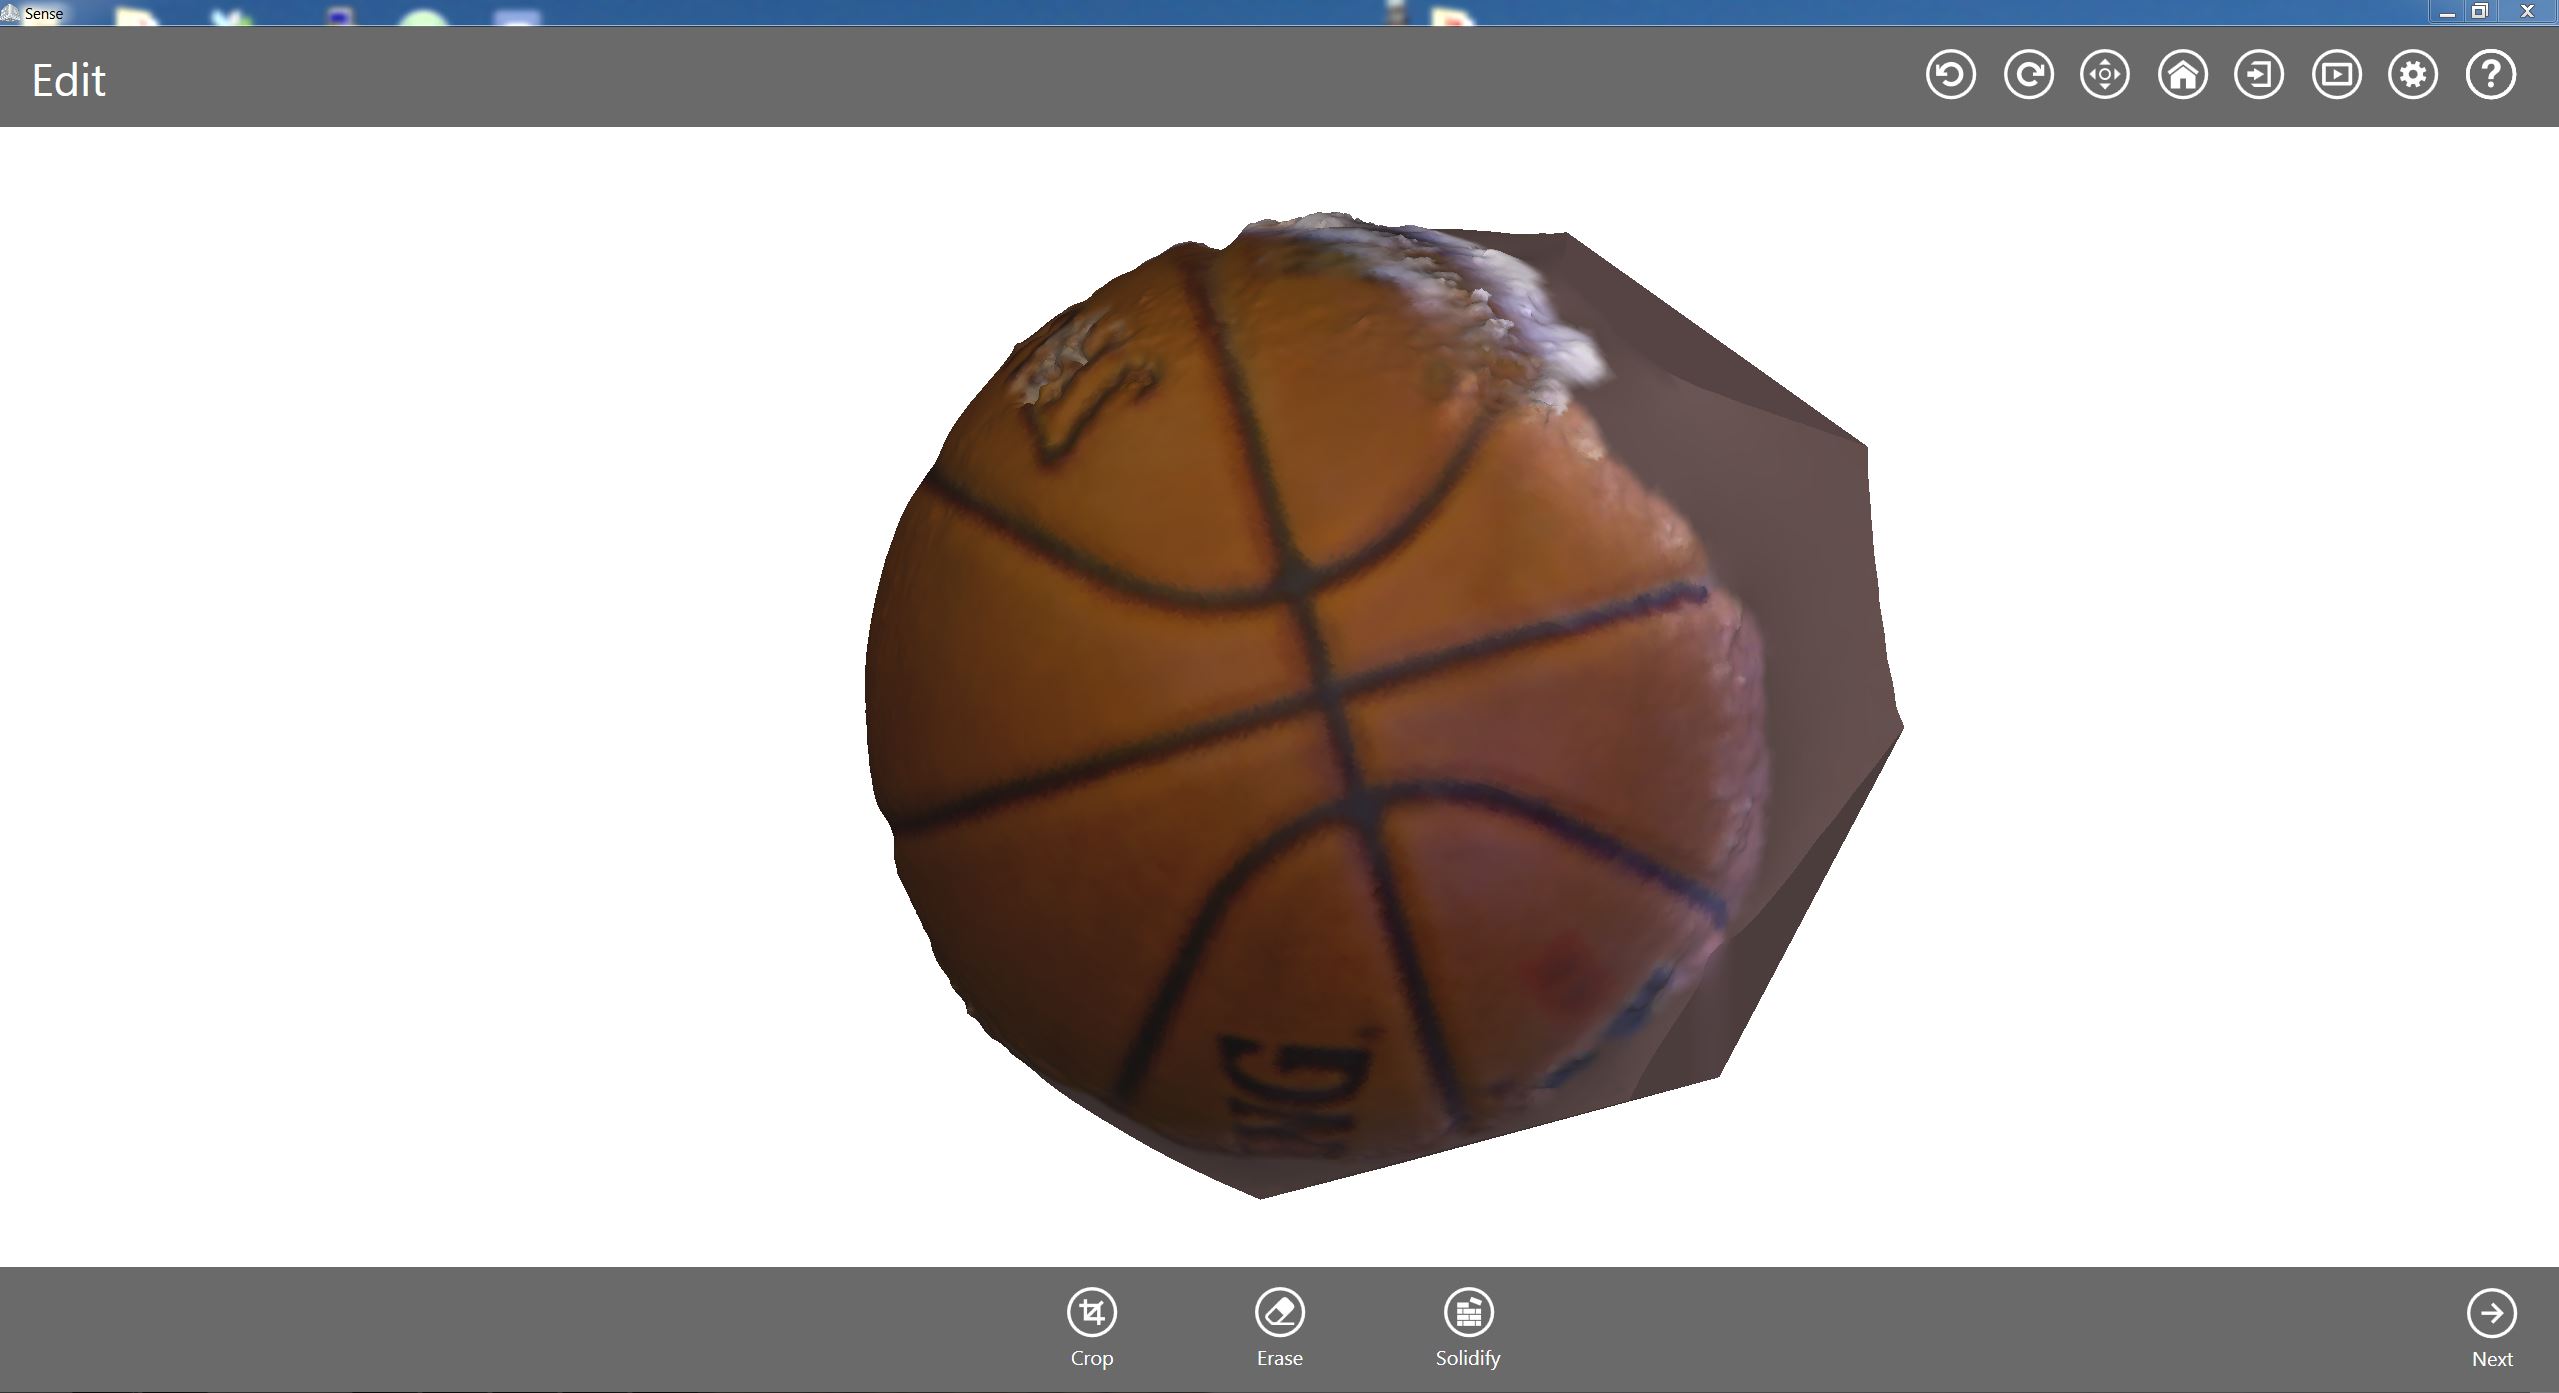
This turned out to be not as easy as expected. Scanning something should't be that hard but if you are using Sense 3D it is. The scanner works so bad that it's basically not working at all. I tried different combinations of light and different object sizes but I had all the time the Lost Tracking message. I figured a setup out and after some advice from the fablabdetroit fellas, regarding lighting and reflective surfaces, I managed to scan a basketball.
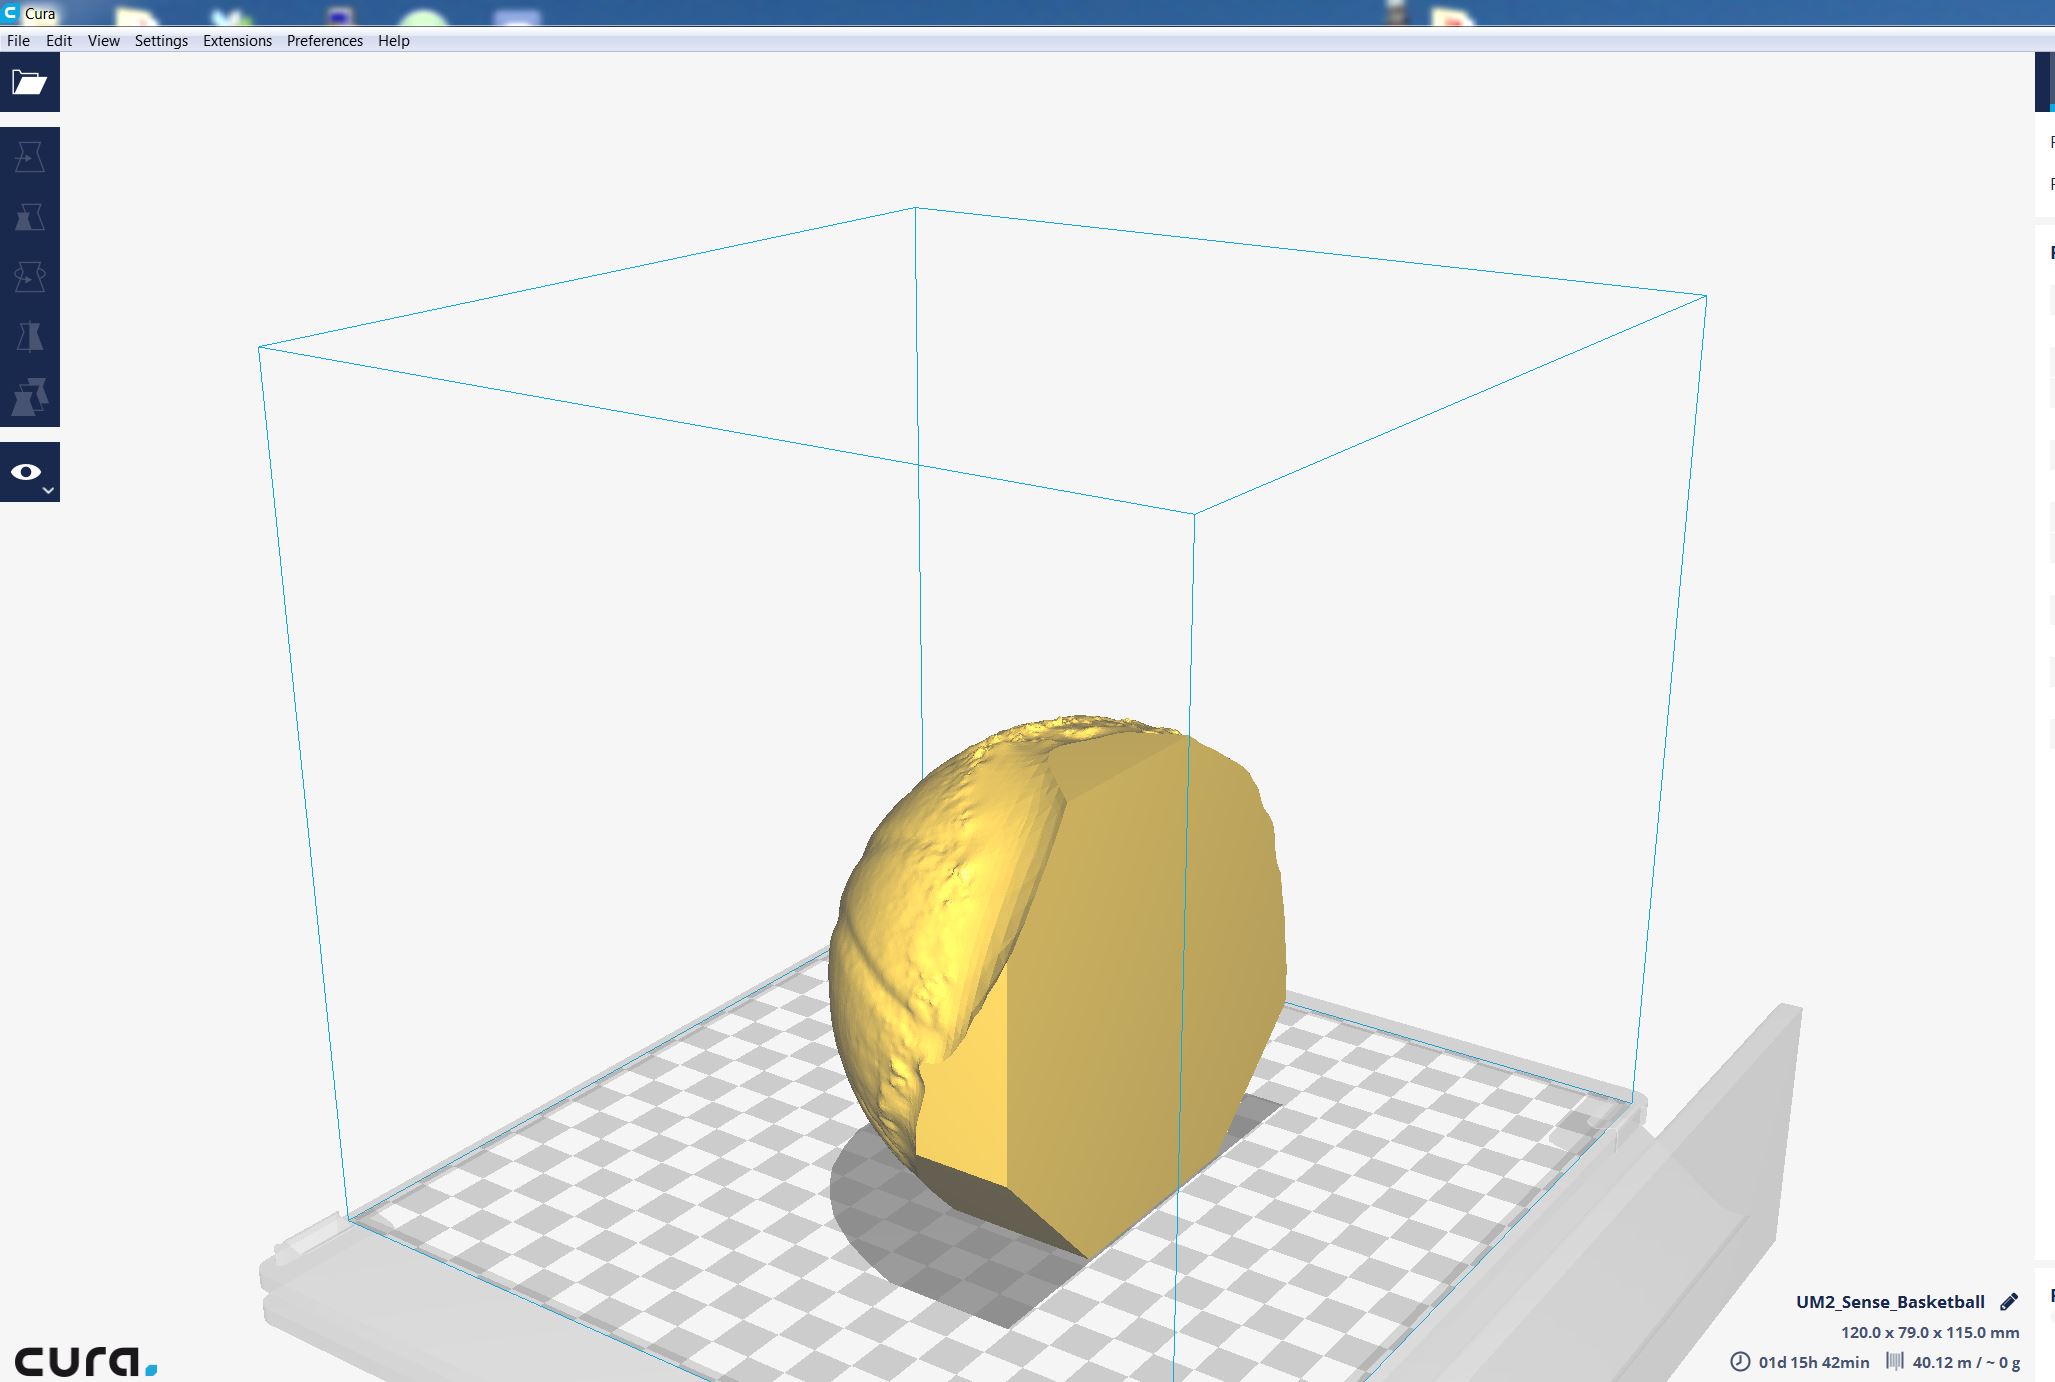
The best aproach is to have the scanner on a stand or having another person around. Go to top