Week 13 - Molding and casting
design a 3d mold, machine it with wax, rough and finish cutting,
flexible elastomer, cast a rigid part
Designing the Mold
For designing the mold I am using Solidworks. I have decided to do a first try with a rocket shape. I am using the splines-function of Solidworks to give it a curved shape. For the mold I will use machinable wax with 3 x 3.5 x 1.5 inches. I modeled the waxblock and then I draw half the rocket-shape on the top surface and removed the inner material with a revolving cut. I have tried two parts in an assembly one the object and one the wax but this works only, if one has a planar surface to align with. Since the rocket is rotational symmetric I avoided this approach.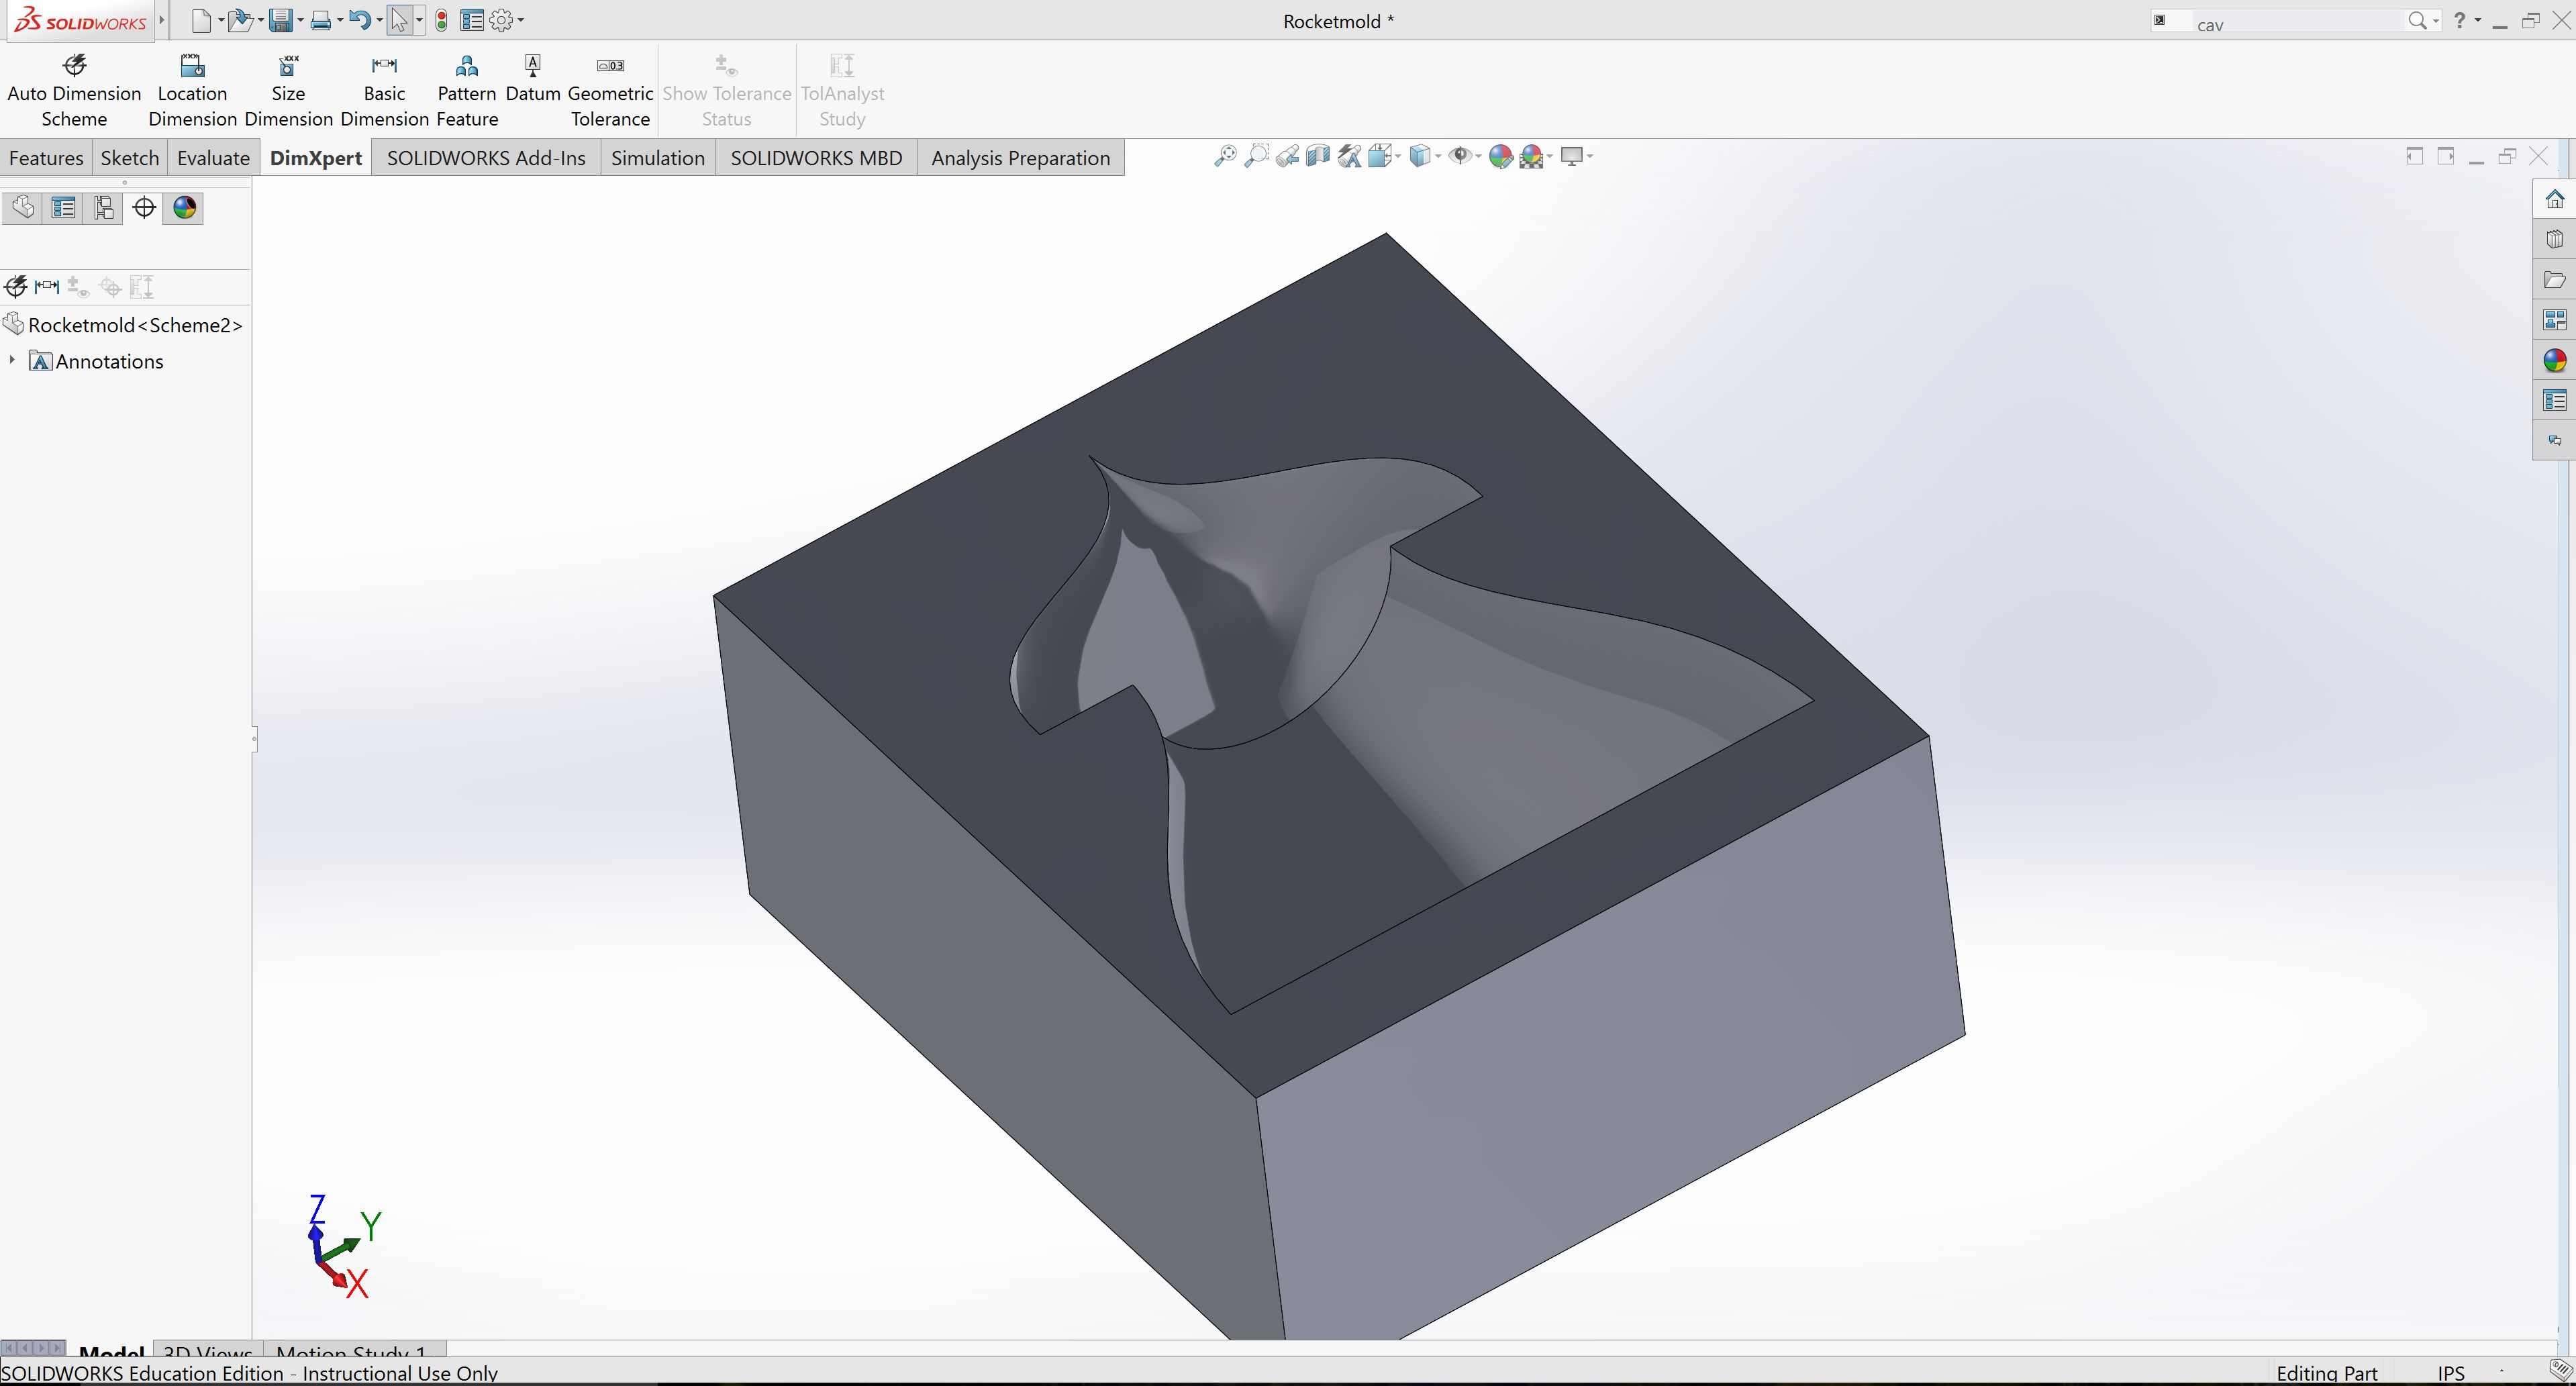
Milling the Mold
My working procedure with the Roland mill (SRM-20), is to upload the file to the febmodules server and calculate the toolpath. I exported my solidworks-file as .stl and uploaded it but somehow the fabmodule was not able to read. To be certain, I have generated a correct .stl I reviewed the file in meshmixer. I have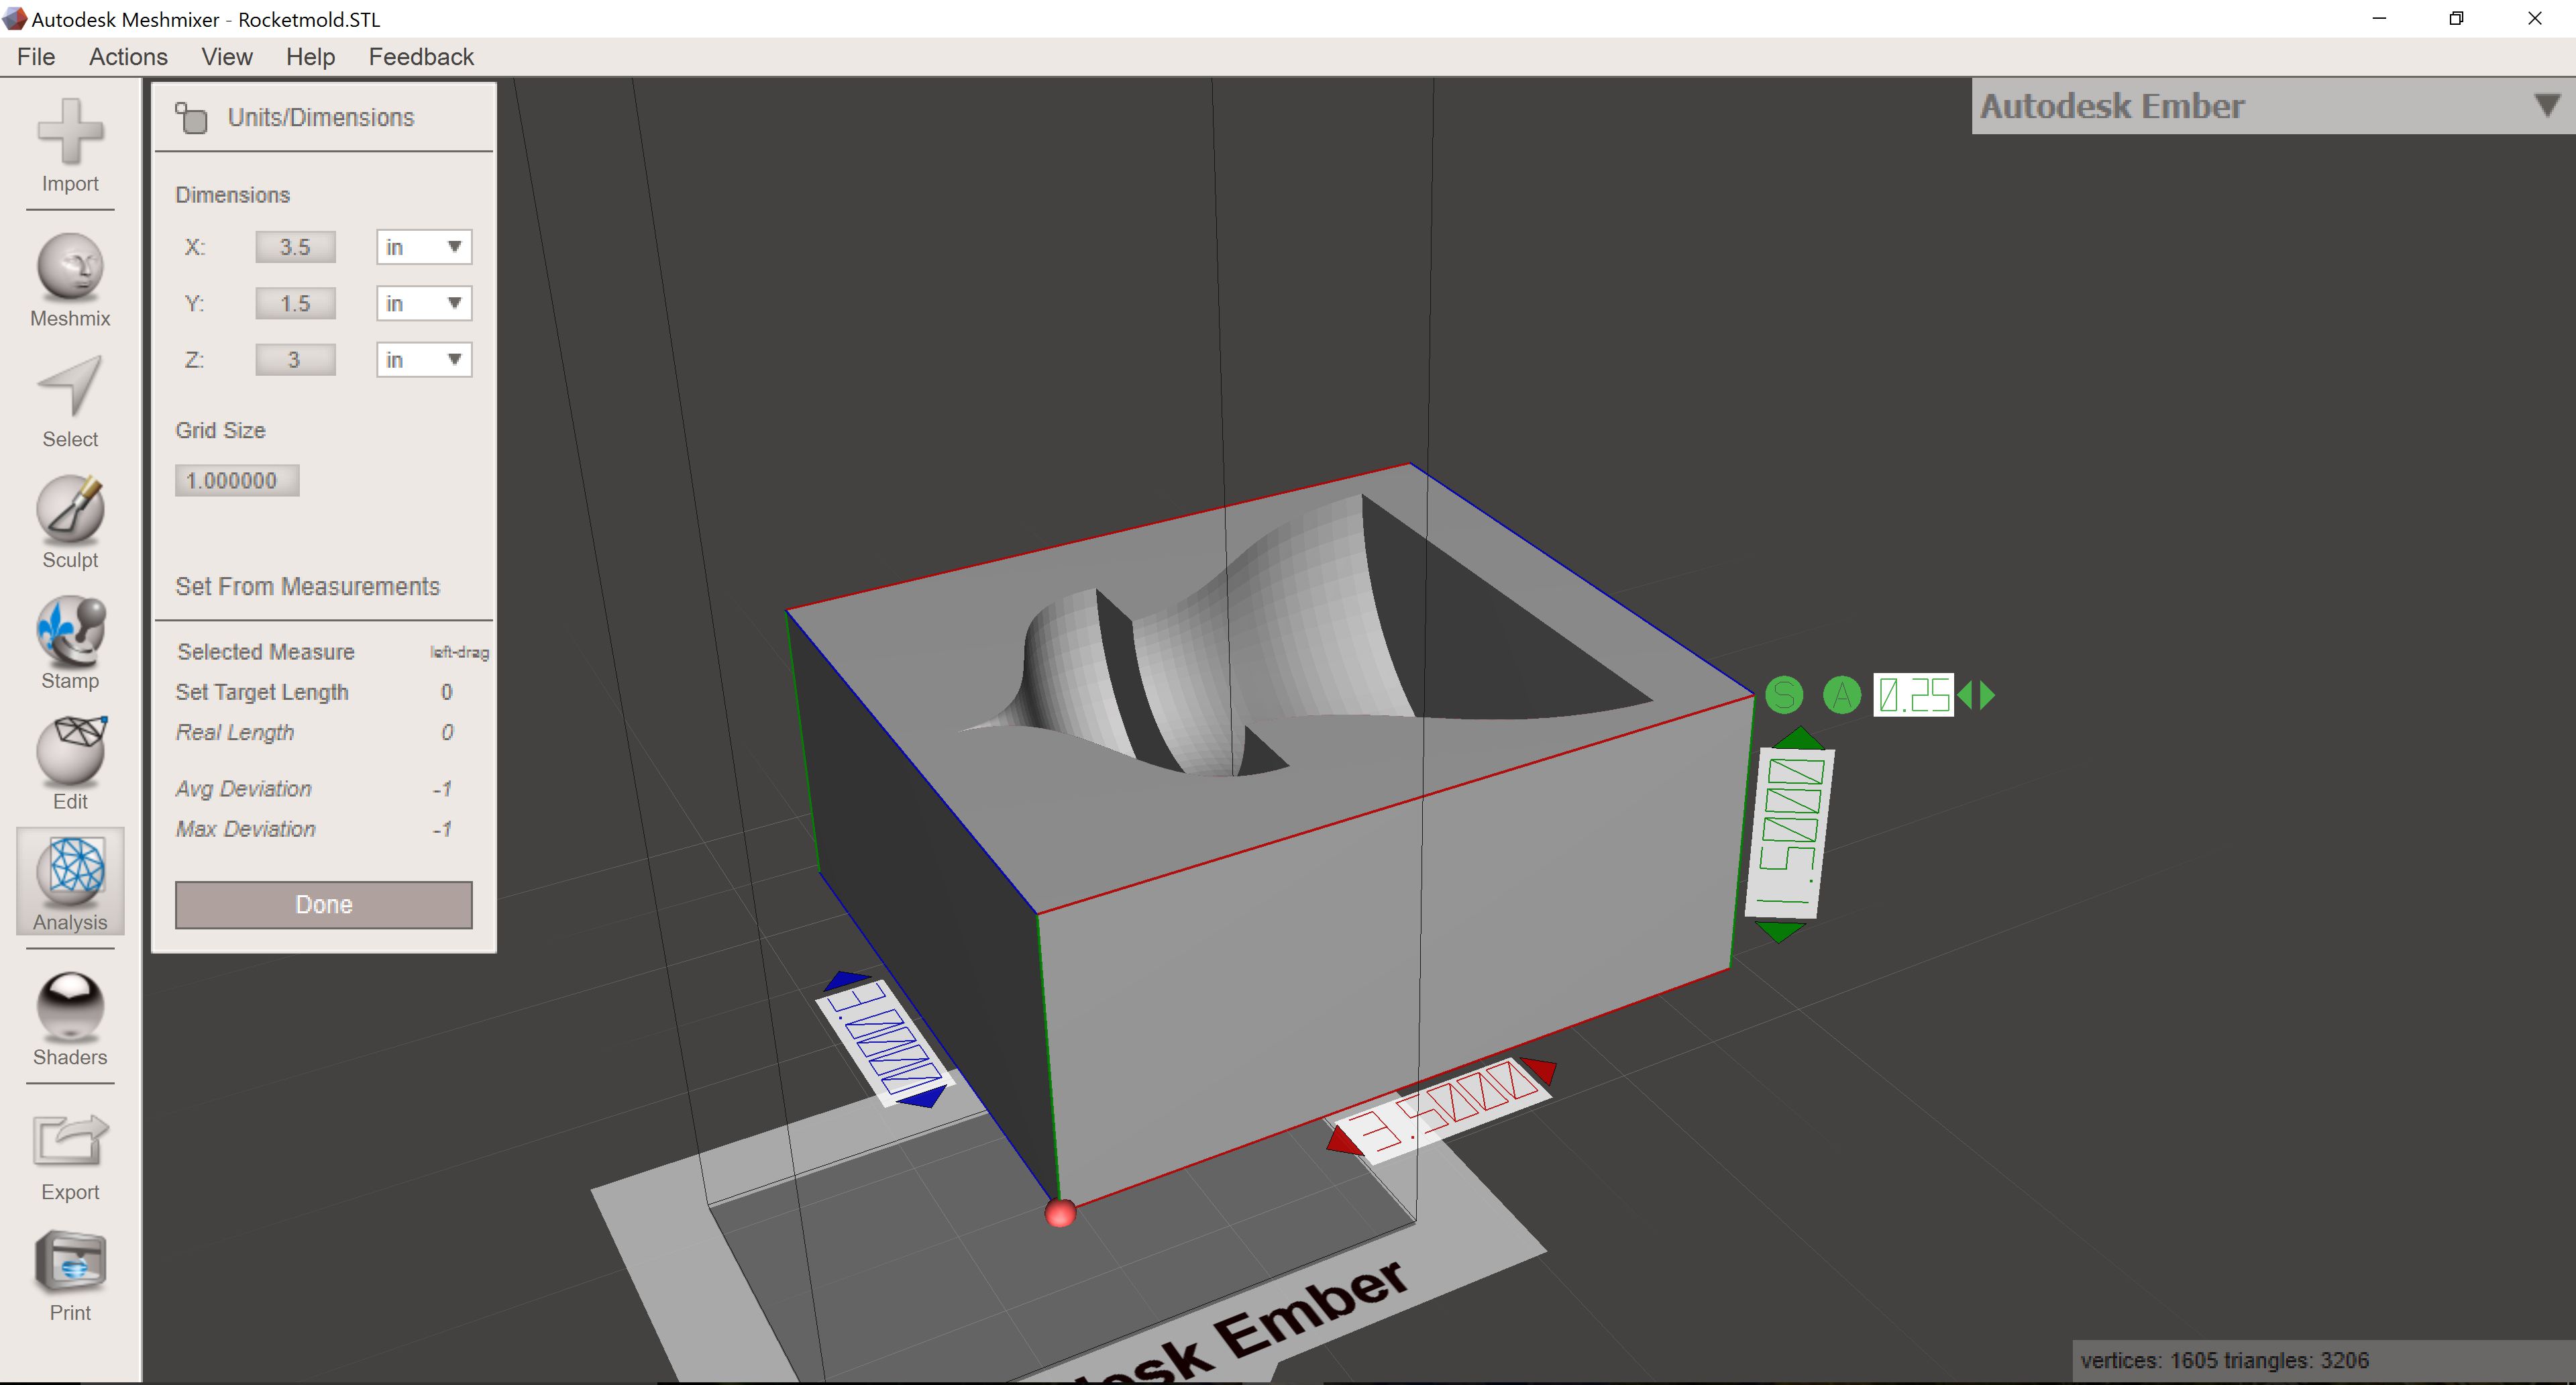
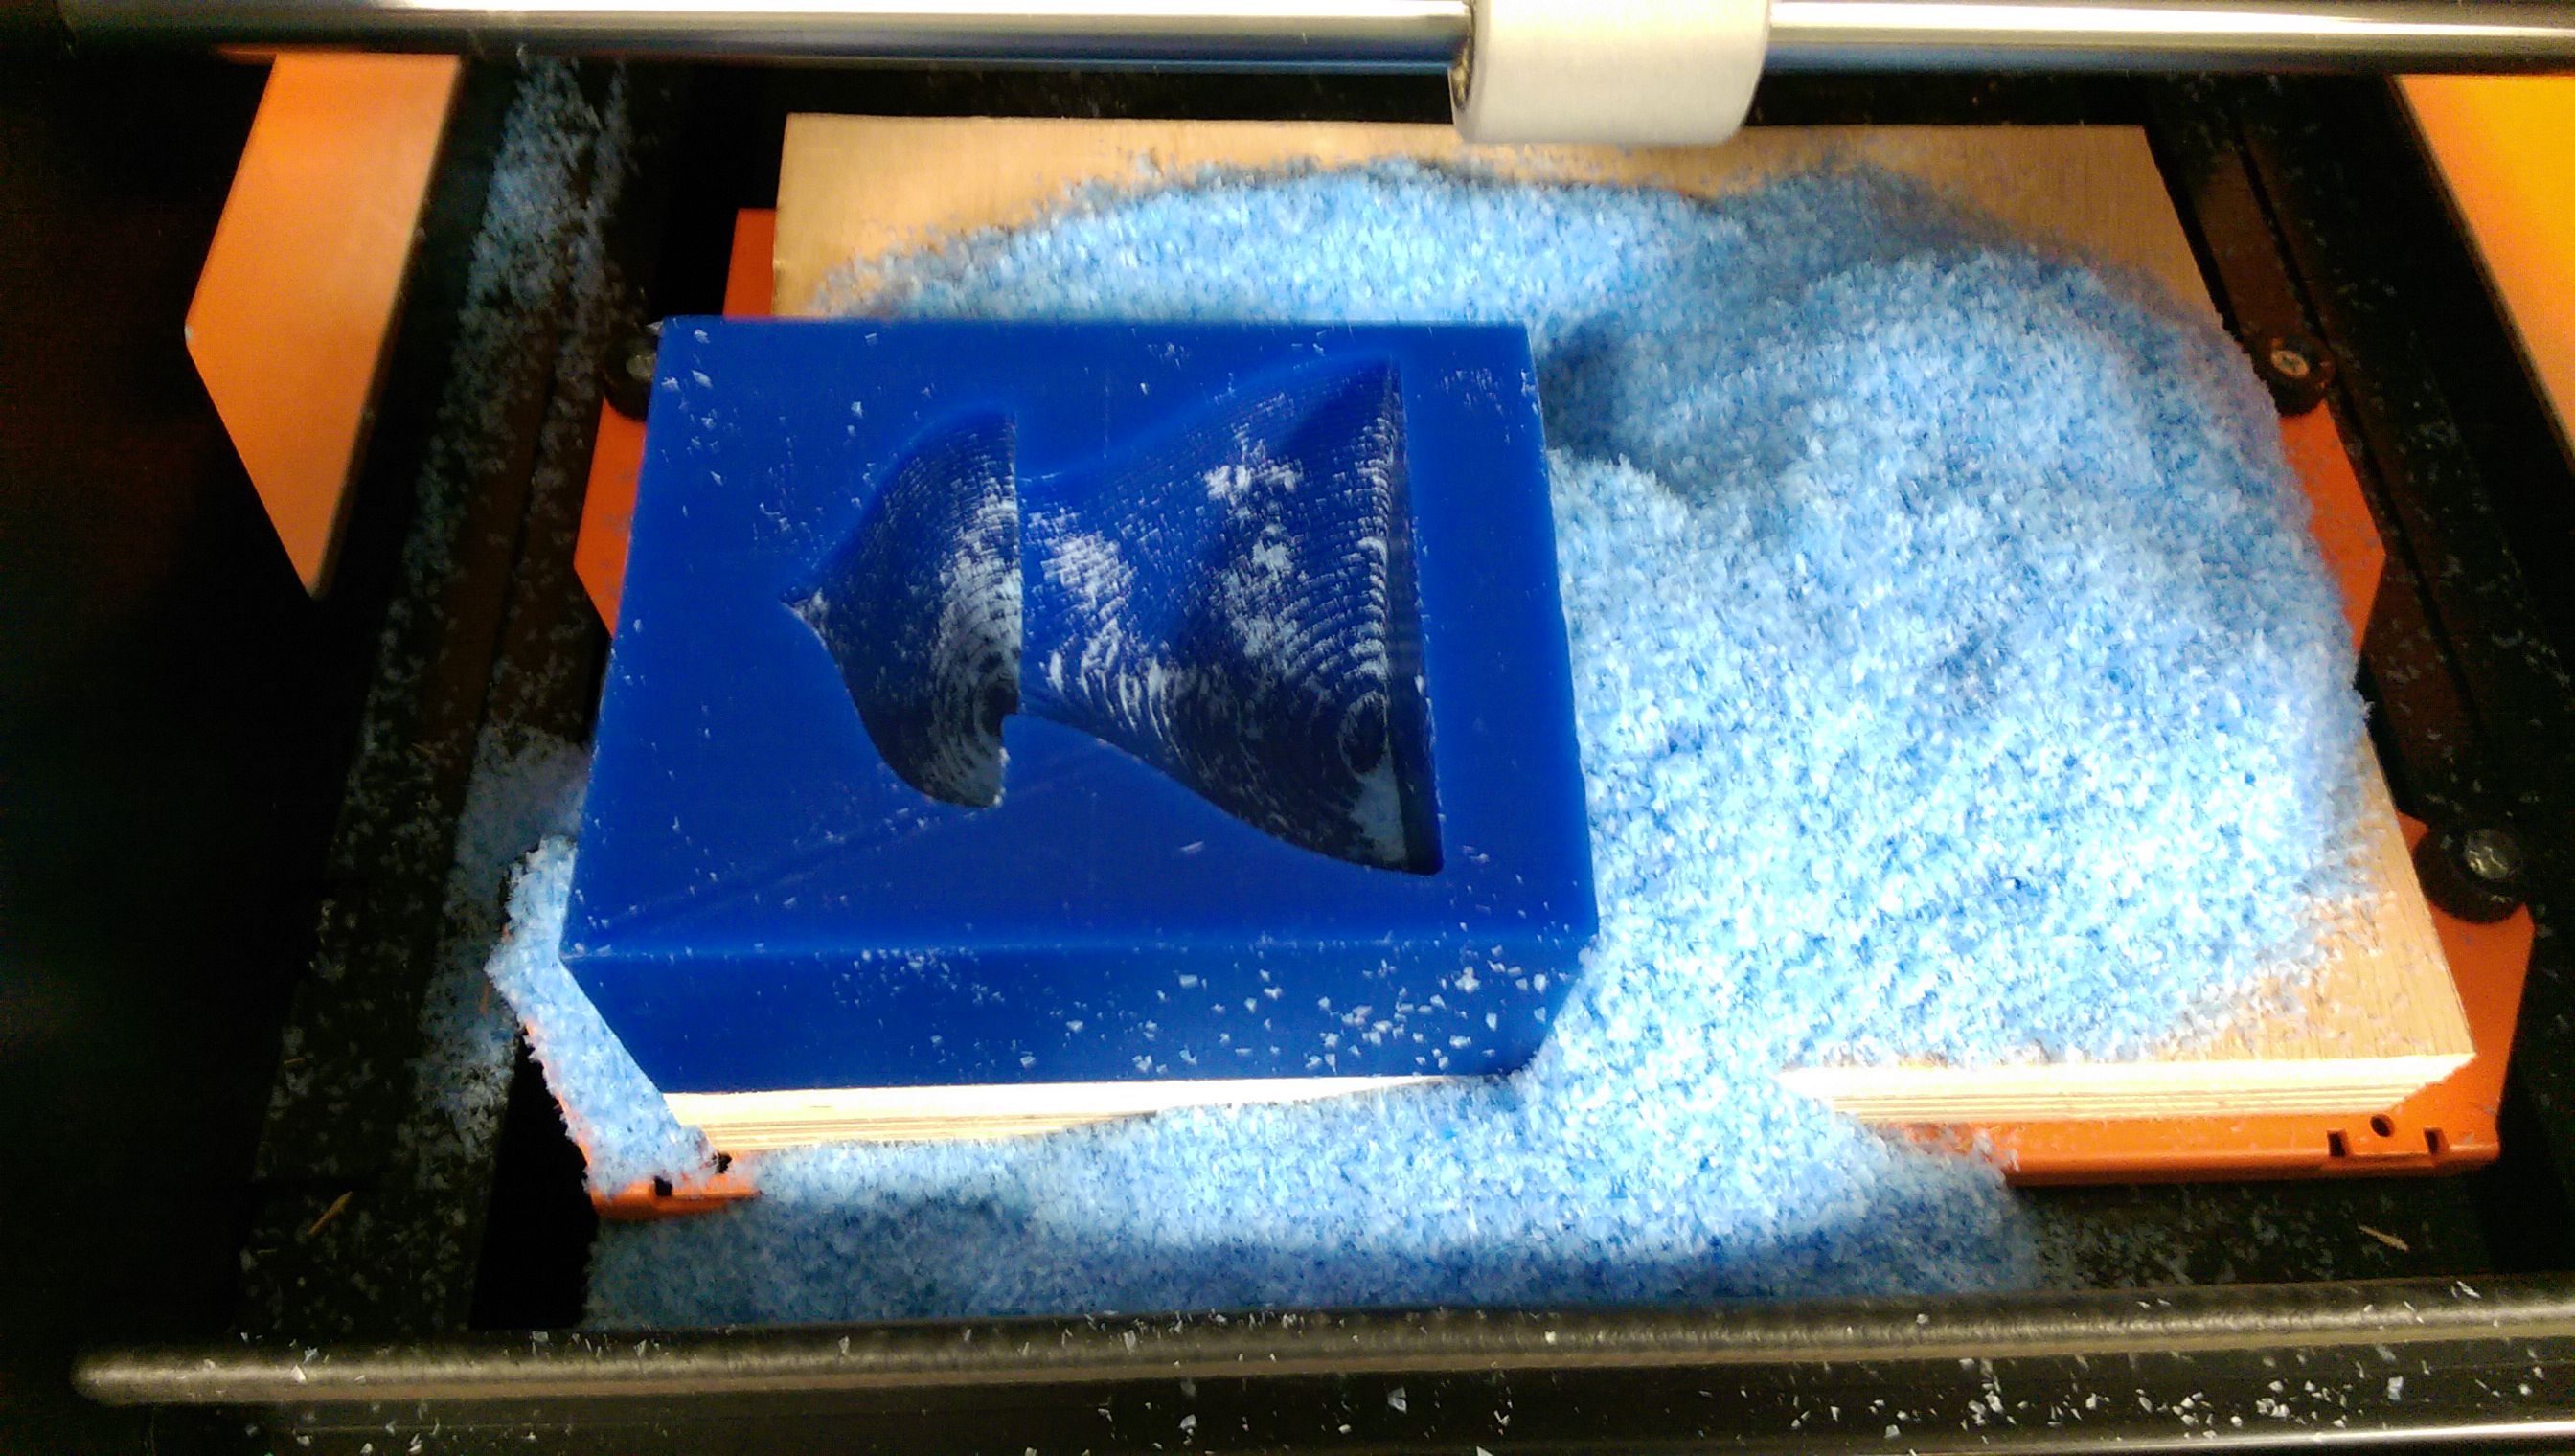
I exported it agian as .stl and now fabmodules could read it. In fabmodules one has to zero all the offsets and the x-y origin. One thing I figured out as well, before calculating the toolpath one should do the height profile. Somehow the calcualtion works better then. The calculation of the toolpaths took quite a while. For the rough cut I am using a 1/8 SE 4FL bit, for the finish cut a 1/8 SE 2FL BN bit. The cut depth of the 4FL is a third higher than the one of the BN. For cutting molds one has to take this length as a measurement for the cutting depth. An alternative would also be, using the shopbot. I just have the rought cut mold ready. I will use this for getting an idea of the process and later I will add a more sophisticated part.

Molding the Rocket
I have plenty of materials for molding available.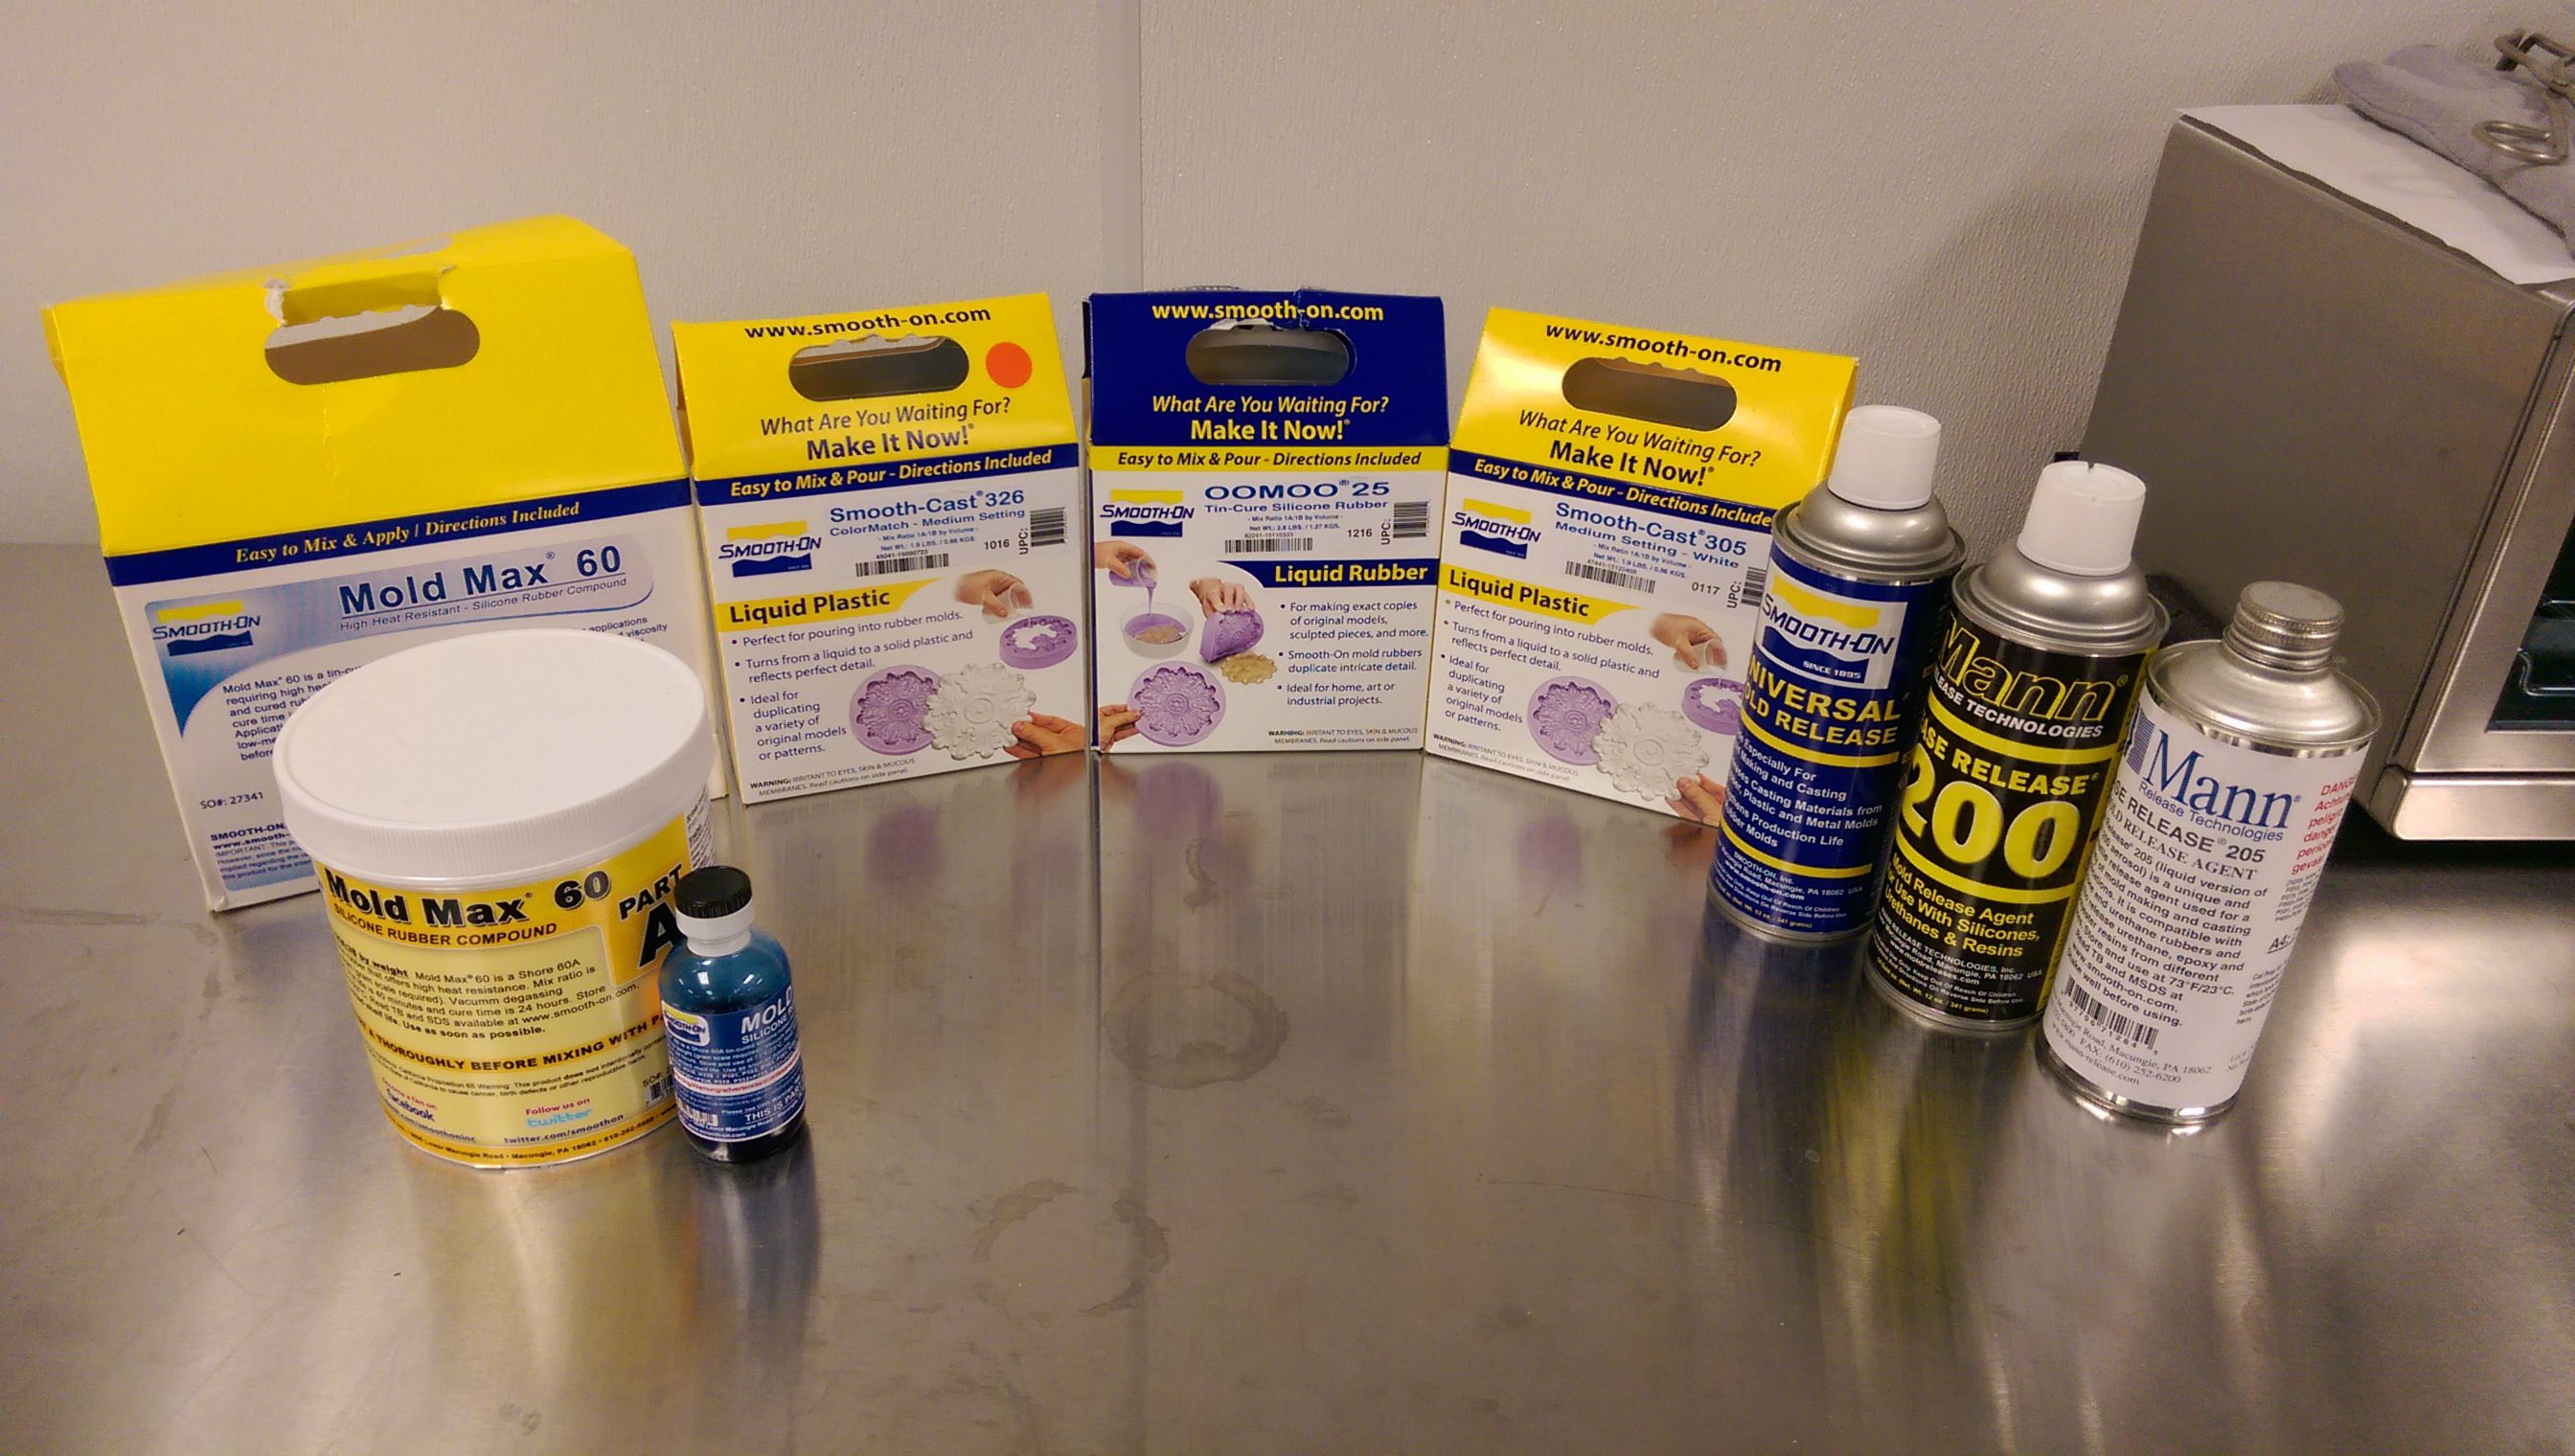
The mixing ratio is 100A and 3B. Since I have only one rough cut mold available, I will also do a mold of a little constructo piece in a jar. The last one is to give me an idea on how precise the molding can be.
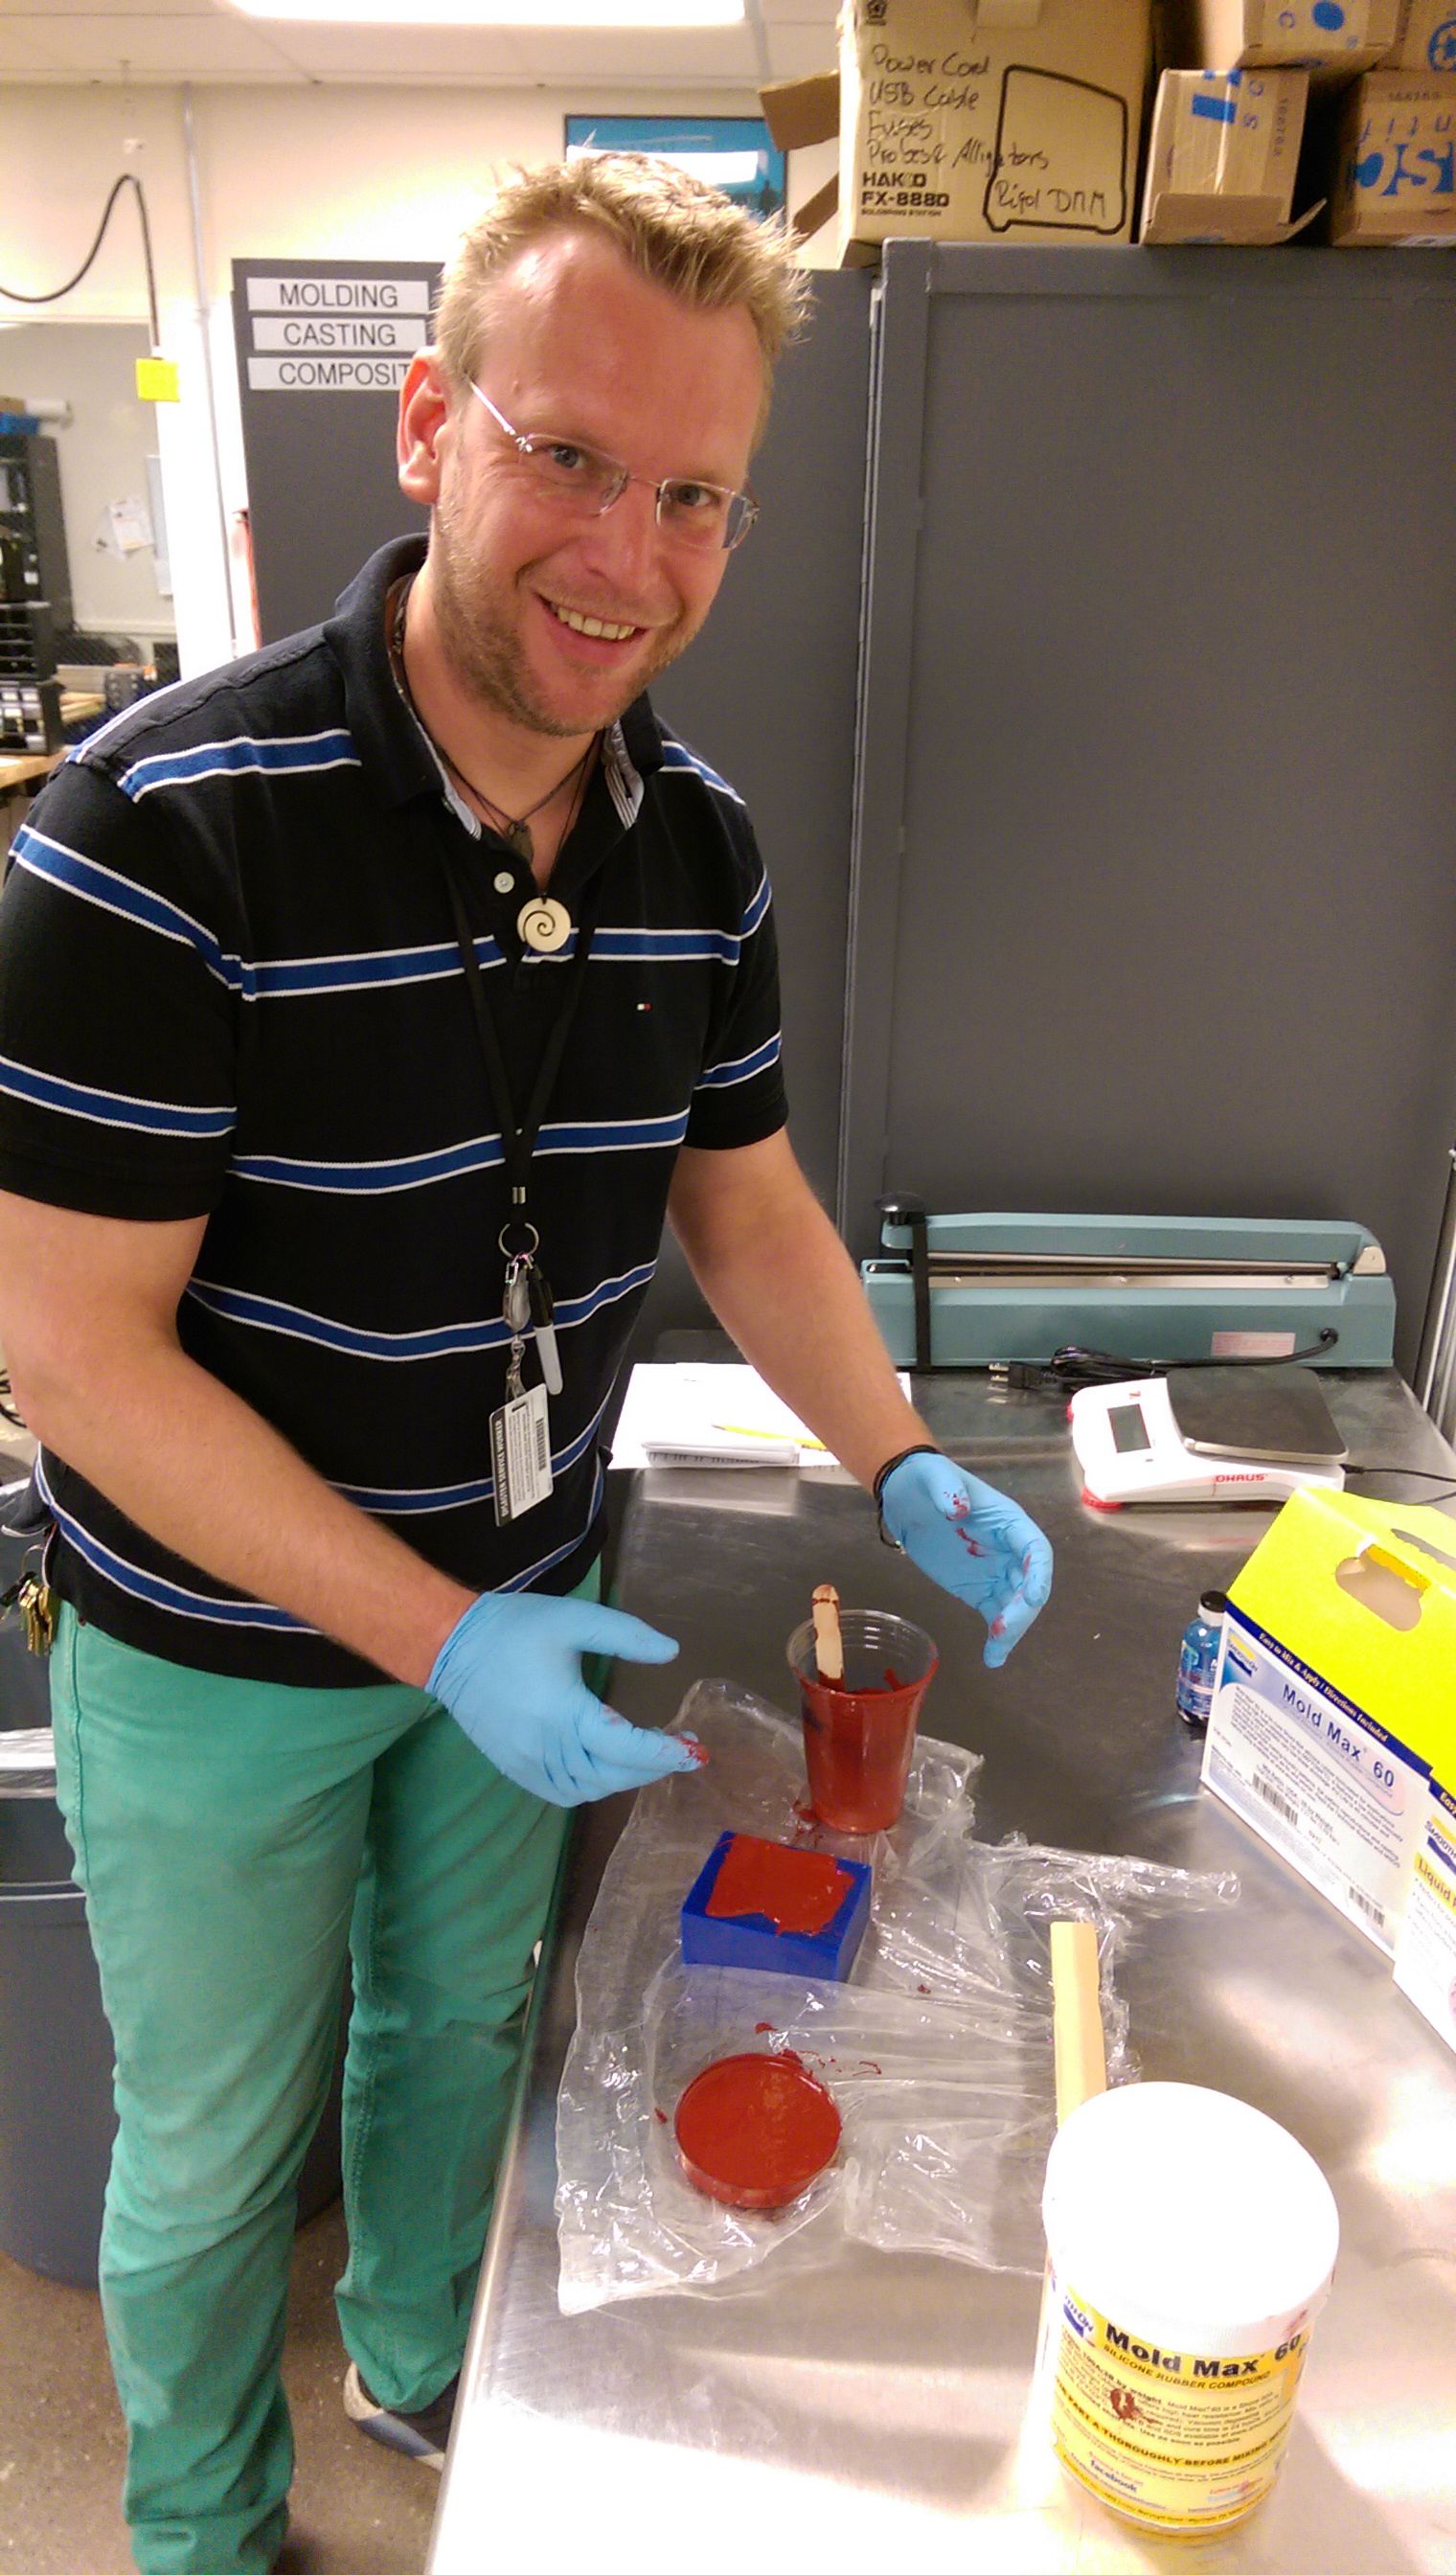
I mixed the components A and B of the Mold Max 60 in the ratio 100:3, in other words 3% hardener. The viscoity of the silicon is quite high and that makes it abit messy to work with. Gloves are recommended.

It came out not too bad. The constructo piece has to little holes and I messed it up, when taking out of the silicon.
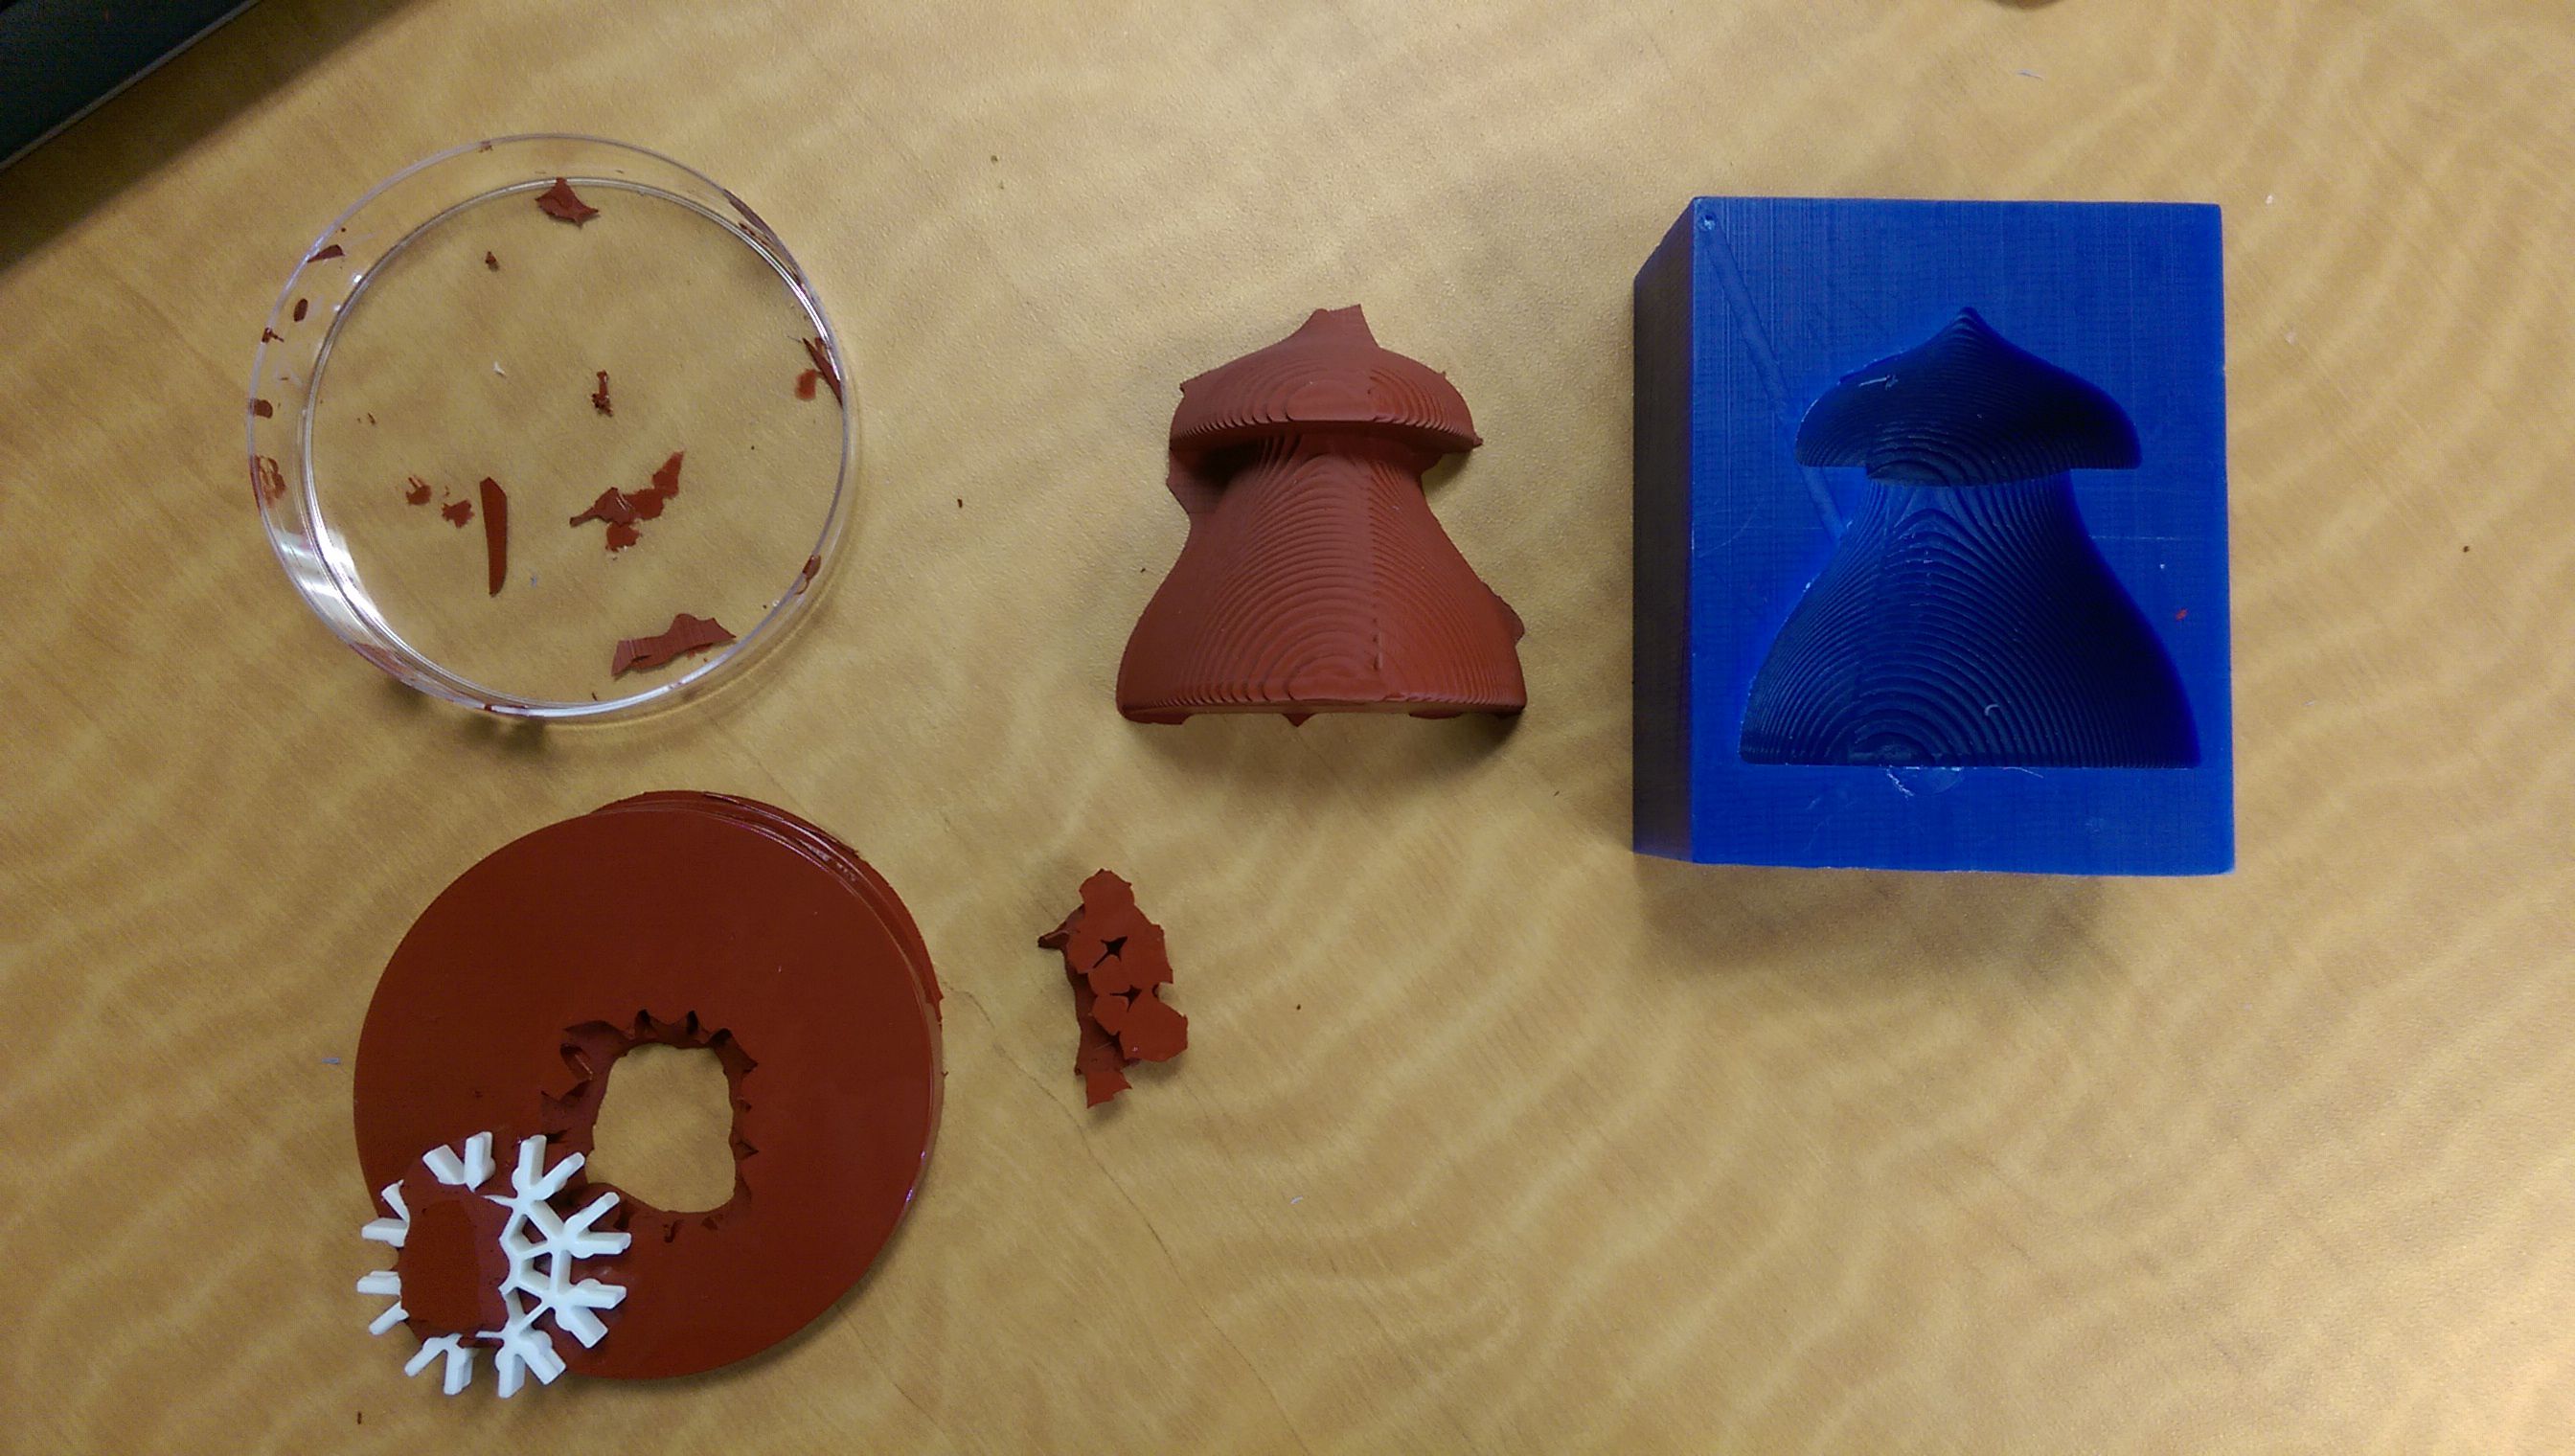
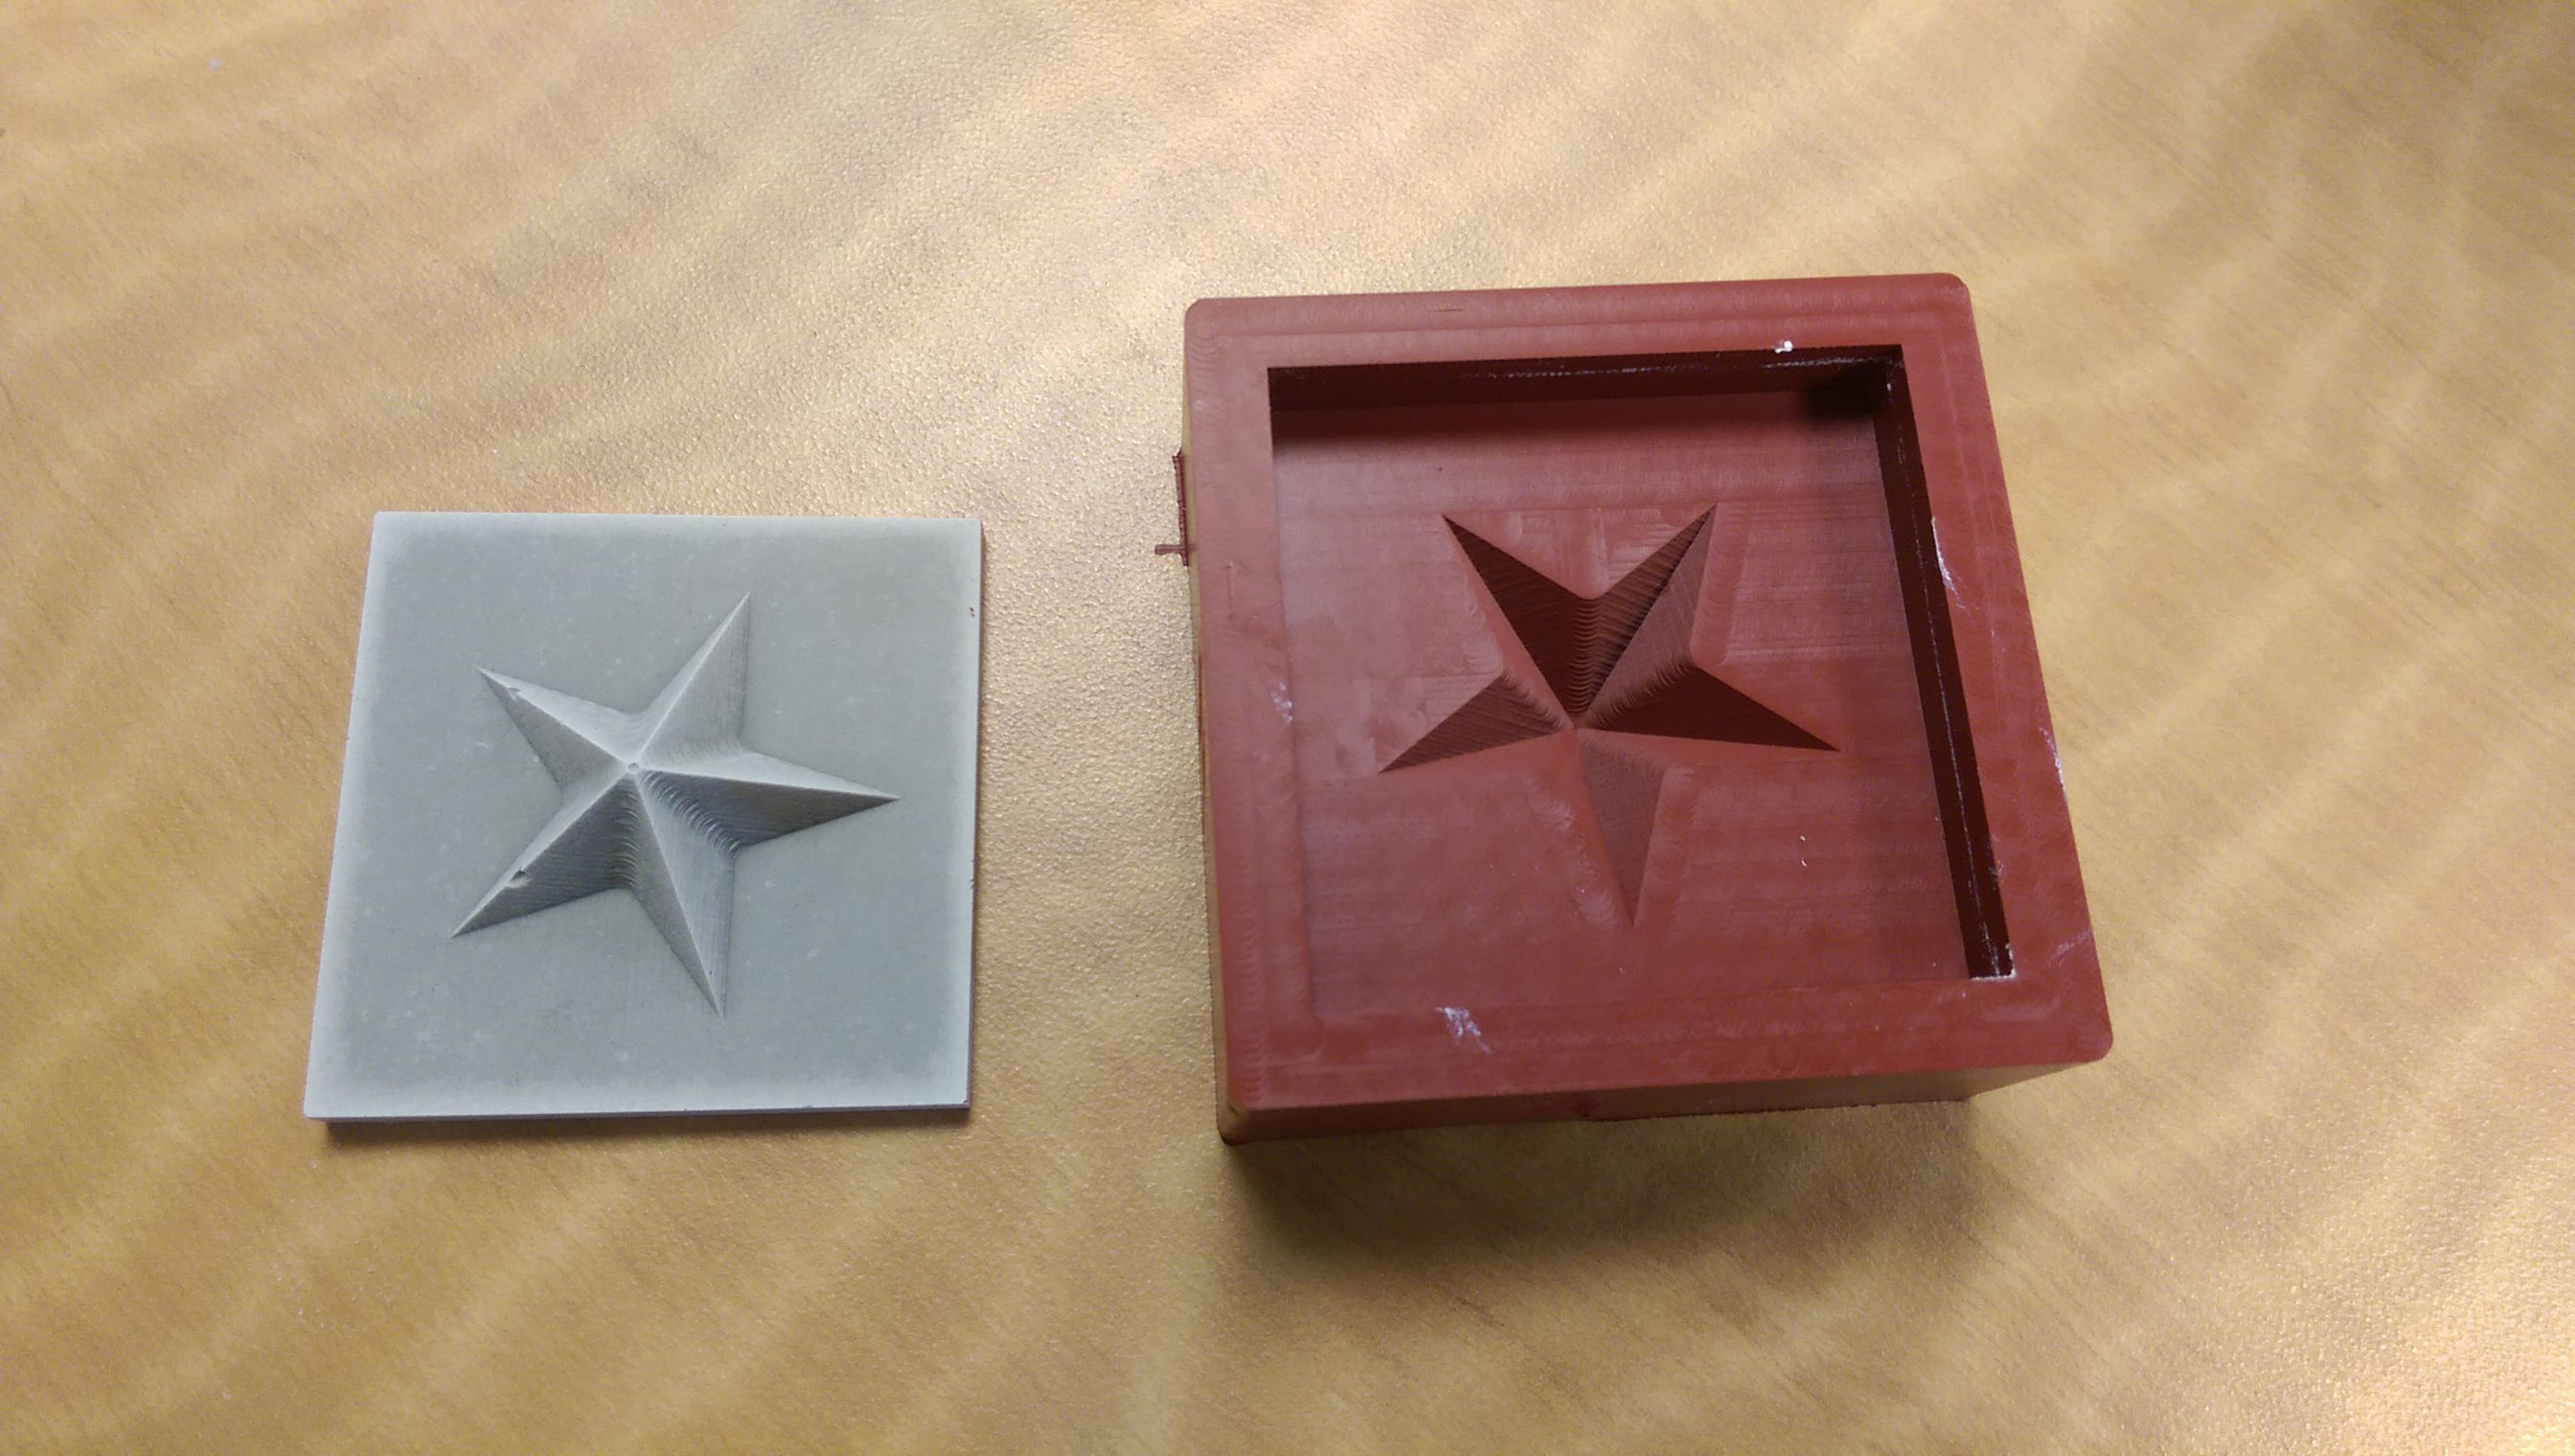
The rocket came out not too bad. One can clearly see the different levels of the rough cut. The silicon filled the mold pretty well, against my expectations regarding the high viscosity.
Another Attempt
I am starting to make a new piece since the last one came out pretty well. This time I will make a positve wax cut, then a negative silicon mold and then I will cast it with hydrostone. I am starting with a wax piece of 3 x 3 x 1.5 inches and using again Solidworks.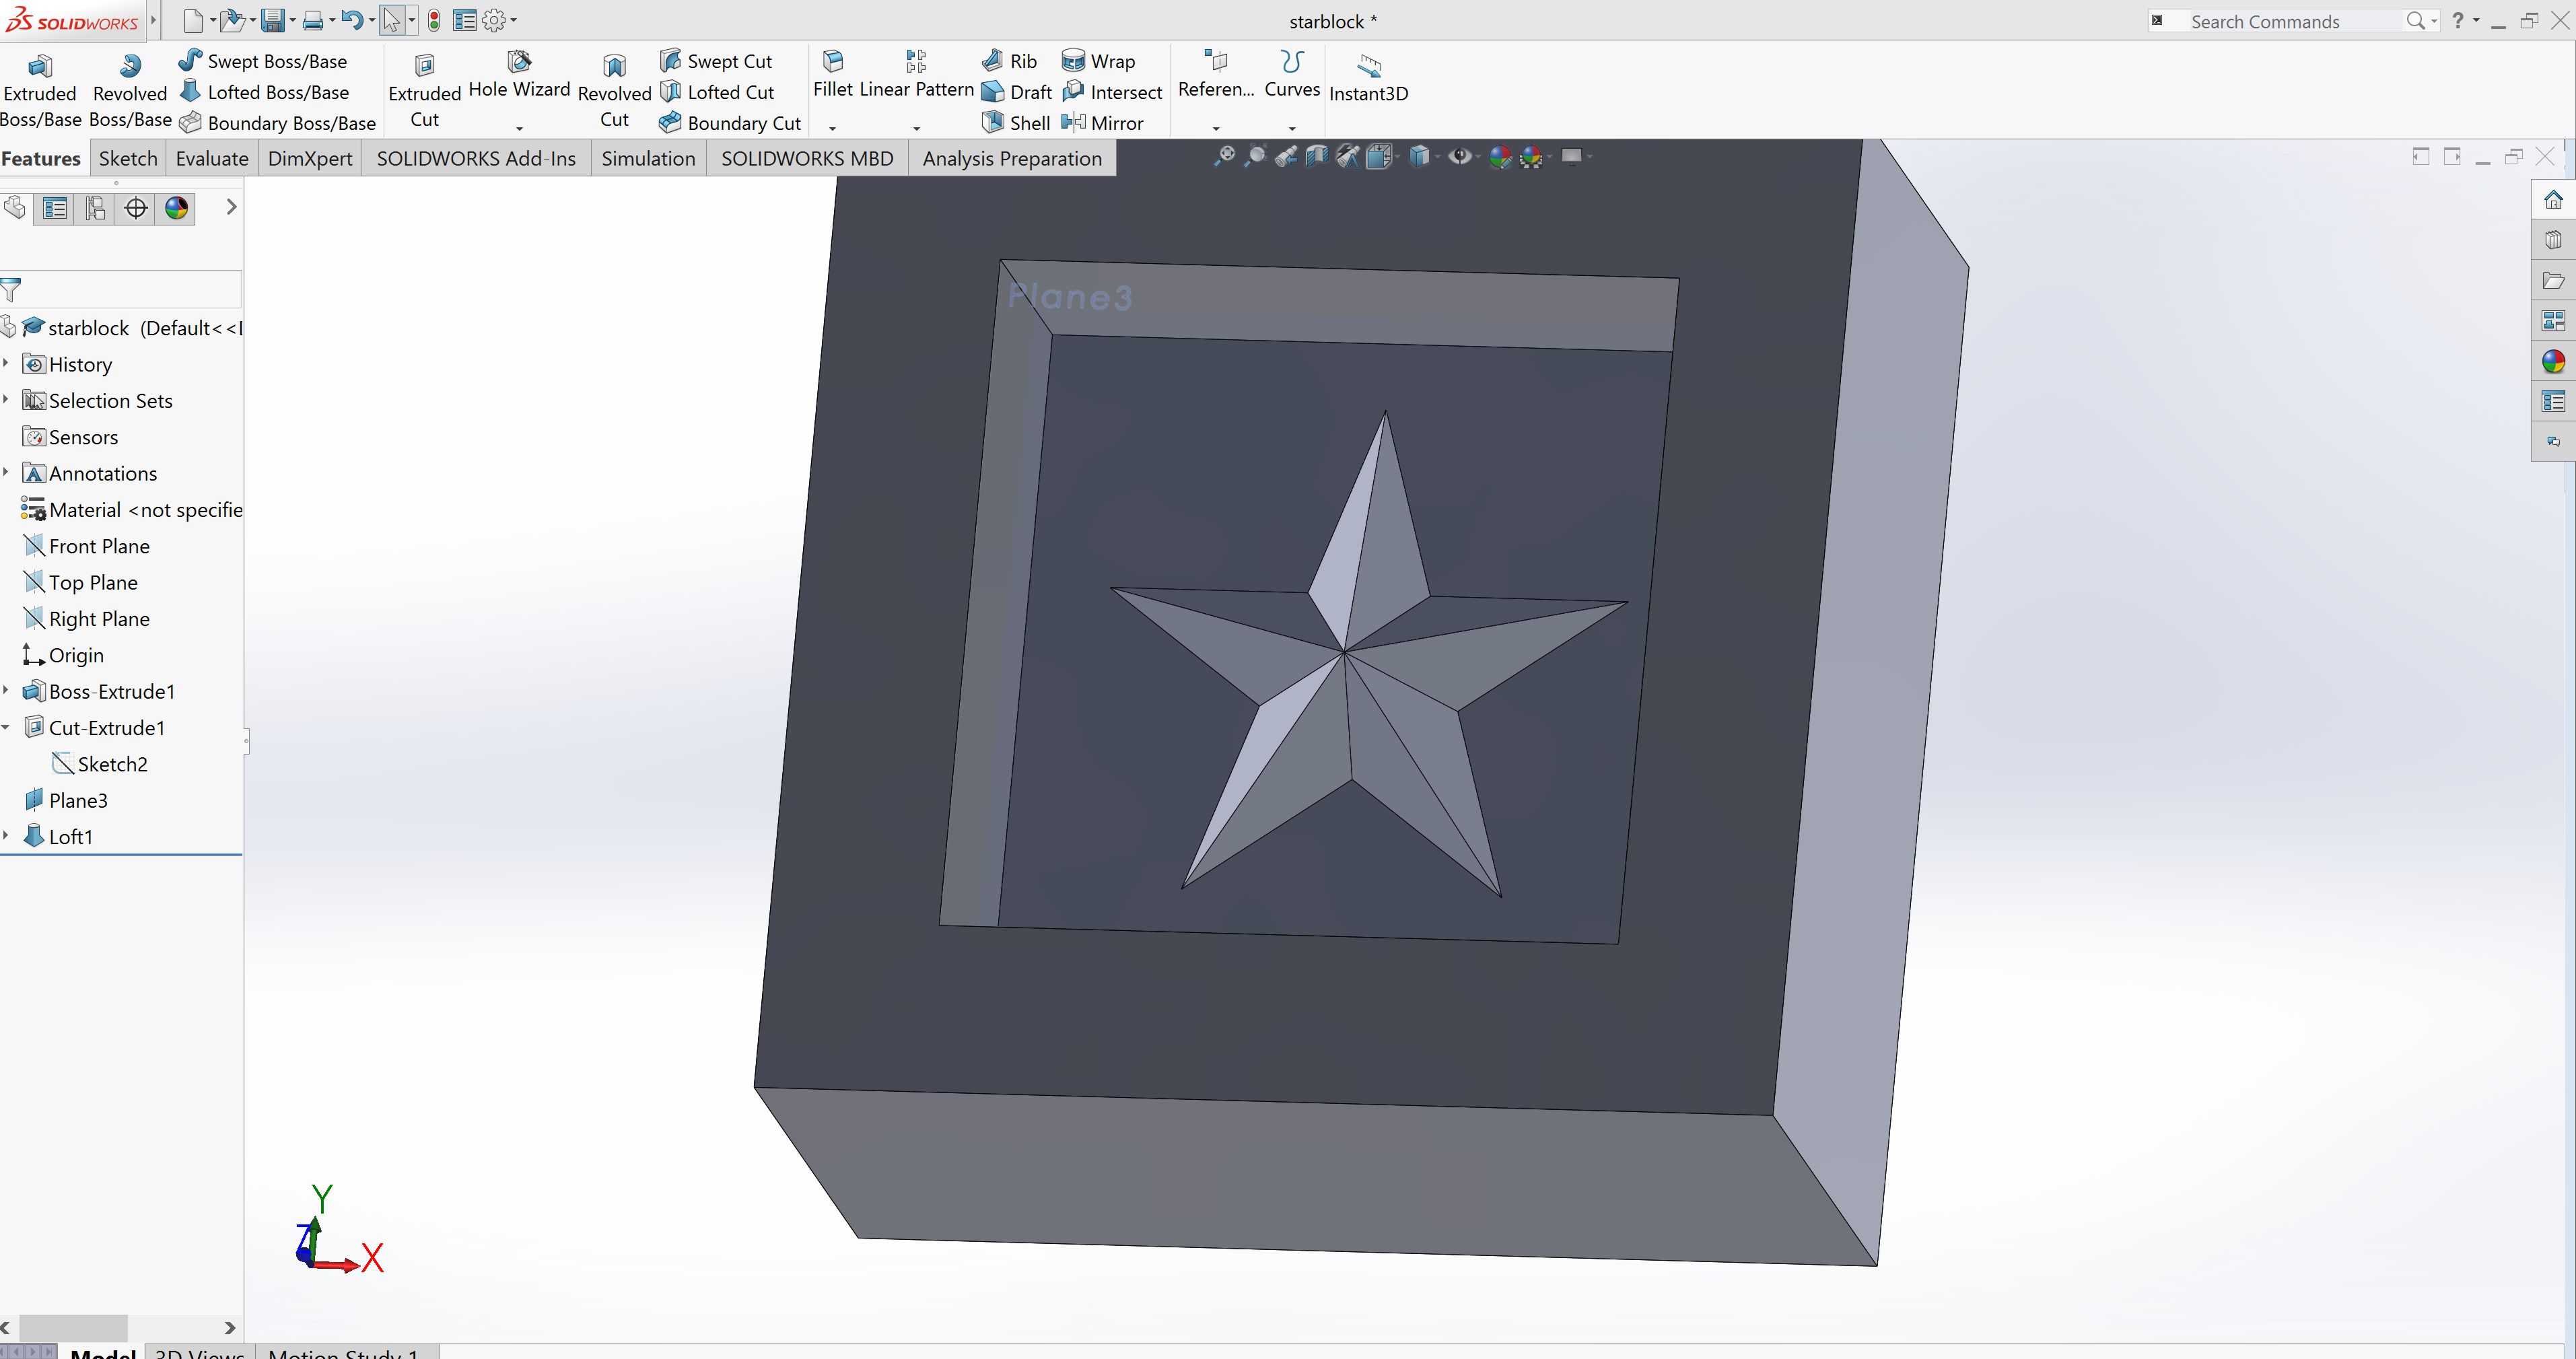
I had again trouble transferring the .stl from Solidworks to the fabmodules. I used meshmixer in between to get the dimensions and saved it.
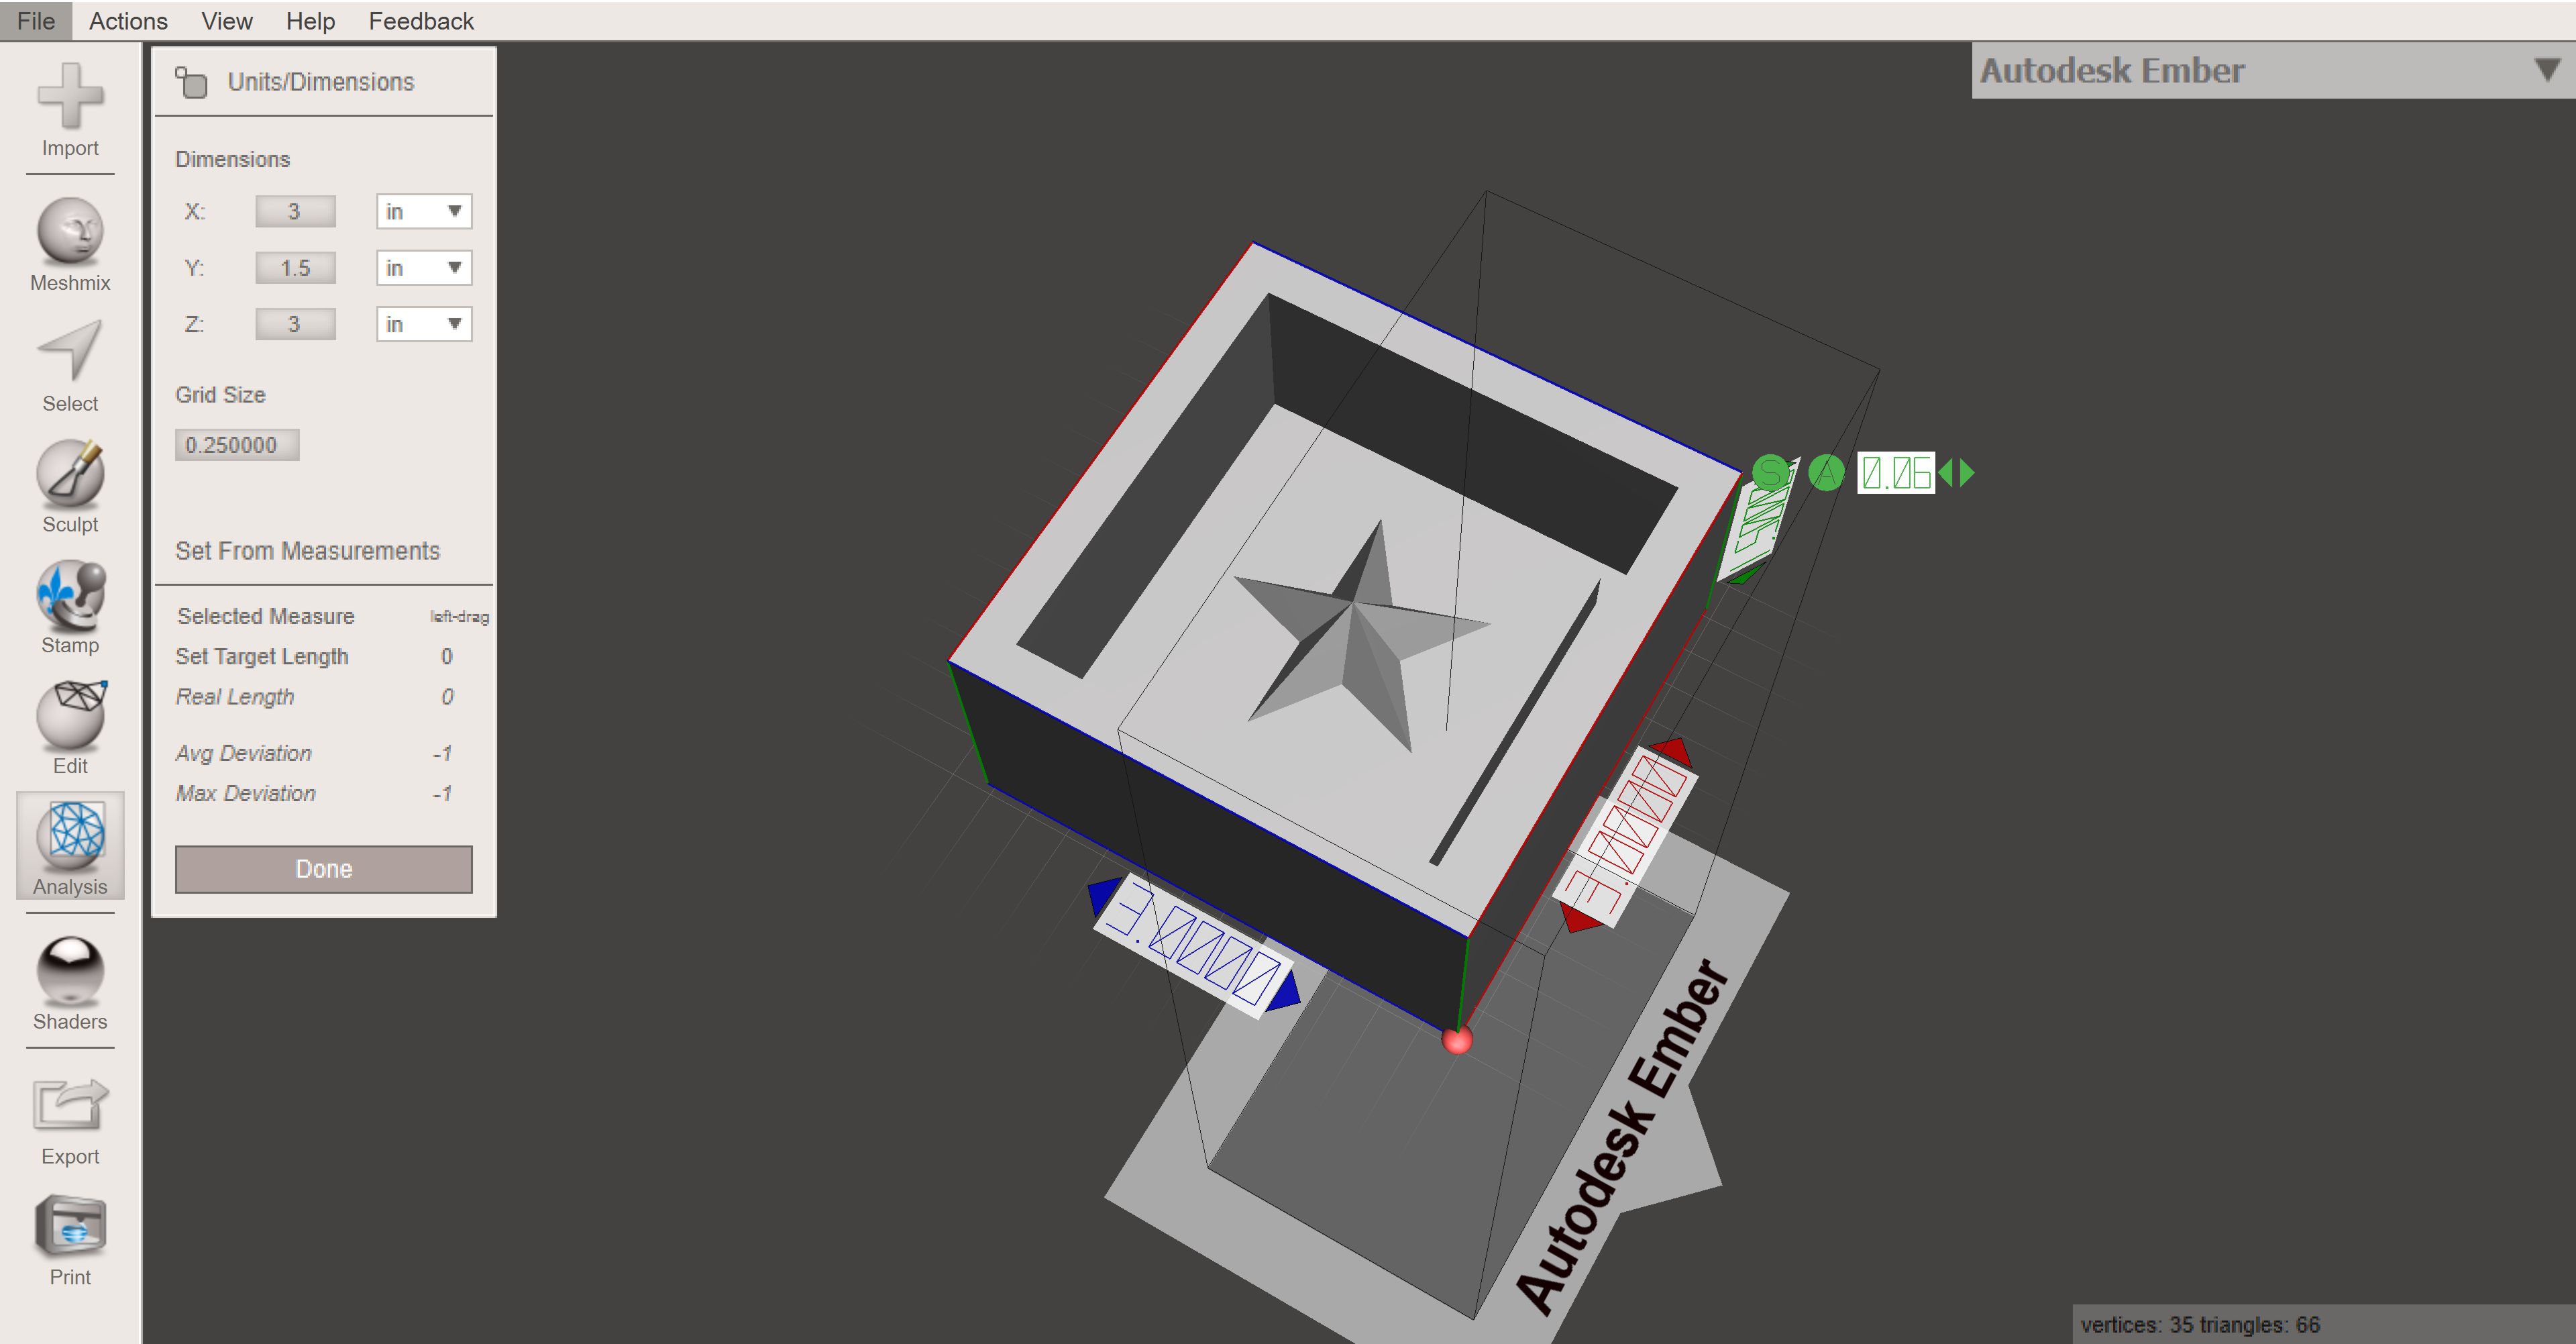
This worked again. Apparently the unit conversion in Solidworks to .stl is not compatible with fabmodules. I have not figured out yet the reason. I checked the height profile, before I calculated the toolpaths.

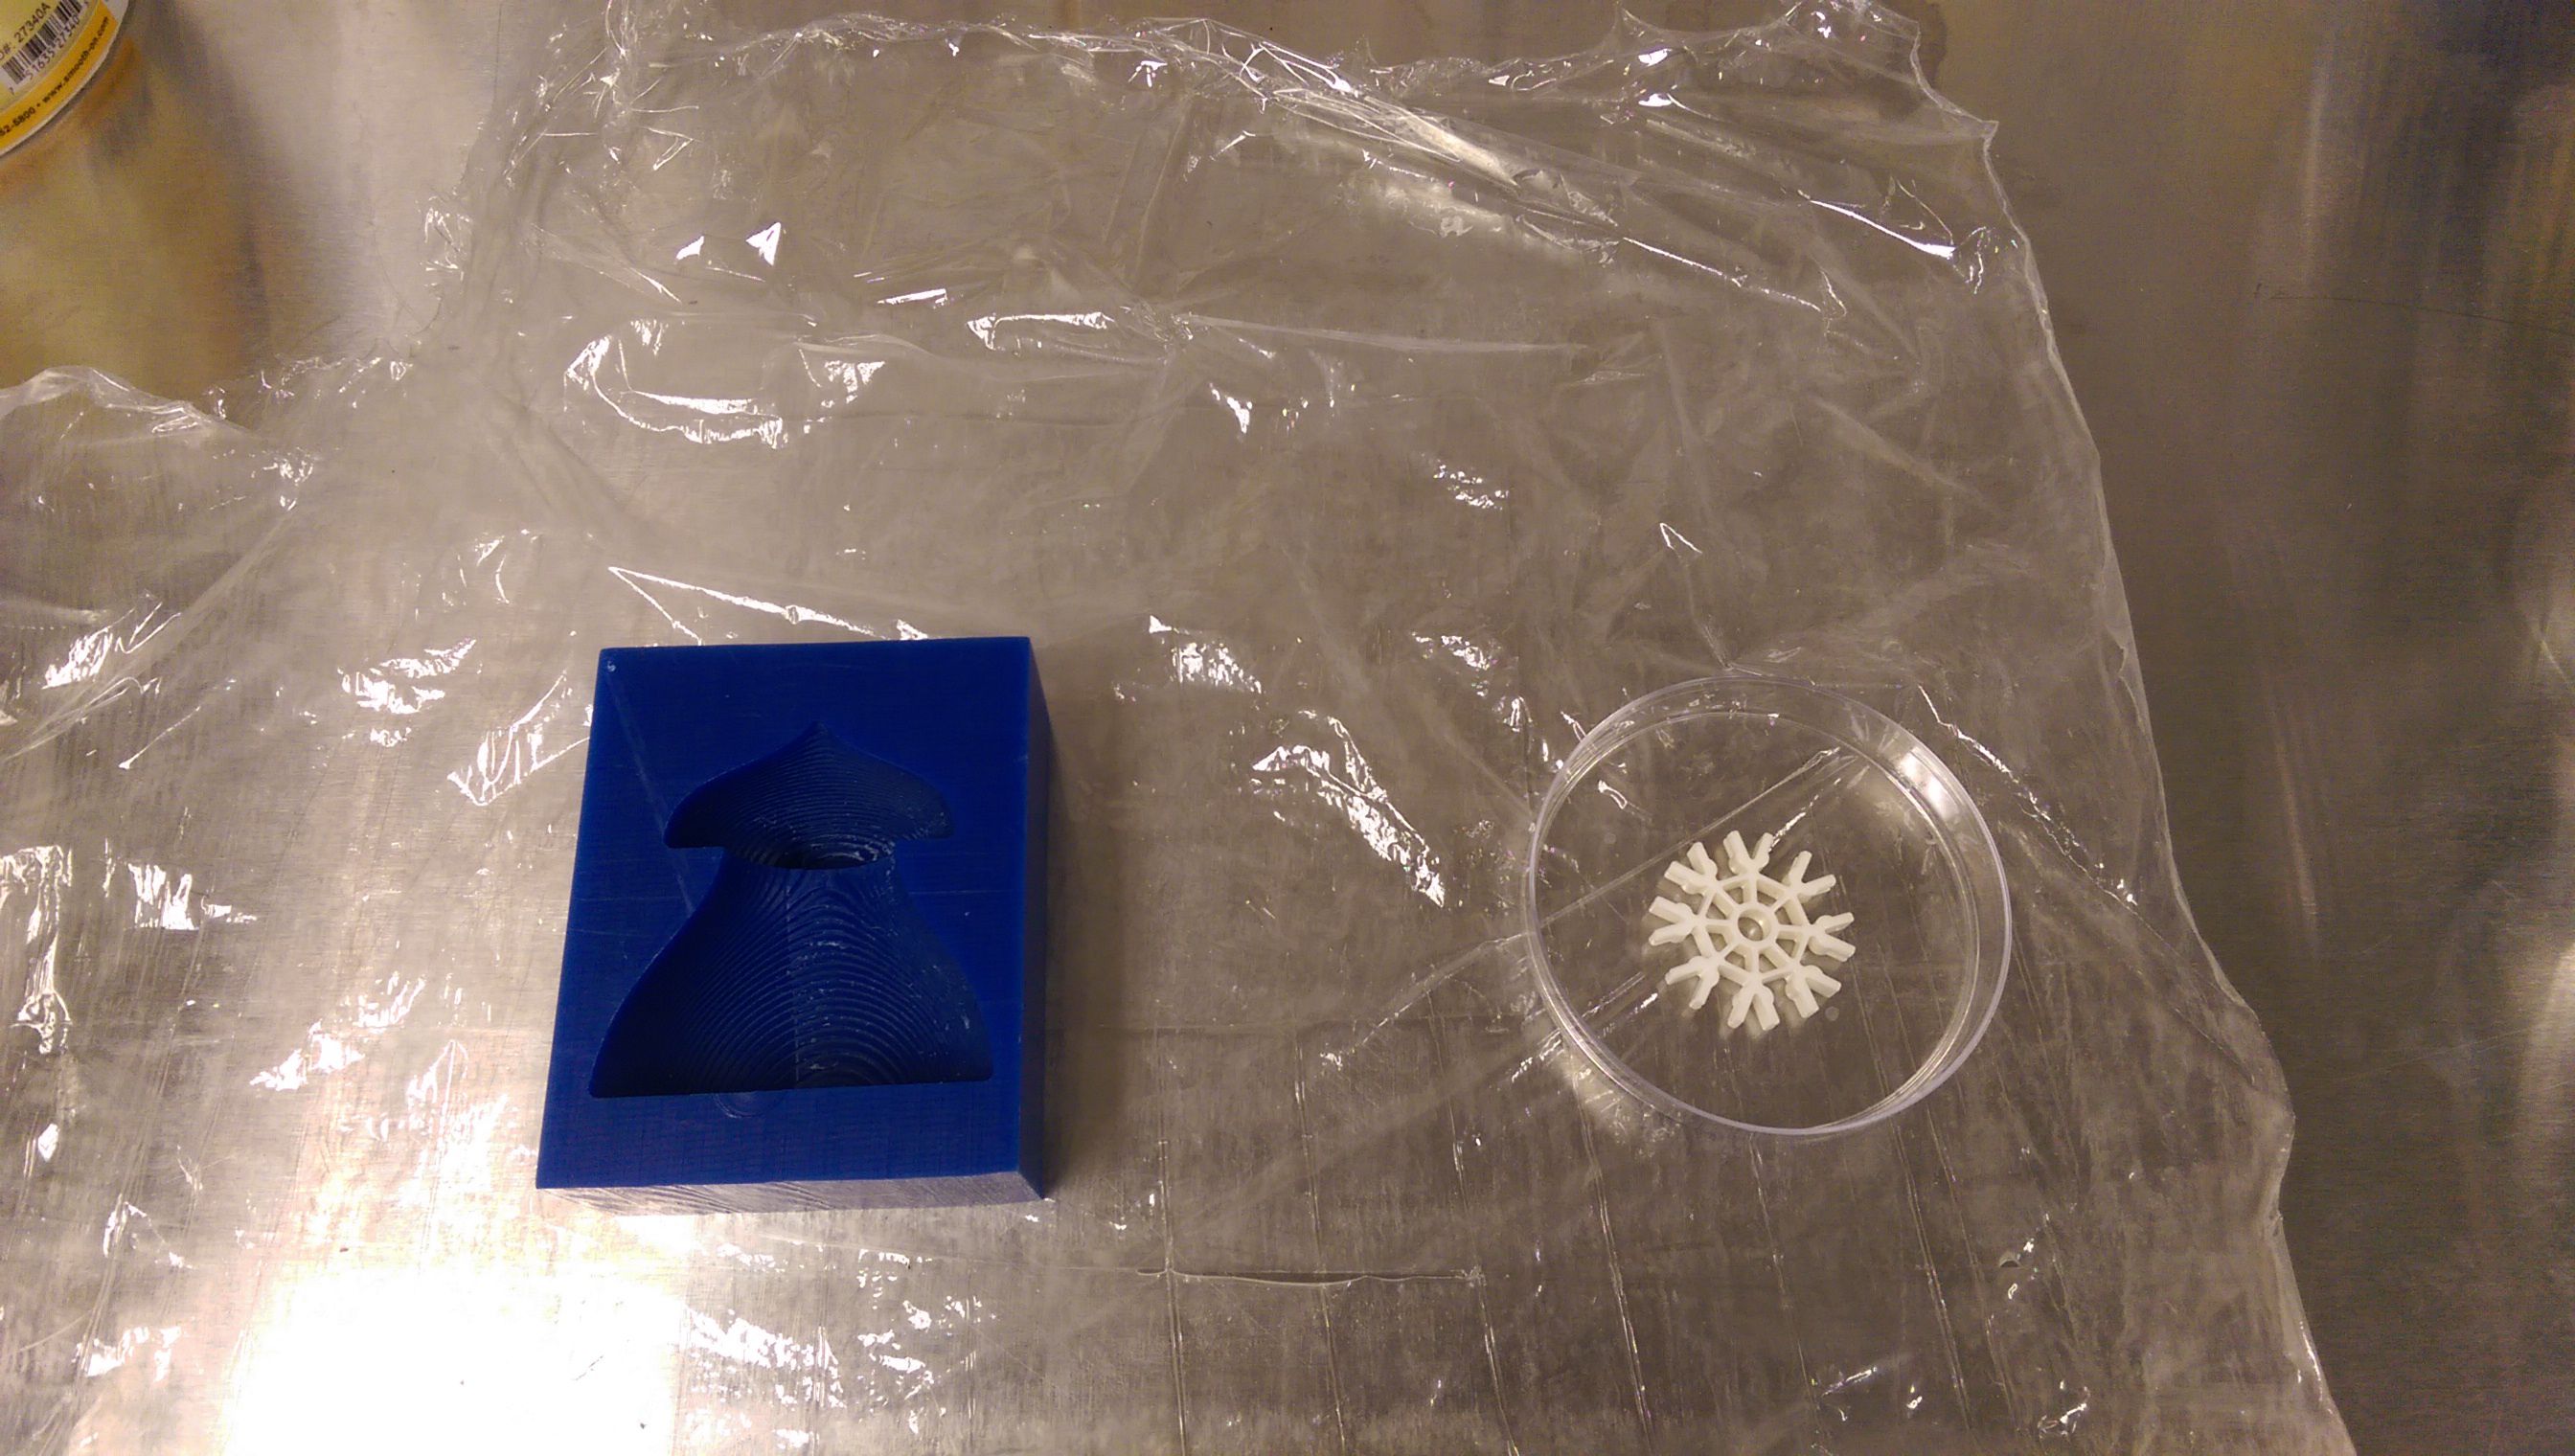
For the milling I am using the 1/8 SE 4FL bit, this time for both, the rough and the finish cut.
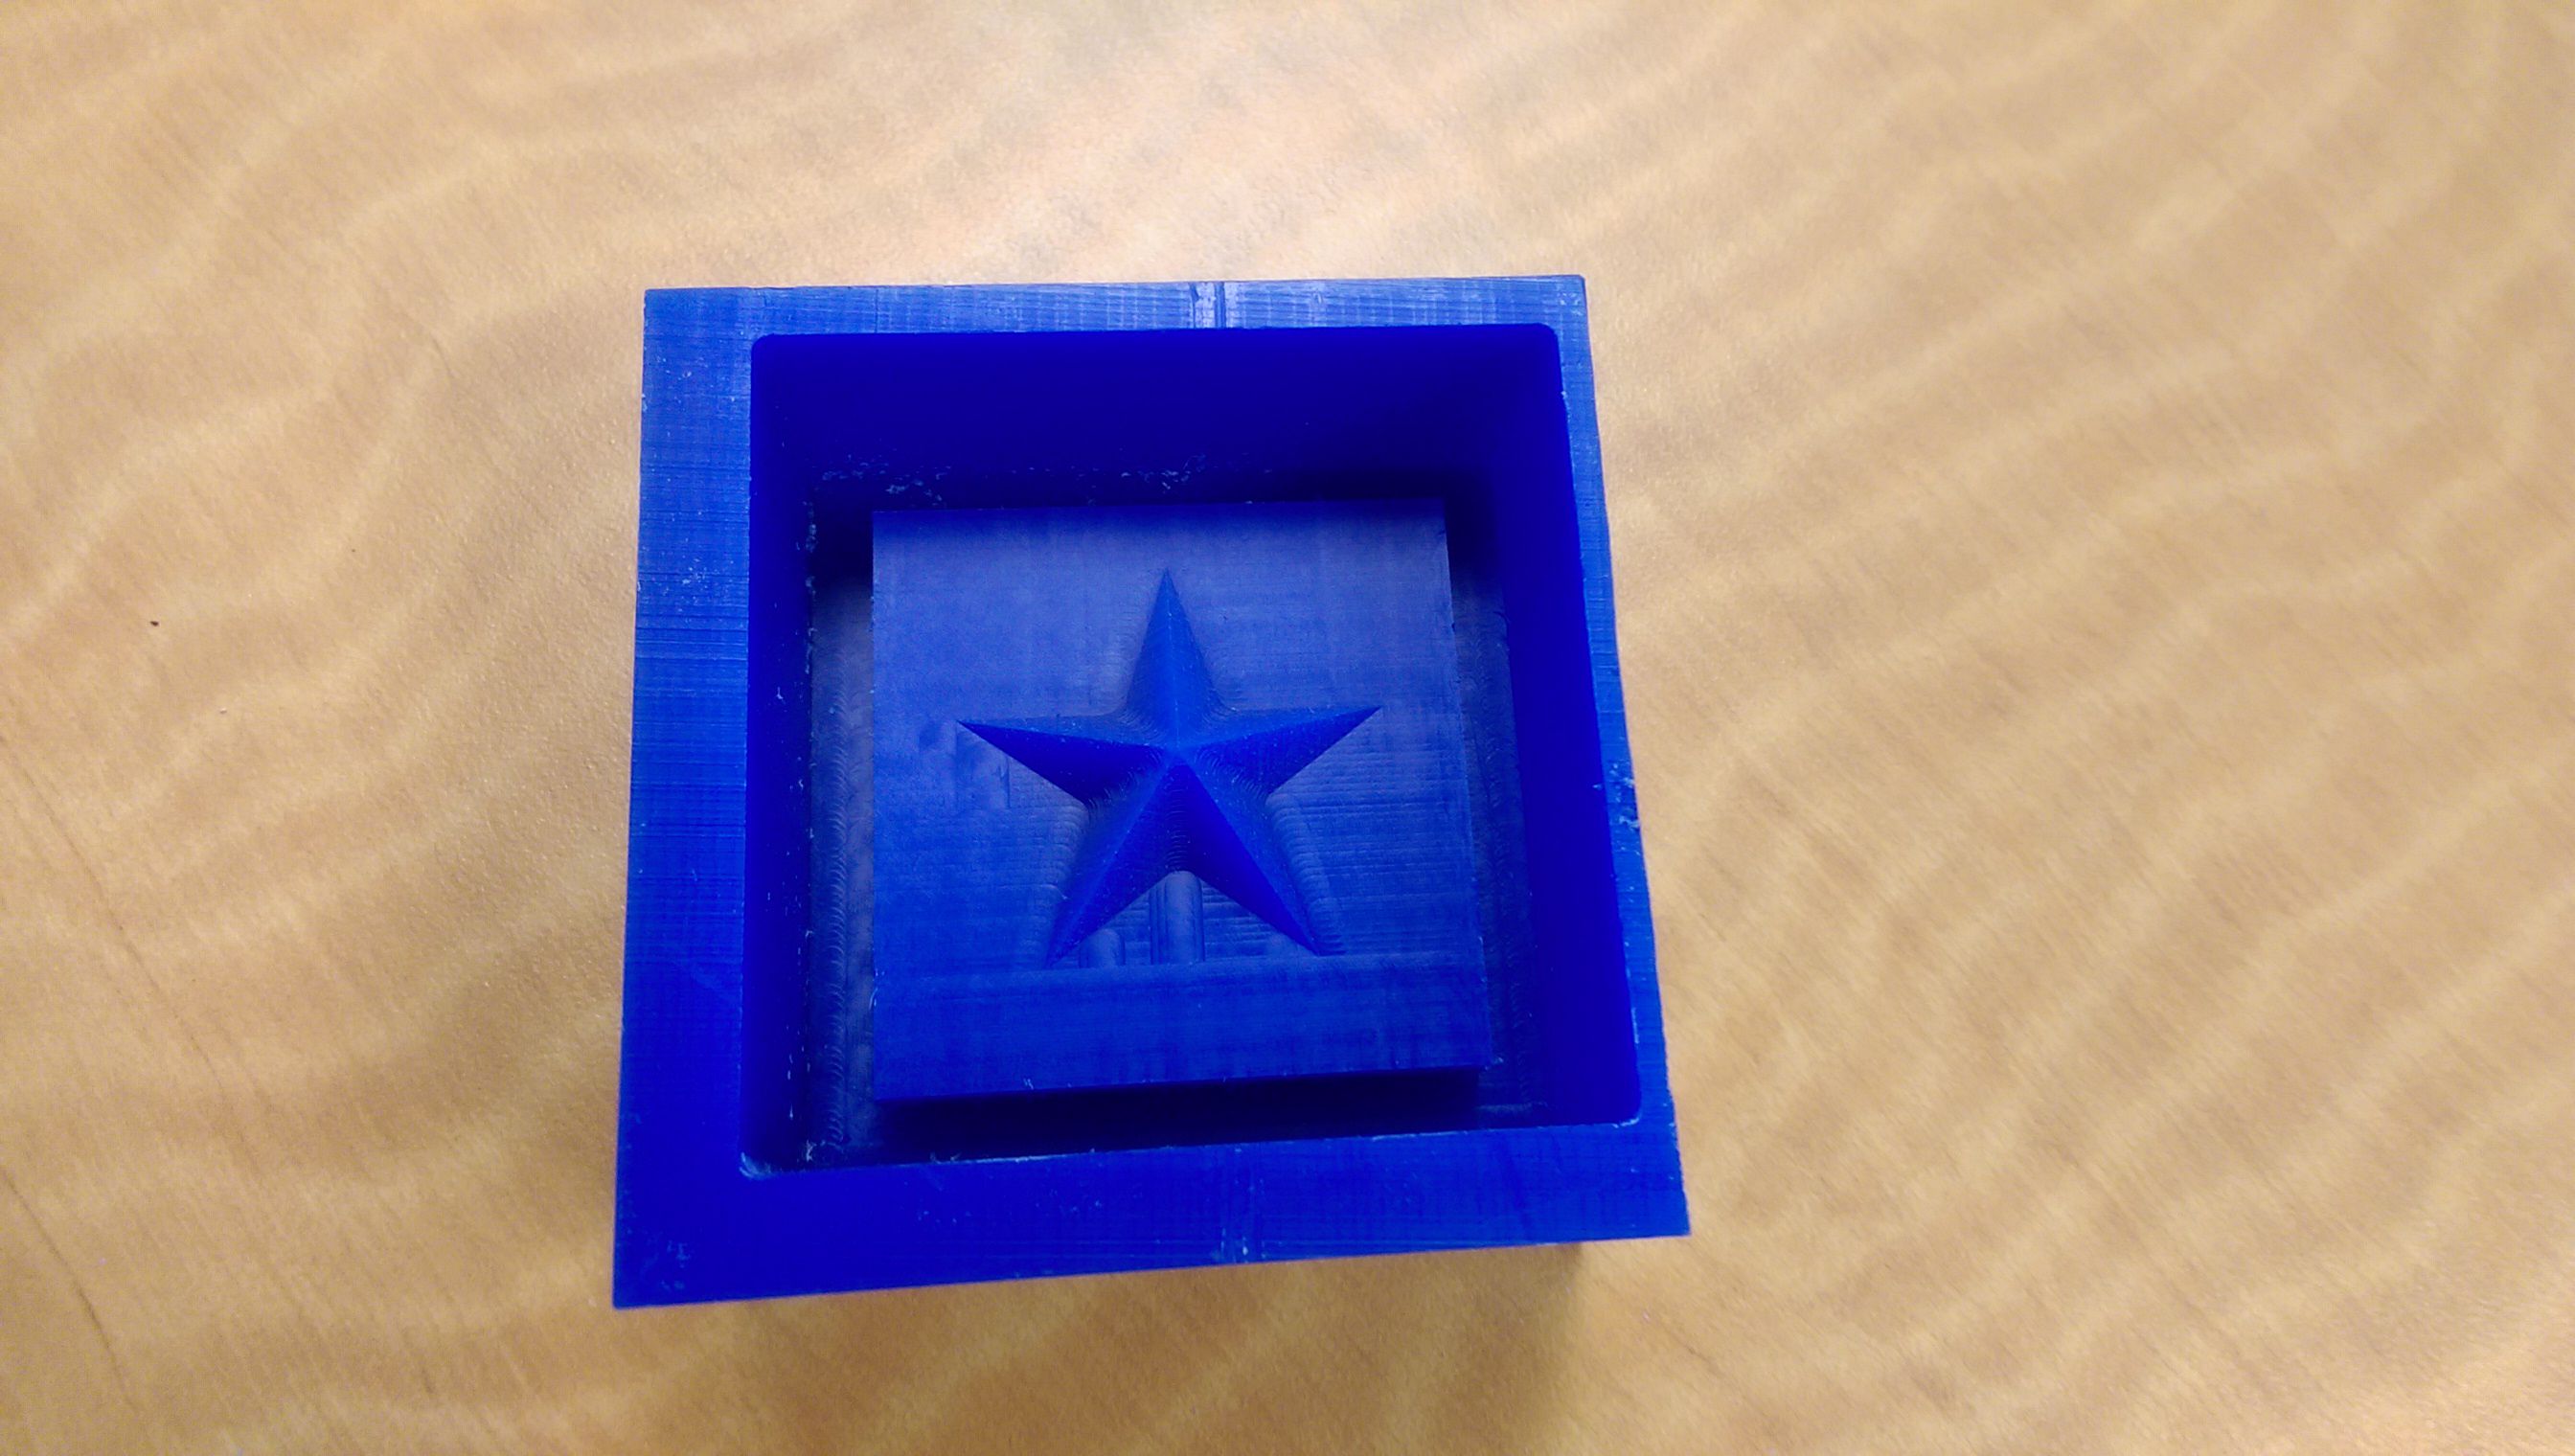
The mold came out pretty well from the mill. I did again a silicon mold and it came out pretty good. Unfortunately some of the wax broke off, as I removed the silicon.
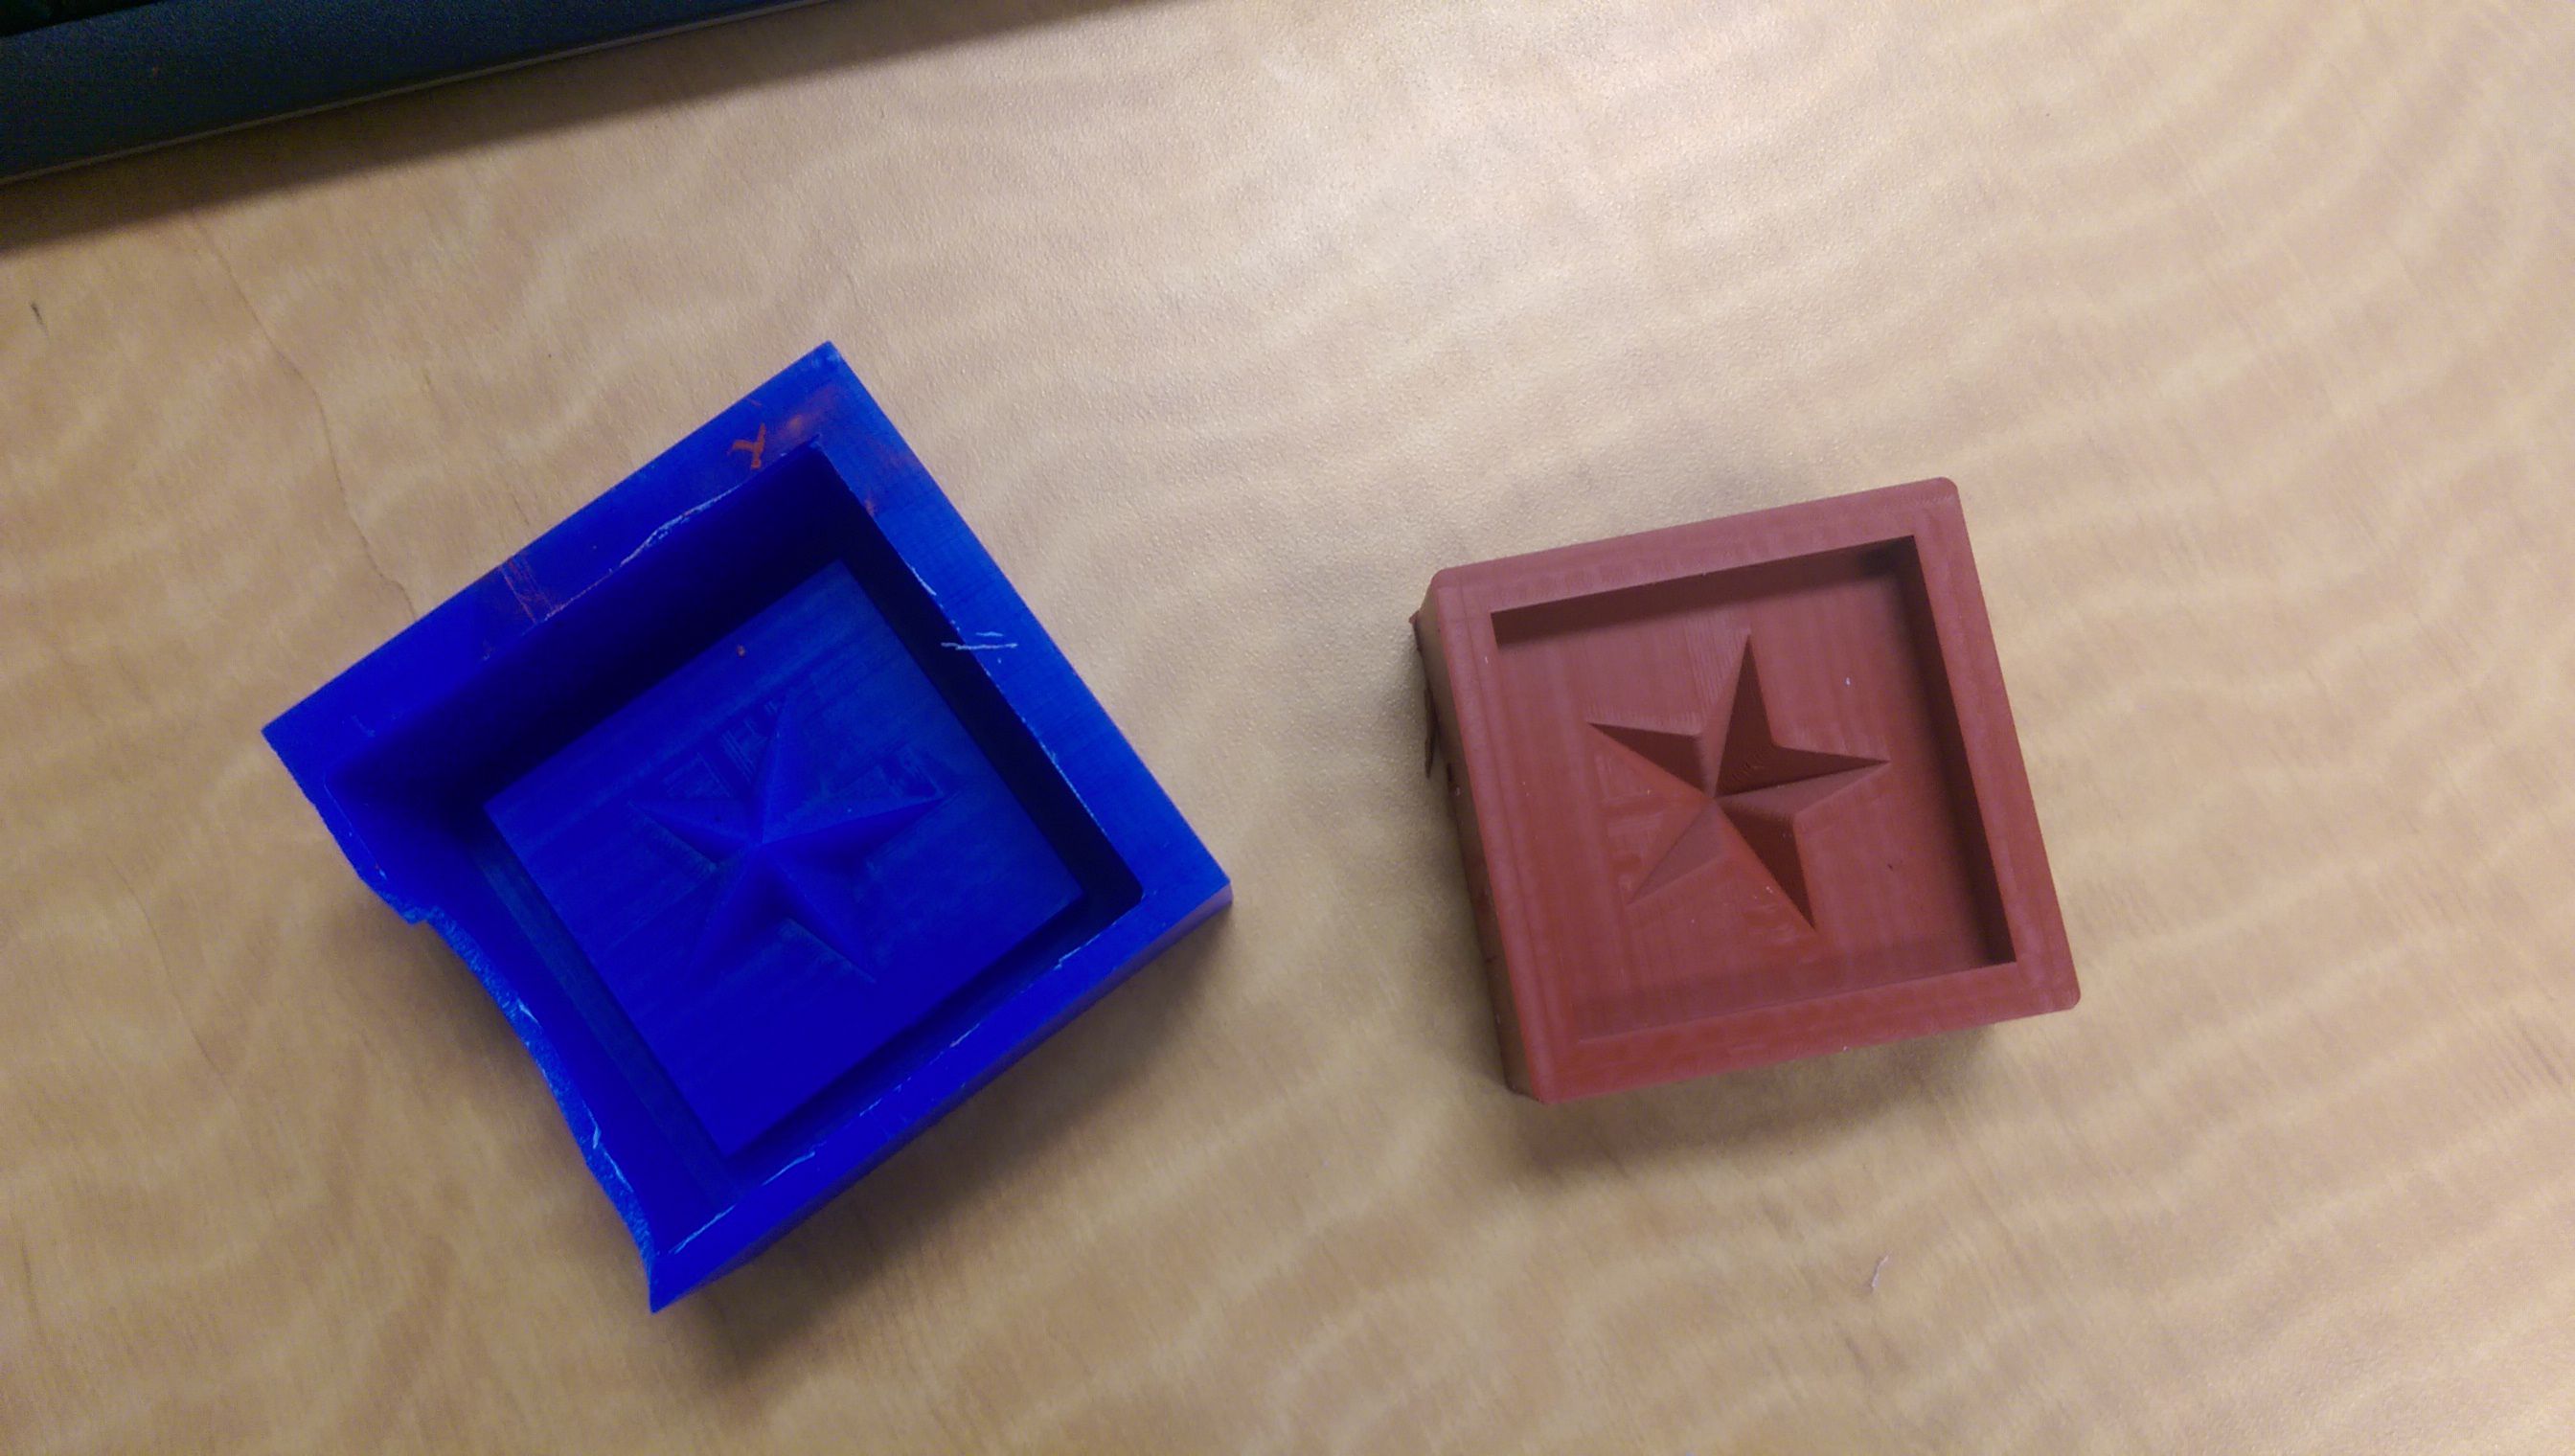
Now I will use Hydrostone Super X for casting in my silicon mold. The mixture is 100 parts powder to 22 parts water.
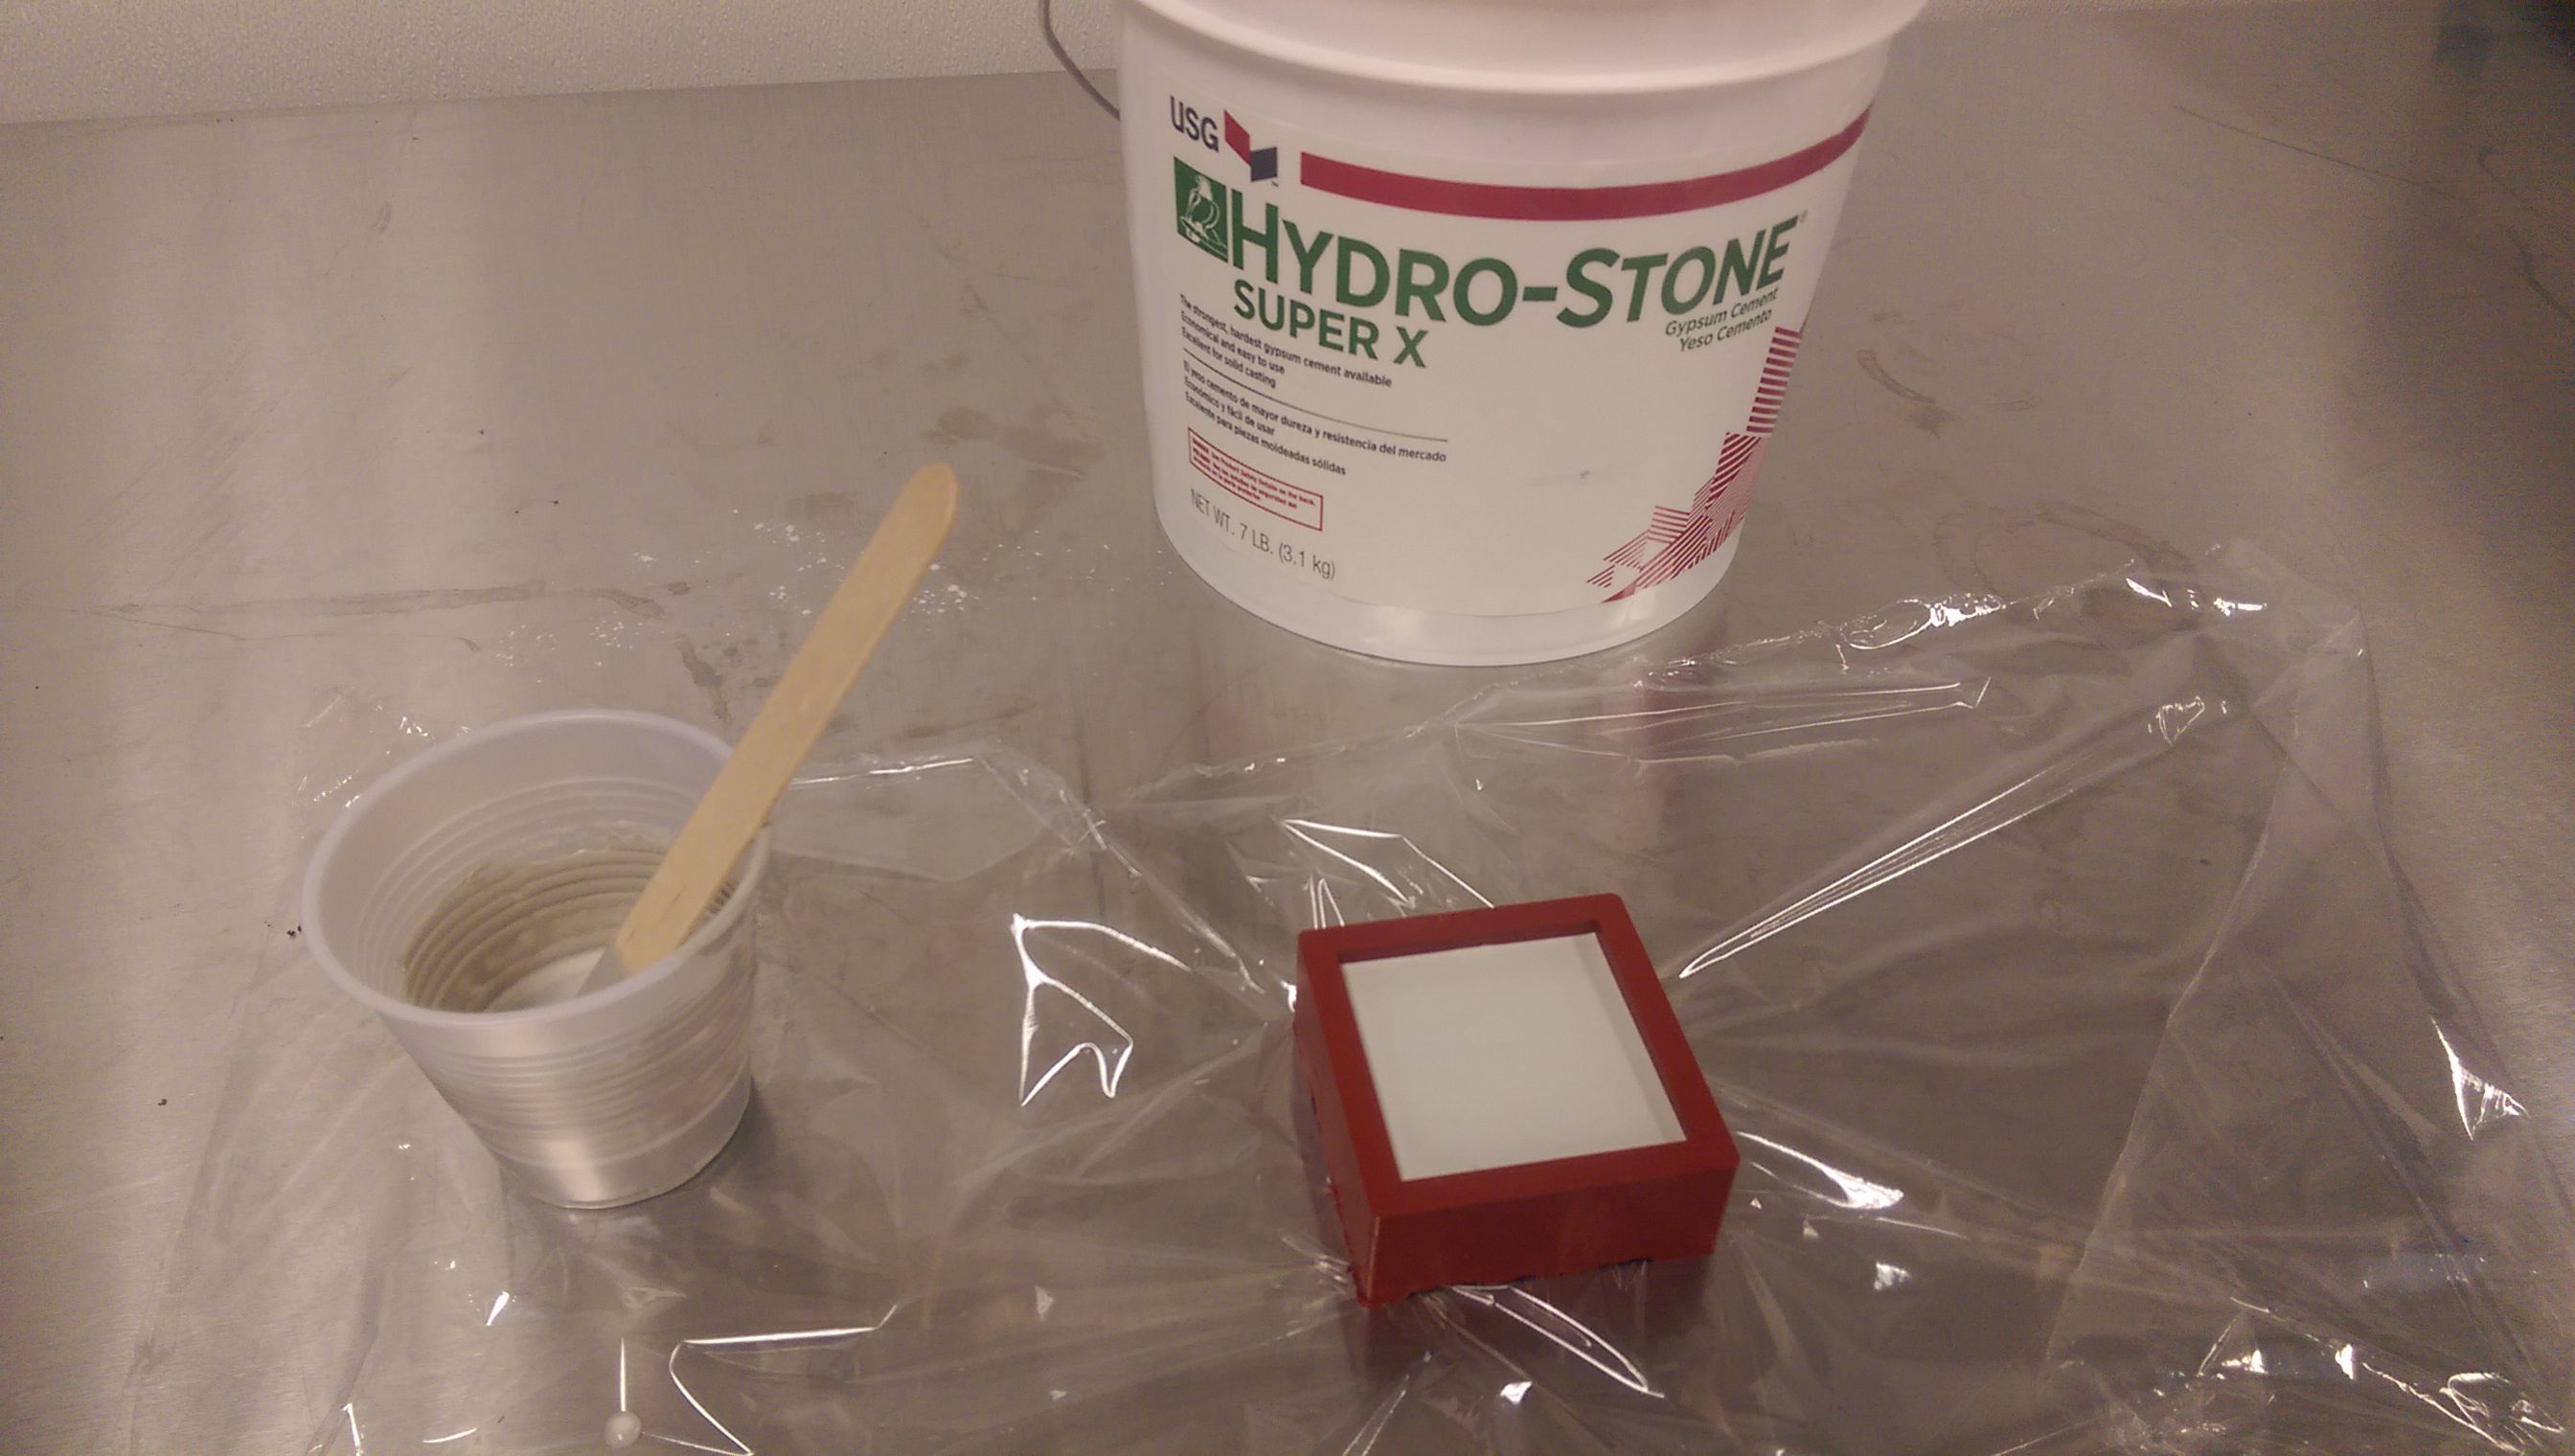
After a couple of hours the hydrostone was dry and I could remove it from the silicon mold. The result looks quite good.