Ruby Sun
Fab academy 2017
Week 16: Interface and application programming
Learning outcomes
A. Programming the Input or Output device with the Arduino IDE
B. Using the processing application
C. Recording the interaction
1. Introduction
For this week assignment, I used backed the board of LED and button which i have made in electronic design week. Then, I programmed the board with Arduino and followed by processing application.
To get to know more about the processing application, i go through some tutotials and videos.
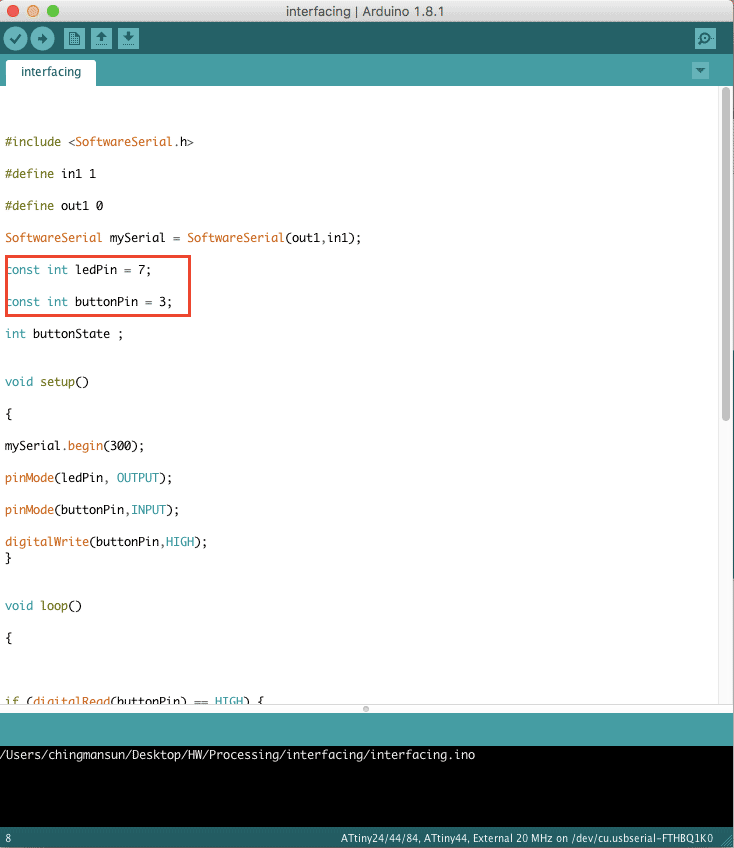
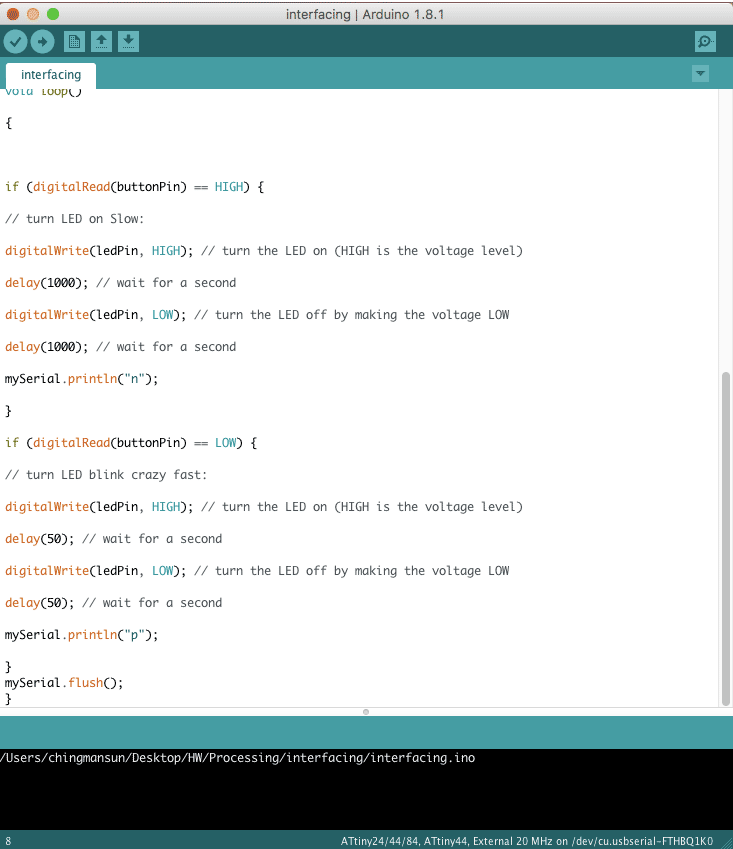
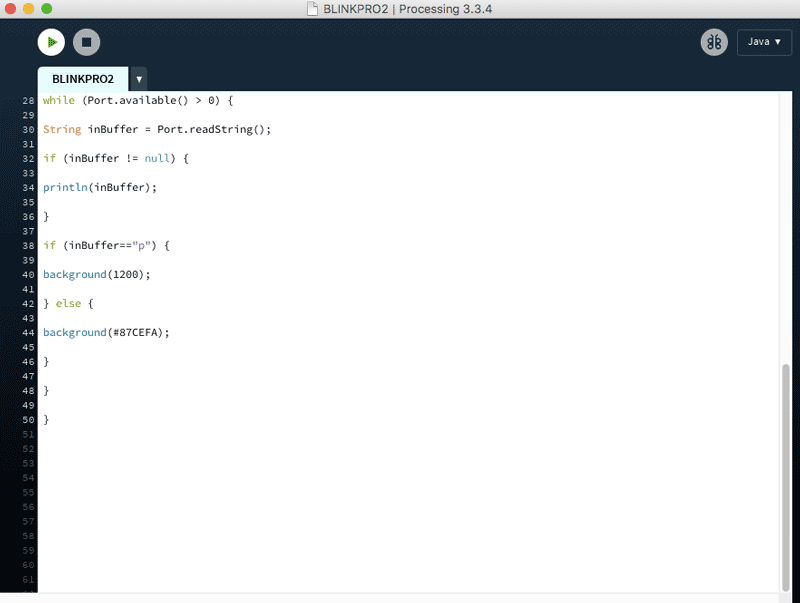
2. Using the button to control the speed of blinking on the processing screen
The effect of the code is that the LED will blink in a slow speed, while the screen will also be blinking at the same speed. When the button is pressed, the LED will blink in a fast speed and so as the screen and the color will change from dark blue to light blue.
Here shows the connection of the board with the computer.
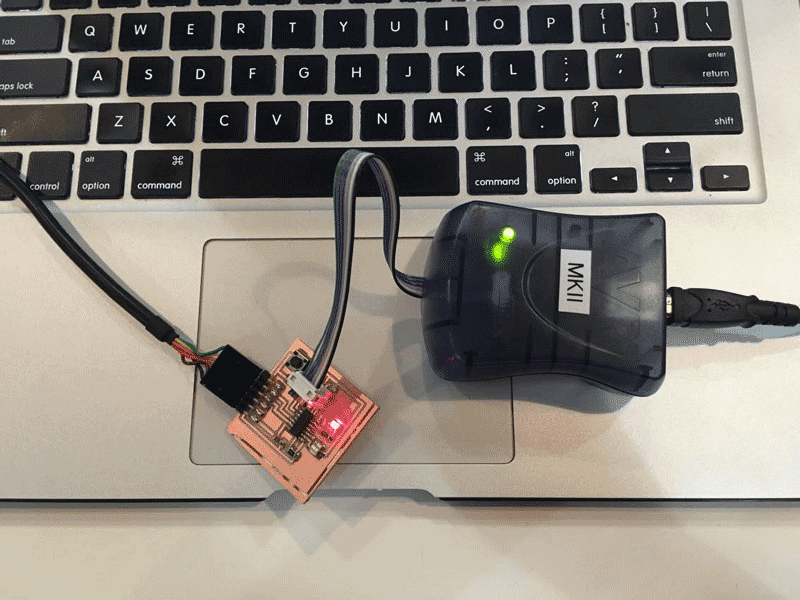
For the serial port number, it is important to know. The easiest way is to connect the board like it is indicated in the first picture, then go to Arduino "Tool", "Port", the number of the new port will appear automatically after connection.

The video below shows the interaction between the button and the processing screen.
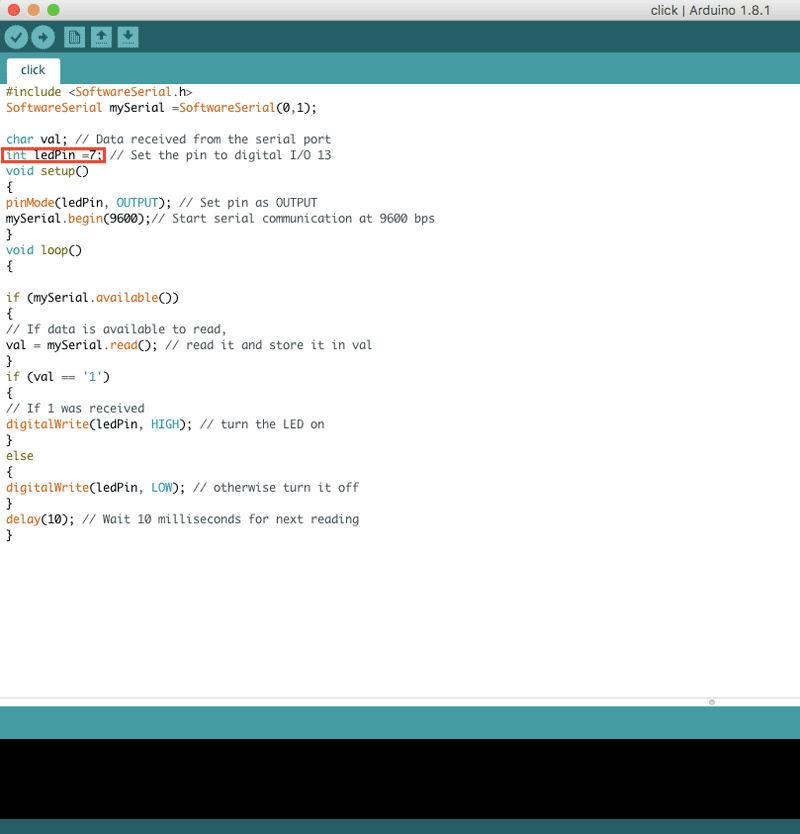
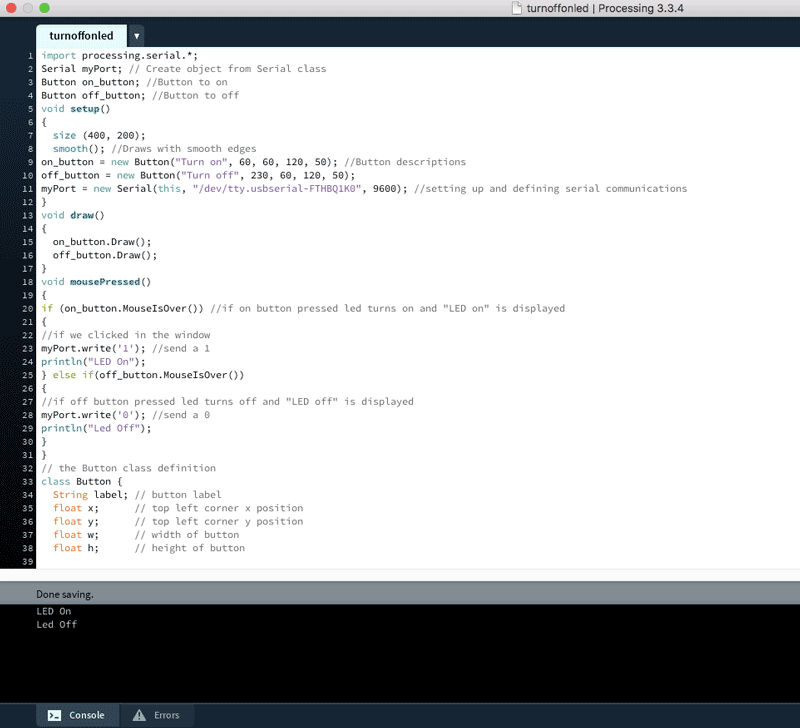
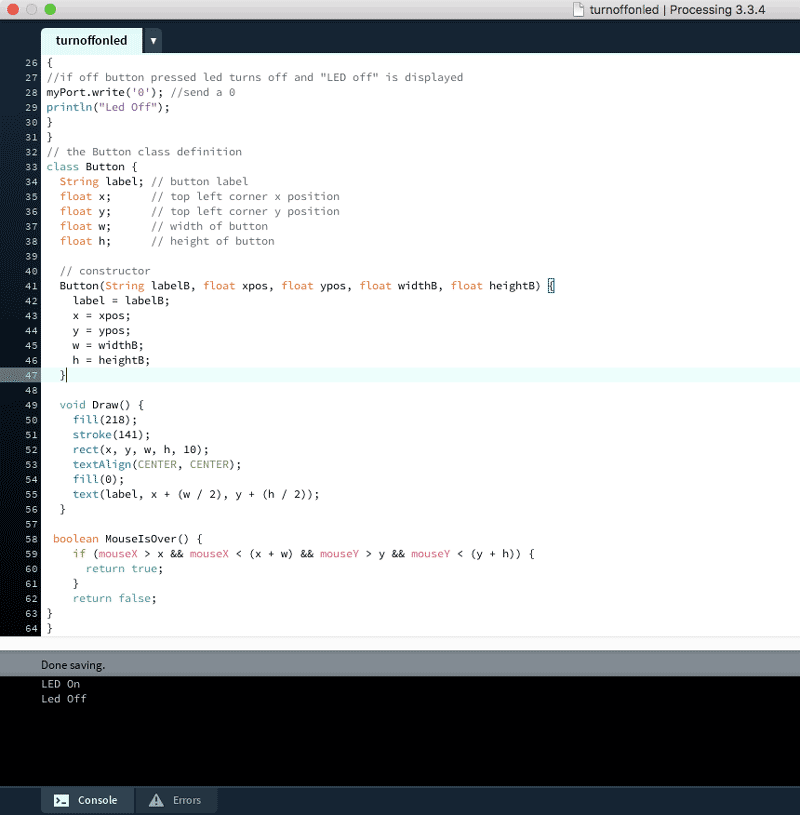
2. Using the screen button to control the LED
The effect of the code is that when you touch the 'Turn on' button on the screen, the LED will light up. While clicking 'Turn off' button, the LED will turn off.
The video below shows the interaction between the button on the screen and the LED.
Please press the link for downloading.