Week14 : Machine Design
Independent and team Work
Initially I tried to modify the existing Design from nadya's machine to have it cut on Acrylic. Rather than Cardboard.
I even tried to work on something faster like having 3d printed parts for each stage.
And the dimensions where not matching the Aluminum rode of the stage. And before I delved in modifing the 3D parts I got involved in a group work.
I got involved with team from fablab Trivandrum. http://archive.fabacademy.org/archives/2016/fablabtrivandrum/machine_building/team_1/index.html
My task was to design the end effector or the tool that would be placed at
The System Design, plan and build
The team inspiration or final plan was something similar to the following
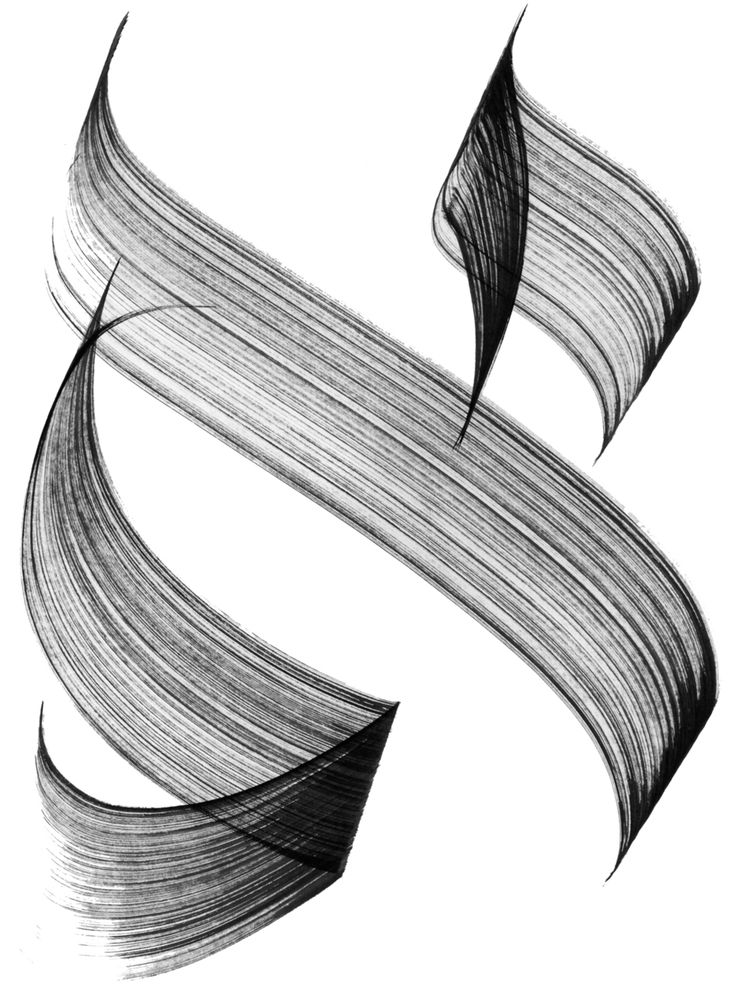
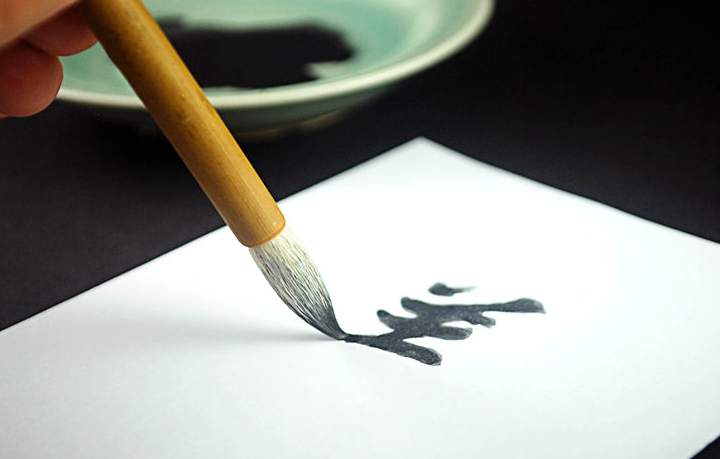
The ink pen used has only one degree of freedom z-axis. I thought that wouldn't produce a hand written effect. I always invisioned a plotter that would mimc the brush galligraphy. Simply to have the write feel of a brush stroke. Arabic and Asian Calligraphy are a fascinating art form, I wanted to create a mechanism that would be able to mimic some of the wrist movement.
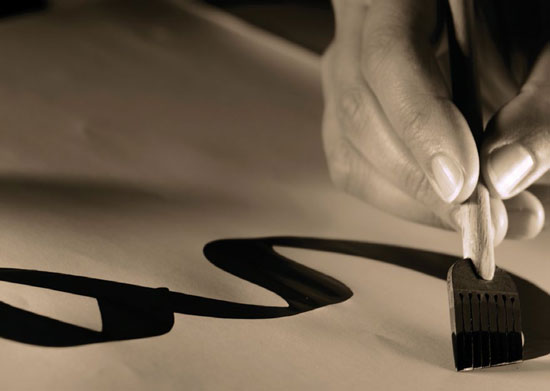
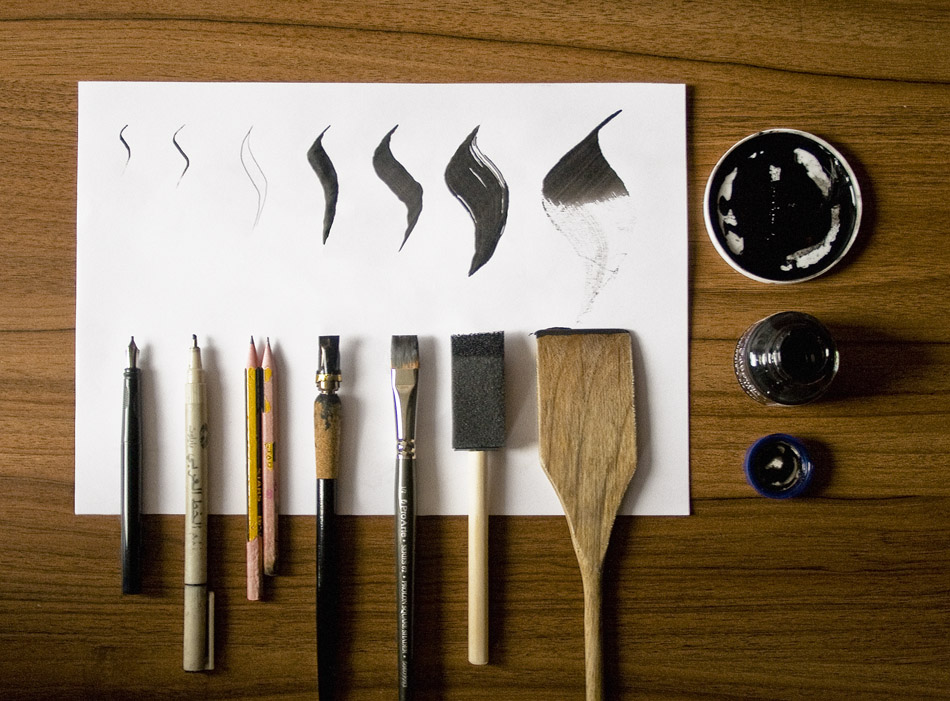
Much of the methods that use the brush are similar in different cultures.
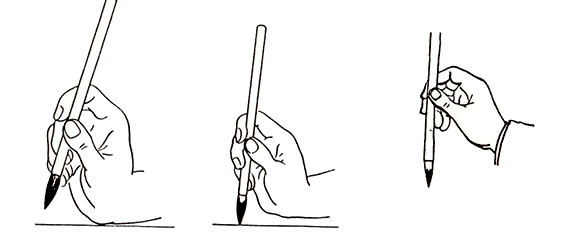
For example positioning and Movement of the Wrist in Chinese Calligraphy
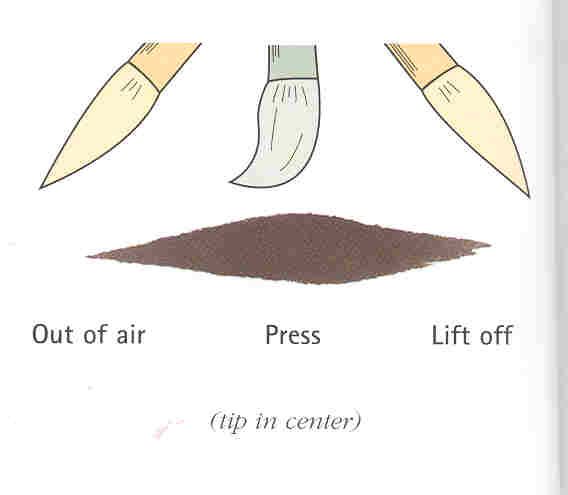
The position of the wrist is essential for writing Calligraphy. In general, the position of the wrist will reflect the size of the Characters being attempted. Writing small characters of only a couple square inches will usually require that the wrist rest lightly on the table. This gives one a maximum of stability: small characters can be executed well by moving only the fingers and the wrist itself. One may also rest the writing wrist on the opposing wrist, with the hand on the table palm down.
http://www.asianbrushpainter.com/blog/knowledgebase/posture-writing-with-the-whole-body/
I recently checked the link and it seems to be broken
Analyse and solve technical problems
The pen holder in axiplot
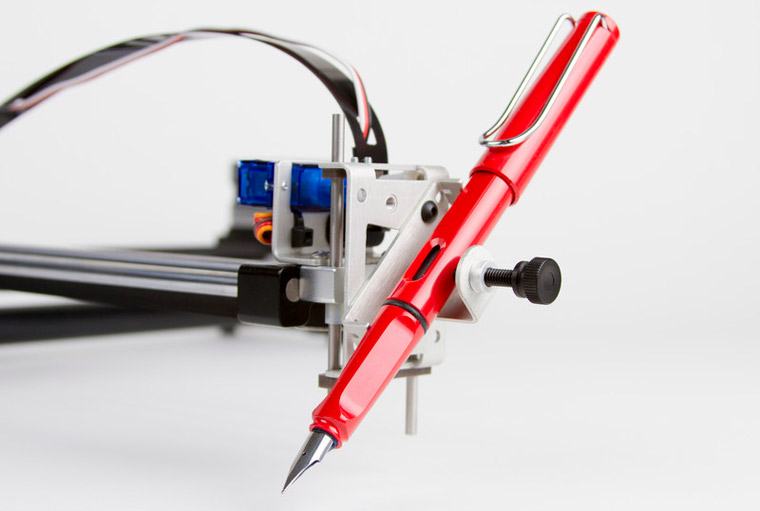
is just fixed in one position where the start of the stroke and the end are at the same position.
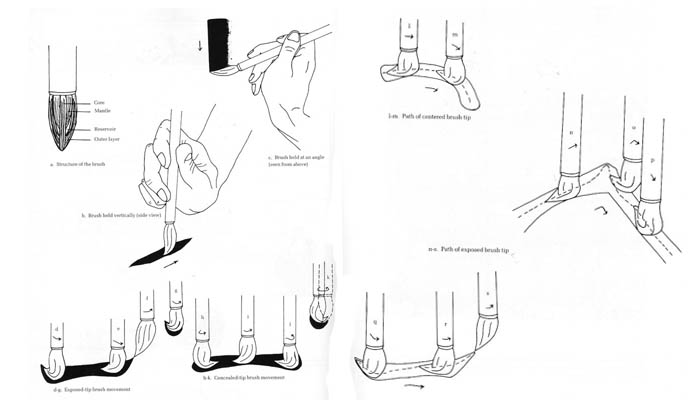
I thought it would be great if we could capture the wrist movement. In order to have that we would neeed to have 1 more degree of freedom in the end effector rather than just the movement along a Z axis.


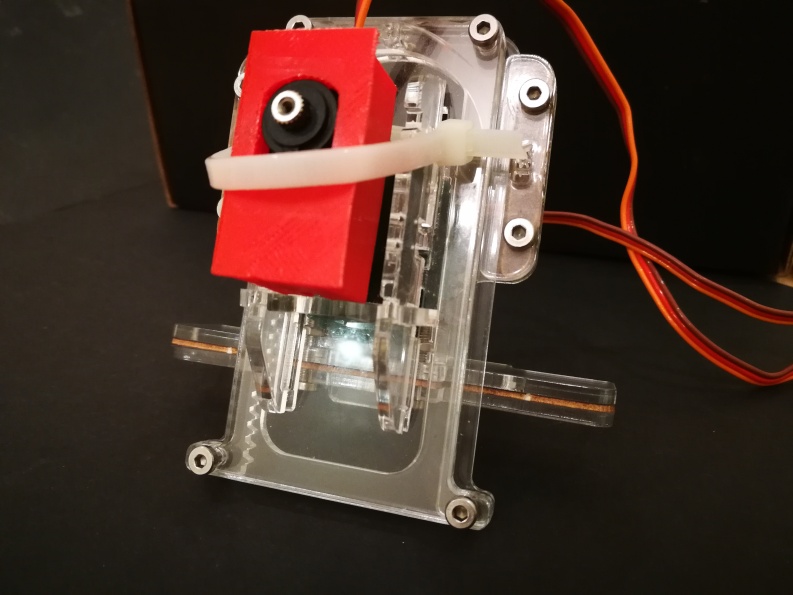
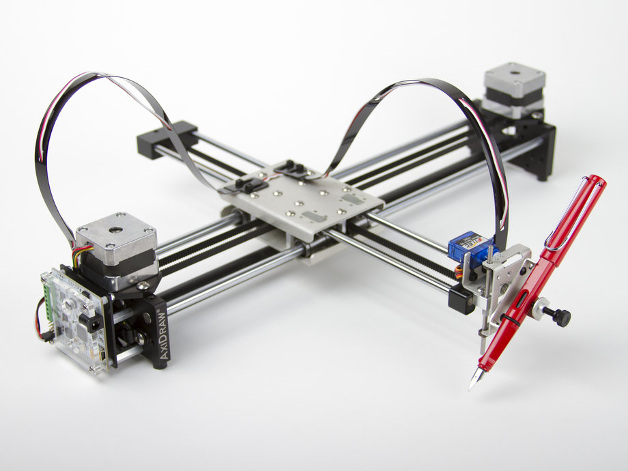
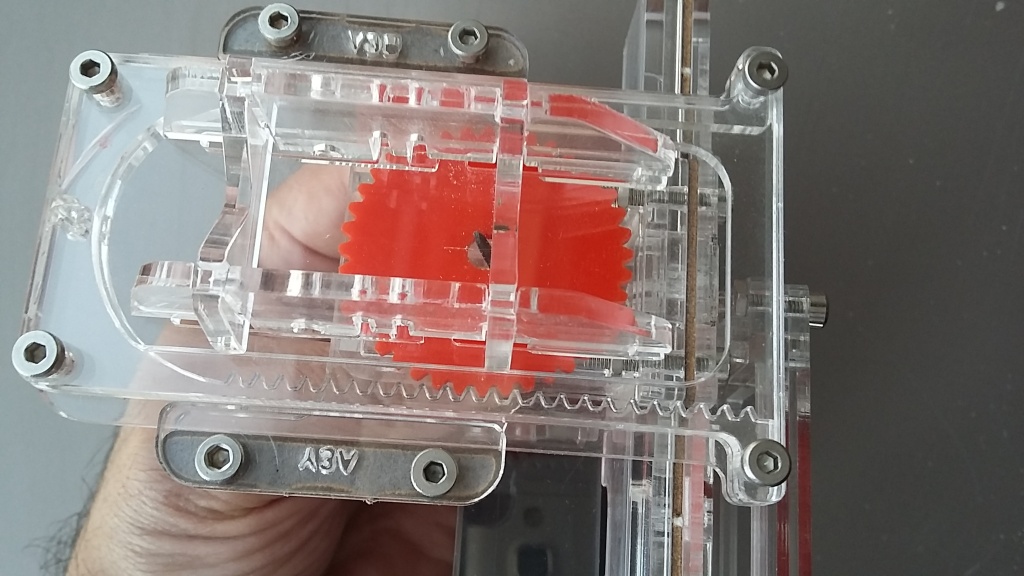
I utilized an existing design for a small ploter I tried and assembled before to test my idea.
The Piccolo by Diatom studio, the hardware designs are available under the Creative Commons Attribution-ShareAlike license, and so are freely available for commercial or non-commercial use. And the necessary files are availble in the github repo.

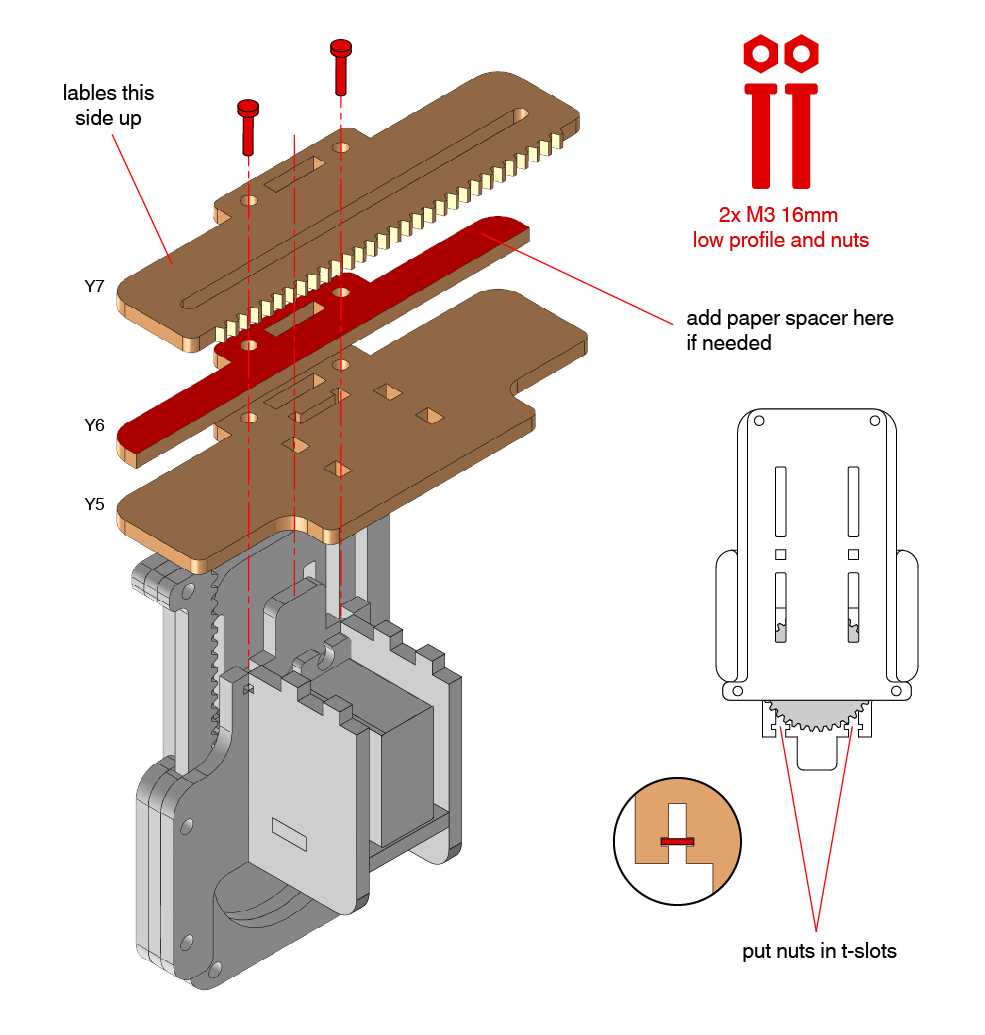
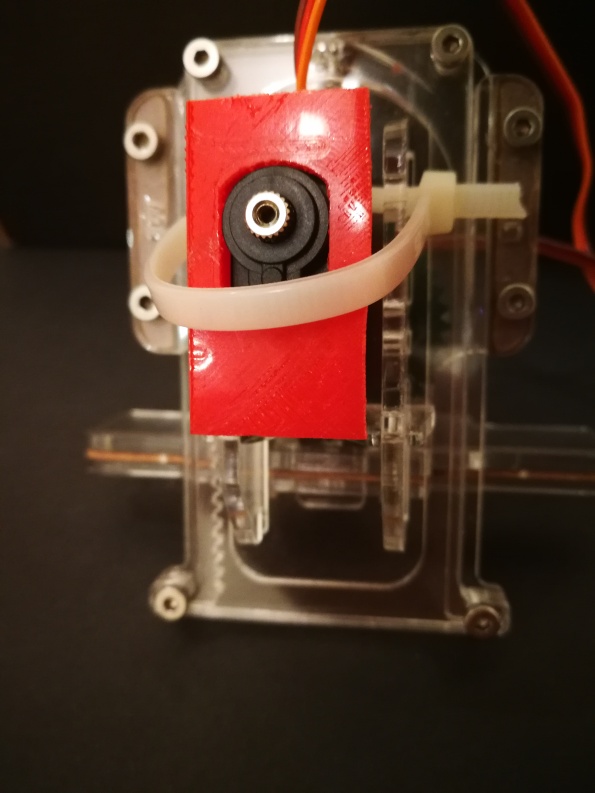
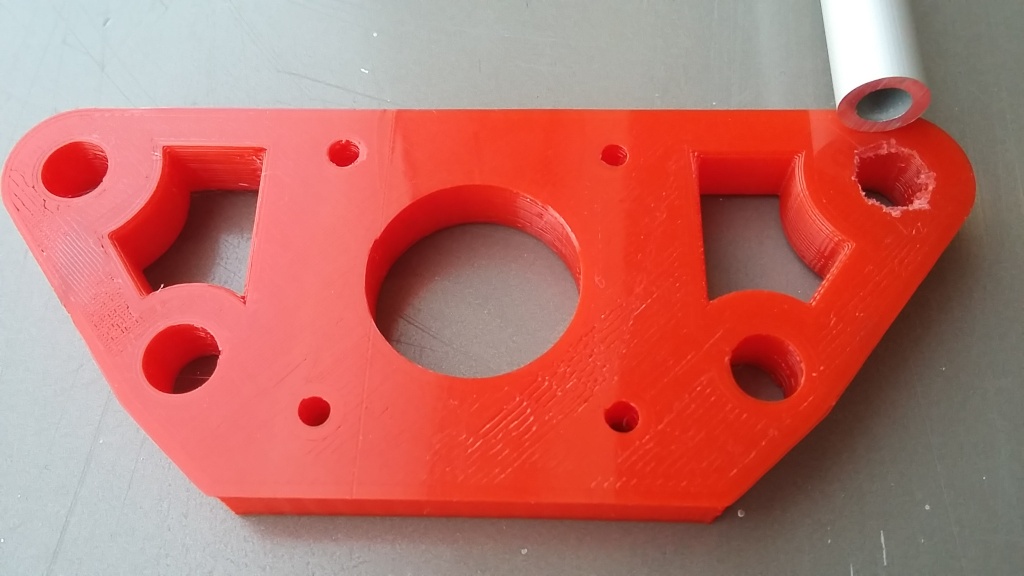
I used the Z axis and had it on a fixed platform and attached another rotational axis to it.
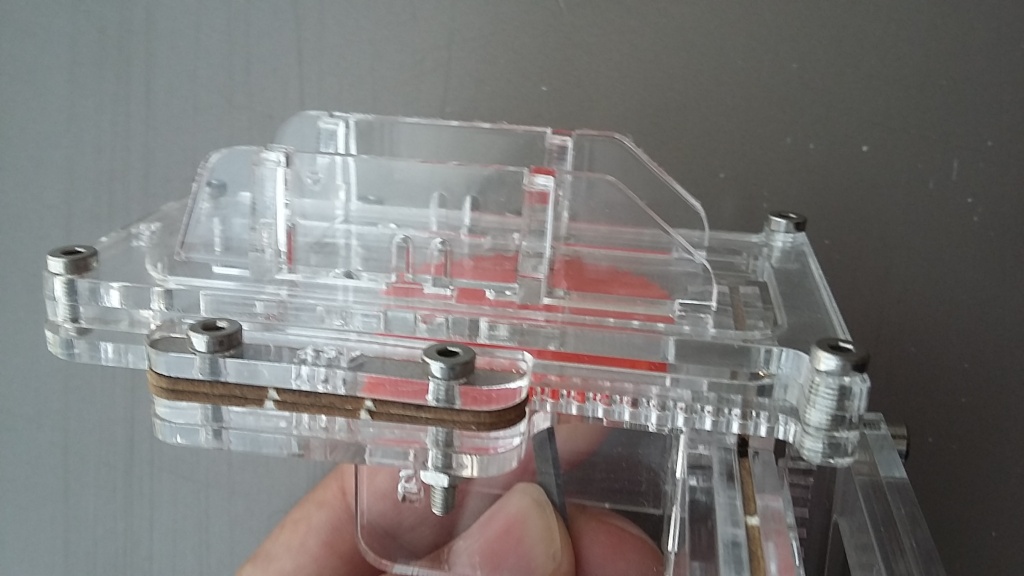
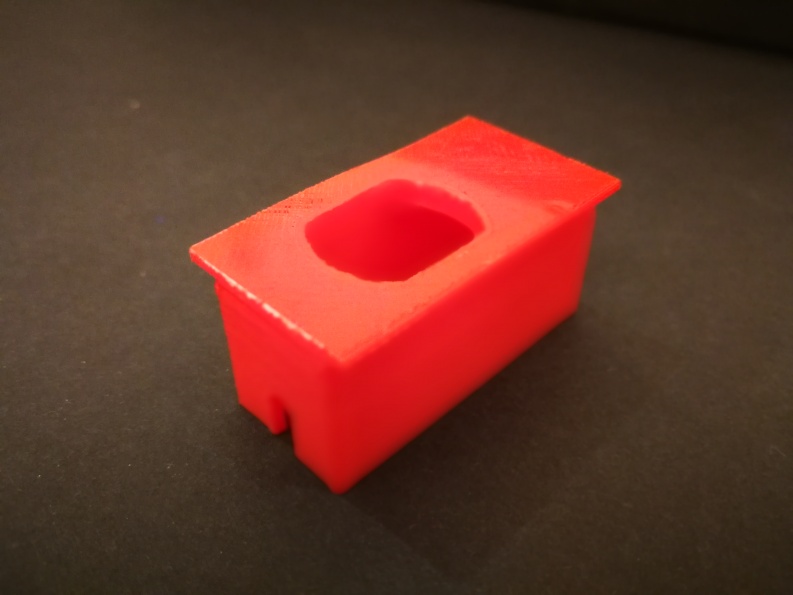
I fixed a servo in the cavity between the pen holders and used that as the rotating axis.
Machine Design Test 1 from soraibi on Vimeo.
Possible improvements
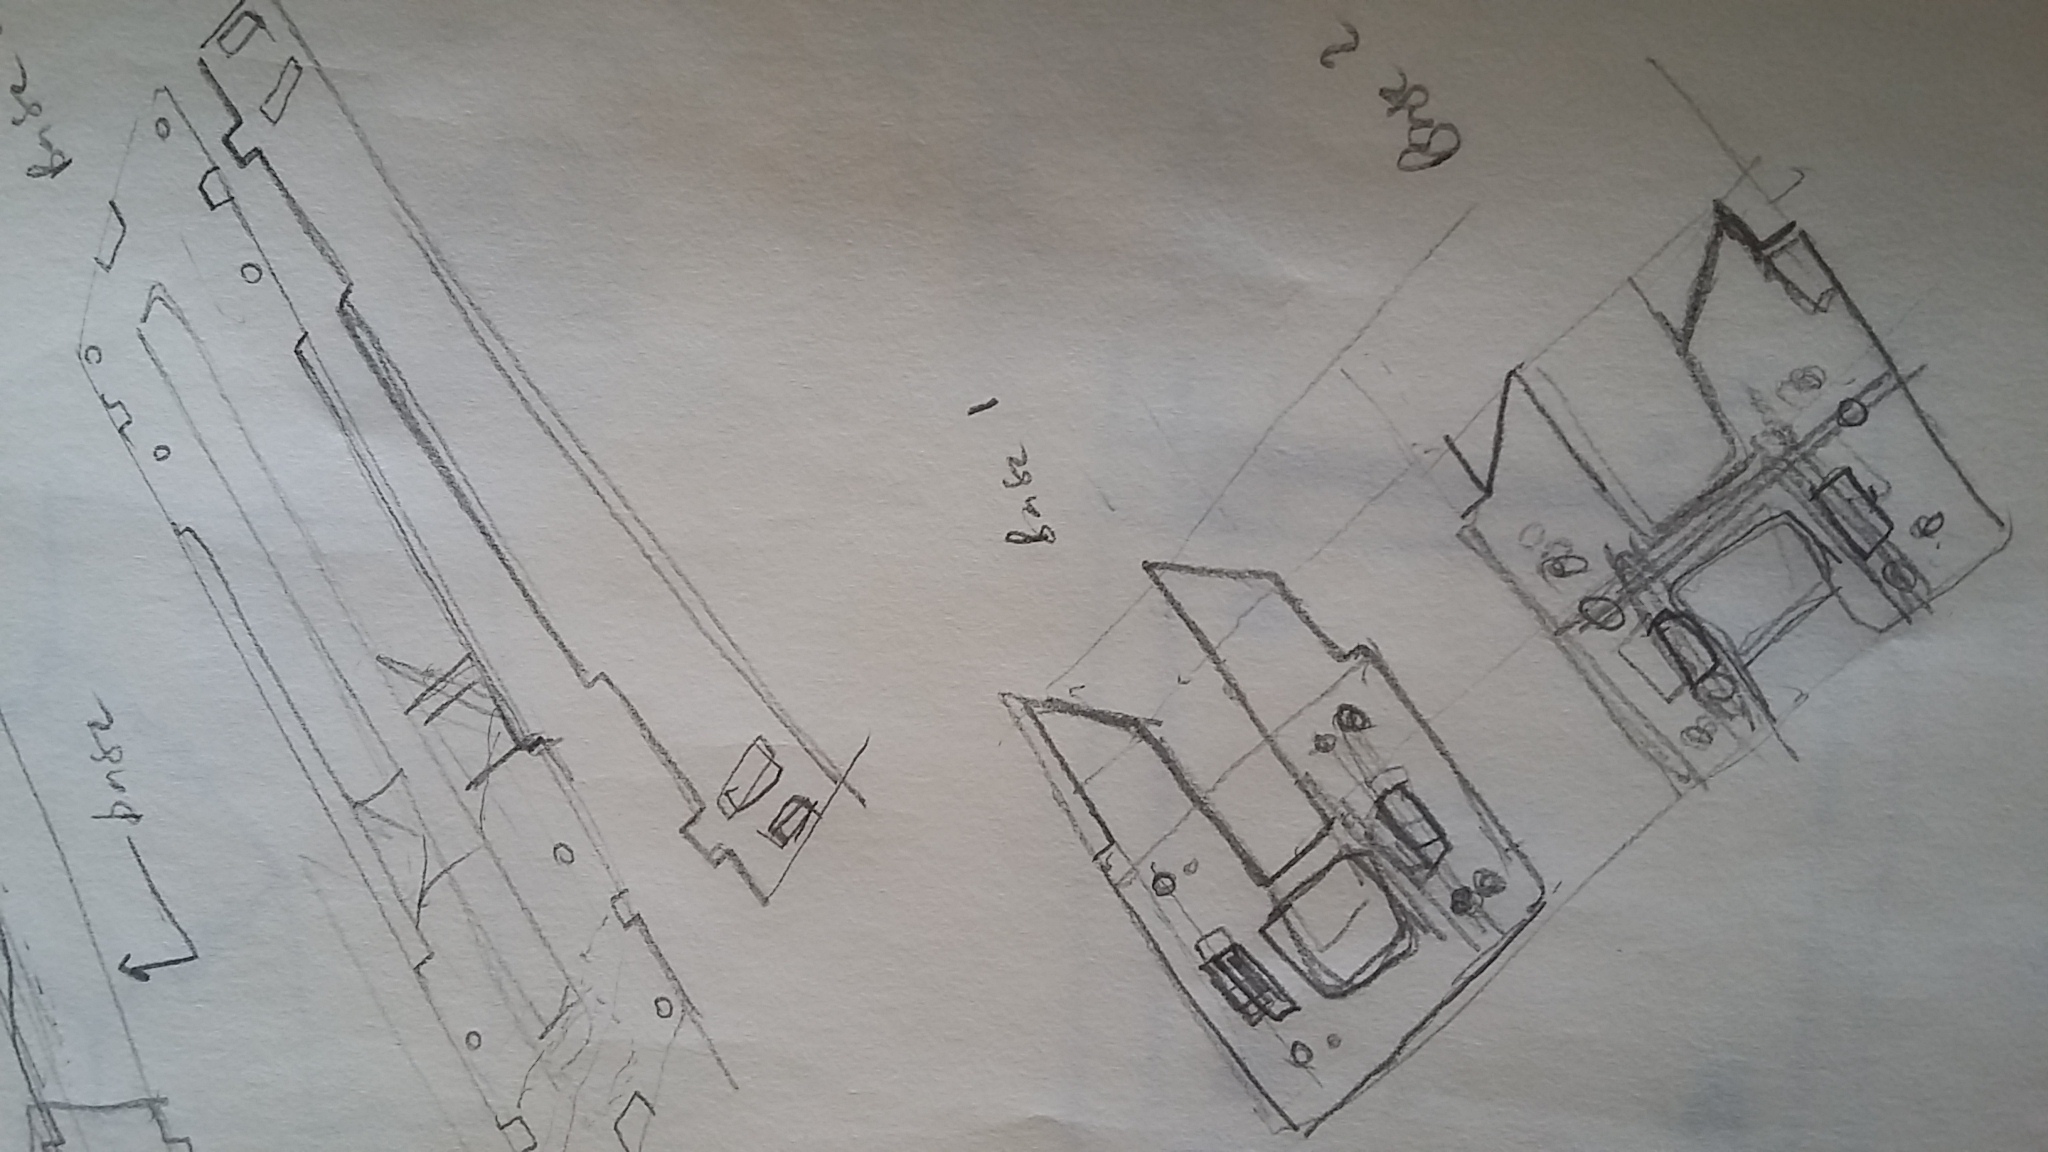
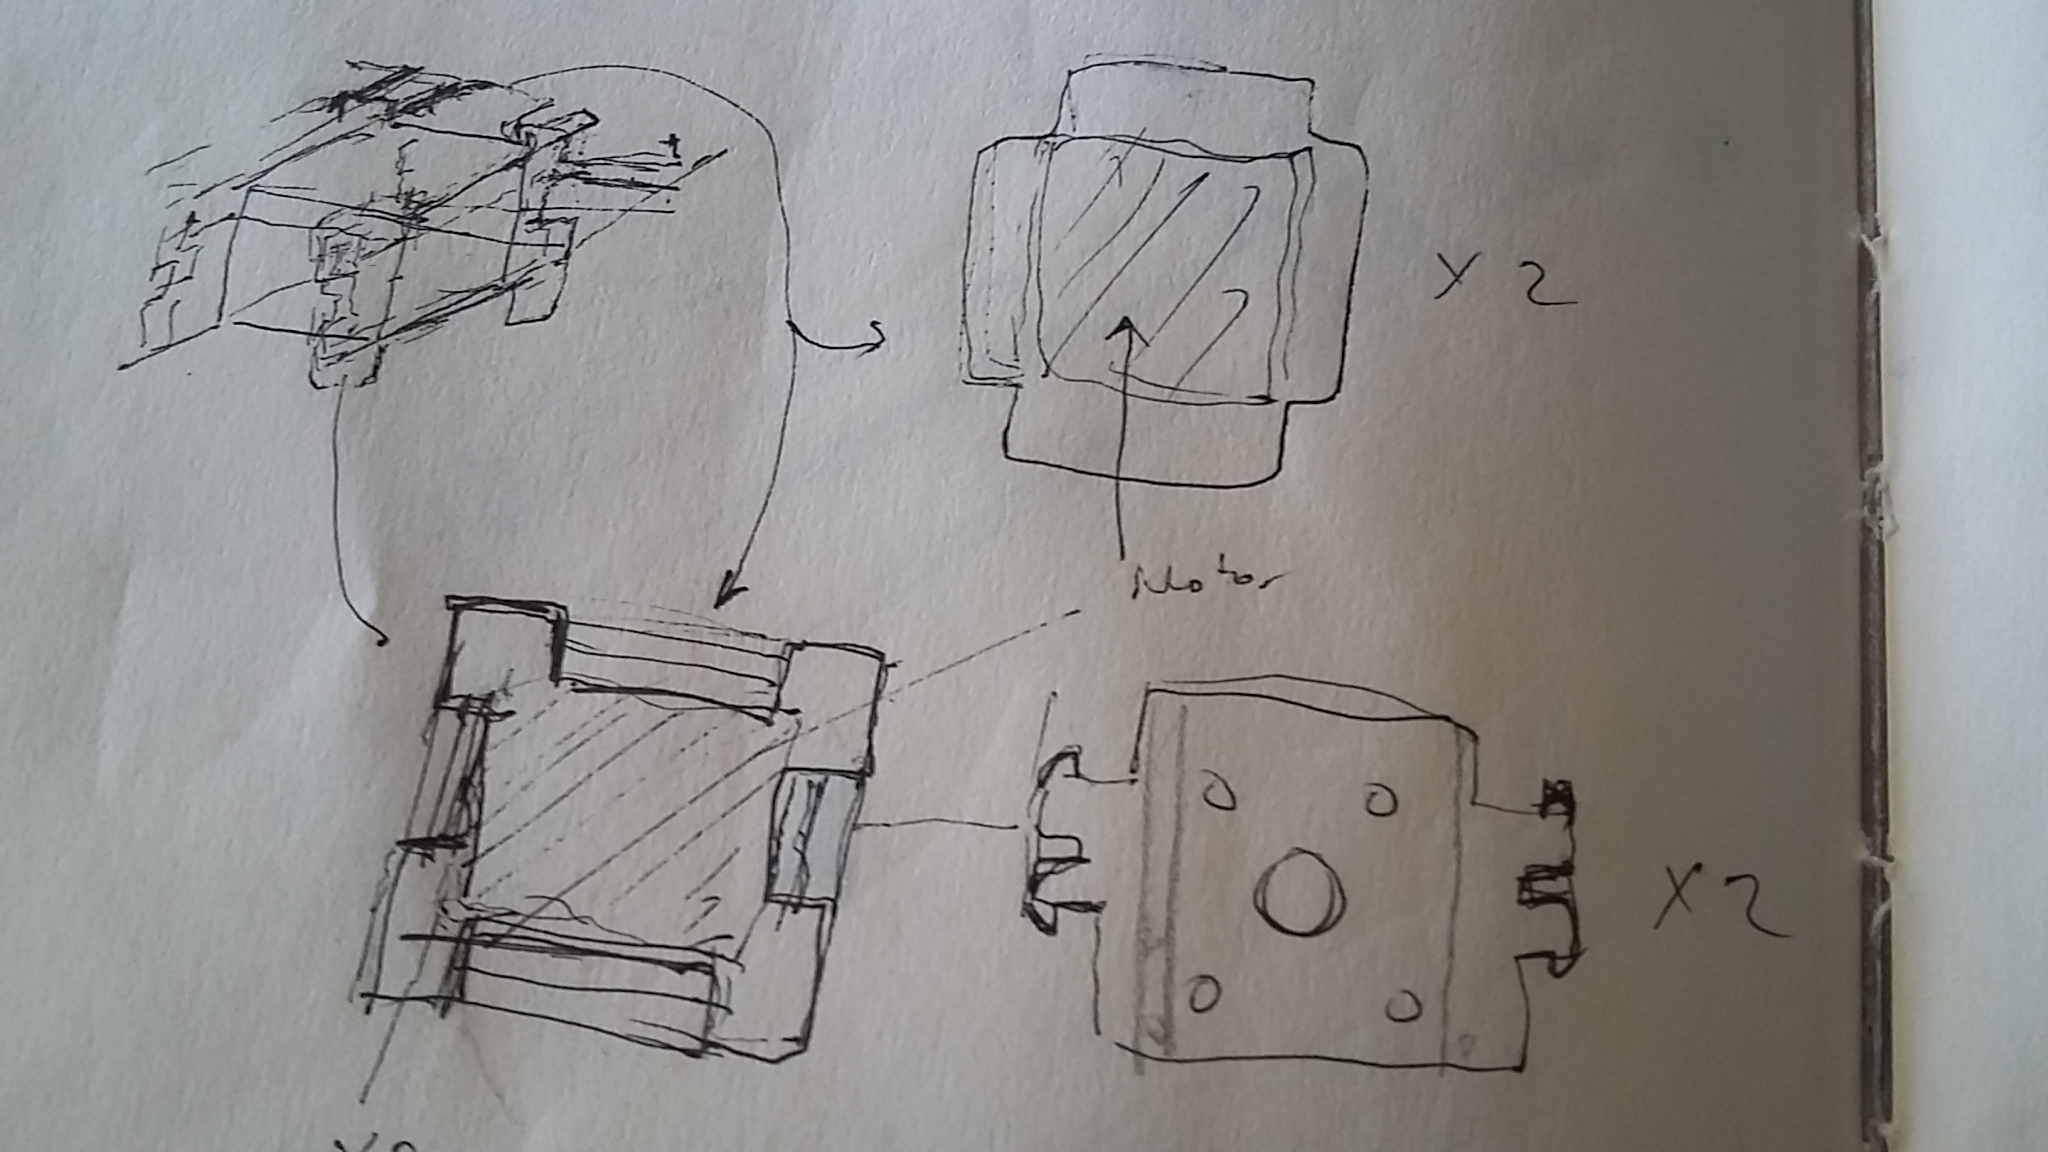
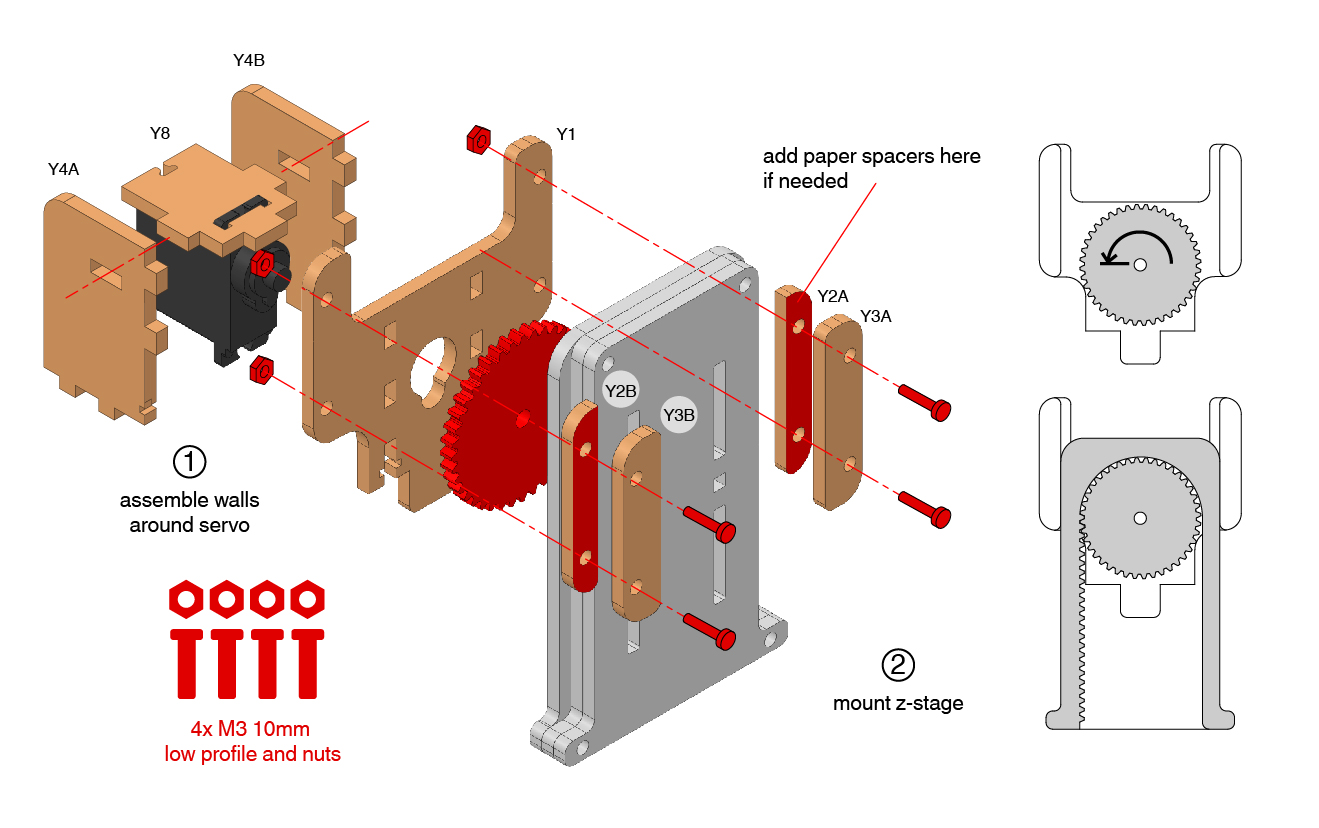
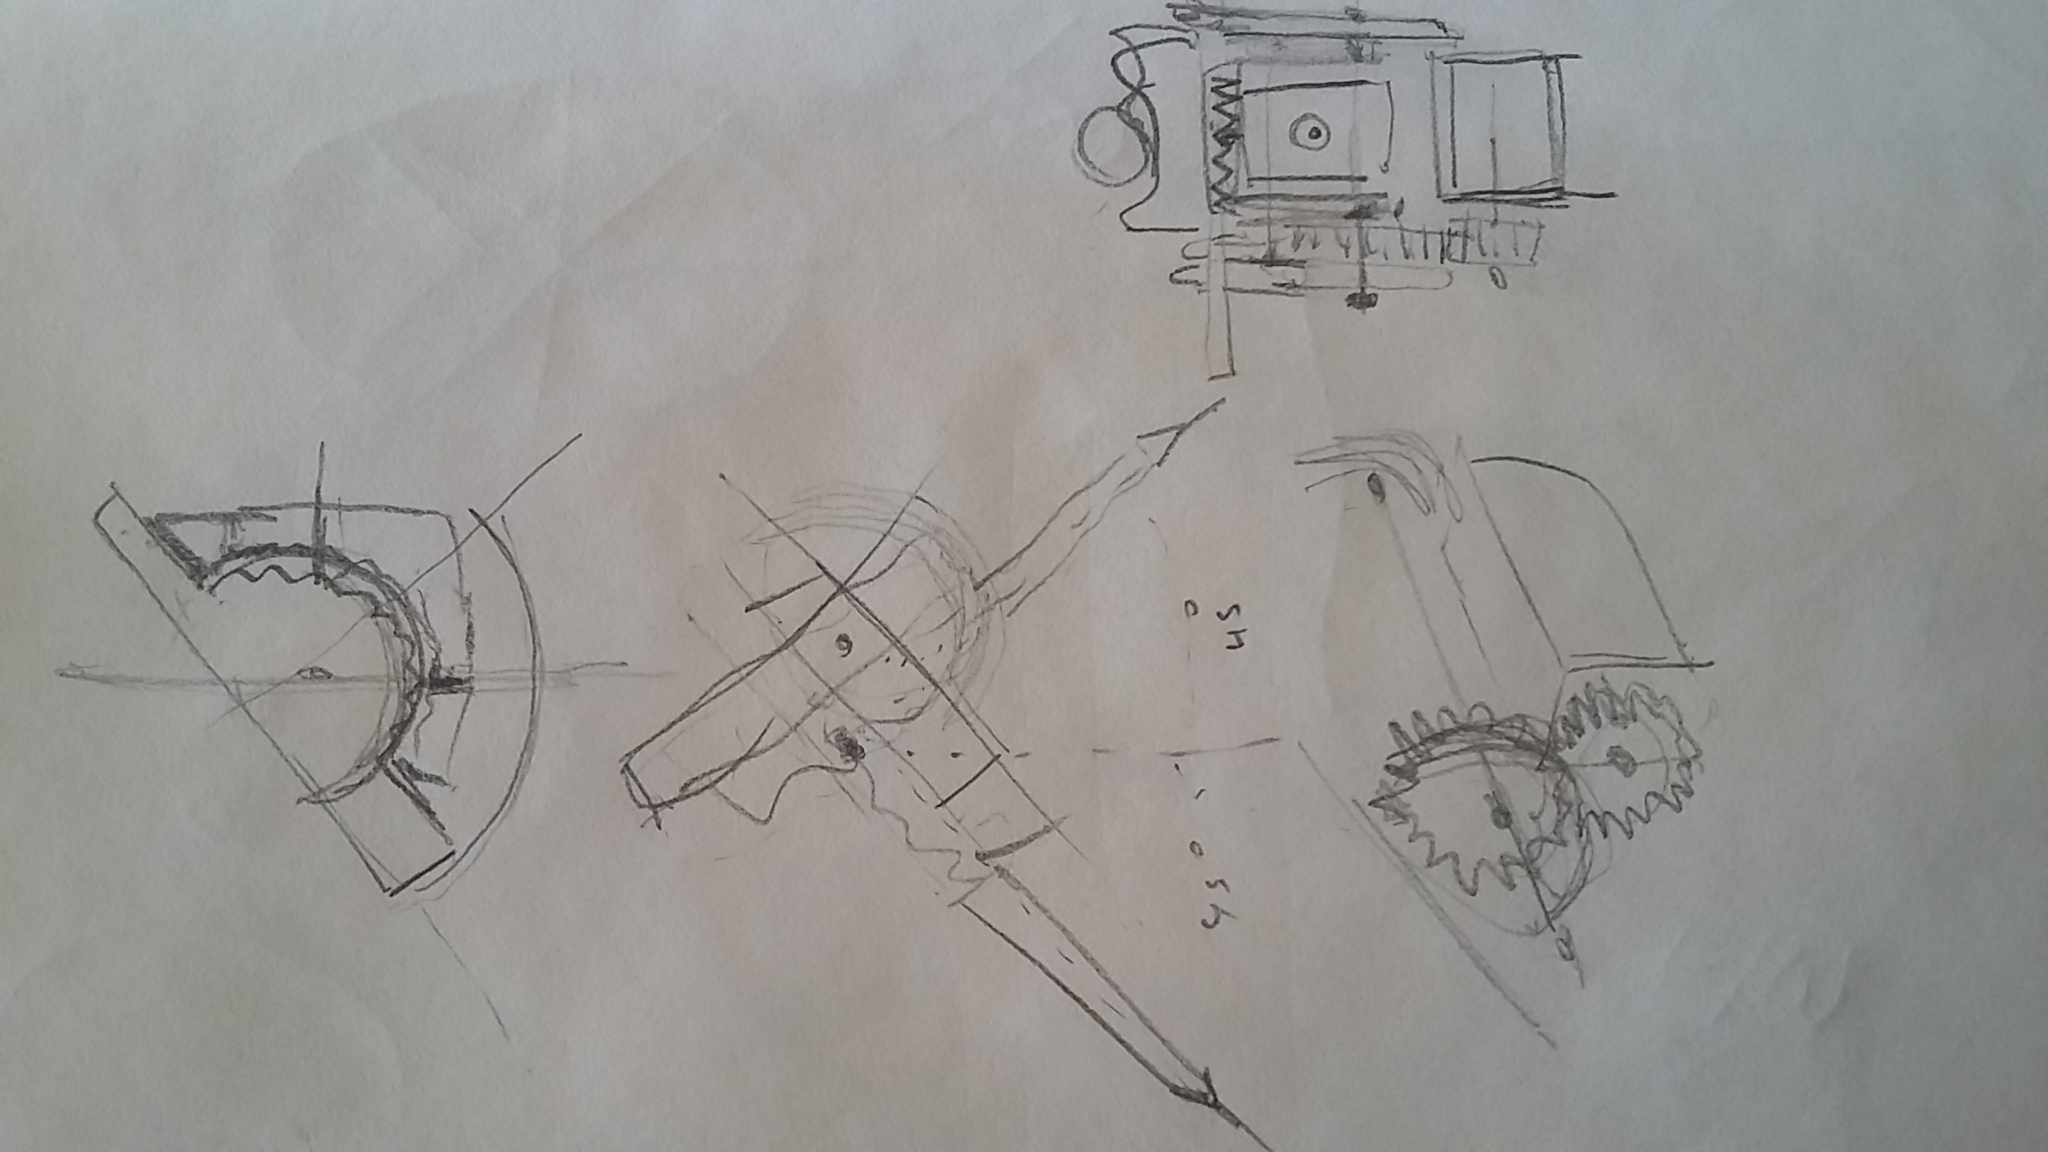 I scketched different ideas to add parts to the existing picclo design to fix the extra motor and hold the pen.
I thought of a better pen holder that would attached to the motor on one side and have a place to fix the different pen and brush sizes.