Week12 : Compposites
Attempt 1 Natural Palm Tree Fiber with existing mold
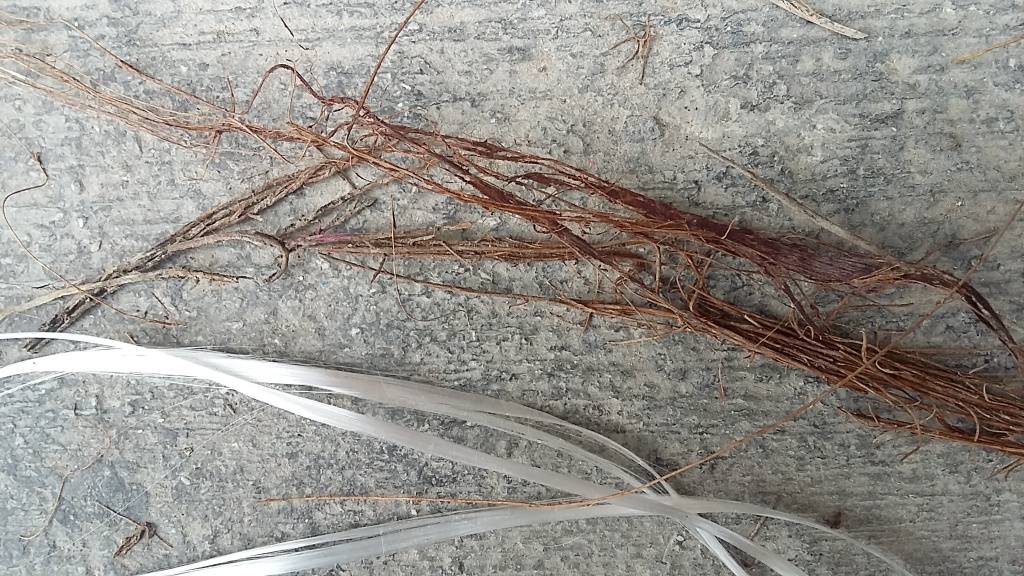
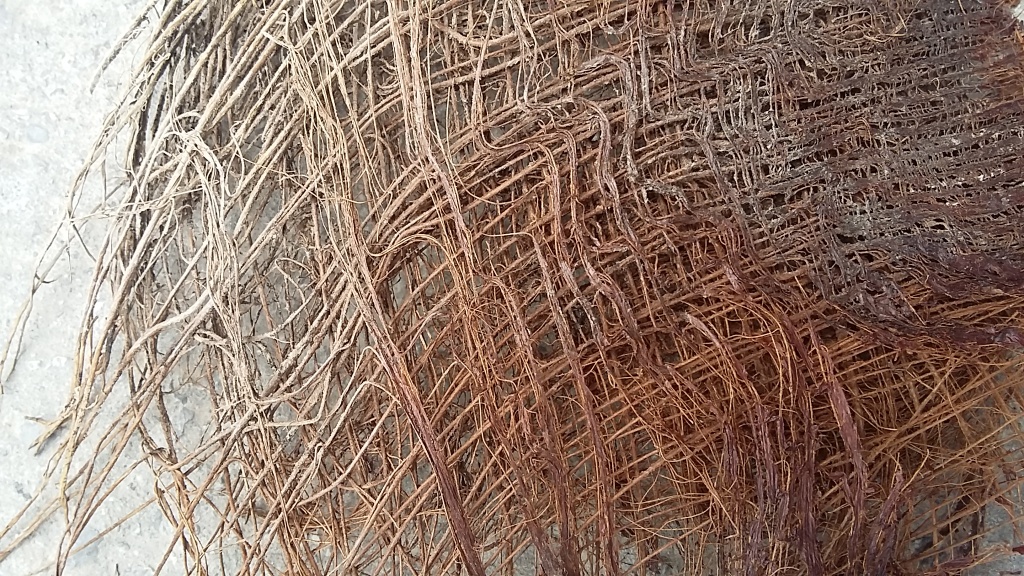
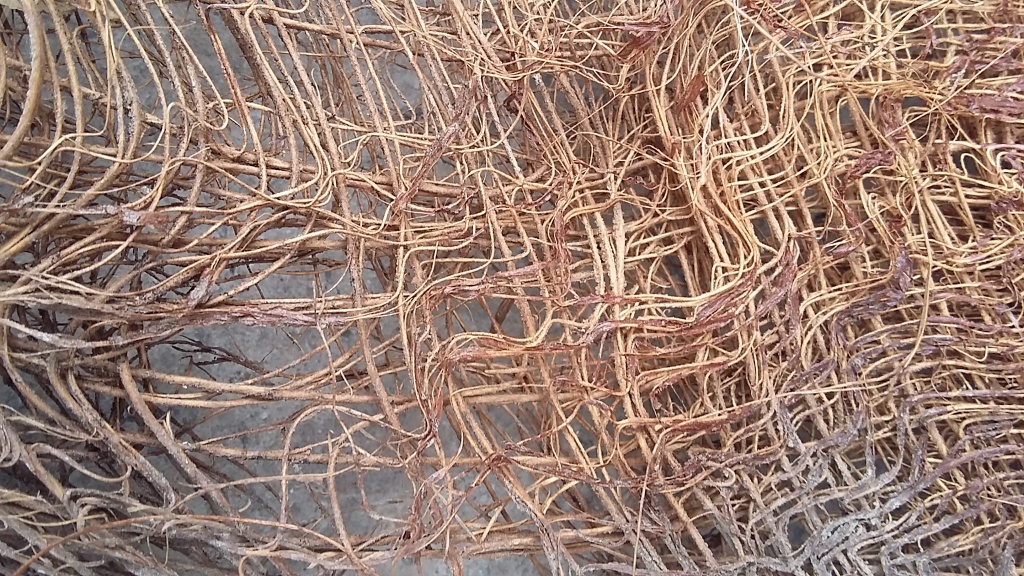
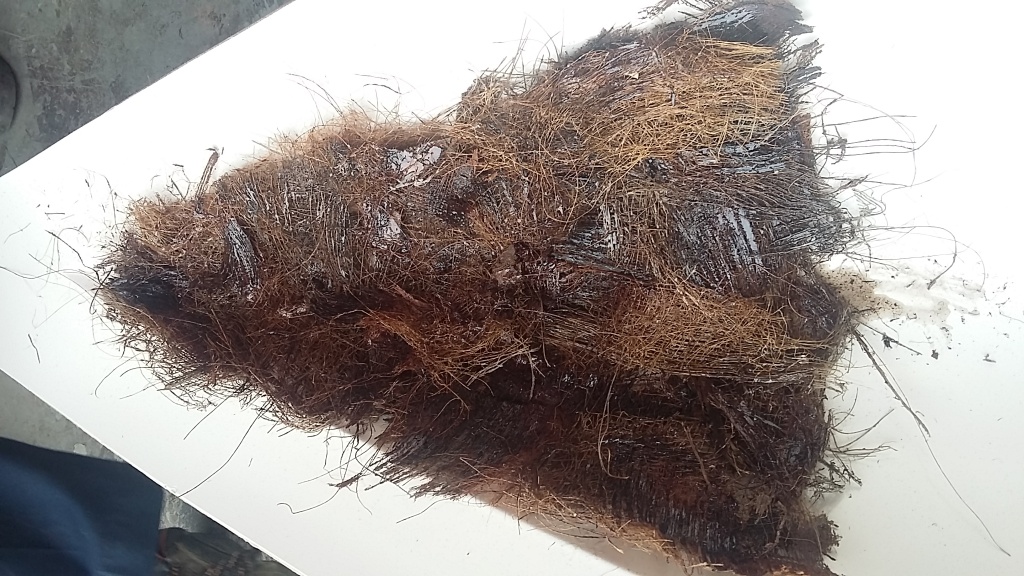
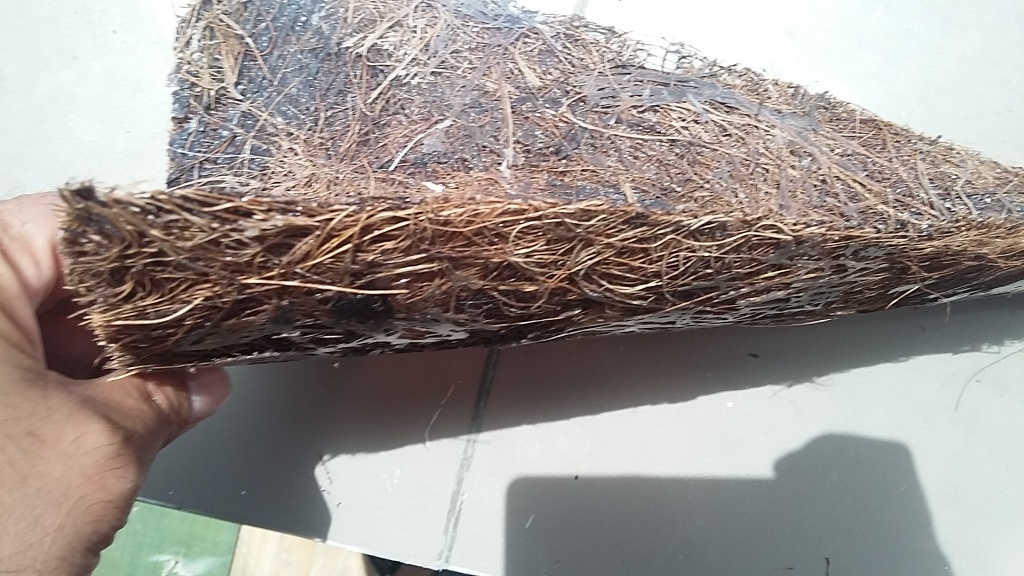
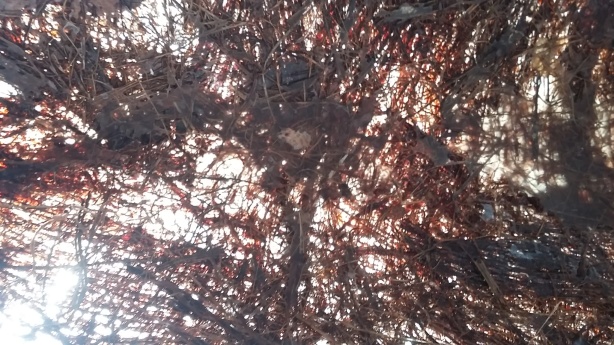
I wanted to experiment with natural fibers, during the pruning season of palm trees large quantities of natural fibers are trimmed. Those fibers on a closer look are organized in layers, and on each layer they are oriented in a different direction. It appears to be naturally woven, people have used this fibers previously to make robs or in the household for cleaning cocking pans.
1- Fiber selection :
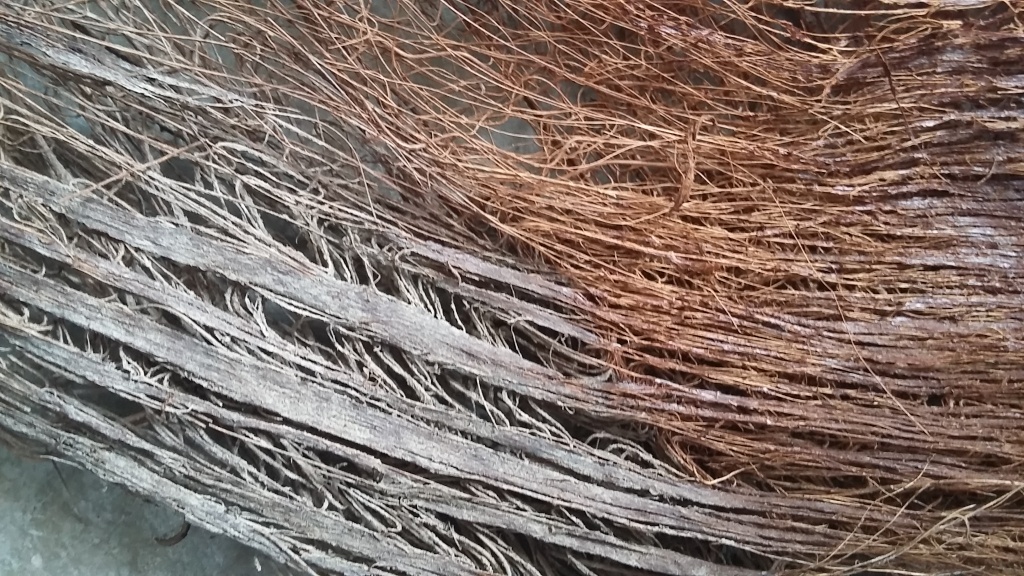
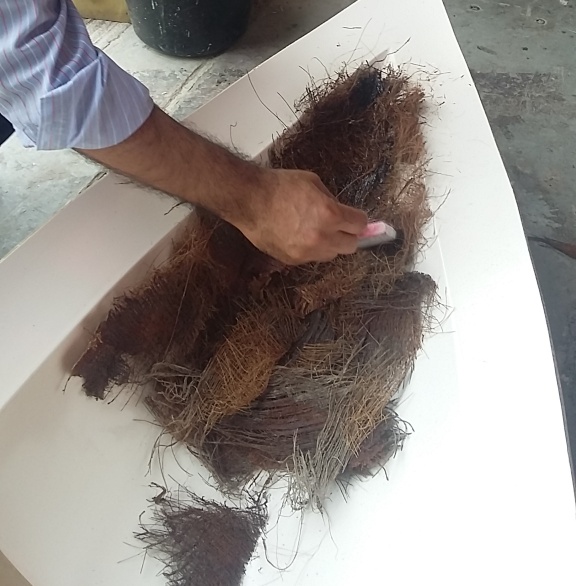
I started by examining those fibers closely to identify the different layers, then Isolated the fresh and more flexible fibers from the dry ones. And commenced with the process using an existing mold.
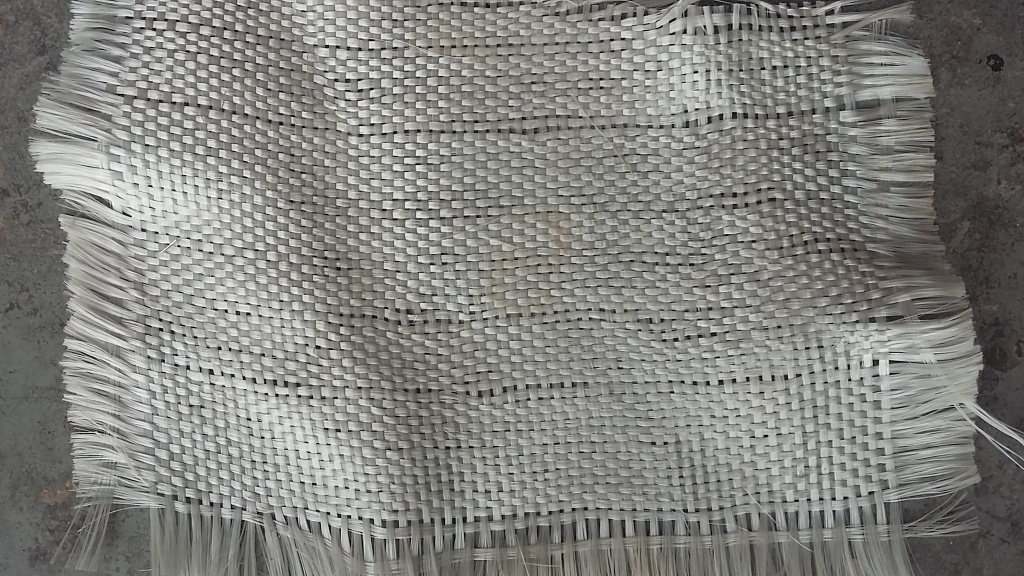
The palm fibers are naturally organized in a woven patteren
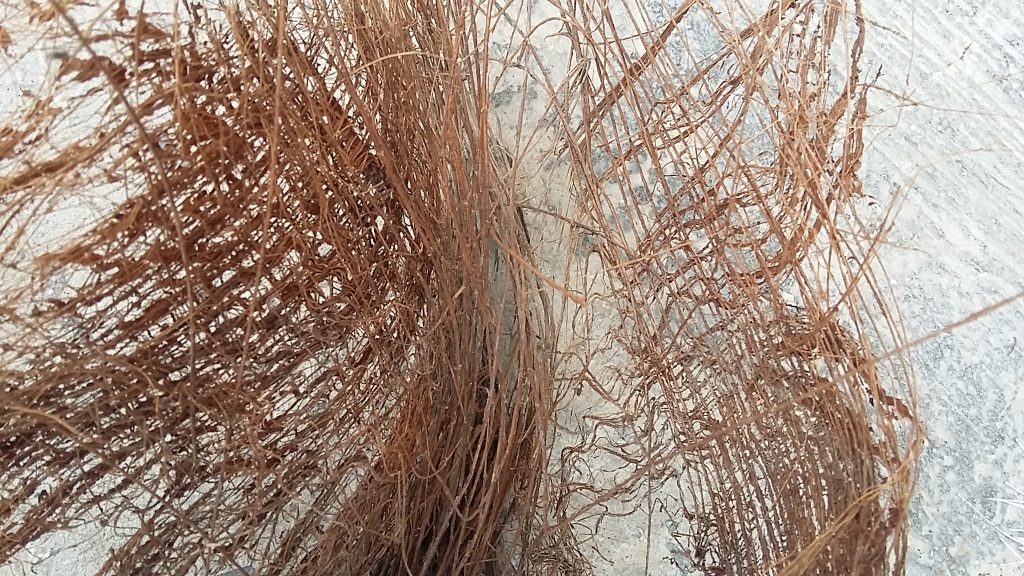
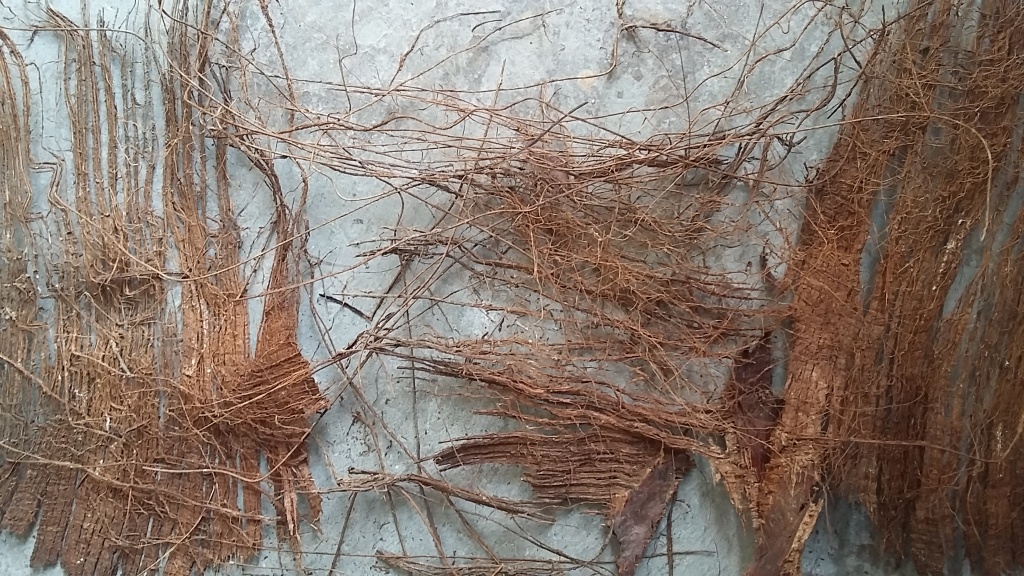
- Isolated the fresh and felxible palm fibers from the dry ones.
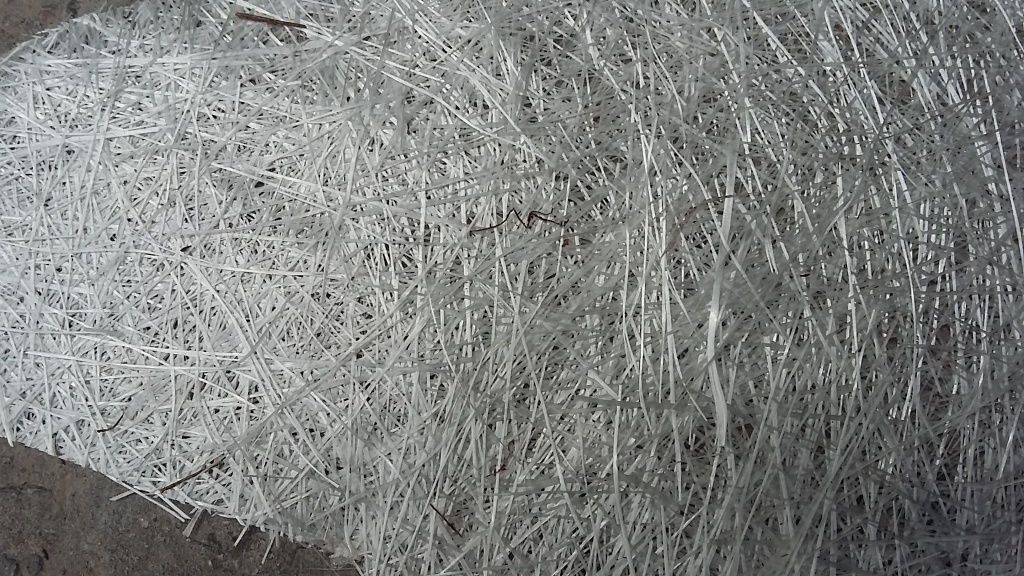
2- orientation of the fiberglass
in comparison synthetic fiber like fiber glass comes in different forms and orientations for example
3- Mold preparation :
- Cleaning both parts(Male/Female) of the mold with water and aceton to remove dust particles.
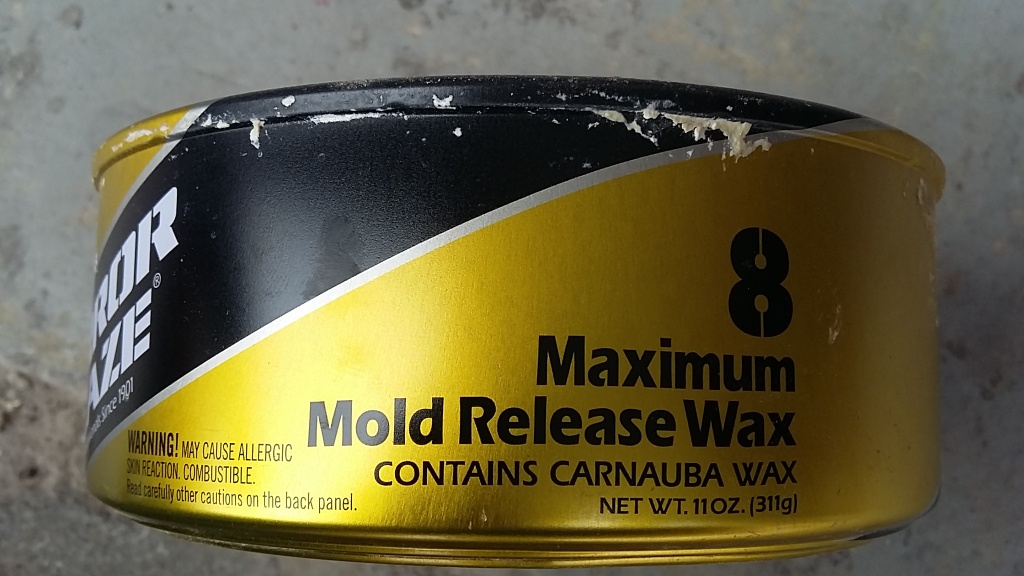
- Mold releas wax applied on both sides twice to allow for easy release of the finnished articles.
4- Lamination
- With brush idealy with spray but wasn't available
- I used polyster resin
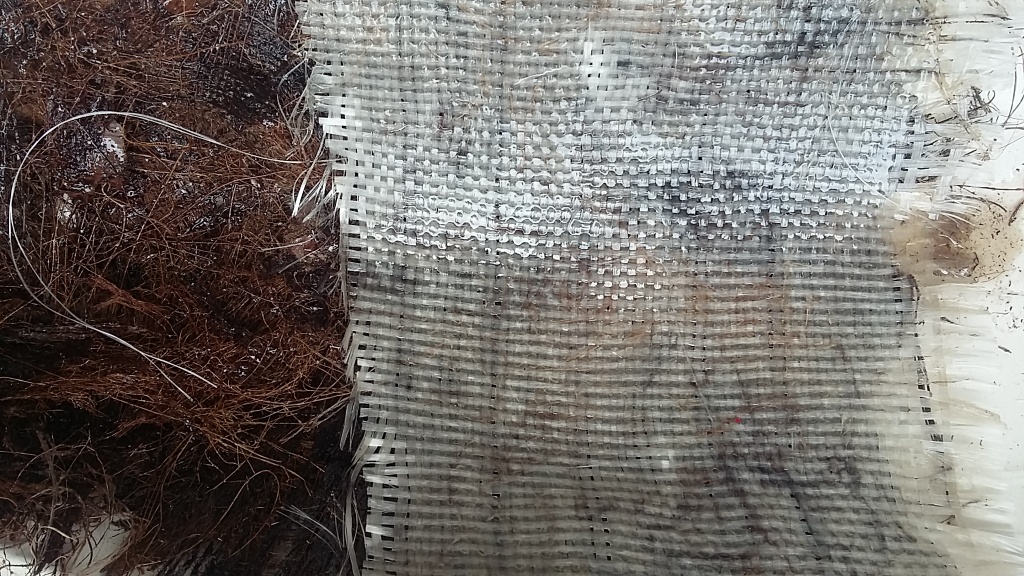
On one part and after laminating couple of layers with natural fibers I added another lamination of fiber-glass.
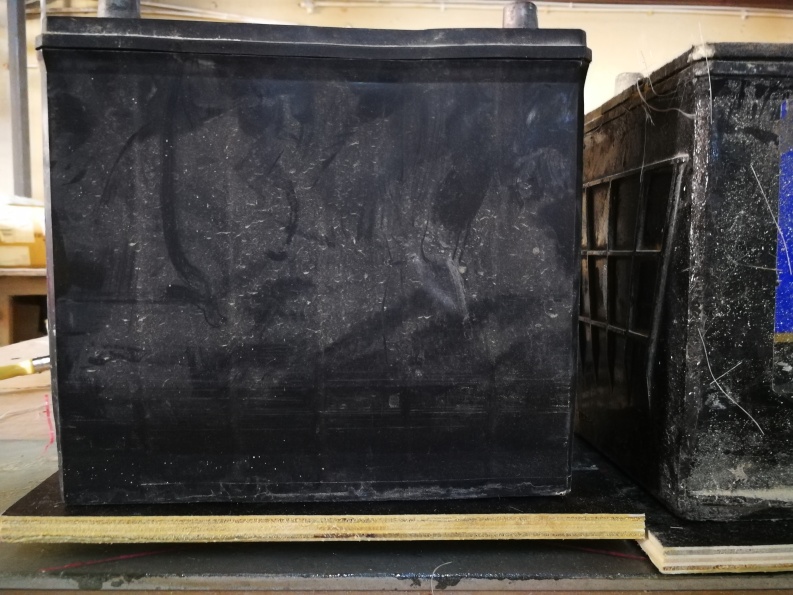
6- Compression
used weights to compress both sides of the mold
7- Demolding
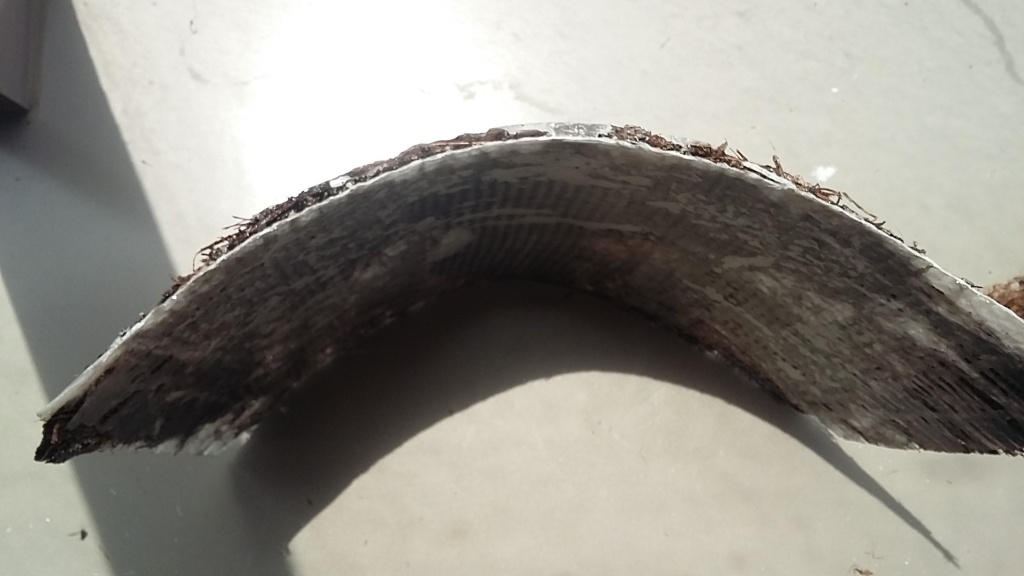
The natural fiber is more porous in comparison to synthetic, hence the resin gravitated towards the center of the mold which resulted in uneven distrbution
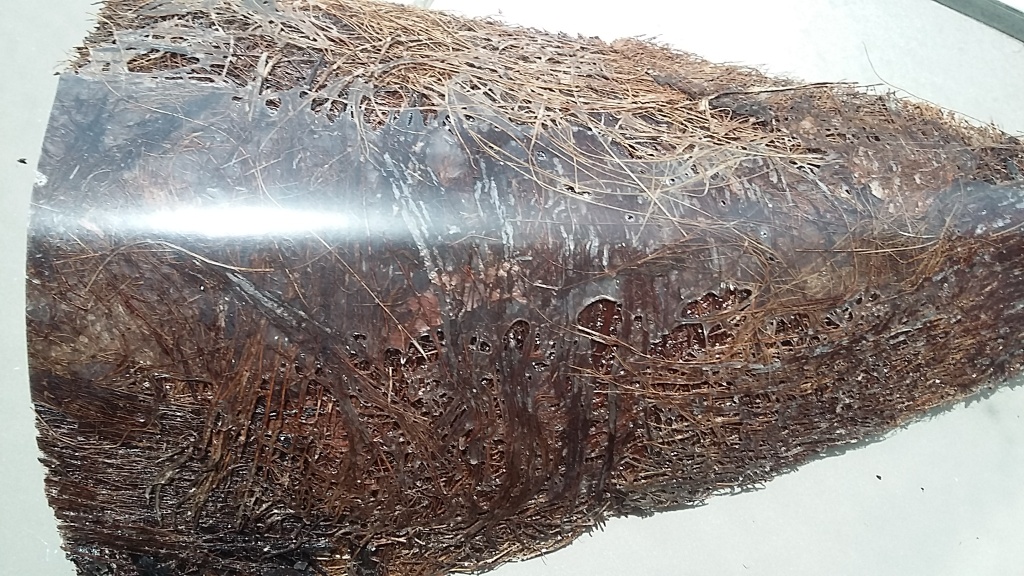 Which is also more evident on the side
 in contast the fiberglass had more even distribution of the resin
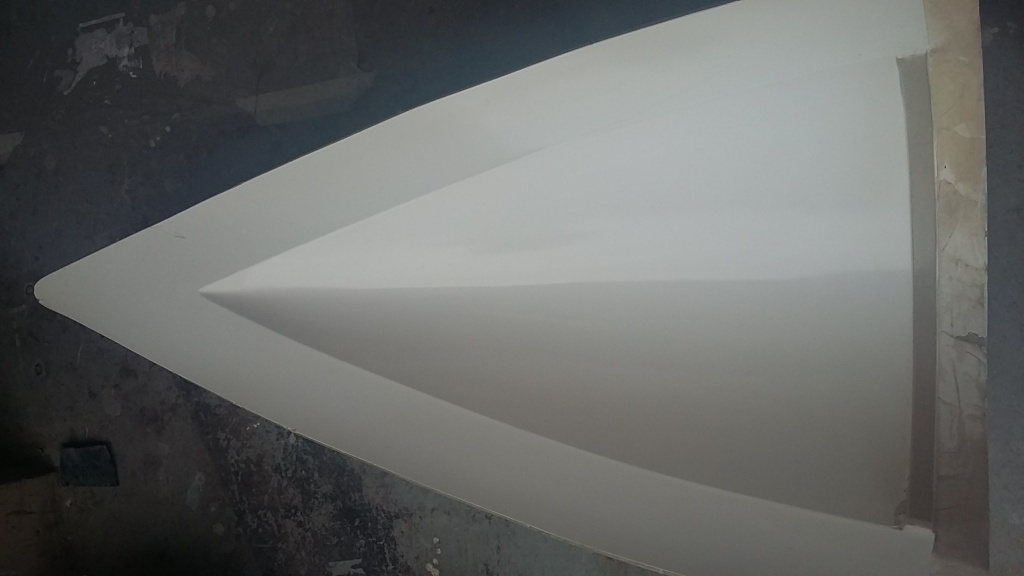
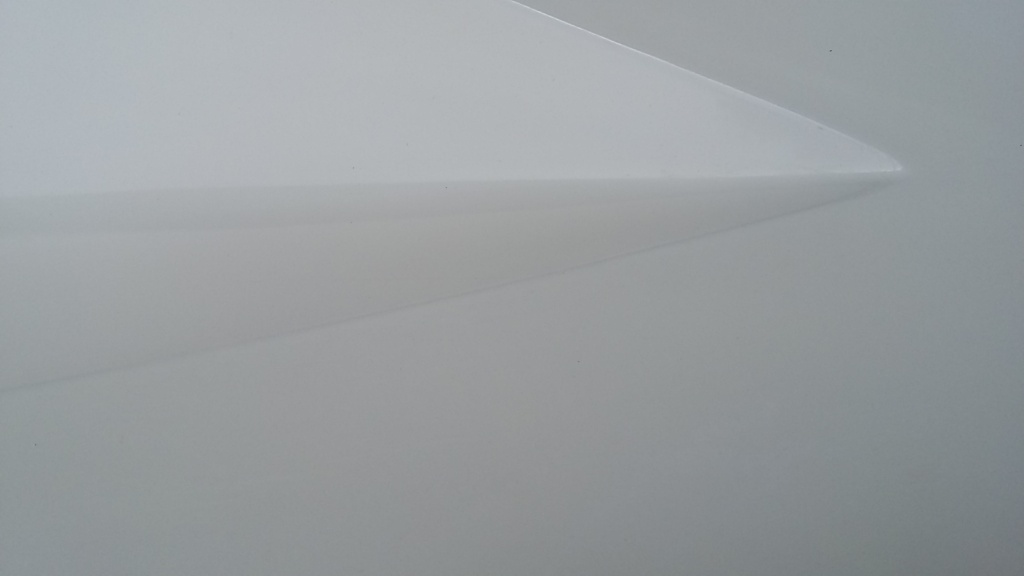
Effect
The effect i was seeking was to allow for light to penetrate through the cladding piece to give some nice natural light effect and shadows
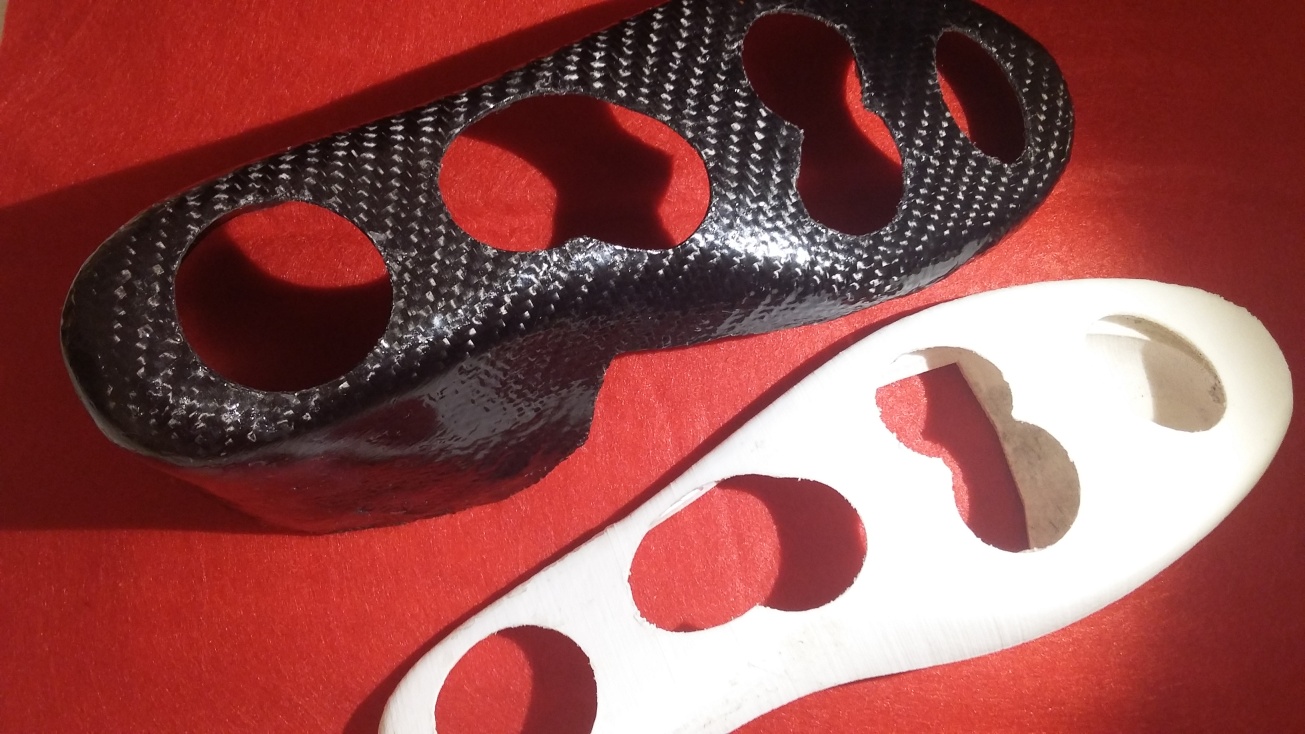
Attempt 2 3D Printed Mold with Carbon Fiber composite
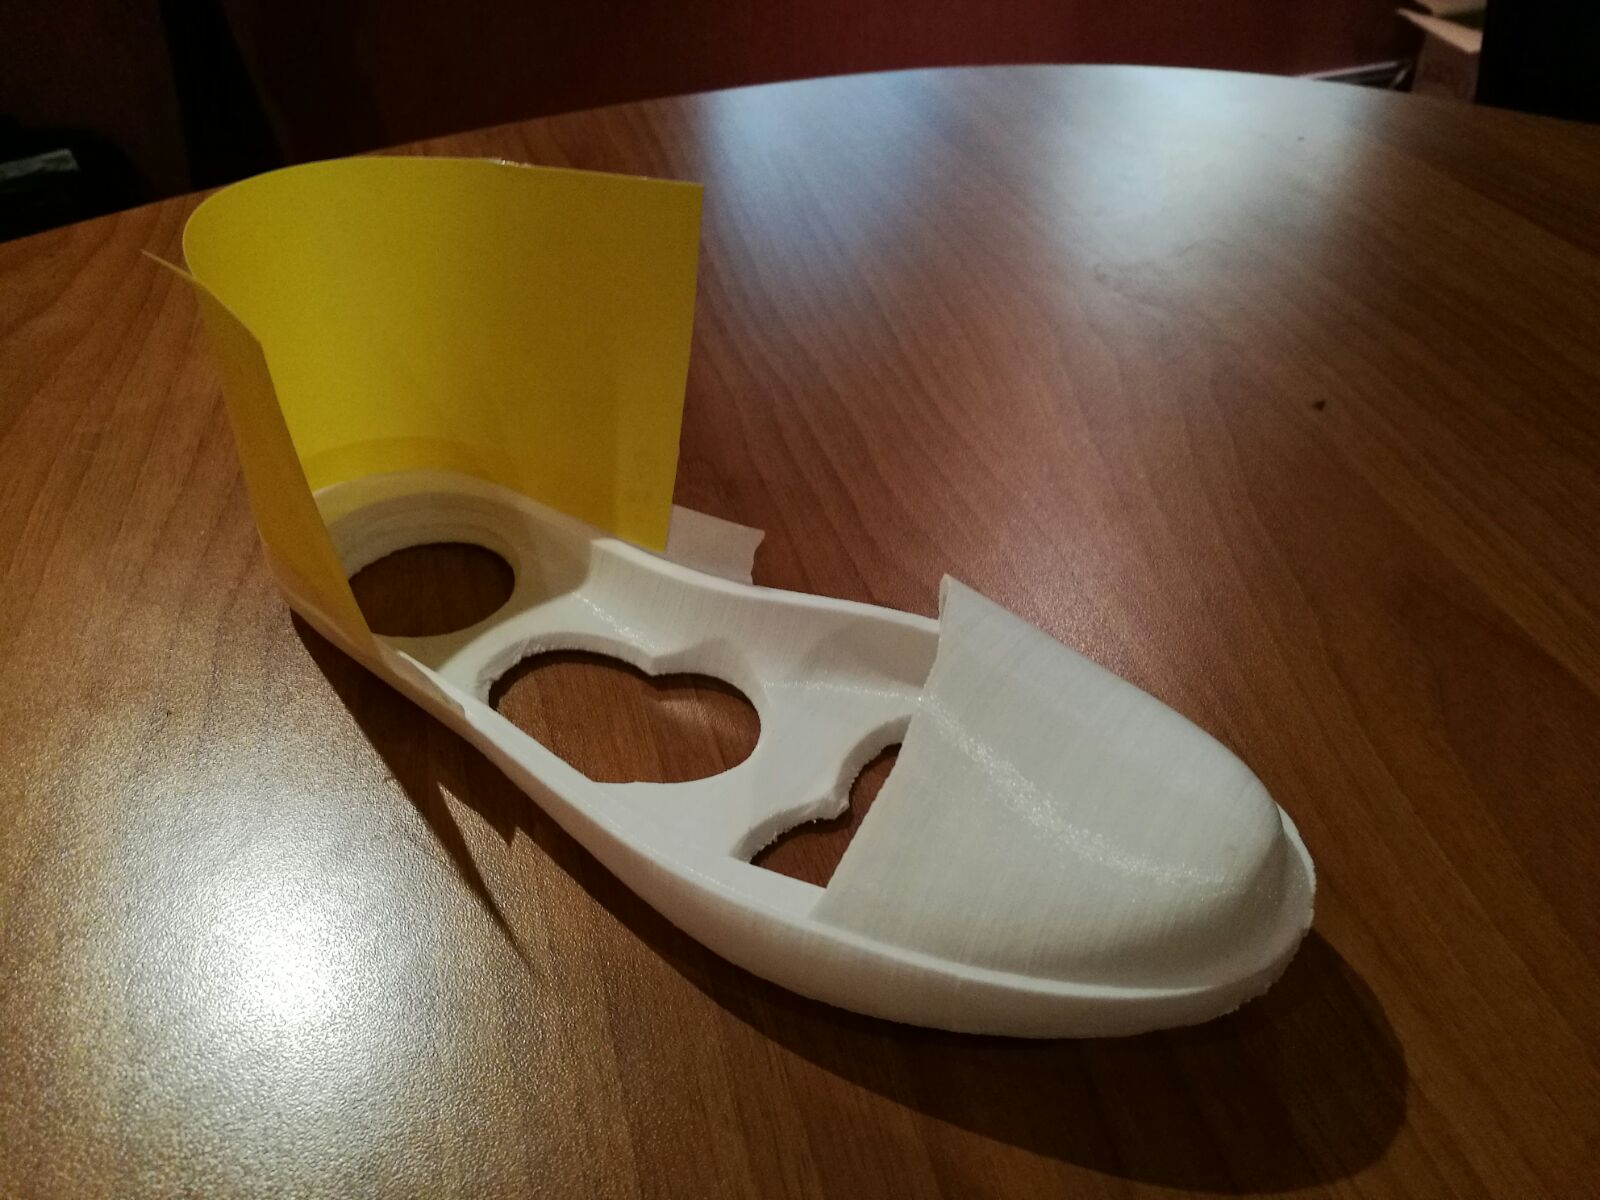
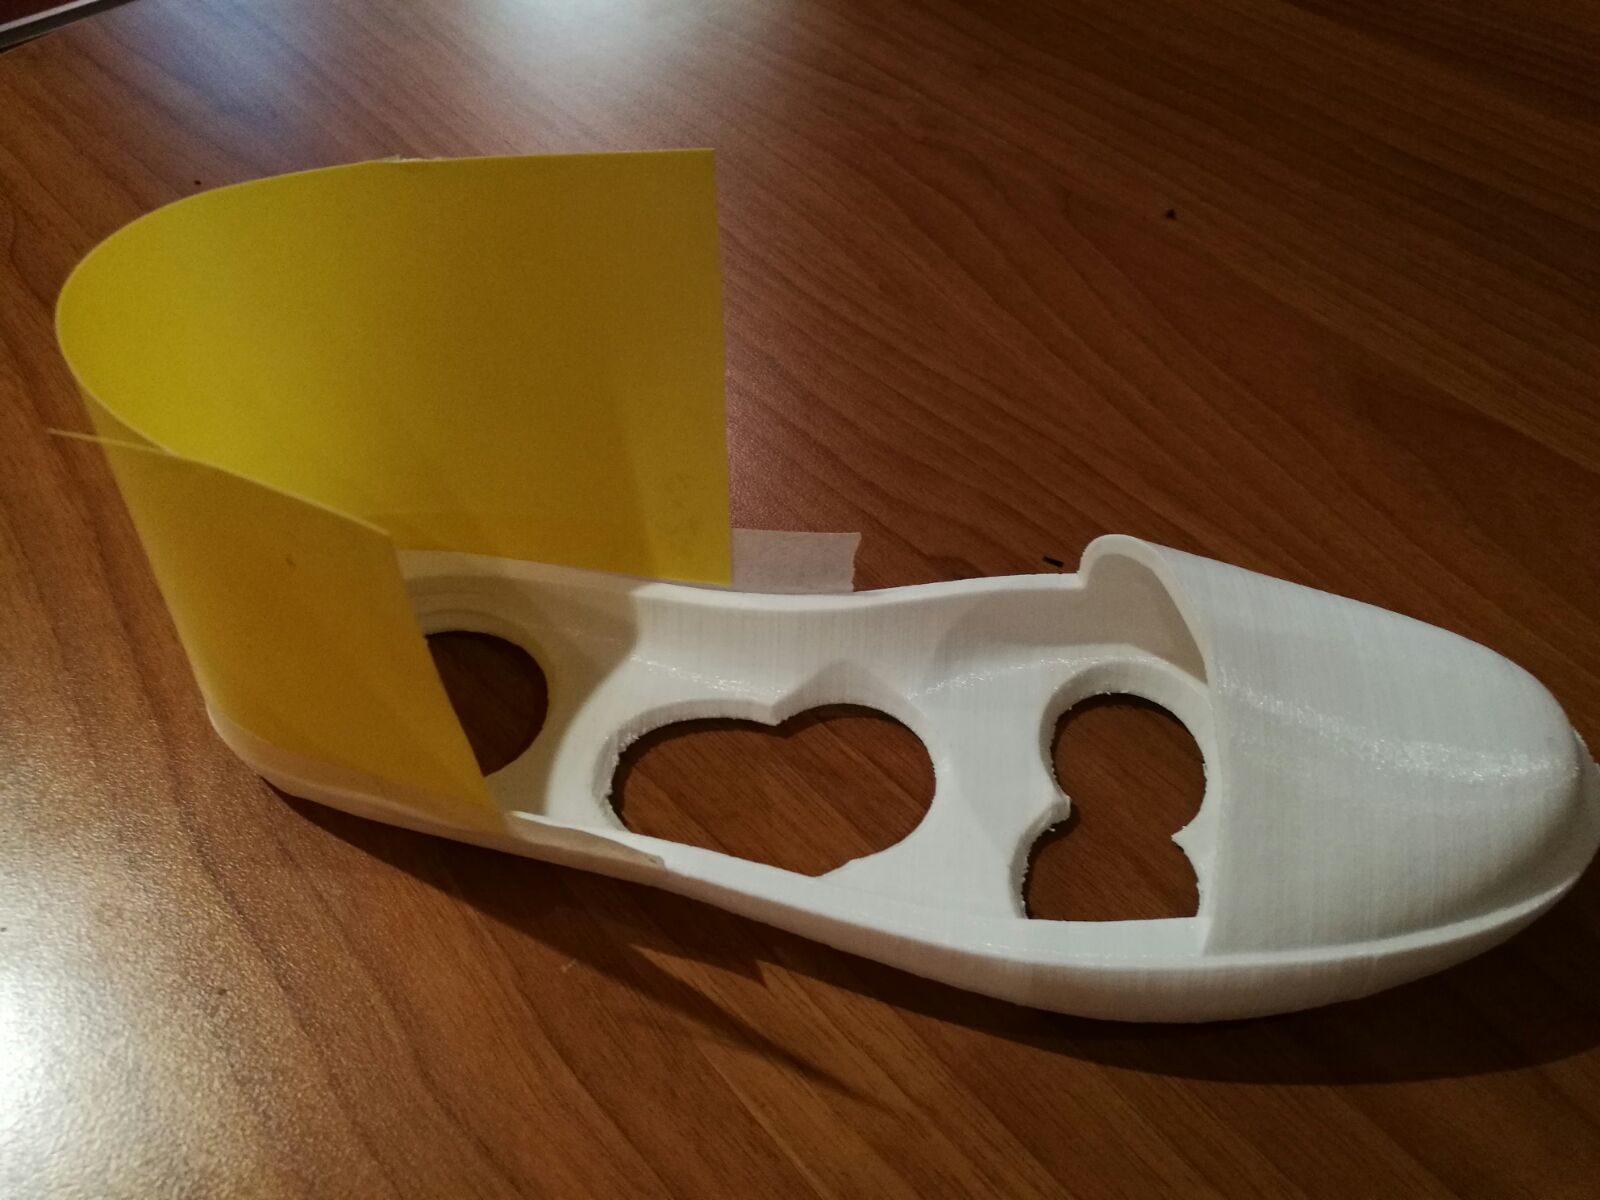
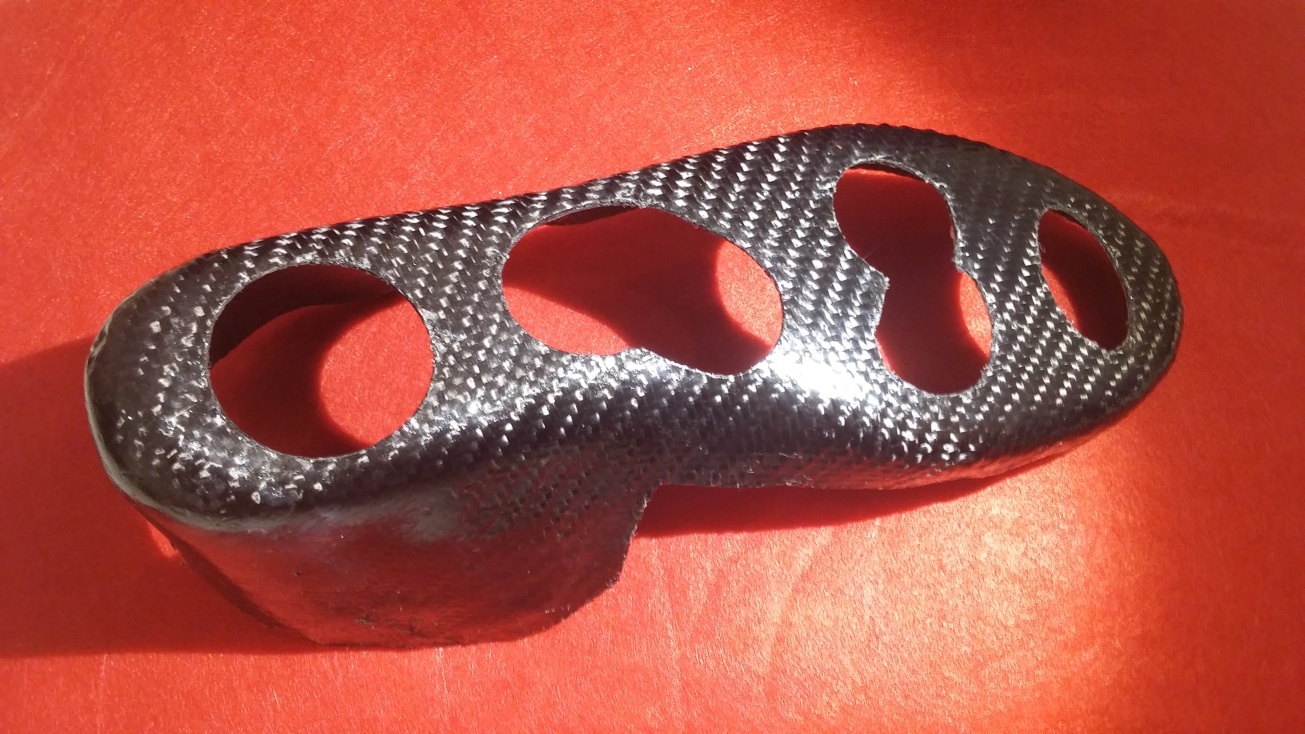
For my final project I created the lower and outer part of the shoe from carbon fiber composite.
I first created a 3d Model of the shoe part I want to use as my mold. Then after 3D printing the part I added extra plastic pieces around the ankle to have more support.
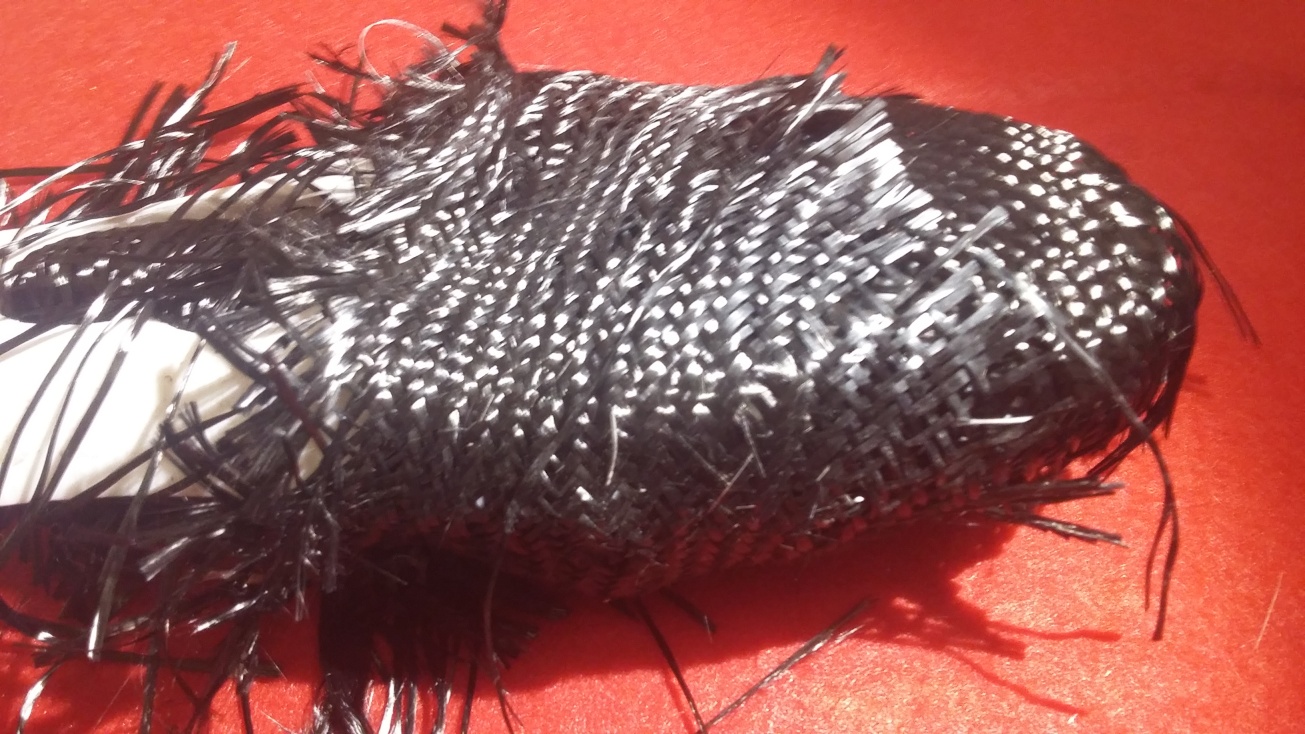
I followed the same steps as previously of applying mold release wax on the outer surface of the model. Then applied a base coat of resin + hardener mix with a ratio of of 2% hardener. I covered the mold with a sheets of carbon fiber and started impregnating it with risen using a brush. and I let it dry. Then I laid additional layers of carbon fibers and applied resin again. I didn't use compression this time and the results turned out fine because the carbon fiber took the shape pretty well.
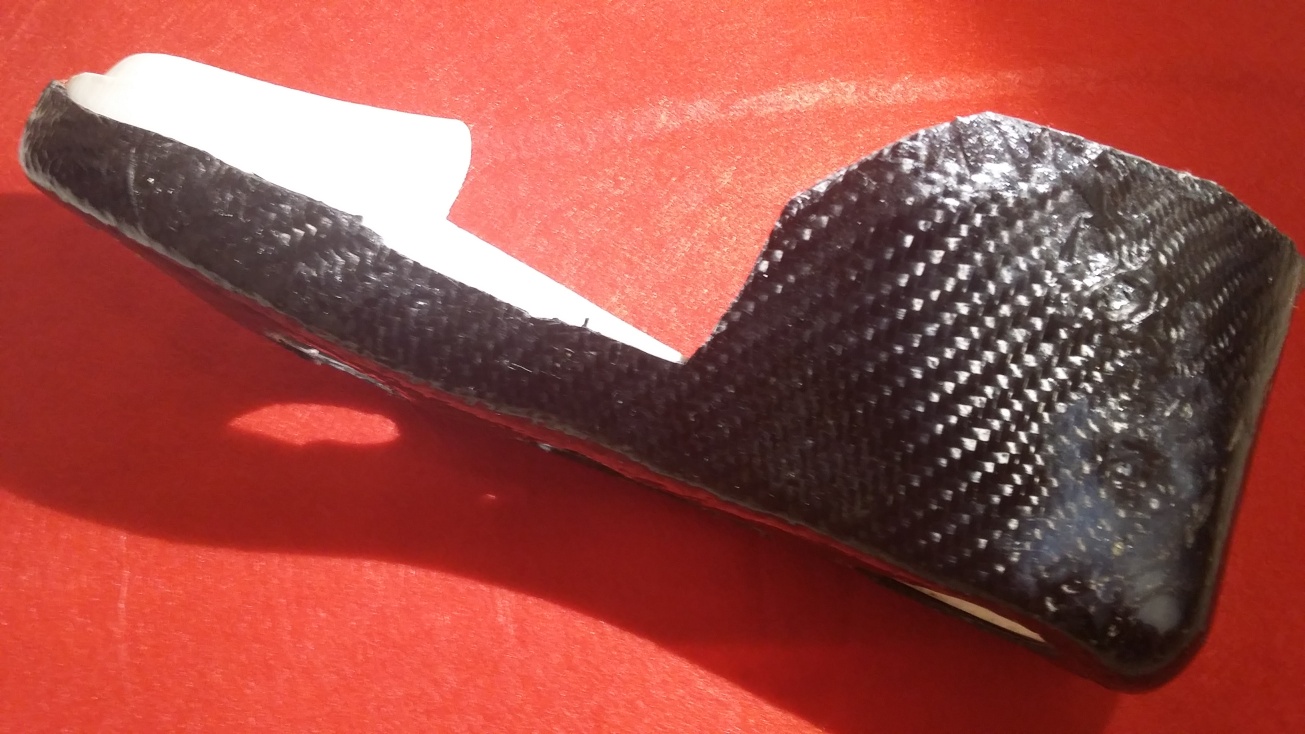
I cut the extra edges while the parts are still wet. Then when finally the piece was ready I had to drill and cut out the openings in the sole.
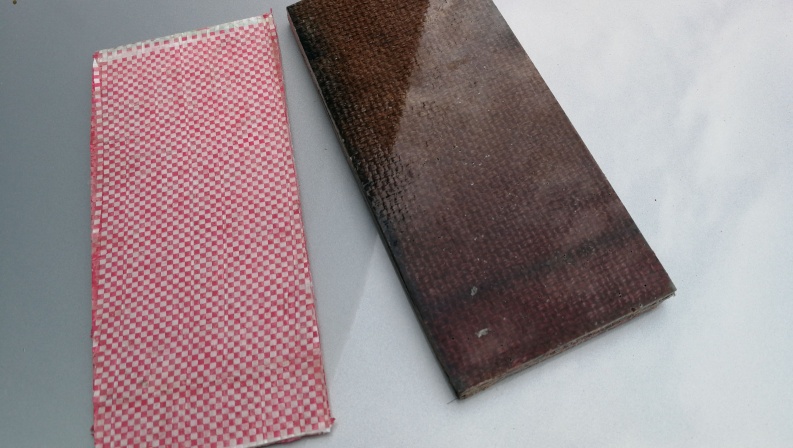
Attempt 3 A Coupon from Natural and Synthetic fibers with compression
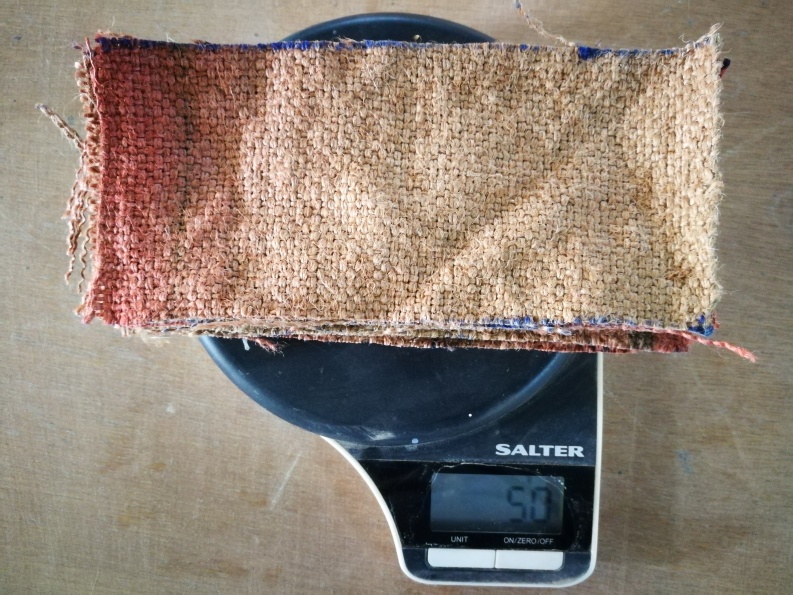
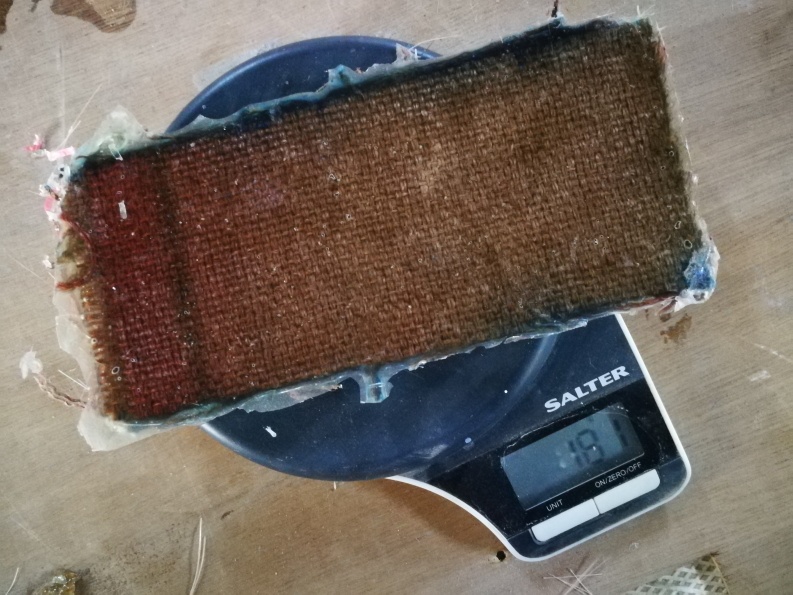
I used burlab which is mostly found in Bahrain as food bags, i found this piece in a grocery. It was used as the outer layer of Rice Bag. This type of burlab is usally more thicker and the fibers are tighter.
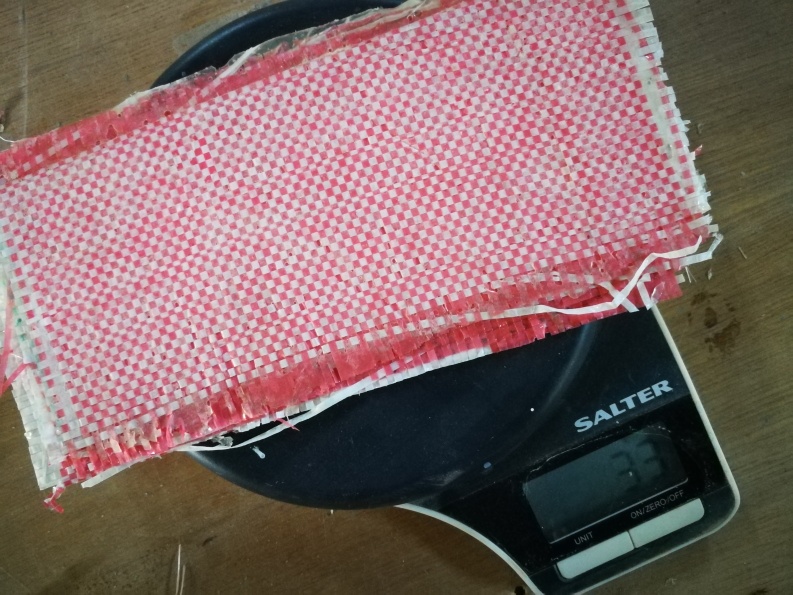
And I also used another type of fiber mostly found at Bakers in Bahrain.
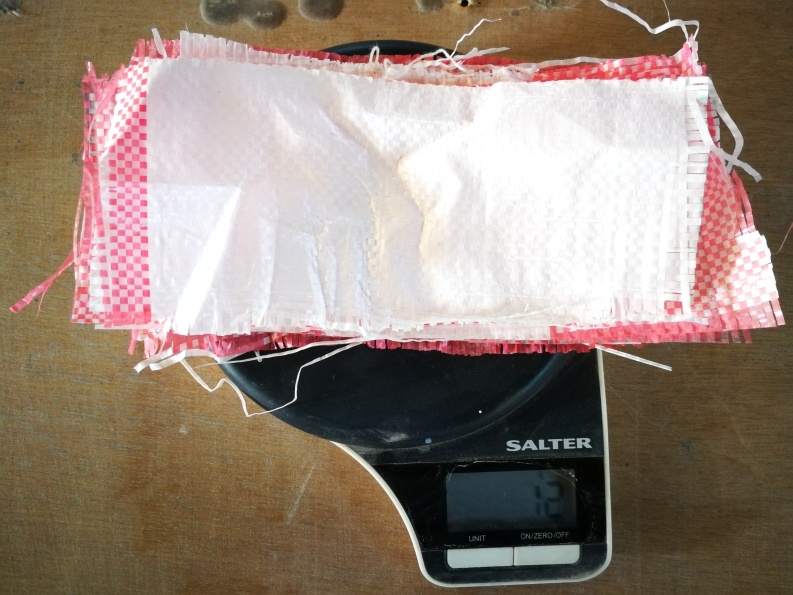
It is made out of woven polypropylene, this is found more nowadays in comparison to burlab bags.
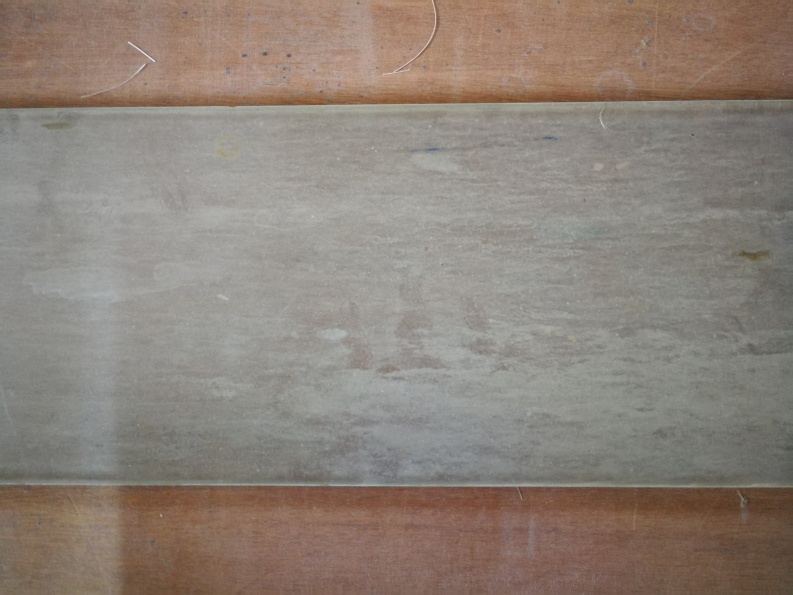
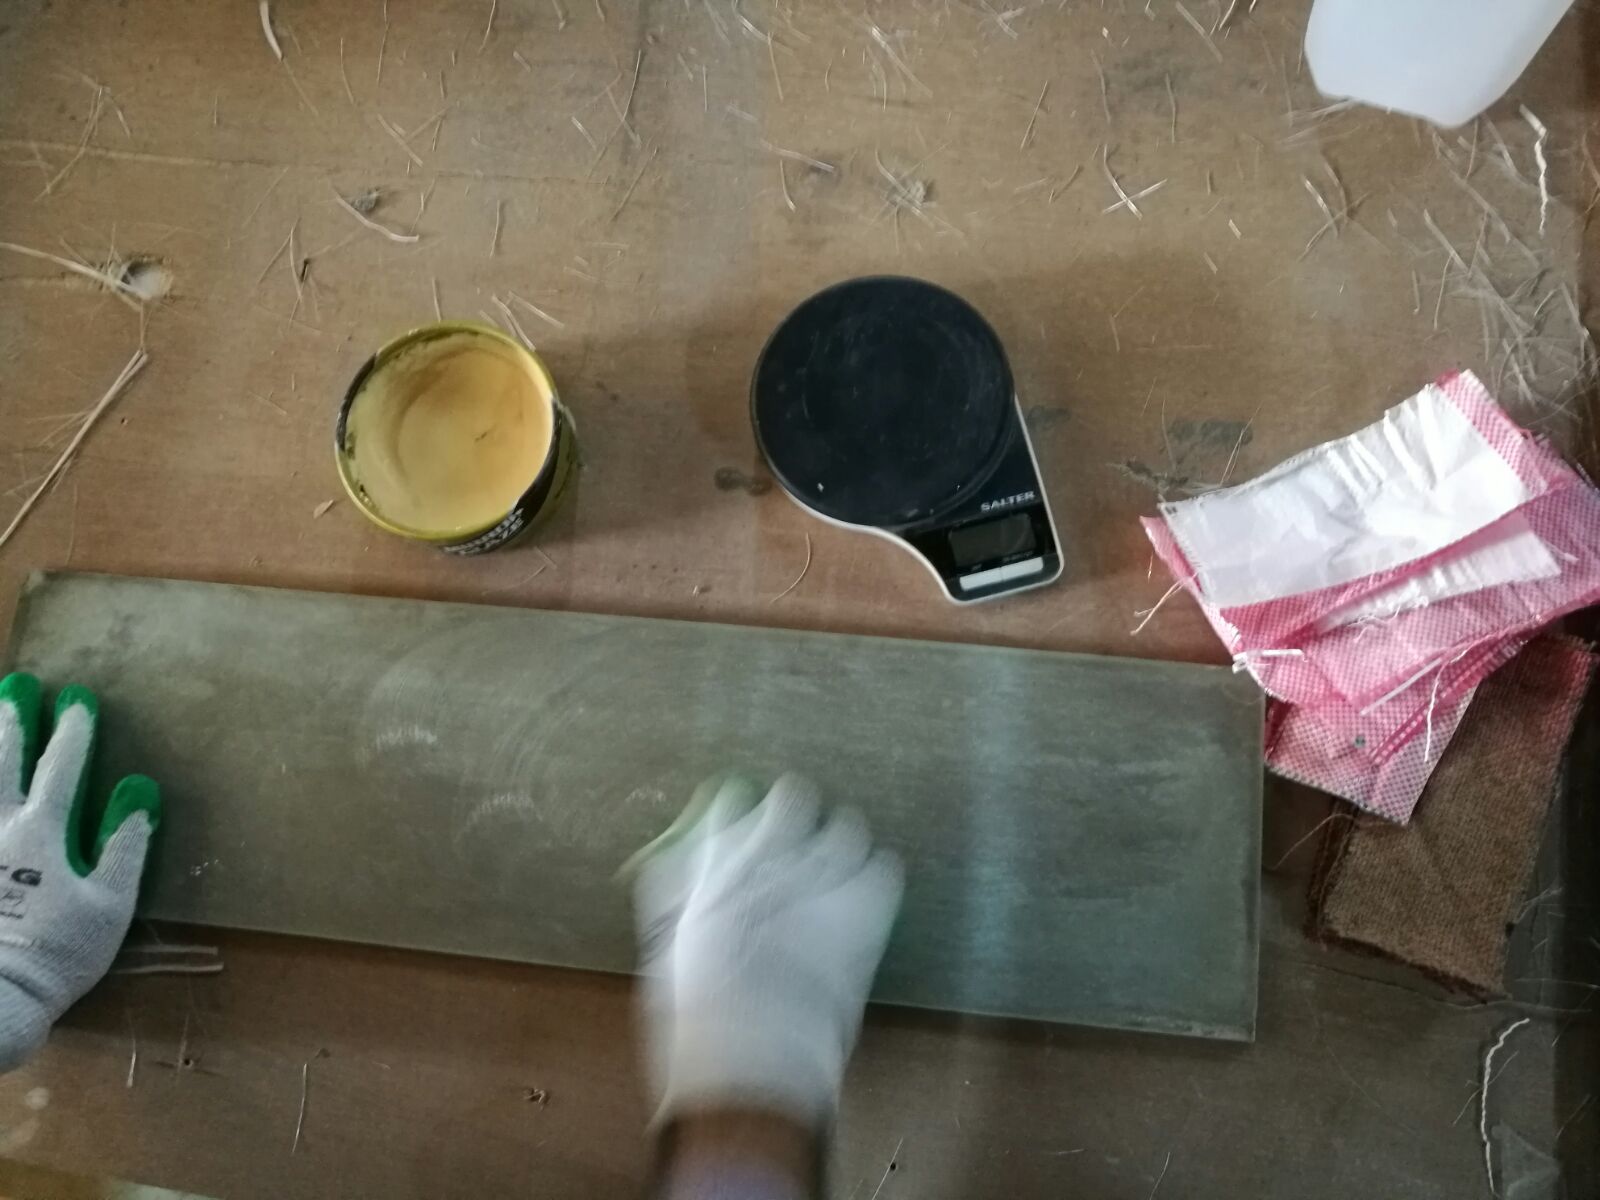
I used a piece of glass as my base for the lamination.
 I mixed the resin and hardner in a ratio of 98% resin to 2% hardner,
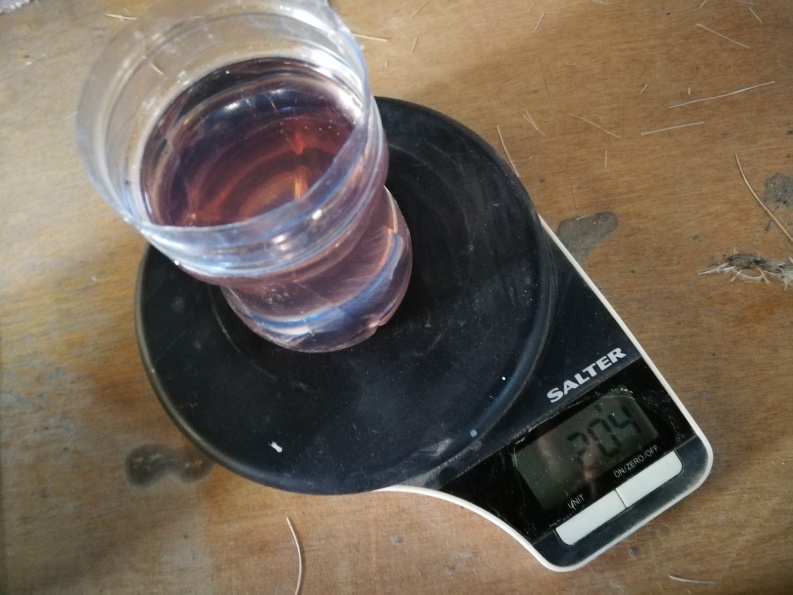 for the 204 grams of resin I used 4 grams of hardener.
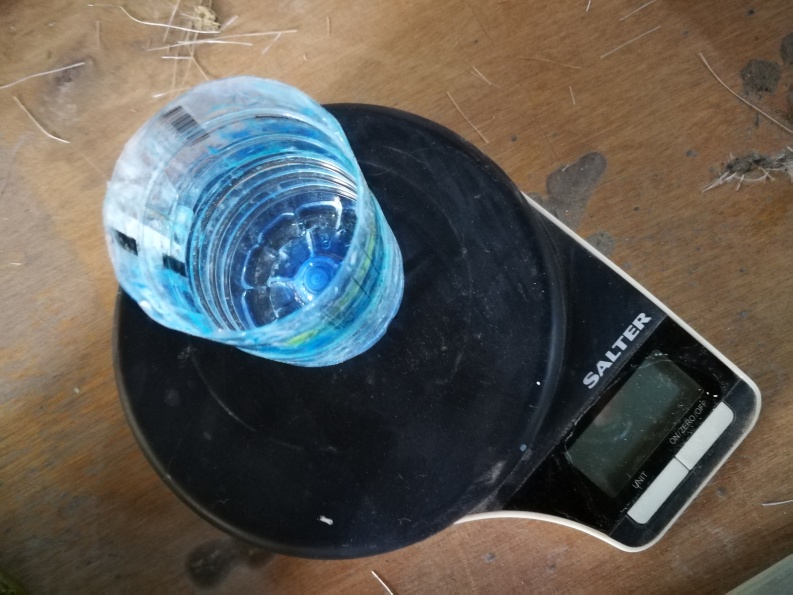
I started by applying generous amounts of mold release wax.
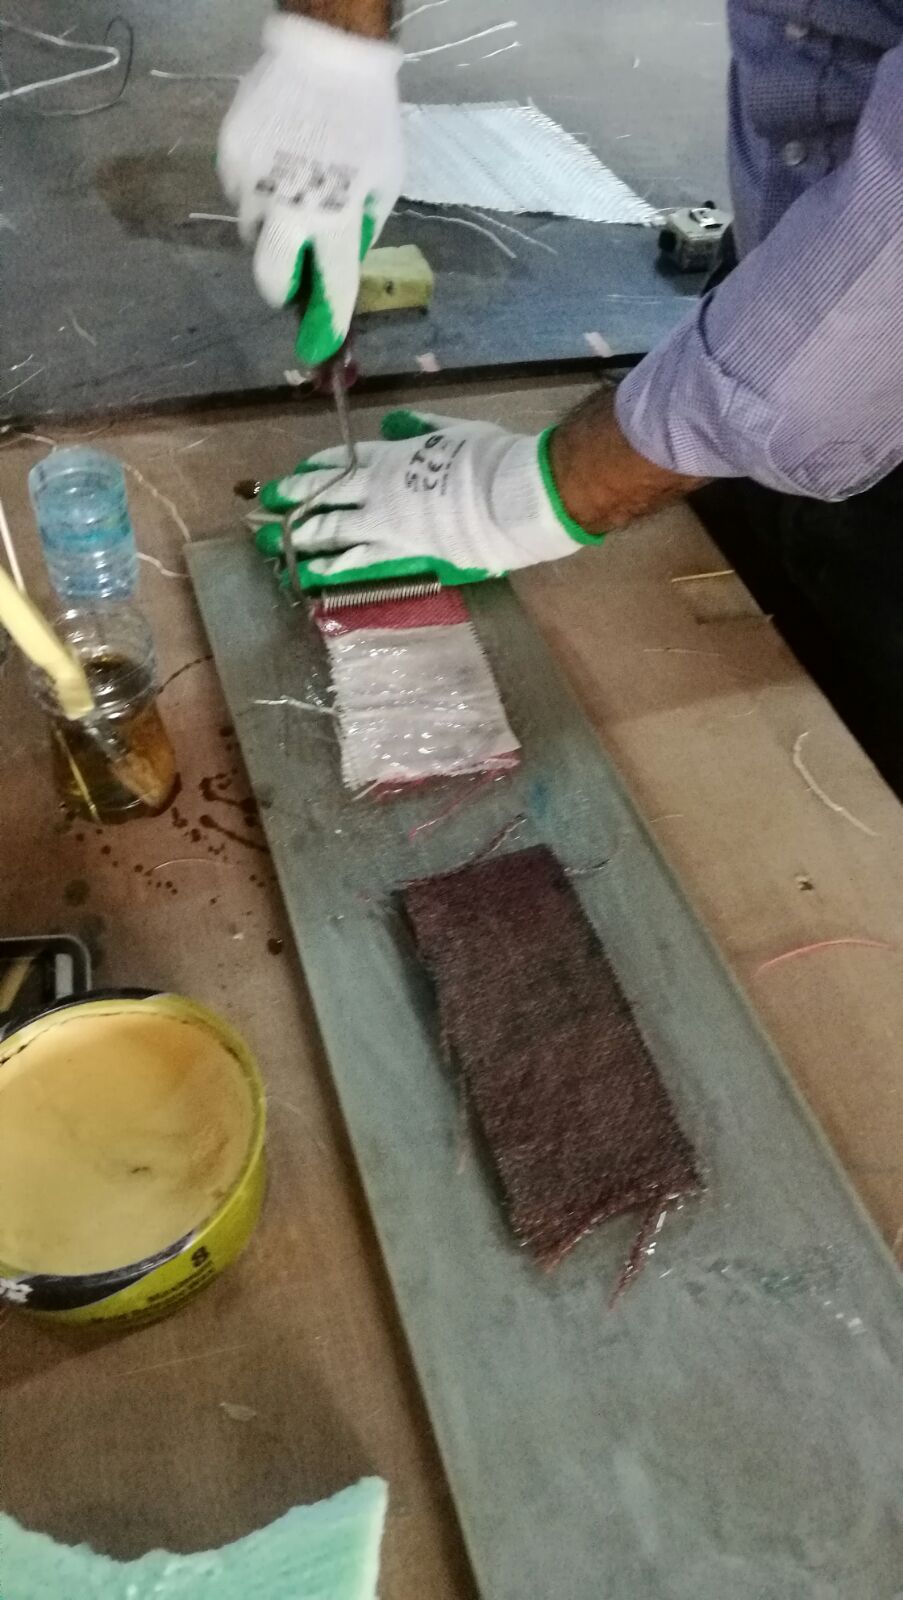
I started applying the resin with a brush alternating between the two fiber types.
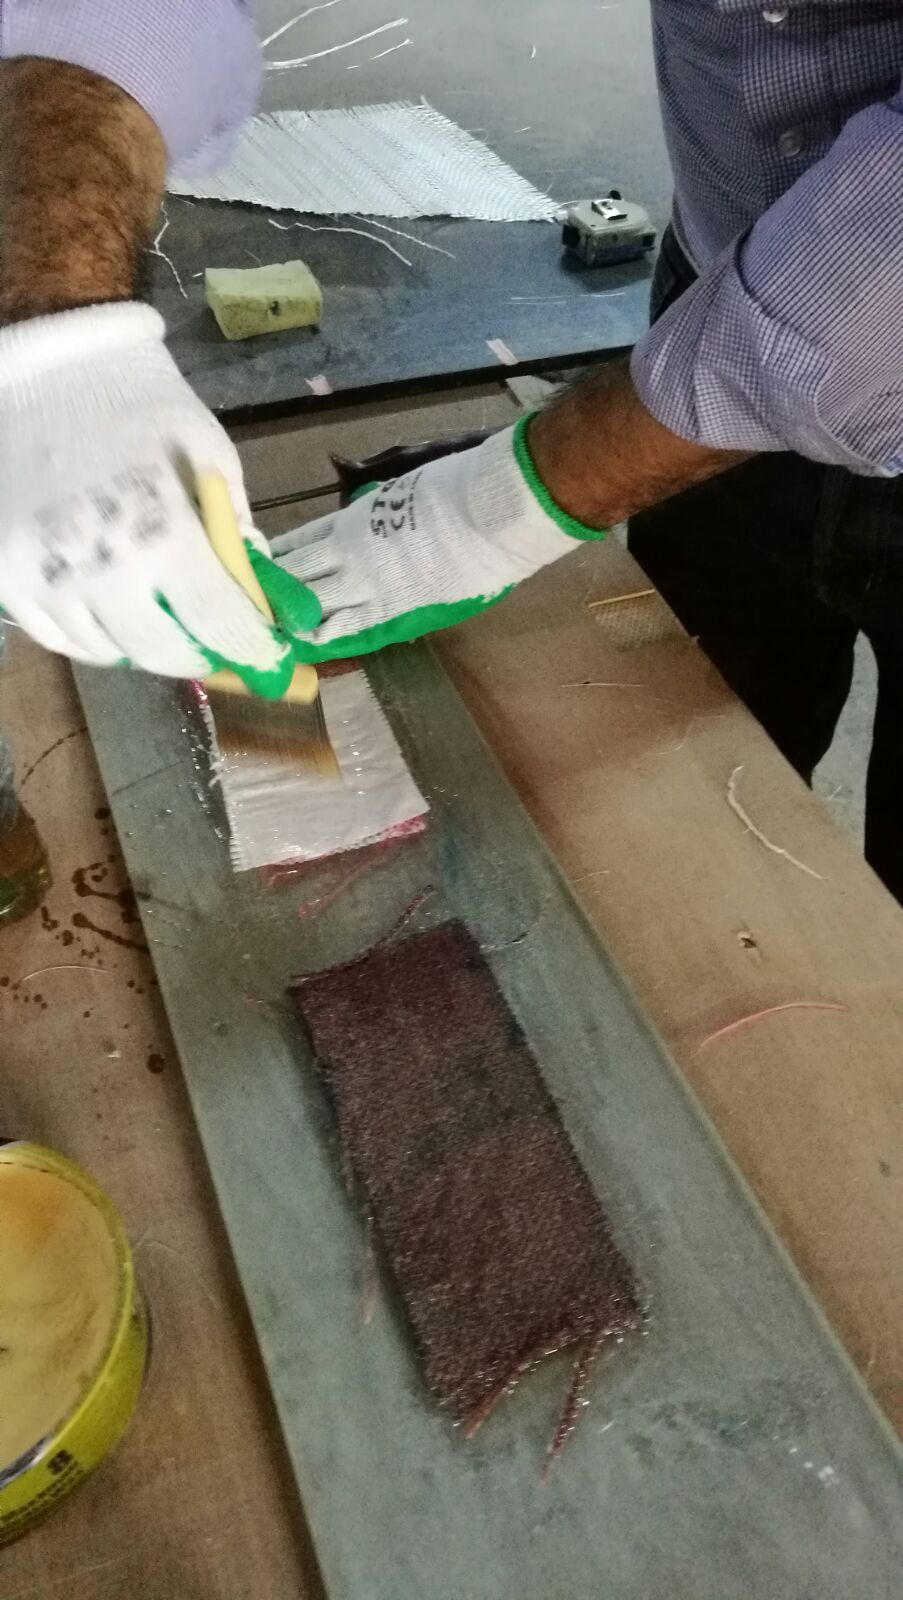
I also used a metal roller to evenly distribute the resin and squeezee extra resin out
I had a working time with the resin of 12 minutes after which the resin became less liquid and more like a jelly.
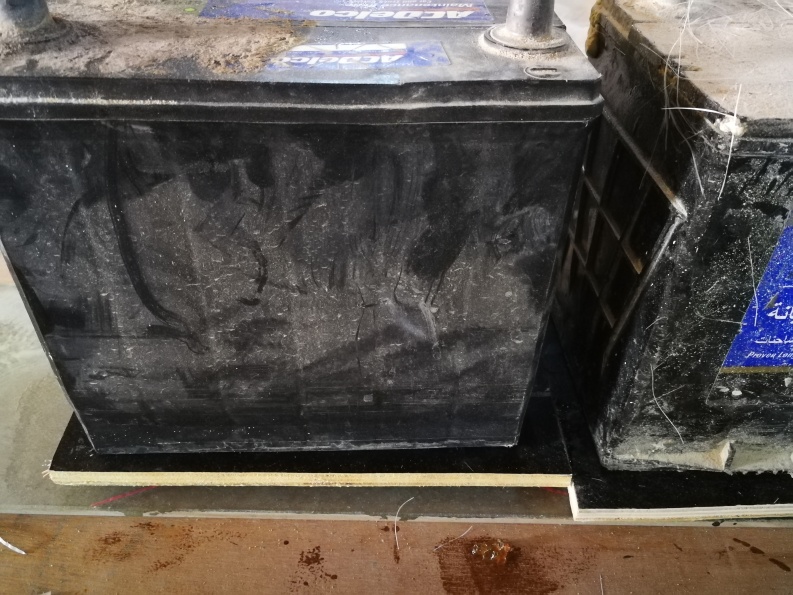
And after laminating 8 plys of each fiber type I applied 2 pieces of laminated plywood on each, I made sure to apply release wax on those too.
After 4 hours I removed the weights and made sure that the resin has completly curred. I weighed each coupon to compare to the weight of the fibers alone. In the case of the burlab the weight of fiber was 50gm while after lamination and curing the weight was 180.
And the reason probably is that the fibers of burlab have absorbed large quantities of the resin.
The compression was effctive and the coupons had the resin evenlly distrbuted and without bubbles. I then cut the extra edges.