- Stefano Galbo
Beginner
Learning
Like others assignments, I have never seen any interface software, so I choose Processing and tried to learn it. I spent a lot of time on tutorials page and then I tried to write something, here a first result:
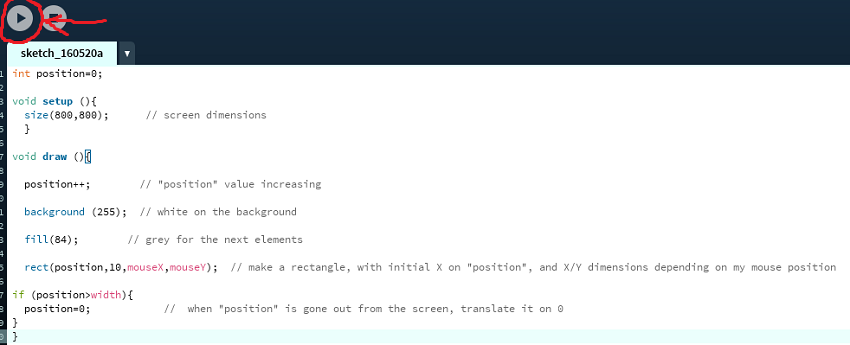
I could see my rectangle in action with the play button on the top left..very simple, but it works!
Second learning step was to see many many examples in this page, they might seem too many but each of them will be very inspiring for my assignment.
I found another useful learning page, a little bit more complex than the previous one, but inside it I saw different examples and learned different commands.
Finally, I looked some video-tutorial on Youtube, in particular this one by which I understood how to rotate a figure around its center.
Writing
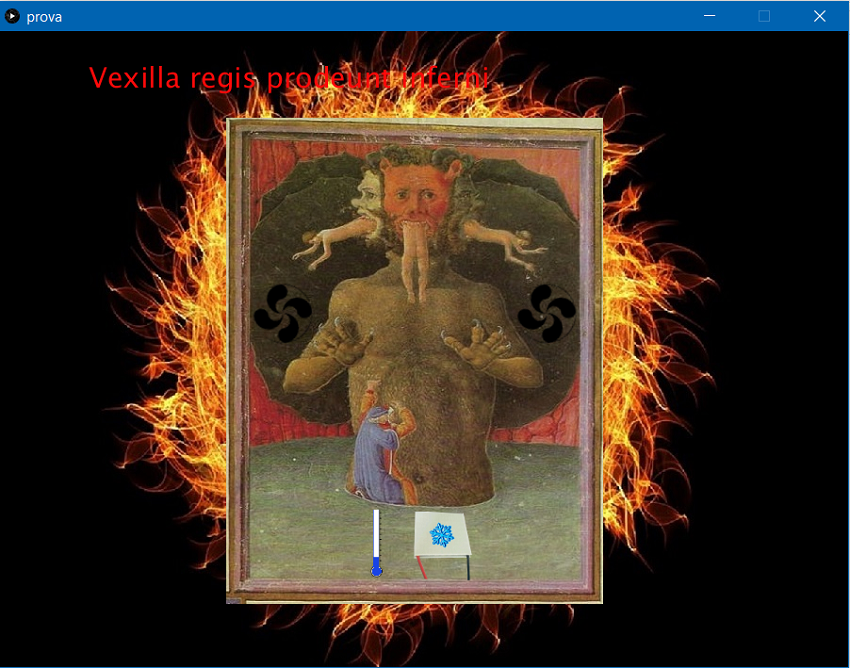
Before, I decided to write an indipendent animation, and later I will interface it with my input board of week 11; so this is my job:
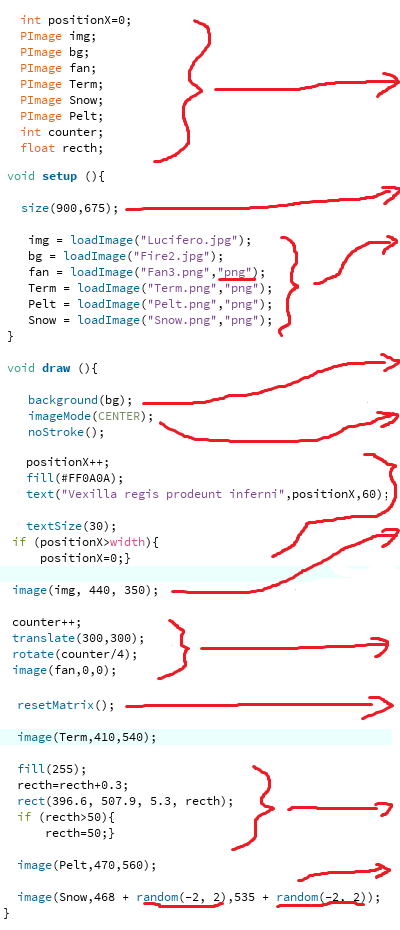
Declaration of variables
Window dimensions (in pixel)
Loading images.
If you use .png files (instead of .jpg) you must add "png" after file name.
All images must be in the same folder of the Processing file.
Photo (called "bg") on the background. It must have the same dimension of window.
Reference point of images is their center. This will be useful to translation and rotation.
Simulation of scrolling text. You can set its color and height.
Show an image with name, X position and Y position
A) Translate the origin to point 300,300.
B) Make rotate the entire grid. /4 is a way to control speed.
C) Insert image to rotate. In translated grid, 0,0 mean 300,300.
Bring back the origin point to 0,0. In this way if I put a second rotating fan, it can rotate around its center, and not around the center of first fan.
This is a rectangle with an increasing height, but when it reach 50 pixel of height, it stop.
This command adds or subtracts 2 pixels to X and Y position randomly: the final effect will be a vibration of the image!
Interfacing
Now I want to make move my "Processing draw" depending on the photoresistor, so I will reuse my input board (for details: week 11).


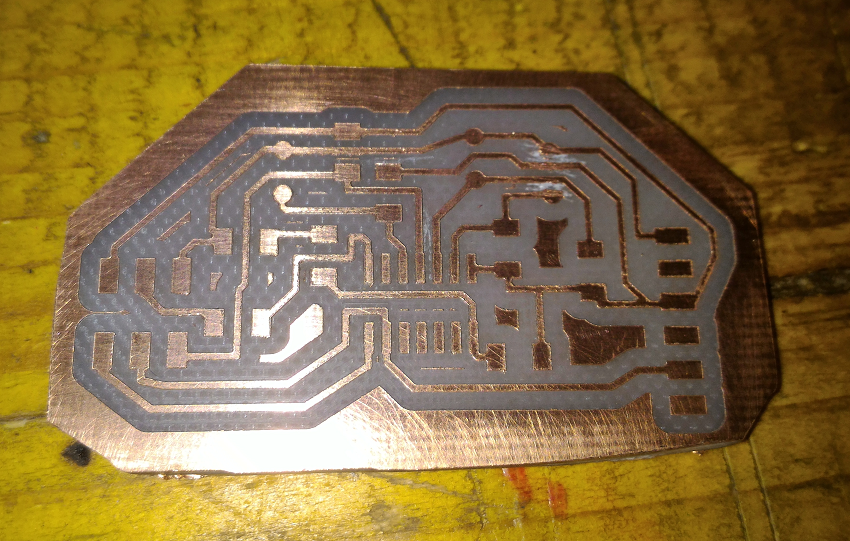
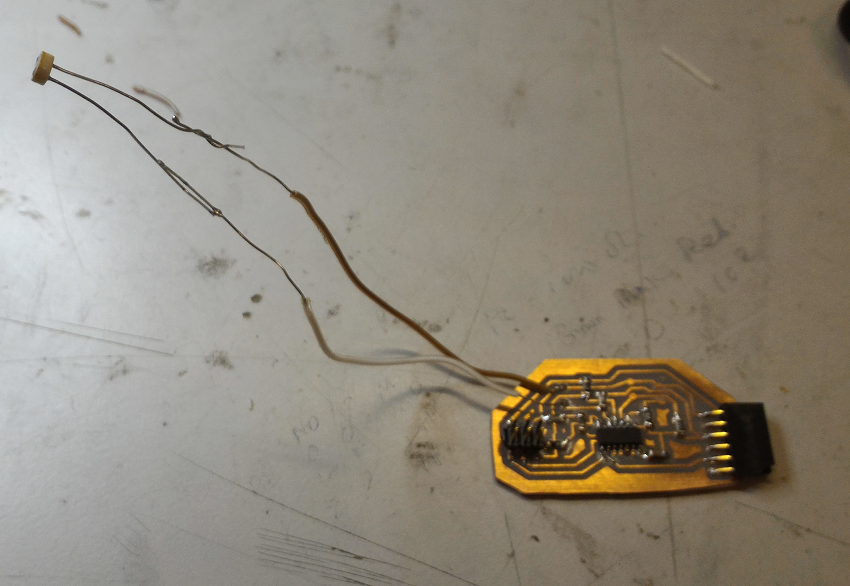
If you take a look at week 11 assignment, you can remember that input board sends a value less then 50 if photoresistor is uncovered, and more then 50 if covered.
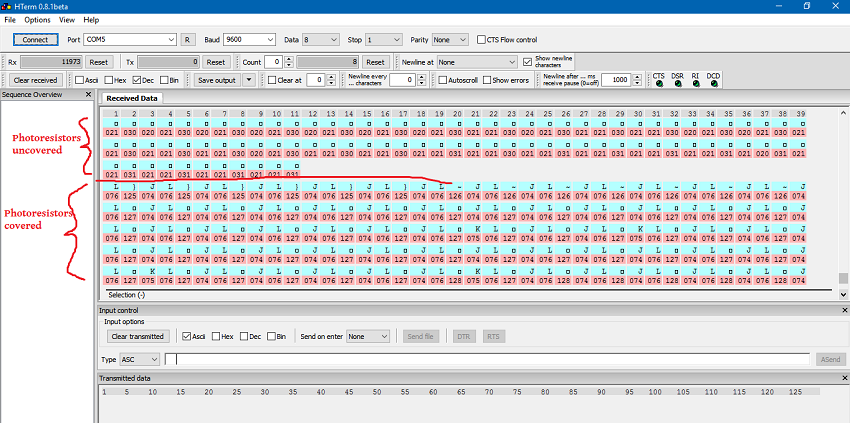
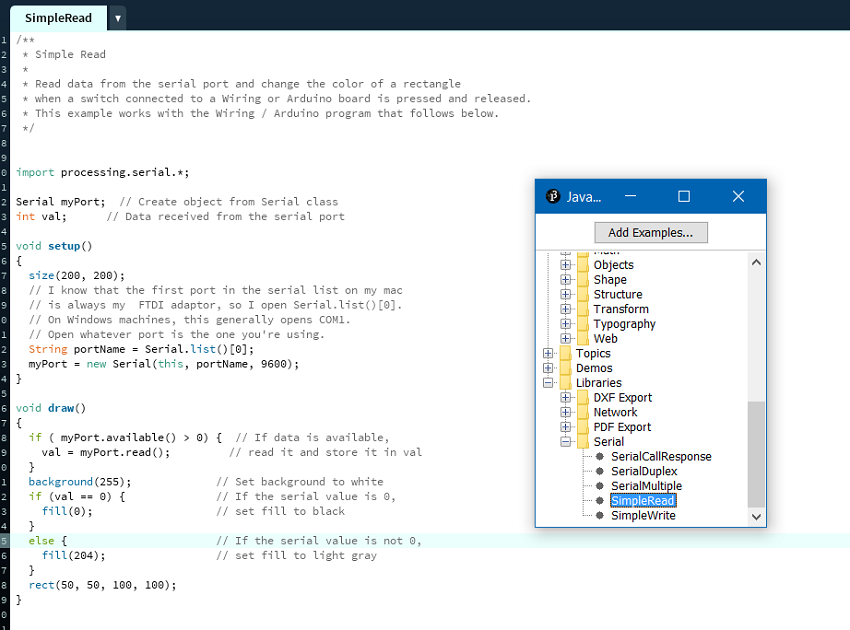
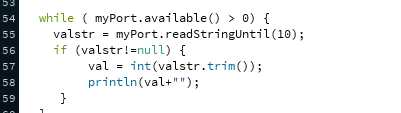
First problem: I hoped that Processing would read values from serial port automatically...but it's not so simple! Fortunately, inside the libraries there is an example from which I extracted all the informations.
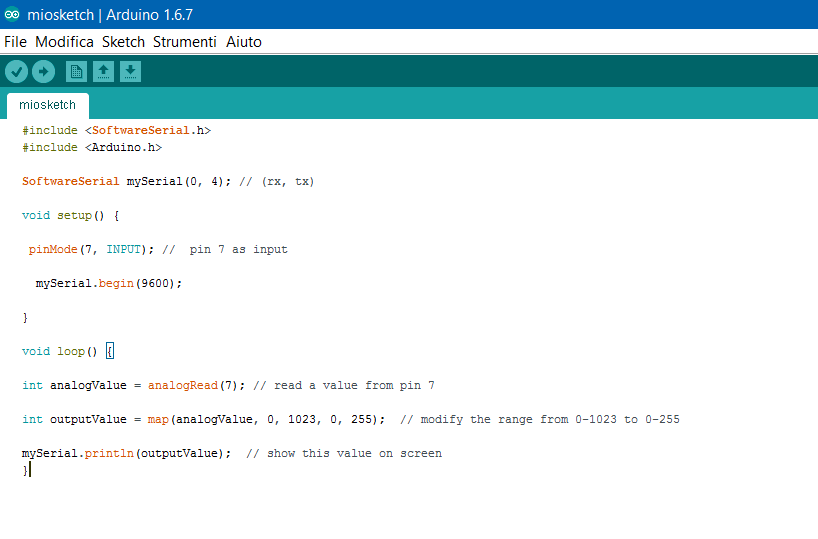
Second problem: week 11 I used the command "mySerial.println", so my Attiny sends the photoresistor value as a string...and what is the problem?
The problem is that if the photoresistor value is, for example, "30", my Attiny send (in ASCII code) "51"-"48"; if I cover photoresistor and its value increases at "90", Attiny sends "57"-"48": in this way, it's impossible to make changes in Processing depending on photoresistor value.
Once again my classmate Gianfranco Caputo helped me: he told me the command to convert photoresistor value from string to number...so I can use mathematical conditions to differentiate if the photoresistor is covered or not.
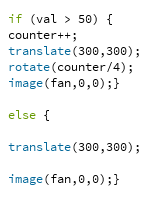
if photoresistor is covered (val = 100 more or less)..
..the fan image rotates.
if photoresistor is uncovered (val = 30 more or less)..
..just put a fixed fan image.
Action
These are my final Processing sketch (here, file) and a video demonstration of what happens if you cover the photoresistor.