Hi everybody.
This week I started trying to understand various stages of molding and casting process.
Process
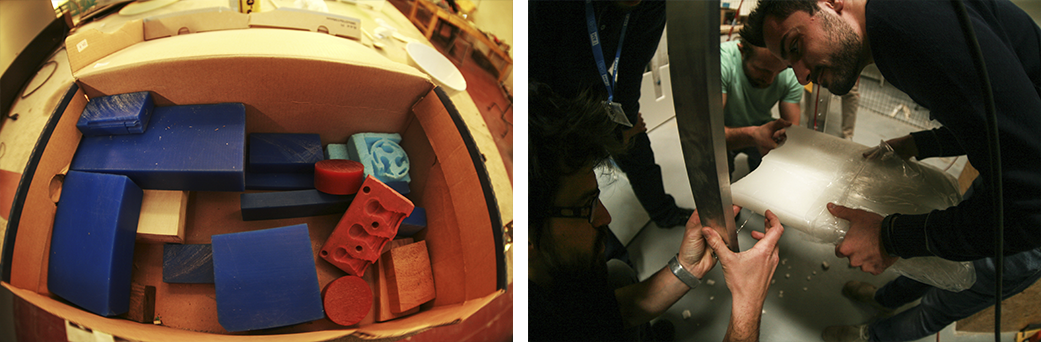
We started founding materials for milling (paraffin, machinable wax and some derivates) and we cutted both with SAW and HOT WIRE polistirene CUTTER.
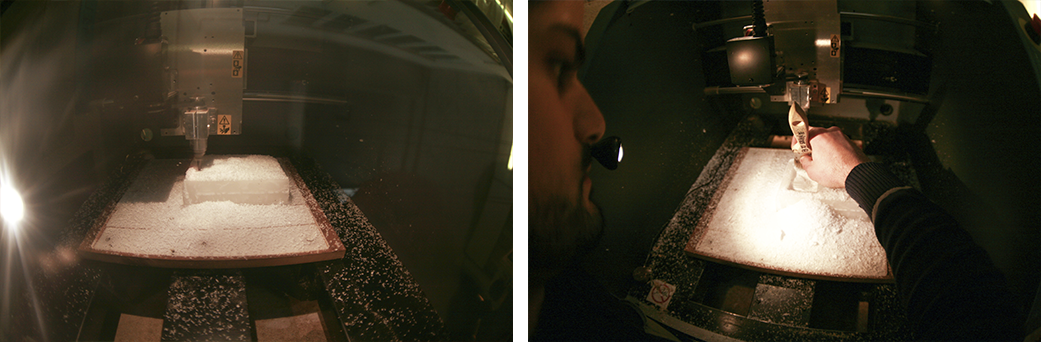
Than we had to milling the mold (or 3d printing or any digital things else).
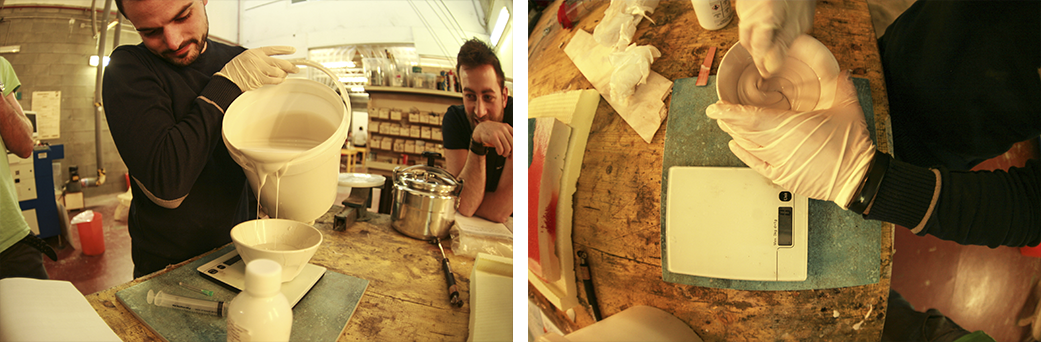
We mix silicon with the hardener (at 5%) and after brushing the mold with a bit of white vaseline we slowly pour the silicon inside.
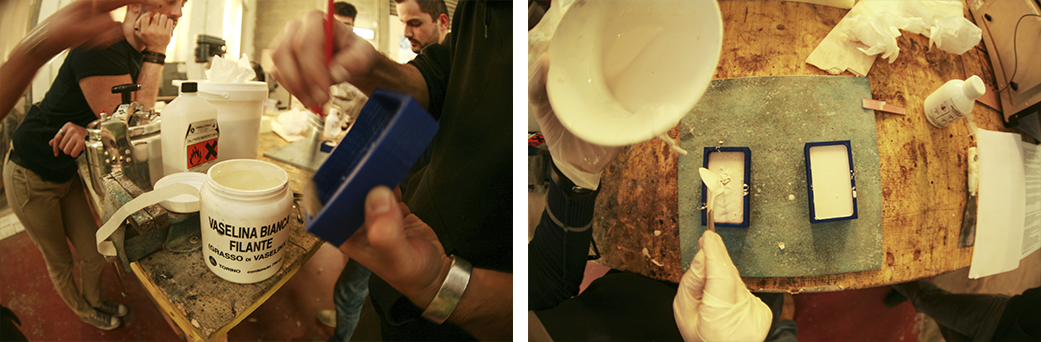
Next step was the use of our pressure cooker kit. the devices we use is just a common pressure cooker with a Venturi vacuum pump connected.

Last stemp was cating material in the silicon mold.
As you can see for this first approach to the tecnique we use the Archimedean Screw 3d model that Stefano drew.

Than the real question was: What should I produce in molding and casting way?
I mean: what do I need in big quantity?
what is not that good to 3d print one piece by one?
what is a good piece to produce in serial way?
I came up with this idea of floating phoyo frames that I found as Thinghiverse
pubblication.
Molding
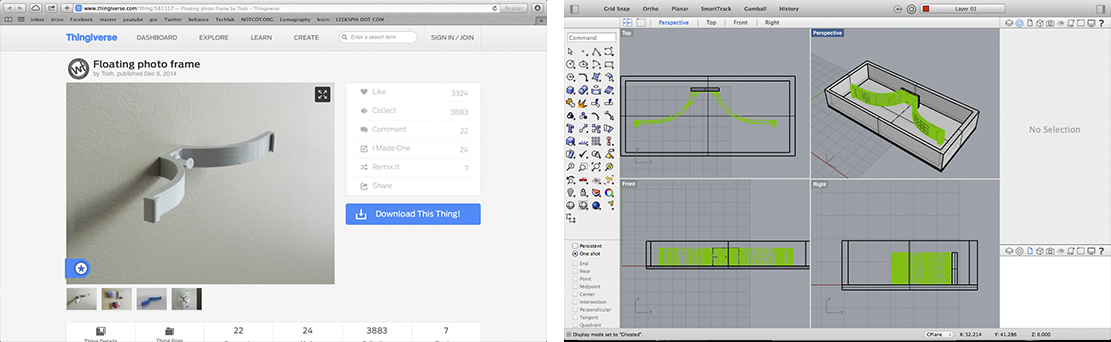
I downloaded and modified a bit the files on Rhino.
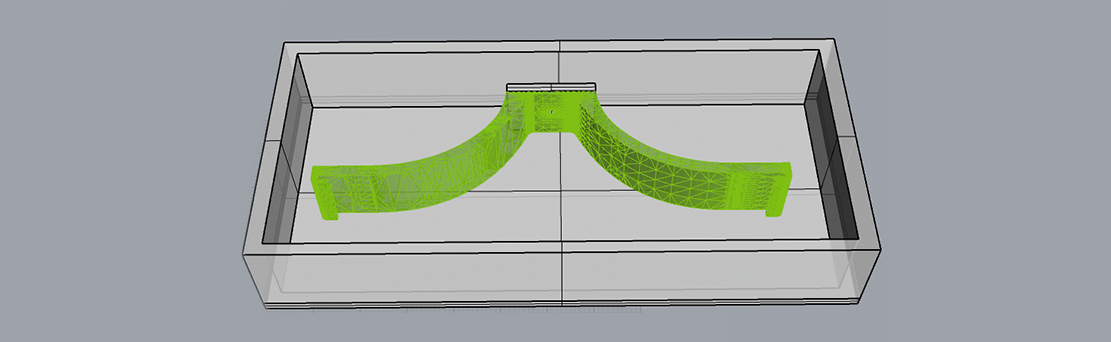
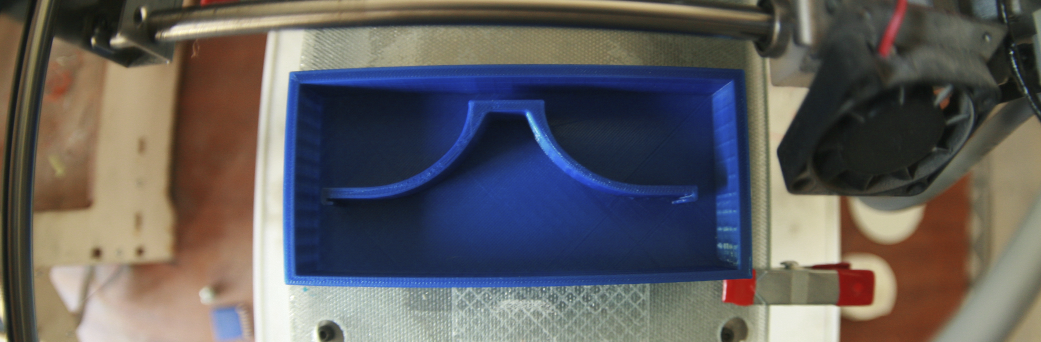
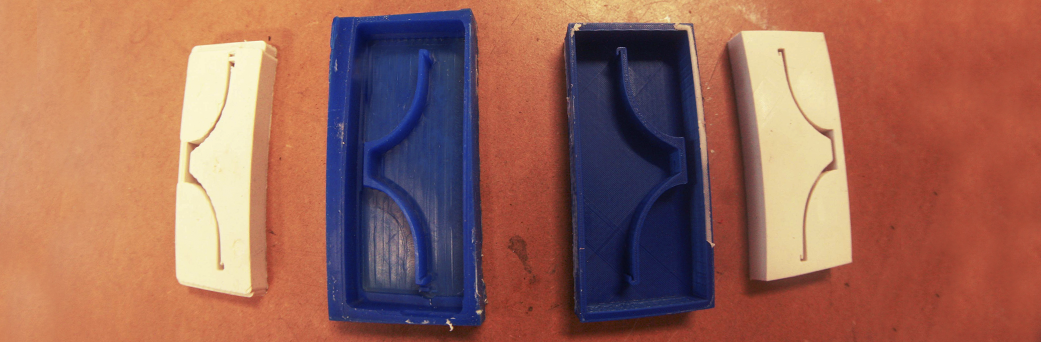
After I create the G-code for milling with HeeksCNC (same software I used in Exercise 7) and I produce the first Mold with this blue machinable wax.

Unfortunatly there were not a big enough piece of wax so I had to produce one before milling.
With a really simple lasercutted mold and an electric oven, I've produced a bigger wax piece from a lot of scrap.


After I tried to make the same mold but 3d printed.

Here you can download the 3d printable .stl file.
Casting
First steps with silicon and pressure cooker with Venturi vacuum pump. This device helped us to let all air bubble came out the mold, It works with a common pressure cooker and air compressor.

I tried make pieces with both plastic plaster and resin.


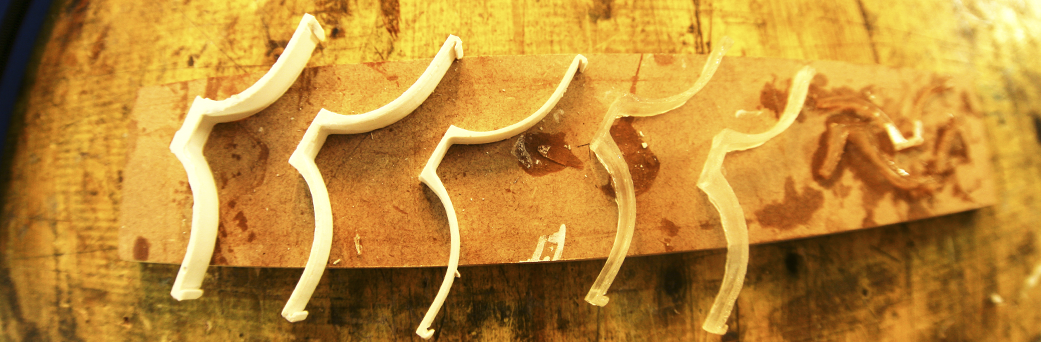
And finally, here you can see my final results.