Week 7
Computer-Controlled Machining.
ASSIGNMENT:
1.) Make something big.
ASSIGNMENT:
1.) Make something big.
This assignment consist to design and build something big with the cnc router ShopBot.
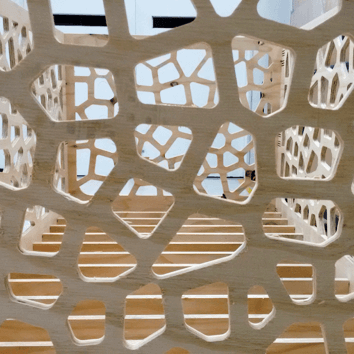
Last week I found out that I will be uncle, my older brother and my sister in law it's gonna have a baby; for that reason I decided to take this assignment to design and build a crib for my future niece or nephew.
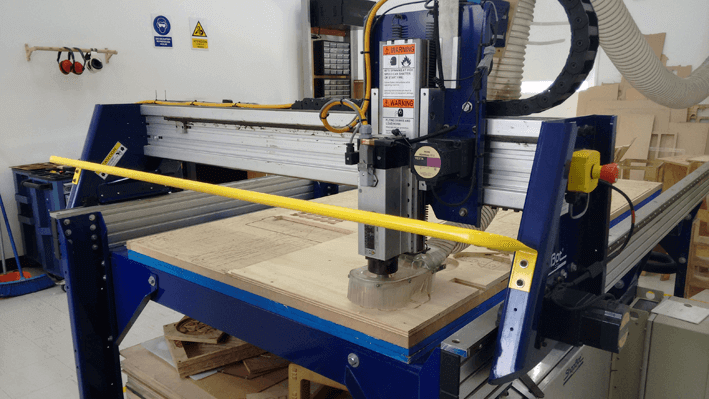
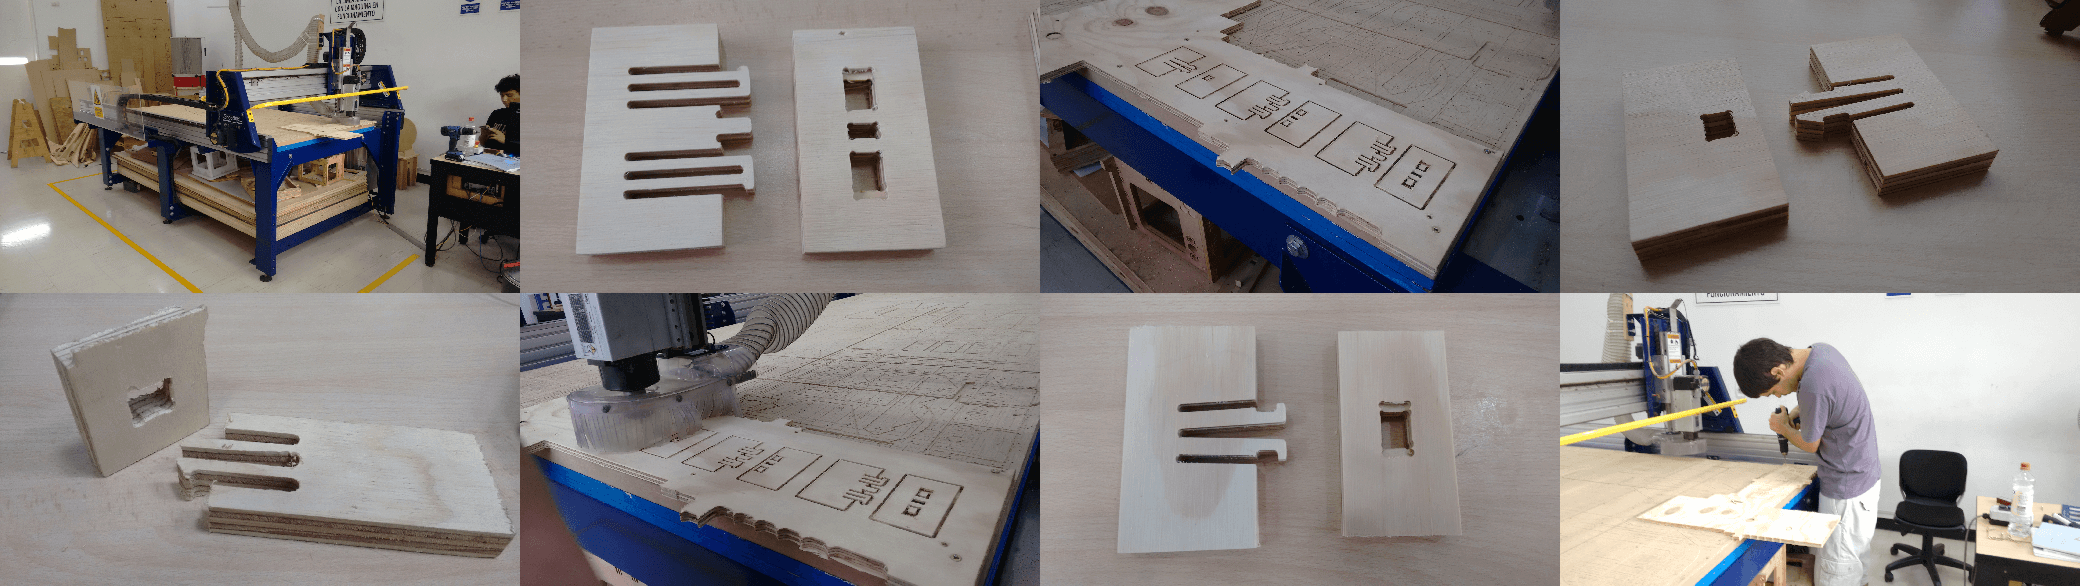
I've had previous experiences with a cnc router in Paraguay, but never before with a ShopBot and their operating software. To meet the ShopBot I decided to design and manufacture a "Joints Tester" and take advantage of the exercise to discover playwood tolerances in the joints.
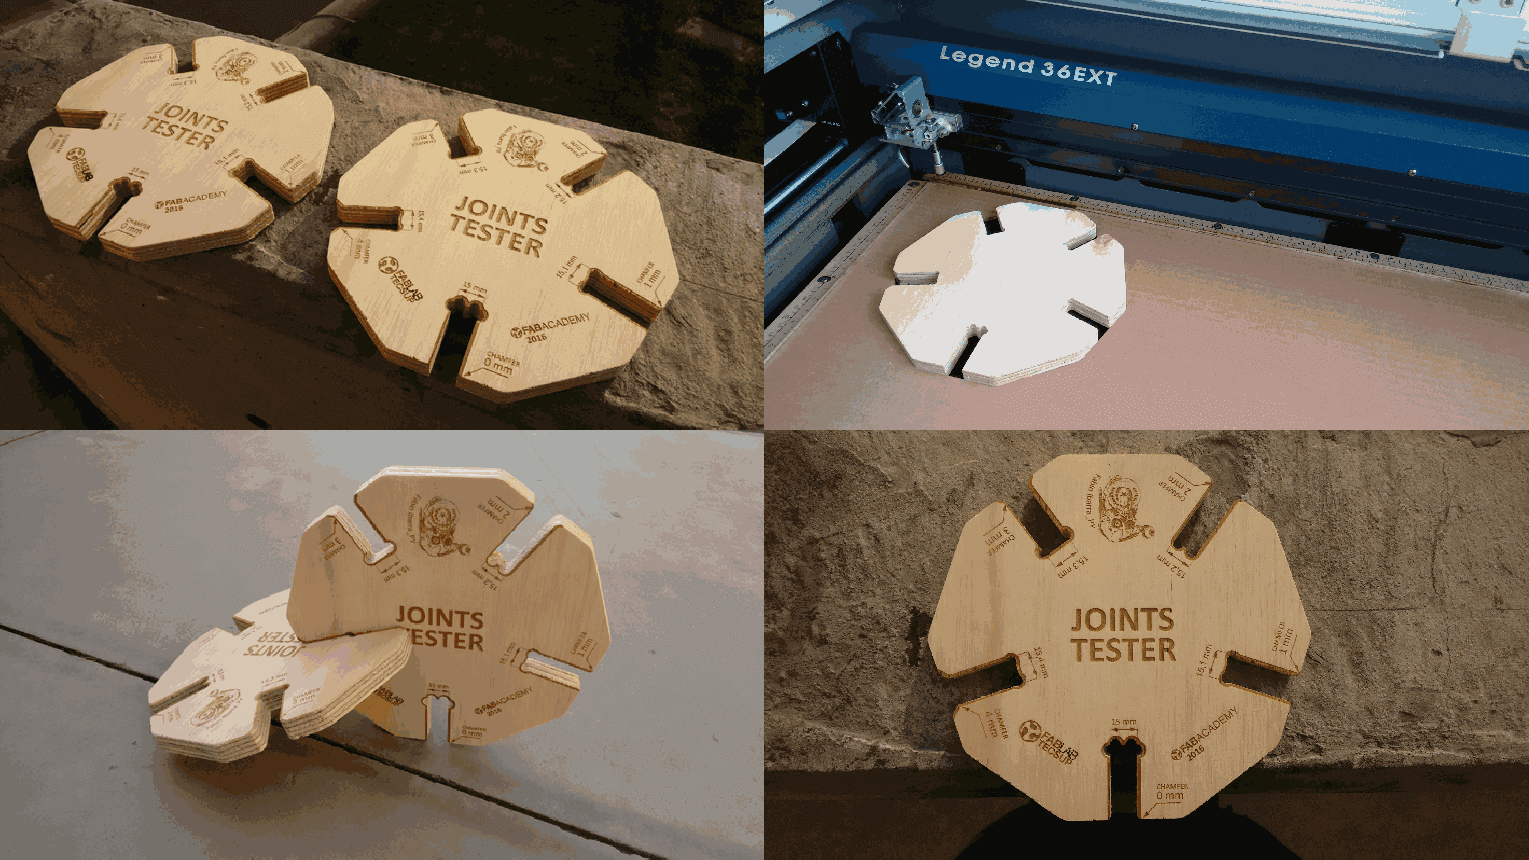
The Joints Tester lets you test different tolerances in the joints, and choose the most appropriate for you project. Could also be a teaching material for Fab Labs, to save time when choosing the joints and tolerances in future projects.
The measurements of the thickness in the playwood I record it with the laser "Epilog Legend EXT 36" to get a more readable and neat reading.
Here in the Fab Lab Tecsup we have playwood at our disposal, so I started to try different types of joints to see which would be the most appropriate to build my project.
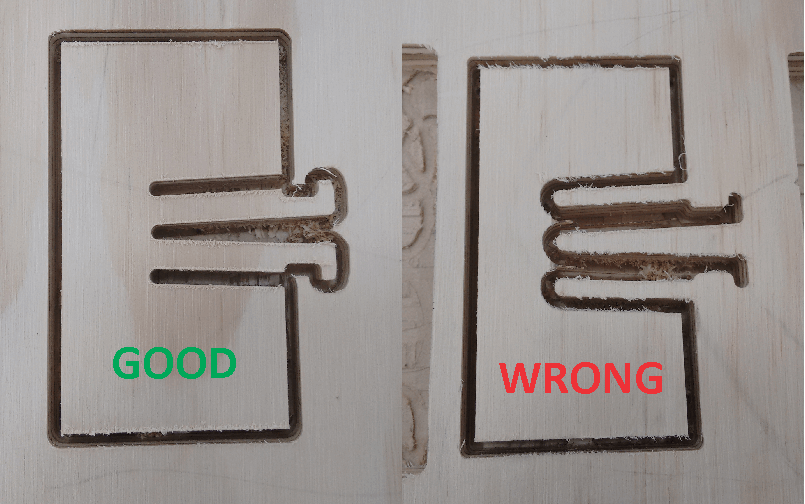
In the process, I learned some things to consider when machining, for example, it is important to correctly designate where she spent the bit to avoid this kind of errors!
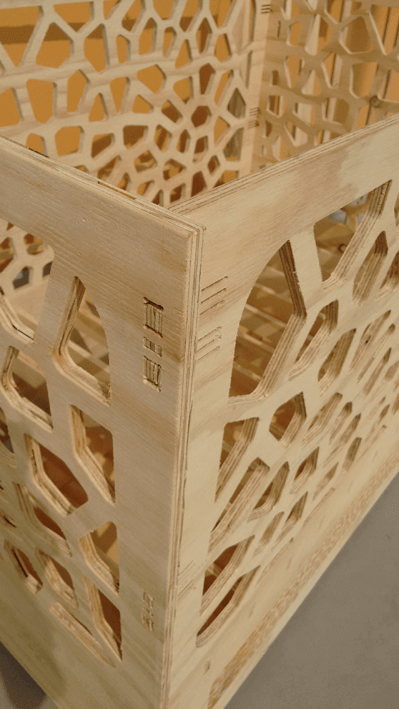
After experimenting with different types of joints I could choose one that uses to make the crib.
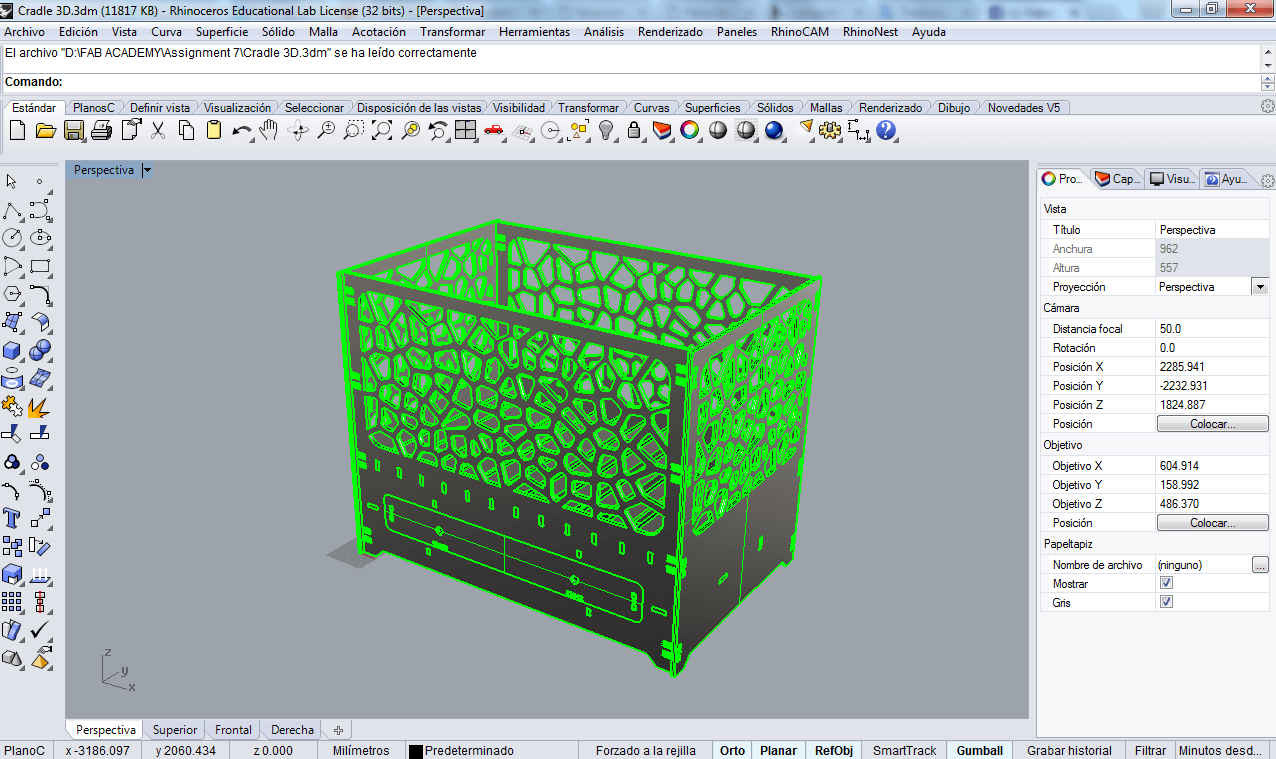
I designed all the cradle using AutoCAD because I needed to export the design in DXF format, and given past experience exporting drawings from AutoCAD DXF format gets to keep all details and measures. For the 3D view I use Rhinoceros, thats allows me to verify my design and research mistakes and fix them.

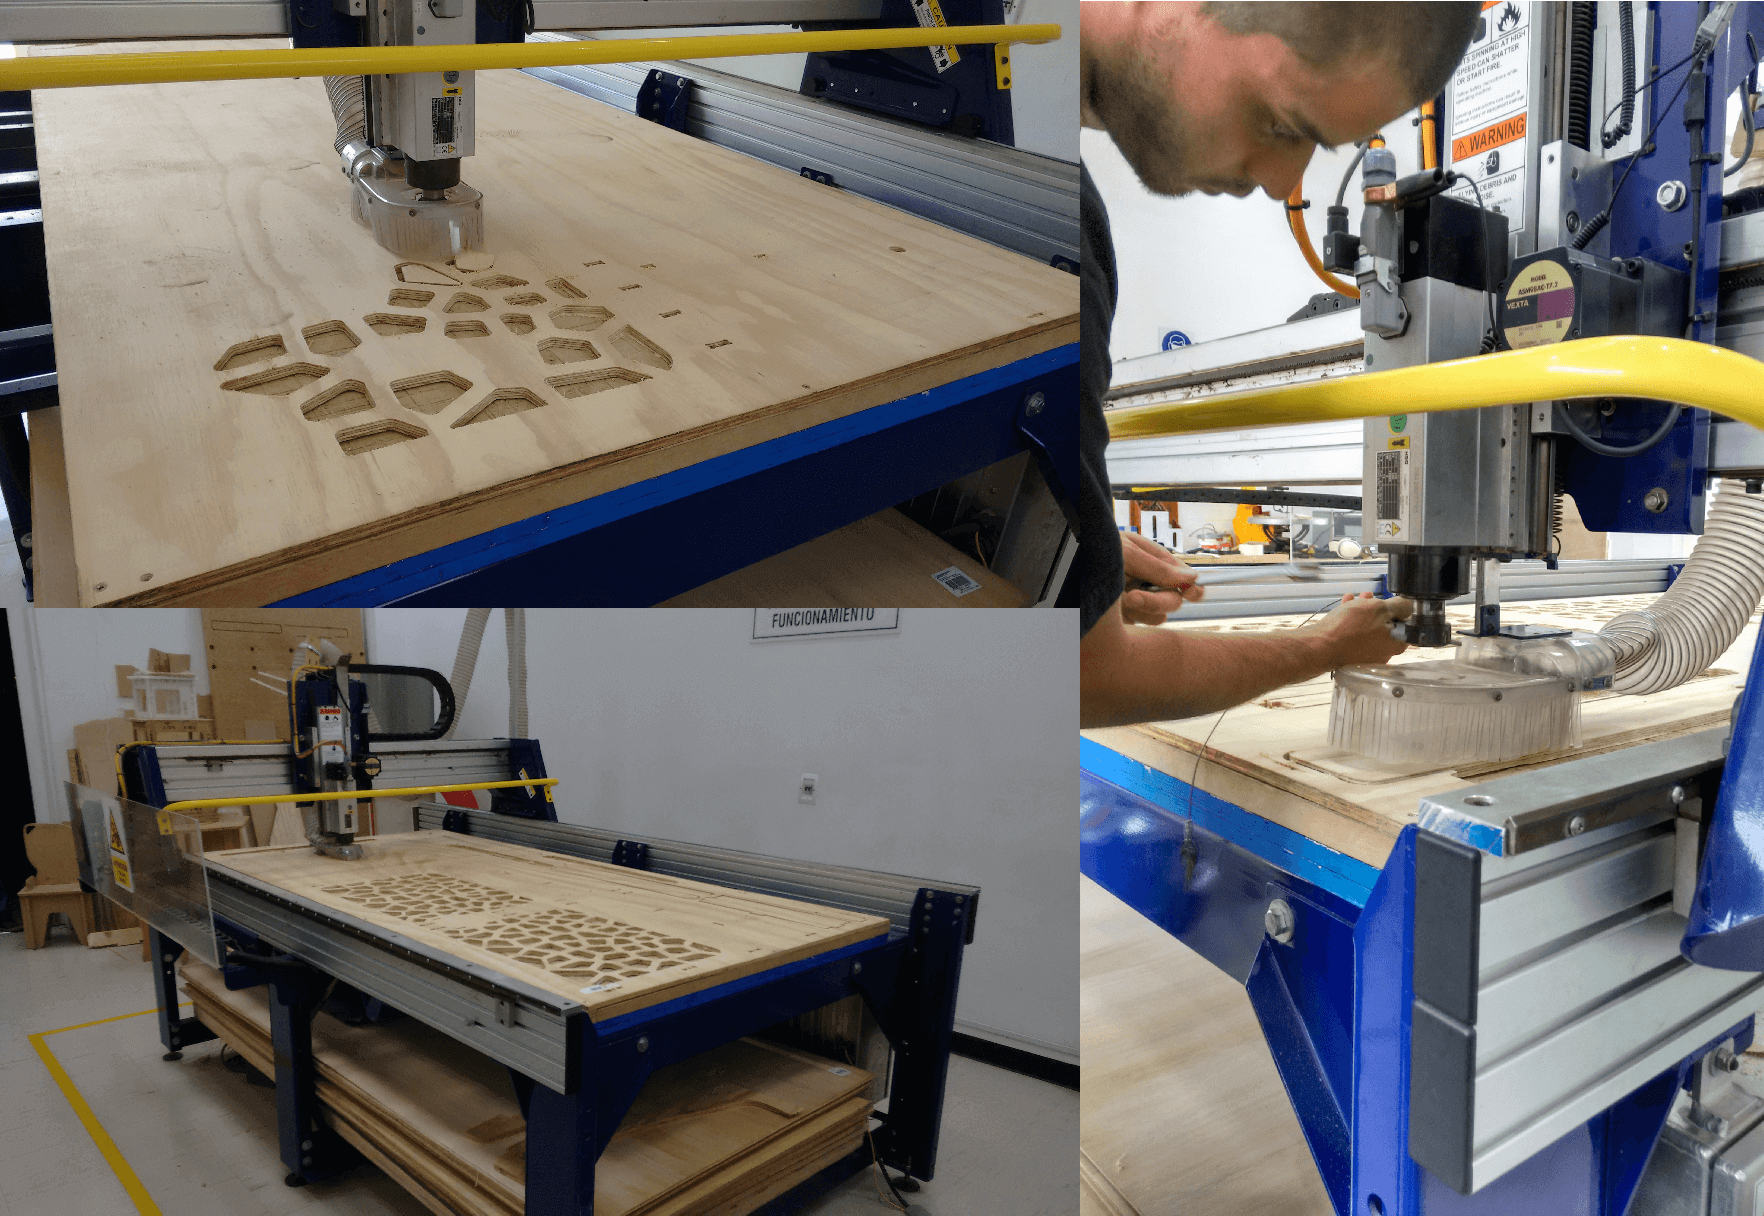
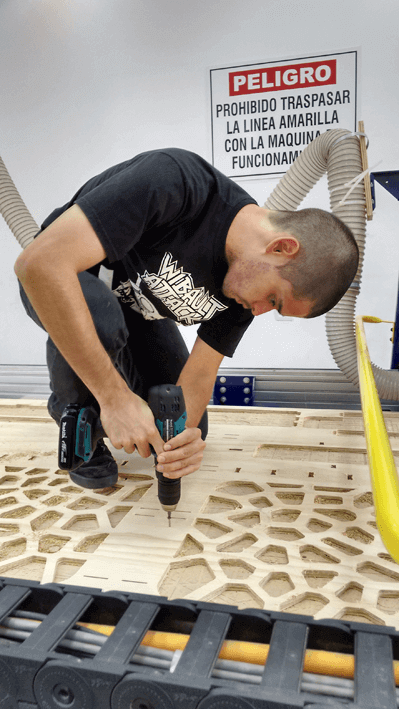
After obtaining the design in DXF format, I opened with PartWorks to program the machining of the ShopBot.
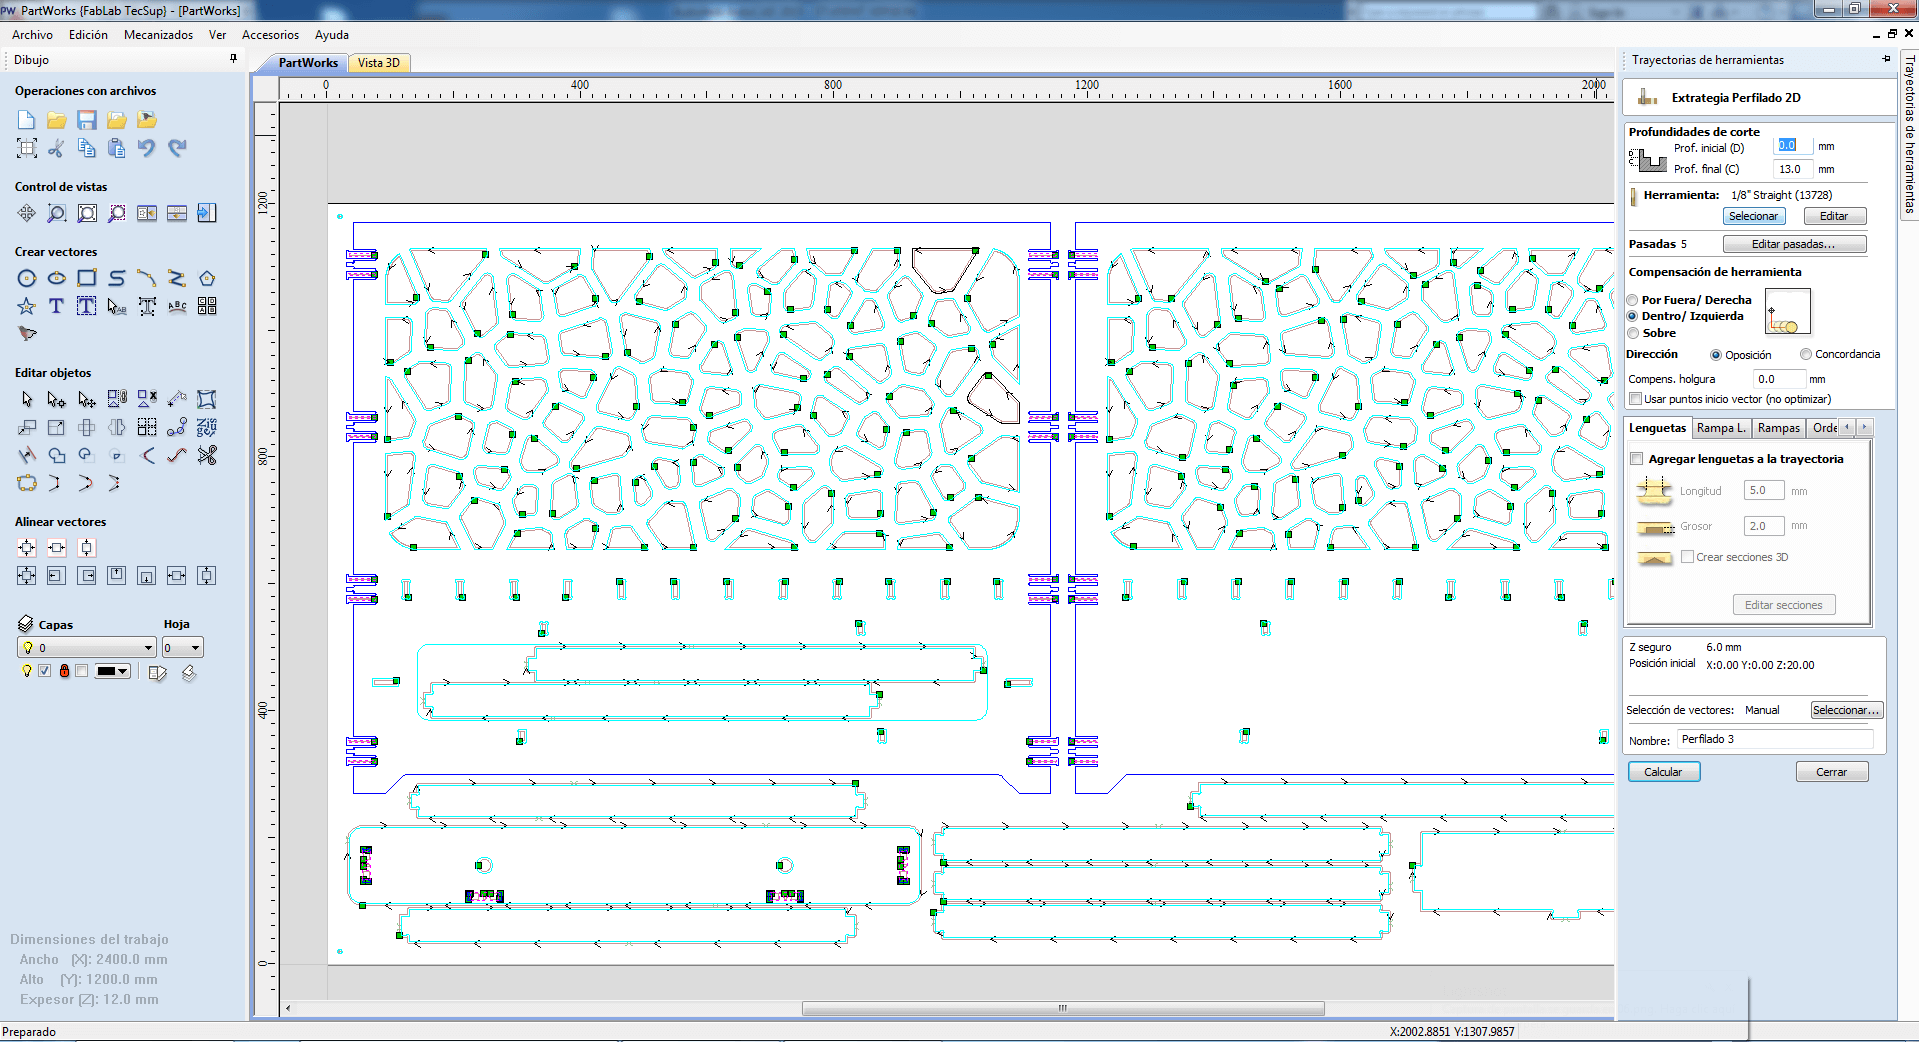
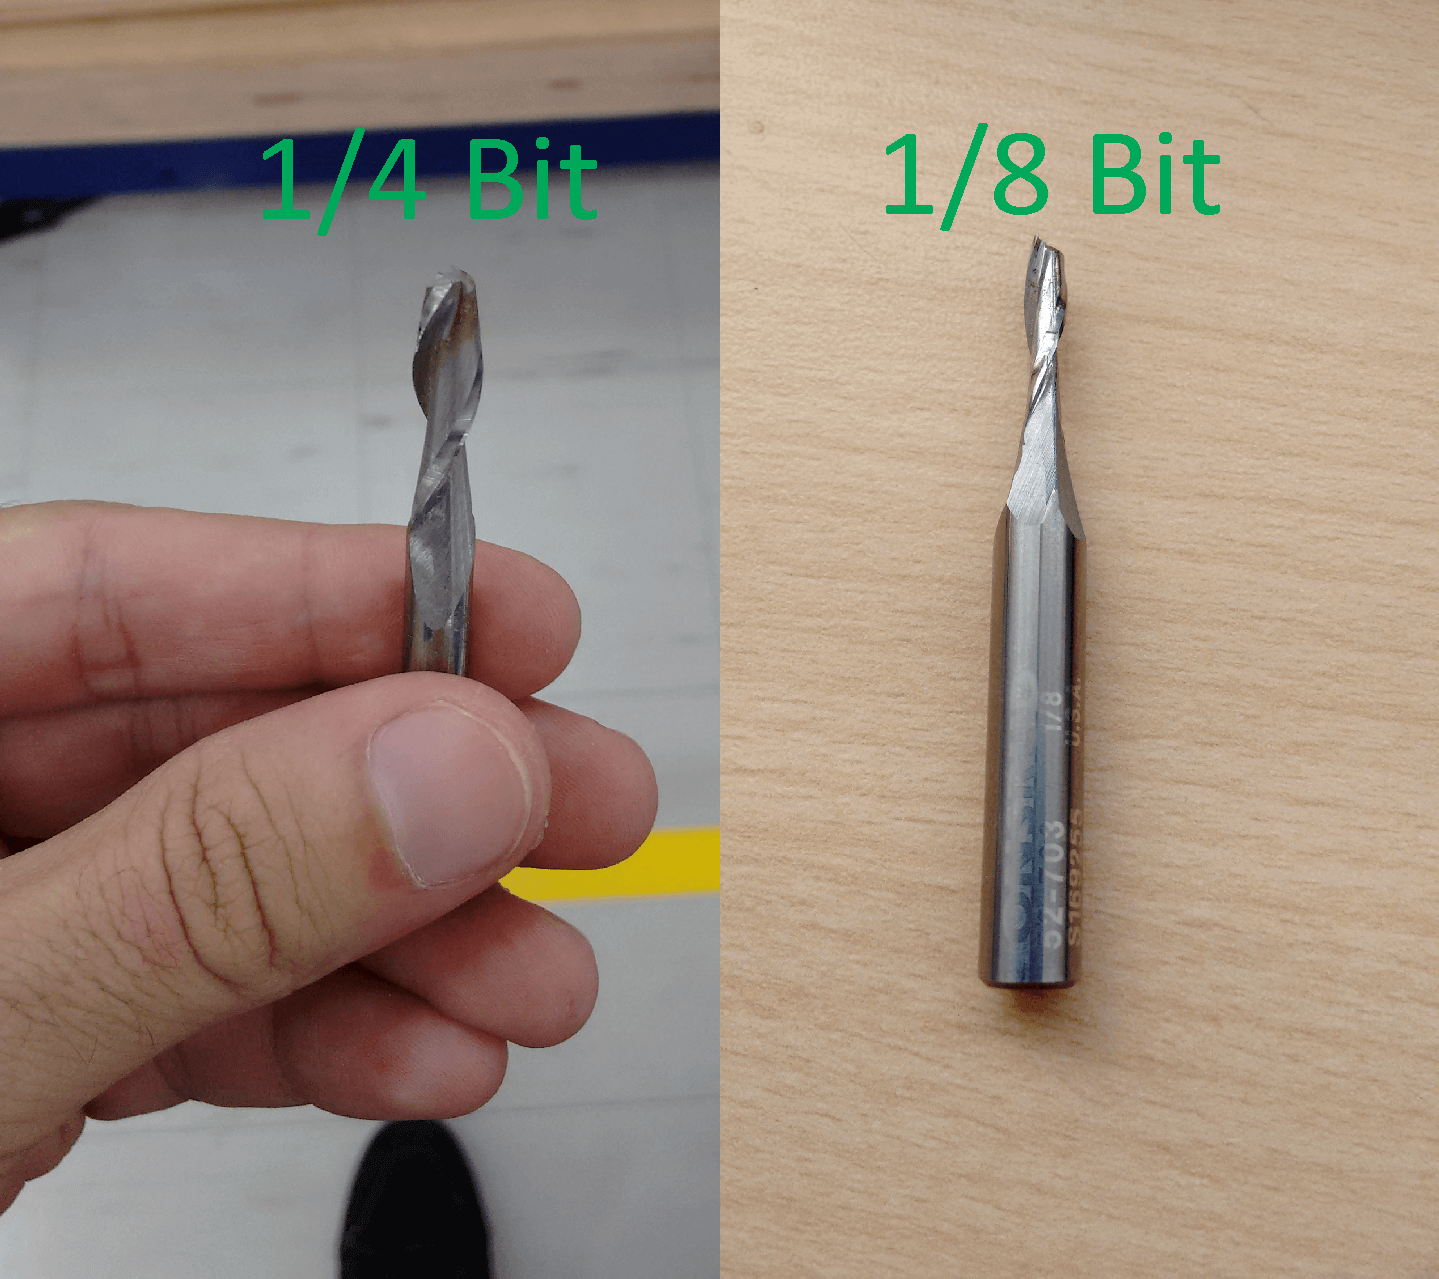
To cut the crib parts i basically use two size of bits:
- 1/4 with two fills. (For quick and big cuts).
- 1/6 with two fills (For more detailled cuts, principally for the joints).
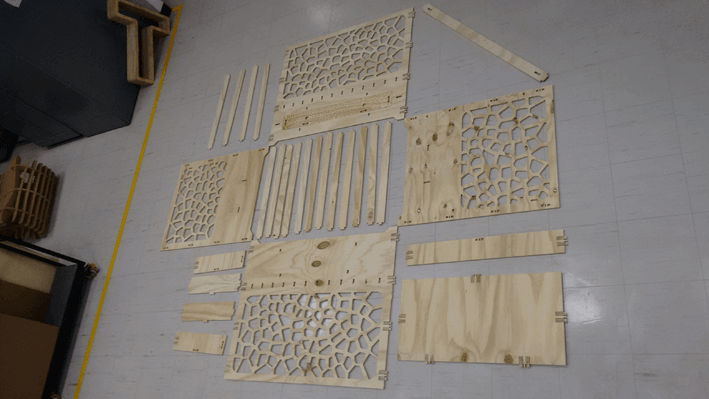
When I had all the pieces cut I organize them to check if everything was OK before I start building it.
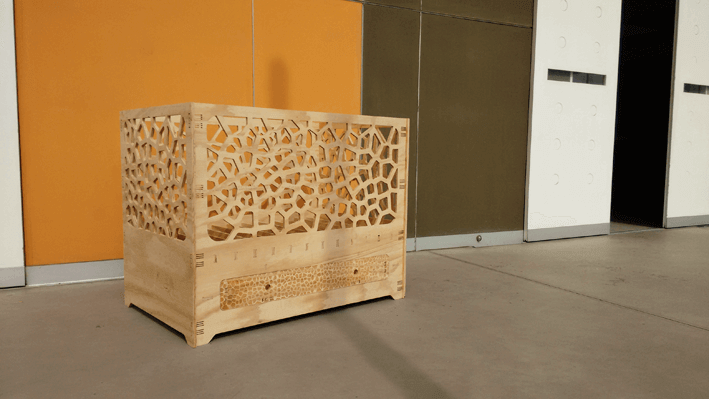
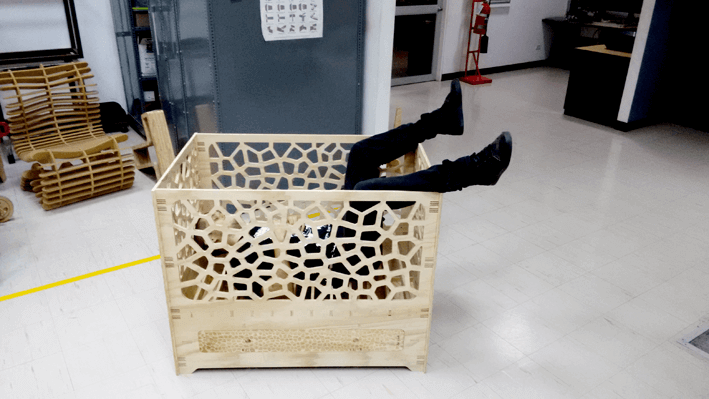
Finally I could build the crib without any problem!
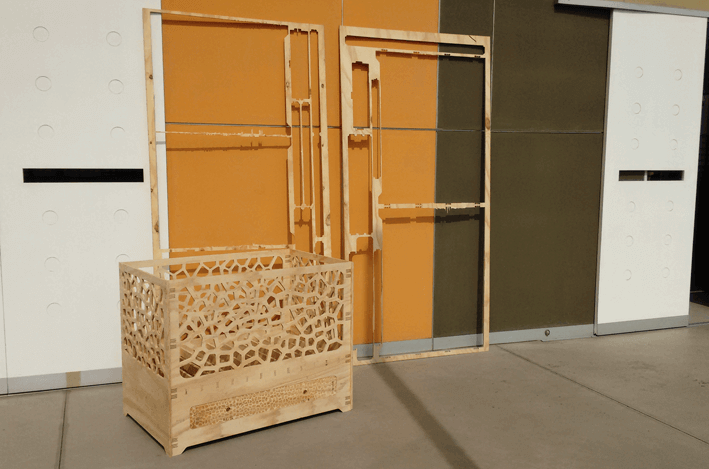
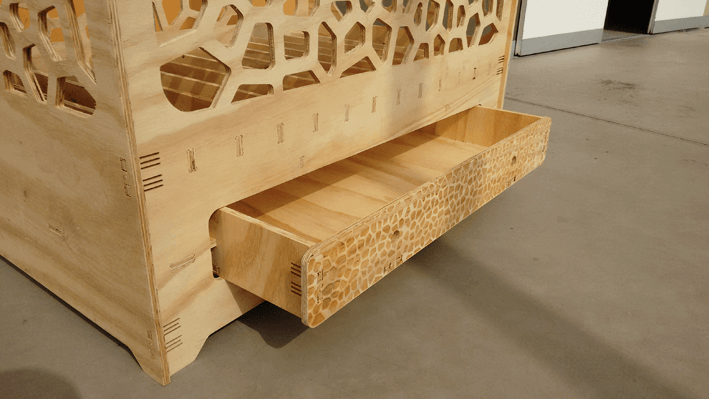
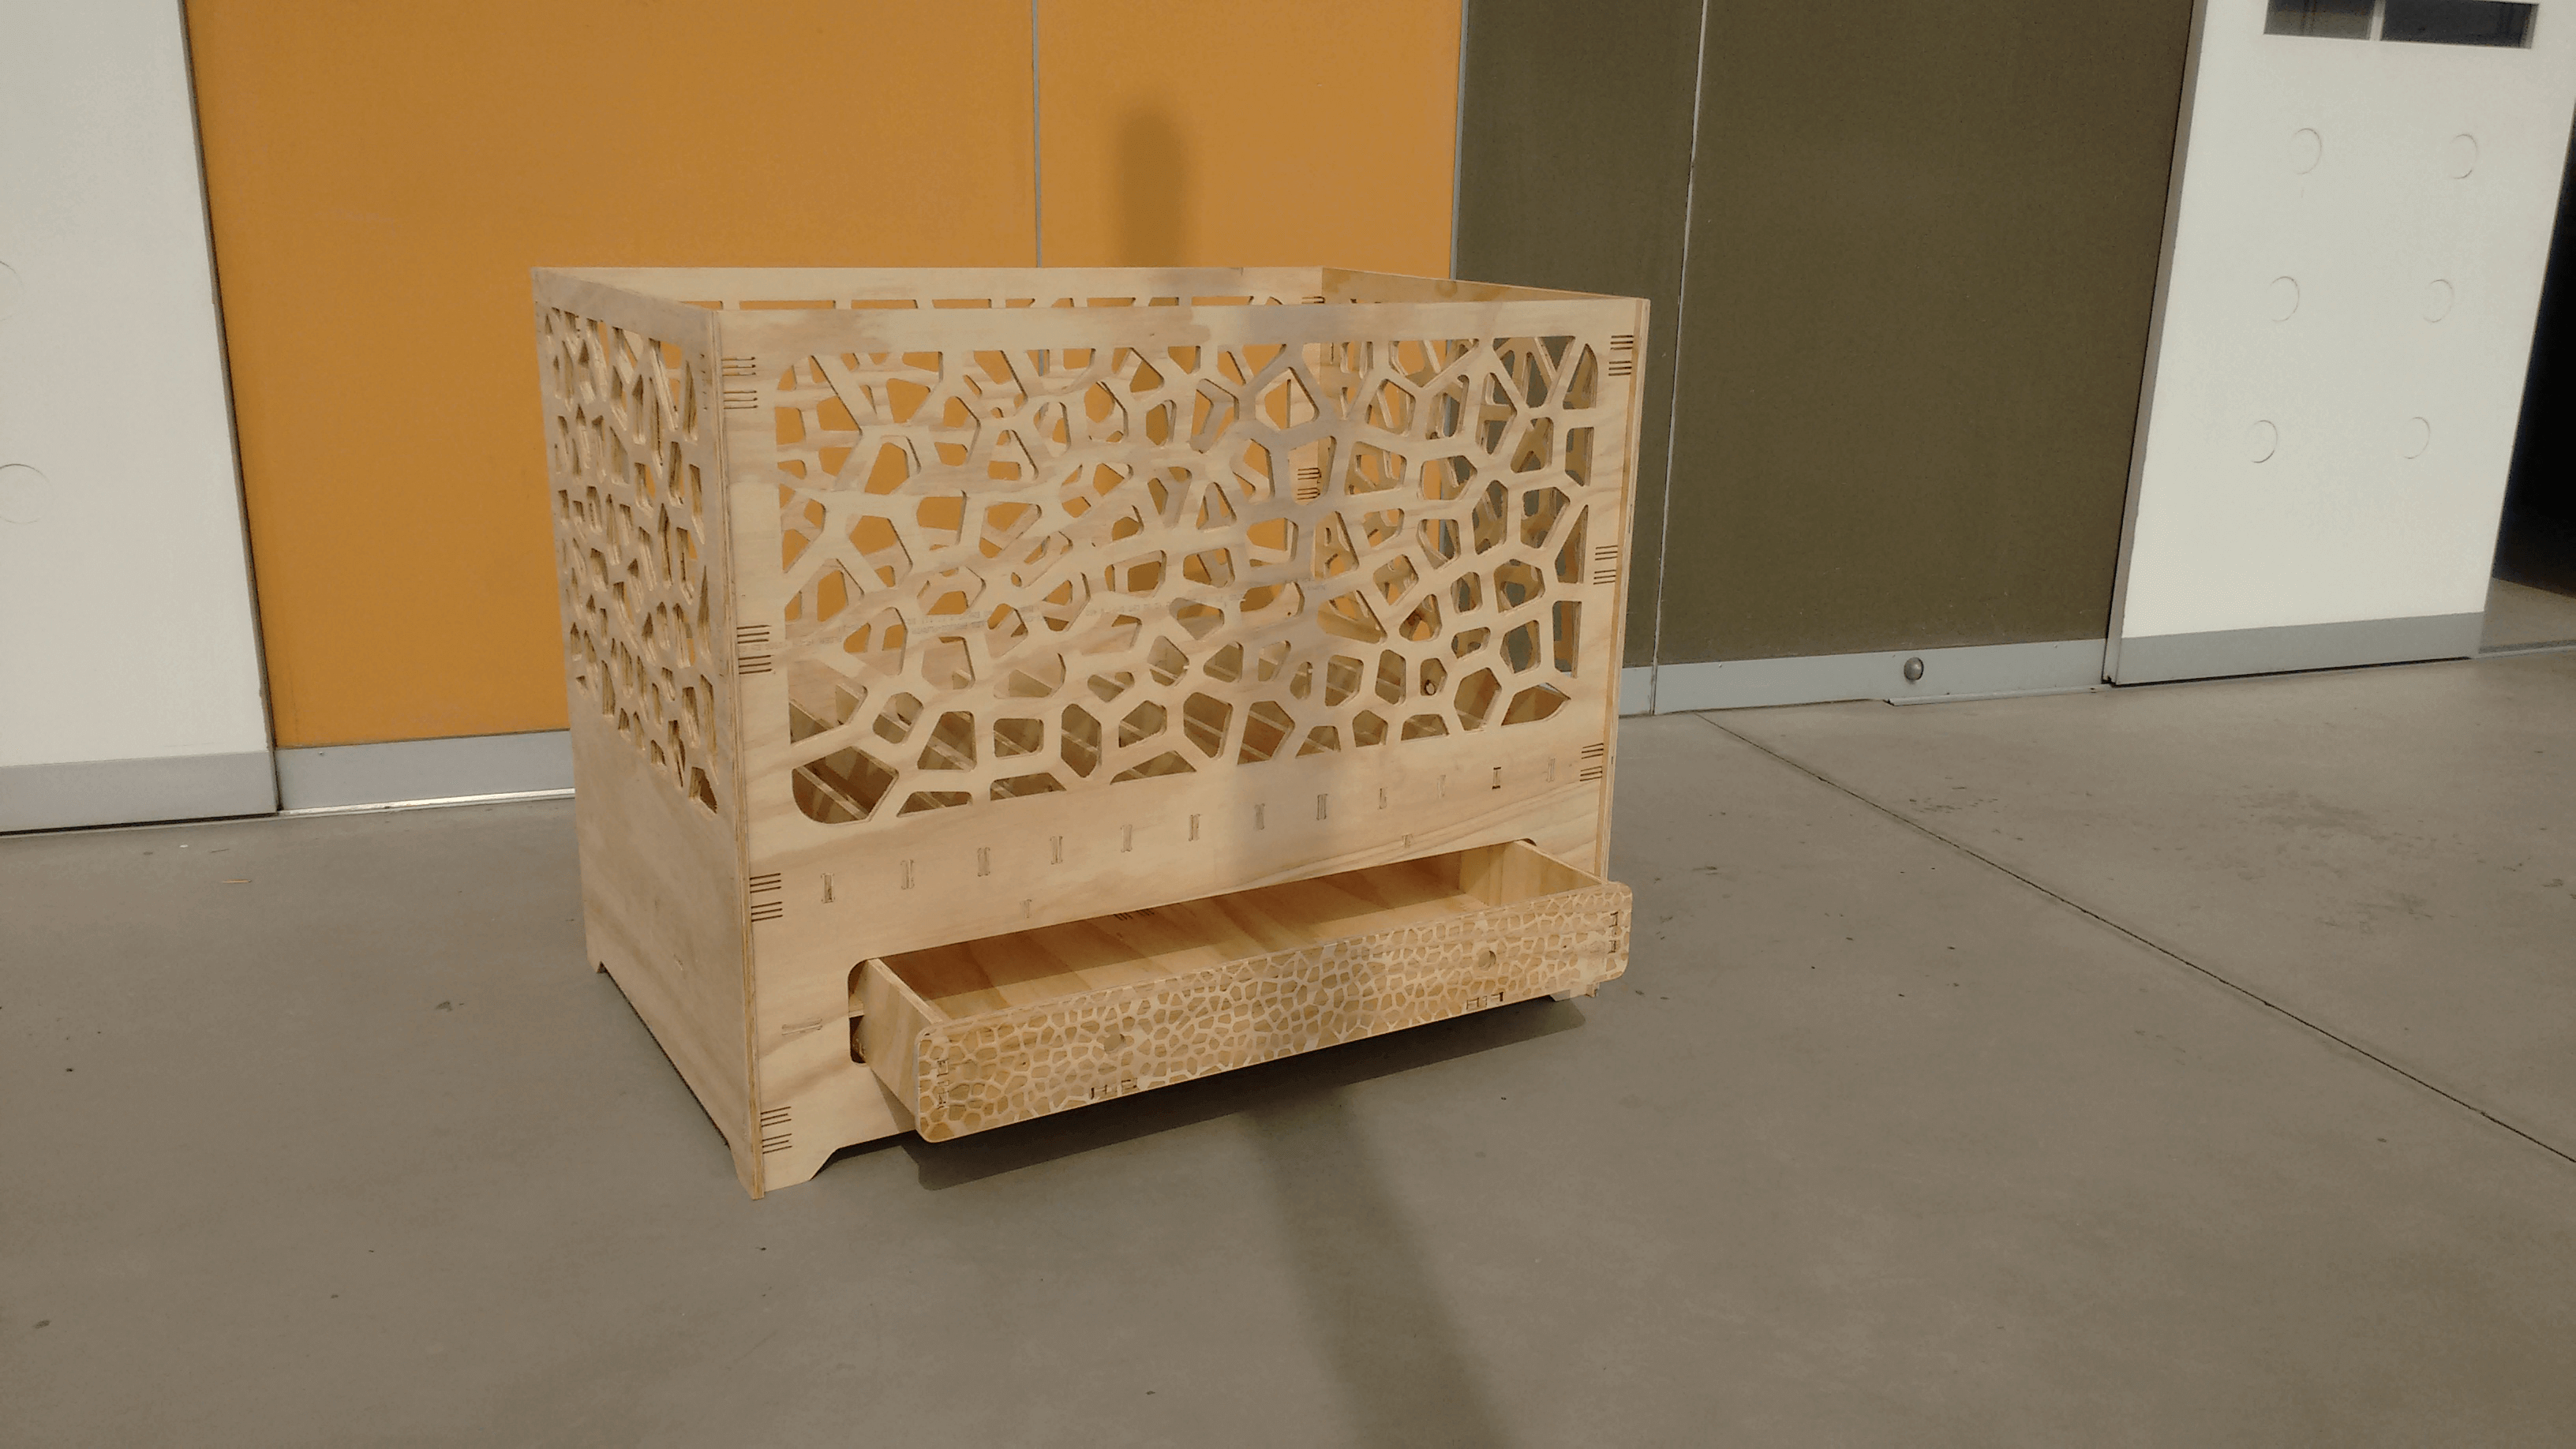
I could finally finish building the crib and is tough enough!
AUTOCAD file: CradleShopBot.dwg
DXF file: CradleShopBot.dxf
You can download the heavy files (more than 1MB) here from DROPBOX.
- The joints works well after make some proves, before to build de crib.
- I build the crib without any type of glue or screws.
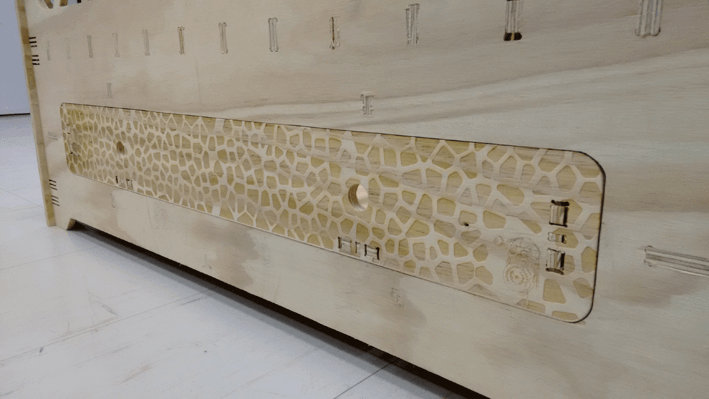
- Due to the texture of the panels, it takes a very long time machining in the ShopBot.
- Optimize the milling time.
I'm currently taking this course in FAB LAB TECSUP, in Lima-Perú, through CIDI FADA UNA with the support of CONACYT and PARQUE TECNOLOGICO ITAIPU FOUNDATION


©DESIGNED AND BUILD BY FABIO IBARRA - FAB ACADEMY 2016
EMAIL: fabioibarrab@gmail.com