This week was basically to experiment with scanning tools and 3D printing. I had previous experience with 3D printing and scanning through conferences and workshops, I had never the opportunity to interact directly with these tools. This week I was able to visualize, analyze, use and understand the principles of 3D printing and scanning, also experimenting its possibilities and limits.
DOCUMENTATION
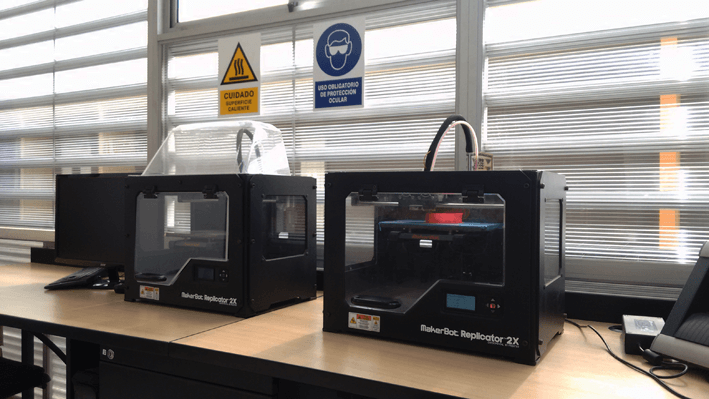
1.) Testing the design rules of the Makerbot Replicator 2X (GROUP PROJECT).
At Fablab Tecsup, we have two "Makerbot Replicator 2X Experimental 3D Printer", but they only print with ABS. We tried to print with PLA but it was not possible because the printer is not suitable for printing with this material, therefore, the hardness of the PLA and also the printer can´t reach sufficient temperature to melt the aforementioned filament.
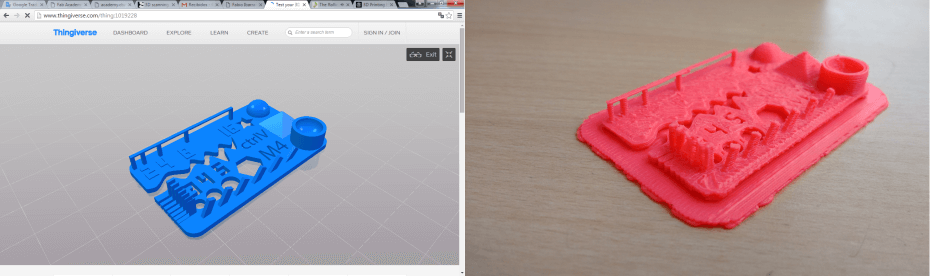
With my classmate Gabriela Mojoli, we made a few test with the Makerbot Replicator and we download some files from Thingiverse and tried out the possibilities, limitations and dimensions of the 3d printer.
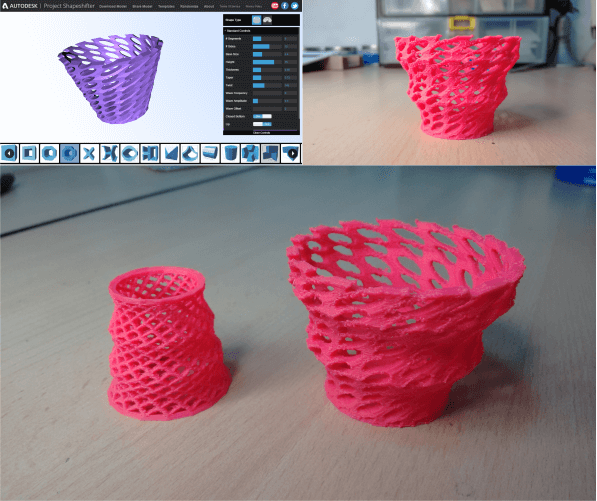
Another web tool that we used to test the 3D Printer was ShapeShifter, a tool from Autodesk that allow us create objects with different forms and at the same time make modification to the surface of your object. ShapeShifter result be a great an quick tool to test the possibilities and limitation of the printer we have here in TECSUP.
In conclusion, we found that the Makerbot it's a limited 3D printer, because just print in ABS and don´t accept another type of filament, also is important check out the temperature of the extruder and the build plate, like the advance of axis X-Y-Z.
Setup used to print with the Makerbot Replicator X2 (ABS filament):
- Raft: in necessary cases.
- Supports: in necessary cases.
- Infill: 15%
- Numbre of shells: 2
- Layer height: 0.15 mm
- Extruder temperature: 230°C
- Build plate: 110°C
- Extruding speed: 80 mm/s.
- Extruding speed: 140 mm/s.
2.) Design and 3D print an object (small, few cm) that could not be made subtractively.
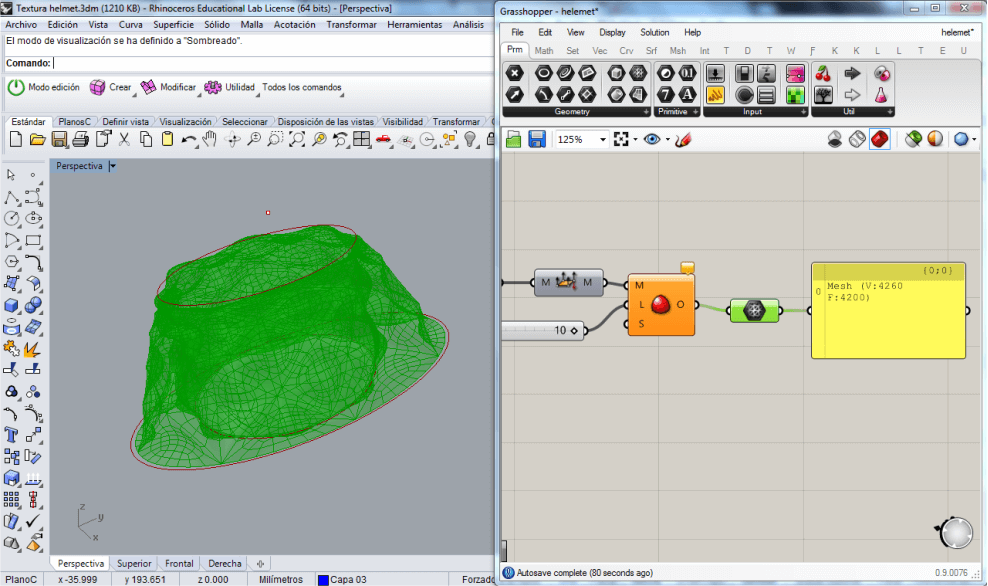
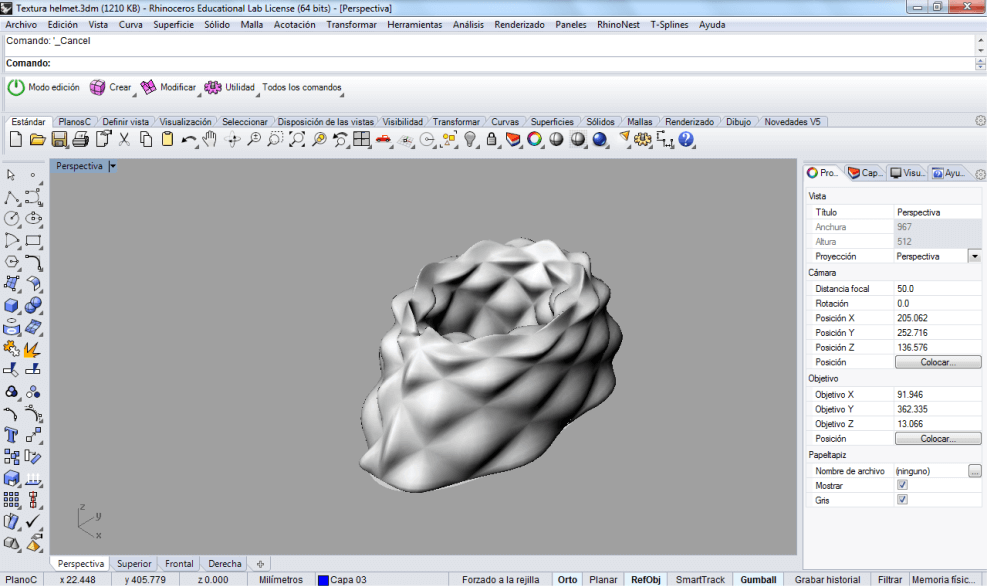
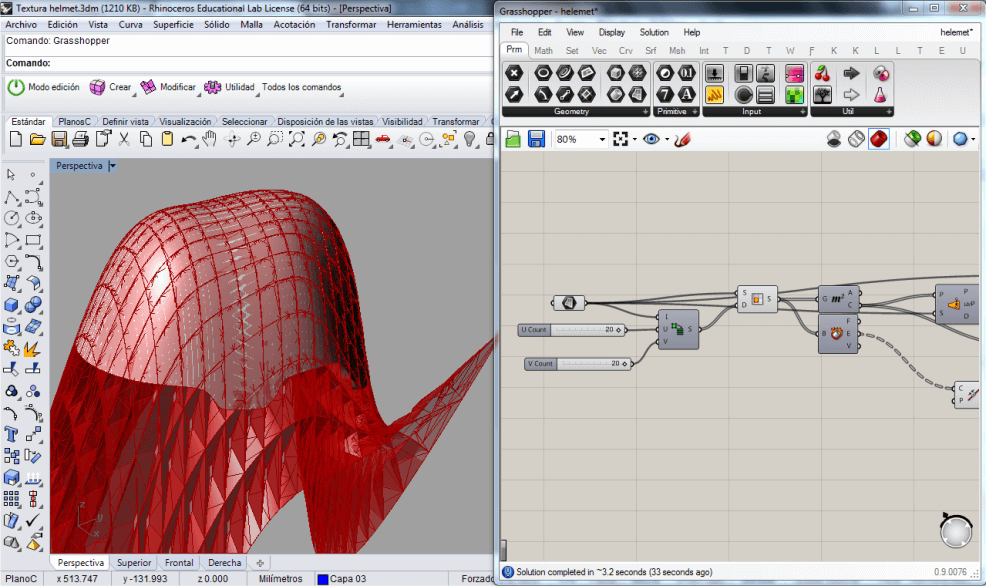
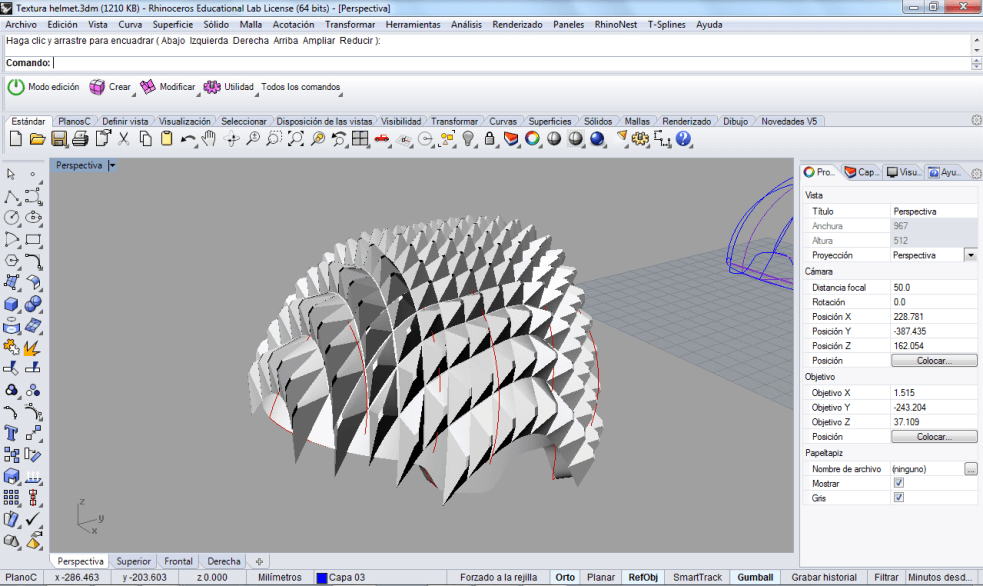
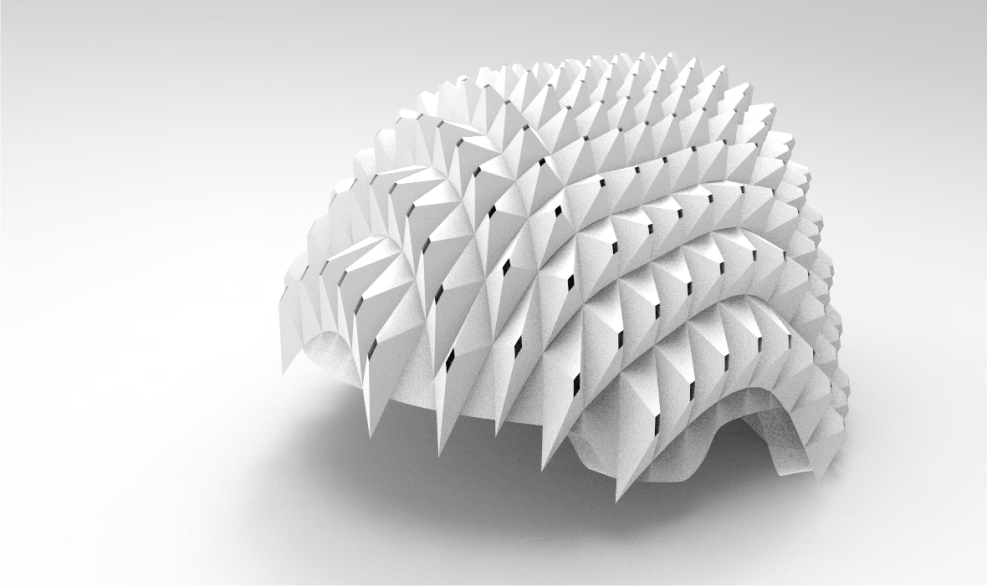
I used Rhinoceros and Grasshopper and tried to make complex surfaces to print later in the Makerbot, the advantage of the 3D printers its that allow us make real complex surfaces, that we couldn´t make with standard and conventional tools.
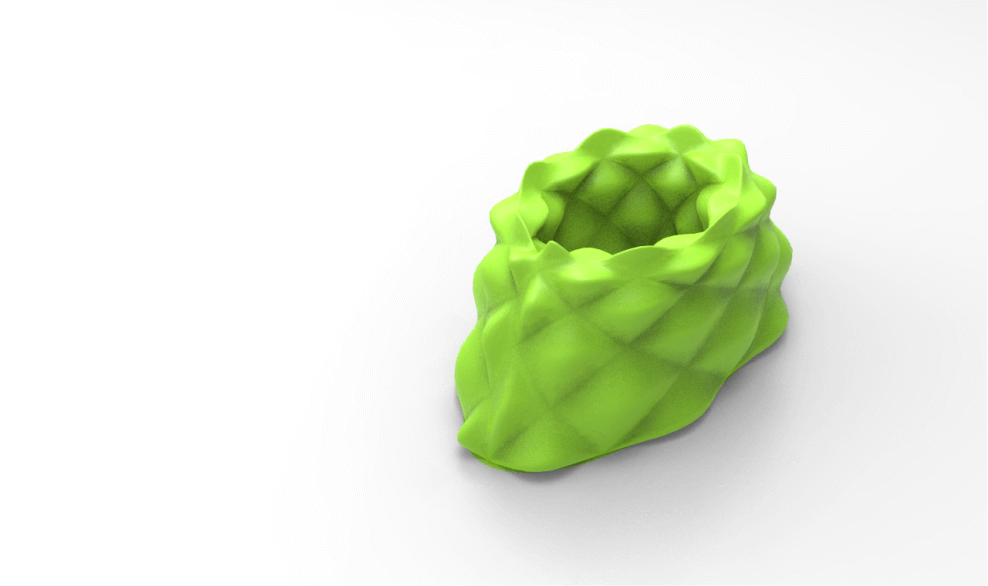
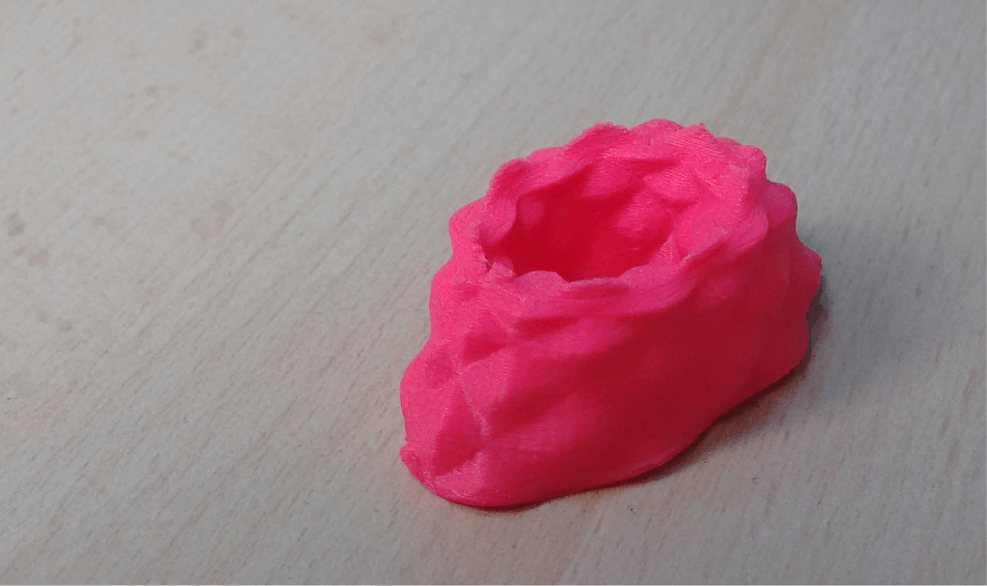
Taking advantage of the possibilities offered by grasshopper with parametric design, I wanted to try out a test for my final project, creating a texture that will probably be useful to absorb the impacts on the helmet.
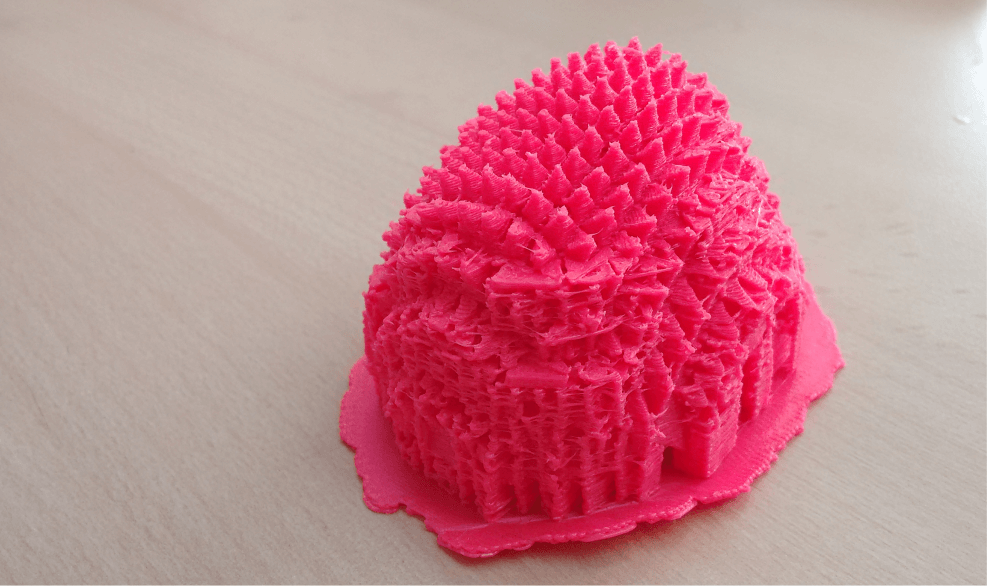
The test of my final project didn't work so well, but gave me the possibility to explore and experiment with posibles solutions for my project. Maybe with another technology of 3d printing I can fix the mistake, for example, 3D printing with a resin.
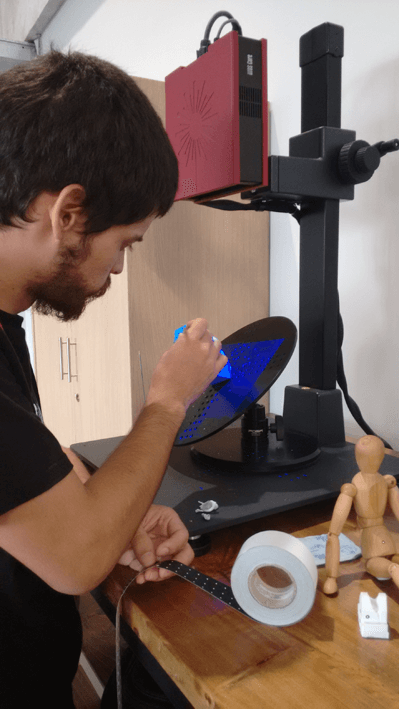
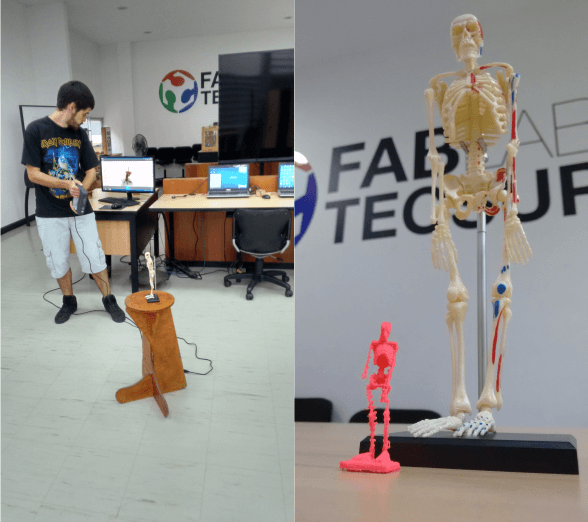
3.) 3D scan an object (and optionally print it).
In this section I experimented a lot, I scanned objects and later printed them and show the results.
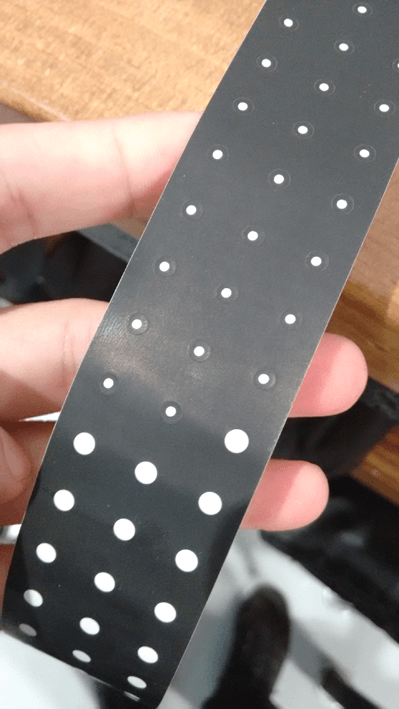
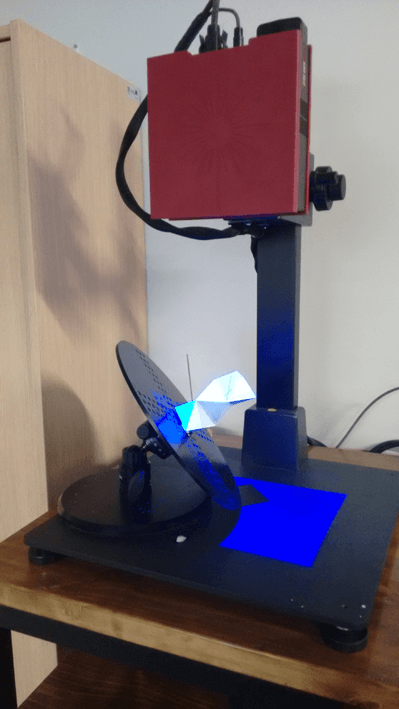
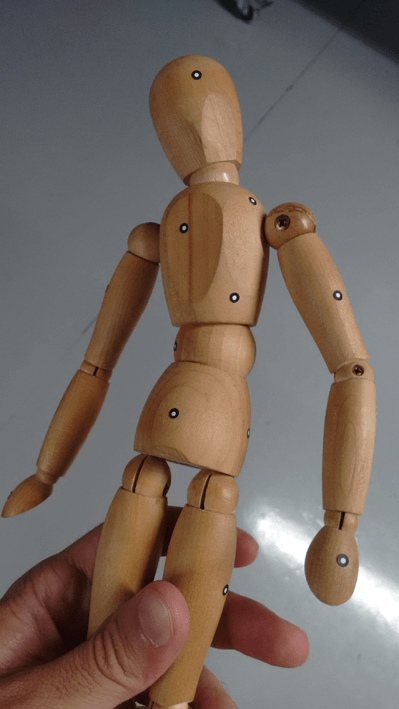
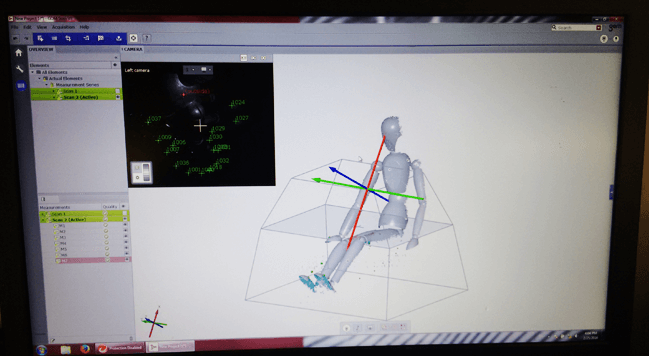
ATOS CORE.
ATOS is a high precision scanner, used in the development of new products, reverse engineering, quality control and production to reduce time and costs. Application areas include 3D inspection, reverse engineering and rapid manufacturing.
We could only half scan some objects, lack of practice and had errors in the distribution of the reference points.
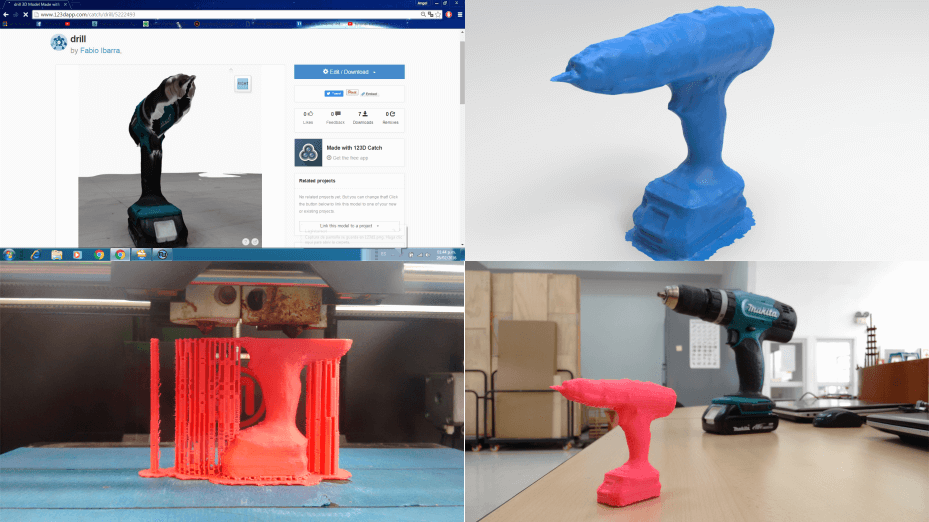
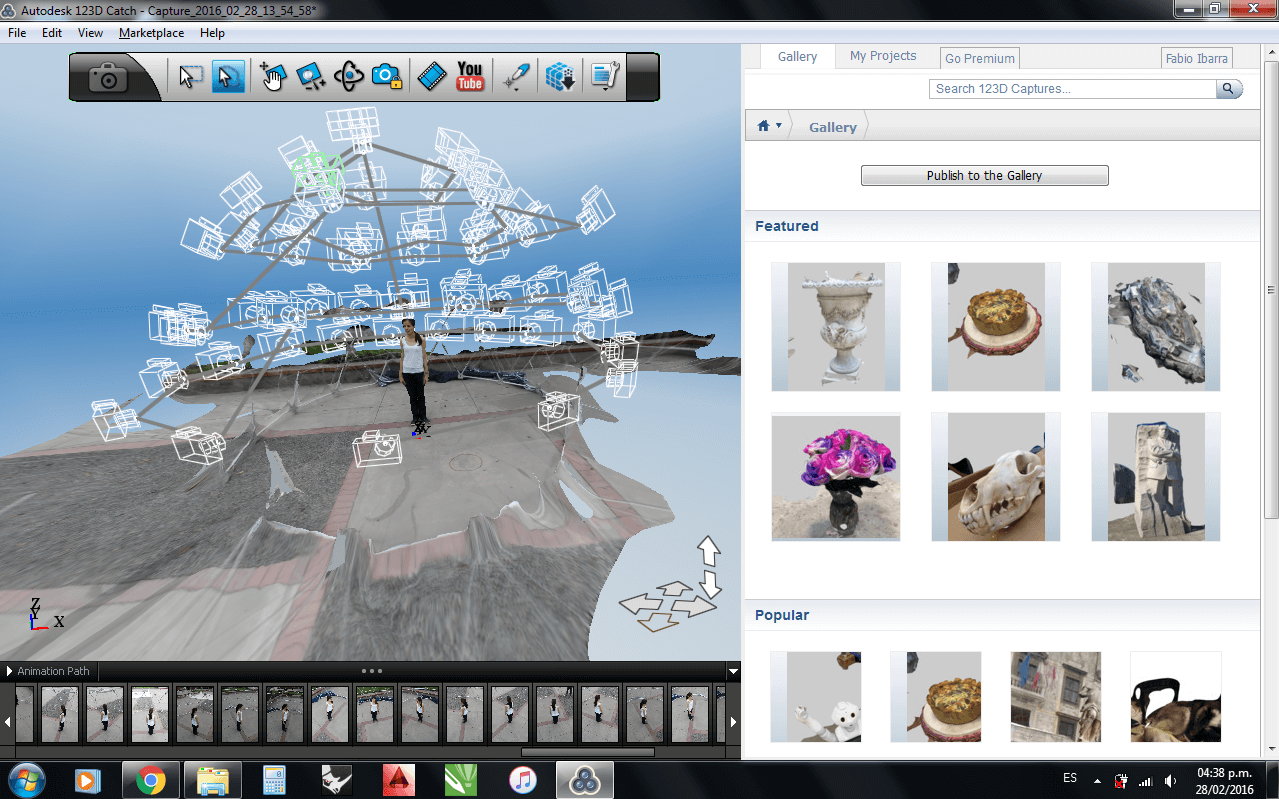
123D CATCH.
With 123D Catch I experienced enough using cell phone and a camera. Here you can see the results obtained with this excellent software.
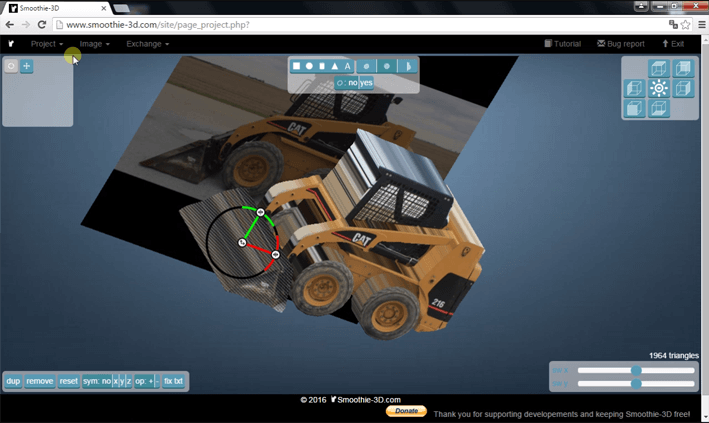
SMOOTHIE-3D.
You can access to smoothie-3D here.
By chance I found this web tool that simply allows you to create a 3D object from a single photograph.
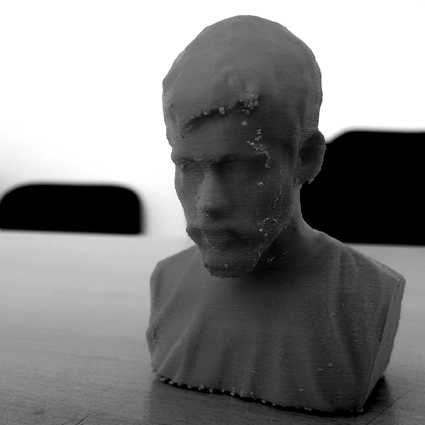
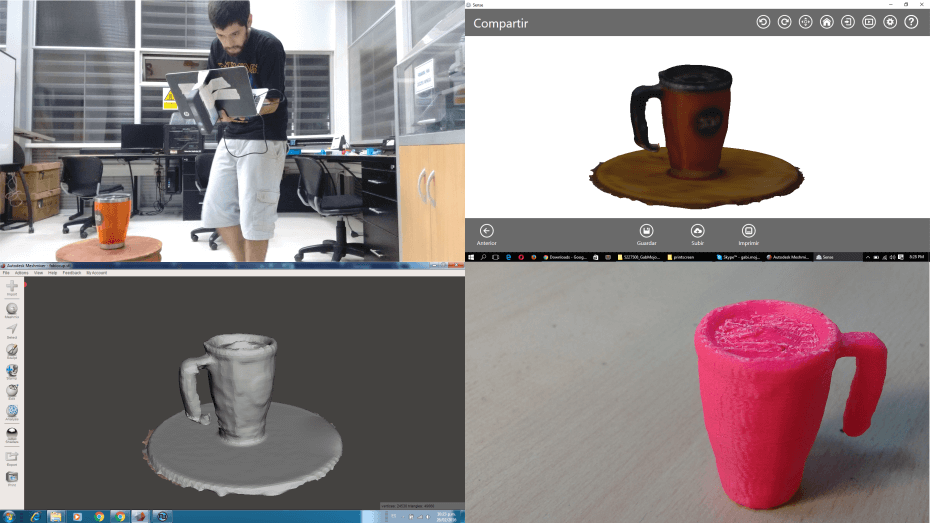
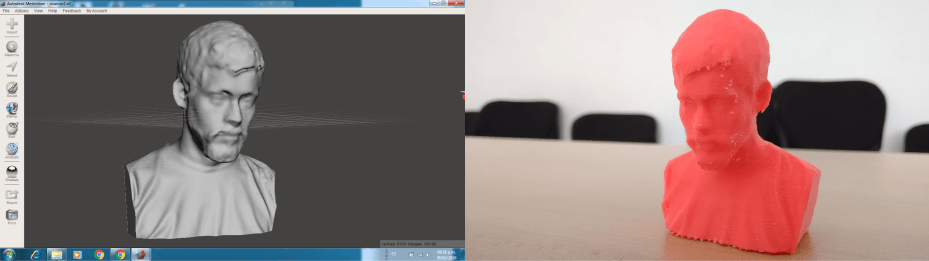
SENSE.
Another scanning tool I have used is the 3D scanner "SENSE" of 3D SYSTEM. It turned out to be very good for scan objects and persons.
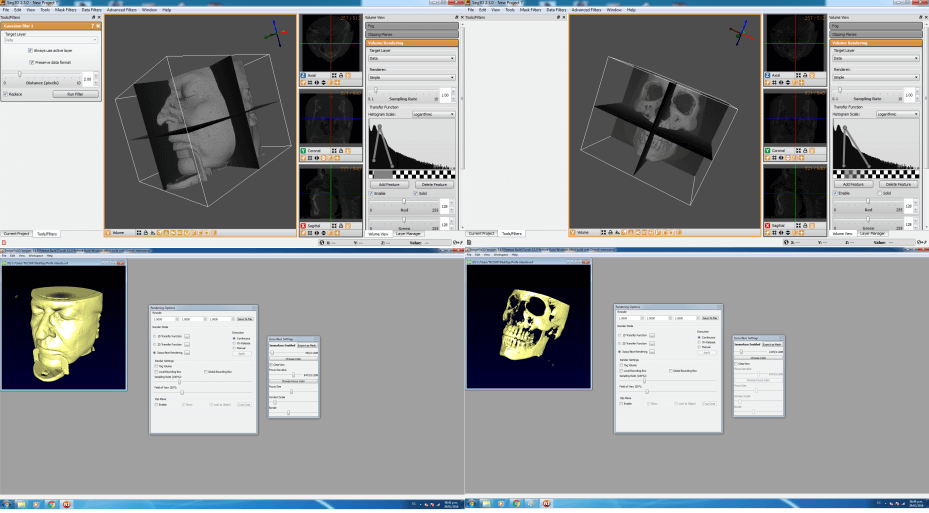
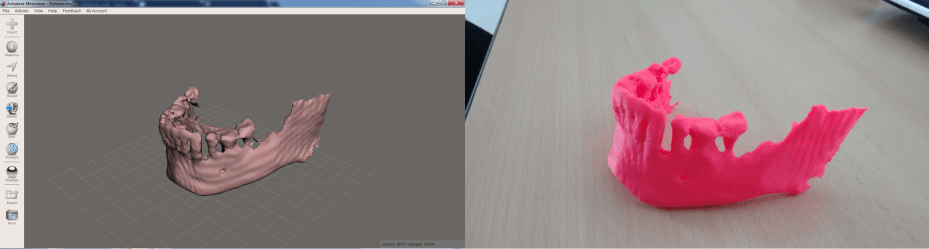
DICOM FILES.
Some time ago I was curious about how to convert files from medical studies in three-dimensional physical objects, after observing some examples and investigate I can convert a DICOM file to managed STL file to print.
In order to convert a DICOM to STL file, I followed this tutorial.
Basically you need 3 software:
- Seg3D (To display the DICOM file)
- ImageVis3D (To compile the DICOM file to STL)
- Meshmixer (To edit the STL file and send it to print)
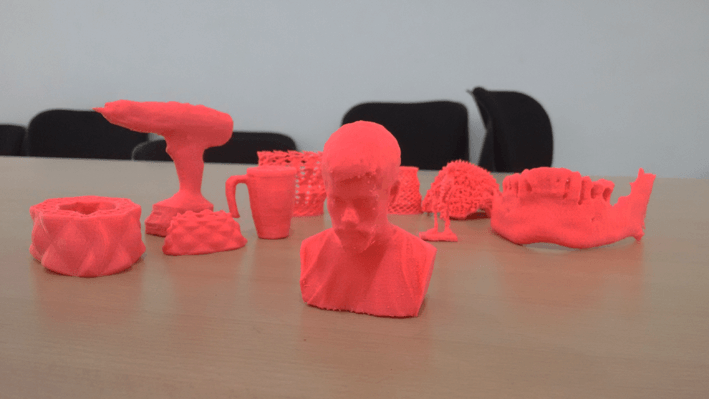
Sample of all my printed objects.
SMOOTHIE-3D file: Caterpillar216.stl
Waves: waves.stl
Waves 2: wavesvolcano.stl
You can download the heavy files (more than 1MB) here from DROPBOX.