Machines used and softs:
Something Big?
My initial goal was to build a trebuchet with a friend of mine, the objective was to make it about my size.
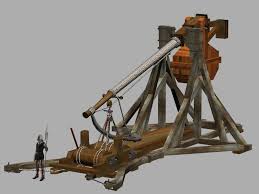
The problem is that we are physisct, so at some point I figured we were spending way much time on caluclating the maximum range of the beast ( wich is actually impossible to solve exactly, it needs to be simulated as a double pendulum) instead of working on the design.
So I decided to make a 1:10 model on the laser cutter to start the prototyping.
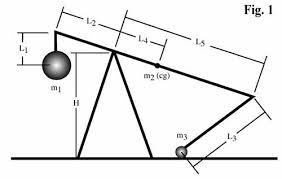
We knew that the perfect ratio between the long and short arm is about 1:3.6, so I just sticked to that.
The goal was to make it full wood, and with no glue even better. So we had to make everything in press-fit .
This is the final model, made and assembled on SolidWorks:
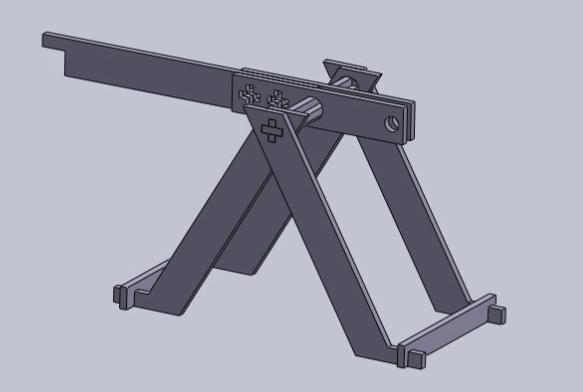
Here is the file : Trebuchet.SLDASM
But finaly after realising that this project would occupy the Shopbot for a long moment ( for the test and everything) I deciced to try to do this later and remplace my "Trebuchet" by a chair.
Changing plans
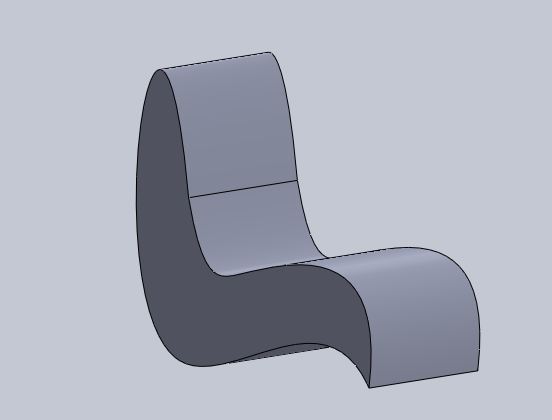
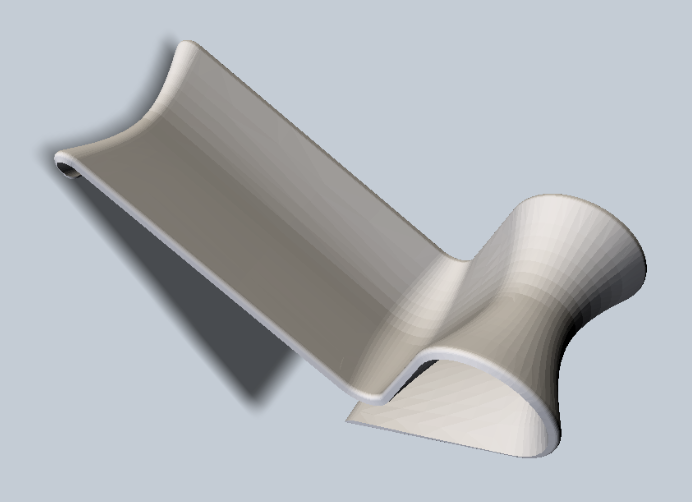
So i designed different models of chairs on SolidWorks :
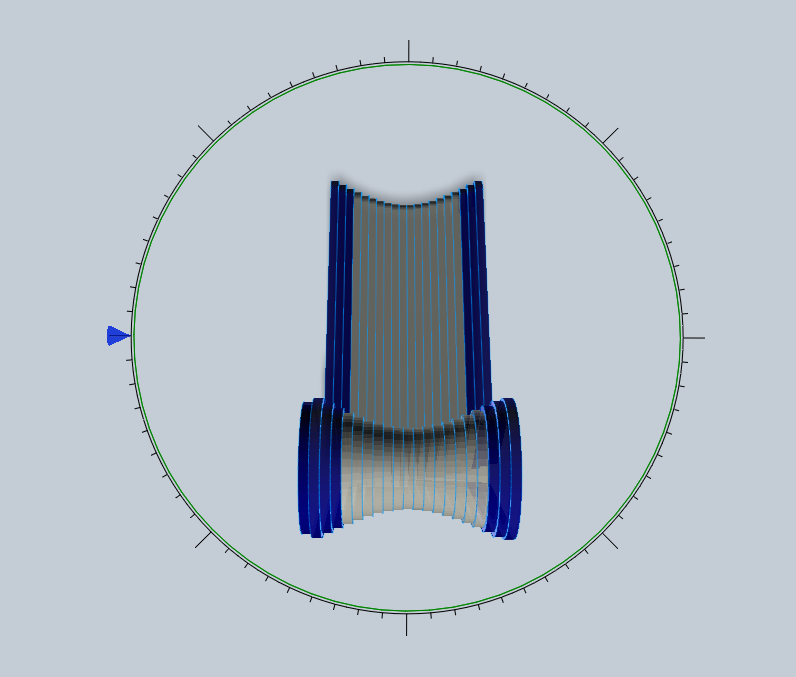
And then sliced them using 123D Make :
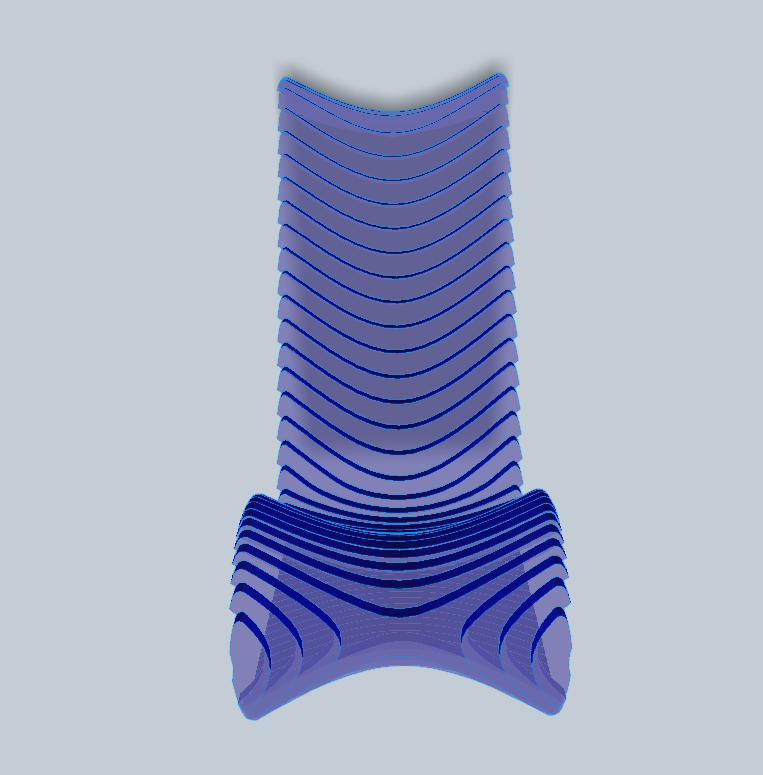
At the begining I was trying to find the coolest way to slice it, but when looking at the quantity of wood that needed these models, I once again had to find a plan B. So I simply choosed the smalest design and then rescale it so it could fit on 2 sheets of 1200x600mm. I did use the 'Nesting' option in 123D Make, but it isn't that efficient at all!
Here are my DXF files after exporting them to CorelDraw and cleaning some extra lines:
The Shop Bot
Vcarve
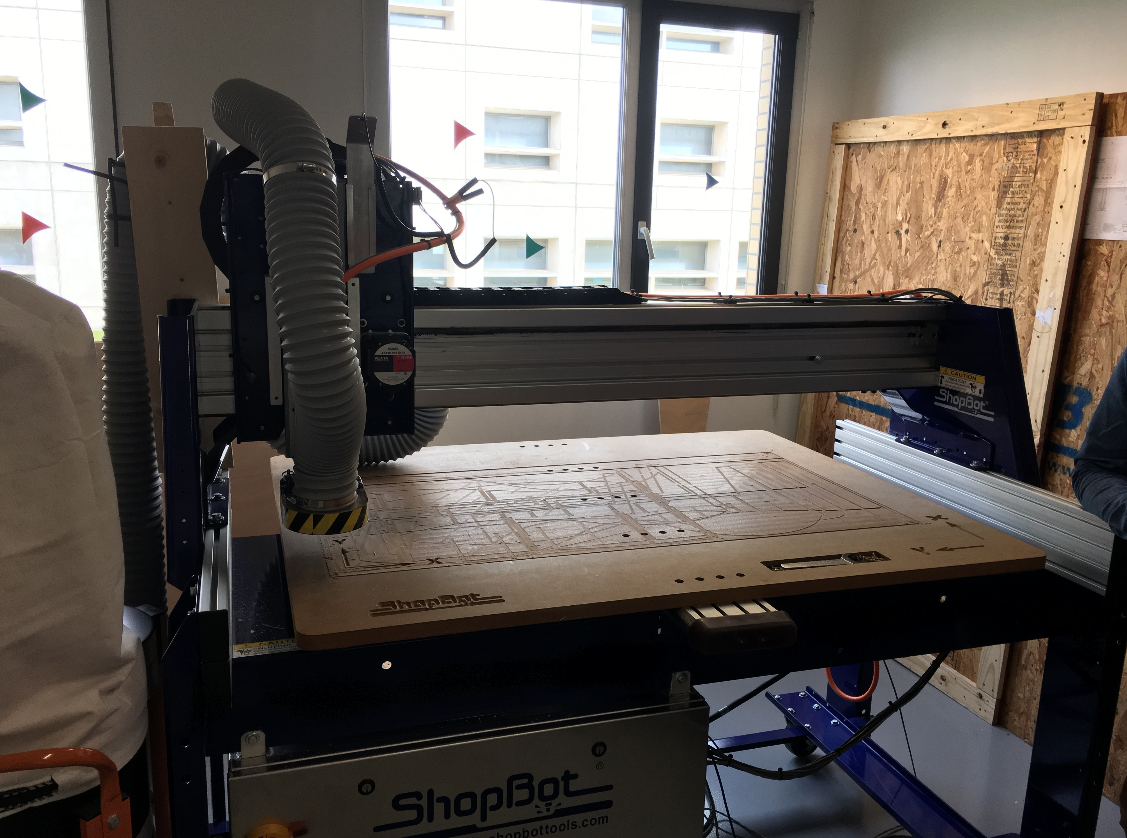
Once I had my files I went to another Fablab at Paris Descartes ( since we don't have a Shopbot at Digiscope), to use this baby:
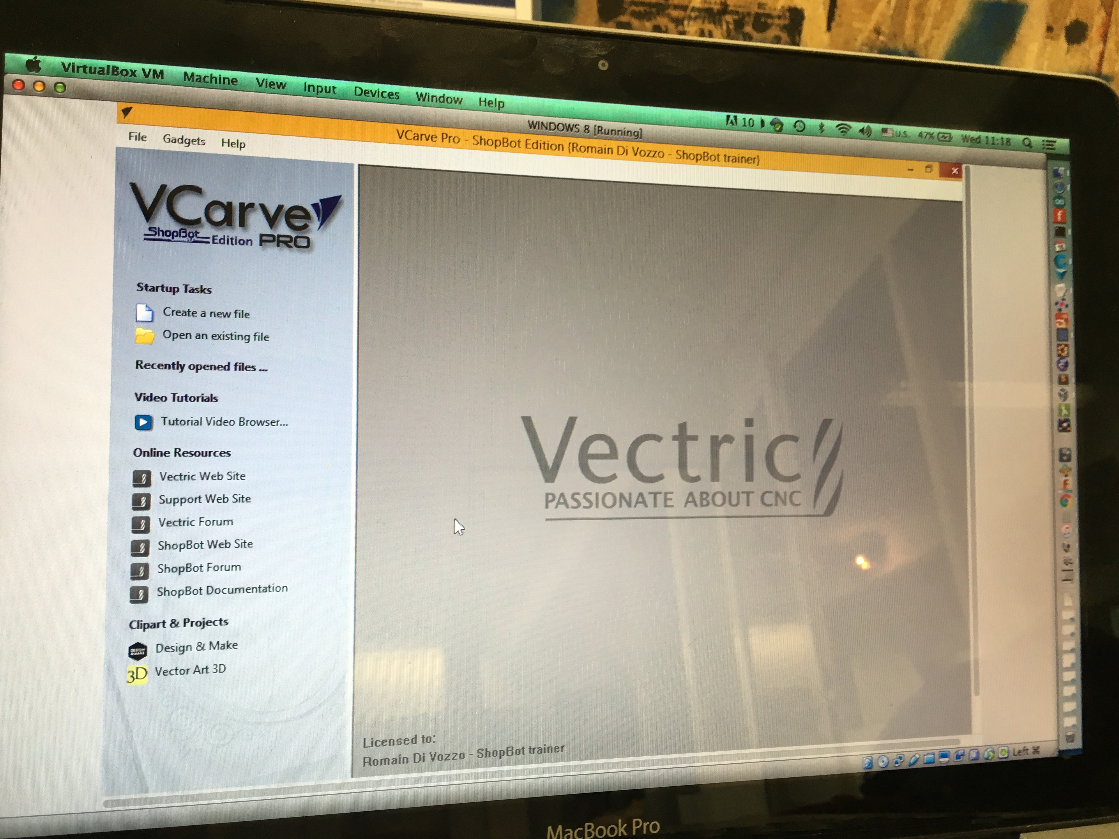
With Vcarve as controlling software:
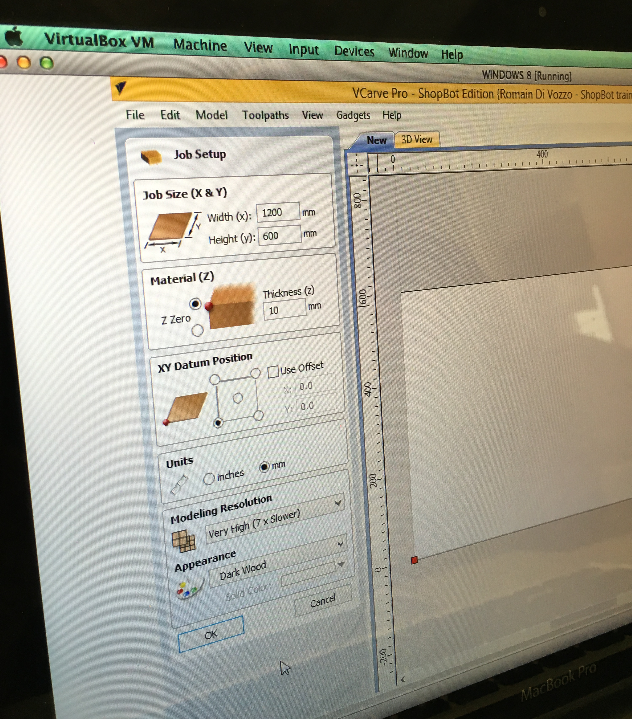
So I specified the size of the sheets I had ( 1200X600mm):
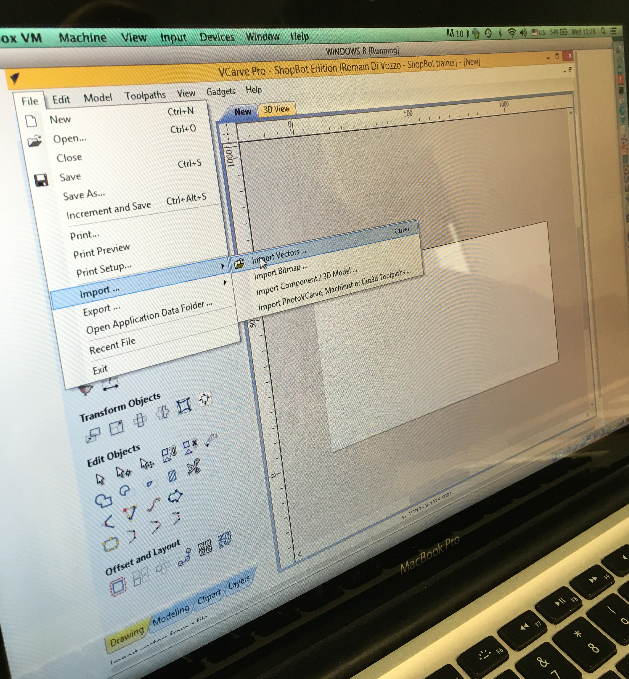
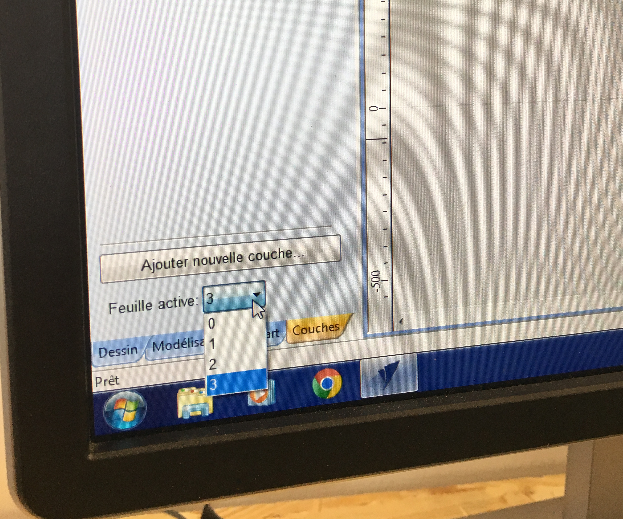
Imported my files (one by one):
Because I have in total 4 sheets to cut:
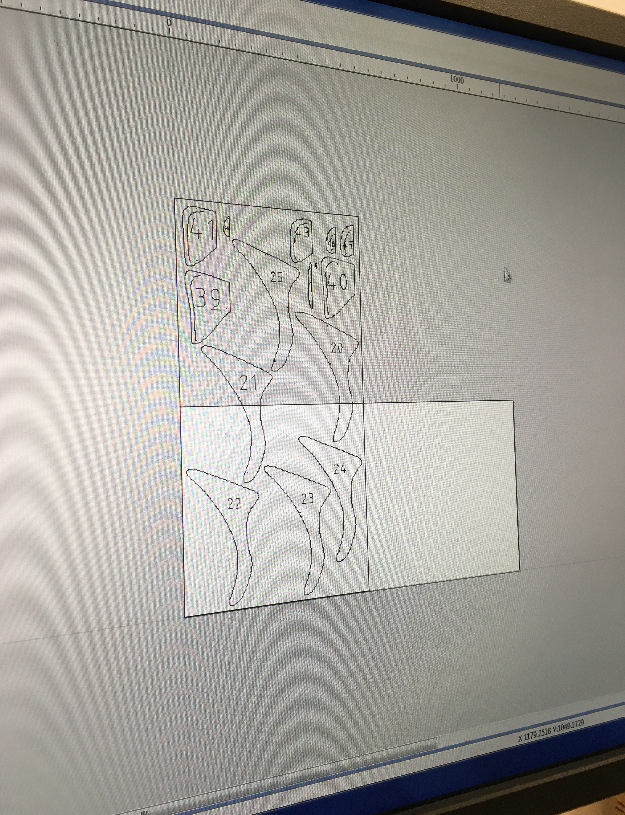
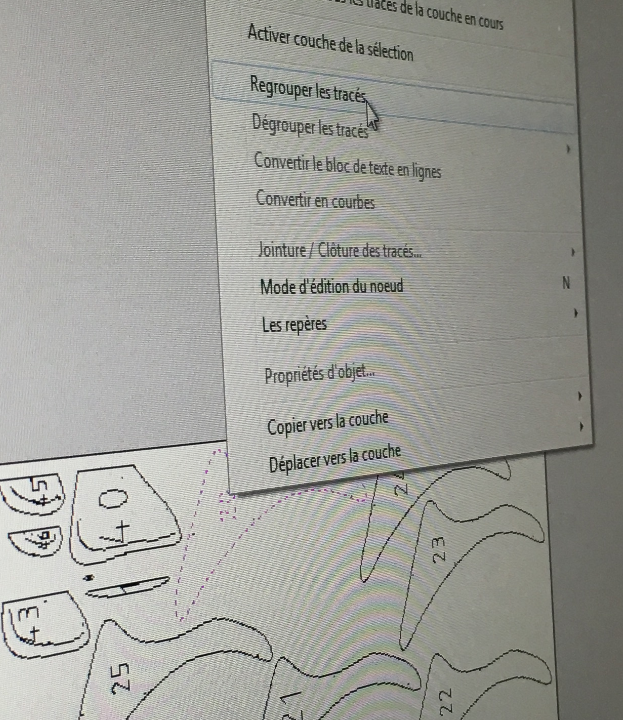
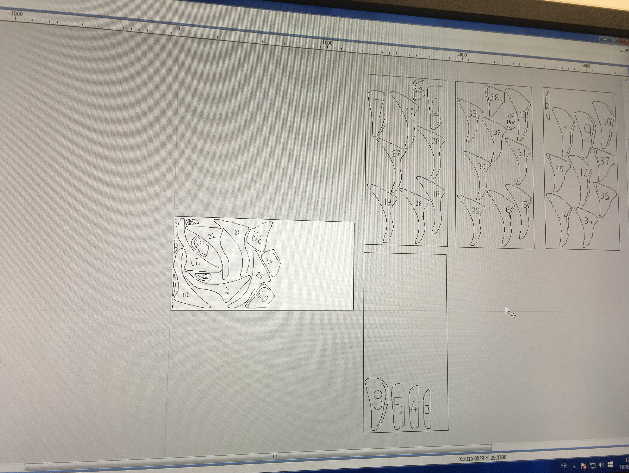
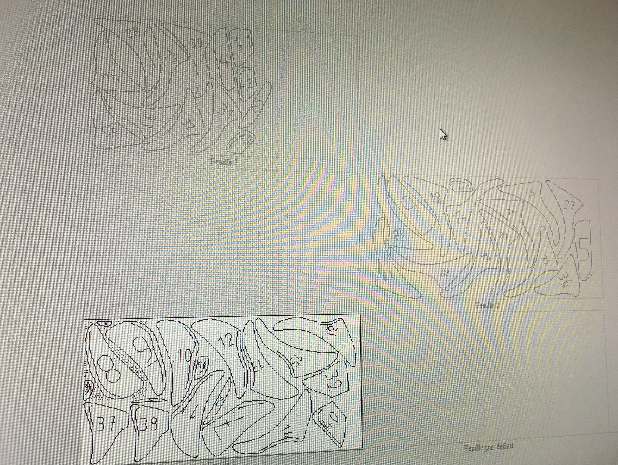
I grouped all my contours:
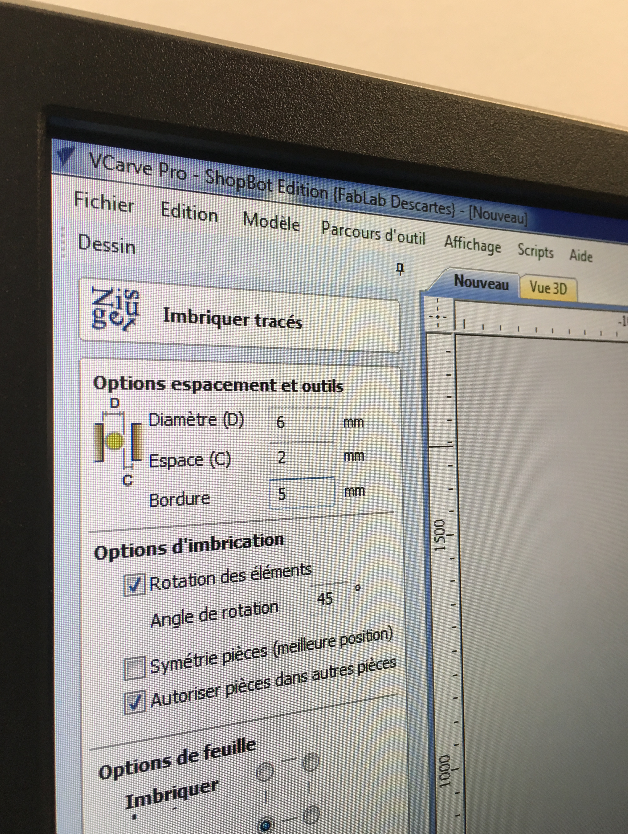
Even after using the nesting options it didn't help much:
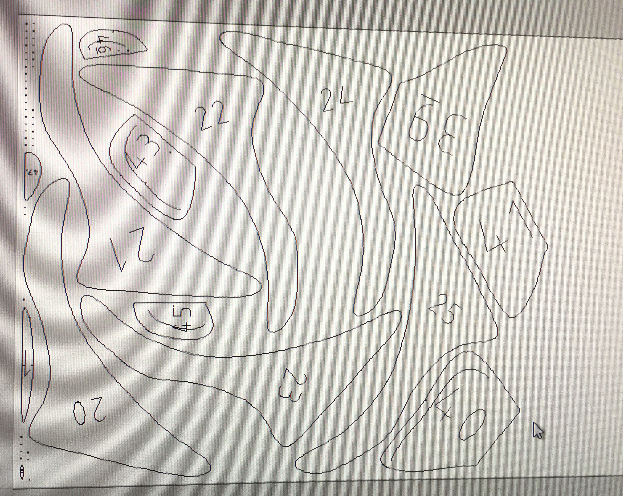
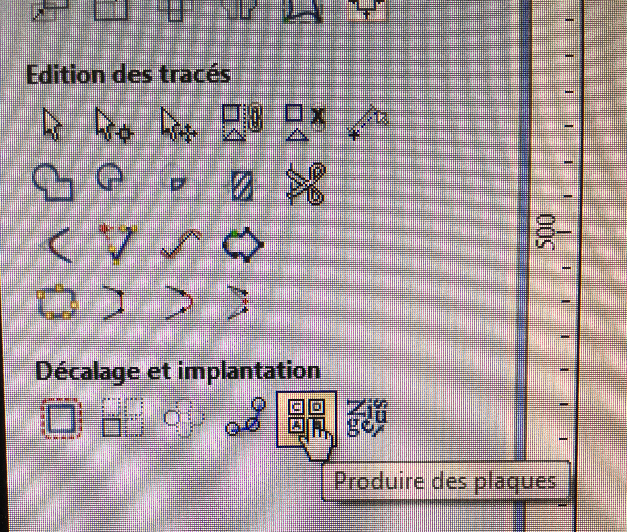
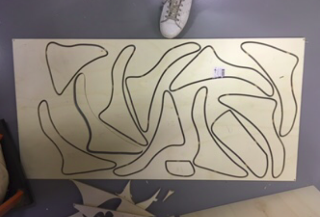
Time to produce the sheets for cutting (I'm going to fastforward a bit ou can click if you want to see more):


The machine
The files are ready, time to prepare the machine, put the correct tool (down cut):
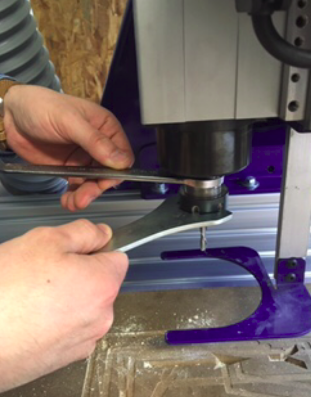
There is an electric Z levelling:
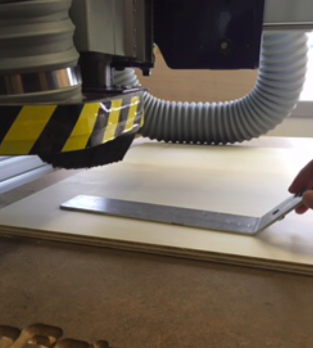
Turn the air assistance on:
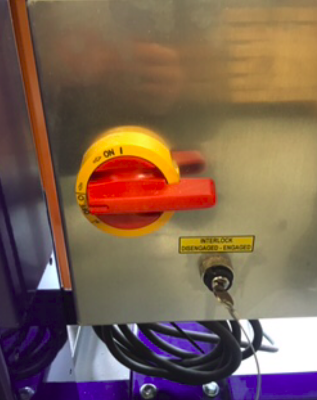
And cut!
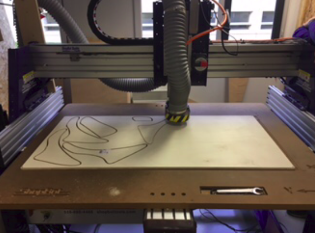
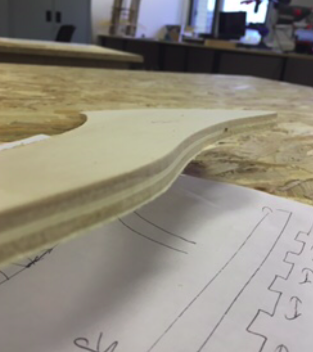
The "downcut" tool is awesome, the edges are perfect:
Unfortunatly, it ran into a holding screw and broke:
I managed to extract the screw to finish the job with a new tool

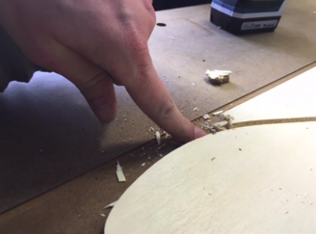
We managed to cut all my pieces !
Assembling
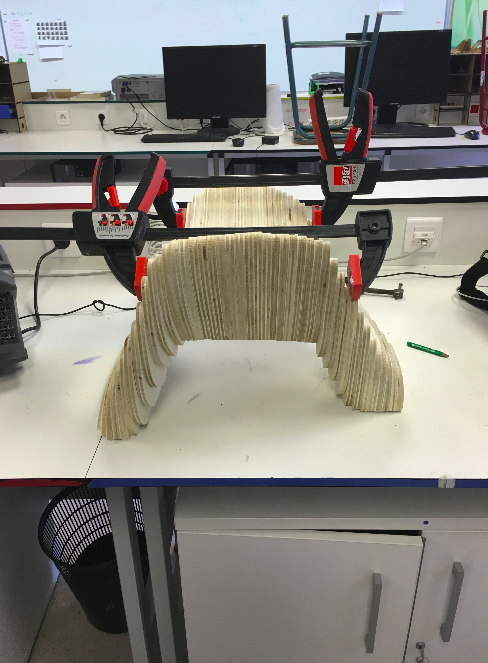
After a lot of sport, one tool that hit one of the holding screws and broke, and some patience, I finally had all my pieces cut, time to glue everything together!
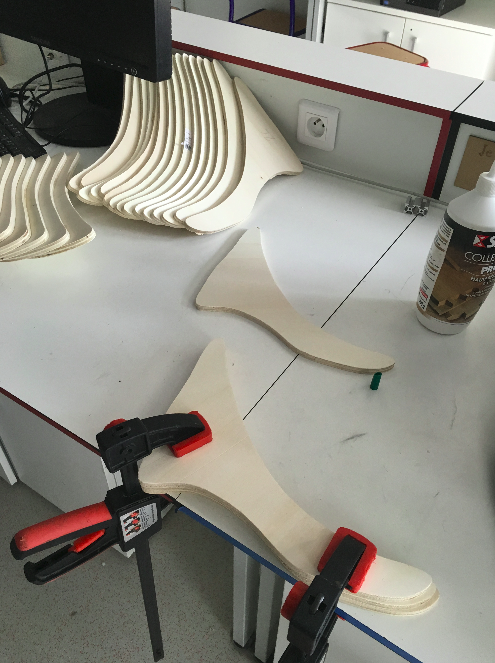
I'm glad I still had the STL and 123Dmake files to keep a proper alignment.
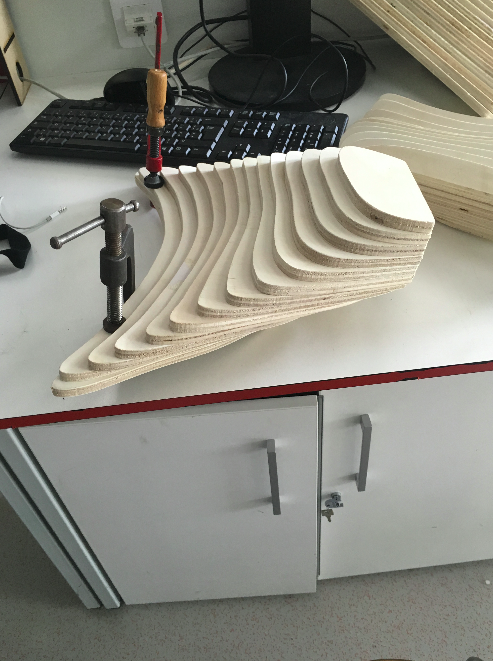
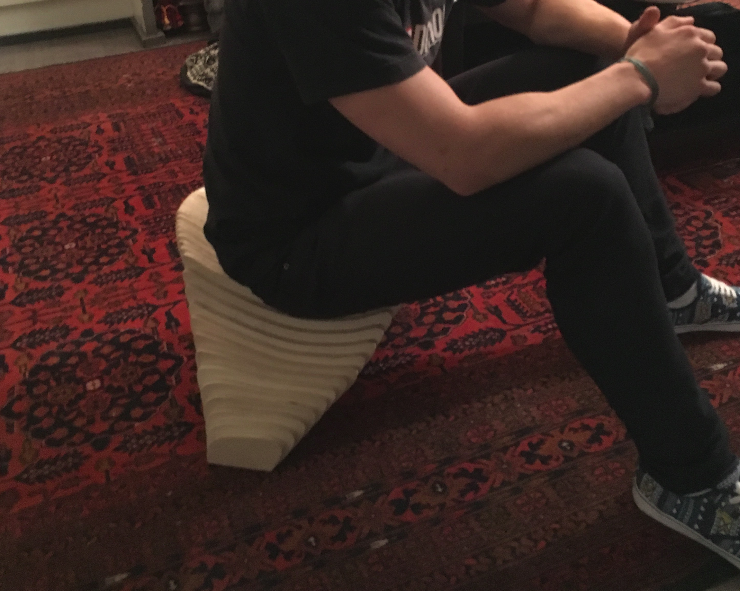
And here we have my SomethingBig curing:
This assignment was a bit fustrating at the begining, I was really disapointed to have to revisit my plans, I spent a lot of time designing that trebuchet with my friend, but this turned to be way more design than I thought, my mini-chair became a "Tabouret design" that everyone wants to buy!