Week 19
For the last two weeks we've been working on the Final Project it has been tough weeks, lots of work to be done, fails and success, in general no time to rest, but things are starting to take form. Intense weeks ahead!
Objectives
Work on the Final Project and document your process.
Weekly Progress >
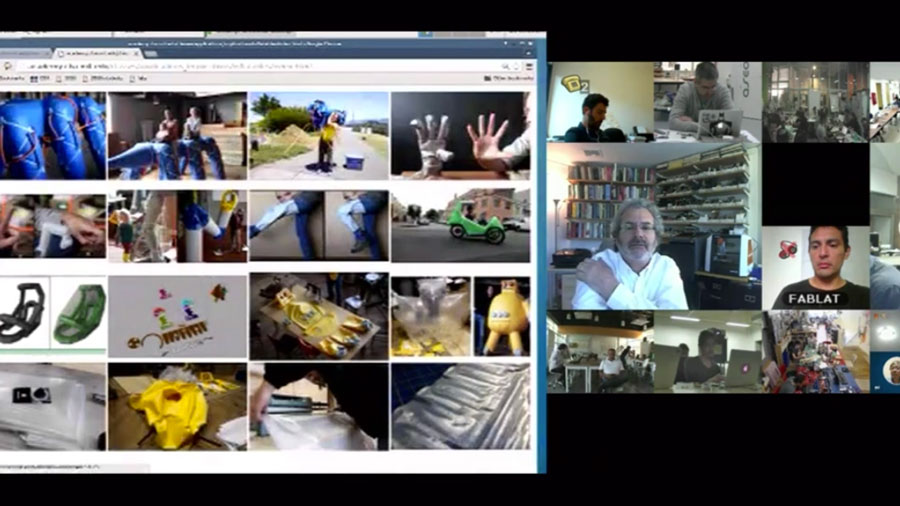
First, we had our weekly lecture with Neil Gershenfeld, you can watch it here.
Final Project Progress >
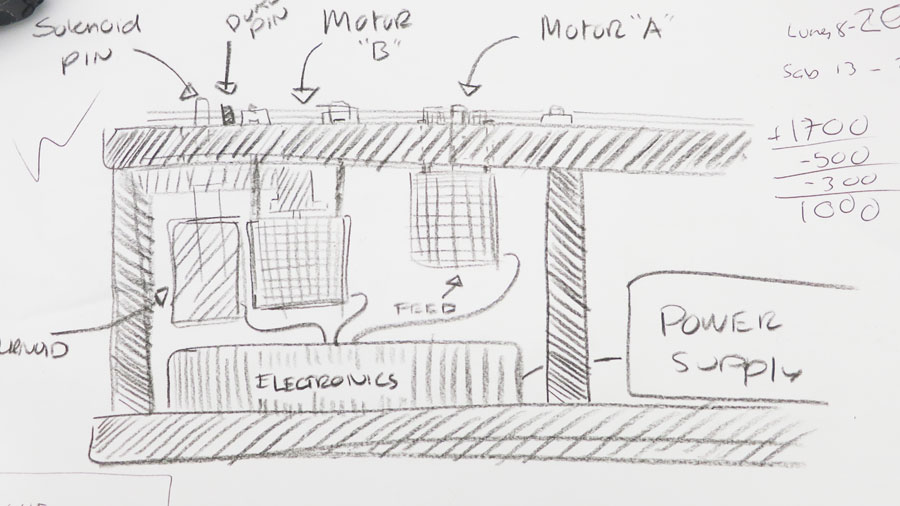
After having the idea, it was time to do an sketch, a first idea of how the main components should be arranged.

I also used a Gantt Diagram to have an overview of the thing that I had to do. I encourage everybody to use at least this tool for project management, is really useful; if you can't measure it, you can't control it.
Research >
I did a research of the main components I was going to use. I've never worked before with most of them. I learned a lot.
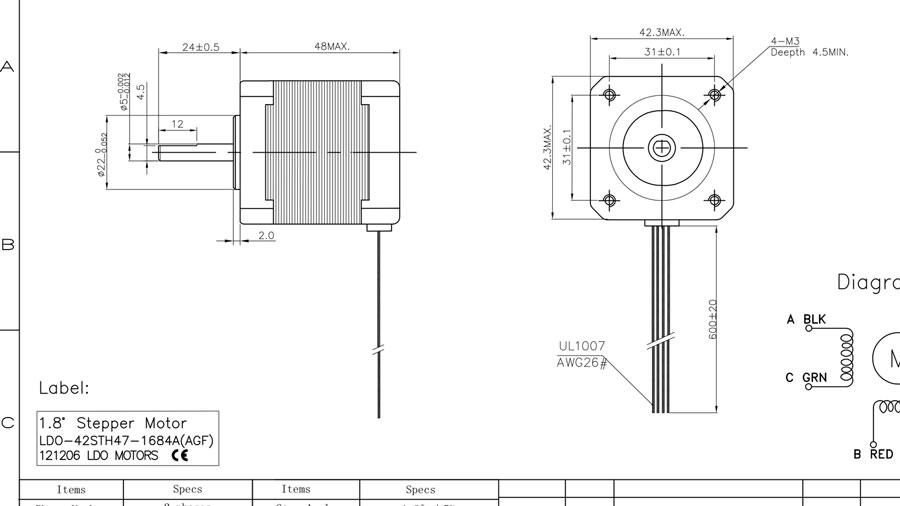
Nema Stepper Motors
I started with Stepper Motors, I read a really helpful guide here.
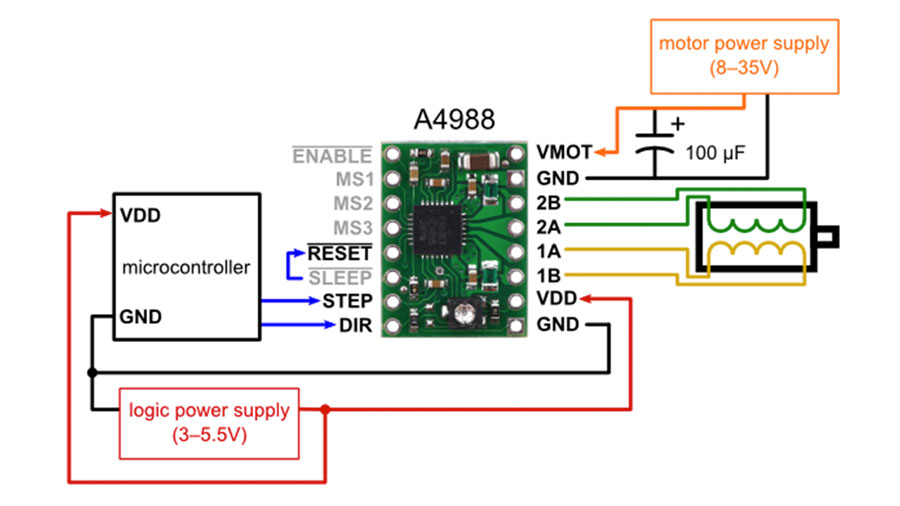
A4988 Stepper Motor Driver
Then the motor drivers, I found a nice guide here.

Solenoid Push-Pull
Then solenoid push-pull, I found a nice guide here.
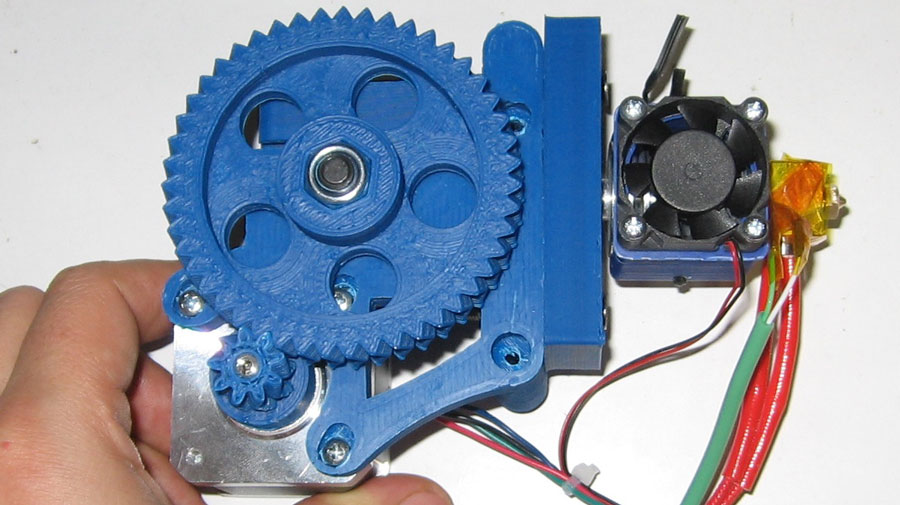
Wade Extruder
Then Wade extruder, I found a nice guide here.
Mechanical Design >
This was a tricky part, luckily because of my previous research I had the measures of all the components I was going to use, also, the research gave me a good understanding of how it should work.
Of course I did the parts a few times until a got the working ones.
CAD
First I designed the 3D models in Rhino. I used this program because my workflow with this program is fast, I have some experience working with it, but if you can use a parametric program like SolidWorks, use it, it can save you a lot of time.

Rapid prototyping
For rapid prototyping I used 3D printing. I works nice, is fast, the quality is not the best, but good enough for the first tests, and I did a lot of tests.

Pieces ready for first assembly

Then after having all the pieces together it was time to assemble, first the motors and solenoid.
You can download the STL files here.
If you want to know more about the process of 3D printing please check 3D Scanning and Printing here.
Electronics Production >
First Motor And Solenoid Test
Before starting to design the machine electronics I tested the motors with an Arduino Uno.
You can download the code to test them here.
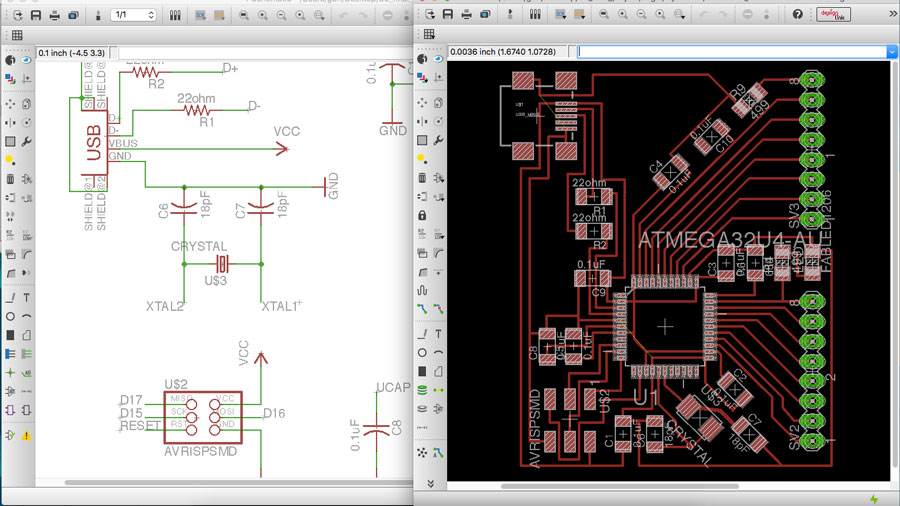
Eagle Design
You can download the Eagle files here.
If you want to know more about the process of design electronics please check Electronics Design here.

Prepare for milling
You can download the PNG files here.
Milling
Stuffing
Here I had troubles, the vias were so small that when the machine was milling they got ripped off, so I had to make a quick "fix", for this I used small pieces of wire for making bridges; It took me some time but at the end it worked nice.

Pololu Carrier Shield with Solenoid Output
I made this because I didn't wanted to use a bread board and also to optimize space use. The only problem I had was with the solenoid circuit, I the wrong diode and it burned, I changed it and it worked!
If you want to know more about the process of producing electronics please check Electronics Production here.
Other Parts Production >
Laser cut
You can download DXF files here.
If you want to know more about the process of laser cutting please check Computer Controlled Cutting here.
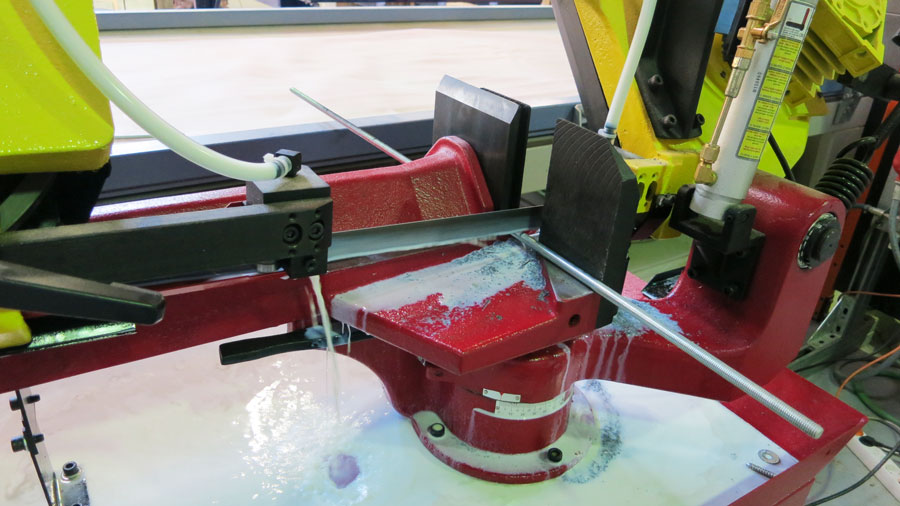
Threaded Rod Cutting
For cutting the rods I used a new machine that we have at the lab, it works by gravity and uses a refrigerant made from an special oil and water. It can cut really big pieces of metal.
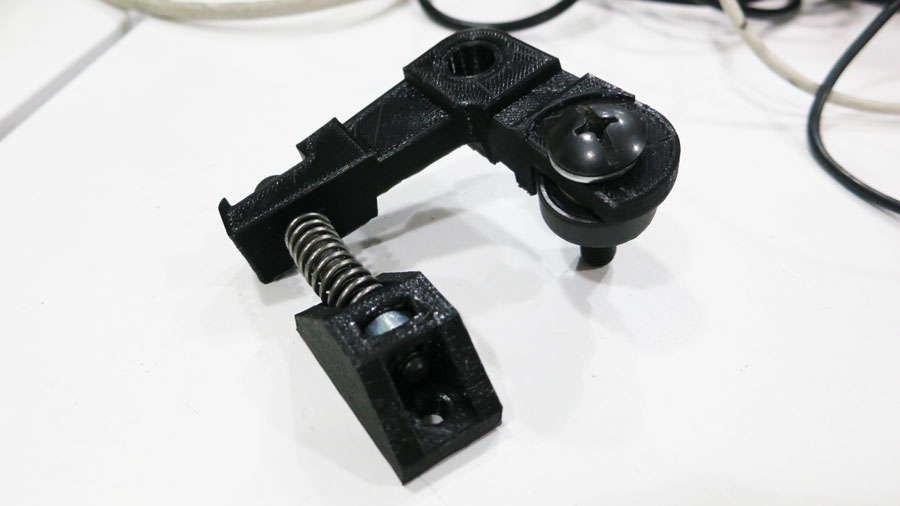
Custom Wire Tightener
One of my favorite pieces. I got inspired from the wade extruder design.
Custom Bearing Straighteners
Another of my favorite pieces, you don't always have to make everything in a computer, most of the times is easier to take a look around, imagine what materials could work and try, you learn a lot by doing stuff this way.
Assembly and Tests >

First Assembly Test
With the first assembly I learned a lot, most of the problems where pointed out, and it was a good way of making some design decisions for the final prototype.
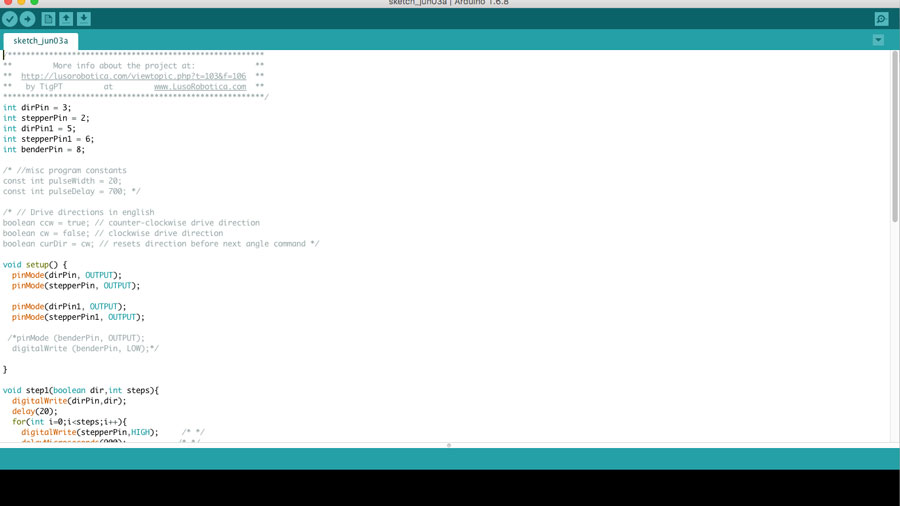
First Program Test
I used an Arduino code to test if the machine was actually capable of bending, the code comes from LusoRobotica. It is important to select the correct pins of the stepper motors.
You can download the code file here.
First Bending Test
Pure happiness, after spending hours and hours seeing your design come to life is just amazing!

Final assembly
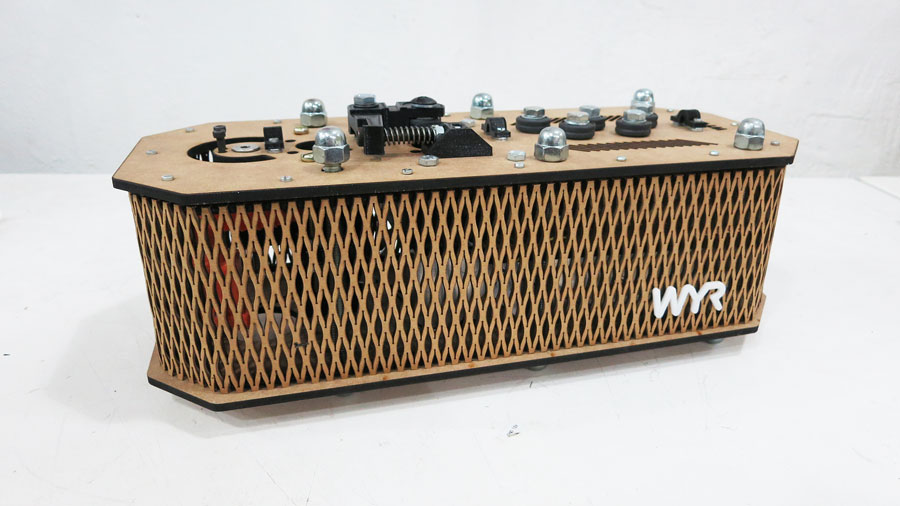
First Prototype
Finally I had some time to work on the esthetics of the machine. I also gave it a name and designed a proper logo.
All this work was possible thanks to all my friends/partners at the lab, thank you very much, we did an amazing job! Also, an essential part of it, our tutors, Ferdi and Santi, you helped us made ours projects a reality, also the staff at the Fab Lab Barcelona.
Thanks for the patience and the knowledge.
