
Week 11
I was expecting this week for a long time, is one of the topics that I'm really interested on exploring, so this week I tried to test as much sensors as I could. We didn't had much time but I manage to test five of them.
The process was to do everything from the schematics to the programing and testing. It is really exiting the moment when you connect the sensor for the first time and it works, is just great!
Objectives
Add a sensor to a microcontroller
Measure something
Weekly Progress >

First, we had our weekly lecture with Neil Gershenfeld, you can watch it here.
Assingment >
Finally inputs! I was so exited this week for exploring this area that I decided to make as many inputs as I could. It was great, I learned a lot, and I'm getting more experienced in electronics design and production, I feel my progress with each new board!
I decided to try sound, light, temperature, movement and distance.
First step, design in eagle. During the last few weeks I've learn that is better to take (inspire) from what's been done before than to try to invent the wheel, so I took Neil's examples and replicate them trying to understand what was going on.
As before I've used eagle to design my boards. The only advise I can give you is: When you search for components press the "f" key on the components window, that will bring fab components list, click on the name, and almost all of the components we use are listed under it. This seems obvious but most of us where searching for the components by name. This saves a lot of time.
Bellow you'll find the eagle files for each board I've made:
If you want to know more about the process of design electronics please check Electronics Design here.
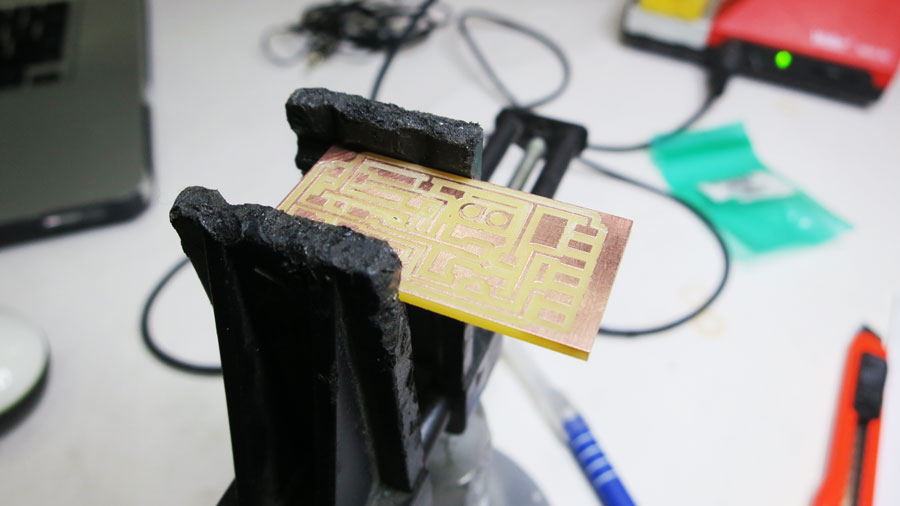
After having your eagle files done time for milling. As I mention before, I'm feeling more confident now with this process. We just had an issue with Wi-Fi so we couldn't connect to internet, if this happen to you, use an alternative, fab modules on ubuntu, is the same process, just the UI is a little bit different
Also the machine was scratching my board, the problem was the Z jog it was on 0, I set it to 2 and it was ok again. Z home should me 60 or any number above.
Bellow you'll find the PNG files for each board I've made:
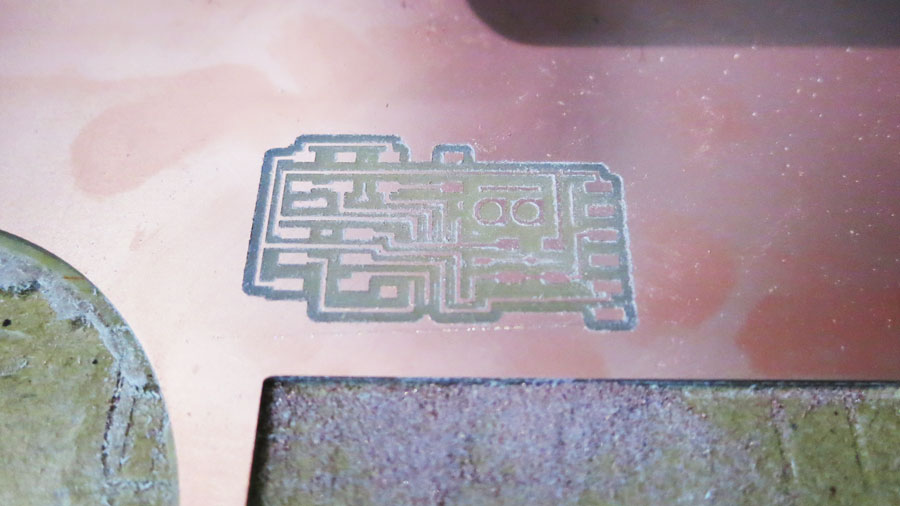
Next, milling process, I followed the same steps than in Electronics Production, check it here.

For prepare / gather the components follow this BOMs (bills of materials):
For the soldering process I just have to say that being patient is the key. It is not hard but you have to be aware that you'll spent a fair amount of time doing it.
Also, be careful with the fumes, if you can, buy yourself a gas mask and use safety googles for protection. No need to say you should be doing it in a well ventilated area.
If you want to know more about the process of producing electronics please check Electronics Production here.
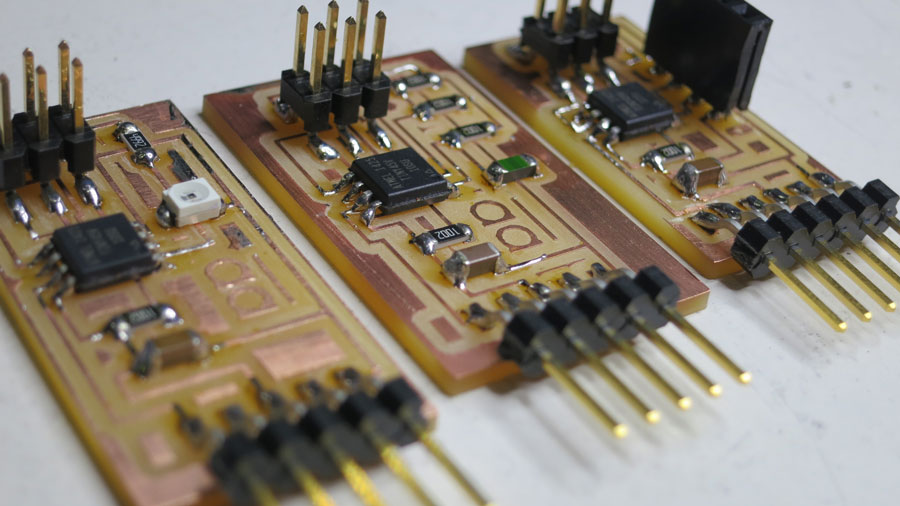
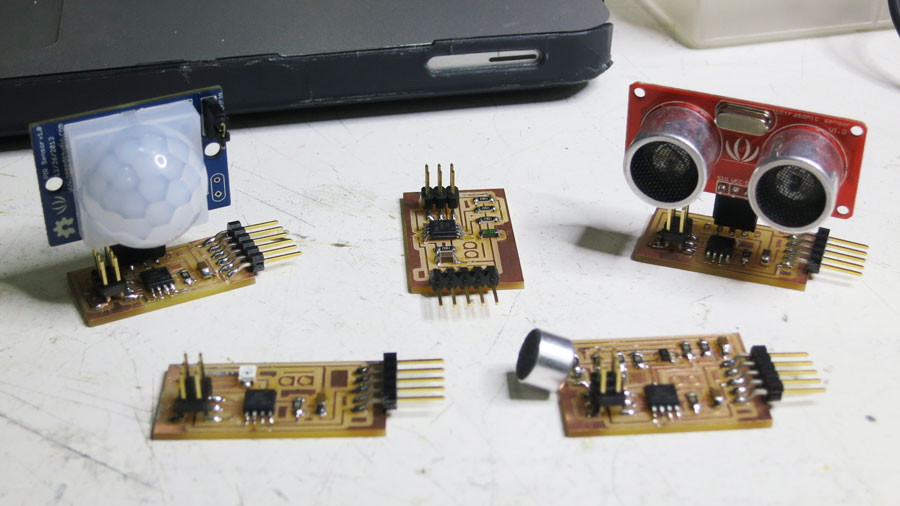
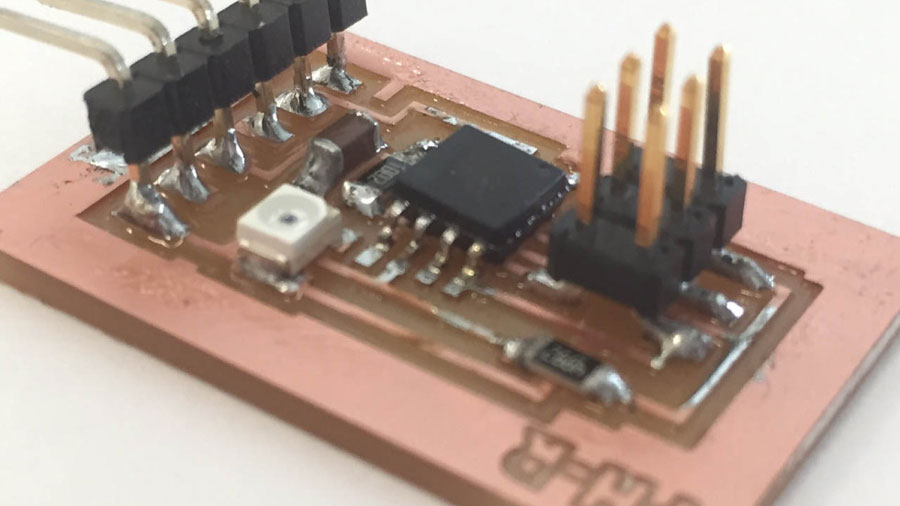
Input boards done! My PCB family is growing!
It took me more or less two days to finish them. You'll have to review the Sonar and the Pyroelectric design, the problem is that the sensors I've used have the connections in different order, be aware of this if you use my files to make yours.
In the future I'll try to make all the inputs examples we had for this week.

I've programed the boards in Python on a Mac. Before starting to program I had to install some libraries, Im using Python 2.7 so I needed this:
PIP which is a package management system used to install and manage software packages written in Python, get it here.
PySerial which is a module for Python that encapsulates the access for the serial port, get it here.
Files for programing the boards:
For programing I've used Neil's examples, followed the next steps:
Open Terminal
Go to the folder where your program files are. You should have C file, Make file, Py file (to test the input)
Plug your FabISP (programer board) to the computer, then plug your input board to the programer.
First you have to program your board using the Make file (programer file), which uses the C File (the program). Use this code: make -f hello.mic.45.make program-usbtiny
After you finish programing it, you have to test it with the Py file, use this code: python hello.mic.45.py /dev/tty.usbserial-your_serial_port
If you don't know your serial port use this code to find it: ls /dev/tty*
And that's it, if you've done everything correctly the python program will detect your input data.
Bellow, some videos of my success with the boards. I've learned a lot this week I'm really grateful and happy!
The test program where made in Python using Tkinter to make the interface.
