Designing the mold
To complete this weeks assignment, I wanted to do a pocket multi tool. I had a reference image from which I build my design in Rhino.
The reference image is shown below.
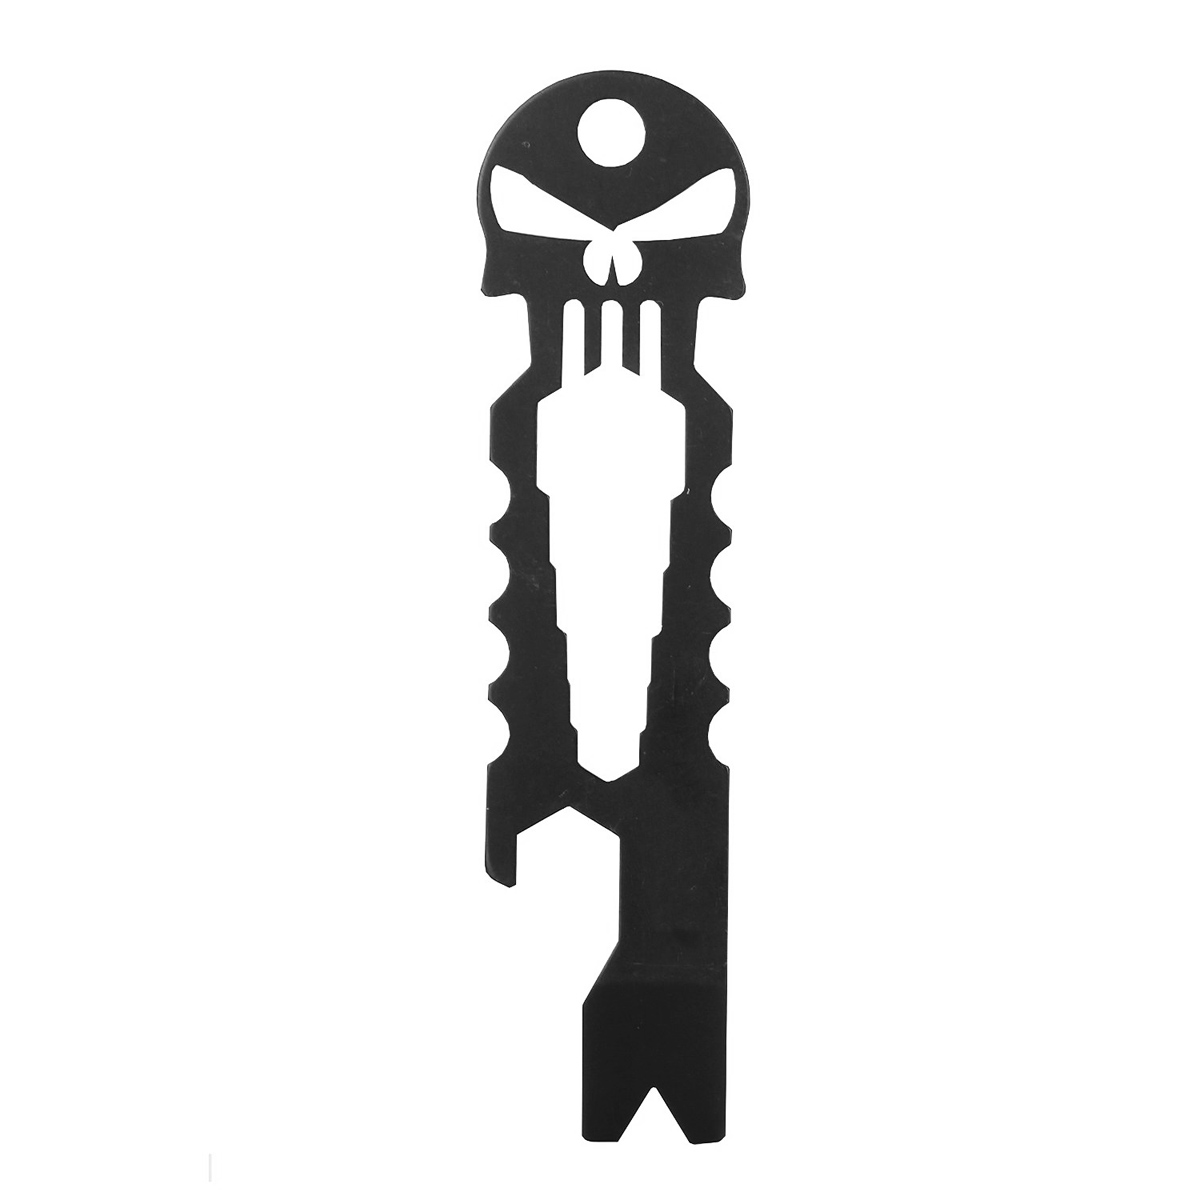
I used the above image in Inkscape and traced the bitmap and used edge detection to get the outline trace.
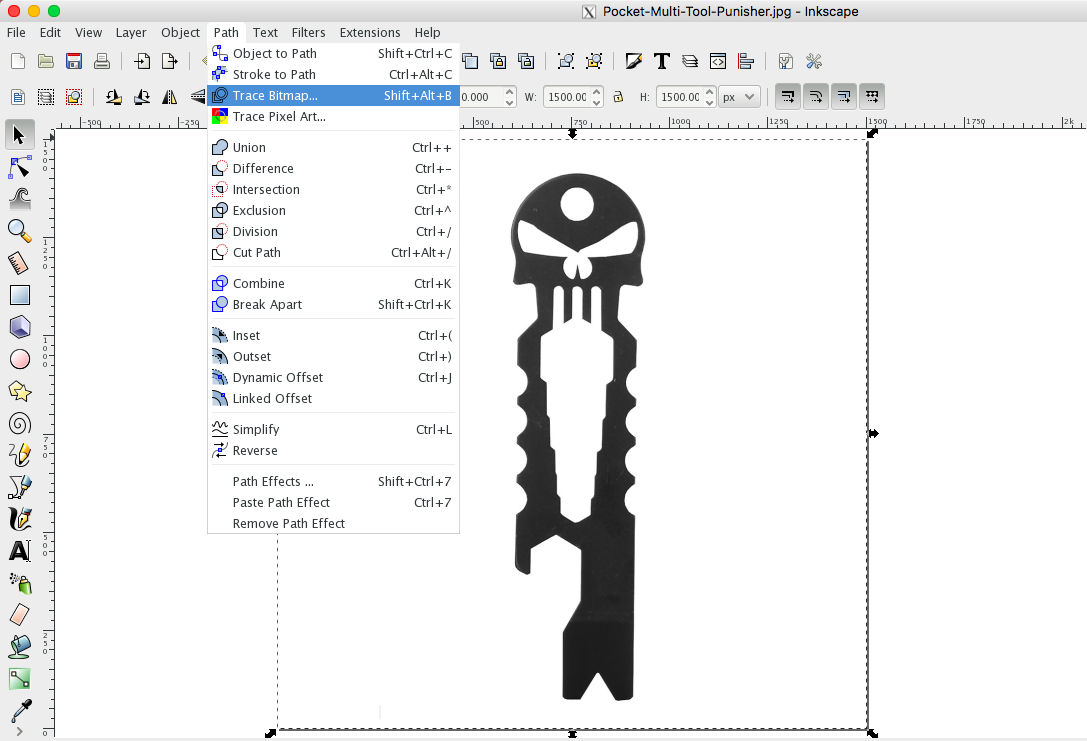
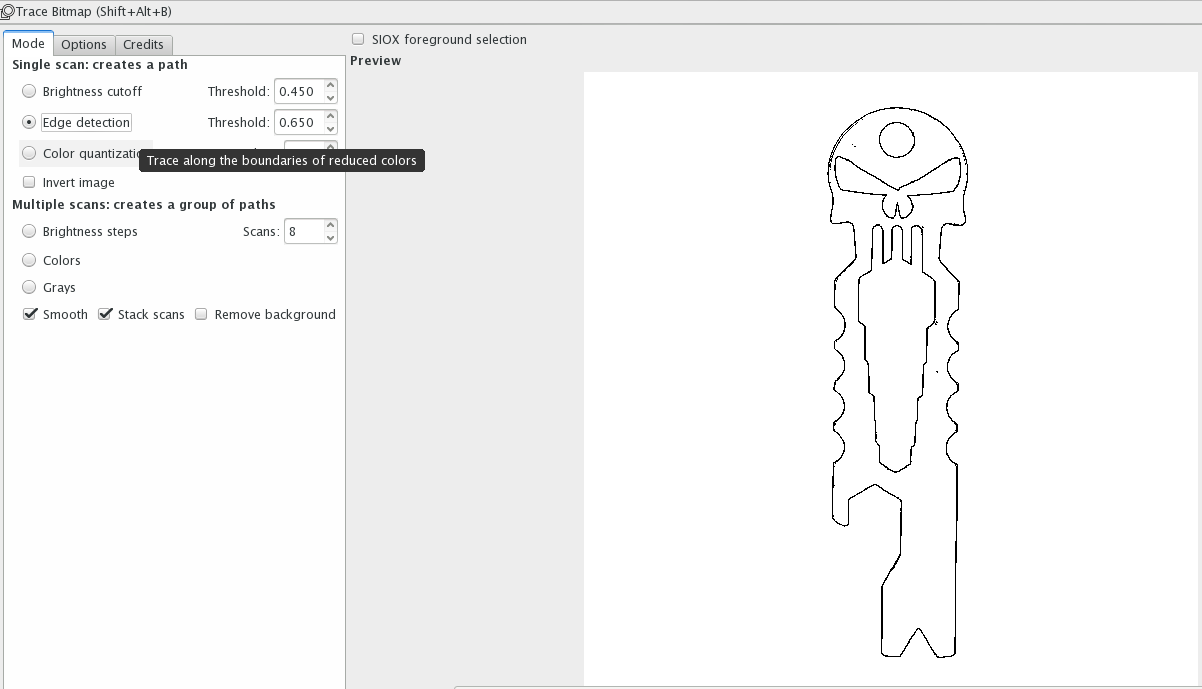
And also applied color so that I could retrace it on Rhino.
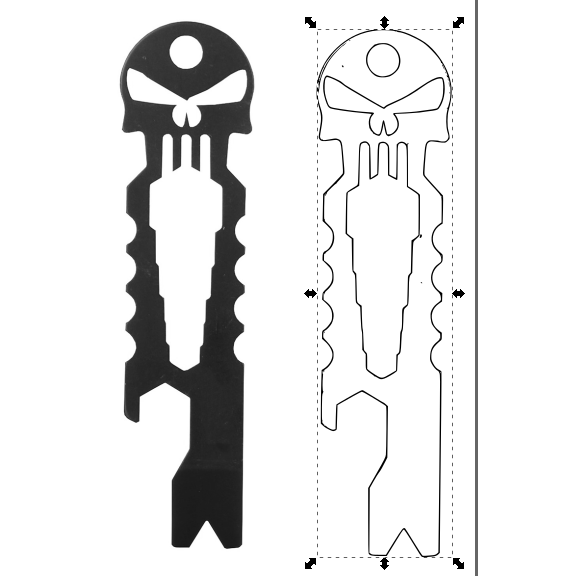
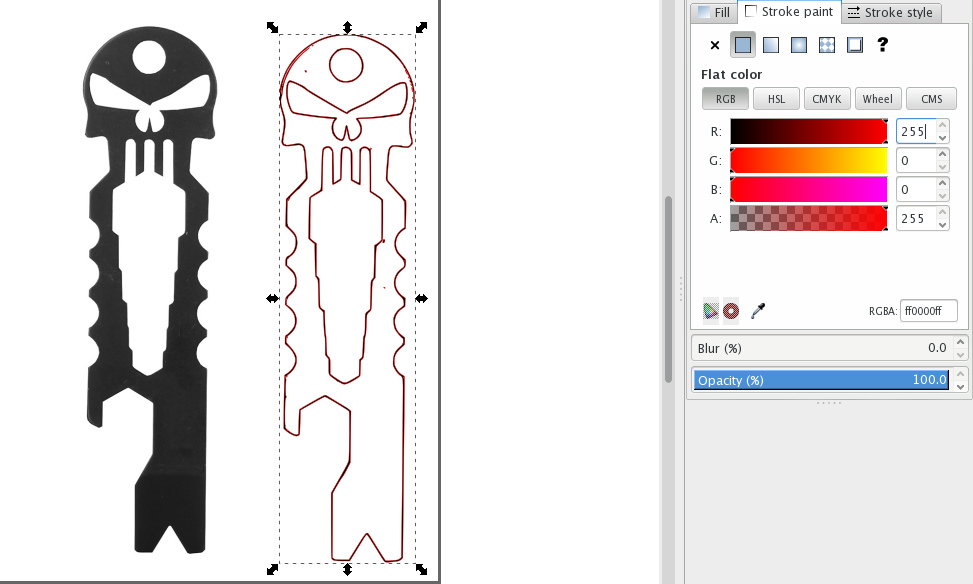
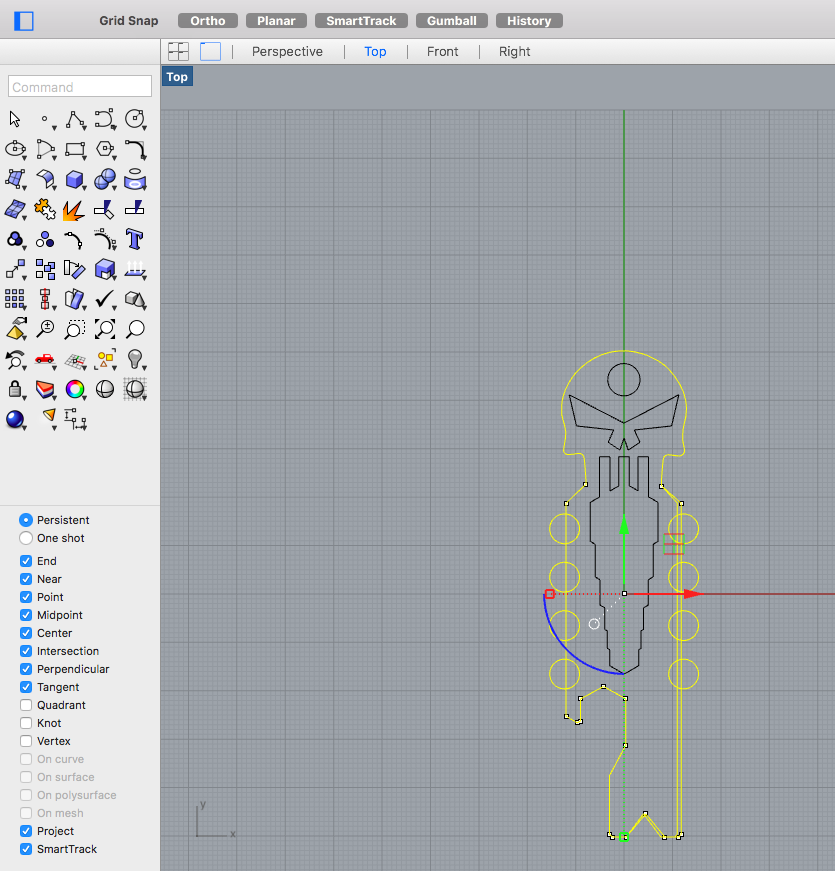
I used .dxf format for importing it into Rhino.
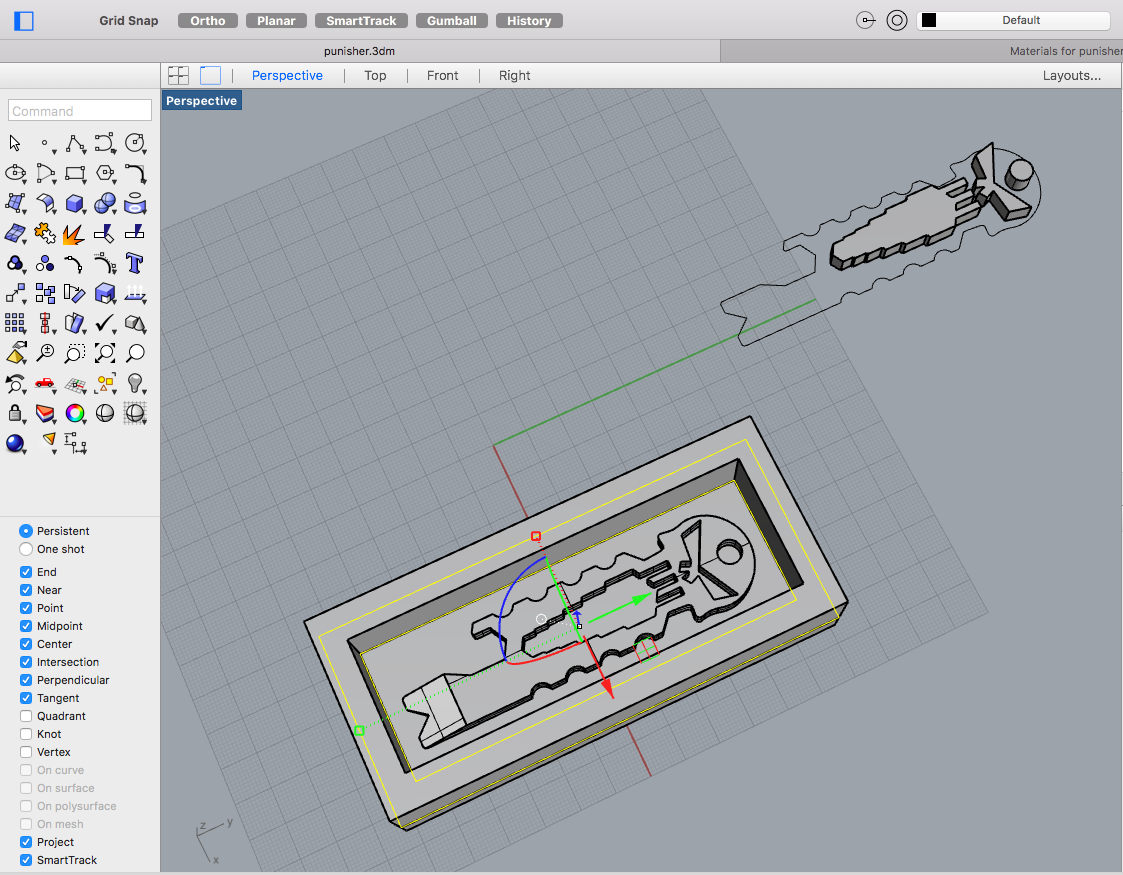
The imported dxf had lots of extra unwanted lines because it was created from an image, so I started tracing the lines I wanted and recreated the design.
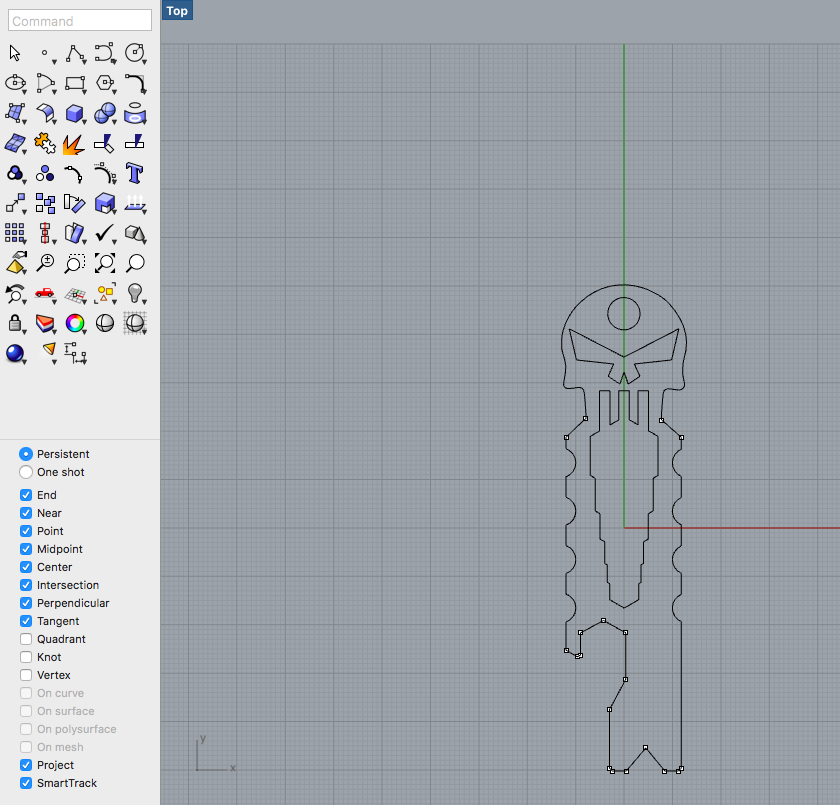
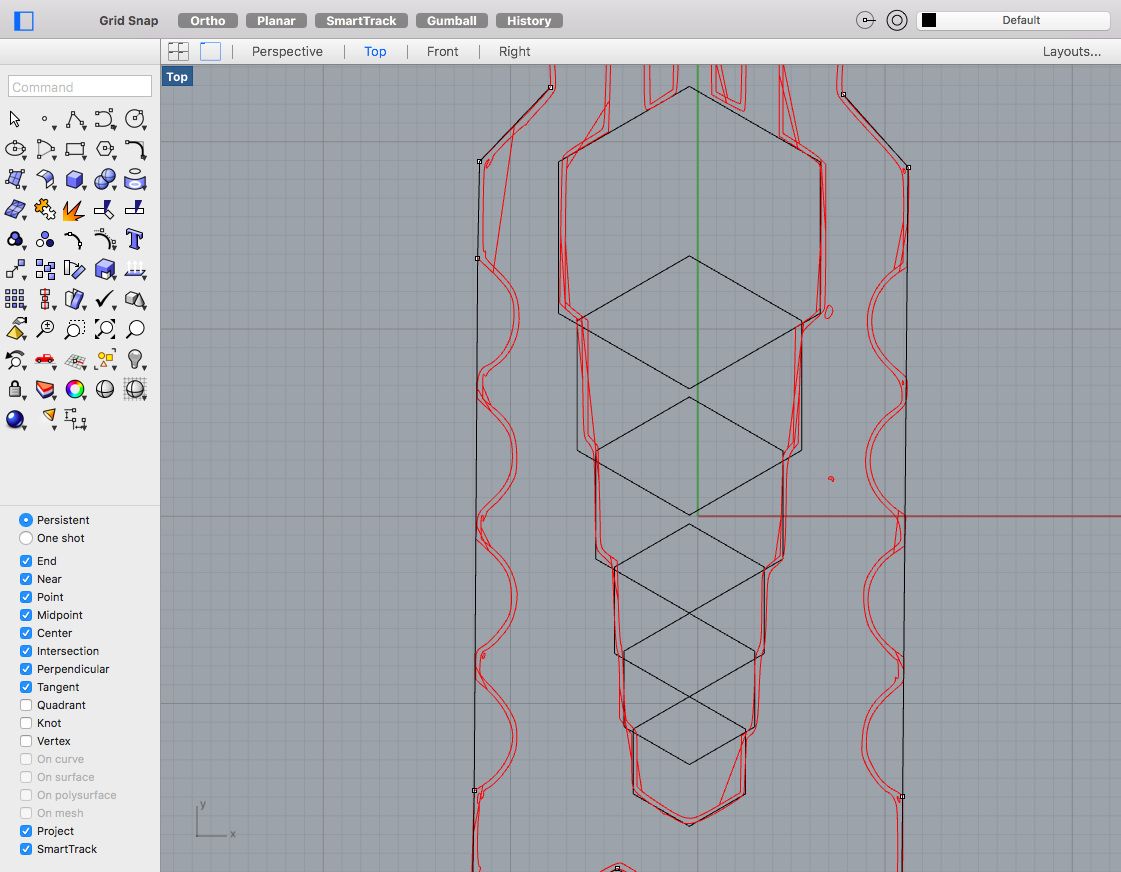
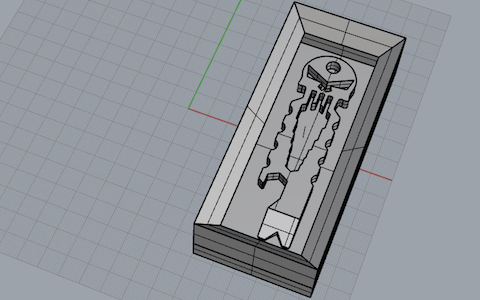
I extruded the design at 6 mm. Then when on to design the rest of the outer edge design for mold. I remembered to put tapered edges as well so that the spindle of the Roland MX-200 doesnt hit the wax on which I would be milling the mold cavity.
Milling the mold cavity
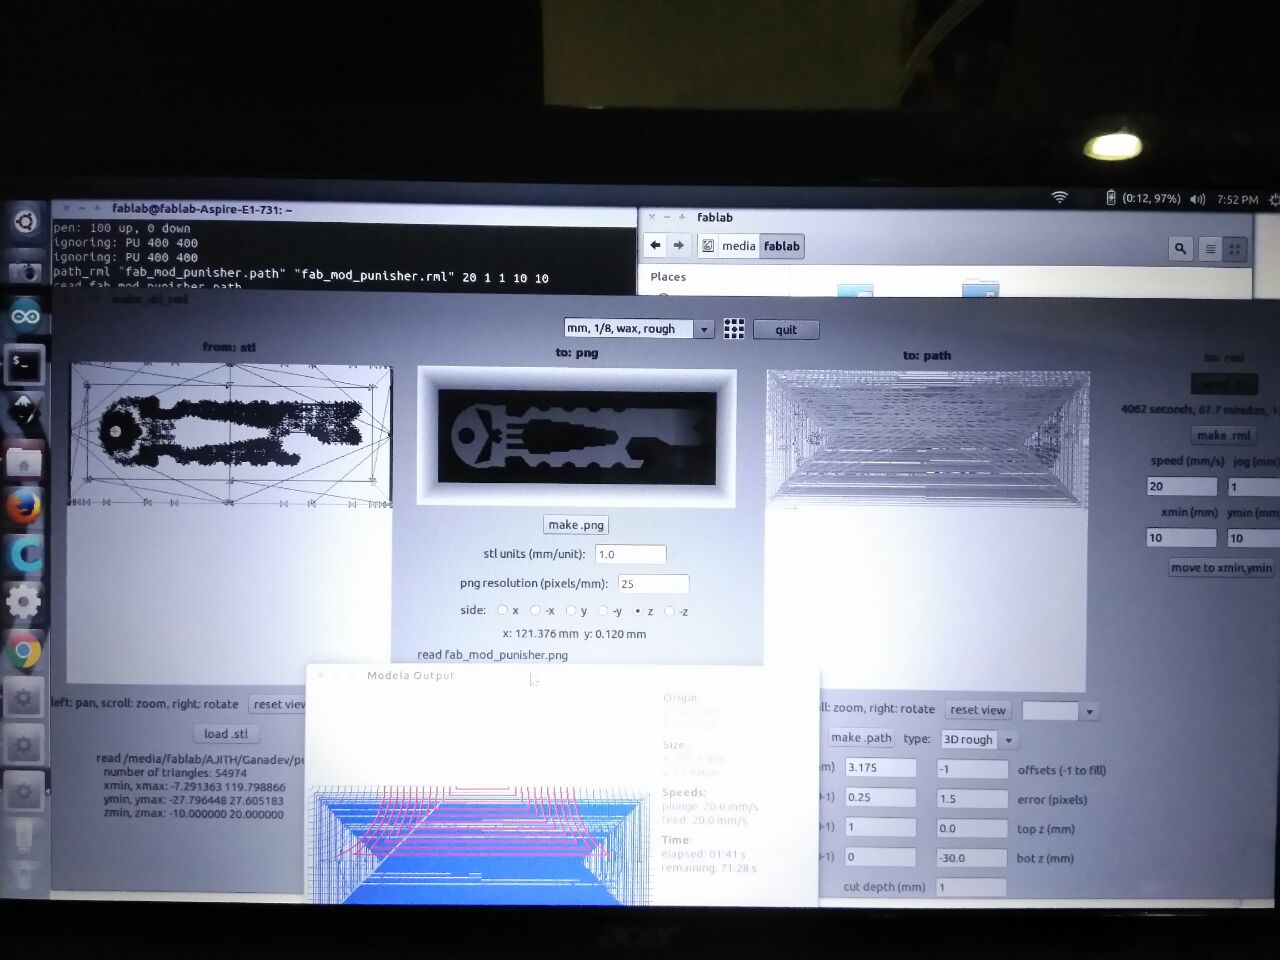
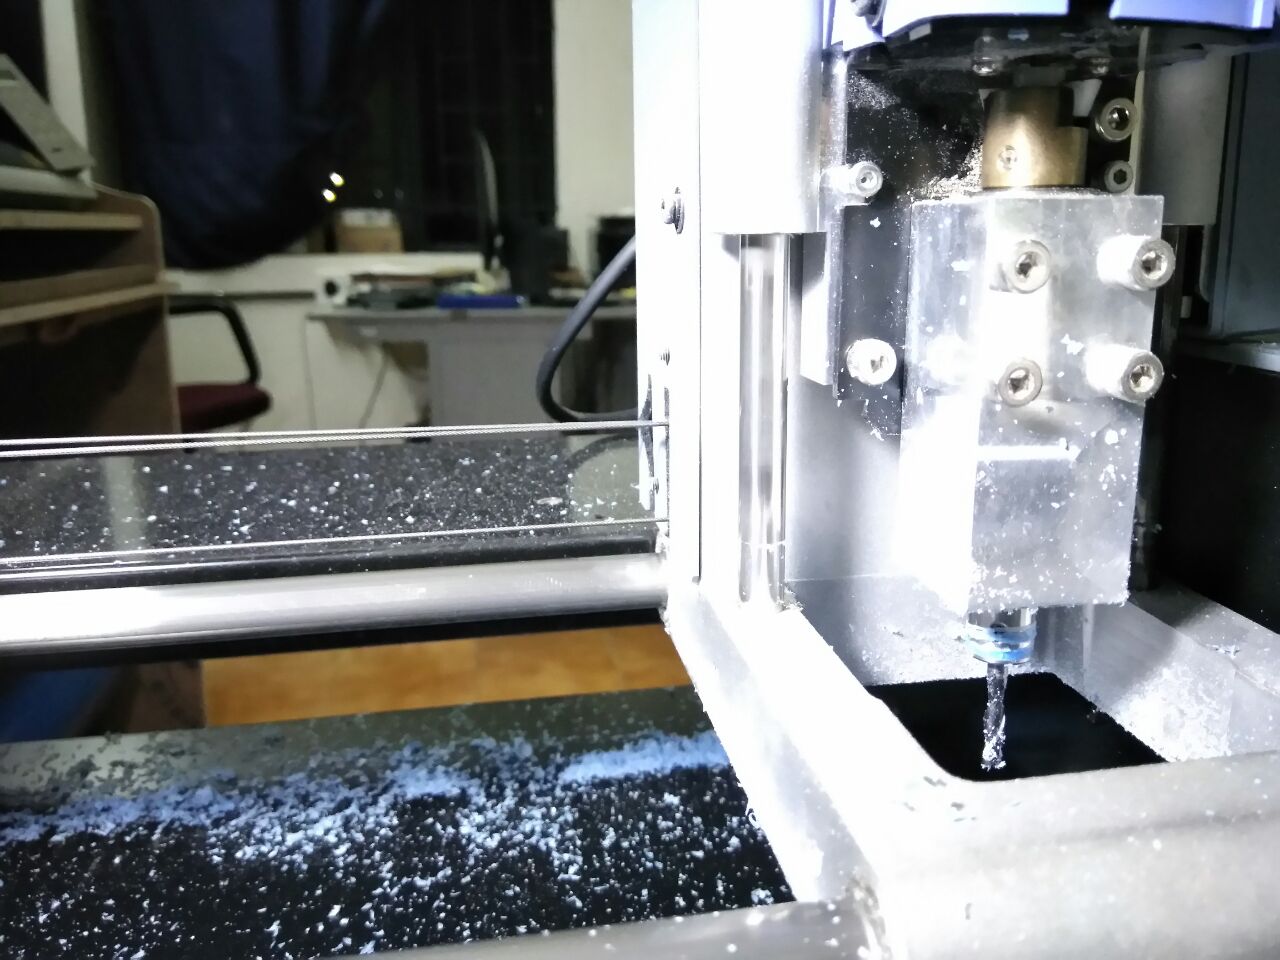
After designing, I was to mill the mold cavity on Roland MX-200, and used the fab module to convert the stl file to the machine vector tool path. And started milling,
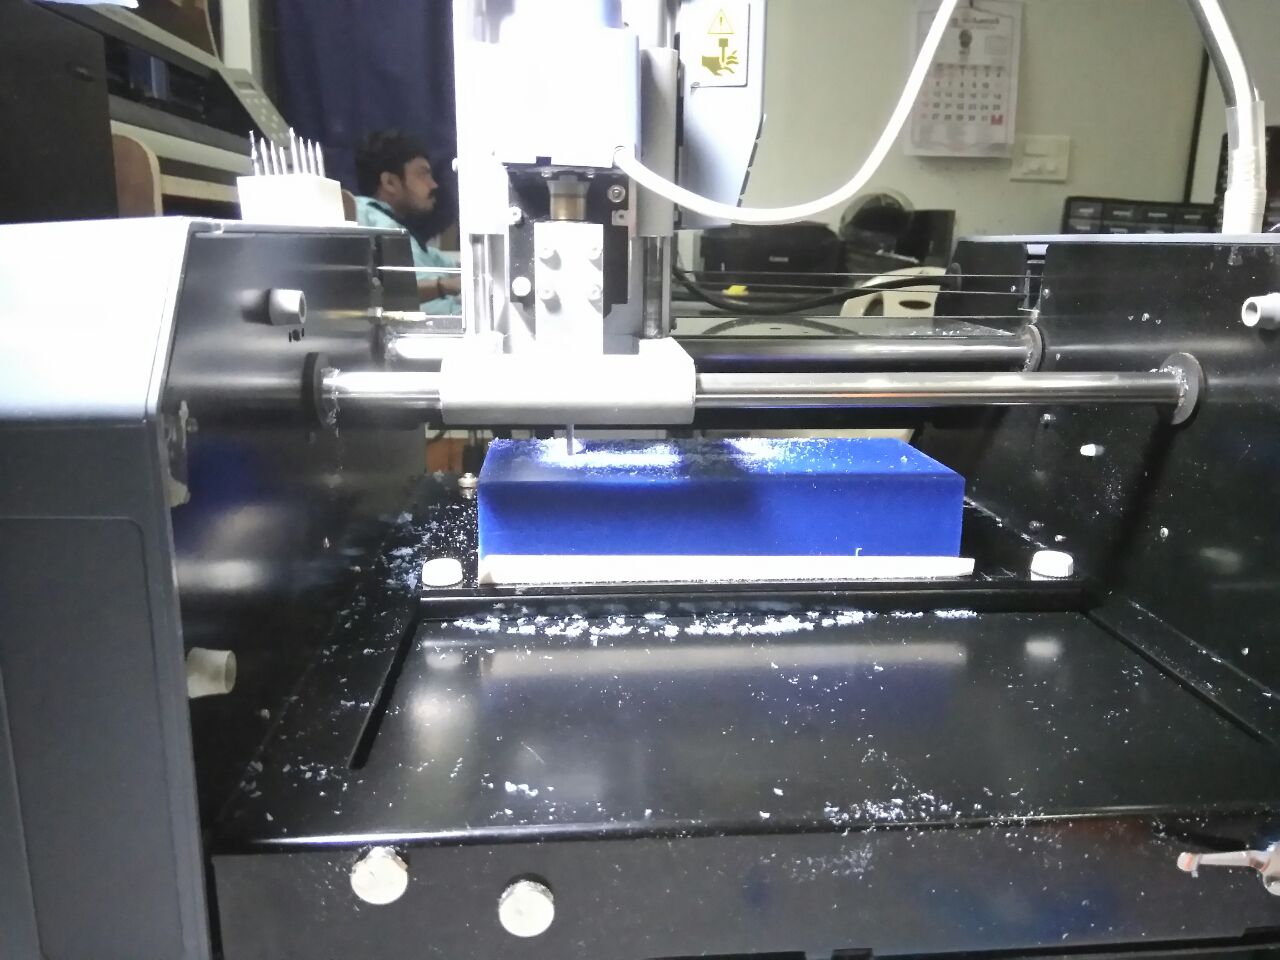
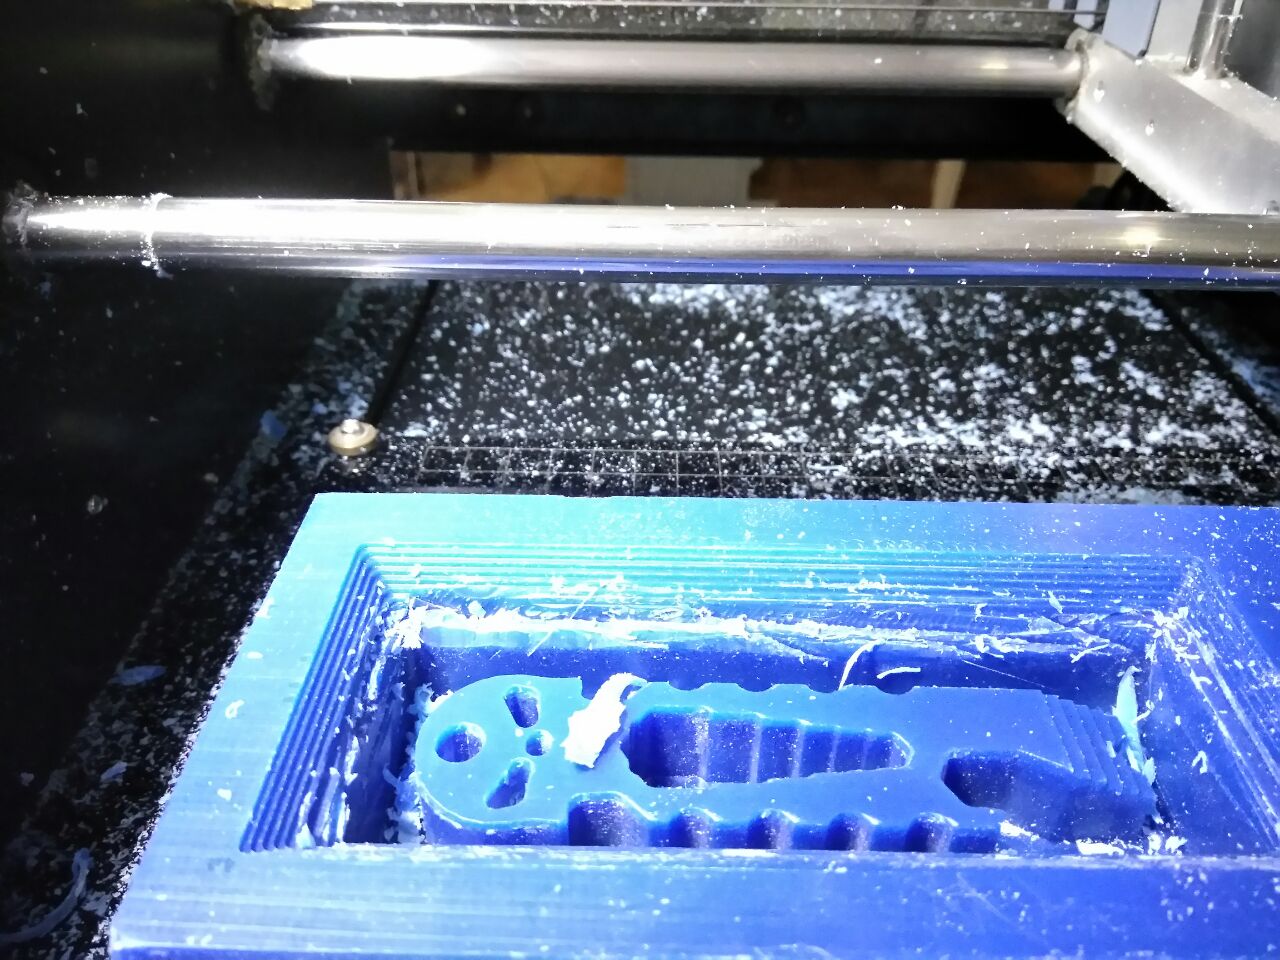
When the milling process was almost completed, with a few more percent of milling work was existing, I noticed the spindle hitting the walls of the mold.

I then rechecked my design file and found that the actual depth of the design had an extra 10 mm. That is, the extrude distance of the design was actually 16 mm instead of the 6 mm. I traced back using the history and found, my extrude height was actually 6mm, but somewhere along the process of designing the mold wall, the 10mm got added. I do not recollect adding such a change, but could be possibly my error.
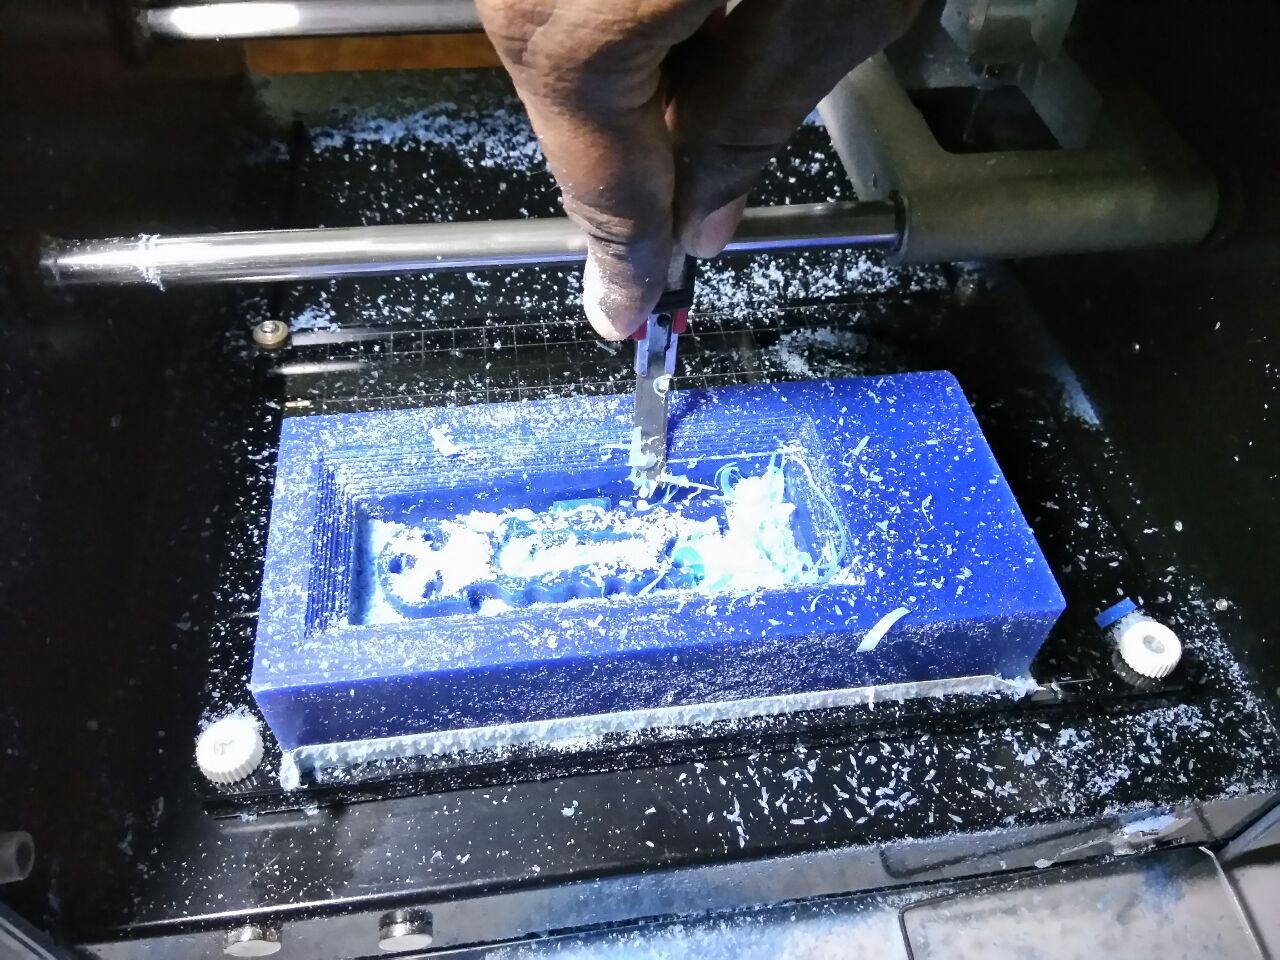
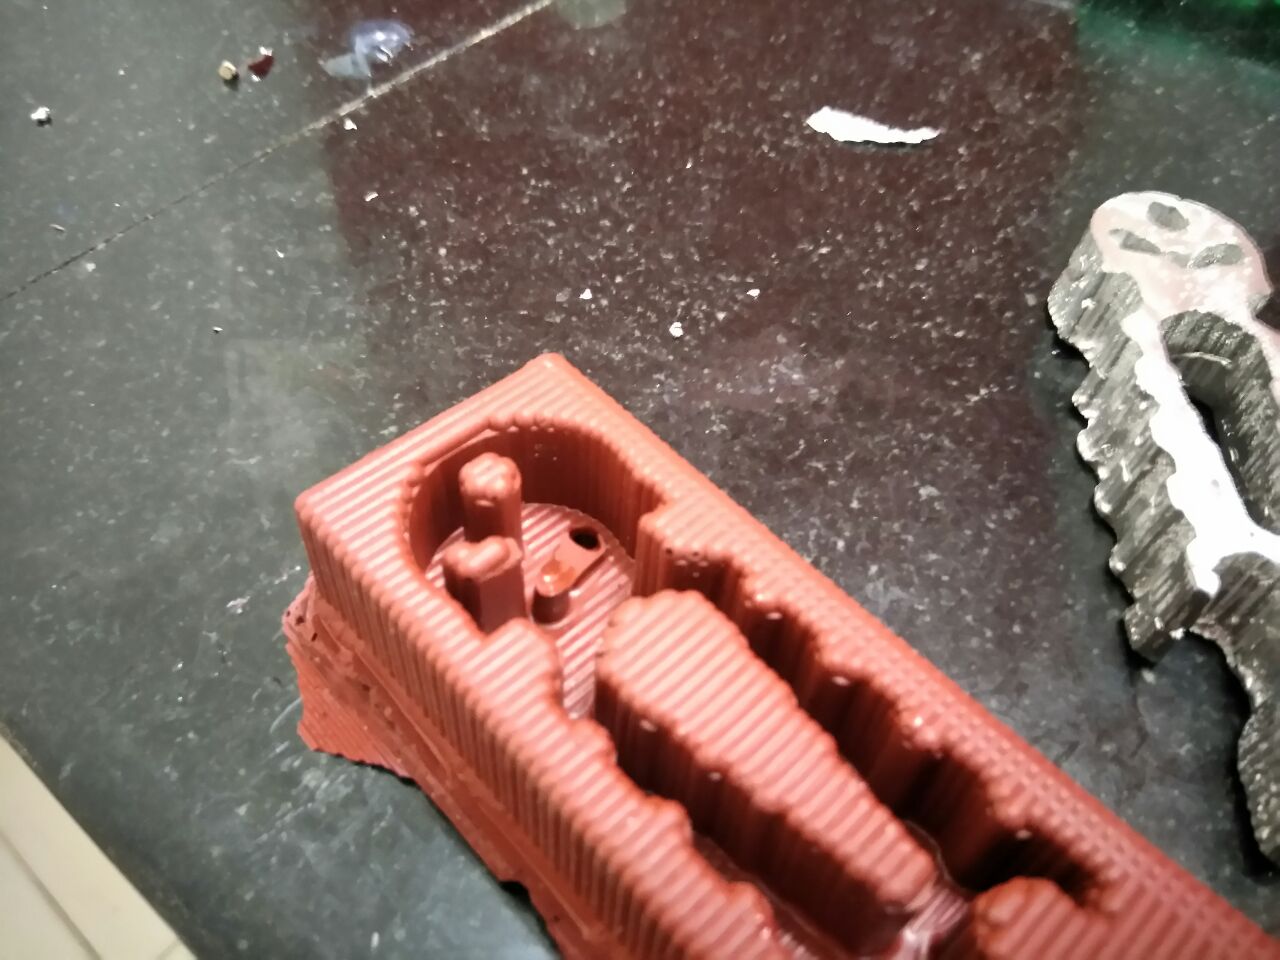
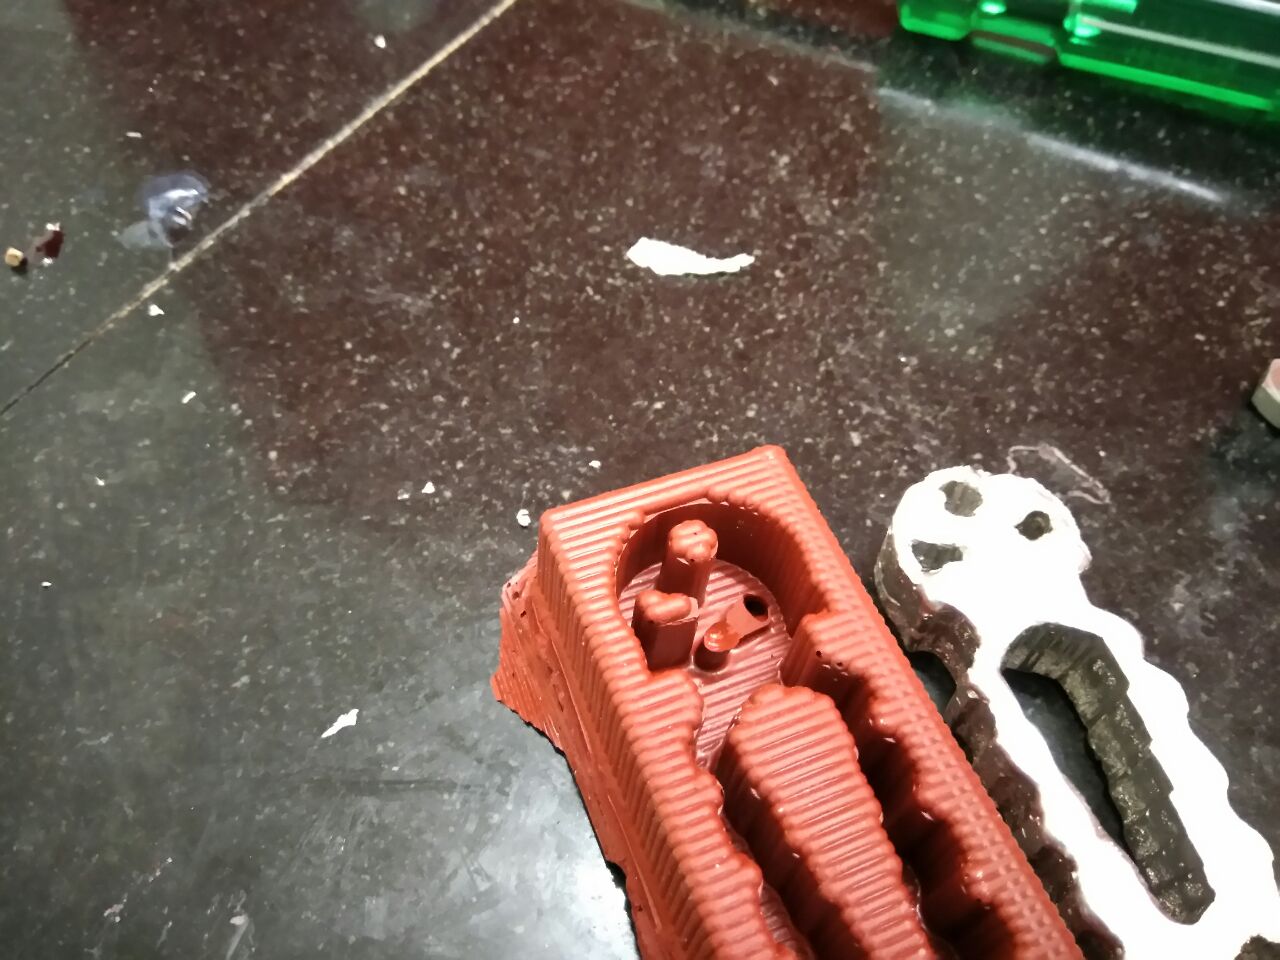
The following pictures show me chipping off some mold wall so that the spindle doesnt hit. And ran the rest of the milling work.
Making the mold
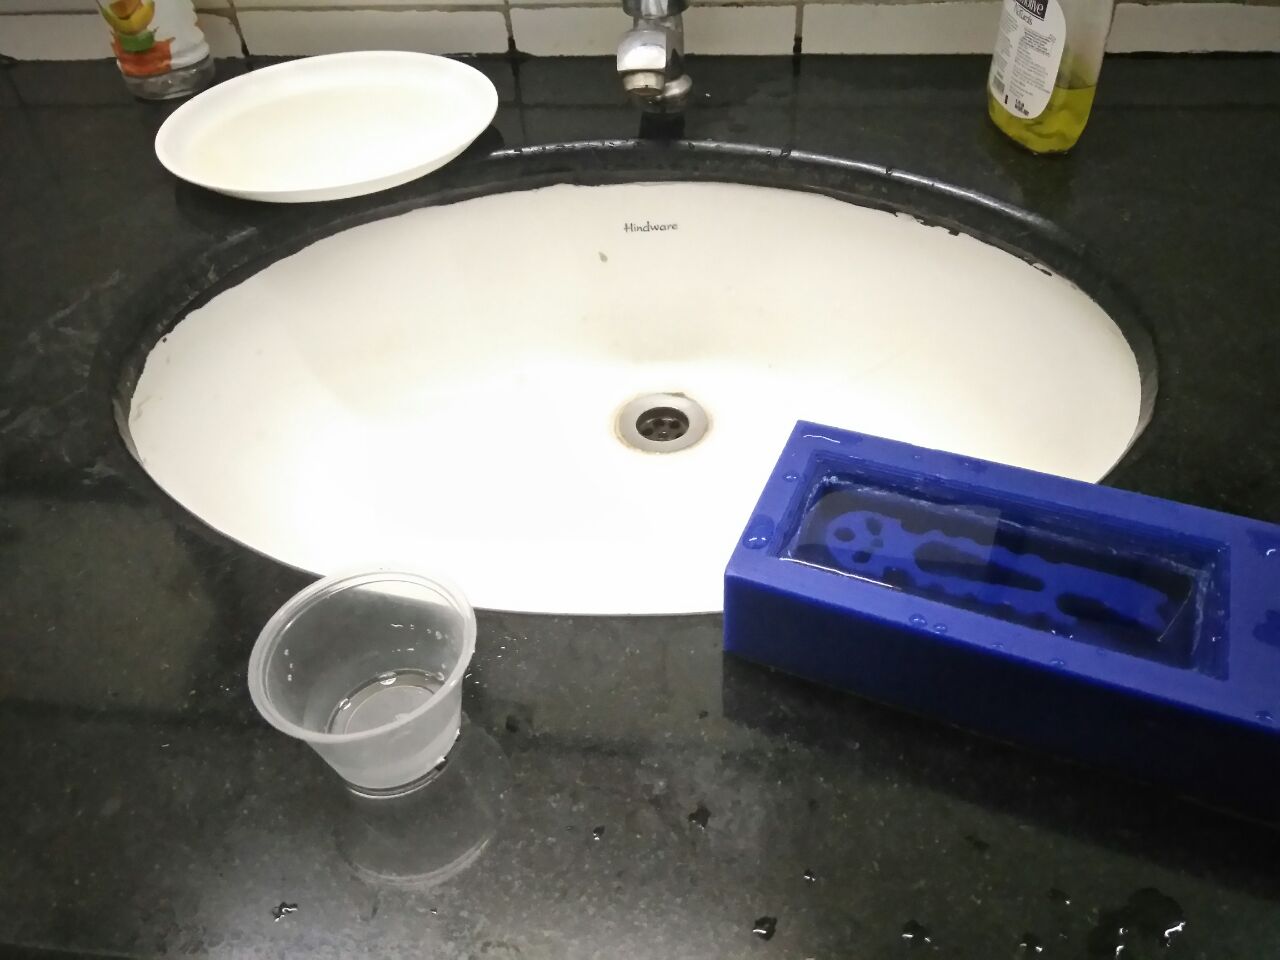
After cleaning up the wax, I want to find out roughly how much amt of silicone mix I would require to fill the mold cavity. So I was able to fill 2 cups of water from the mold cavity.
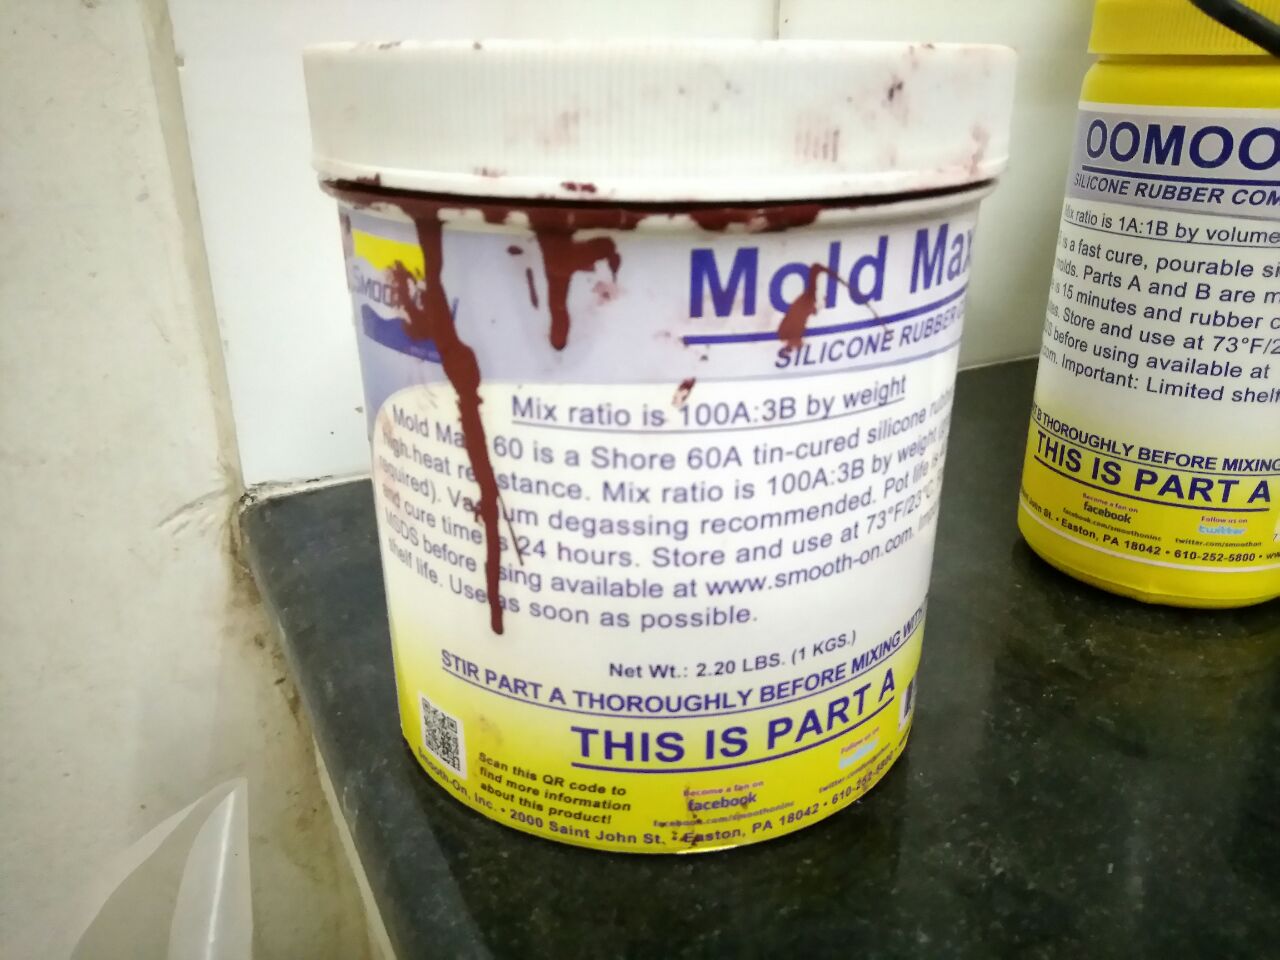
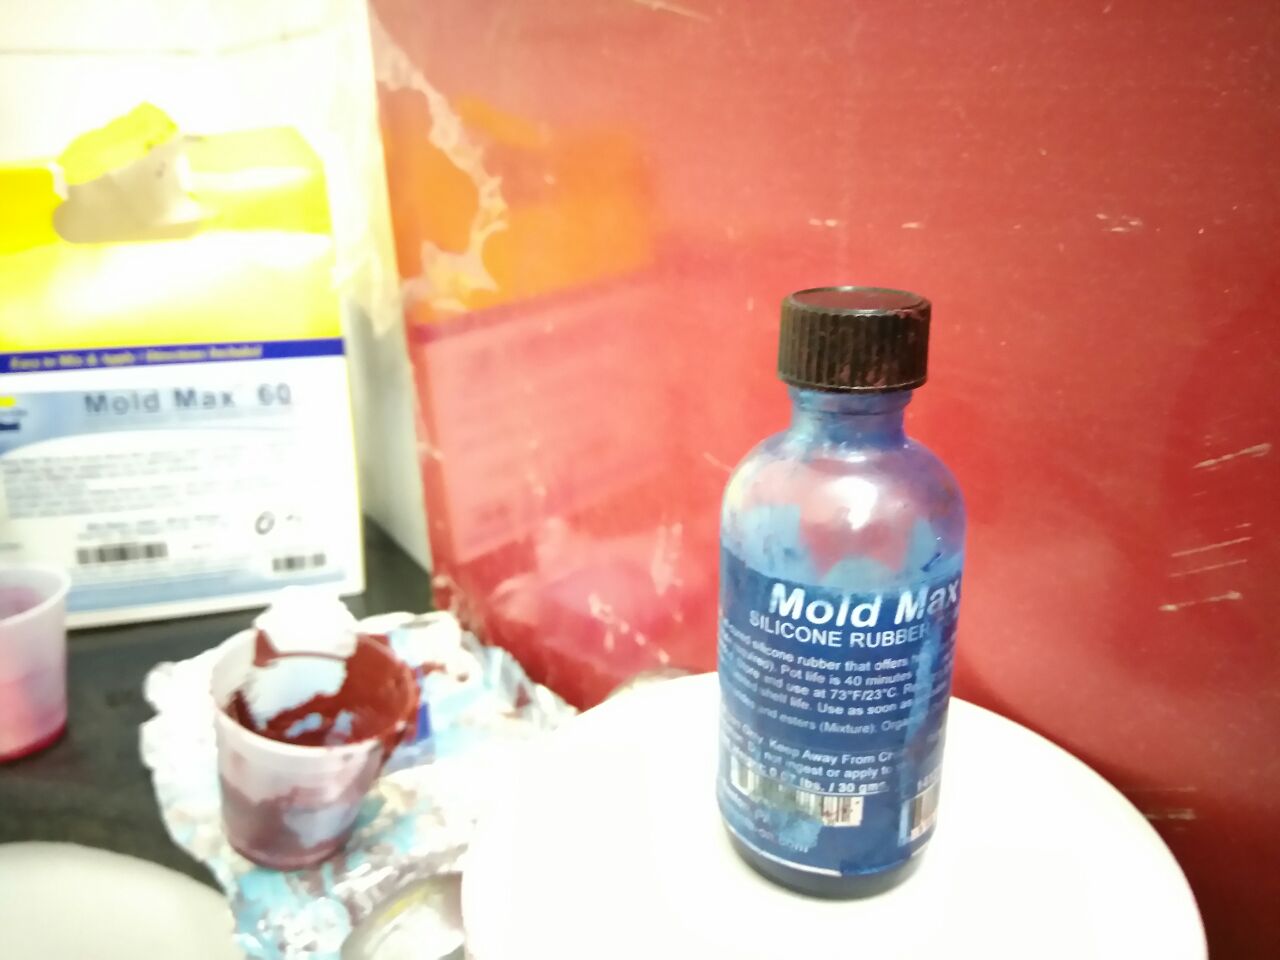
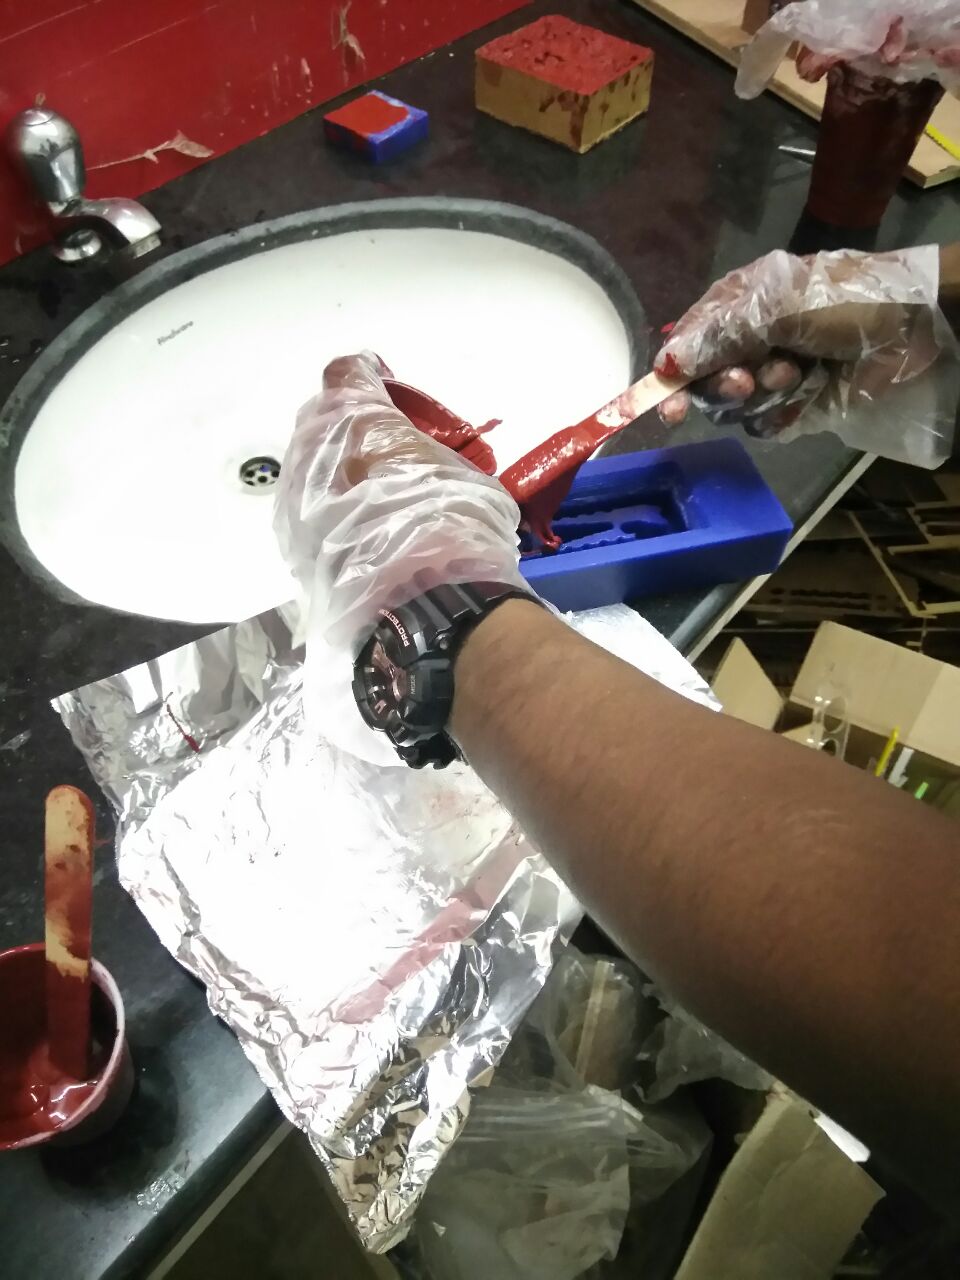
Accordingly filled 2 cups of Smooth On Mold Max silicone rubber, which in total weight 100 gms and added 3 gms of the hardner.

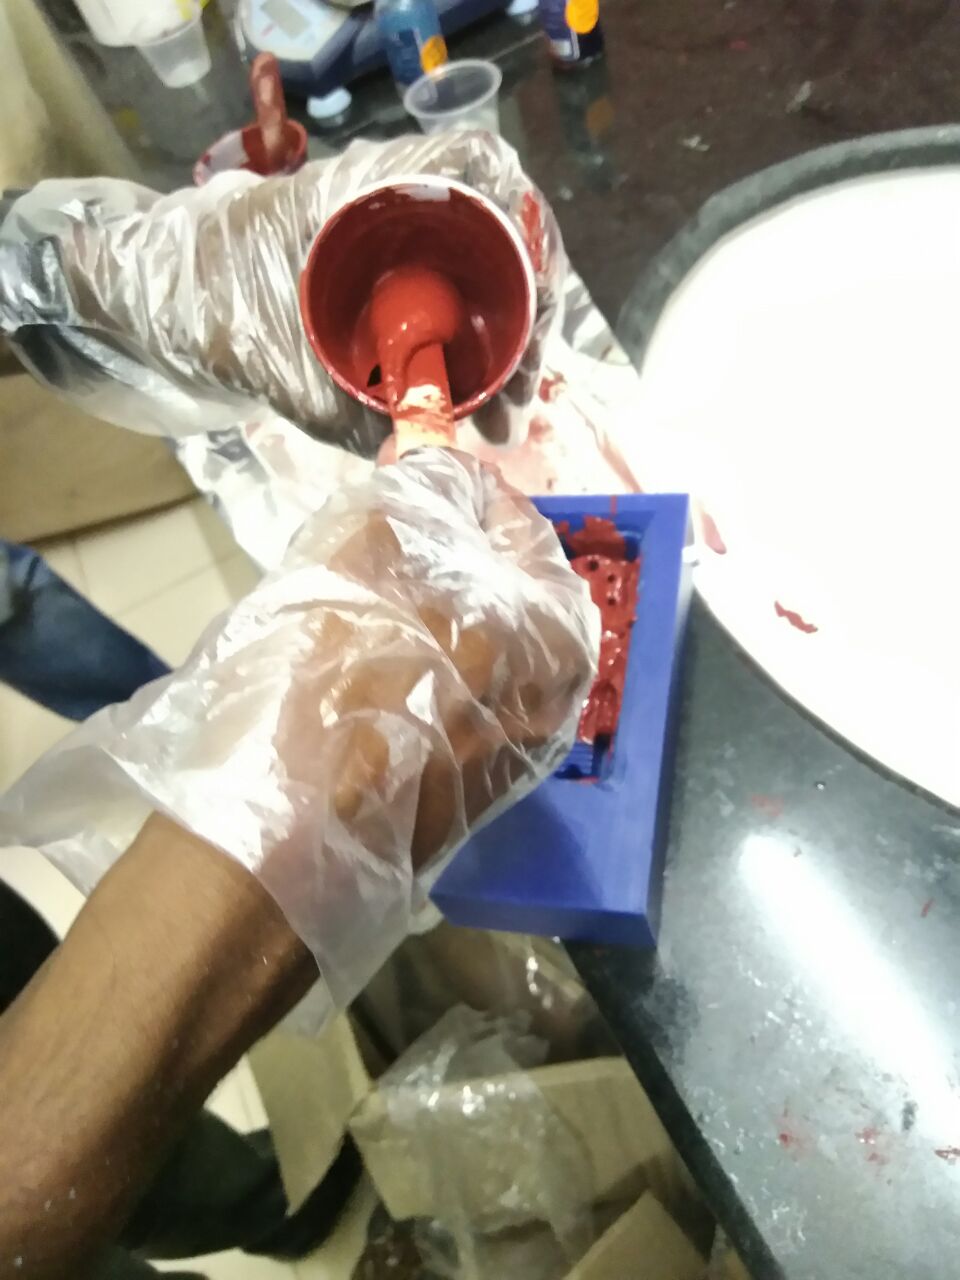
And me mixing them thoroughly and applying it on the mold cavity. Left it overnight to cure.
Its important make sure there are no bubbles when filling the cavity.
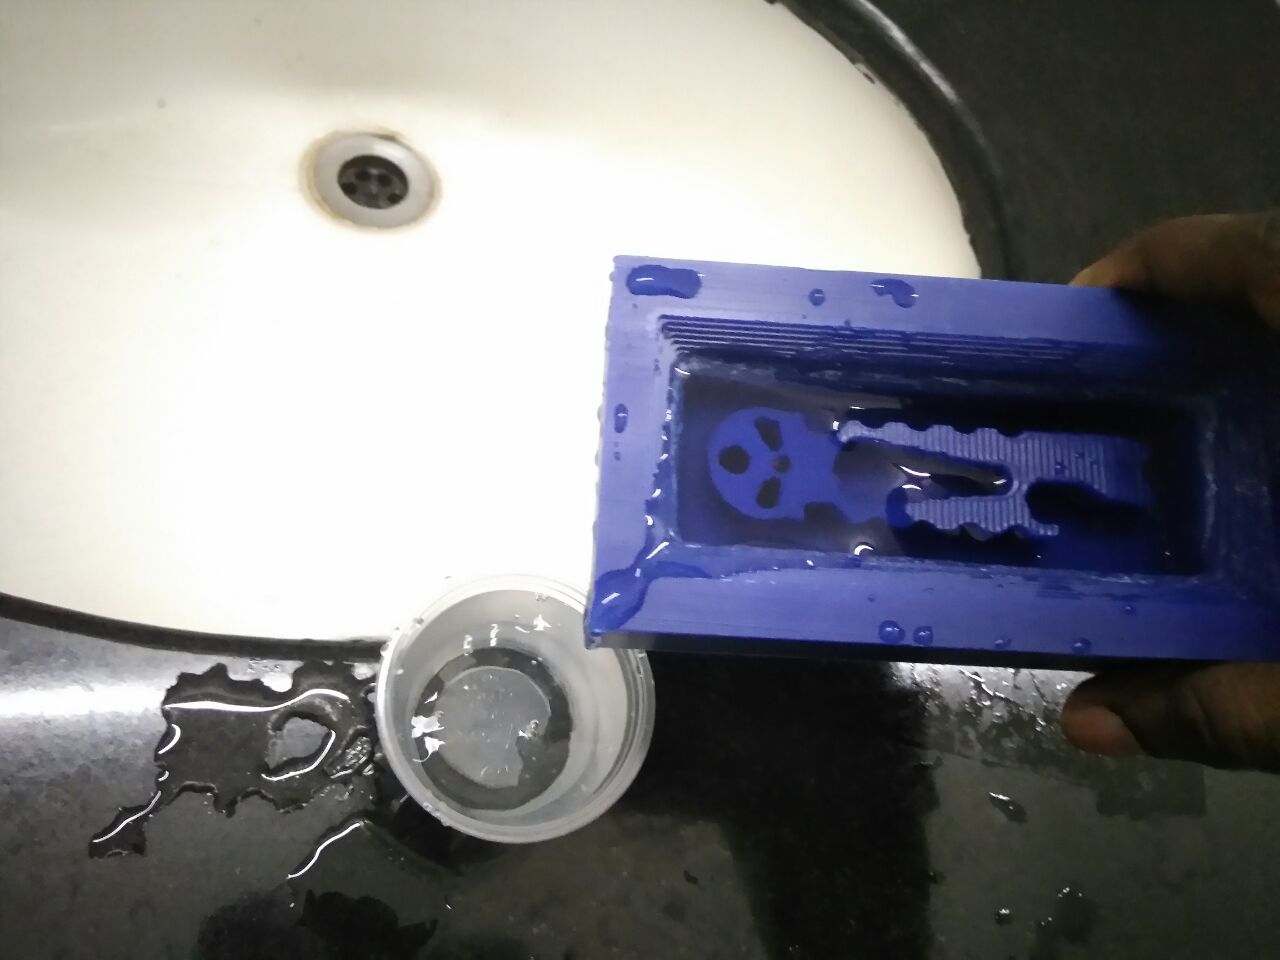
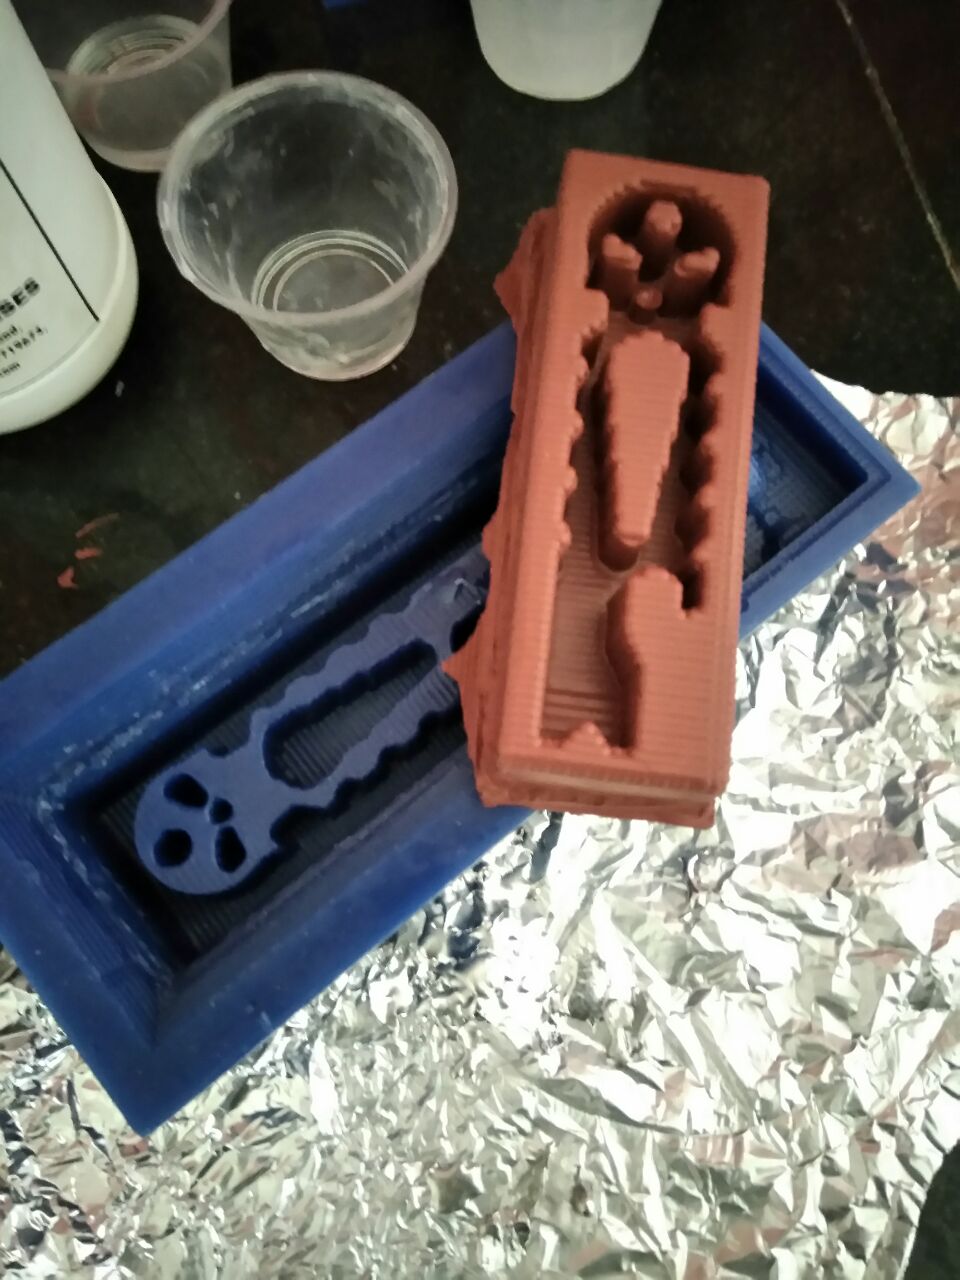
The mold was formed nicely, Hero Shot of the mold
Metal casting
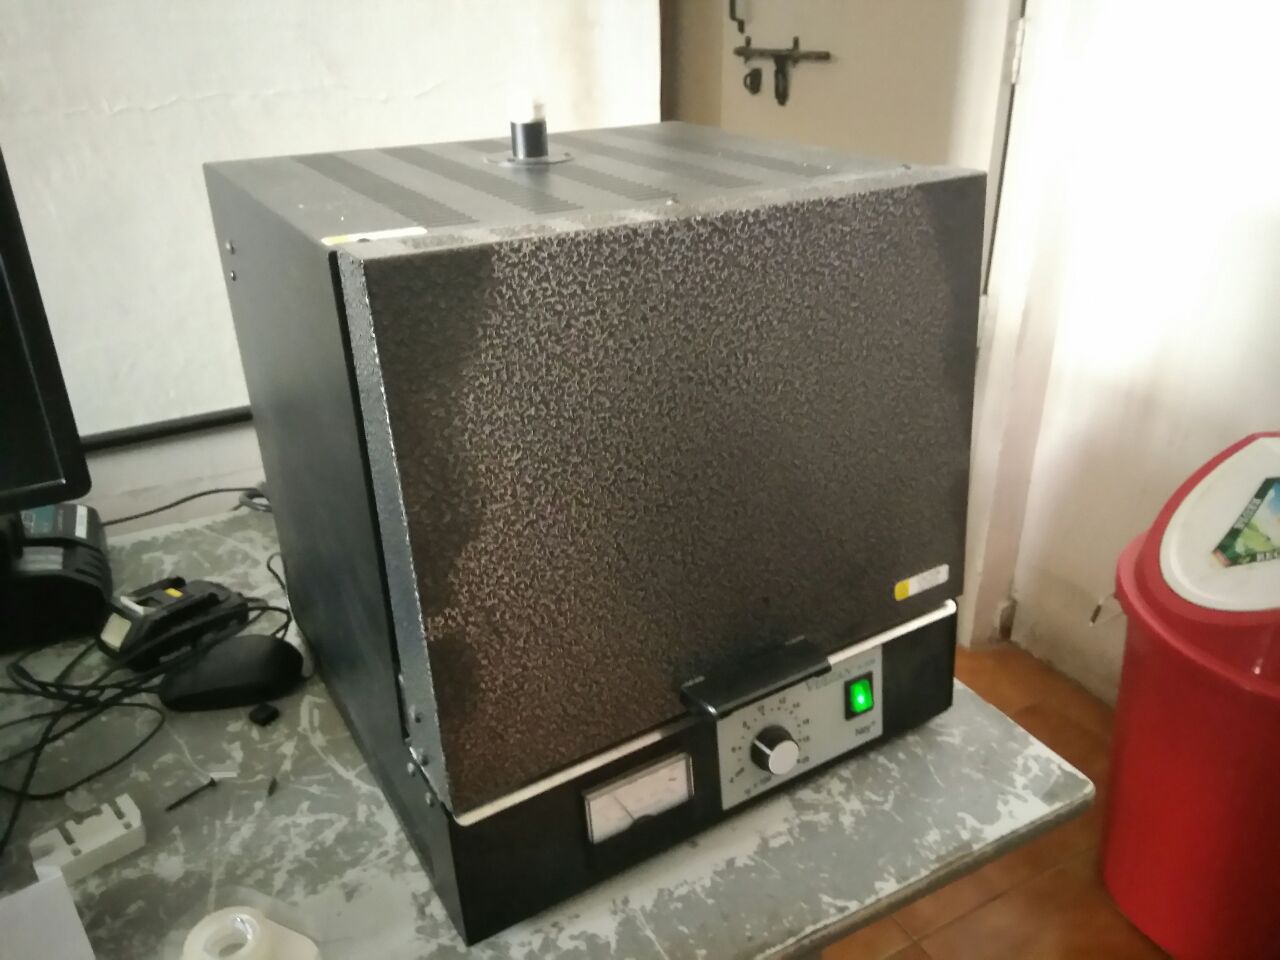
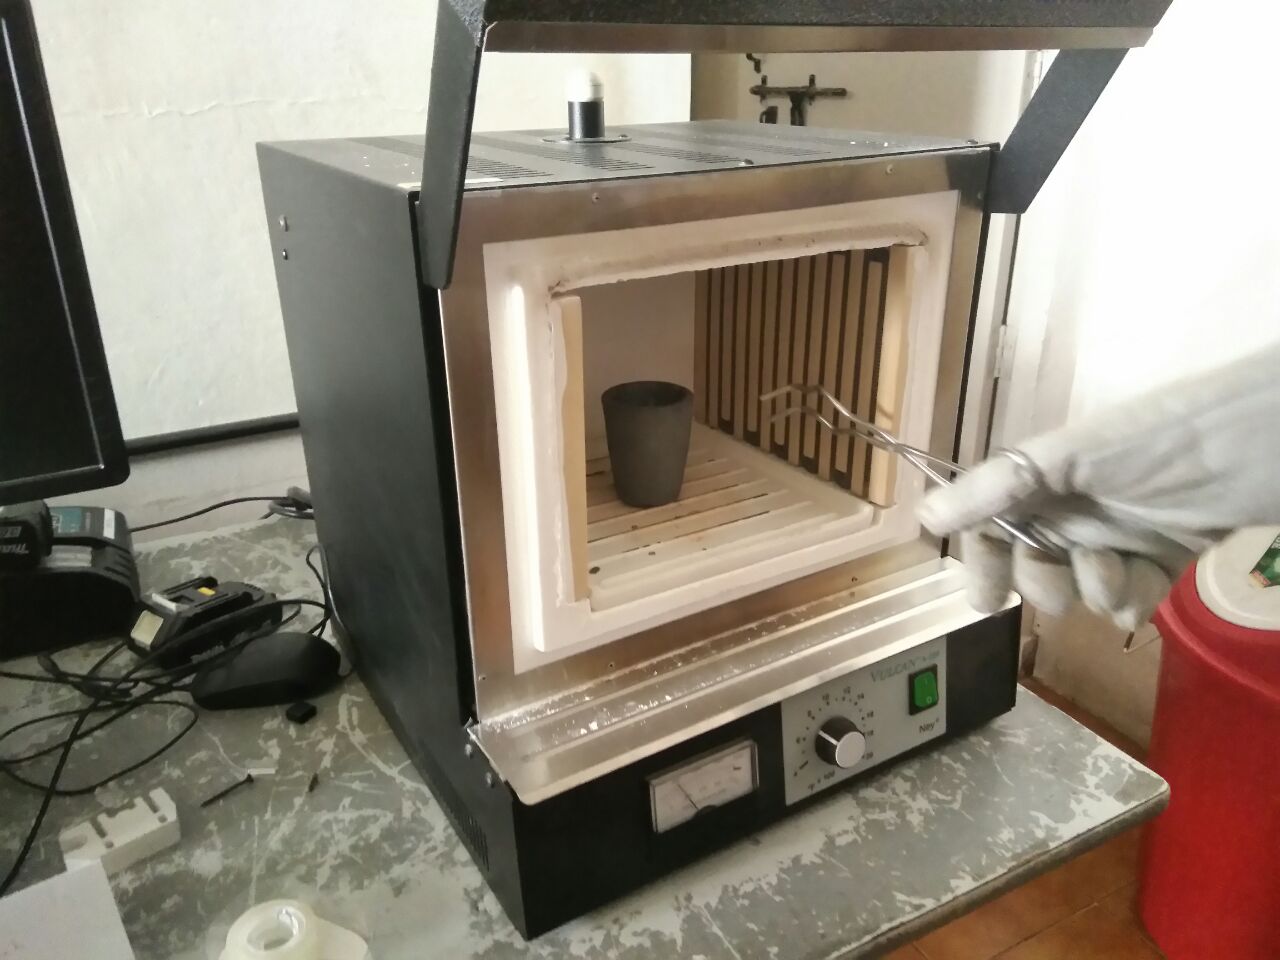
Took a couple of broken bismuth alloy and heated it around 200 deg C using the furnace. After making sure, the alloy is melted properly, I poured it into my mold.
Its important make sure there are no bubbles when filling the mold.

After making sure the alloy has cooled down, I started pulling the casted multi tool, and thanks to being the strong person I am, I broke my mold.
The mold broke off at the exact place where there were bubbles accumulated.
I then filed of some excess alloy, so that the bubbles formed at the bottom be smoothened out.
The following videos show me testing out the functionality of the multi tool.
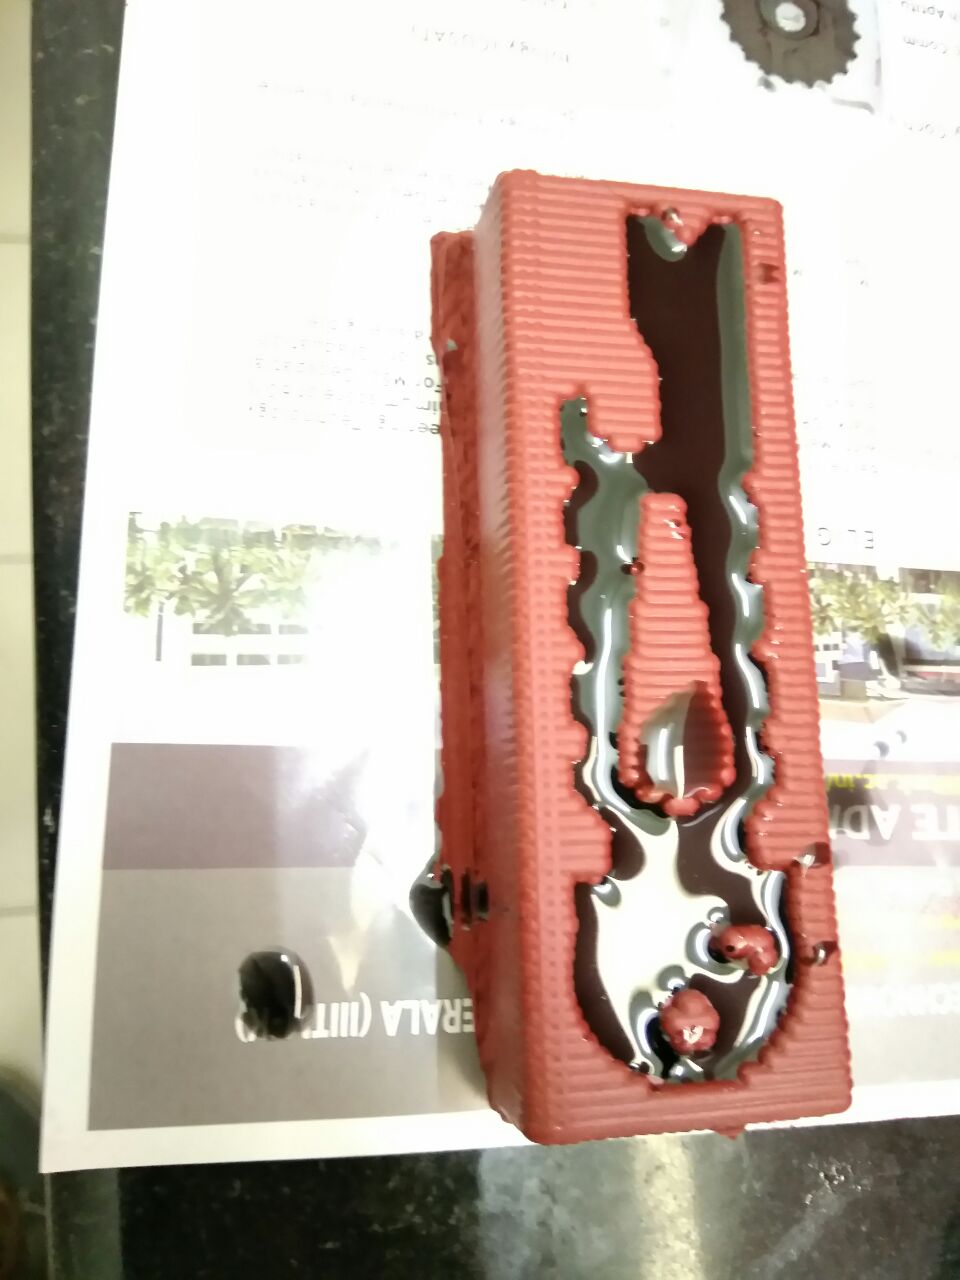
Plastic casting
Added transparent plastic resin and hardener at 10:6 ratio. Also added black color pigment as well.

Hero Shots
Download Files
Reference Image
Pocket-Multi-Tool-Punisher.dxf
Pocket-Multi-Tool-Punisher.stl