Design a 3D mould, machine it, and cast parts from it.
Learning outcomes:
*Design appropriate objects within the limitations of 3 axis machining.
*Demonstrate workflows used in mould design, construction and casting.
Have you:
*Explained how you made your files for machining.
*Shown how you made your mould and cast the parts.
*Described problems and how you fixed them.
*Included your design files and ‘hero shot’ photos of the mould and the final object.
I had to design a 3D mold, machine it, and cast parts from it.
Process description:
First try: Wax and Smooth Cast 360
I decided to make some tries with some material as wax (recycled material, because here I don't have a new block), as silicone and acrylic.
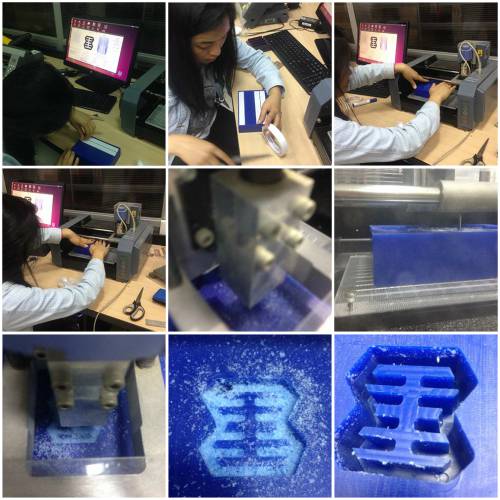
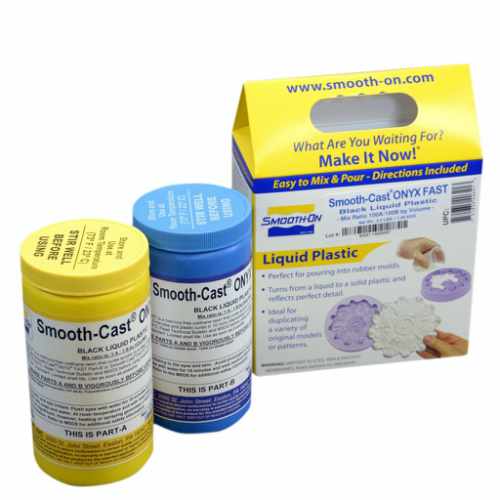
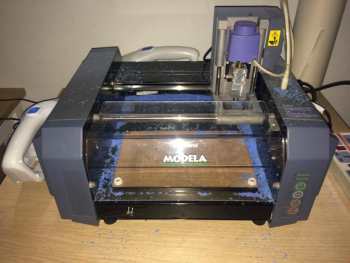
Well, first there I'm showing you what I did with the Roland Modela 20X, I desingned this mold with Rhinoceros, and then export it in .stl format, then I use "Smooth Cast 360", mixing the same quantity of material from A and B, and I achieve this challenge. I get a mold to paste and test if Is it inflate or not. ( I worked based on Soft Robotics project).
Second try: 3D printing and silicone
Thinking on my final project, I designed with Inventor software and printed the base and top of my first mold prototype. In this case I use resin to cover the surface and get a better finish. Then I put silicone in part A and then close with part B. (I bought Silicone 20 X plus). I didn´t like how it looks.
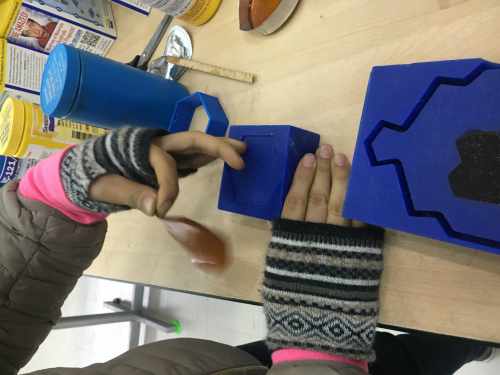
Third try: Acrylic and silicone
Using what I have in Tecsup, I decided to work with acrylic of diferents thickness. I designed my mold in corelDraw x7 and use a super glue to fix it. My design was based on Soft Robotics project. Then I mix silicone and put into my mold and get the first module of Smartbeddo. Then I inserted hoses there to see if it inflated or not. I really like how it looks and decide to use it to the end.
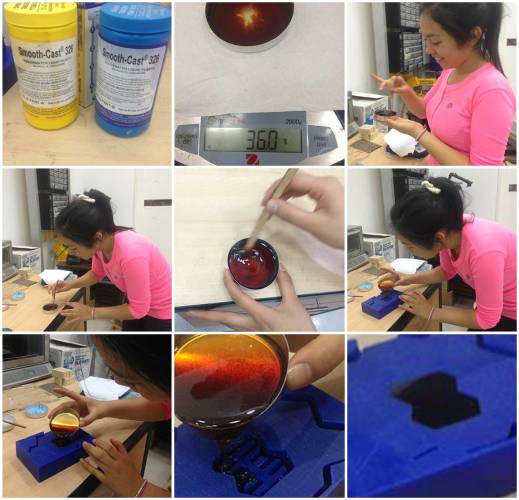
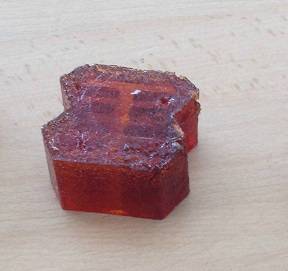
Extra try: Resin and silicone
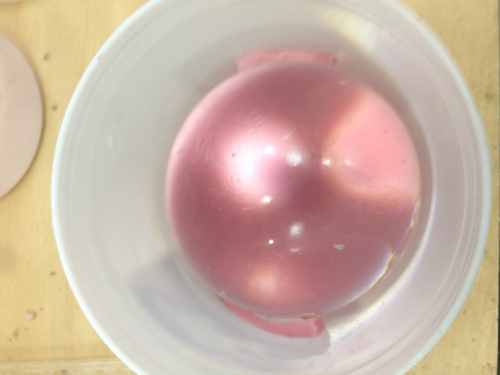
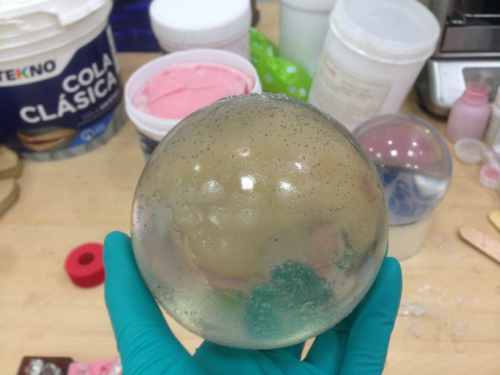
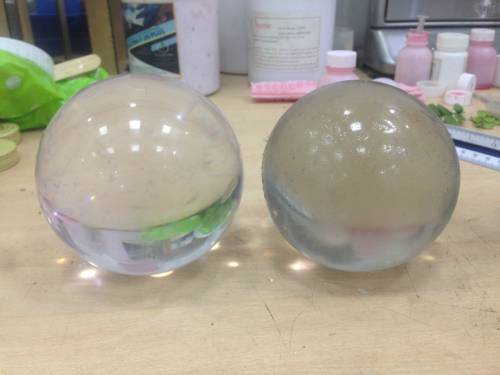
Just wondering how can I make a sphere of resin, I use my rexycle material of last try and mix with silicone to make a mold for this sphere. Then I put it in the middle and let dry for 6 hours then get the sphere out and fill with resin. Finally I obteined a sphere as you can see here. It was fun.
Improving this assignment:
This was one of my favorite assignments, but I think that because I did enough work here I could not explain them well, so in this space, I will explain in detail:
First try: Wax and Smooth Cast 360
Molding - Process description:
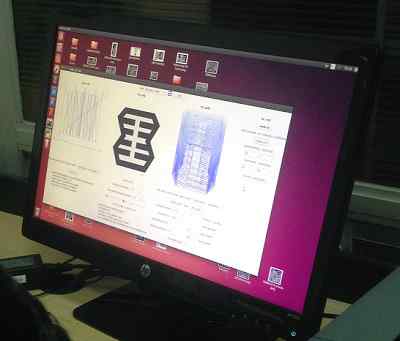
As I told you, we don't have wax blocks, but I tried to do it recycling in a small mold. I designed it with Rhinoceros, there you can see the design in .stl format
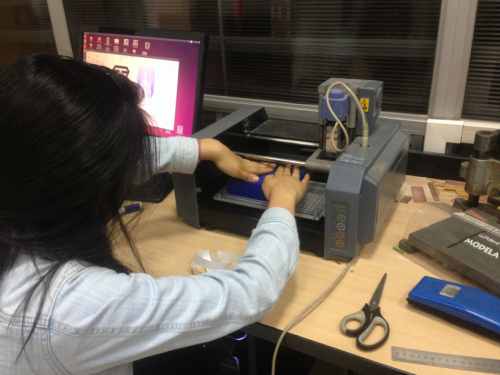
Then I took the recycled wax block and using double-sided tape I glue to set on the base of the Roland Model 20 X machine.
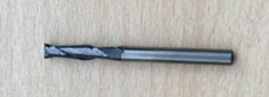
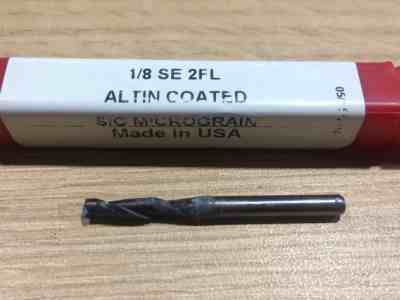
For this task I worked with a 1/8 straight rough tool
Ready, having installed the tool proceed to open the software, here the steps:
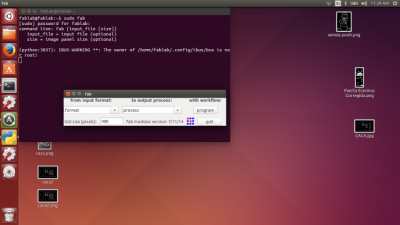
First, you have to open "Terminal" in Ubuntu.
Write "sudo fab" and enter the password.
You will see a window, these options to modified:
* from input format: "mesh(.stl)"
* to output process: "Roland MDX-20mill(.rml)"
And click on "make_stl_rml"
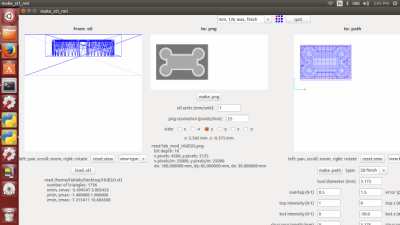
Then will appear another window. In this one, on the top choose "mm, 1/8, wax, rough". Now, updload your design, click on "load .stl".
Now, click on "to:png" and choose the side of your object (also you can do it with these options: (+x, -x, +y , -y, +z, -z). )
Is very important to verify your measurements.
Click on: "make.png"
Click on: "to: path"
There keep the values by default
"offset: -1"
"top z(mm): 0.0:"
"bot z(mm): -22.0"
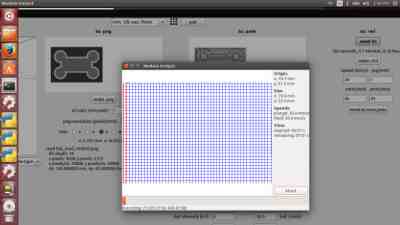
Finally, on your right-side window, there is the option to set our zero. Turn on Modela MDX-20, press "View button" and enter values on "xmin (mm)" and "ymin (mm)" to find the location you want in the wax.
Click on "make.rml" and "send it"
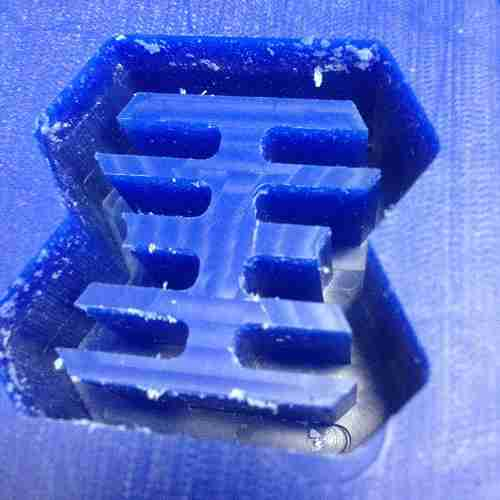
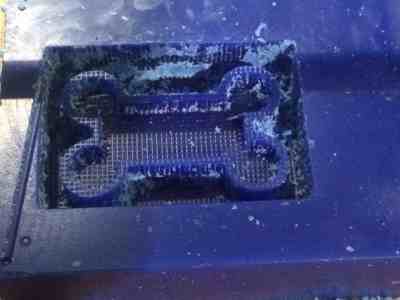
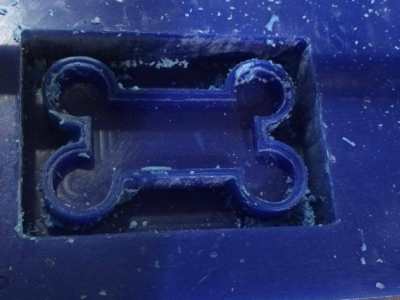
In this case, that's it!. Here you can see the result:
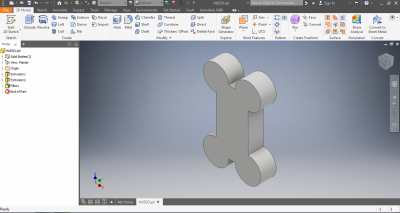
But, I will let you know something. In case the design had finishes in the edges, edges or others, perhaps like those that I designed here using Inventor to teach them:
In this case, the work described above is completed and the milling tool is changed, to give the final finish and to achieve these curvatures, although I did not apply it in my design, here I mention the steps to achieve it:
Change the "rough toll" for the "1/8 ballnose end tool"
At the top of the window that appears, change to: "mm, 1/8, wax, finish"
Focus on "to: path" side, on "clearance diameter (mm)" enter value "3.175 (tool diameter)".
Check off "direction: xz", "direction: yz" and "ball end".
Move tool to the same zero, click on "make.rml" and "send it!".
When it finished, on "clearance diameter (mm)" enter value "4.5 (tool diameter plus half)"
Click on "make.rml" and "send it!".
This is for remove the excess wax to leave the surface as smooth as possible
Try it!, I wanted to do but I had to travel to Huancayo. When we have this machine and the material in the Fab Lab UC, I promise to do it and teach them by my social networks what the results are.
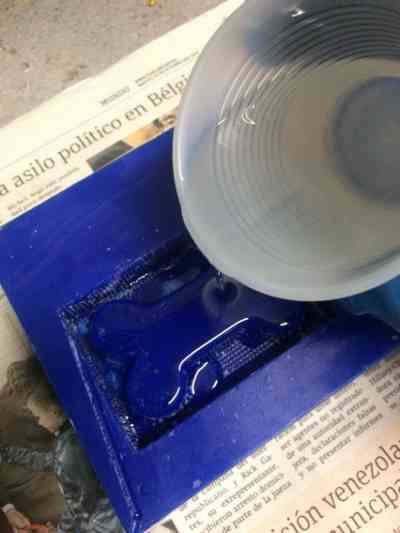
Casting - Process description:
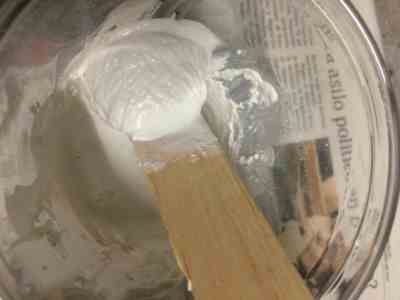
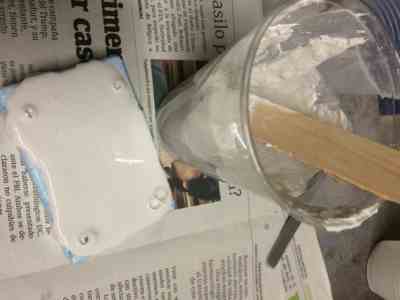
I use Smooth Cast 360 to achieve this challenge.
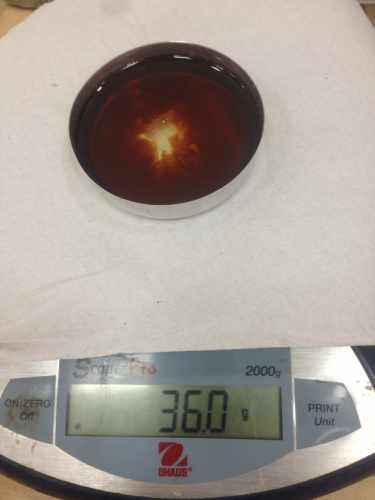
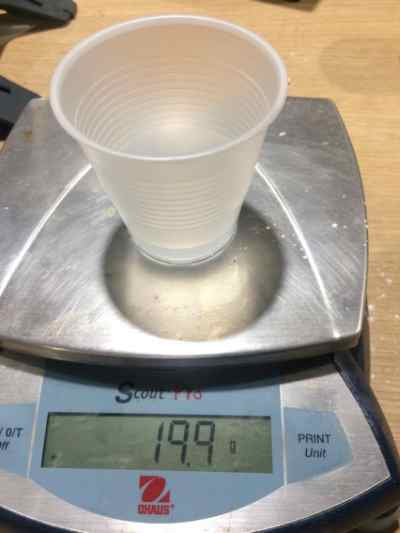
The proportion is: 50% of part A an 50% of part B, In this case I used 18 g of each one.
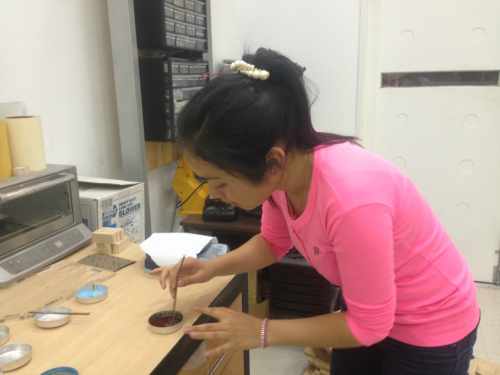
Then mixed,
to a suitable combination.
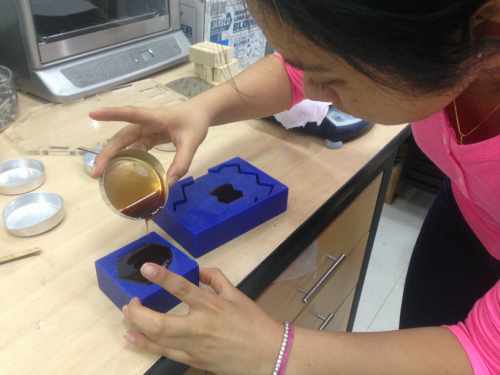
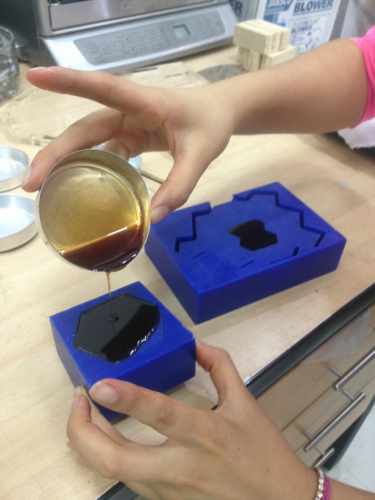
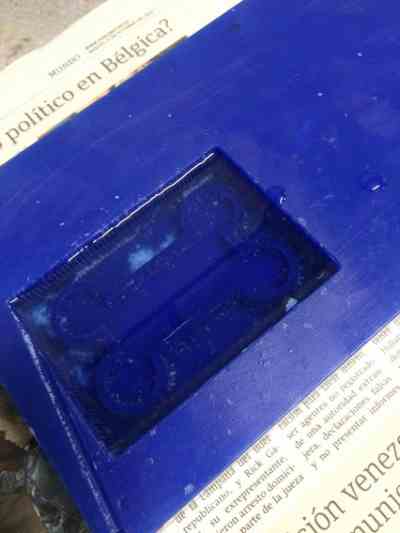
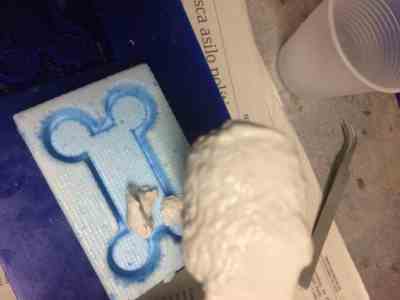
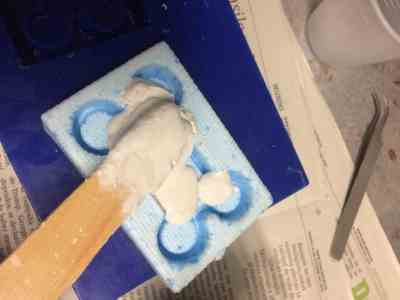
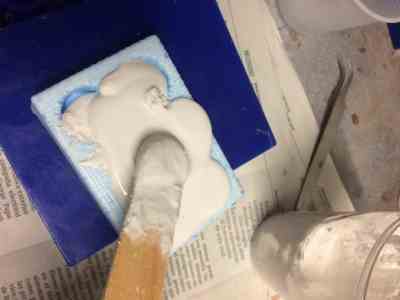
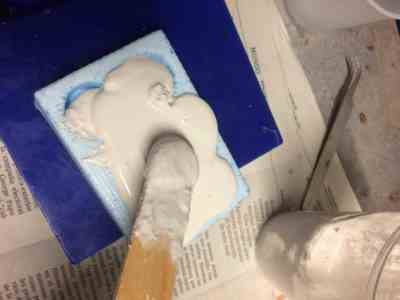
Then pour over the mold.
Inside the Fab Lab Tecsup, I found another mold that would serve me and use it to take advantage of the material.
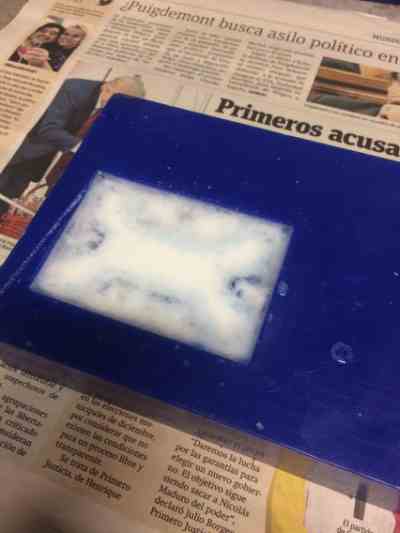
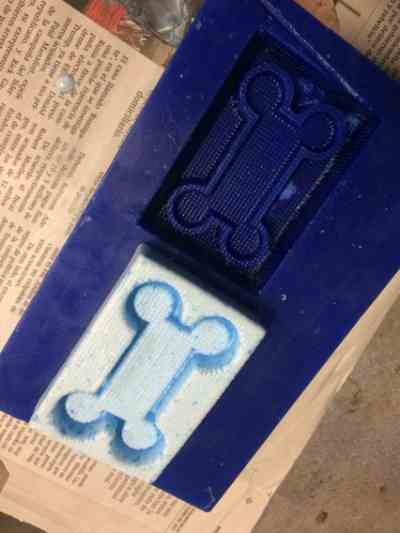
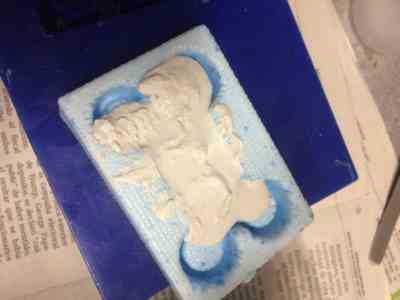
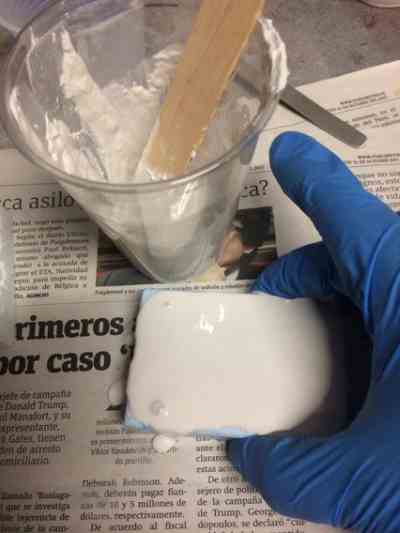
I let it dry, and the next day I retired it, and there is the result.
It is important to let it dry very well, and use the indicated proportion, because then I tried to do one more without complying with what was established to show them that it does not look good:
There more examples:
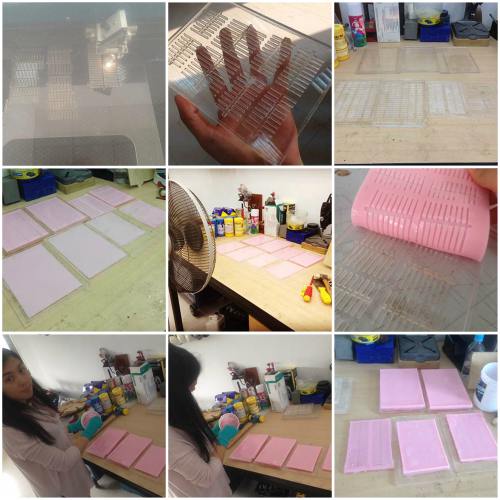
CASTING PIECES FROM THE SILICONE MOLD
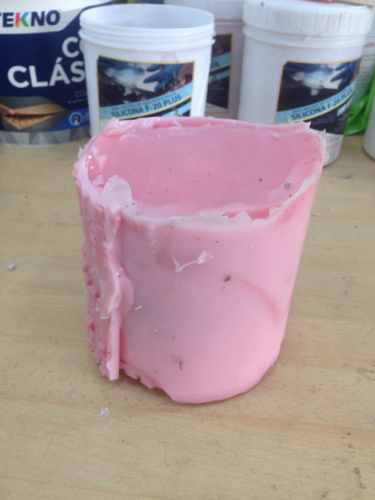
I also made this mold, recycling the modules that were lost for my final project because I pressed them a lot and joined until closing the gaps.
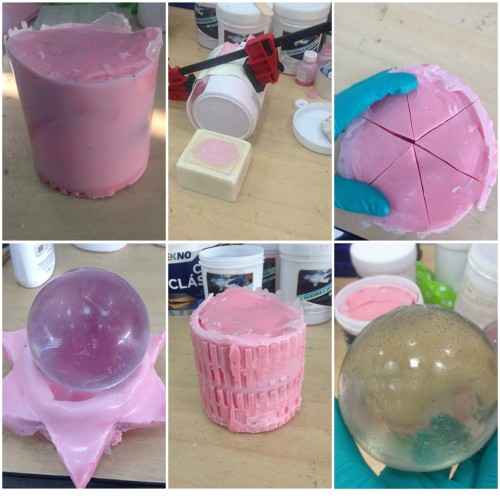
In order to replicate a sphere with crystal resin
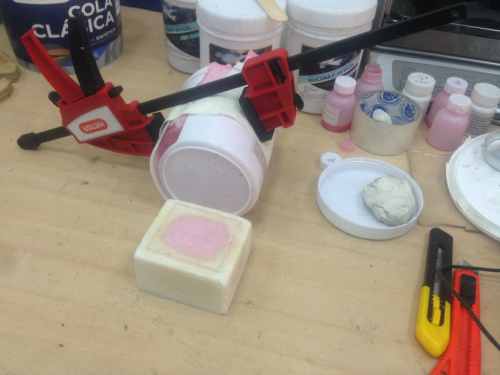
Using one of the empty silicone buckets, I placed the sphere and covered it with silicone and some pieces of silicone modules (the good thing about the silicone is that it bonds with the silicone and nothing happens)
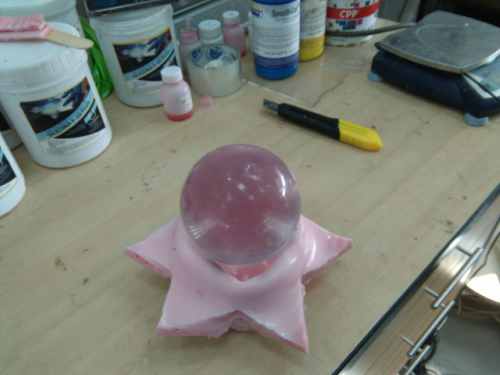
With the sphere in the middle
Then I let it dry one day
When I got it, I found a mistake.
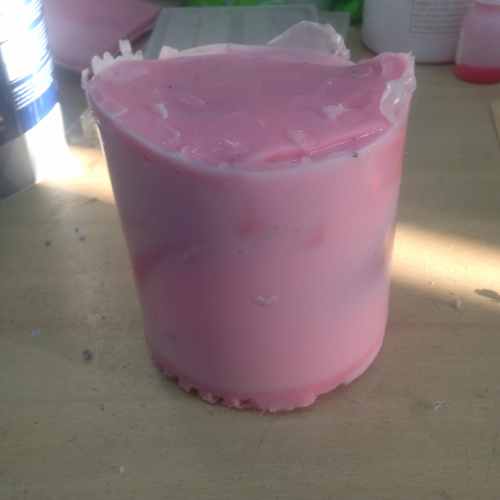
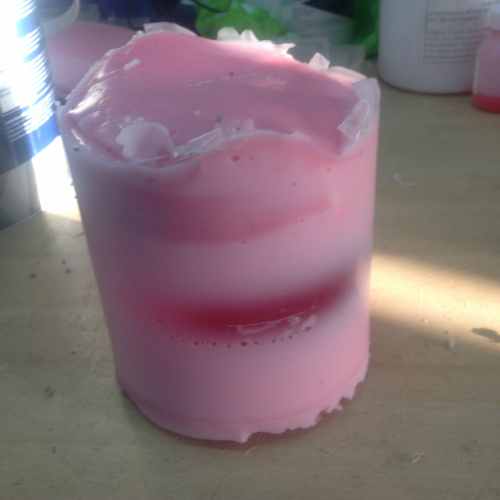
To solve this I used a little more silicone and another piece of recycled silicone. The idea is to well cover the ends to have the sphere mold in.
Then I let it dry again, but this time 12 hours.
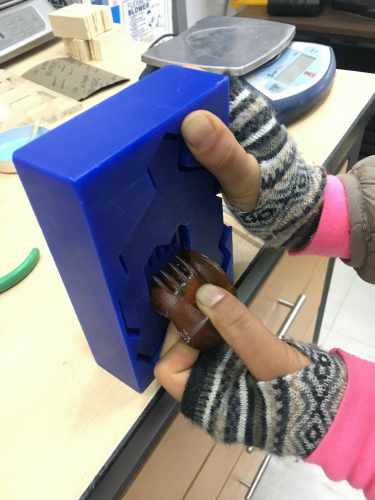
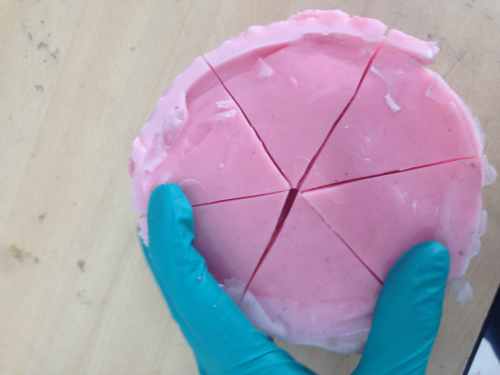
I cut some lines as an asterisk to get the sphere
Remove it was a very hard work, thanks to Sergio who is always helping me.
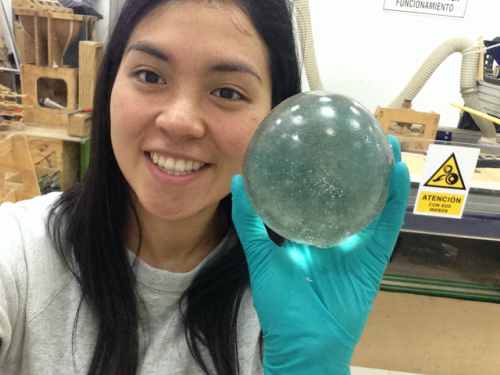
We did it! here is our sphere
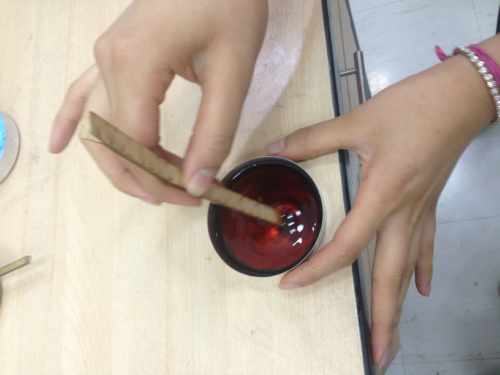
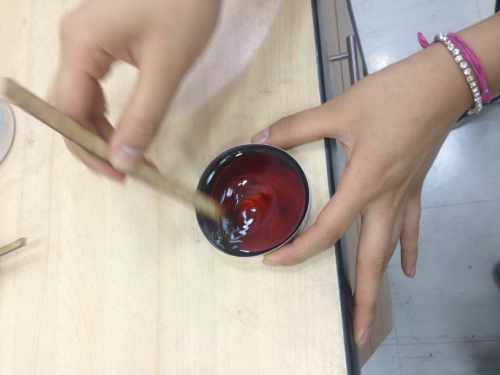
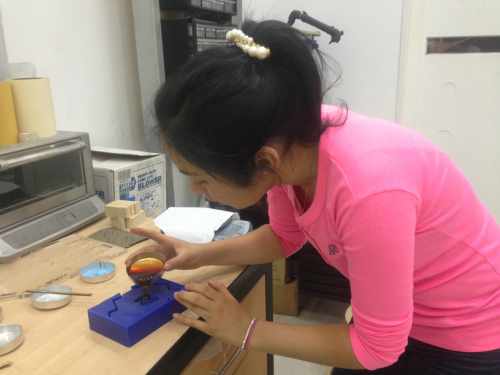
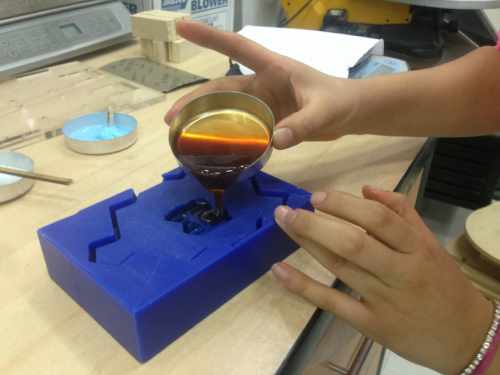
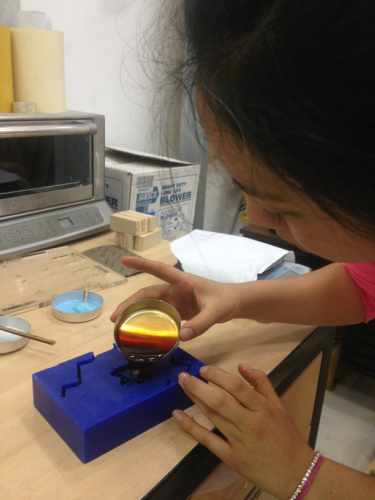
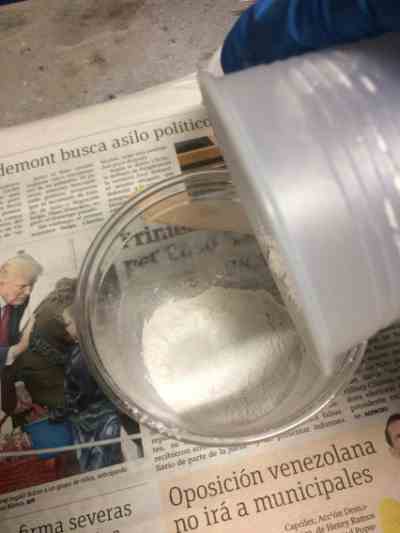
The next step was to prepare the resin and fill the mold:
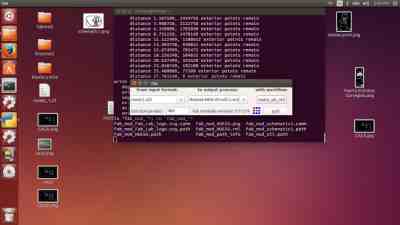
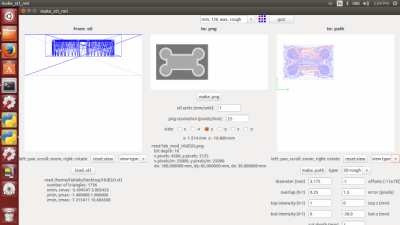
I exported the .stl format in the Roland Modela software
Roland Modela Milling Machine
from input format: mesh.stl
to output process: Roland MDX 20 mill (.rml)
with workflow: make_stl_rml
GUI size (pixels): 400
In order to achieve this challenge I use two differents milling tools.
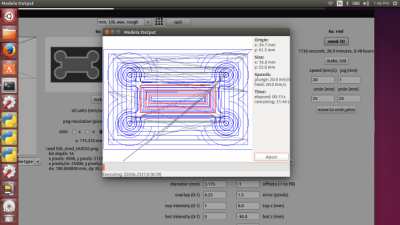
Rough
This is the roughing pass. Here the material of the mold, in this case "wax", are going to be removed quickly but the result at the end of this pass has neither the size nor the actual shape of what I have designed.
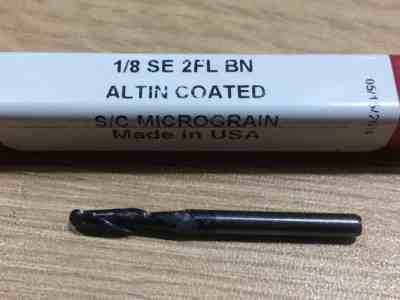
For this part I used 1/8 SE 2FL milling tool.
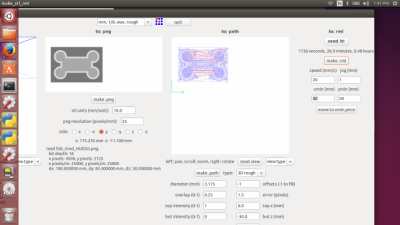
Parameters:
to: png
stl units (mm/unit): 10.0
png resolution (pixels/mm): 25
side: y
to: path
type: 3D rough
diameter (mm): 3.175
offsets (-1 to fill): -1
overlap (0-1): 0.25
error (pixels): 1.5
top intensity (0-1): 1
top z (mm): 0.0
bot intensity (0-1): 0
bot z (mm): -30.0
to: rml
top z (mm): 20
top z (mm): 1
Move x and y according your project.
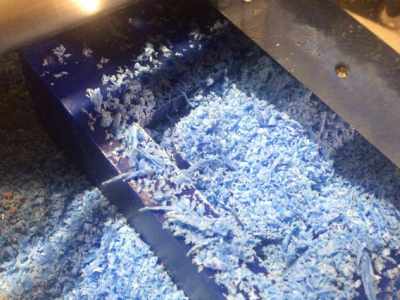
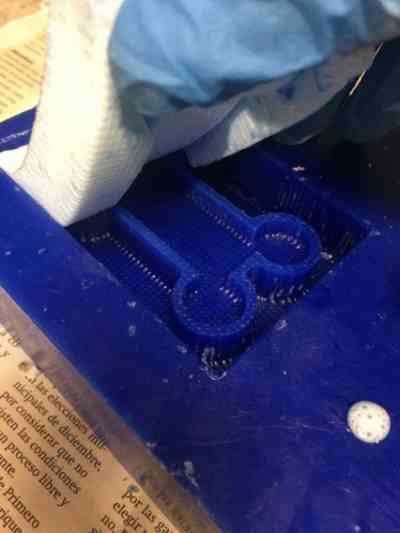
Result:
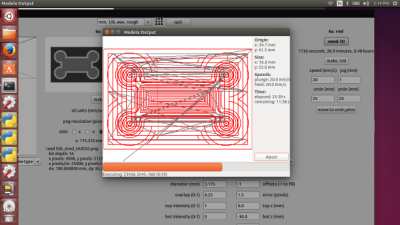
Final finish
Since the roughing pass it leaves a layer of wax that is the one that is removed in the final pass in order to obtain the size and the actual shape of wat I designed.
For this part I used 1/8 SE 2FL BN milling tool.
Parameters:
to: png
stl units (mm/unit): 1
png resolution (pixels/mm): 25
side: y
to: path
type: 3D finish
total diameter (mm): 3.175
overlap (0-1): 0.5
error (pixels): 1.5
top intensity (0-1): 1
top z (mm): 0.0
bot intensity (0-1): 0
bot z (mm): -30.0
to: rml
top z (mm): 20
top z (mm): 1
Move x and y according the first set.
Result:
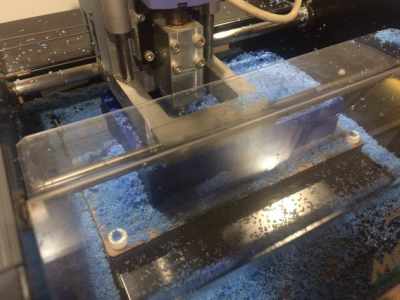
Molding and casting from wax:
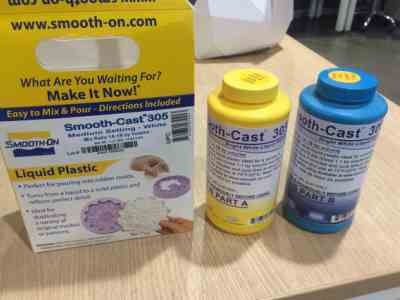
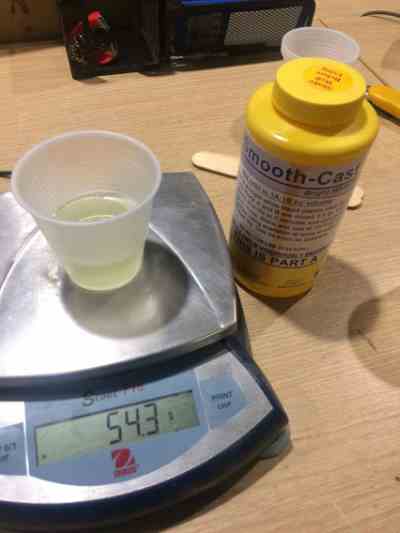
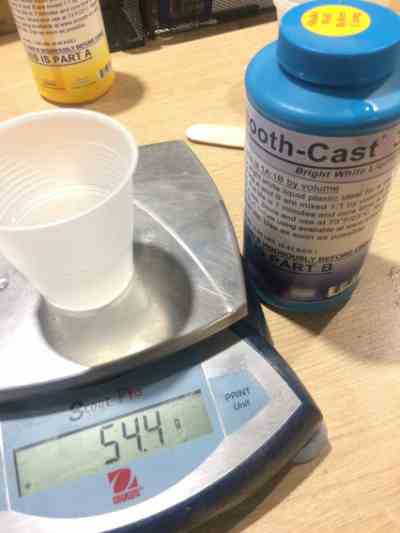
I am going to use Smooth Cast 305 for the mold:
The reason between part A and part B is 1:1
I used 54 g of each one
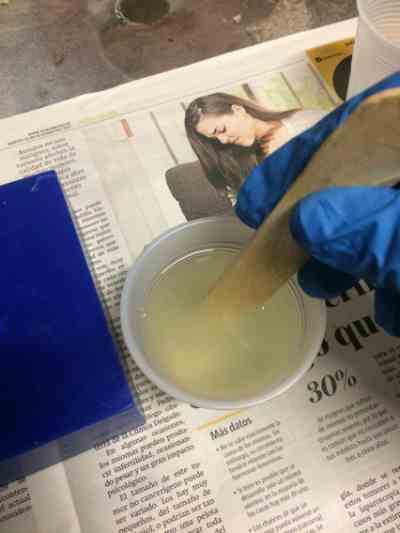
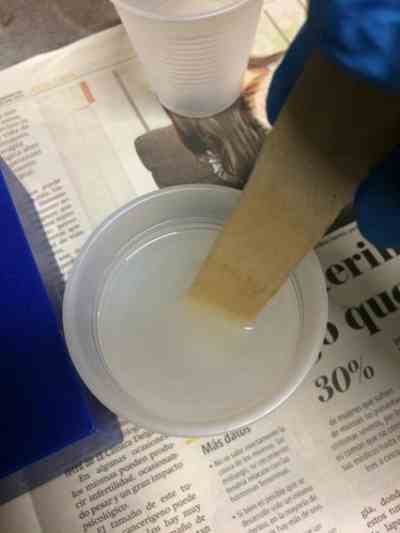
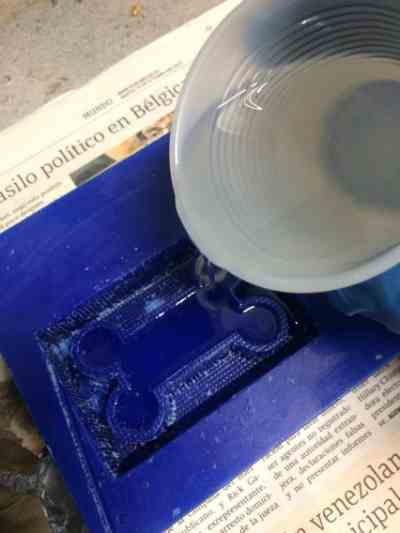
Then I mixed both and cast into the wax mold:
You will see how it changes of colour, let it dry, in this case it tooks 30 min.
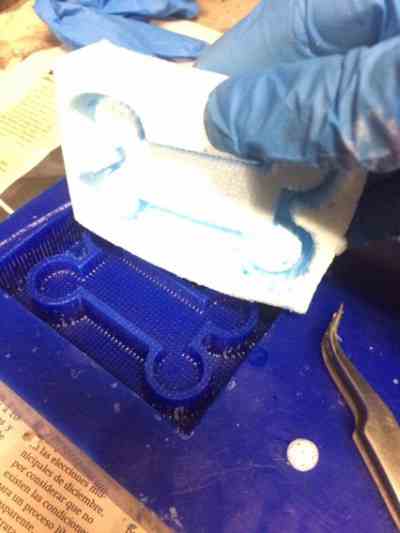
RESULT:
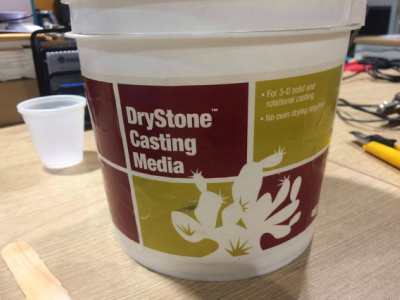
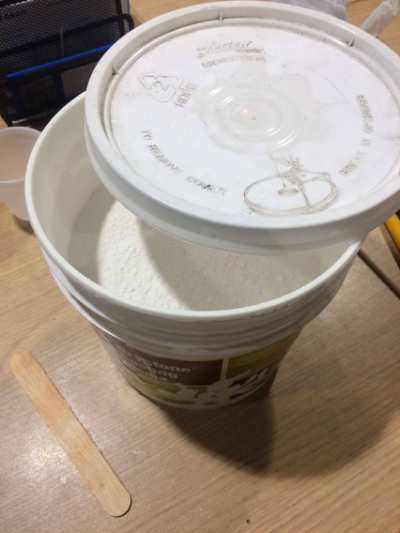
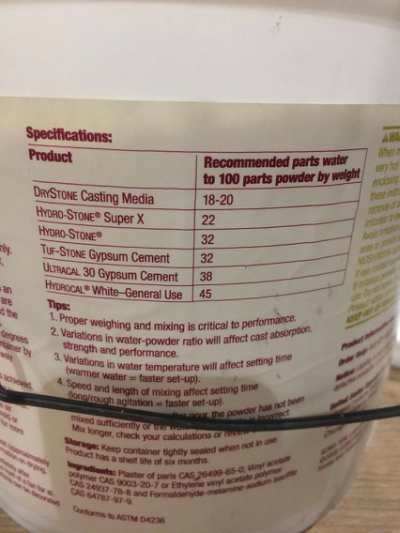
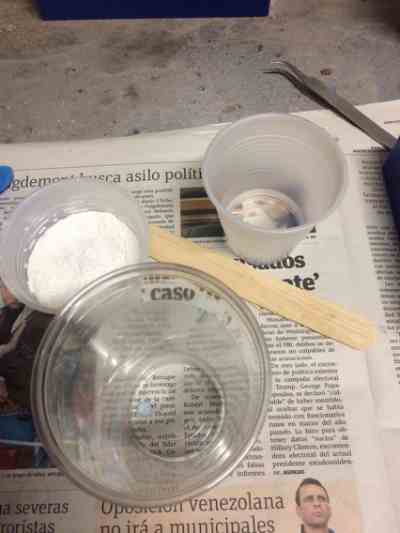
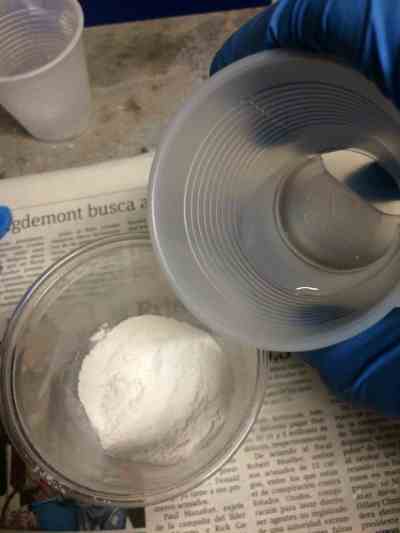
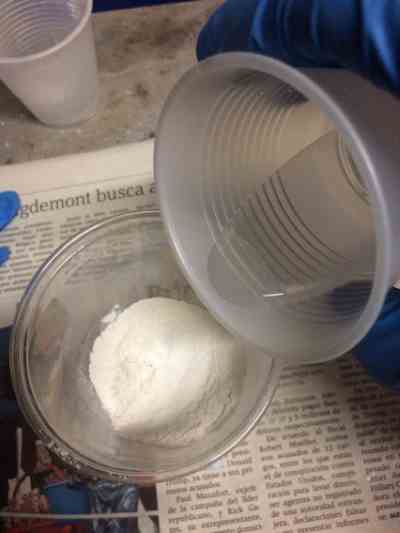
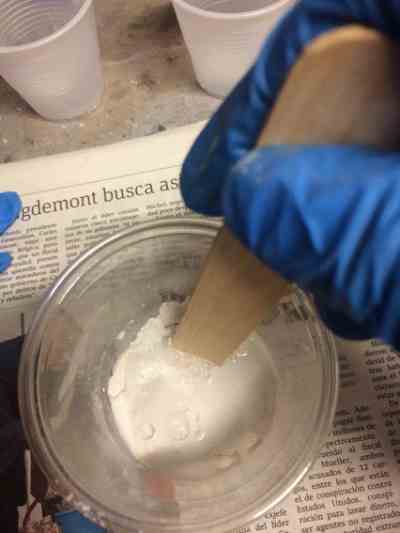
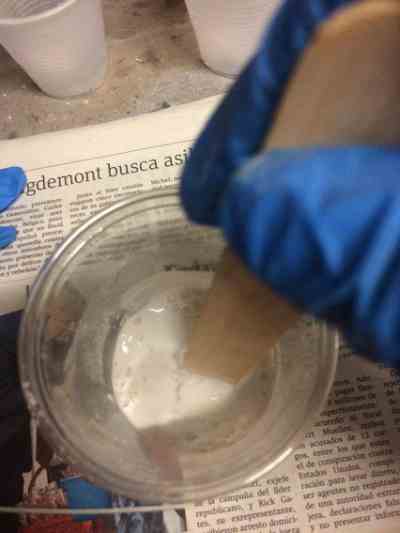
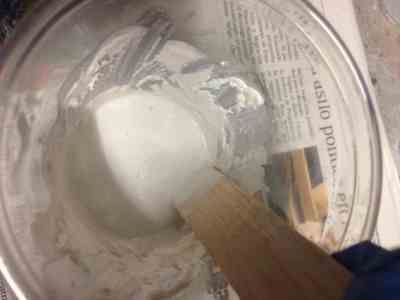
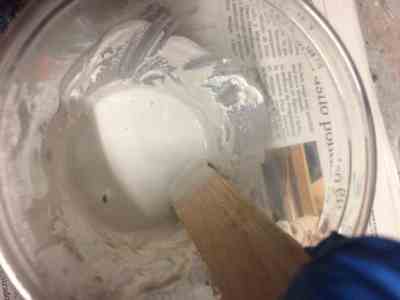
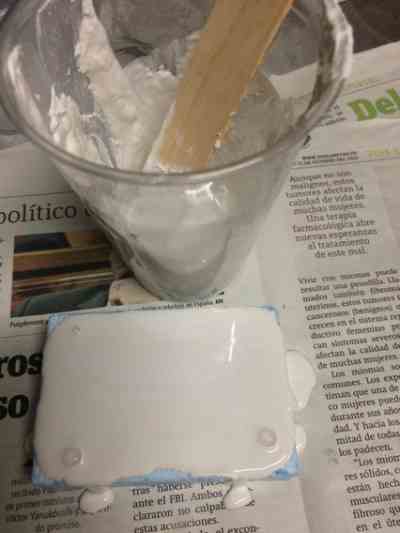
In parallel lets start preparing DryStone
In this case, the reason between Drystone and water is 22 ml of water for each 100ml of Drystone
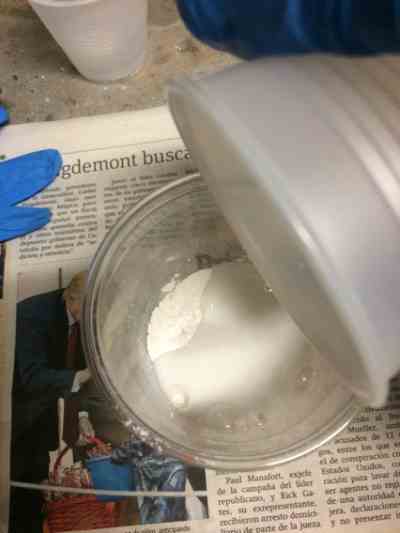
I mixed to obtain the correct consistency and then cast into the mold.
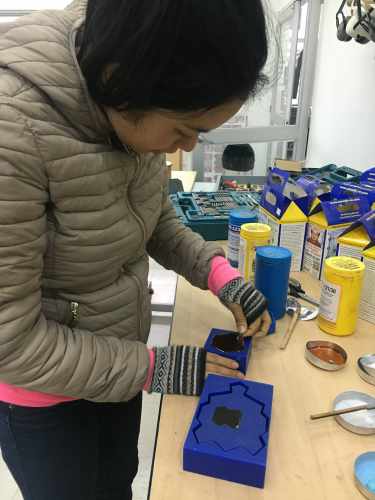
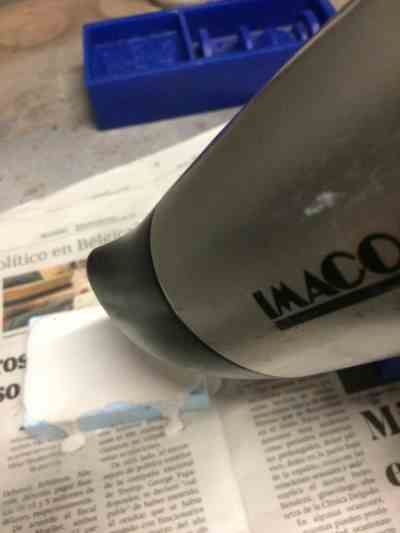
I have to travel to France, so I used a dryer to help with drying
Unfortunately,the plastic is not so flexible
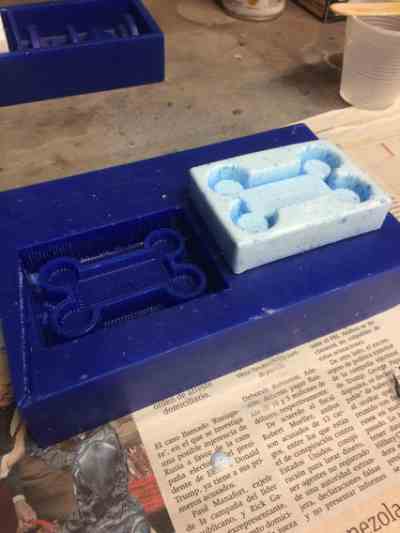
It must dry well.
As you can see, it is broken.
Smooth Cast 305 is a plastic that is better to be the final piece than for mold.
This test did not go well.
As a result of this experience I recommend not using hard silicones for this type of material but flexible silicones. <(
And finally the DryStone takes time to dry, let it do it naturally.
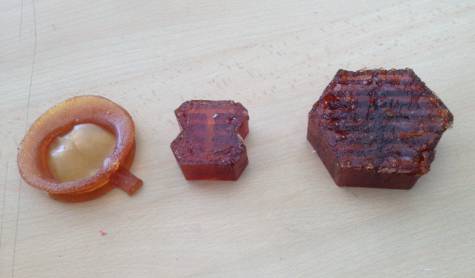
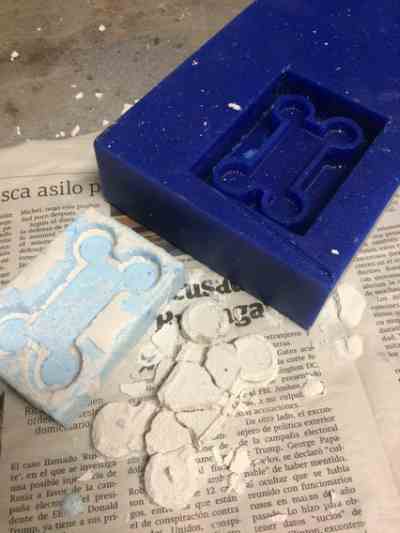
As you can see, from the wax mold you are able to make copies with different materials.
Conclusions:
This was a very nice assignment, I really enjoy it. I did it many times until to get a good 4 modules to my project.
I learned a lot, for example, resin dries very fast, you have to be fast.
Silicone doesn't need to much preasure to fit with the other part.
Self Evaluation:
I achieved to design my mold. After usinf differents ways to create a mold, I achieved to make the mold of my final project using the lasser cutter machine "Epilog Legend" and Silicone.
One of the problems that came to me was when I pressed too much of the two parts of the mold and stuck the sides that are empty, there was wasted material but then to overcome this inconvenience I reused it to create the mold of my sphere.