[02-01-17] I wrote the following, it was just an idea:
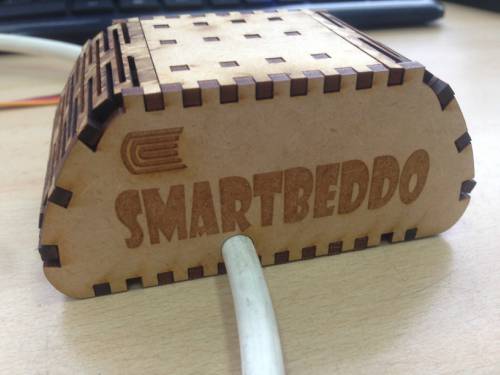
"SMARTBEDDO"
The smart mattress that will change the world with love.
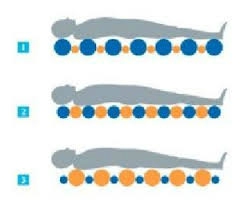
For my final project, I want to make a smart mattress called SMARTBEDDO (Beddo = bed in Japanese) which is controlled by the mobile phone and can be used by patients who have to spend a lot of time in a bed such as cancer patients, Lupus patients, and others. This patients need to be moved every few hours to avoid bedsores and be more comfortable. Therefore, this mattress will work as the patient wants to be in bed: Left, right, front or semi-saddle. Thus achieving a higher level of comfort of this type of patients and facilitating the work of nurses as a way of preventing back pain.
Why do I want to accomplish this dream?
Their names are Tamotsu, Naomi and Marcelino, both are my main source of motivation to achieve this project
Smartbeddo will be the best alternative to allow higher levels of comfortability through the lot of hours that they have to be at bed.
Through the following documentation I will explain how Smartbeddo was born.
After the brief story I tell you here MOTIVATION, I started looking for information on how to do my project:
CONCEPT IDEA:
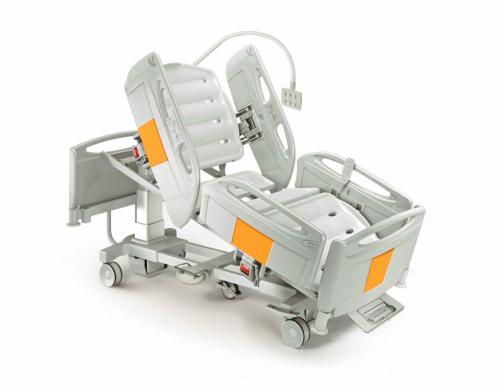
I first investigated how special beds are for patients who are prostrate, I looked for the best hospitals in the world, and I found the following information:
They use articulated beds to be able to support patients. Still, accommodating them is a task that nurses do with effort.
In order to be sure, I called with two friends who were in the United States to two hospitals to see how the beds worked for these patients. They confirmed what I found out.
In the meantime I kept looking for information about:
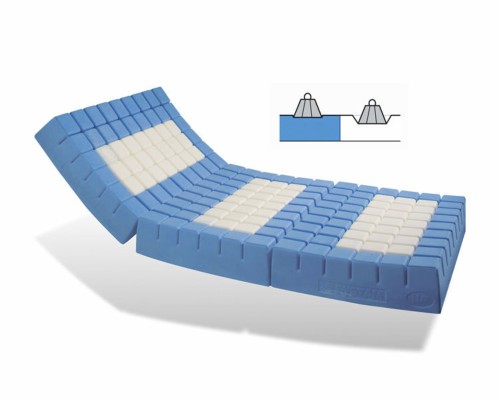
Articulated mattress:
Anti-decay mattresses:
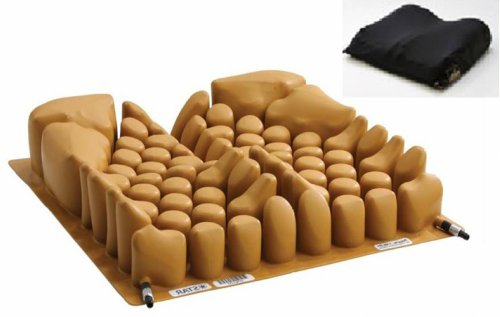
Comfort:
Alternate air systems:
Pressure points:
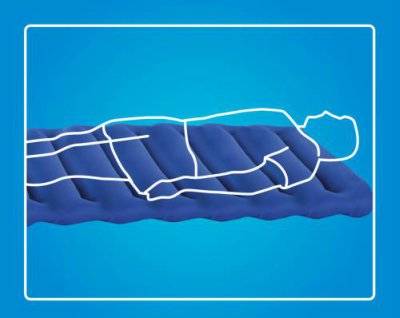
Management of the bedridden patient (I visited a hospital and recorded this video)
Through this video you can understand why I want to create Smartbeddo:
Base on this thesis, I found that 70.86% of patients with very limited or immobile activity are at high risk for ulcers or bedsores.
And in the meantime thousands of ideas passed through my mind and my idea was getting better.
I found some very interesting information, here I attach the link, MIT projects that I wanted to integrate developing this challenge.
Well, I finally decided that this was the approach:
My goals were defined:
-help patients to raise comfort levels.
-help nurses and families in the job of accommodating them by preventing problems of low back pain.
But by this point I still did not know what materials I was going to use and how I was going to do it. For being a different theme in the project record here I did not get much guidance.
PROTOTYPING:
It was clear that what I had to achieve was an inflatable structure, and this is the story:
CHAPTERS WORKED ON THIS PROJECT:
I will explain my prototyping process through each assignment developed:
I worked on my project on those weeks:
Project Management
As you can see here I made a plan for my project, to achieve each topic by the time:
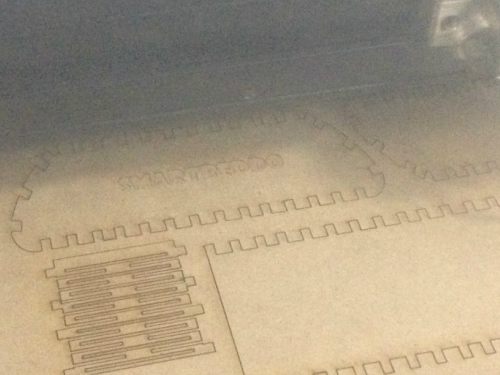
Computer Aided Design
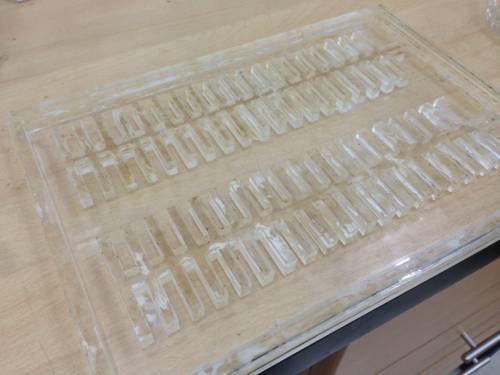
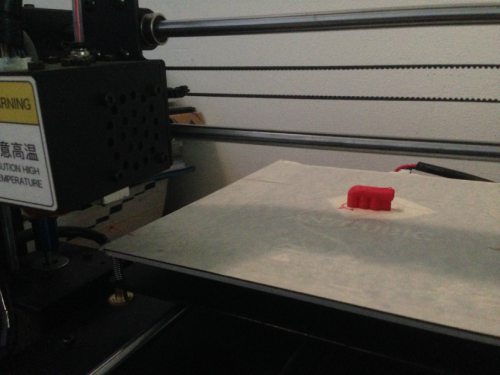
Mold:
I worked with Inventor to make my mold design of the modules of silicone. Download file
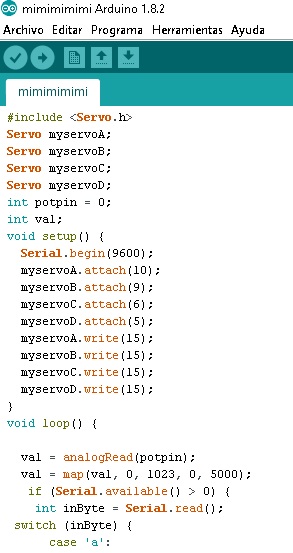
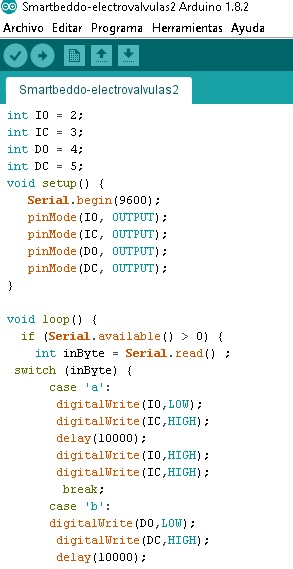
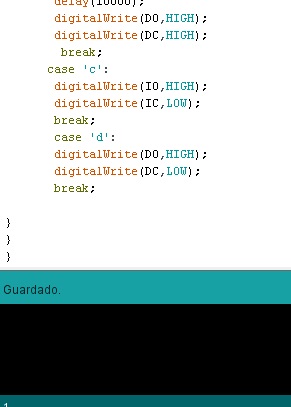
The logic in programming, whether in servomotors or selenoid valves, are very similar, first you have to declare what the out puts with the "int" command. In my case I have followed the following logic. "IO" for left open; "IC" for left closed; "DO" for right open and "DC" for right closed. Then they are defined as out puts all.
And you begin to create the content for "void loop" here is where the sequence of the programming is declared and I write 4 cases, knowing that High is close and Low is open, then I will toggle 4 scenarios, alternating it opens and Closes on right and left, to inflate and deflate.
------------------------
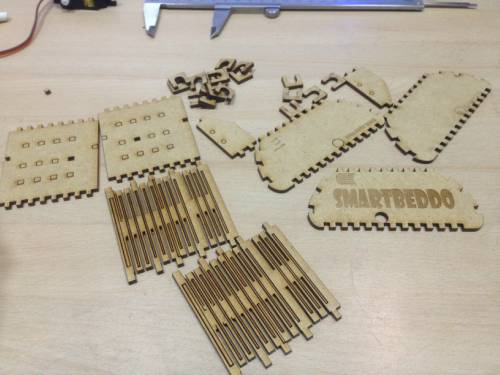
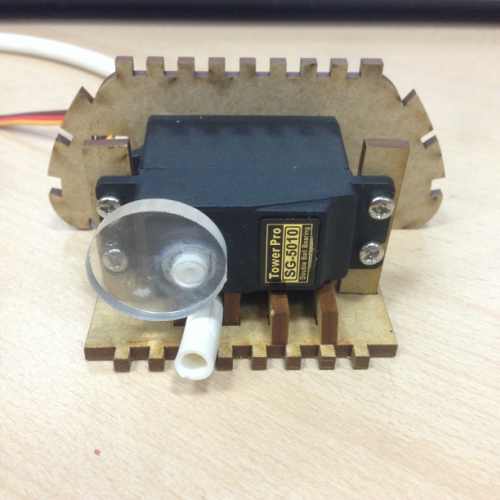
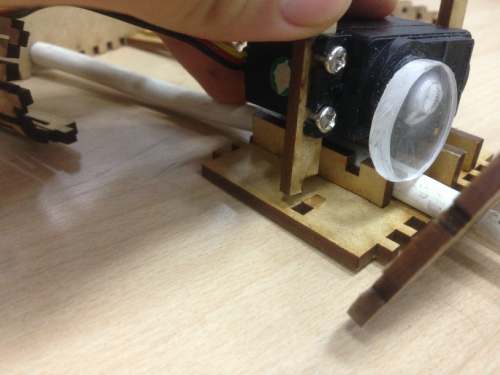
Mechanical Design
In this part I created a mecanism for my 4 servomotors, but it didn't work as I want
I'm learnig, I'm sure next time I will do it better
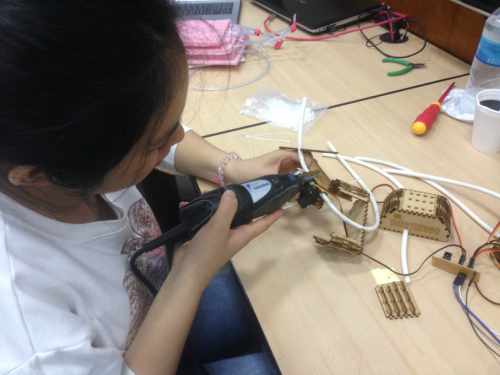
Even if I tried to use dremel, it didn't looks and work as I want!
I achieved to program the servomotors but I realized that it doesnt work as I want
That's why I change it for selenoid valves, Since this mechanism fails to cushion the hose. And thus I will not be able to control the air flow.
------------------------
Output Devices
First, I used 4 servomotors
And then for better results I change it for 4 selenoid valves
------------------------
Molding and Casting
To achieve this challenge I used silicon and acrylic. As I described at the begginig I made a mold with acrylic
To get my modules
Process description
I used to work with 129.7 g of silicon and 3% of catalyzer, in this case 3.891 ml.
Then you have to mix until you get a good mix
And fill the molds.
Through this videos you will see how I did it
First Test of mold
------------------------
Input Devices
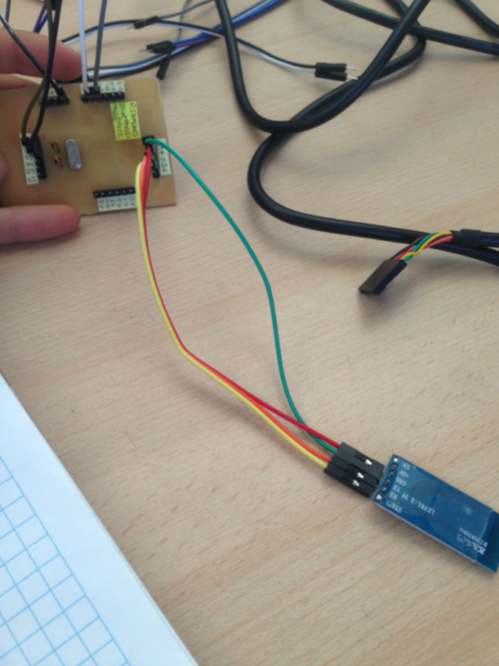
Bluetooth
To complete my project I used a bluetooth
I'm not a specialist on this topics, but I did my best to learn.
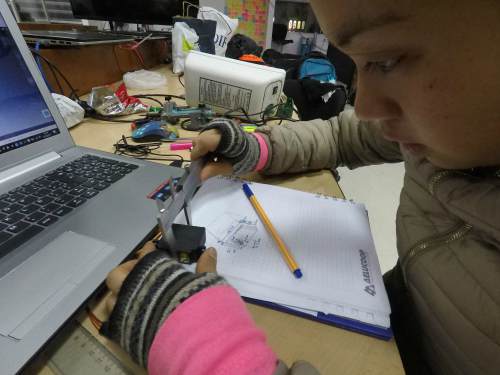
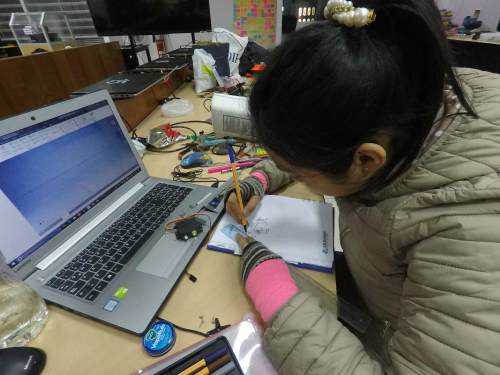
I skectched my conections:
To achieve this challenge
It is important to conect:
"Rx" of bluetooth with "Tx" of mimiduino
"Tx" of bluetooth with "Rx" of mimiduino
"+" with "+" of each one
"-" with "-" of each one
------------------------
Networking and Communication
------------------------
Interface and Application Programming
Click here to find the description of this assignment involved on my project development.
Here you have the QR code to download my app and try with Smartbeddo
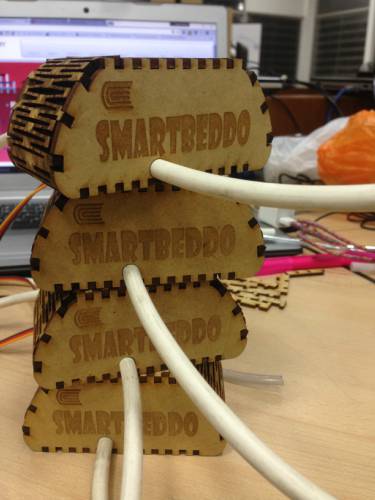
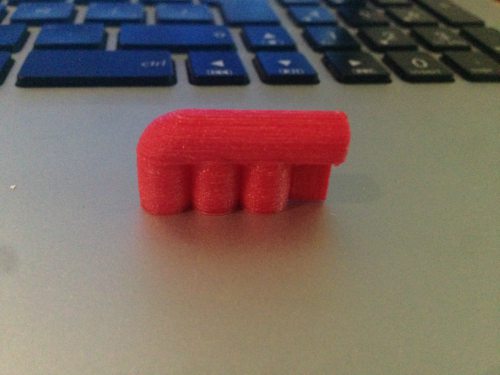
After obtaining the molds, insert the hoses and place the lid, that is to say, when I get the module, I proceed to join with the unions printed in 3D forming a system of four modules, these are attached to the solenoid valves and the compressor Of air that feeds it from 5 to 105 mmHg.
SOFTWARE
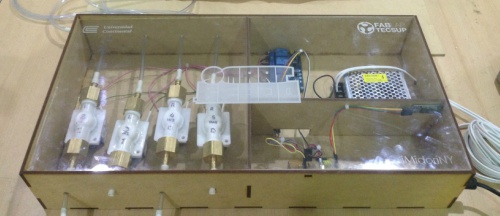
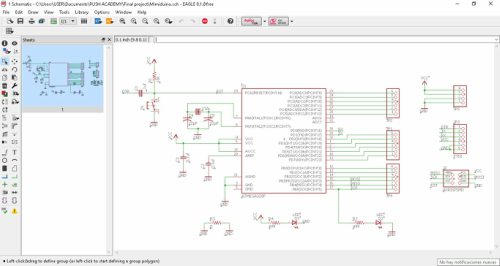
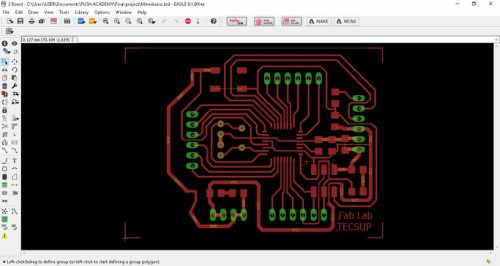
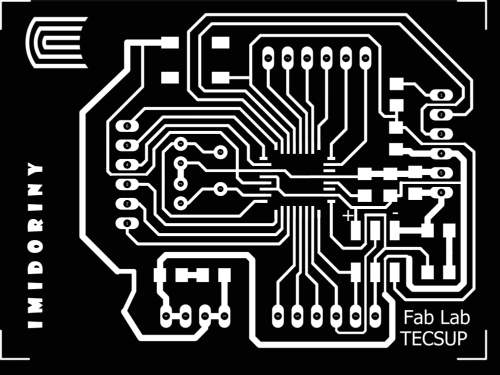
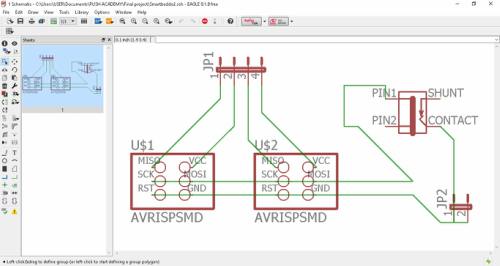
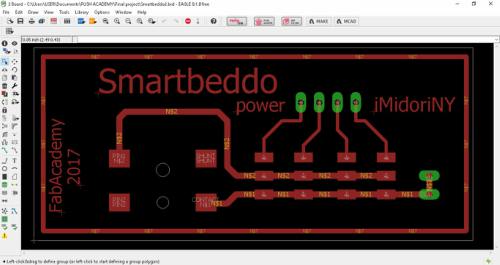
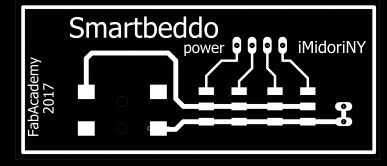
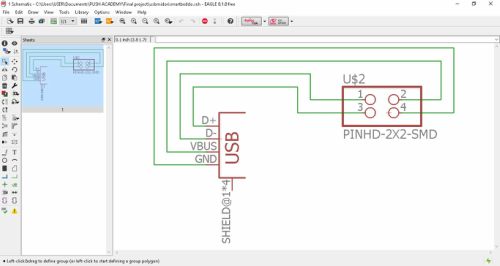
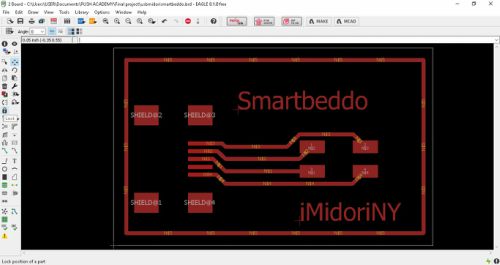
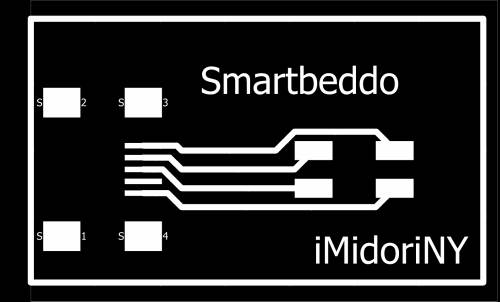
For the control part I have integrated my mimiduino card with a usb card that I designed for bluetooth and bluetoothh (the usb card for bluetooth is to receive independent power from a power outlet), to be able to control from the cell phone According to the programming developed, with a board of four relays, connected to the solenoid valves and the power supply.
Test of the modular system
Test of the integrated system
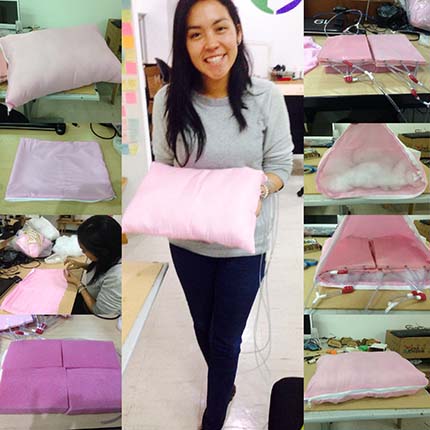
When I presented my final project, Neil recommended me to integrate my project, that's why I decided to use a pillow, and some sewing skills. To preparete the first prototype of Smartbeddo
Testing1
Also, I integrated the electronics control. Ordering everything in the box I made to accommodate them.
And here you can see the first time it works!
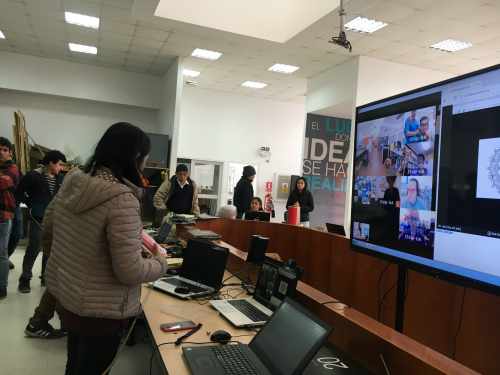
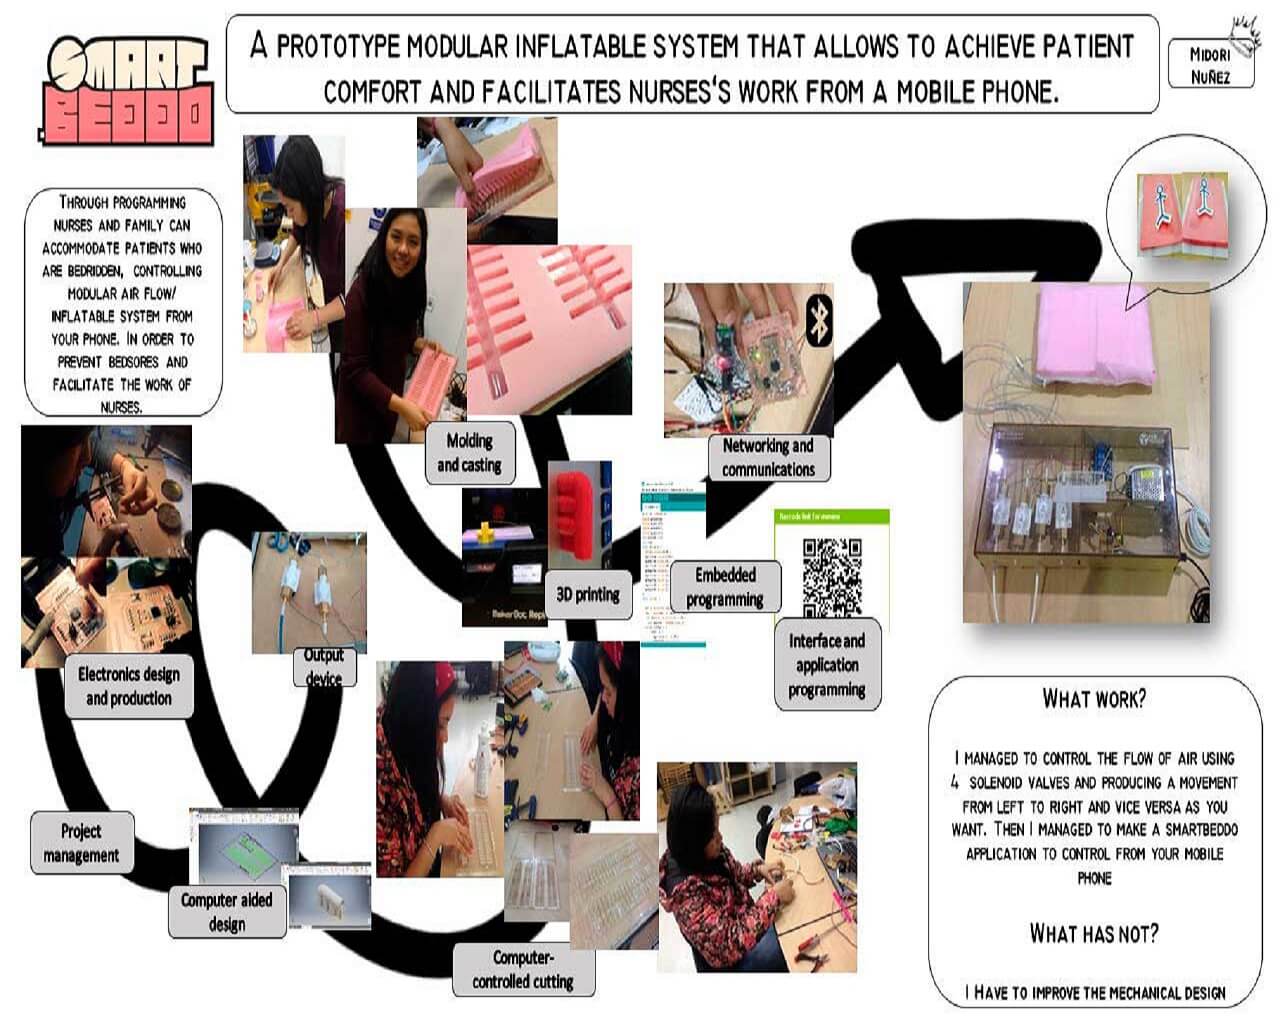
[06-27-17] I achieve to make my final project, as you can see here:
SMARTBEDDO:
"A prototype modular inflatable system that allows to achieve patient comfort and facilitates nurses work from a mobile phone"
Materials:
-Silicona F20 plus
-Hoses 6mm diameter
-Selenoid valves
-Relays *4
-Bluettoth S/20.00
-Air compressor
-White sealing tape
-Pillow
-Power supply 24VDC
-Acrylic
-MDF
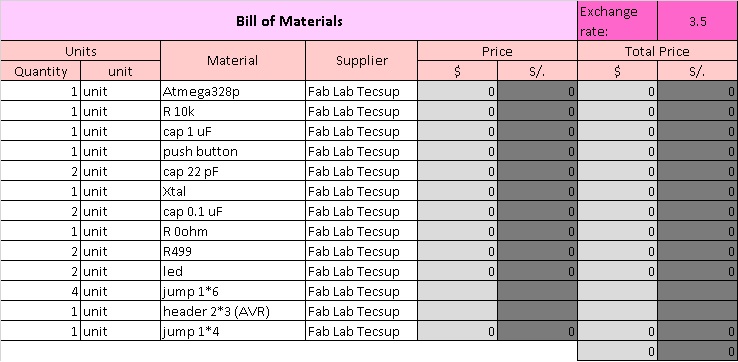
Components:
-Atmega328
-R 10k
-1 cap uF
-1 push button
-2 cap 0.1 uF
-1R 0 ohm
-2R 499
-2 led
-4 jumers 1*6
-1 header 2*3 (AVR)
-1 jumper 1*4
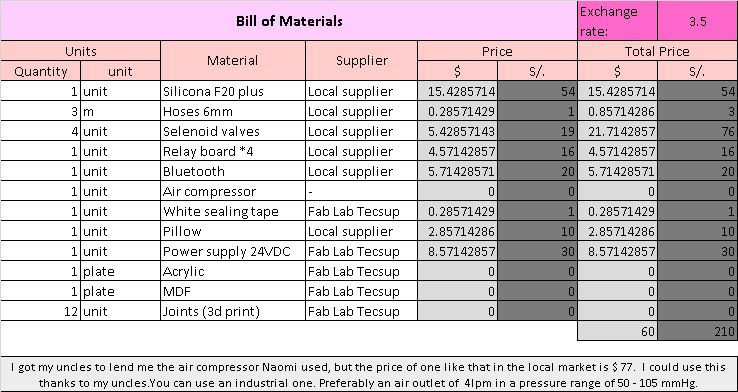
BOM:
Analyzing the costs compared to those offered in the market, if you include the price of the air compressor, Smartbeddo offers the benefit of being less expensive, since in total comes about 145 dollars and an anti-decay mattress costs between 250 and over . And the advantage is that if it were to fail a module, it can be changed without failing the system, instead in an anti-decay mattress, if one of the balloons is broken, you have to buy a new one, since PVC does not Allows you to easily solve it.


