FabAcademy2017 - Projects
3D scanning and printing
February 22, 2017 - Week#5
Important notes
3D Printing
3D printers are amazing machines, I leant a lot by testing it because it is a machine that can easily define how to make almost anything. It also encouraged me to learn more about 3D softwares, I can say it just motivated me. When you see something you made yourself, it is very exciting.
Testing the 3D printers
For the group assignment, we tested 3D-printers at our FabLab. Later, I separately worked on this assignment and I selected one test print from Thingiverse called Test your 3D printer! V3 and printed it on two working printers.

Here are things I learned from testing 3D Printers.
1. Resolutions and size that are too low or too high can cause problems
2. Measure Wall thickness so that you don't make a simple model that could break off easily
3. Avoiding Overhanging or note that it will require support material.
3D Printing Advantage
1. They are 100% customizable
2. Rapid to make prototypes
3. Easy to use and Affordable
4. Diverse material options
5. Can print unlimited geometry options
3D Printing limitations
1. Struggles with small details
2. Limited build size
3. Support Material
4. Hard to scale (For Mass production)
Steps to 3D Printing
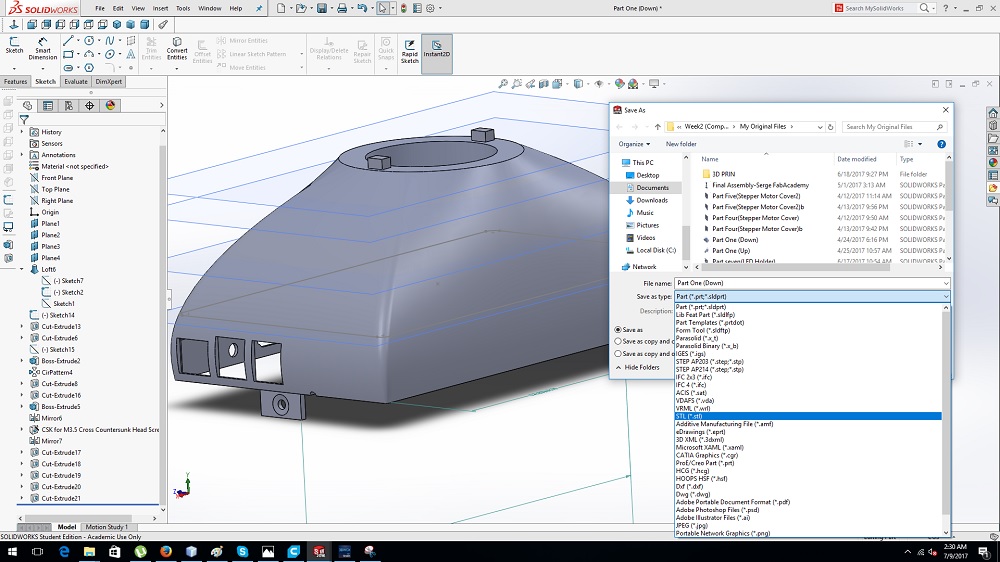
1. Get a 3D model ready for printing, and export your file in either a STL, 3MF or OBJ file format.
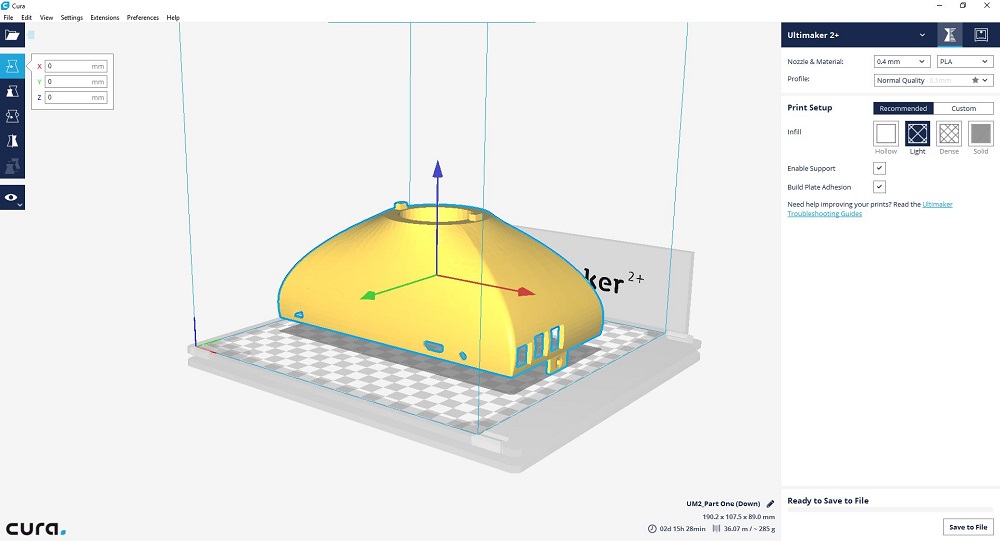
2. Import the file to Cura Or 3DWOX. It slices your model ready for print.
You can preview it, scale it and adjust settings as you’d like
3. Set the printing parameters, or use recommended ones
4. Save Gcode file for printing
5. Turn on the Printer, save the file or print on your 3D Printer directly from Cura/3DWOX.
Click Save to File, Save to Removable Drive or Print Over Network.
6. Start printing

7. After Printing, remove the printed object gently.
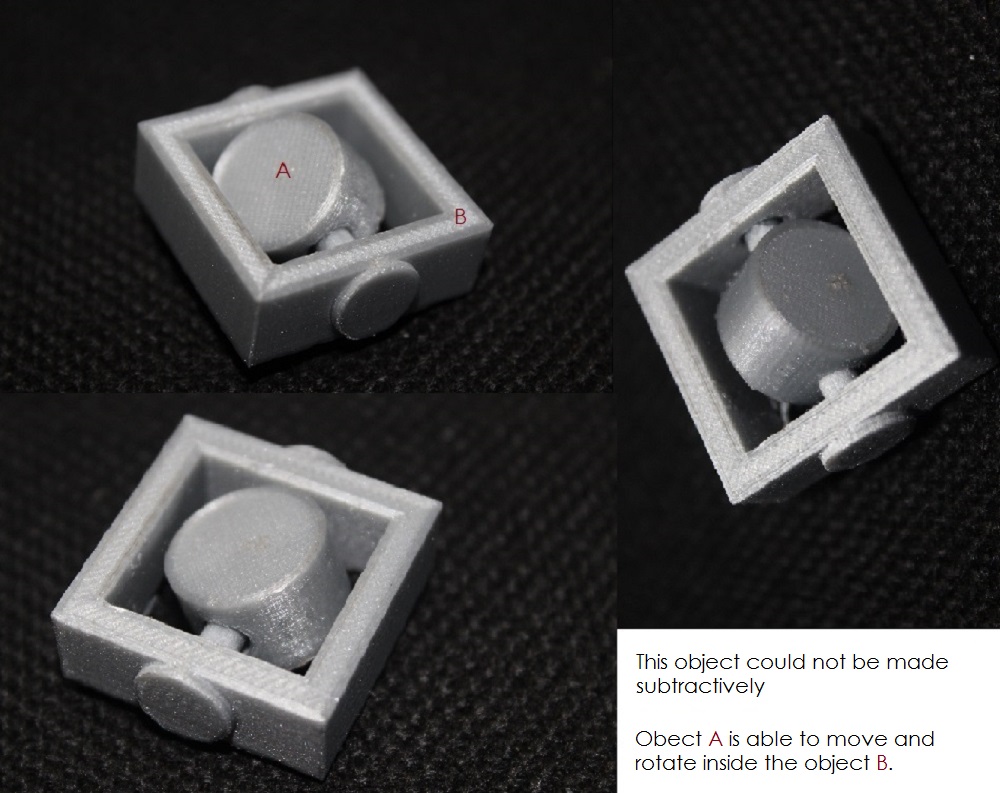
3D object that could not be made subtractively
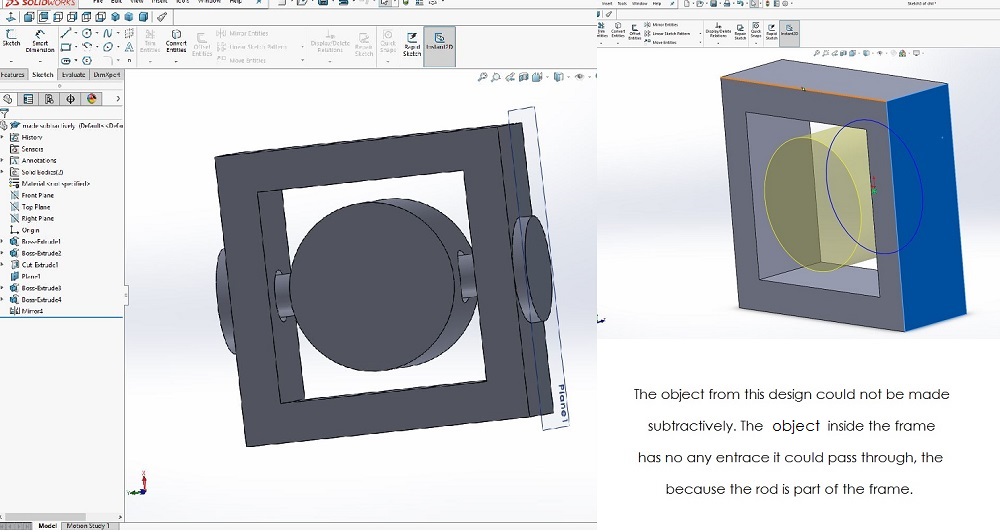
I used Solidworks to create my 3D Design that could not be made subtractively, because of the way it is made.
It is a frame that has a cube inside and that cube is able to rotate because it is not attached anywhere, it is just in the middle of the rod passing throughout the frame.
3D Scanning is one of interesting part of FabAcademy courses, Before I use 3D Scanner I knew it is not easy but I finally found that it was all about knowing how to capture all the angles of an object
3D Scanning
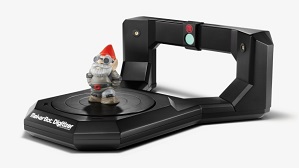
3D Scanning is amazing, I could not imagine how possible it is to scan 3D object before I join FabLab. I scanned a camera stand and below I documented steps how I made it.
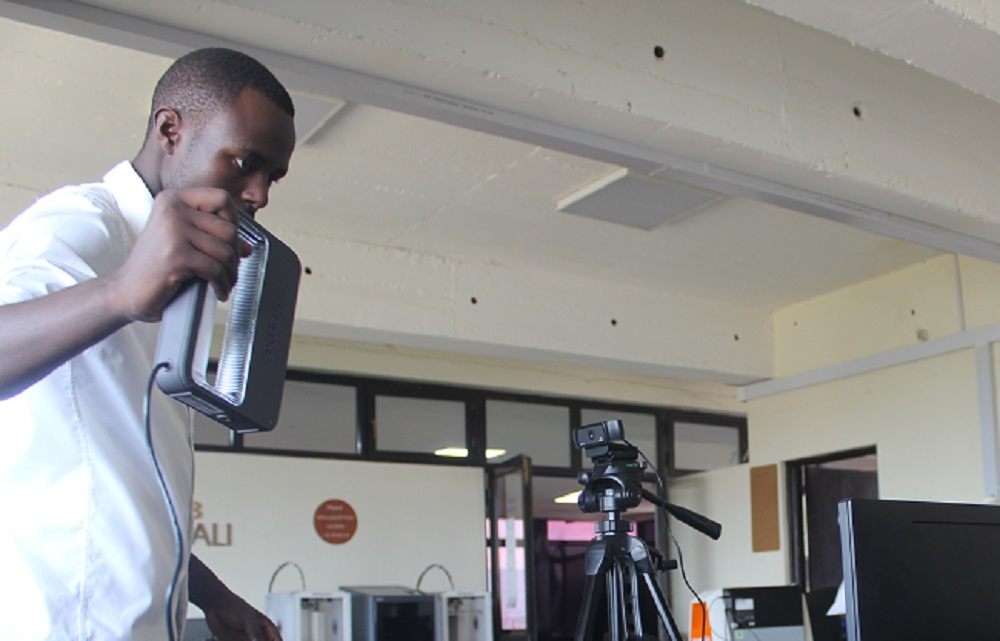
One of the Problems I met while scanning, is that sometimes the scanner loose focus and then spent sometime trying to find the object to focus on it again. But solved that by trying to scan without shaking the scanner to keep a constant speed
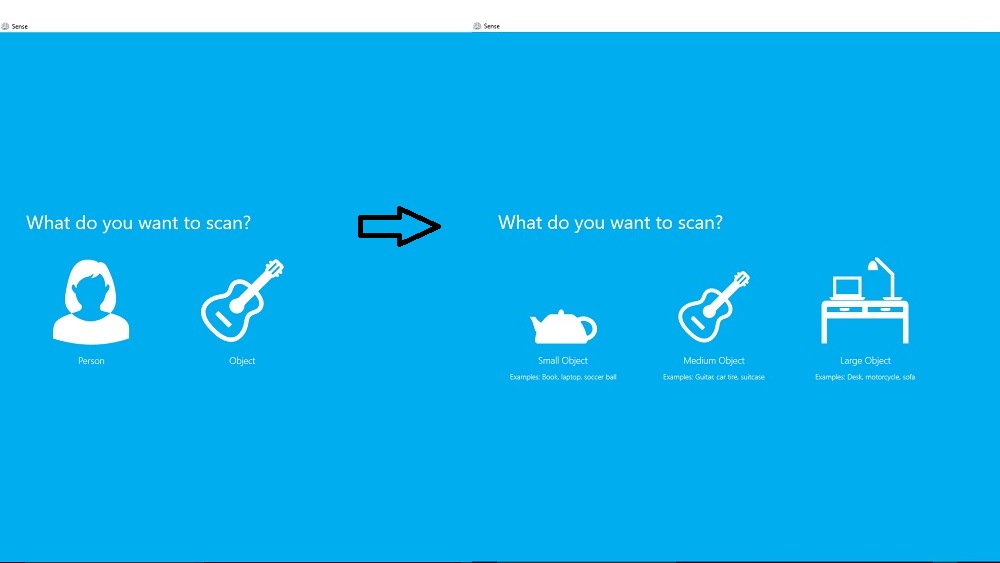
I had first to define the object I was going to scan
The scanner was trying to get a focus on the material to scan
br>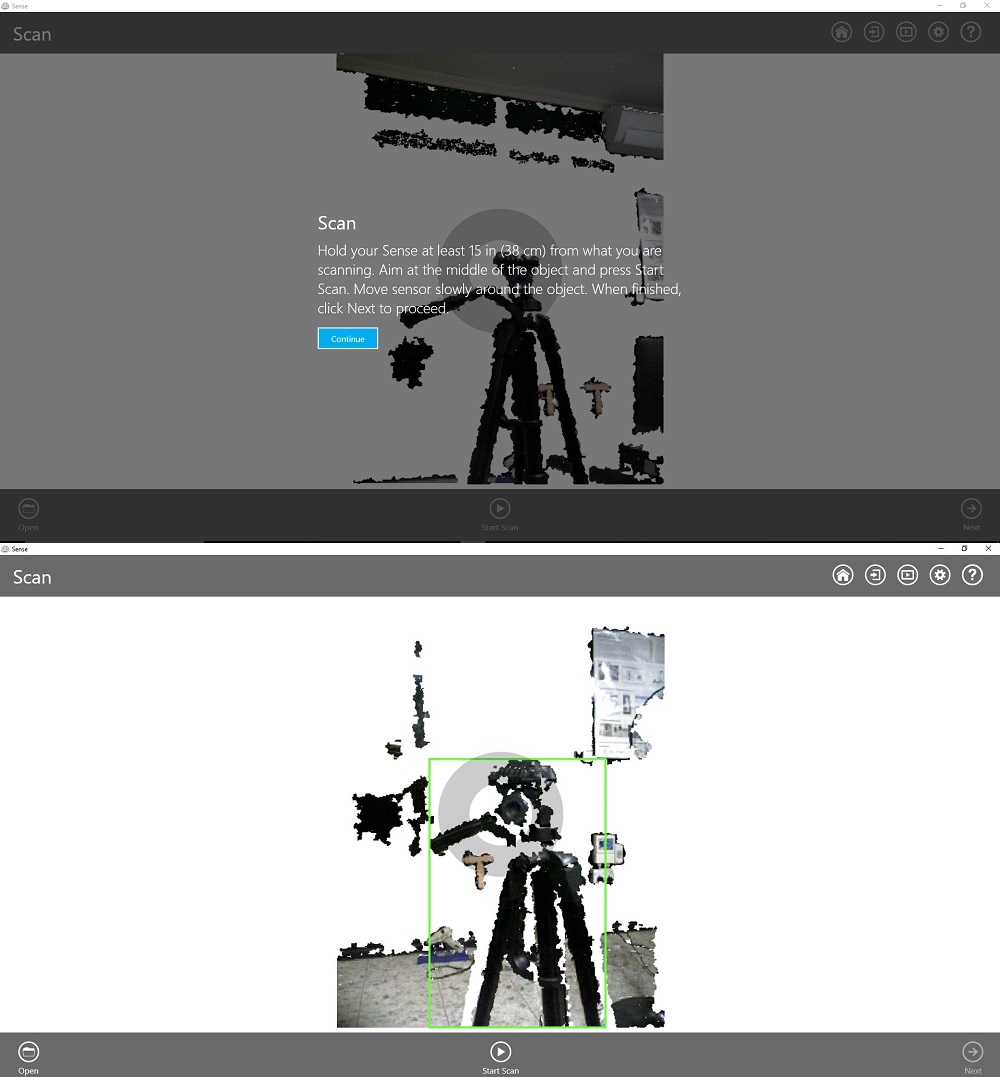
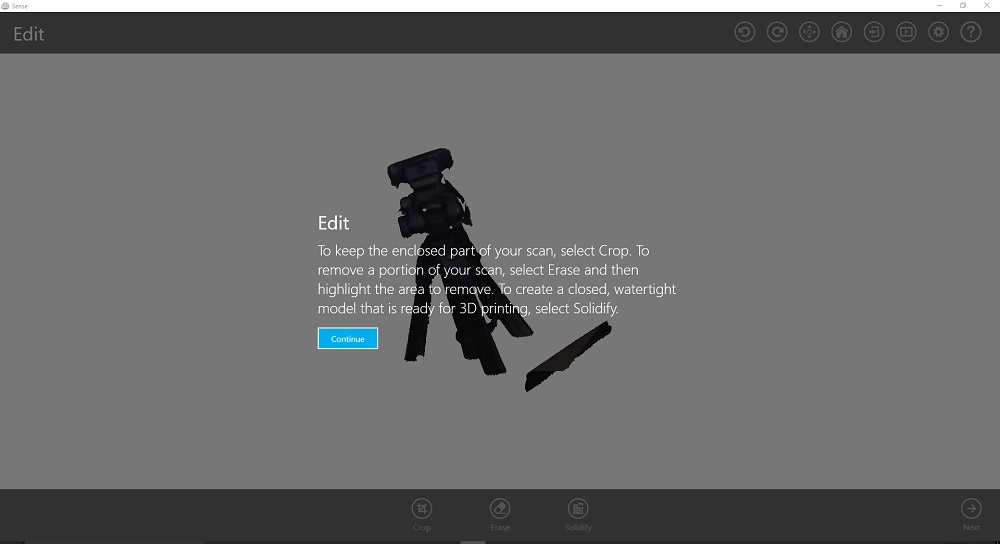
Edit
To keep the enclosed part of your scan, select Crop. To remove a portion of your scan, select Erase and then highlight the area to remove. To create a closed, watertight model that is ready for 3D printing, select solidify.
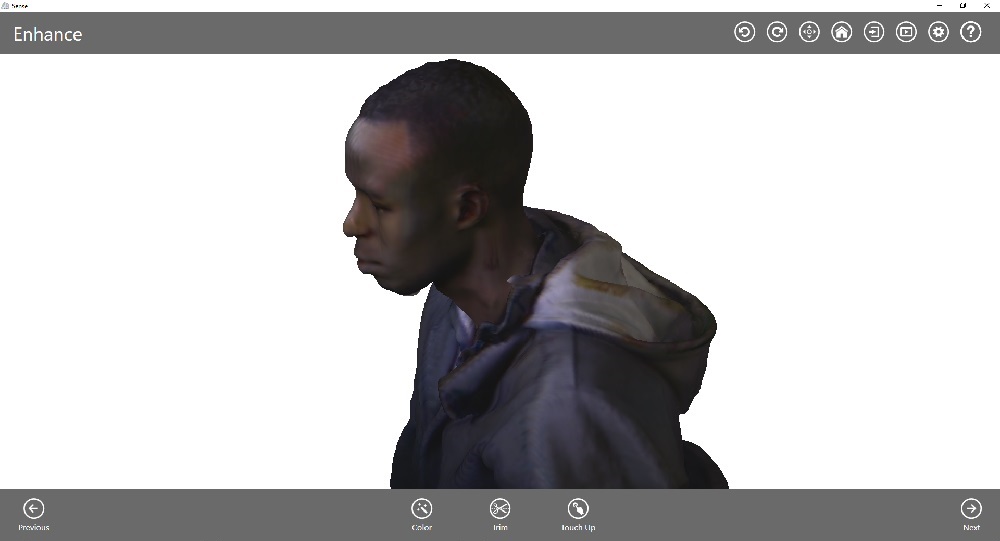
Enhance
To adjust brightness and contrast select Color. To cut away part of your scan, select Trim. To improve parts of your scan, select Touch Up, and then make your selection.
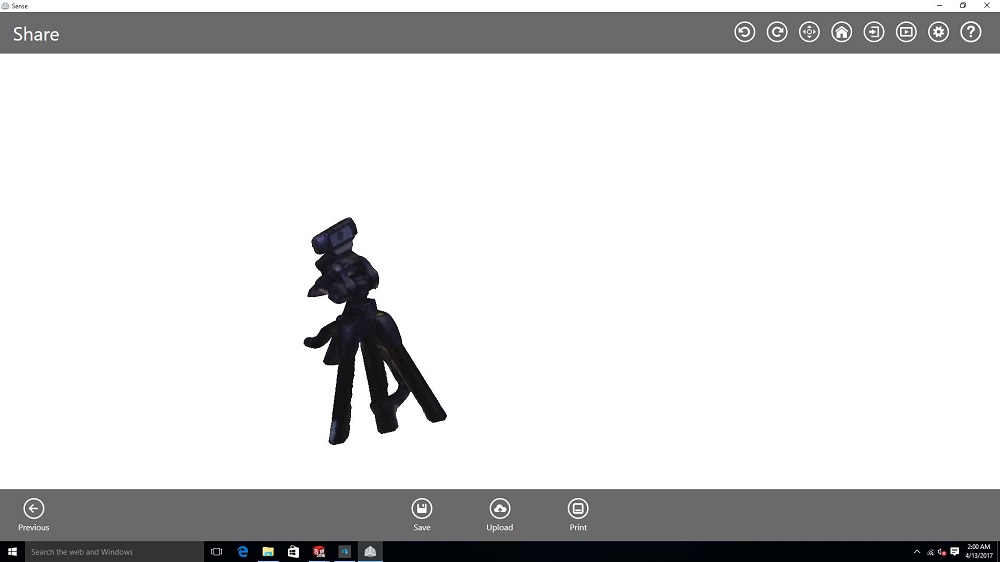
Share
To save a local copy of your scan, select Save. To send your scan to Cubify.com for online viewing and 3D printing, select Upload. To send your watertight scan to a connected 3D printer, select Print.
Finally, you have your 3D Model ready to be printed.
