FabAcademy2017 - Projects
Molding and Casting
April 19, 2017 - Week#12
I have been seeing different toys especially those ones kids like to play with, but I didn't
know how some of the are made. Moulding and casting is a great tool in making, and it successfully enables
making almost anything, when it is about toys and other different objects.
I started making the files for machining, which I have extracted from the final model Design.
I had to join the two parts, One was the final model I wanted to copy (The cavity) and the second part
was where I wanted to put the shape to make mould (The base part)

Here I show how I made my mould and cast the parts.
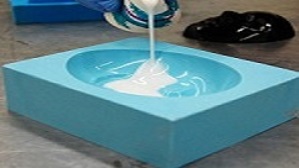
I had to stir Part-A Thoroughly before mixing with Part-B and do the same to the Part-B.
and it is required to use it as soon as possible after mixing, Otherwise it is going to be hard to fill it in
the Mould.
The Mixing ration is 1A:1B by Volume or Weight.
I used SORTA-Clear 37 "Translucent silicone mould rubber"

I spent a lot of time learning to know how to use the cavity tool well, I tried more times and watched different tutorials on Youtube, and Finally I understood how to do it. The Cavity tool, is used when we want to make a mould from a final model design. So, we need to have the cavity part and the base part. I opened assembly window in solid works and imported the final model part.
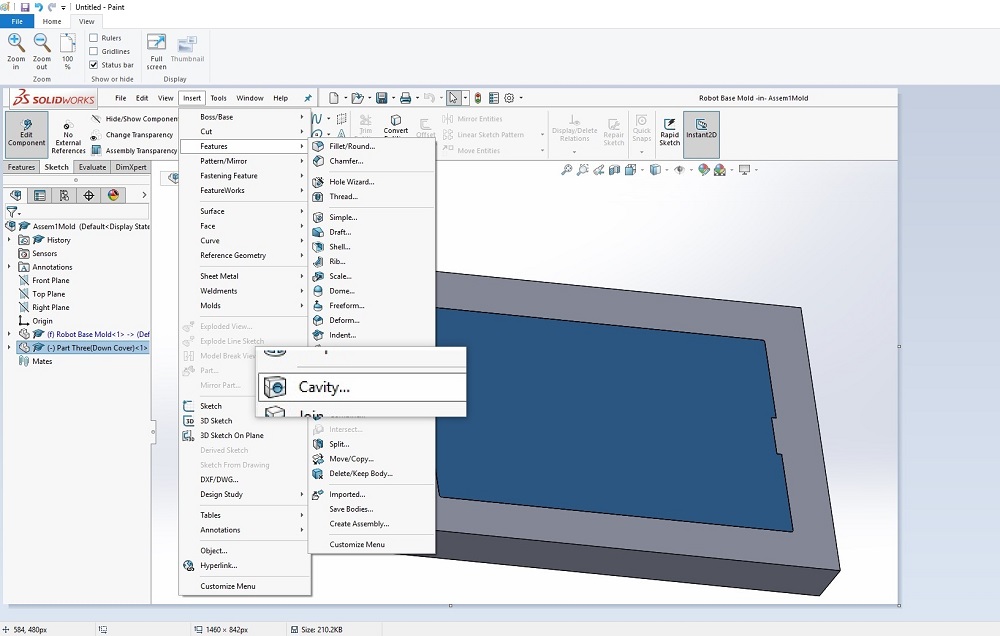
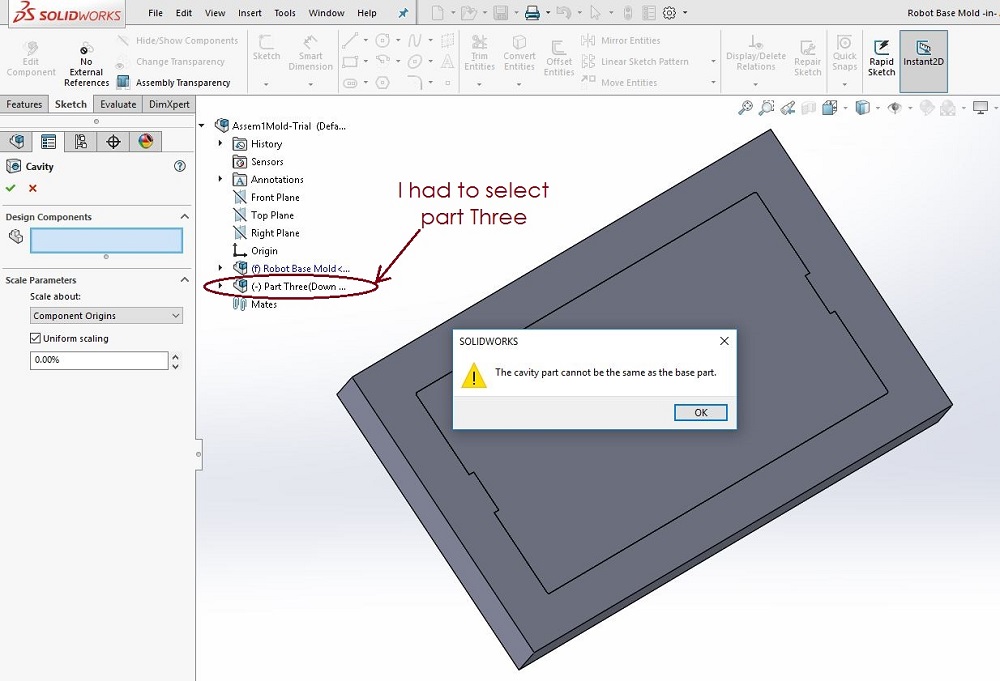
I met one problem when making my mould Design, here is how I fixed that.
I had to select the cavity part which I was asked to fill in the Design Component Parts but I received an error
because I was selecting the base part instead of cavity part. Fortunately, I finally got where to select the
cavity part from. it is labeled in the screenshot below;
After pouring over the prepared model, I had to let it cure to a solid, flexible rubber mould.
and after some time I had to Remove it to reveal mould Cavity.
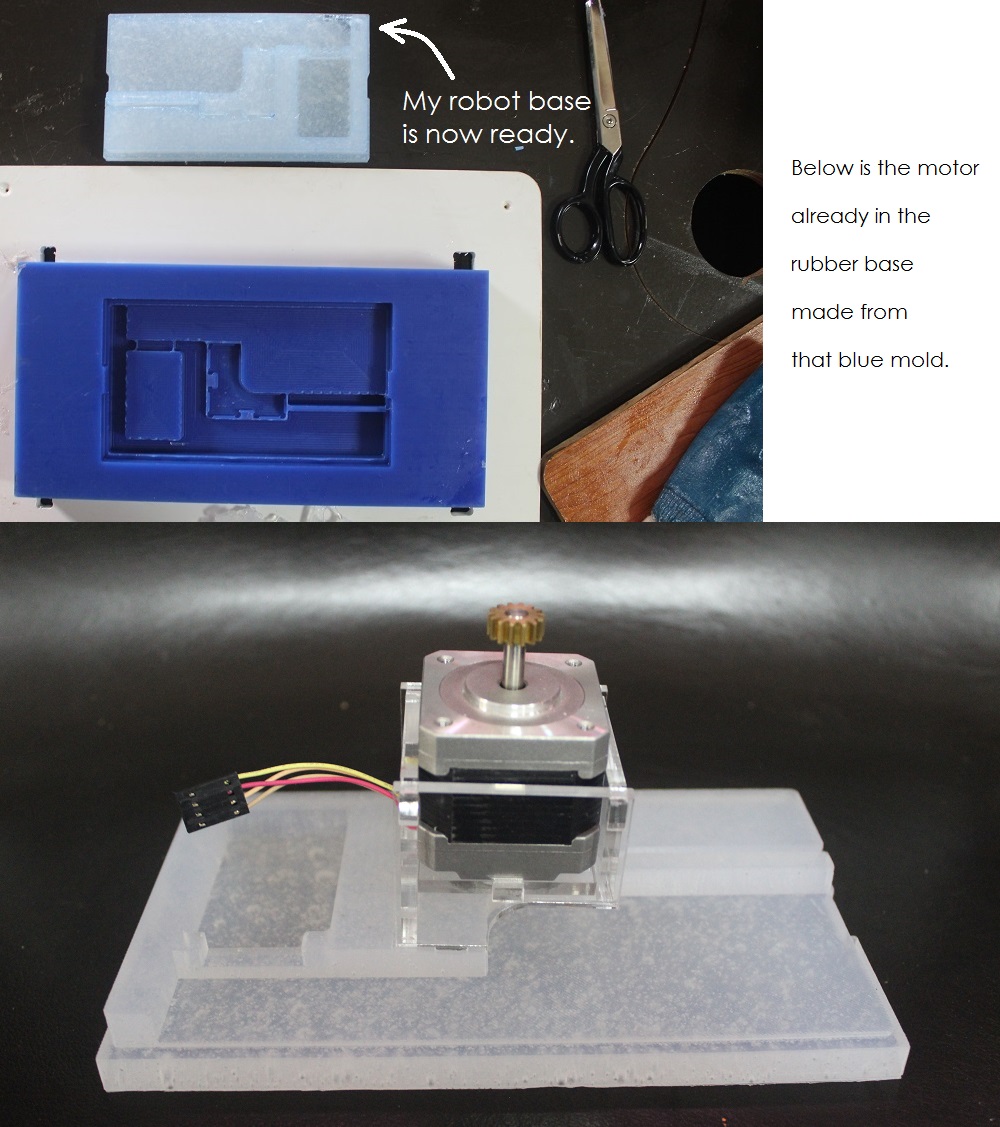
In my final project, I included one part I made by moulding and casting. that is the base which
was also shaped from the form that I cut and engraved using shopbot. The object below is the base of my
intelligent Robotic Face tracker.