Week 1 - Principles and practices, project management
Week one was the starting week of the Fablab (obviously). The topic was princibles and practices i.e. general idea and history of Fablab. The other topic was project management that gave quick introduction to princibles of project management. It is noted that due to swift timetable of fab academy course students usually run out of time on every weekly assignment. It was proposed that students use time managing methods like spiral model for project management.
Installing Git for version control
First we needed to install Git for version control - that included installing git, getting ssh key, creating account to fabacademy repository and learning how to control the repository updates.
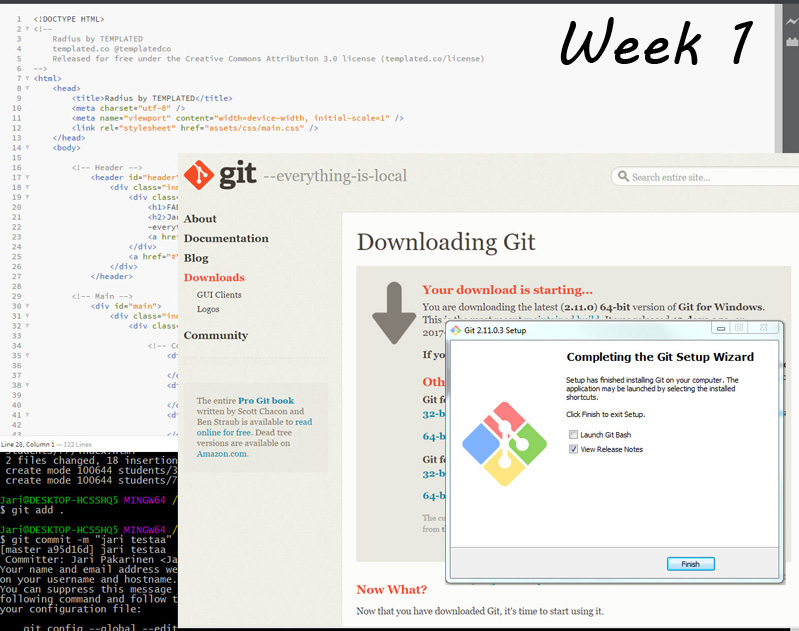
1. downloading Git:
Git for windows was easily downloaded from www-page git-scm.com. Available git-file at the moment was: Git-2.11.0.3-64-bit.exe
2. Installing git to the computer.
Here are all the install phaces in Windows 10 environment. There is actually only one thing that has to be changed from default settings.
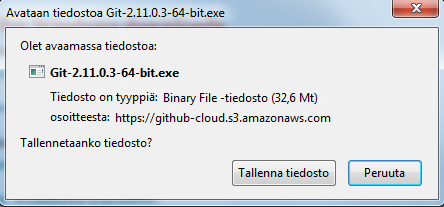
Downloanding the Git from server.
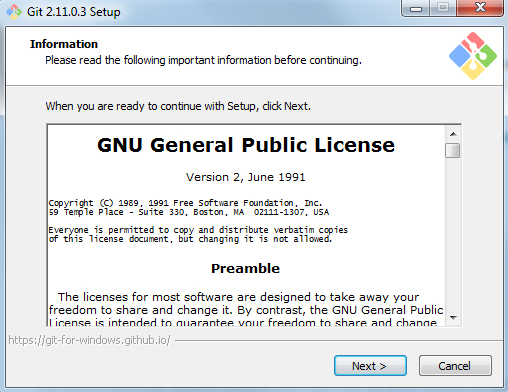
Accept the lincense.
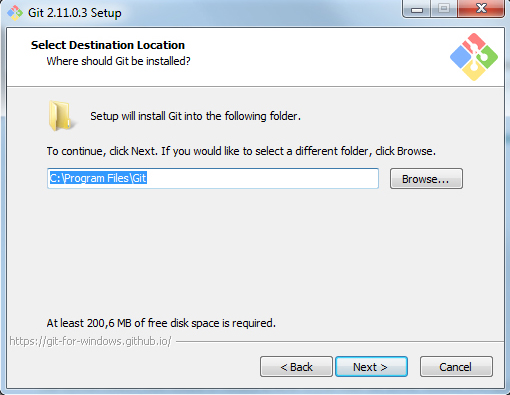
Select the location where program is installed.
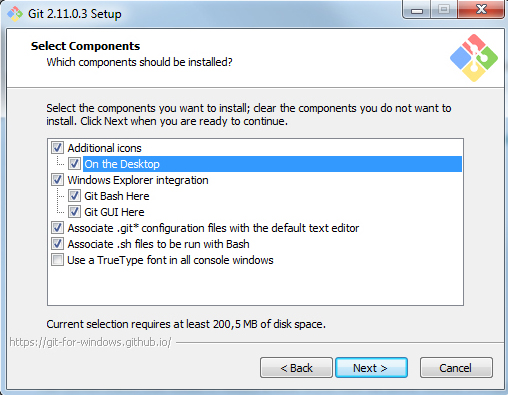
Select components. No changes here, except I added an icon to the desktop.
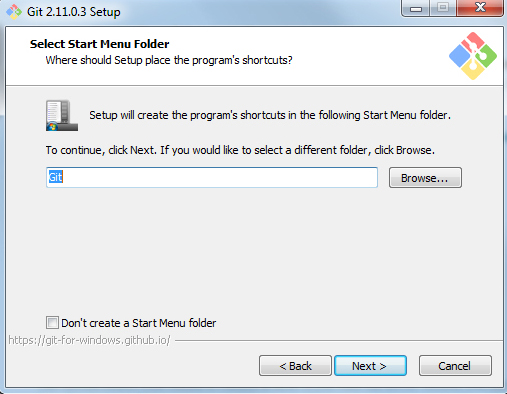
Create program shortcuts as you wish.
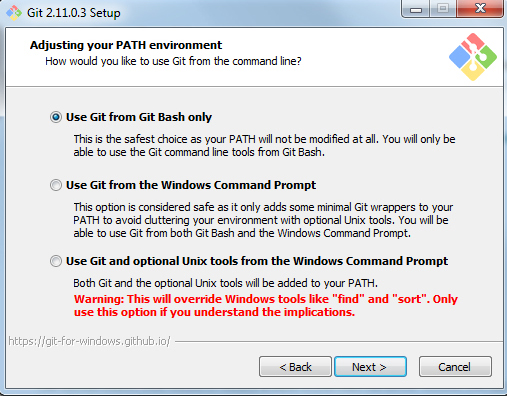
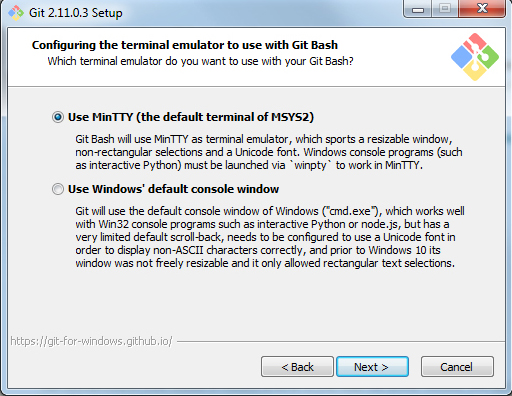
Here is the change, default setting is "Use Git from windows command prompt" but it was changed to the "Use Git from Git Bash only".
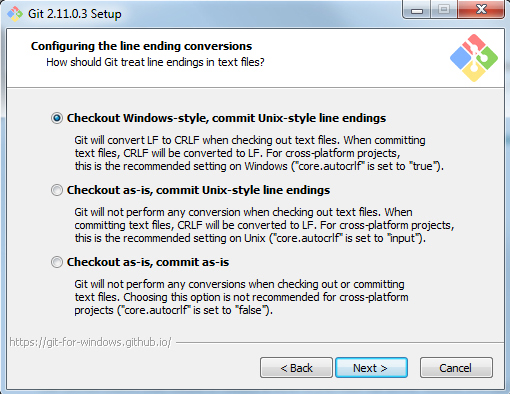
Keep default as shown here.
Keep default as shown here.
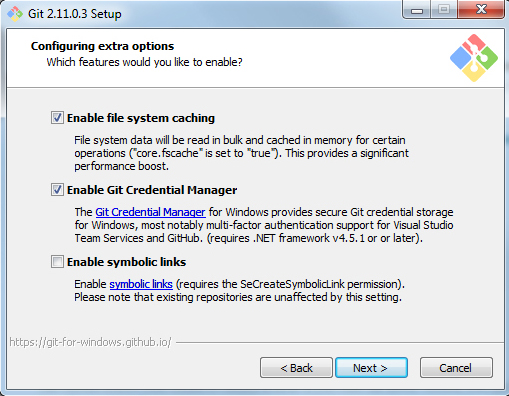
Keep default as shown here.
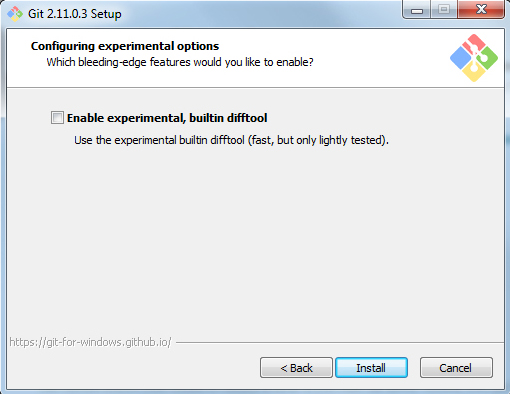
Keep default as shown here.
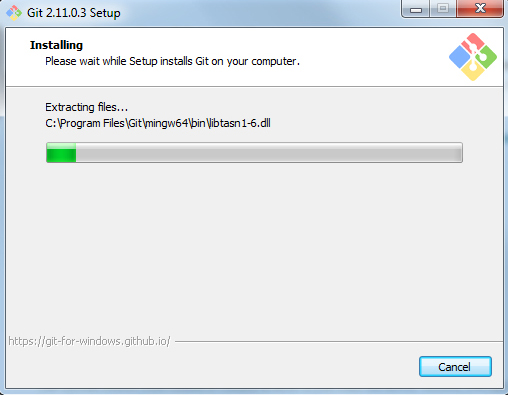
Finally installing...
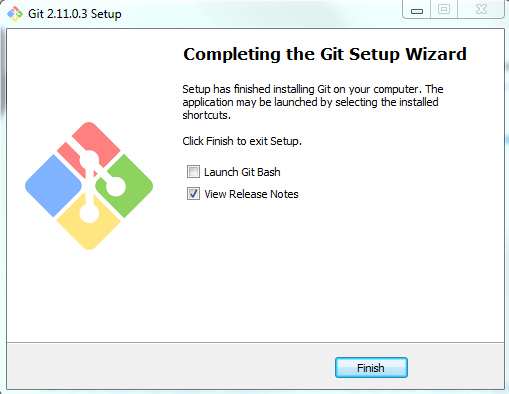
And... we are done.
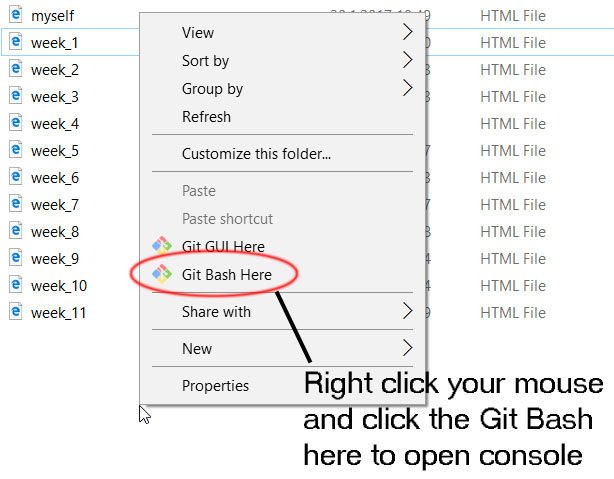
To open Git console in any folder you are in.
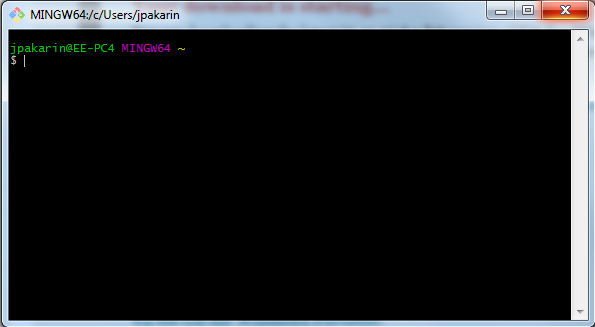
This is what Git window looks like when started.
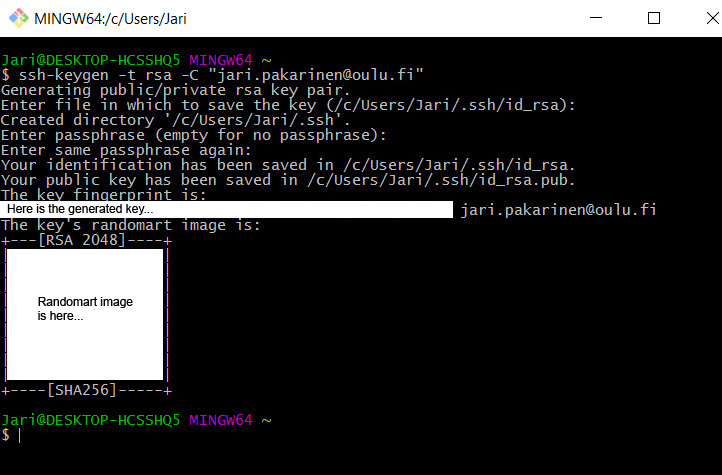
3. Generating ssh key for personal identification for git use.
Here we generate ssh-key for the Git to recognize us when communicating with the repository. Ssh-key is generated and saved to the computer. It is linked to the e-mail address given in the process. Ssh-key is generated in Git Bash console with command ssh-keygen -t rsa -C email. Commands are visible on the screen capture image below. All the options are kept as suggested i.e. default. Passphrase is not used, so just press enter there. Location where the key is saved is kept as suggested.
4. Creating account to Fab academy Git server and adding generated ssh-key.
Next step is to create an account to the Fab academy Git server, so we can use the repository. Account is made at the repository page:
Academy Git repository front page.
Account has to be accepted to the work group by the fab academy instructor. Account is made for everyone when loggin in.
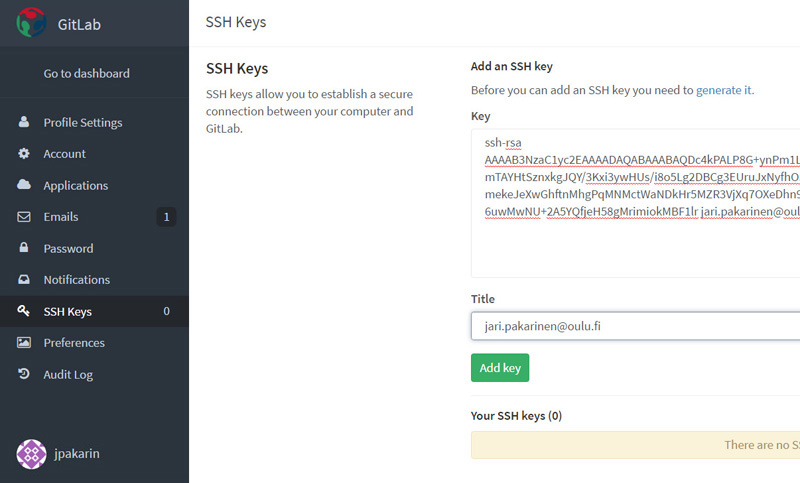
To input the ssh-key to the Fab academy Git server, first log in to the account. In Gitlab, click on Username > Profile Settings > SSH Keys.
Add the key to the field, and email to the field below. Finally press "add key"-button. Now we are ready to create a clone of fablab Git repository of the workgroup Oulu Fablab to our computer.
5. Creating index.html file to start your own www-page building.
Next we generated our www-pages index.html file just to see that the system works. The whole www-page building happened later on during the week and weeks to come.
6. Cloning local fablab Oulu forder to own computer.
So that we could use Git as our repository and be able to copy material from repository and to add material to it, we need the Git Bash consol and few commands.
First we create a local Git directory of Fablab Oulu project using the command "git clone":
git clone git@git.fabacademy.org:fabacademy2017/fablaboulu.git
The git fablaboulu project is ready to be updated.
After setting up the git repository locally with "git clone", the following commands are used to inspect and add content to the local and remote repository:
git status - to inspect the local repository for changes.
git pull - to copy the contents of the remote repository into the local repository. It ensures that the local repository is up-to-date.
git add . - to add new files to the local repository. The files should have been copied into the local repository from the workspace beforehand (i.e., staged).
git add <filename>. - to add specific files to the local repository. The files should have been copied into the local repository from the workspace beforehand (i.e., staged).
git commit -m "message" - to record the changes to the local repository. A message can be added to the action.
git push origin master - to publish/push the local changes into the remote repository.
Notice that you have to be in correct directory when using git add commands. (use cd.. and cd <path> to navigate within a directory and use ls to list the contents of a directory). To see in what folder you are in, use command pwd.
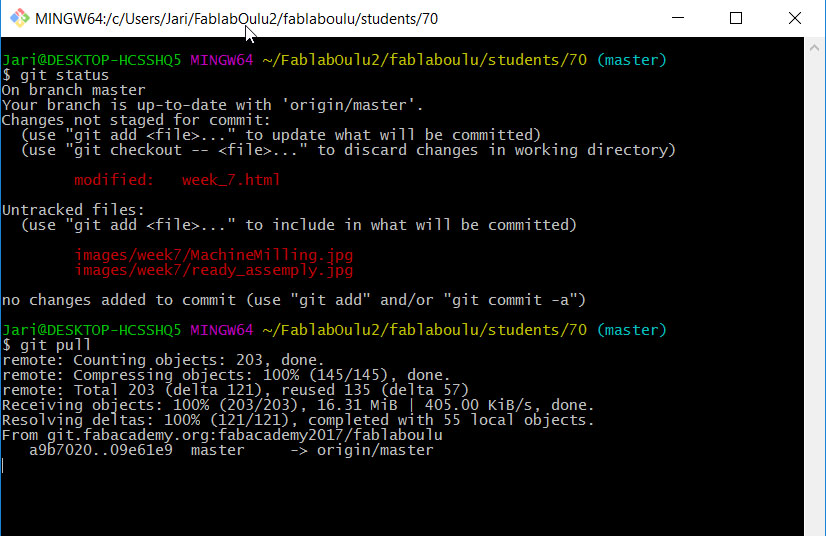
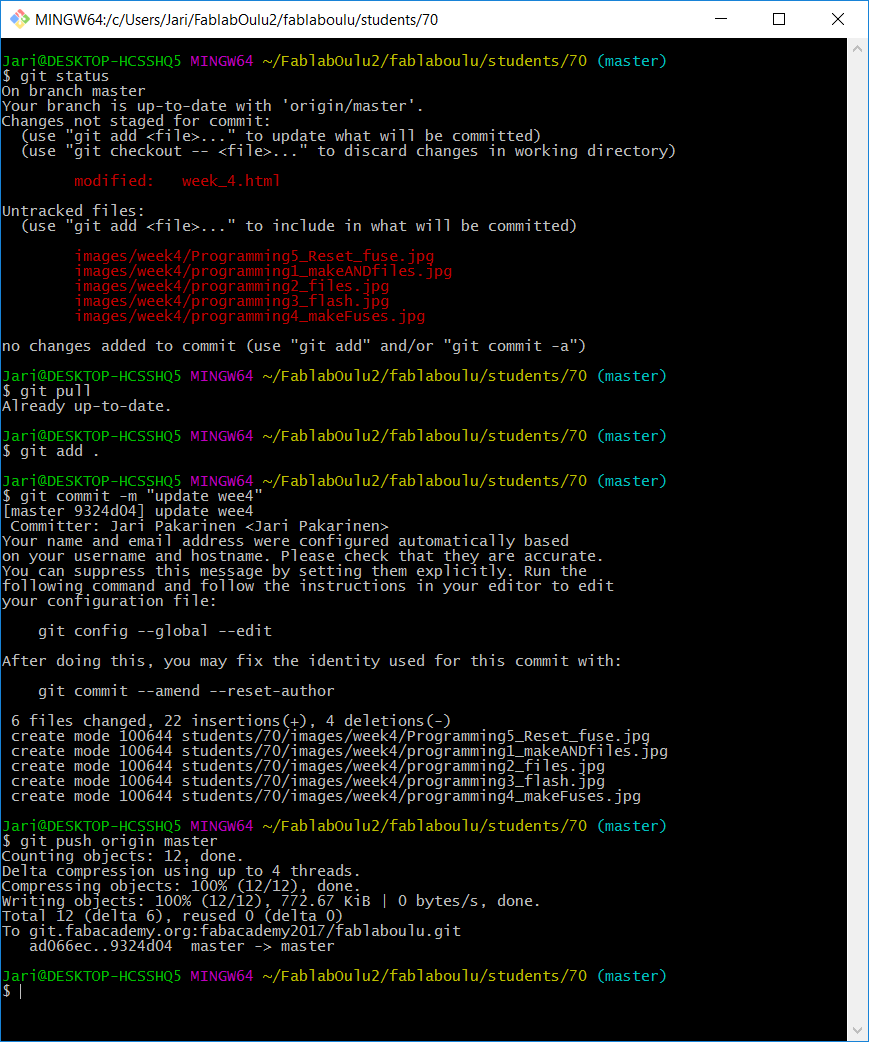
Here is a small repo update workflow as seen on GIT bash console.
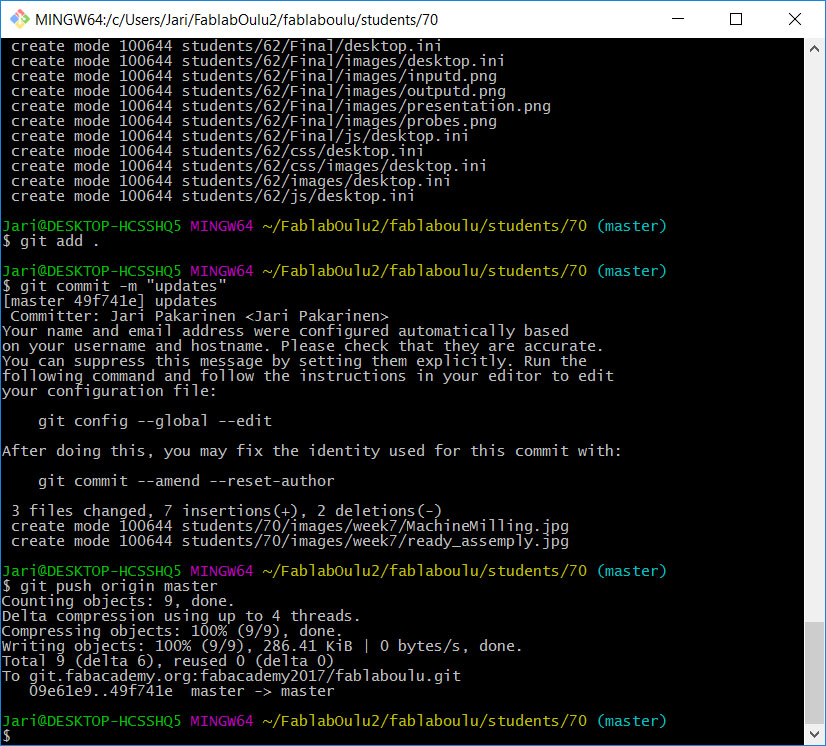
Here is a other git push where all phases are nicely on one window.
A more detailed tutorial on Git can be found here (by atlassian.com)
7. Generating the personal www-page for the course
All students need to generate a www-page witch will be the front page for all projects done at the fab academy.
1. Generate index.html to your local clone folder. WARNING: Do not use capital I on index.html (i.e. Index.html) as www-browser does not recongnize the index-file.
2. To be able to create a nice www-page with limited time and no knowledge of html etc. coding, it is useful to get nice templates for you www-page. As instructed by our lab manager Jani Ylioja, I searched internet for "free simple CCS templates". This produced multiple hits. After looking through couple of pages I selected the one I am using here. It was downloaded from templated.co
3. The rest of the work was to get used to the code template uses and modify it to my need. You are looking at the result as you read this.
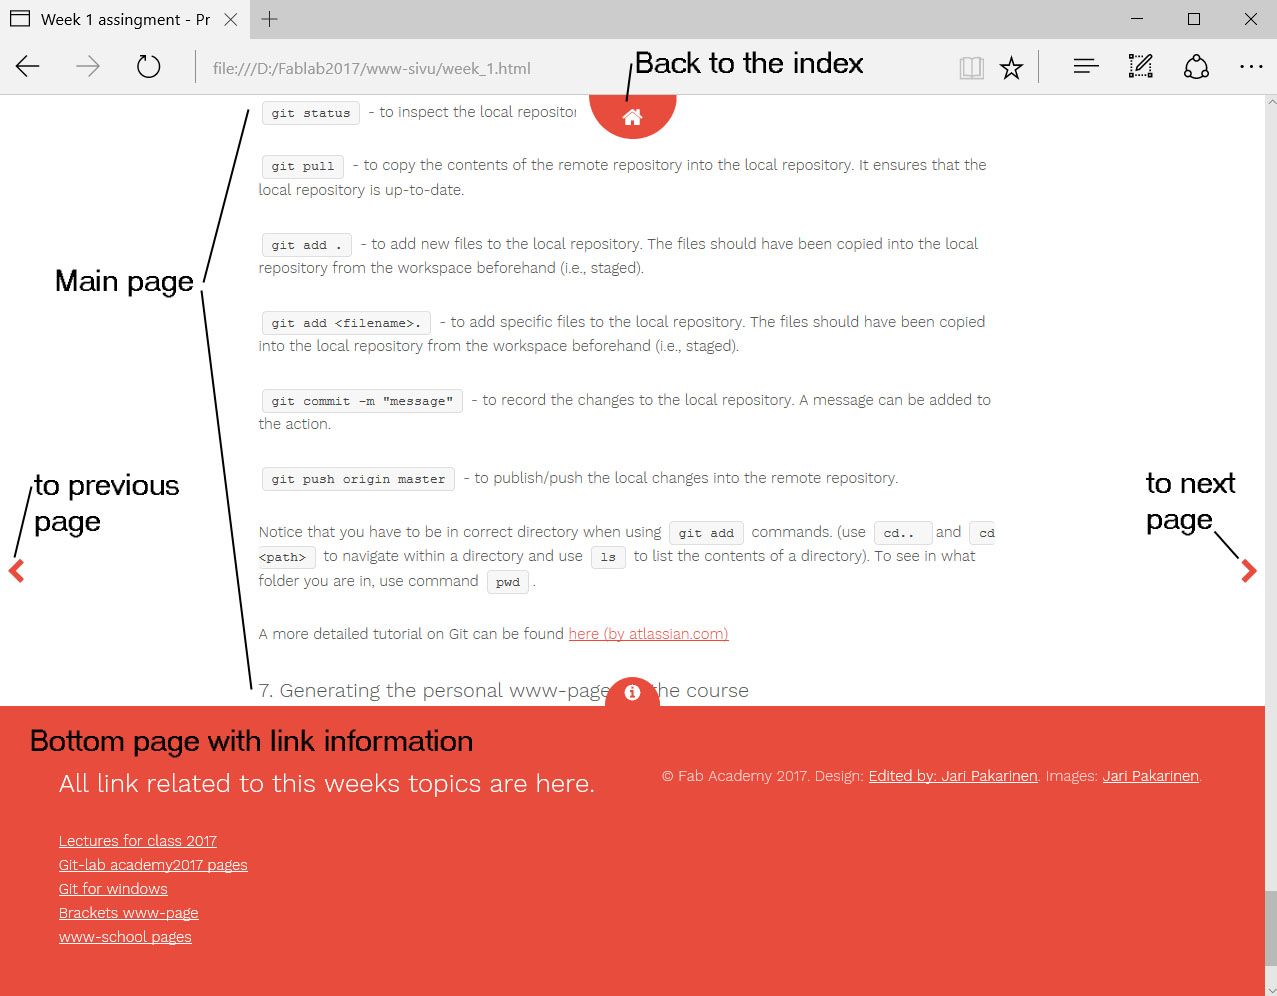
The page structure of the page format I selected consist of two parts and three navigation buttons. The buttons lets user to go on previus page, next page and back to the index-page. The main page is made of one main page that contains all the material on the page. There is a bottom part of the page that is hidden under button at the bottom of the page. This page opens from the button and holds some extra material. I used it to store www-links. Some links are on the main page in the actual text but collecting links to separate bottom part of the page, they are easily found when needed.
Editing html-code
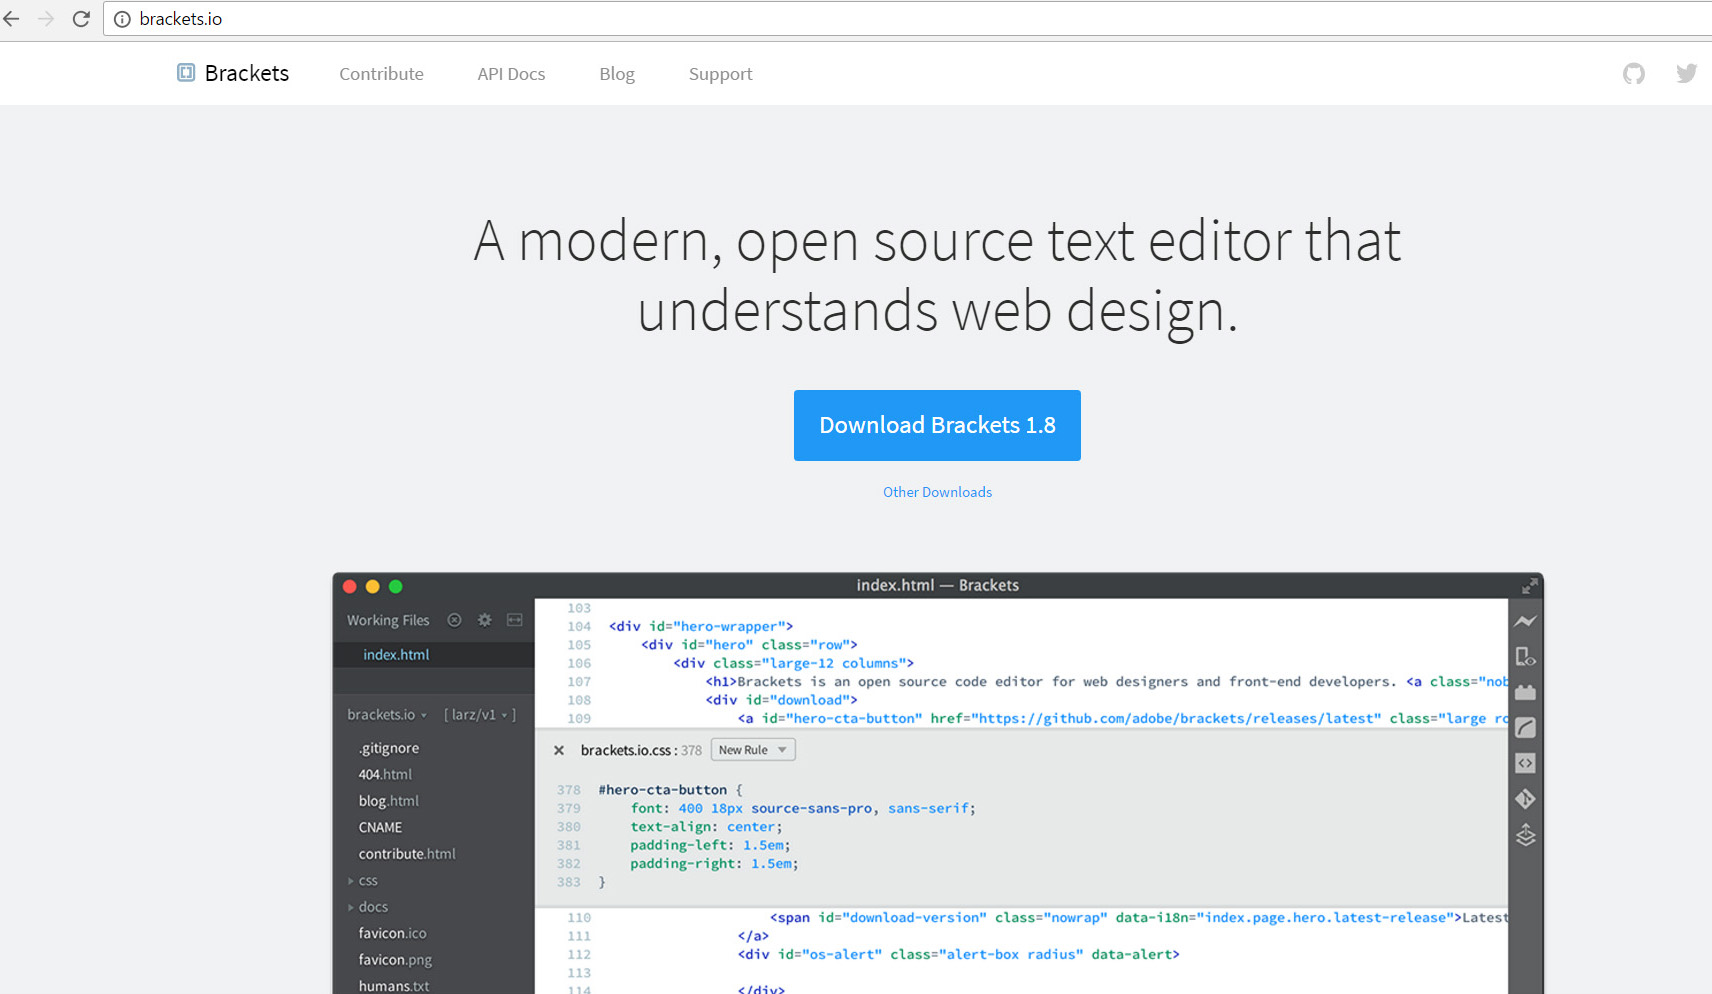
For writing and editing the www-pages html-code I downloaded and installed Brackets text editor program. It was recommended by the earlier years fab academy students. Installing was straing forward, download the file and let the windows installer install it.
Downloading Brackets from brackets.io
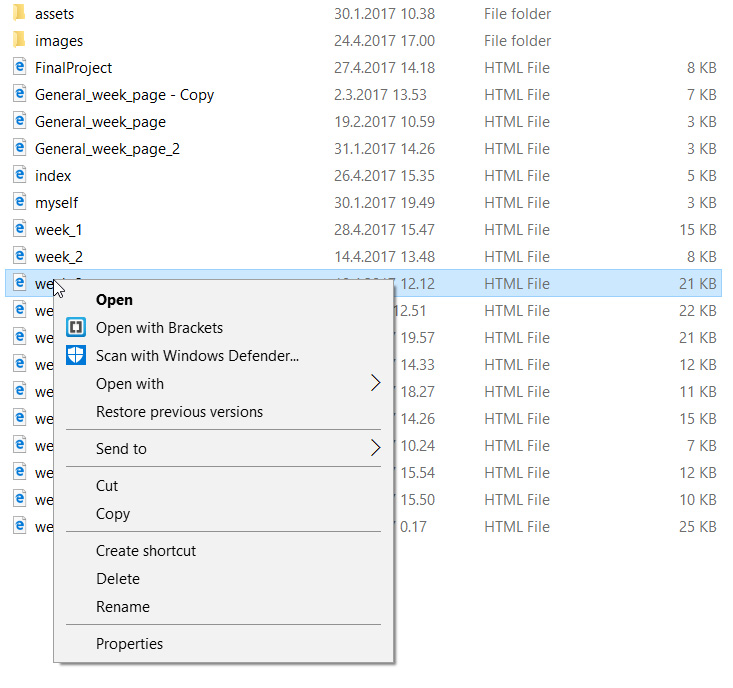
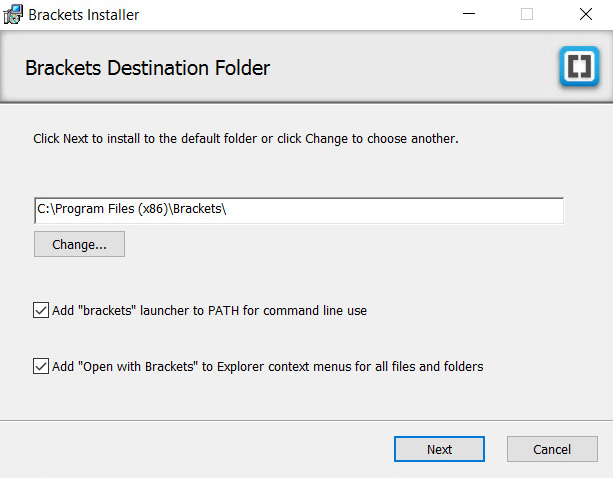
Select install destination folder. Also really nice option is to add the tab for "Add "Open with Brackets" to Explorer context menus for all files and folders". Now when you go to a folder with a file you want to edit left click your mouse over the file, "open with Brackets" is there. Nice and easy.
Install...
And done.
In brackets, editing html-code is made easier by color coding different types on code with different color. This makes following the code much easier.
