Introduction
The aim of this week is to learn how to use a CNC mill to make large objects and of course learn how to prepare our designs to fabricate
 them using a large 8ft by 4ft cnc router. i must admit it was quite a challenging week. I began my excersice with research on living hinge joints
 since that has been an area of interest for me. you can find the tutorials in the following places.
Design
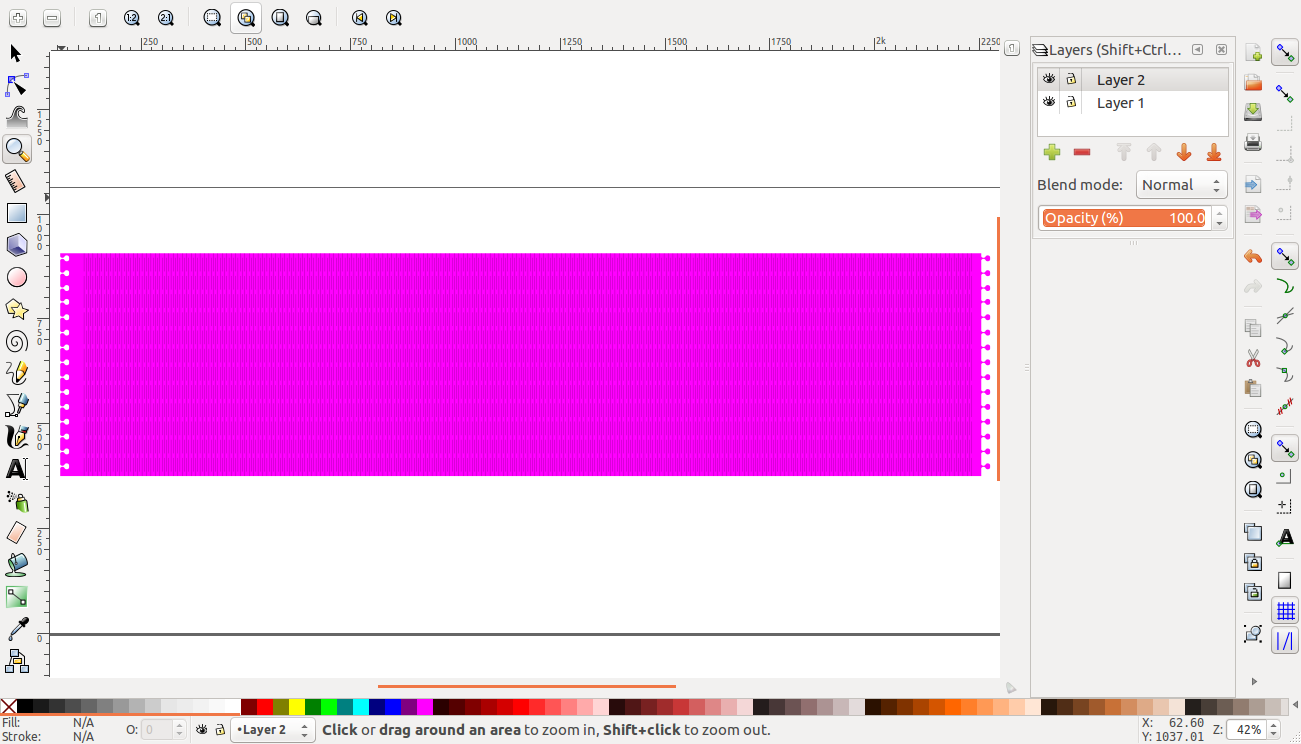
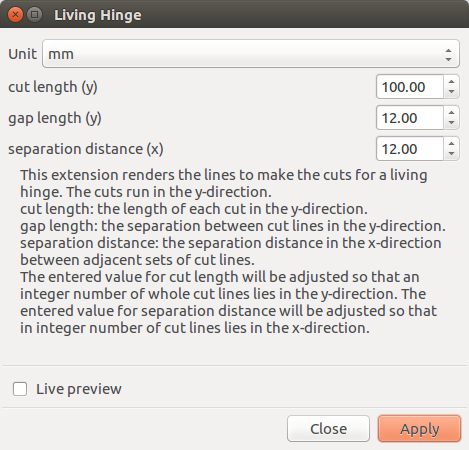
I chose to use inkscape software to make the design since it has a plugin for living hinges. to get more information on this follow this link
the stand
the stand
flexible top
joint design
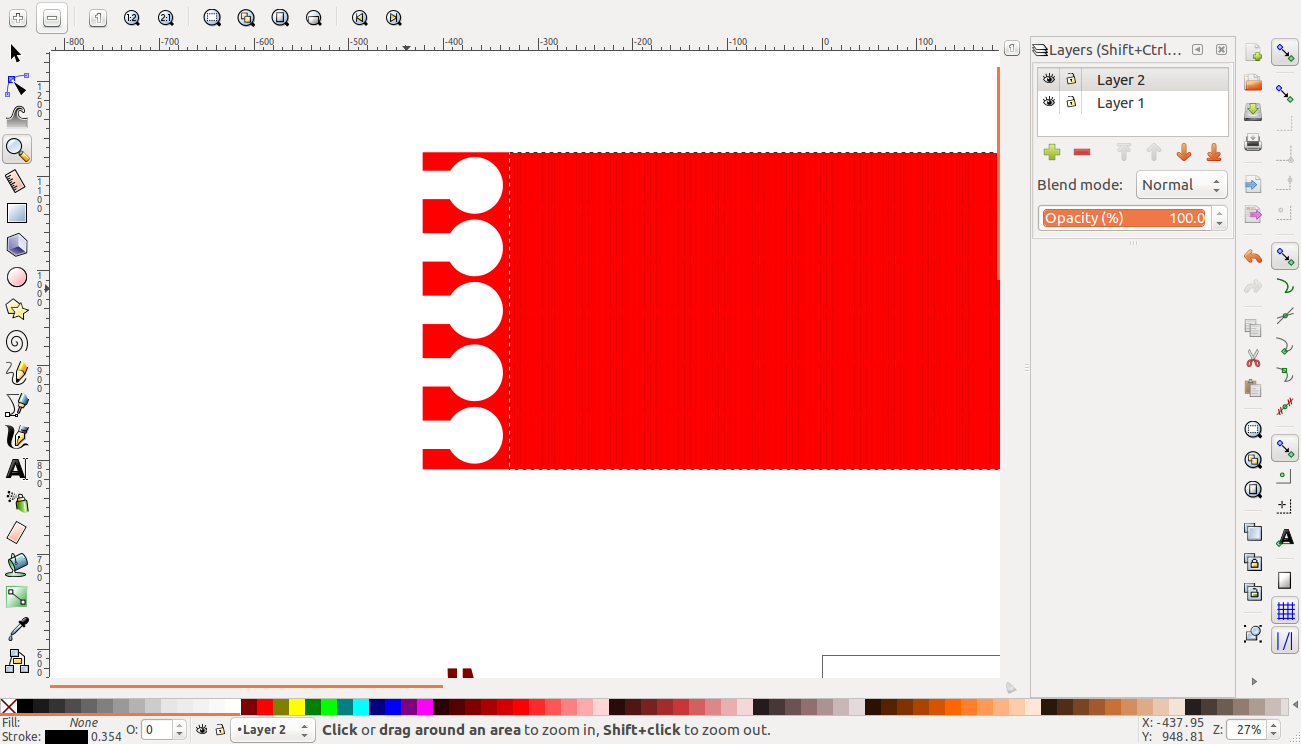
living hinge settings
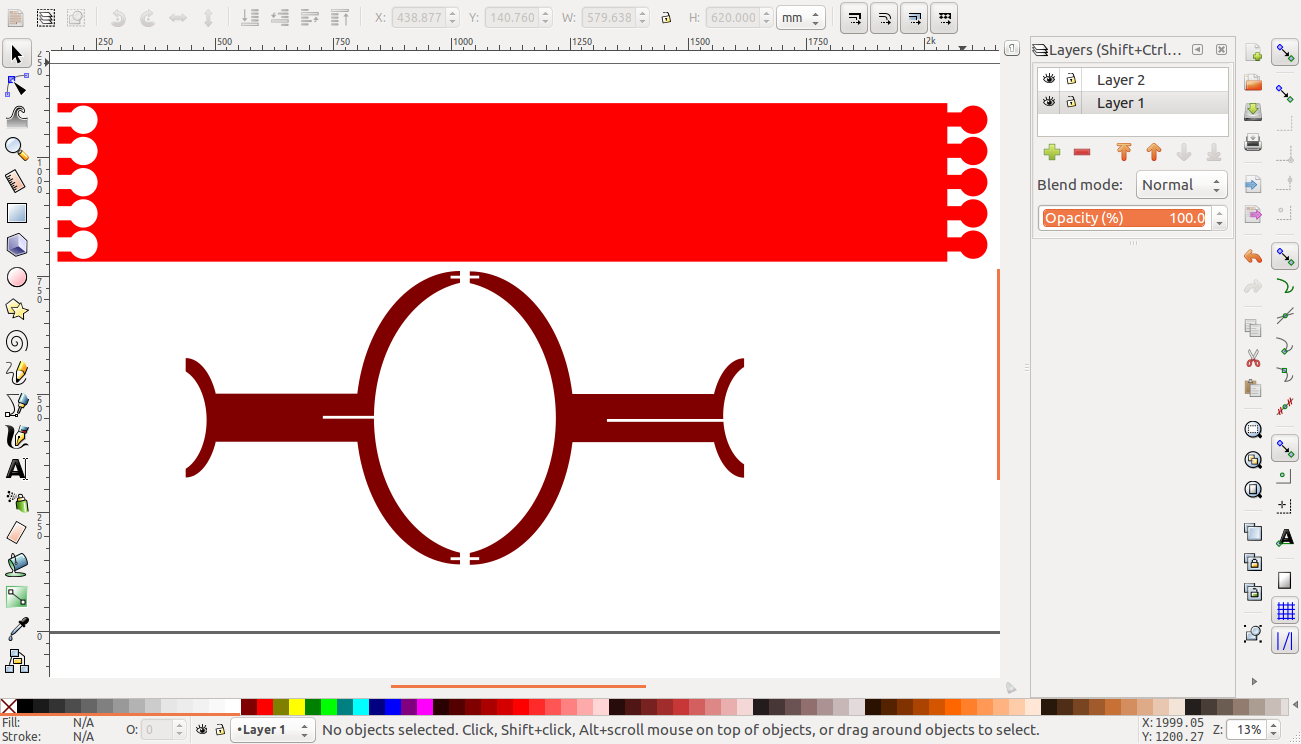
first design
Second design

Another design
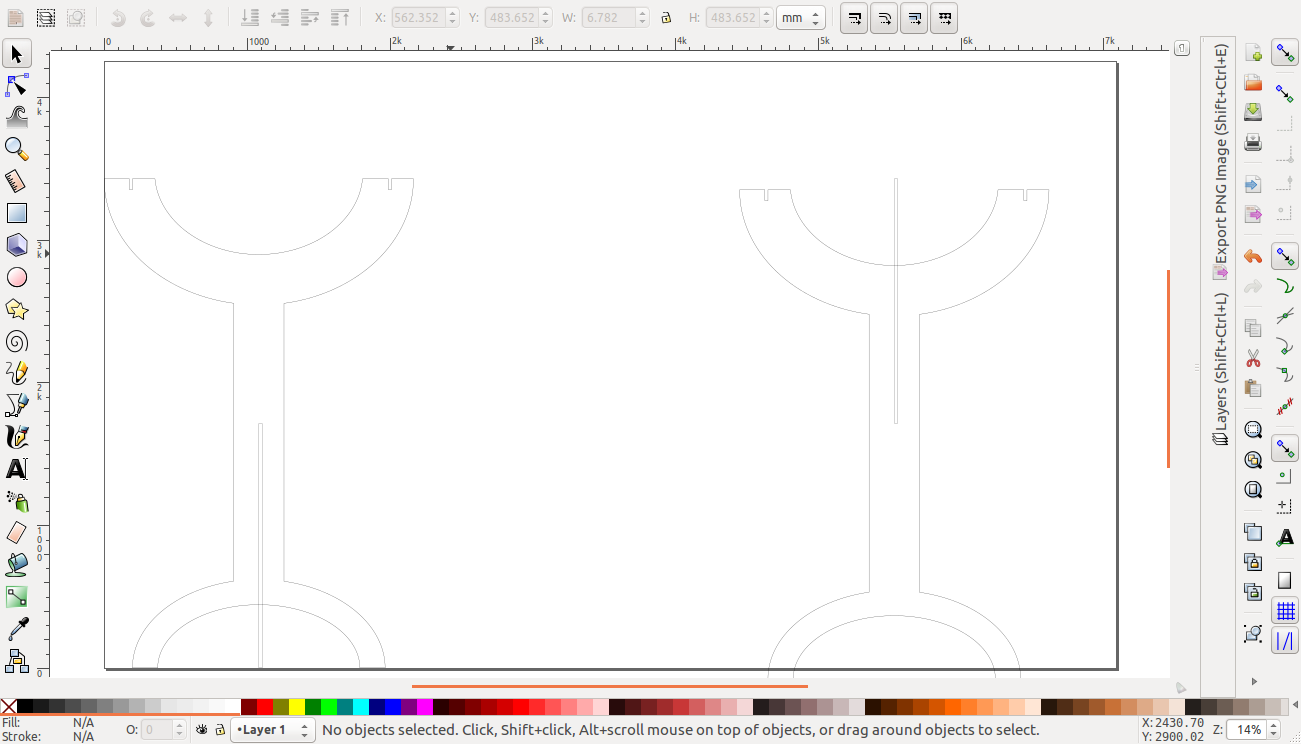
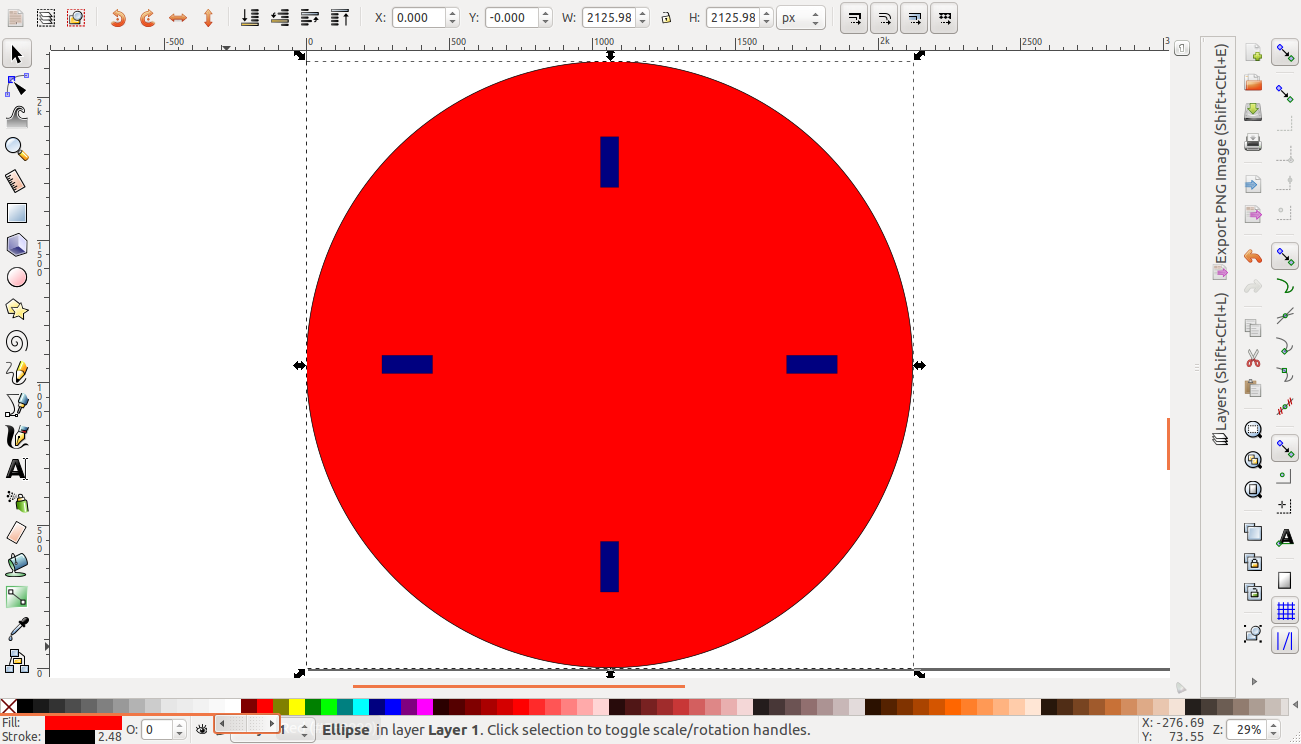
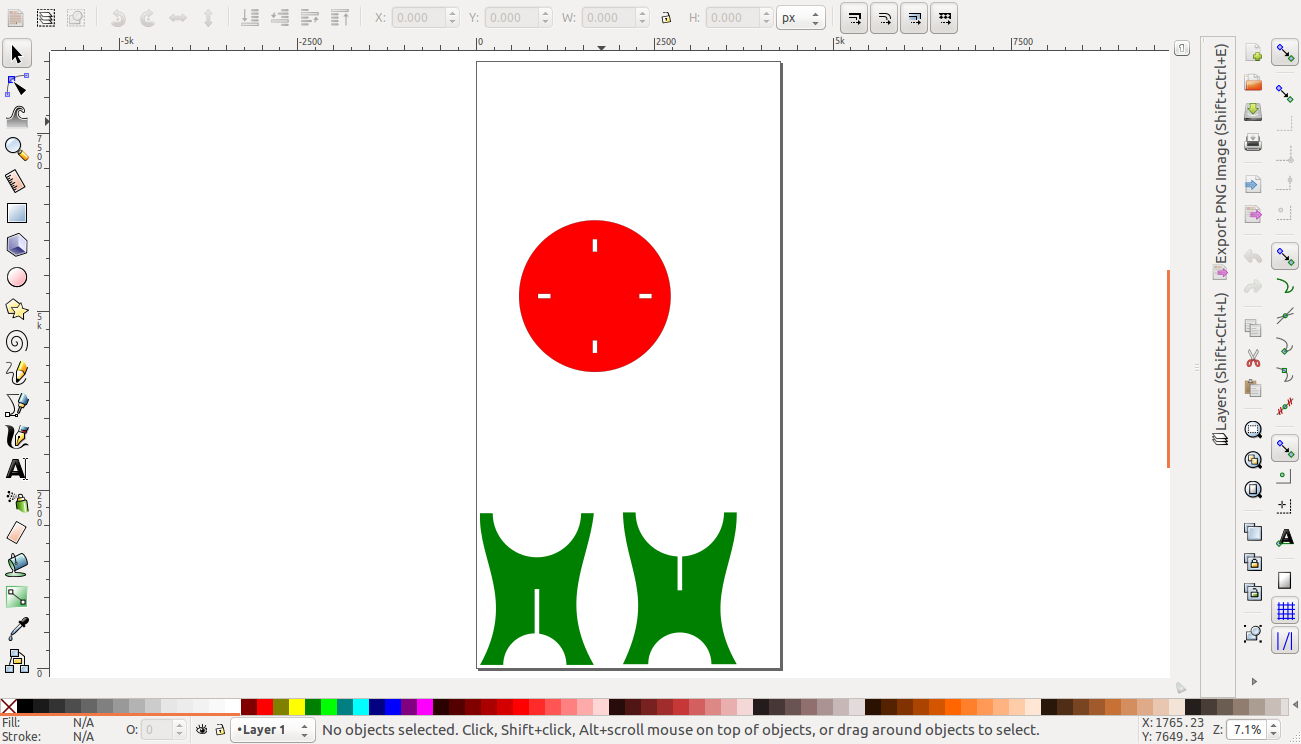
The machine in our fablab had a breakdown before i could make the lamp design and we had to find a diffferent machine to use. This however meant that i should find a simpler design with fewer vectors. i therefore was back to the drawing board. I chose this time to make a round coffee table that can be used a home or even in the lab. The design software used was inkscape and i set off with a circular top with four holes on it using a boolean subtraction method. The slots are 18mm wide and 50mm long.
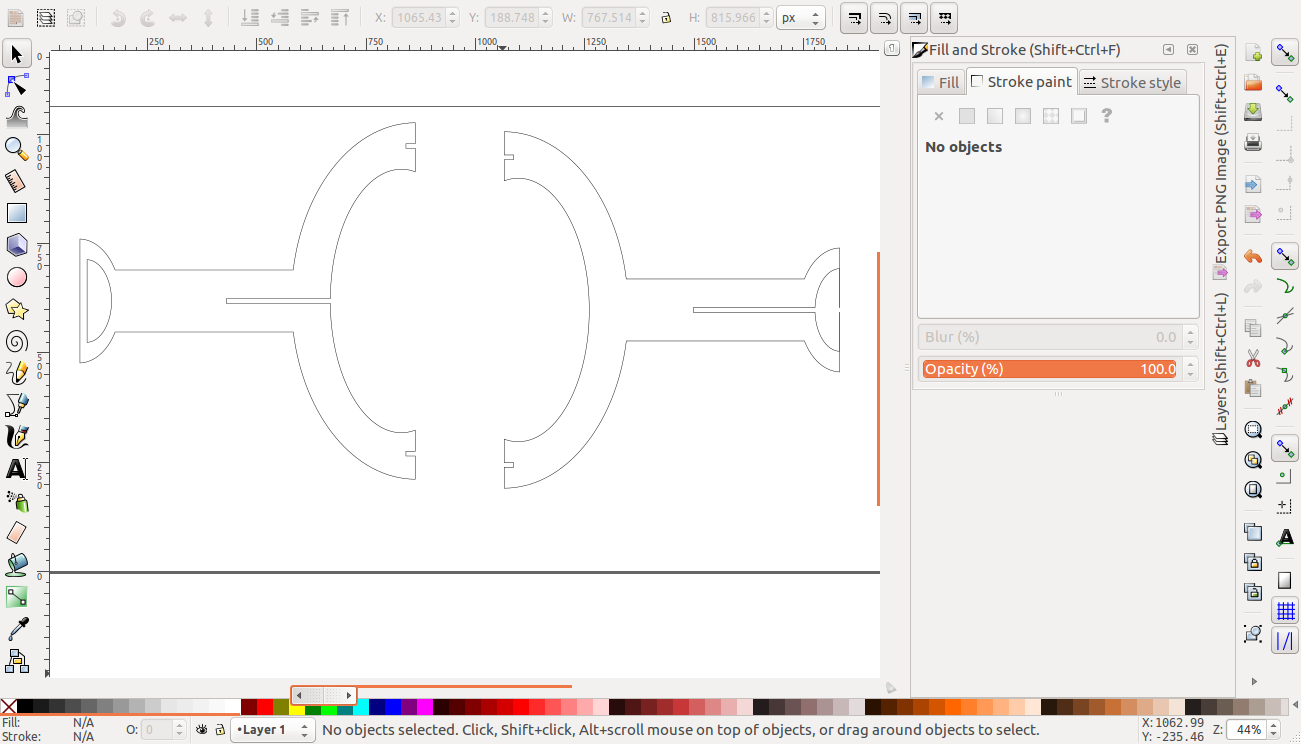
The next step was to design the base of the table which consists of two parts that interlock in a sliding joint. In this design i also involved boolean subtraction of shapes.
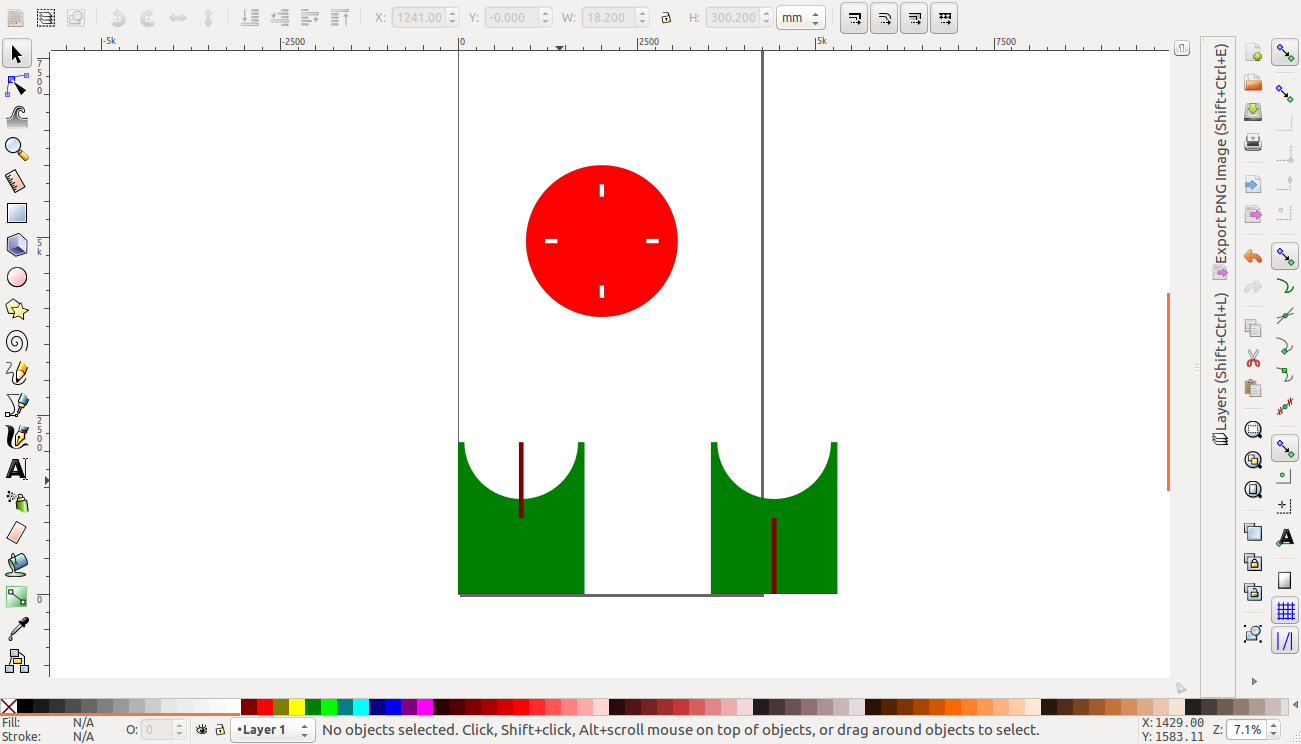
I wanted my table to have curves hence i began to move the nodes around to get good aesthetic appearance
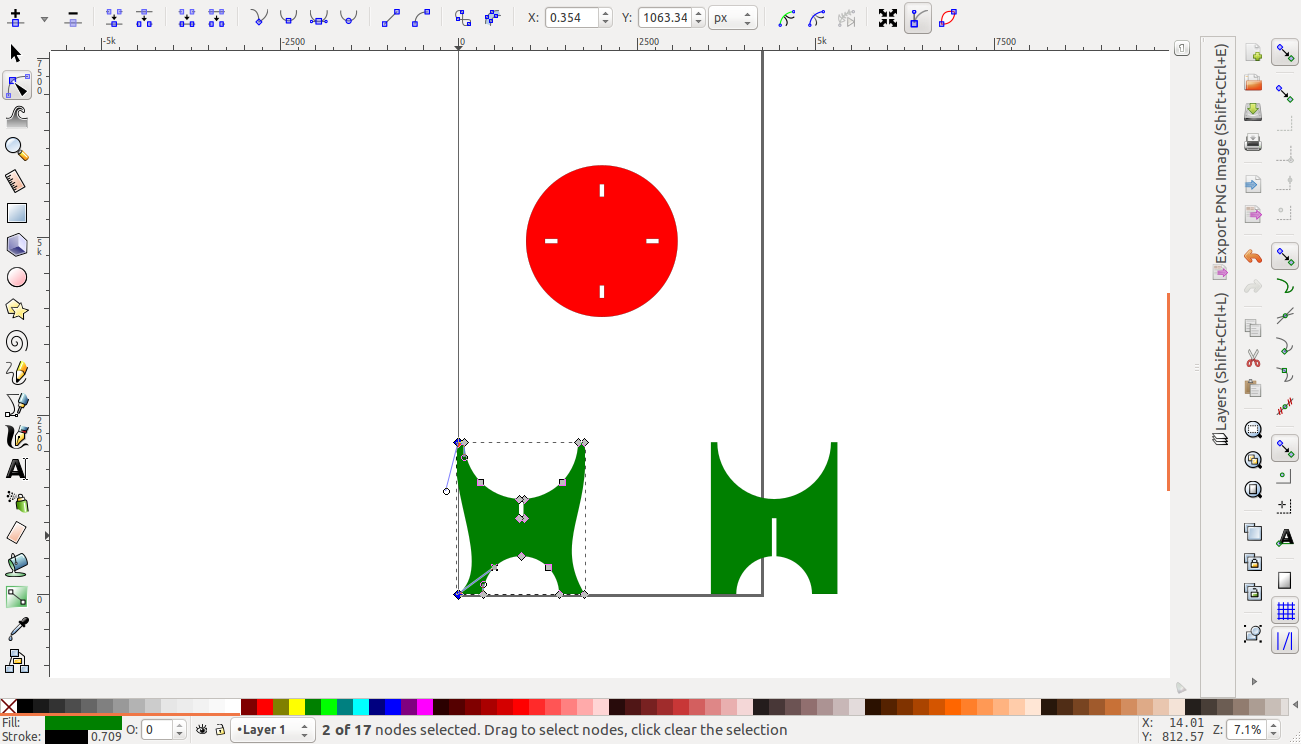
The design was finally finished and ready for fabrication.
Download
Toolpaths
To generate toolpaths and estimate the tme of machiing i used vectric aspire which is a very effective tool for anyone using a wood router. I first imported my design files in pdf format.

The next step was to select parameters like tool size, cut depth, number of passes . I set my tool as a 1/4 endmill, cut depth of 18mm an 1 pass.
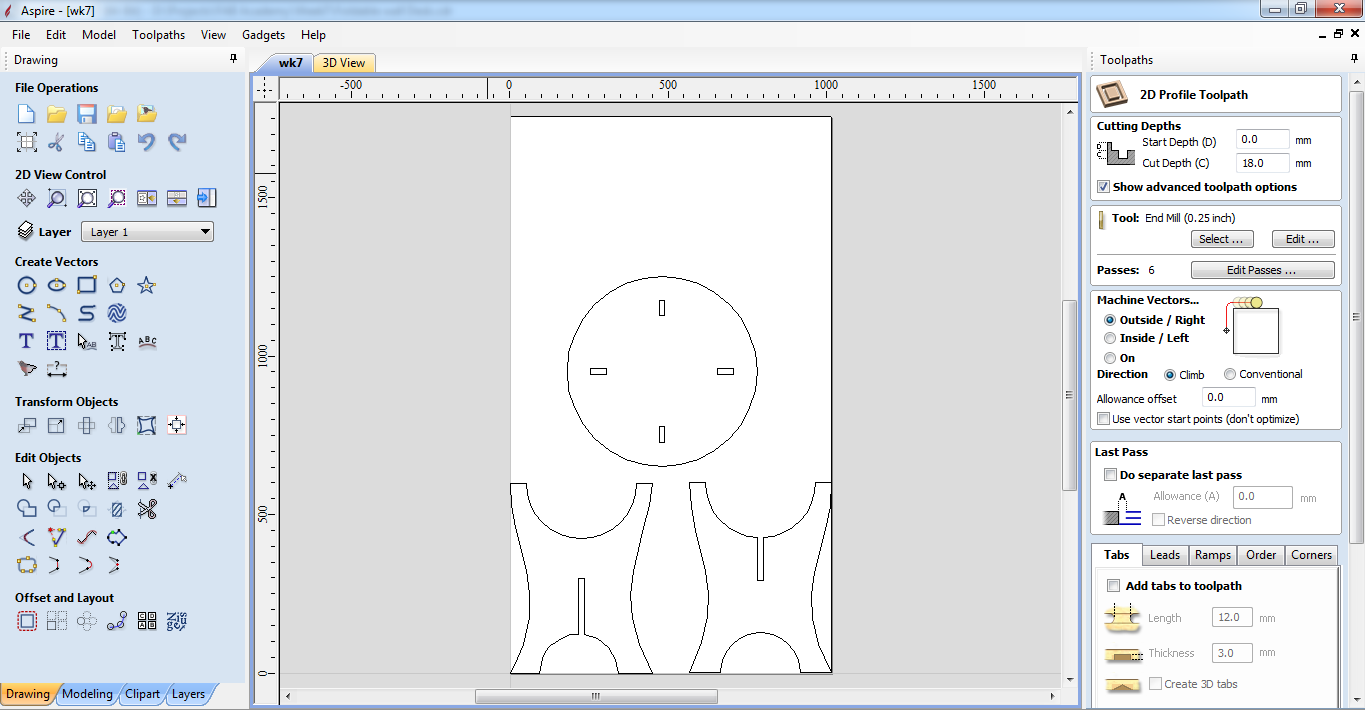
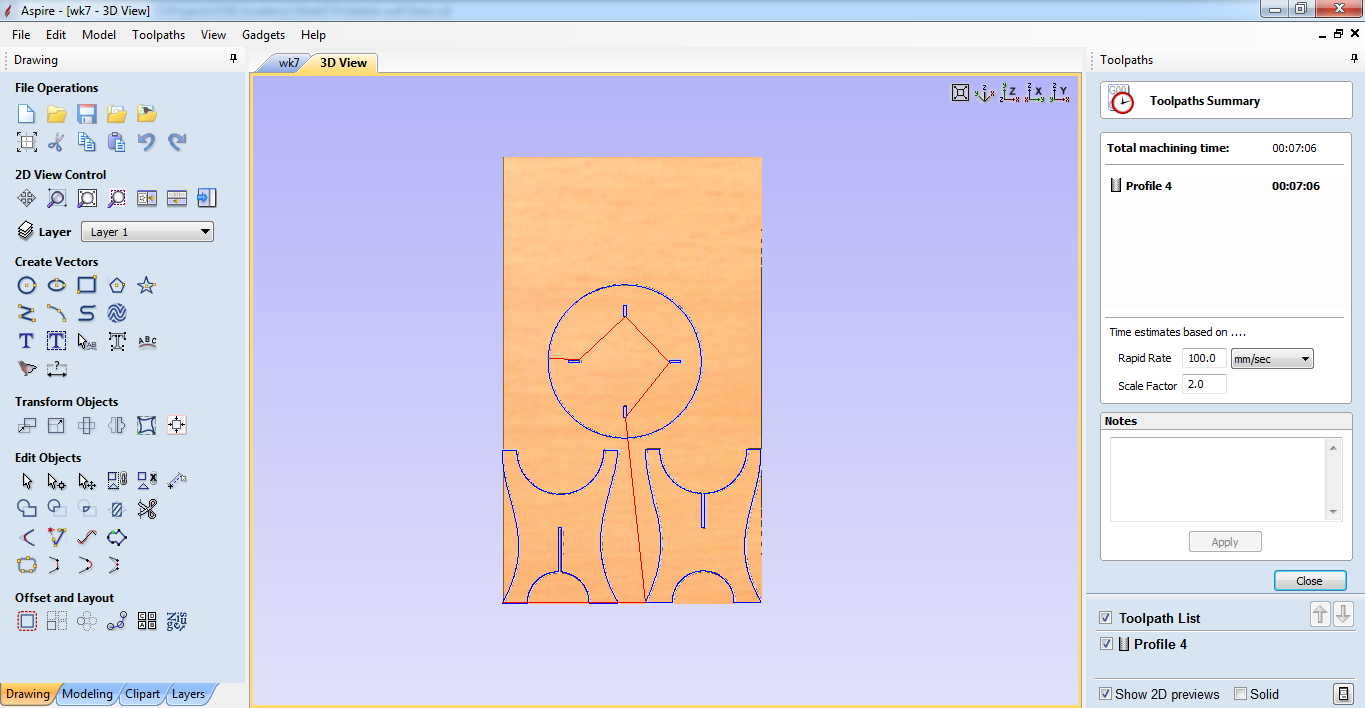
I then calculated the toolpath
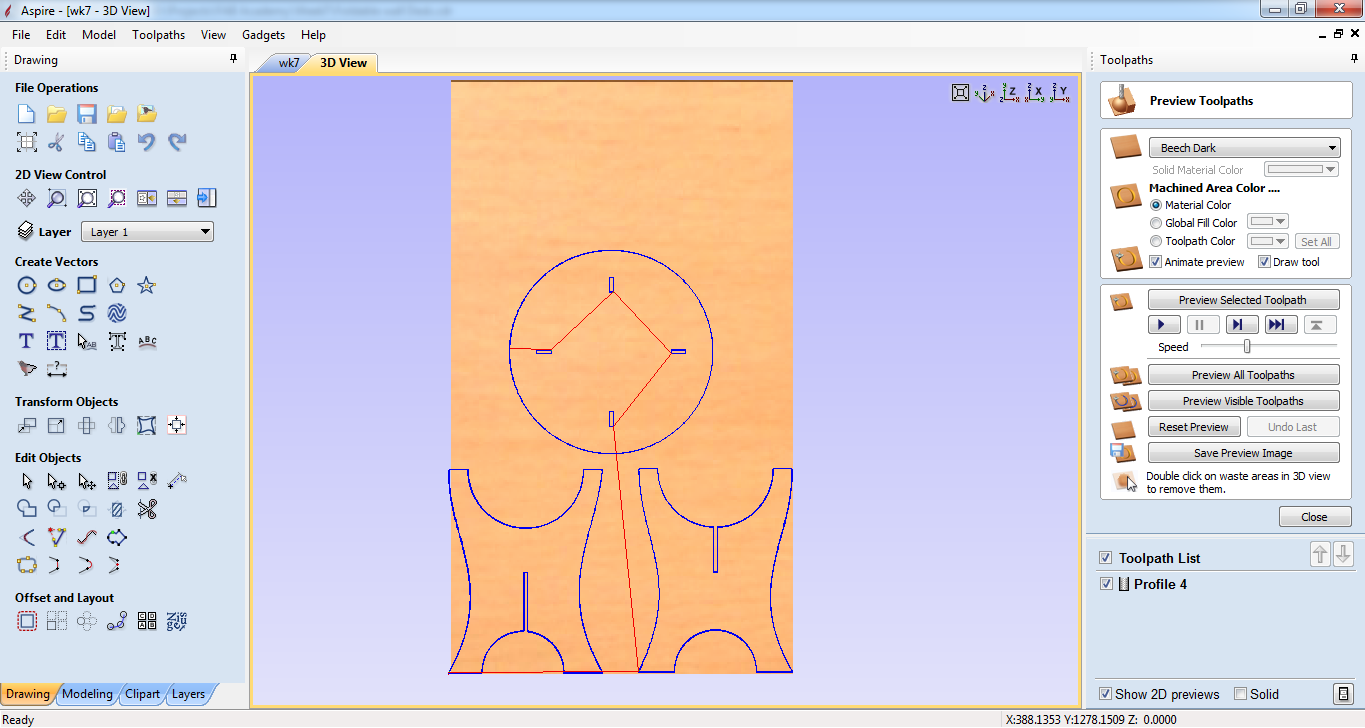
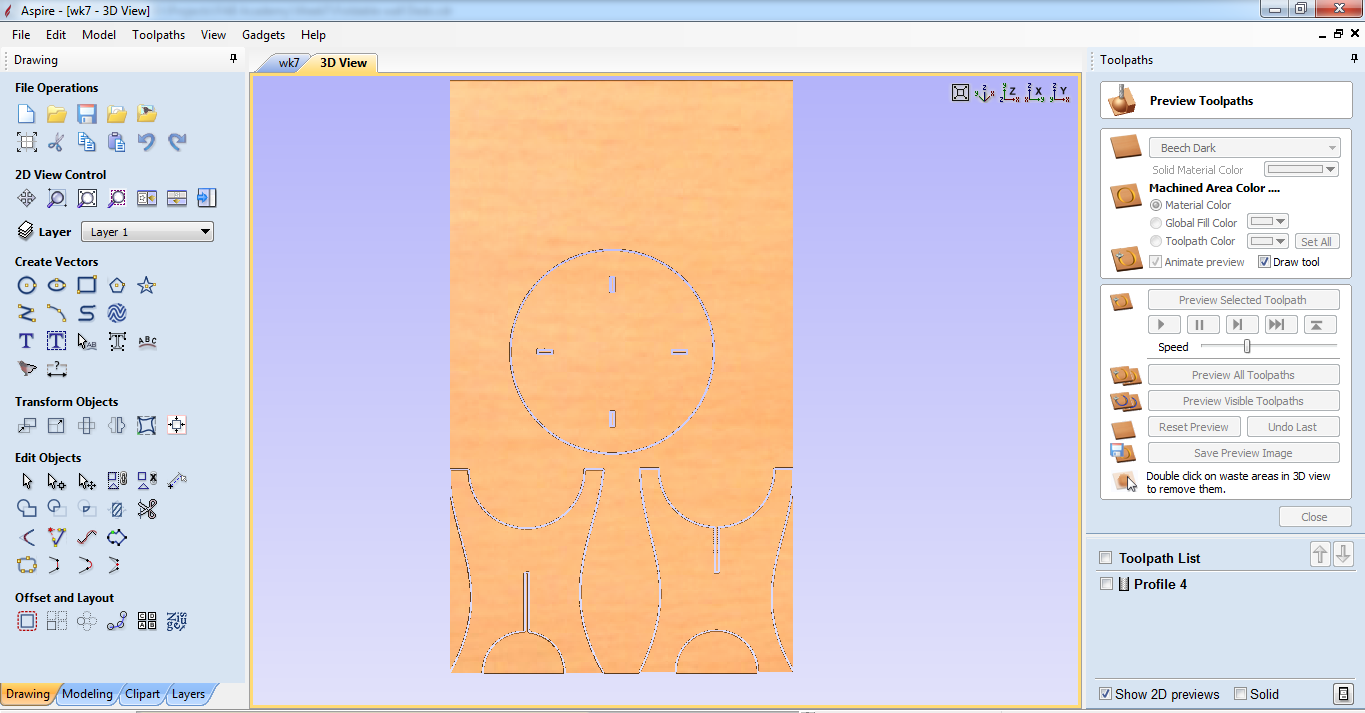
On pressing the play button on the GUI i was able to see how the results would appear
The software also gives a time estimate of the job which in this case it approximated 7 minutes.
Fabrication
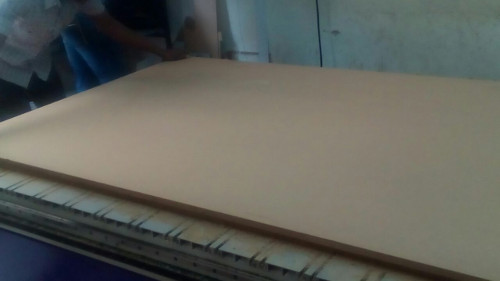
The process of fabrication began with fixing the stock on the bed of the machine. This was a bit tricky we had to fix it onto the sacrificial board using nails and a hammer since the clamps for the machine were not available. The material used was mdf 18mm thick.
The tool of choice was a 1/4" endmill(2 flute) as shown below
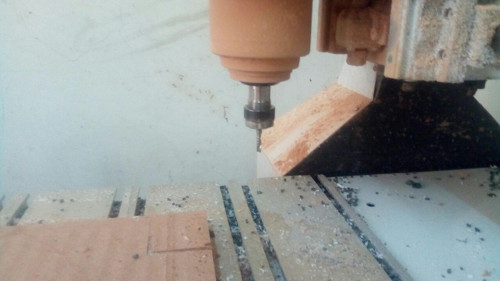
on loading the toolpaths into the machine, the machine began to cut out the shapes. The parameters used were feedrate = 2.0 inches per second and speed 18000rps. Mdf produces alot of dust and unfortunately this machine had no dust collector. This caused lots of dust particles flying around and of course coughing

The cuts came off beautifully
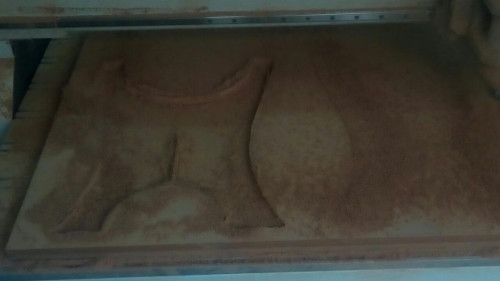
Assembly
since the slots were the exact size of the material assembly requred preliminary sandpapering and the use of a bit of force but it fit perfectly
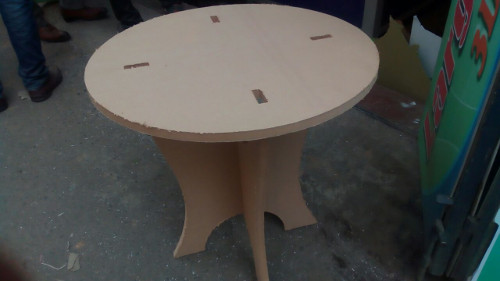
Having produced positive results and there was more material left over i chose to make a couple more.
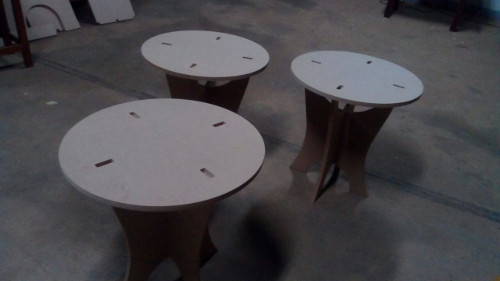
and even placed one in our kitchenette
