This week's agenda was to design modify and fabricate the hello world board. I decided to design it in as many softwares as possible. First off i began with Eagle.
EAGLE CAD
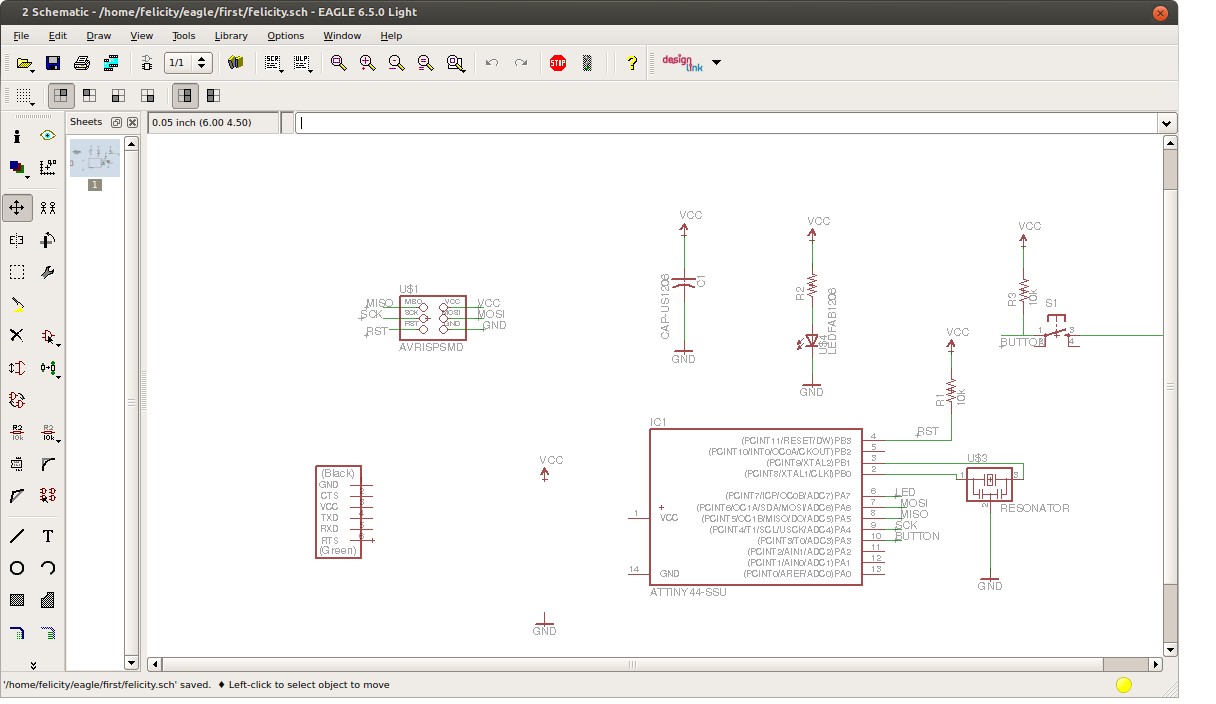
Eagle is an open source design software by cadsoft with readily available tutorials The design begins with schematics which are then transferred to board view for pcb design.
EAGLE schematics
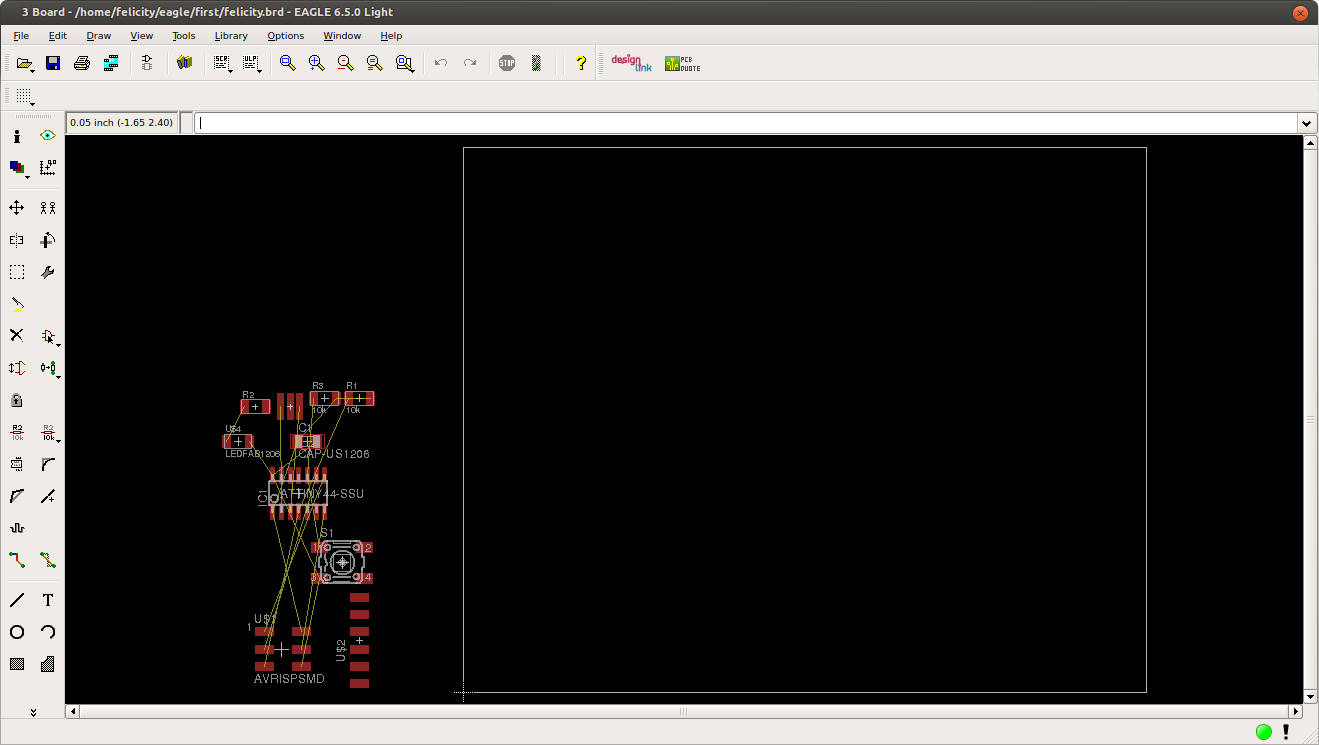
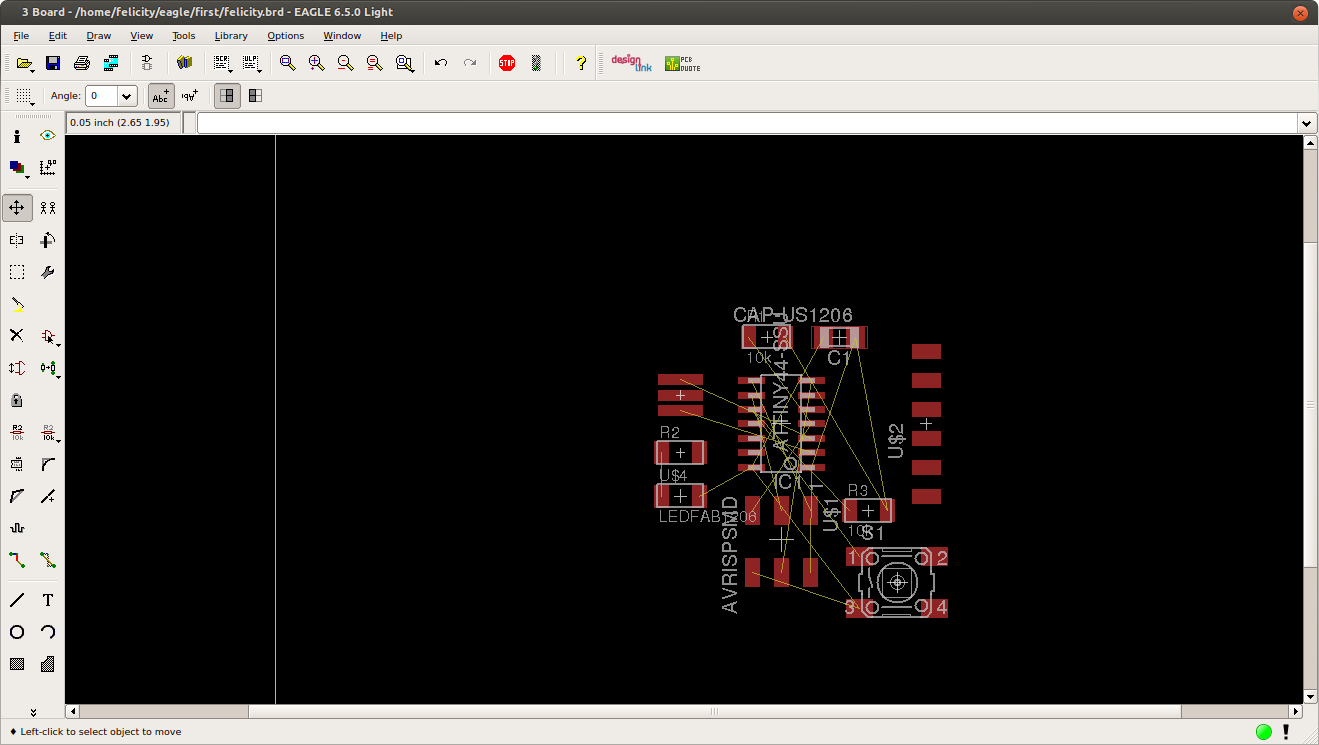
I began my journey with EAGLE by importing the fab library into my eagle software. I then proceeded to design the schematics by adding the individual components and connecting them with wires and nets.
Schematics
Kokopelli
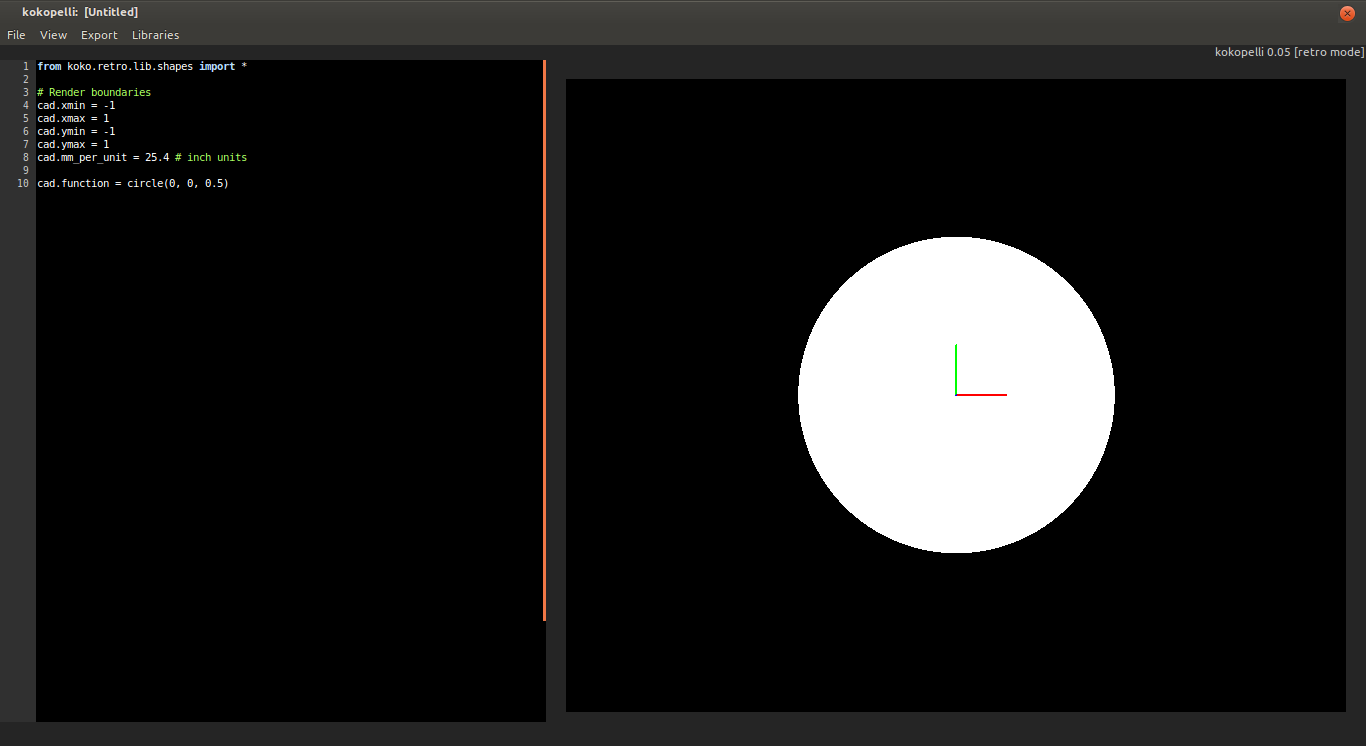
Since The emphasis of this course is to learn how to turn codes into things. I thought it would be best if i familiarised myself with Kokopelli which is included in the fab modules. At first it was confusing because i had version 0,2 and could not load the .cad files in this version. I Finally resolved to use the version0.05 version by entering the linux command kokopelli -r
I embarked this journey by copying the .cad file from the class archives and pasting it into a text editor. i then saved it as a .cad format. I then opened the file from the kokopelli window usong the file - open path
Kokopelli 0.05
loaded file
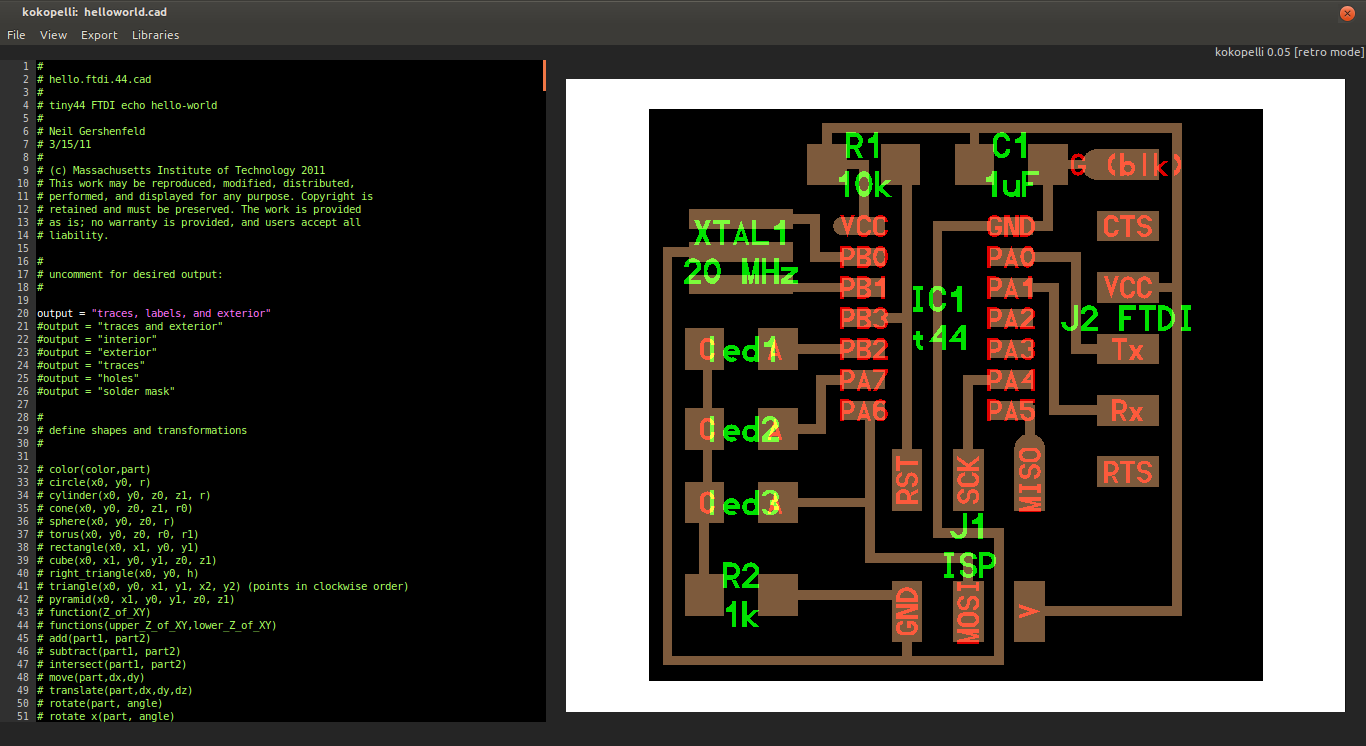
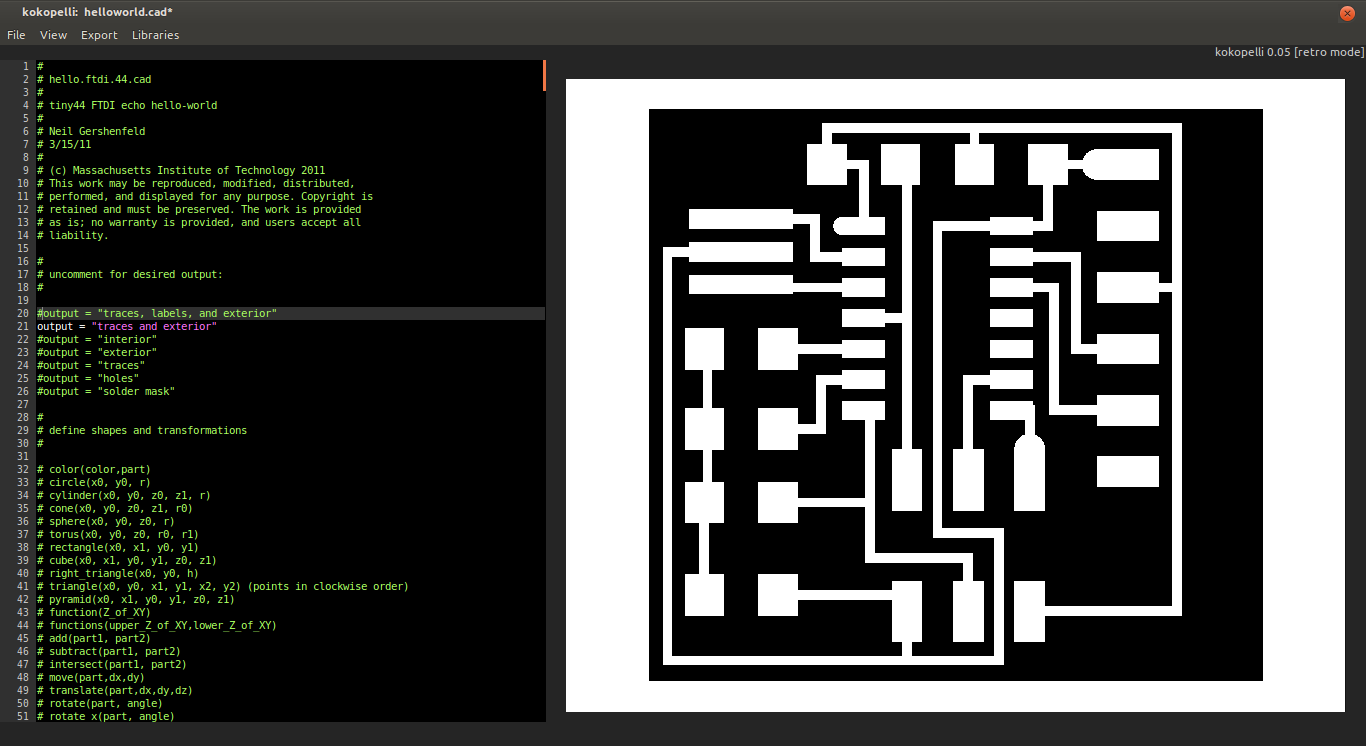
I then began to look through the code and making modifications and observing the result. The first observvation was that when you ucommented the different output modes you get different outputs as shown below.
traces
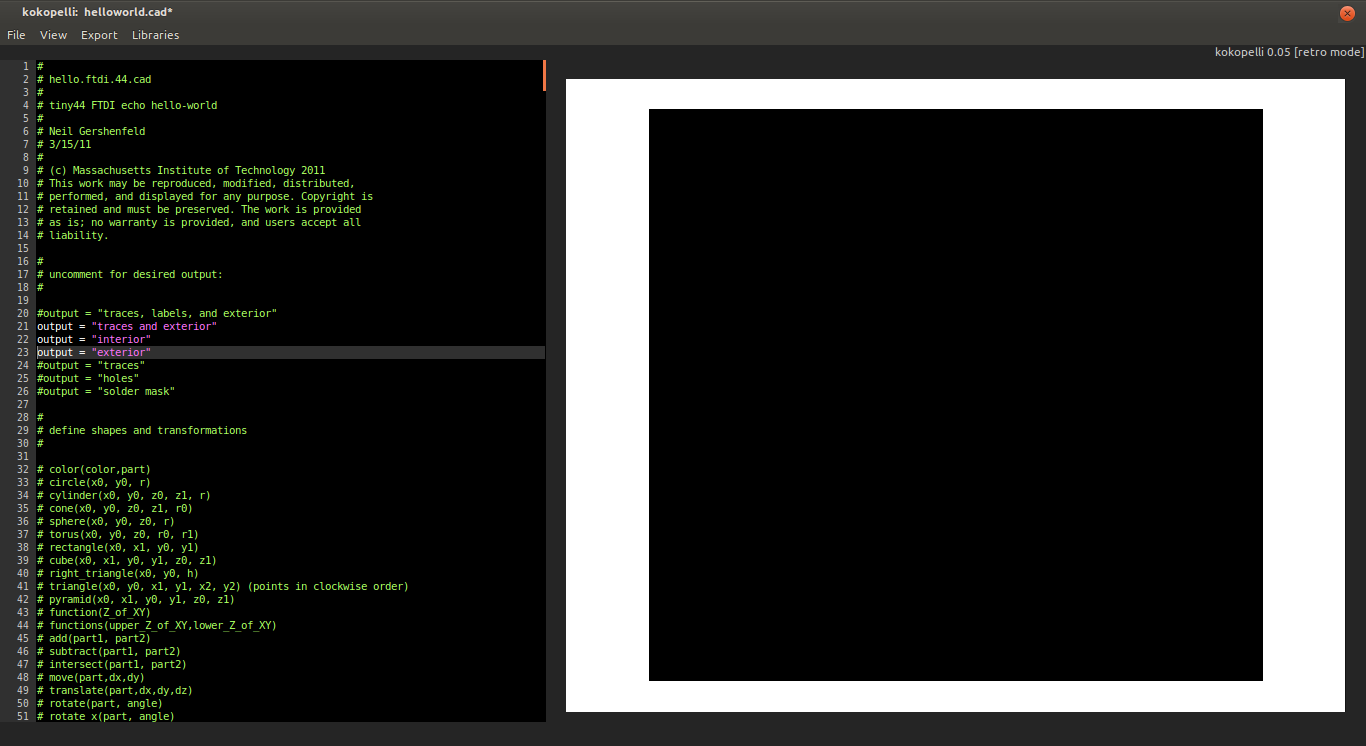
outline
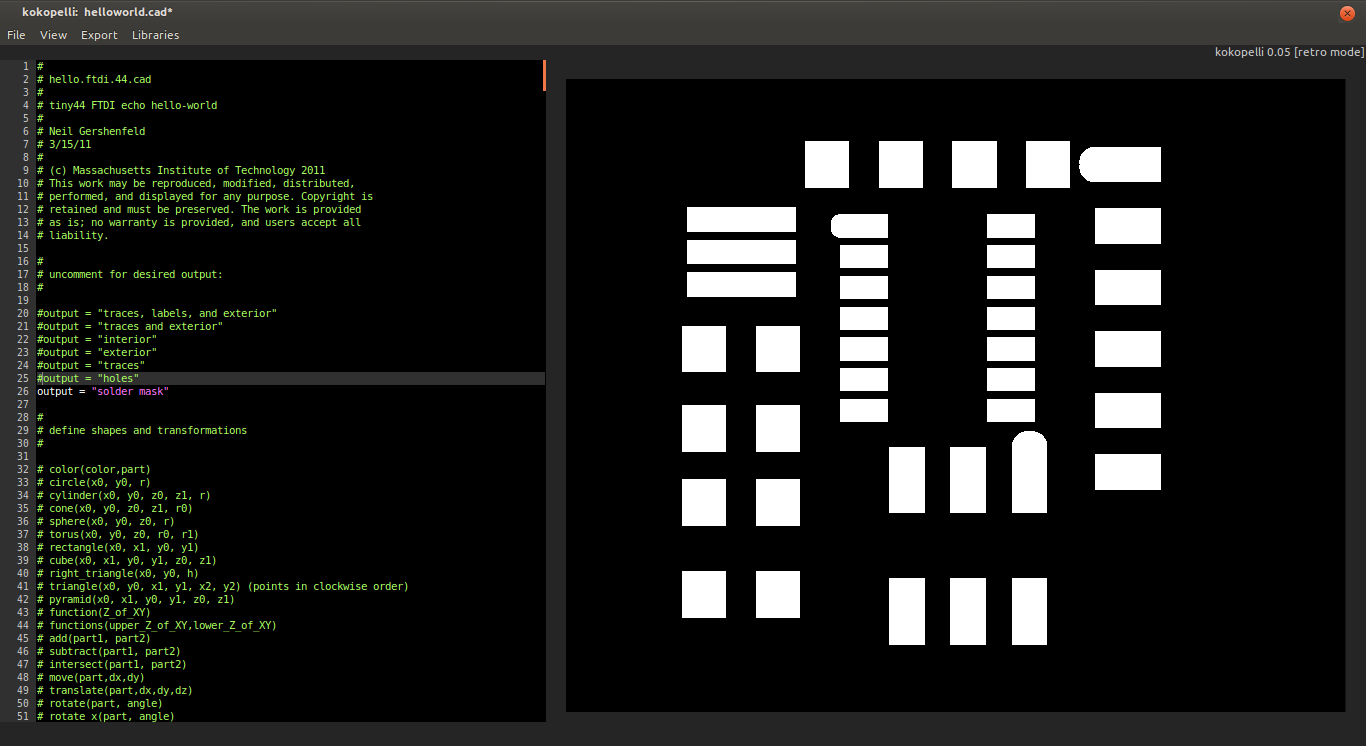
solder mask
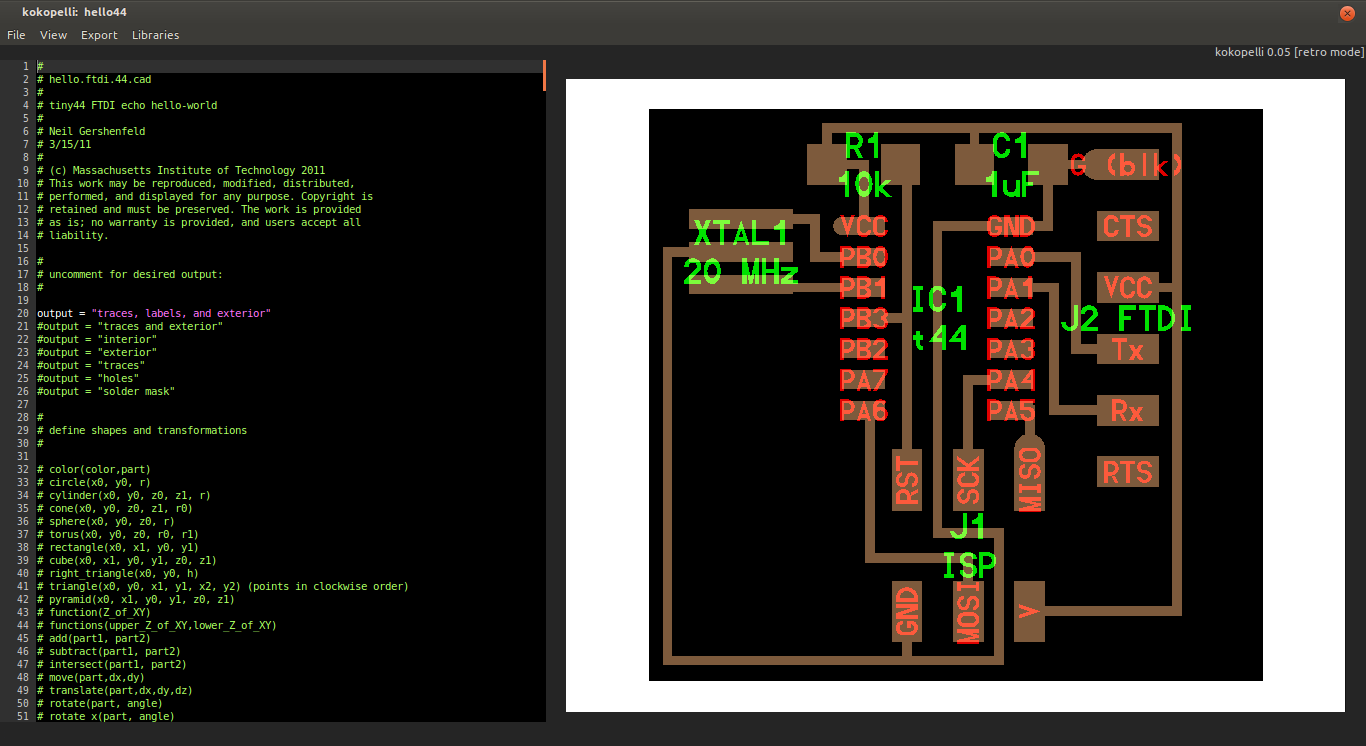
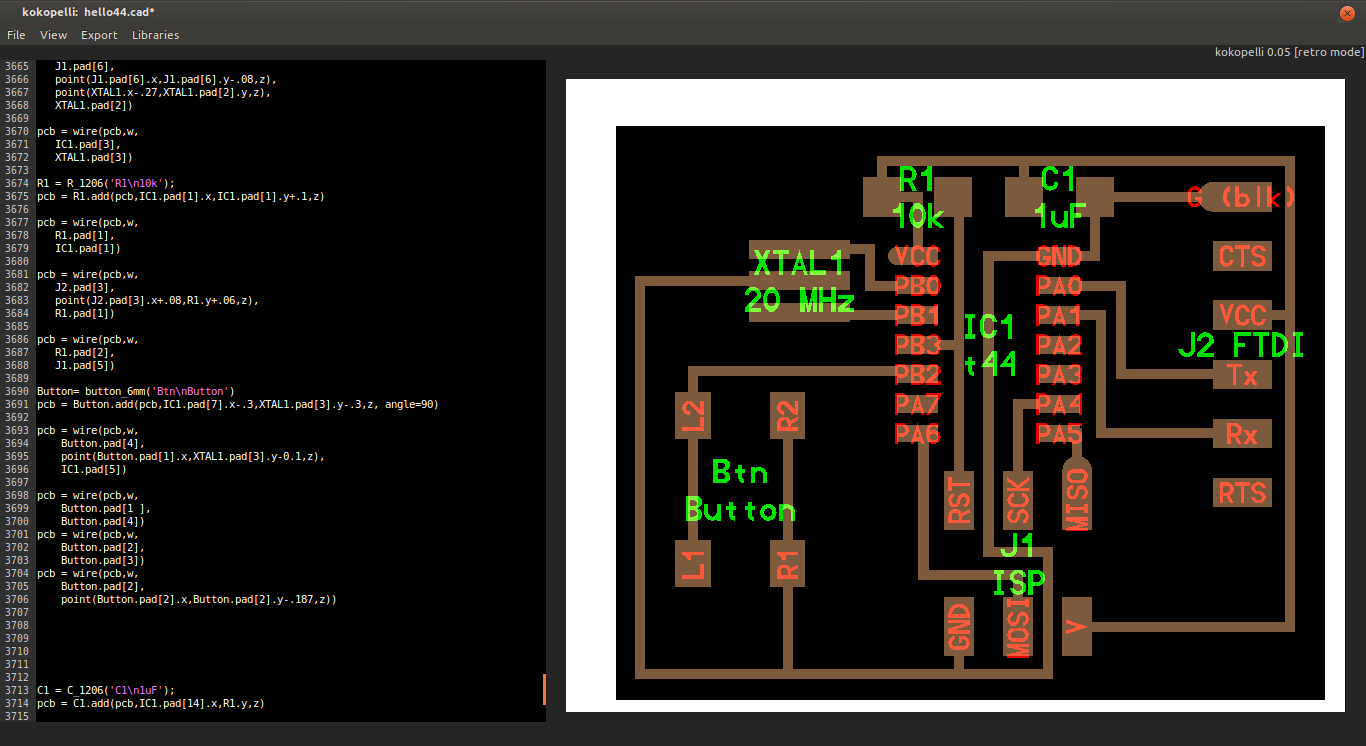
When I was satisfied with my capabilities of using kokopelli i proceeded to upload the hello world board and edit it using the appropriate libraries
hello world board
The code that i used to add a button was
pcb = Button.add(pcb,IC1.pad[7].x-.3, XTAL1.pad[3].y-.3, z, angle=90 )
adding a button
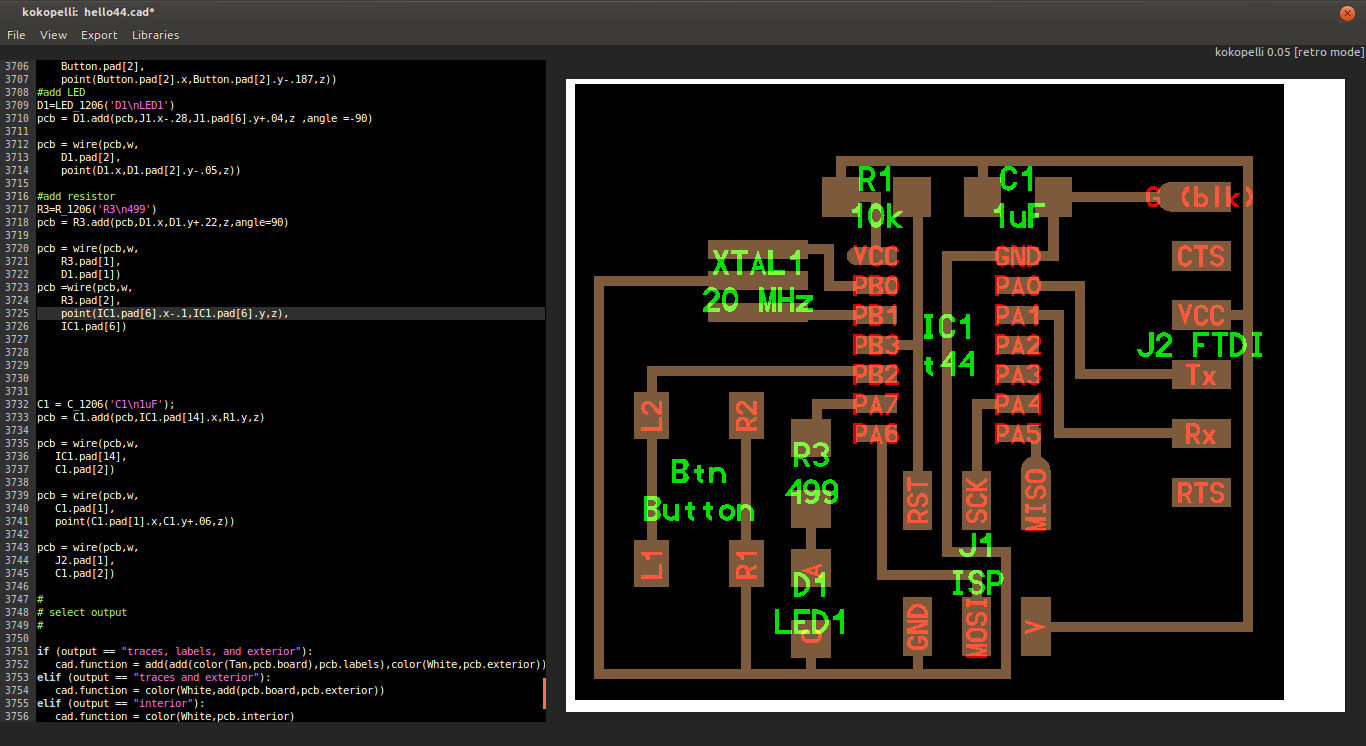
adding led and resistor

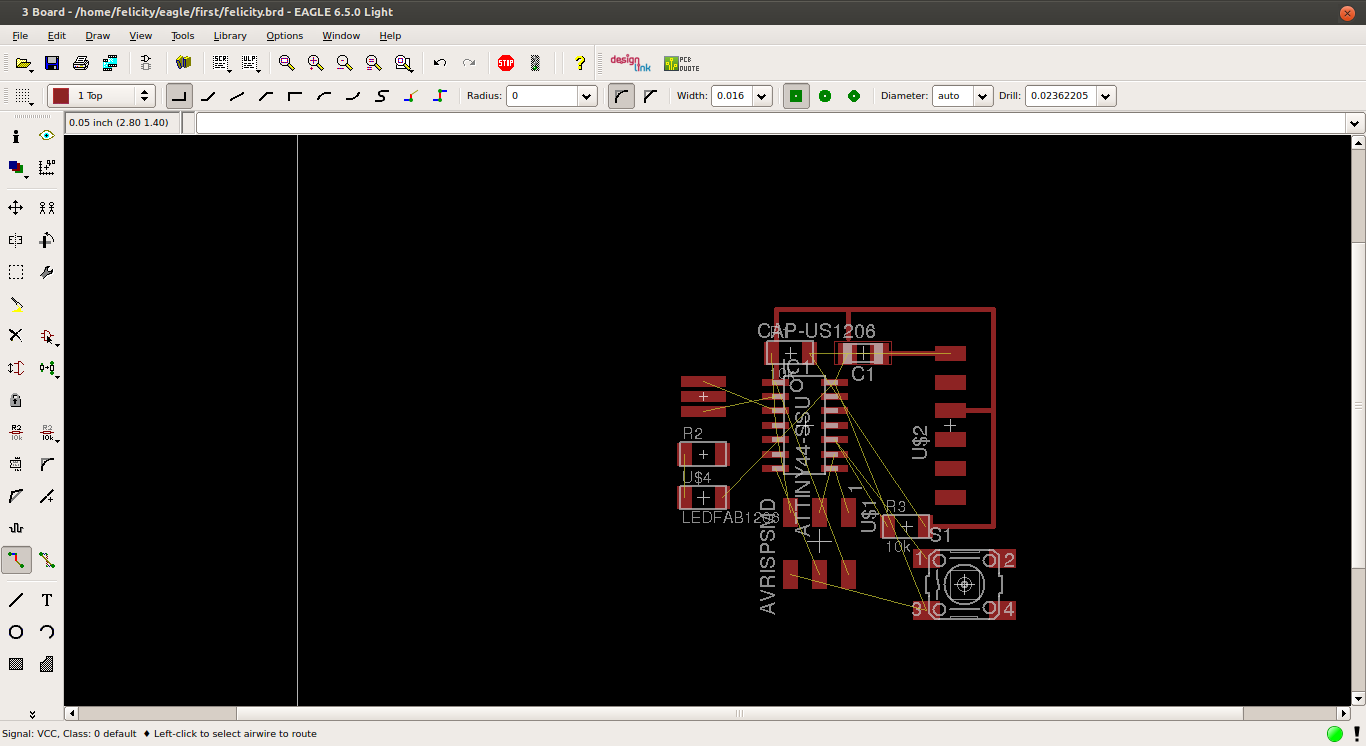
routing
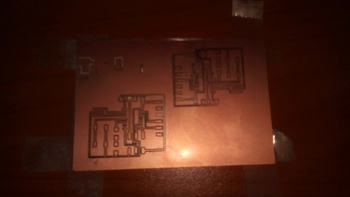
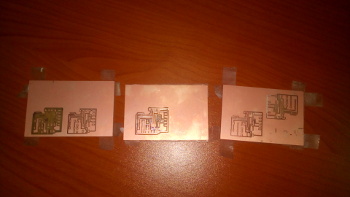
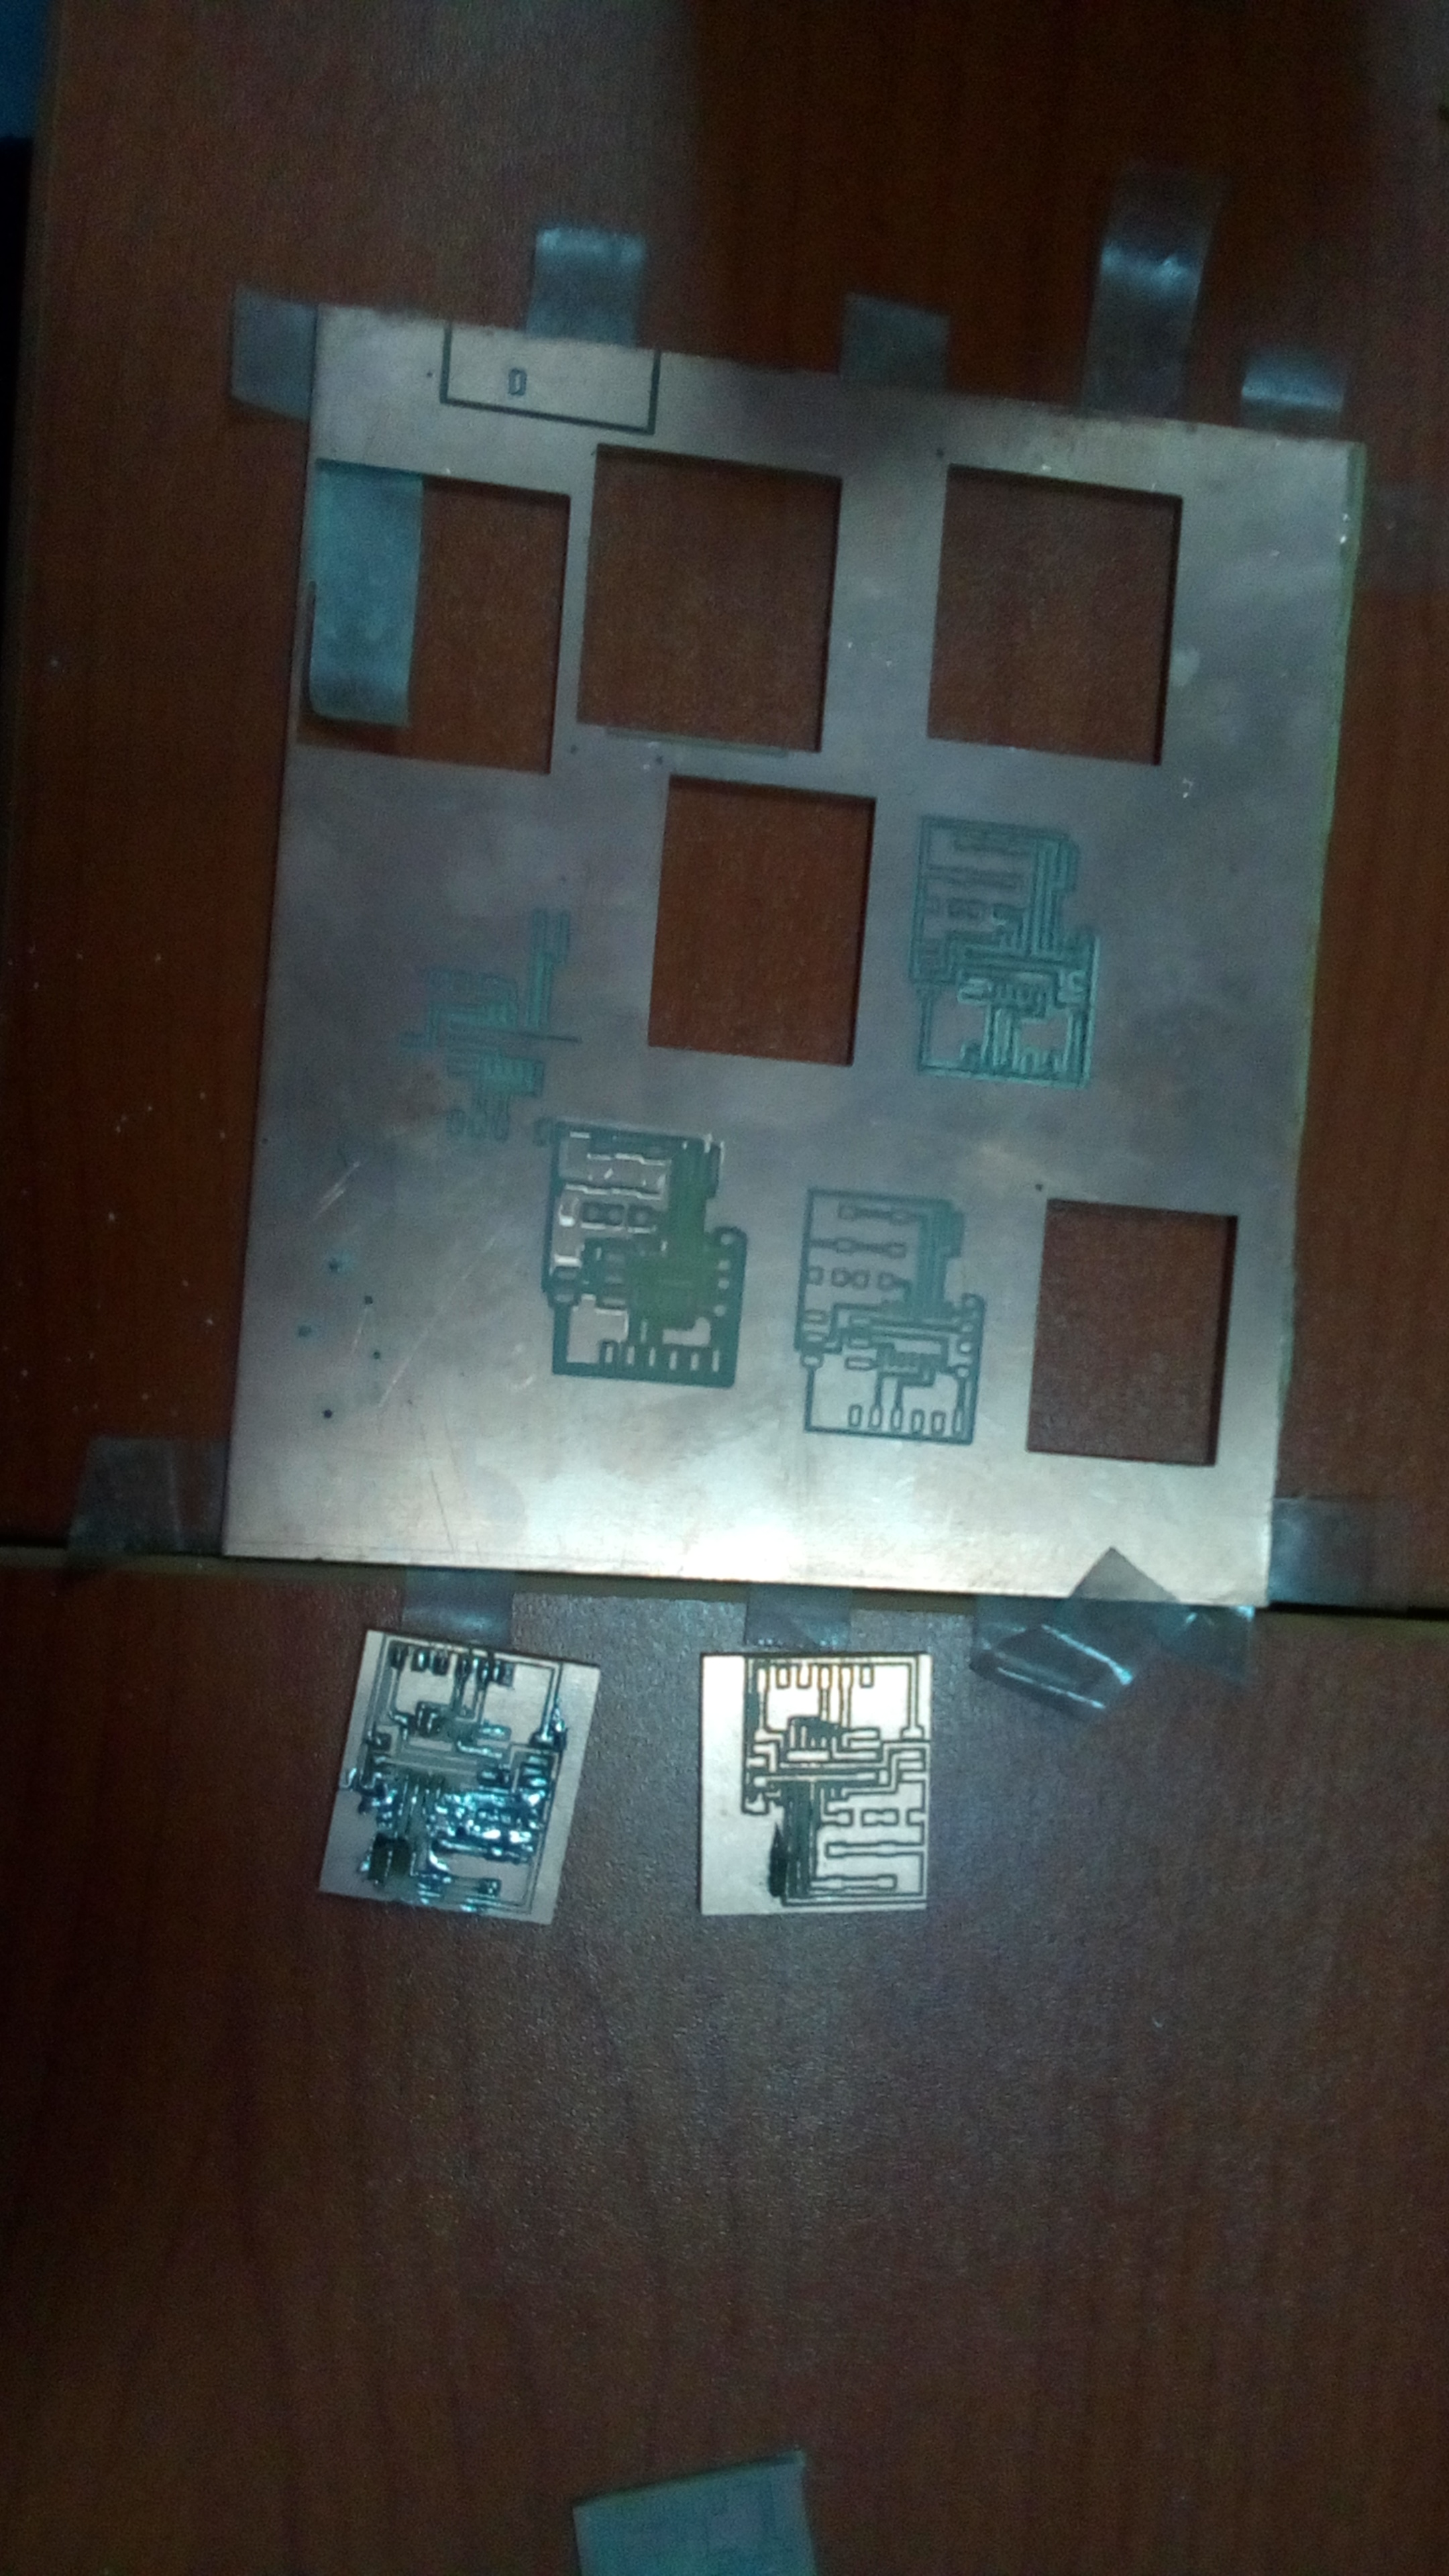
Milling
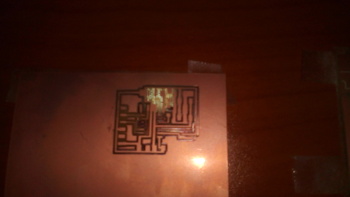
The 1/64 milling bits broke in the process of milling hence there were many failed attempts before finding the ultimate outcome
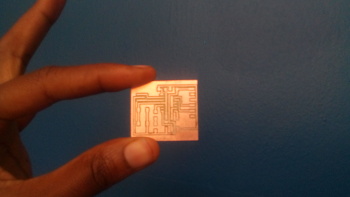
After much struggle I finally got a good outcome from milling
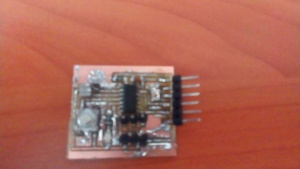
I then went ahead and made the board as shown below