Introduction
This week's assignment was on 3D printing and scanning. For this week i achieved the following objectives
- 3D scanning
- 3D printing using different printers
3D scanning
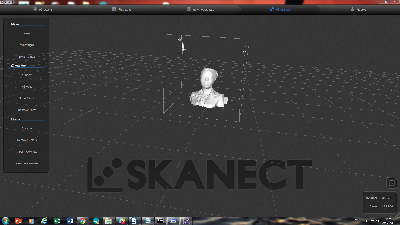
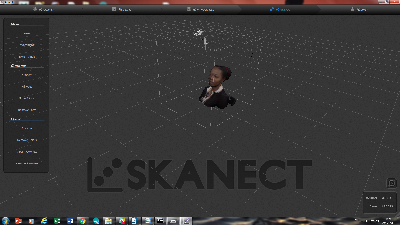
My scanning assignment was done using xbox kinect sensor. The sensor works hand in hand with a software called sKanect. T find more information on how it works follow the Link The concept was to sit in a rotating chair in front of the kinect sensor and rotate slowly in order to have the photos taken from different angles. any quick jerky movements would ruin the outcome.
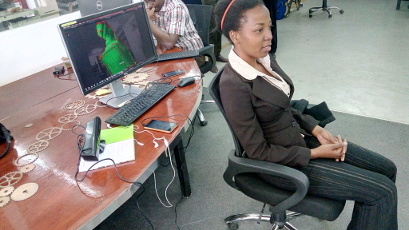
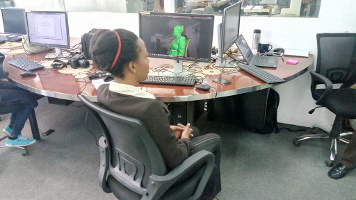
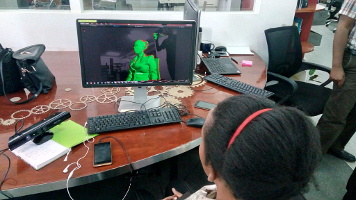
After a number of trials i was able to get a satisfactory model. The main difficulty encountered was that the sensor could not view the top of the head hence laeving a hole.
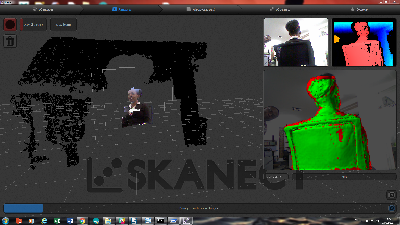
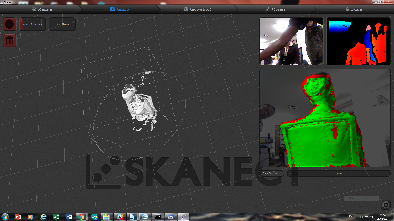

Using the reconstruction software i was able to reproduce a model of myself and even render the original colors
Test print
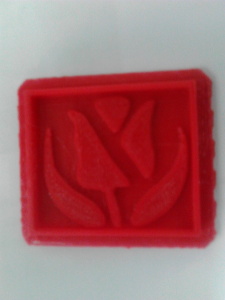
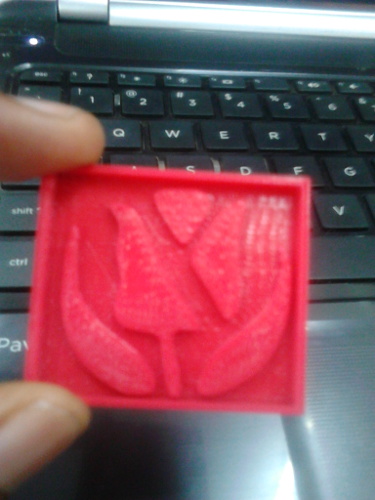
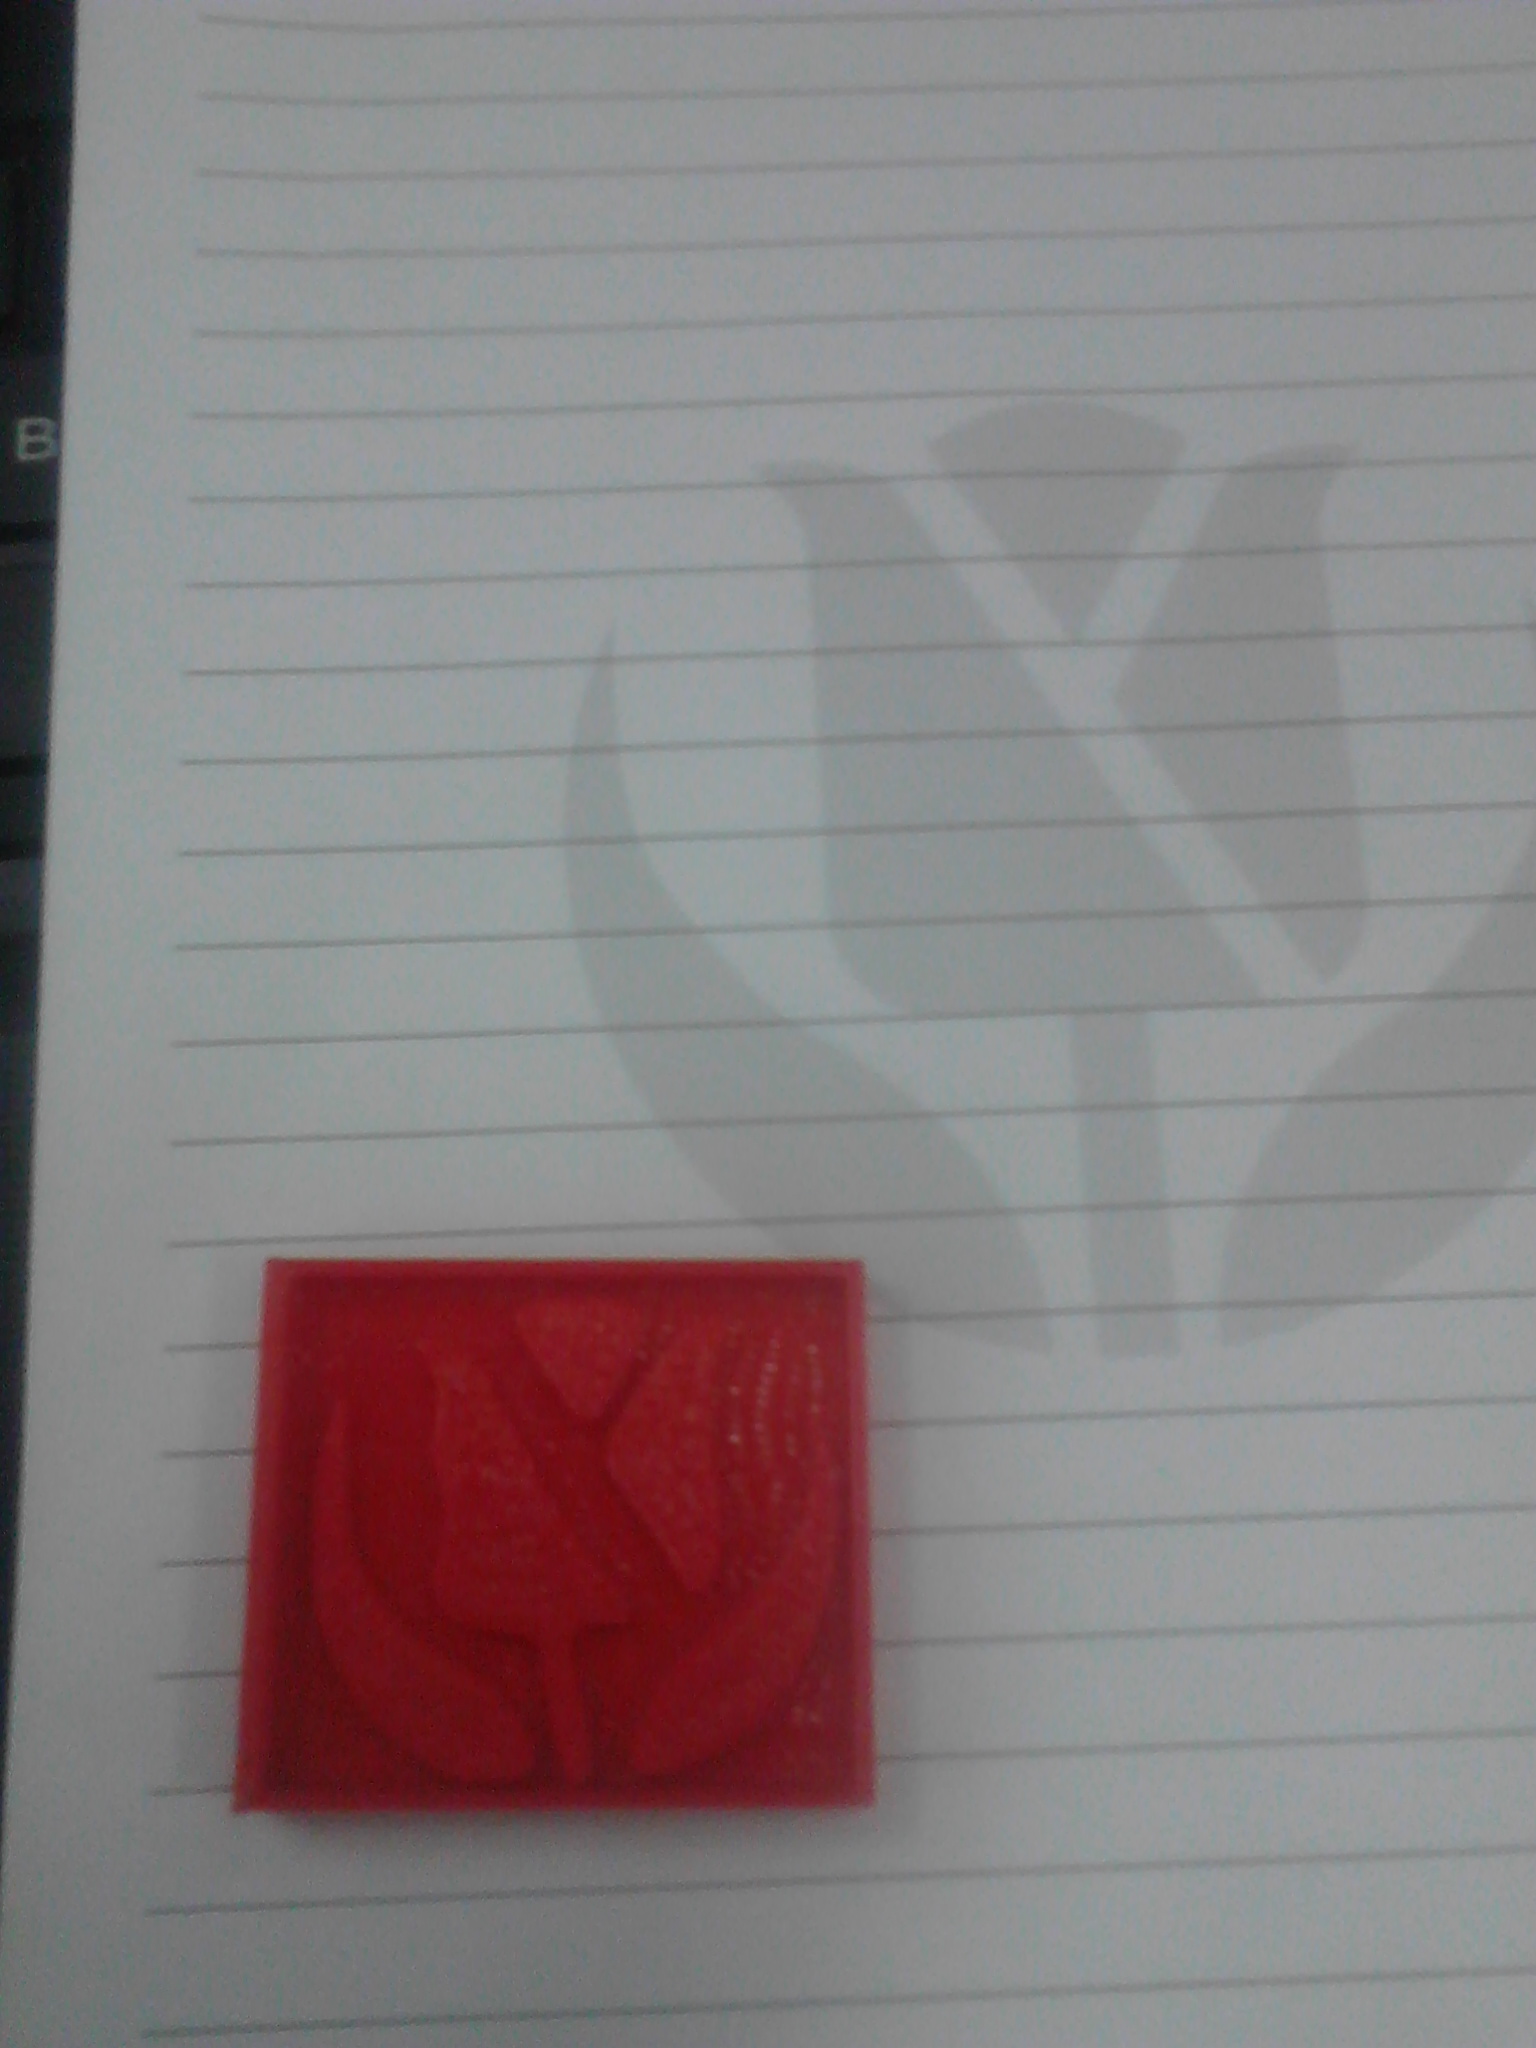
The machine used to do the test print was the makerbot replicator. m The machine is integrated with a software called makerbot I was really excited to do this because of all the great ideas i have seen out there. I decided to take a different angle to this one. Since my lab is equiped with Bamboo digital tablets for drawing i decided to design my 2d design using rhino freehand curves. At first it was a challenge because i did not know the grid configuration of the tablets but eventually i did and the drawing was successful.
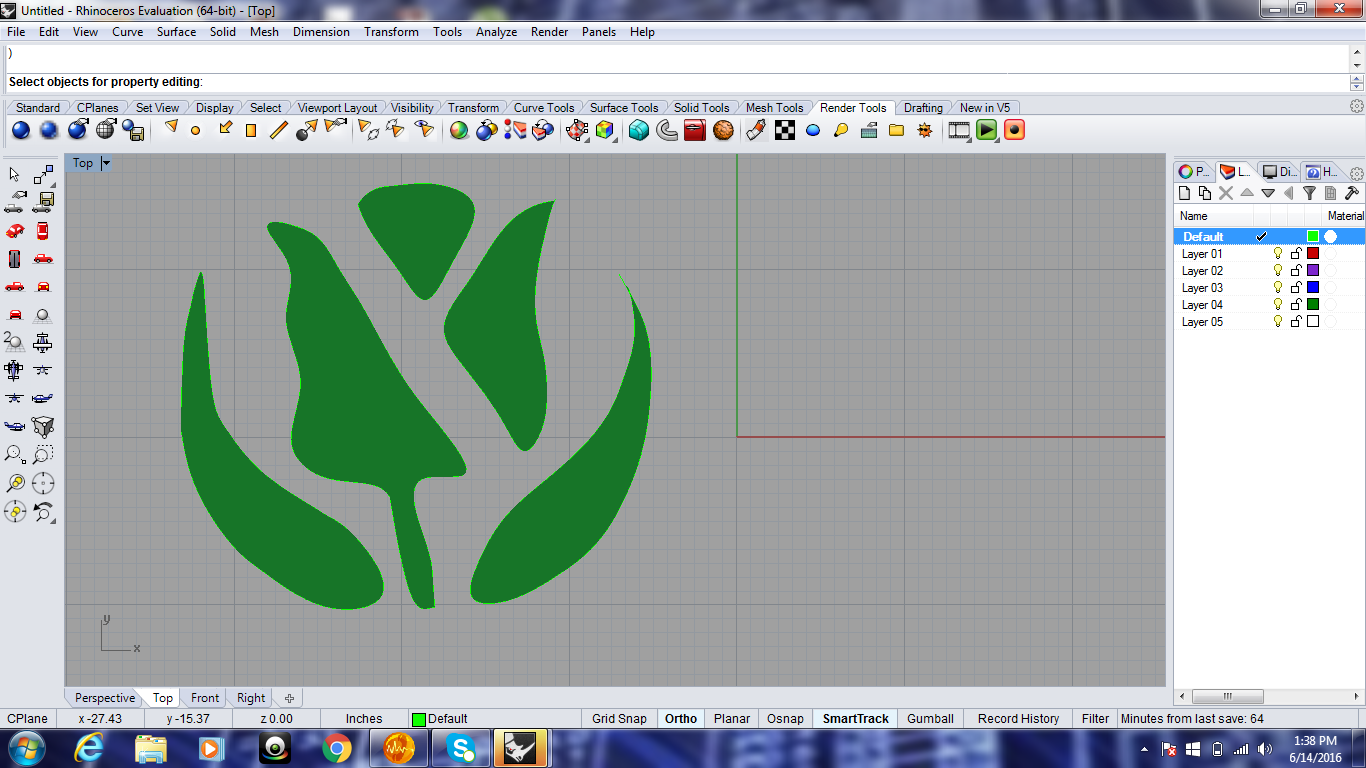
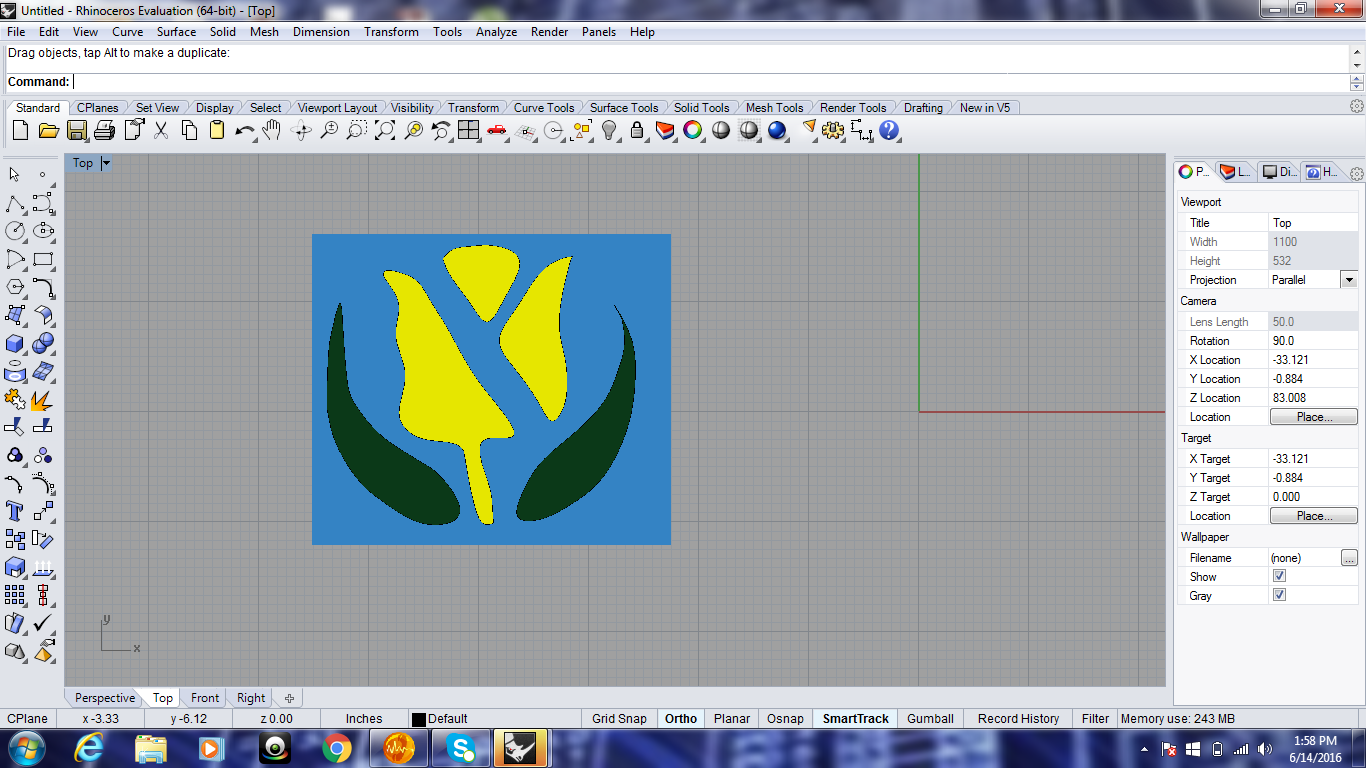
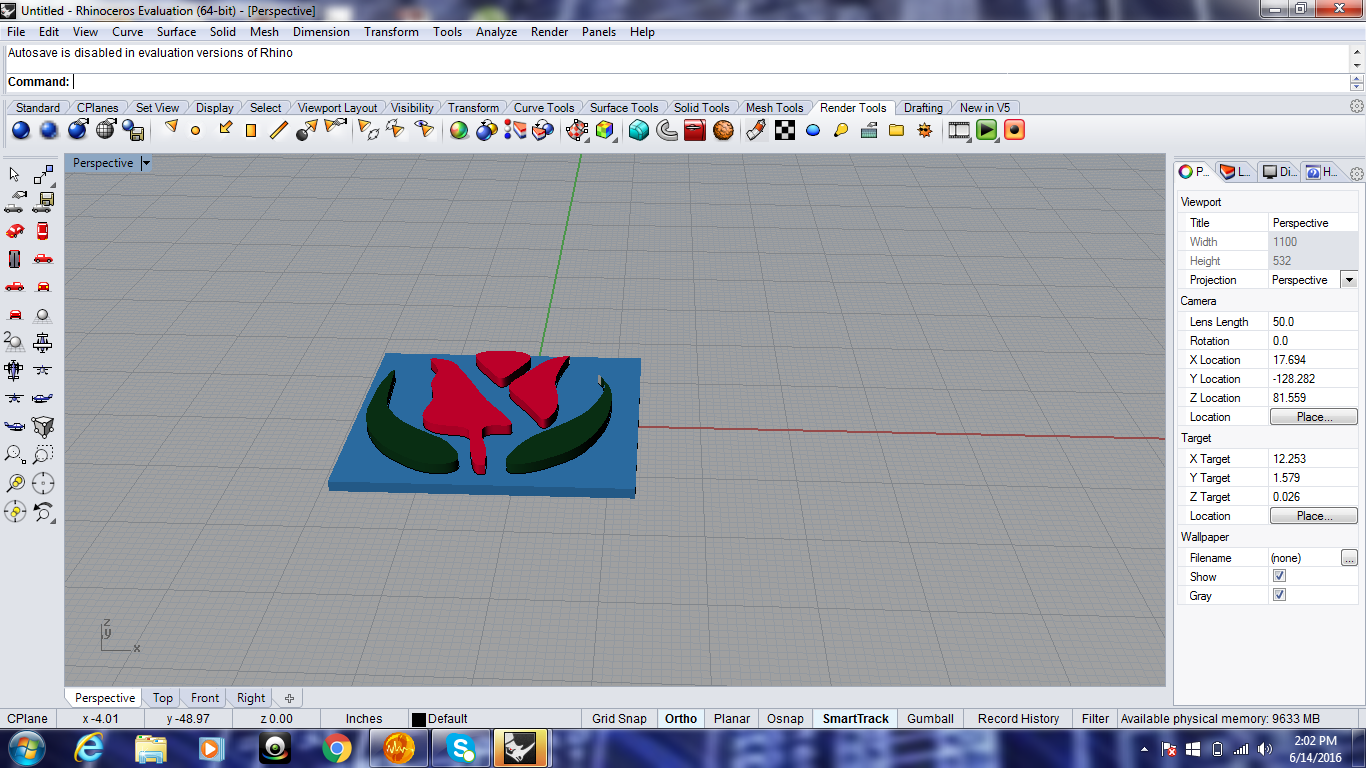
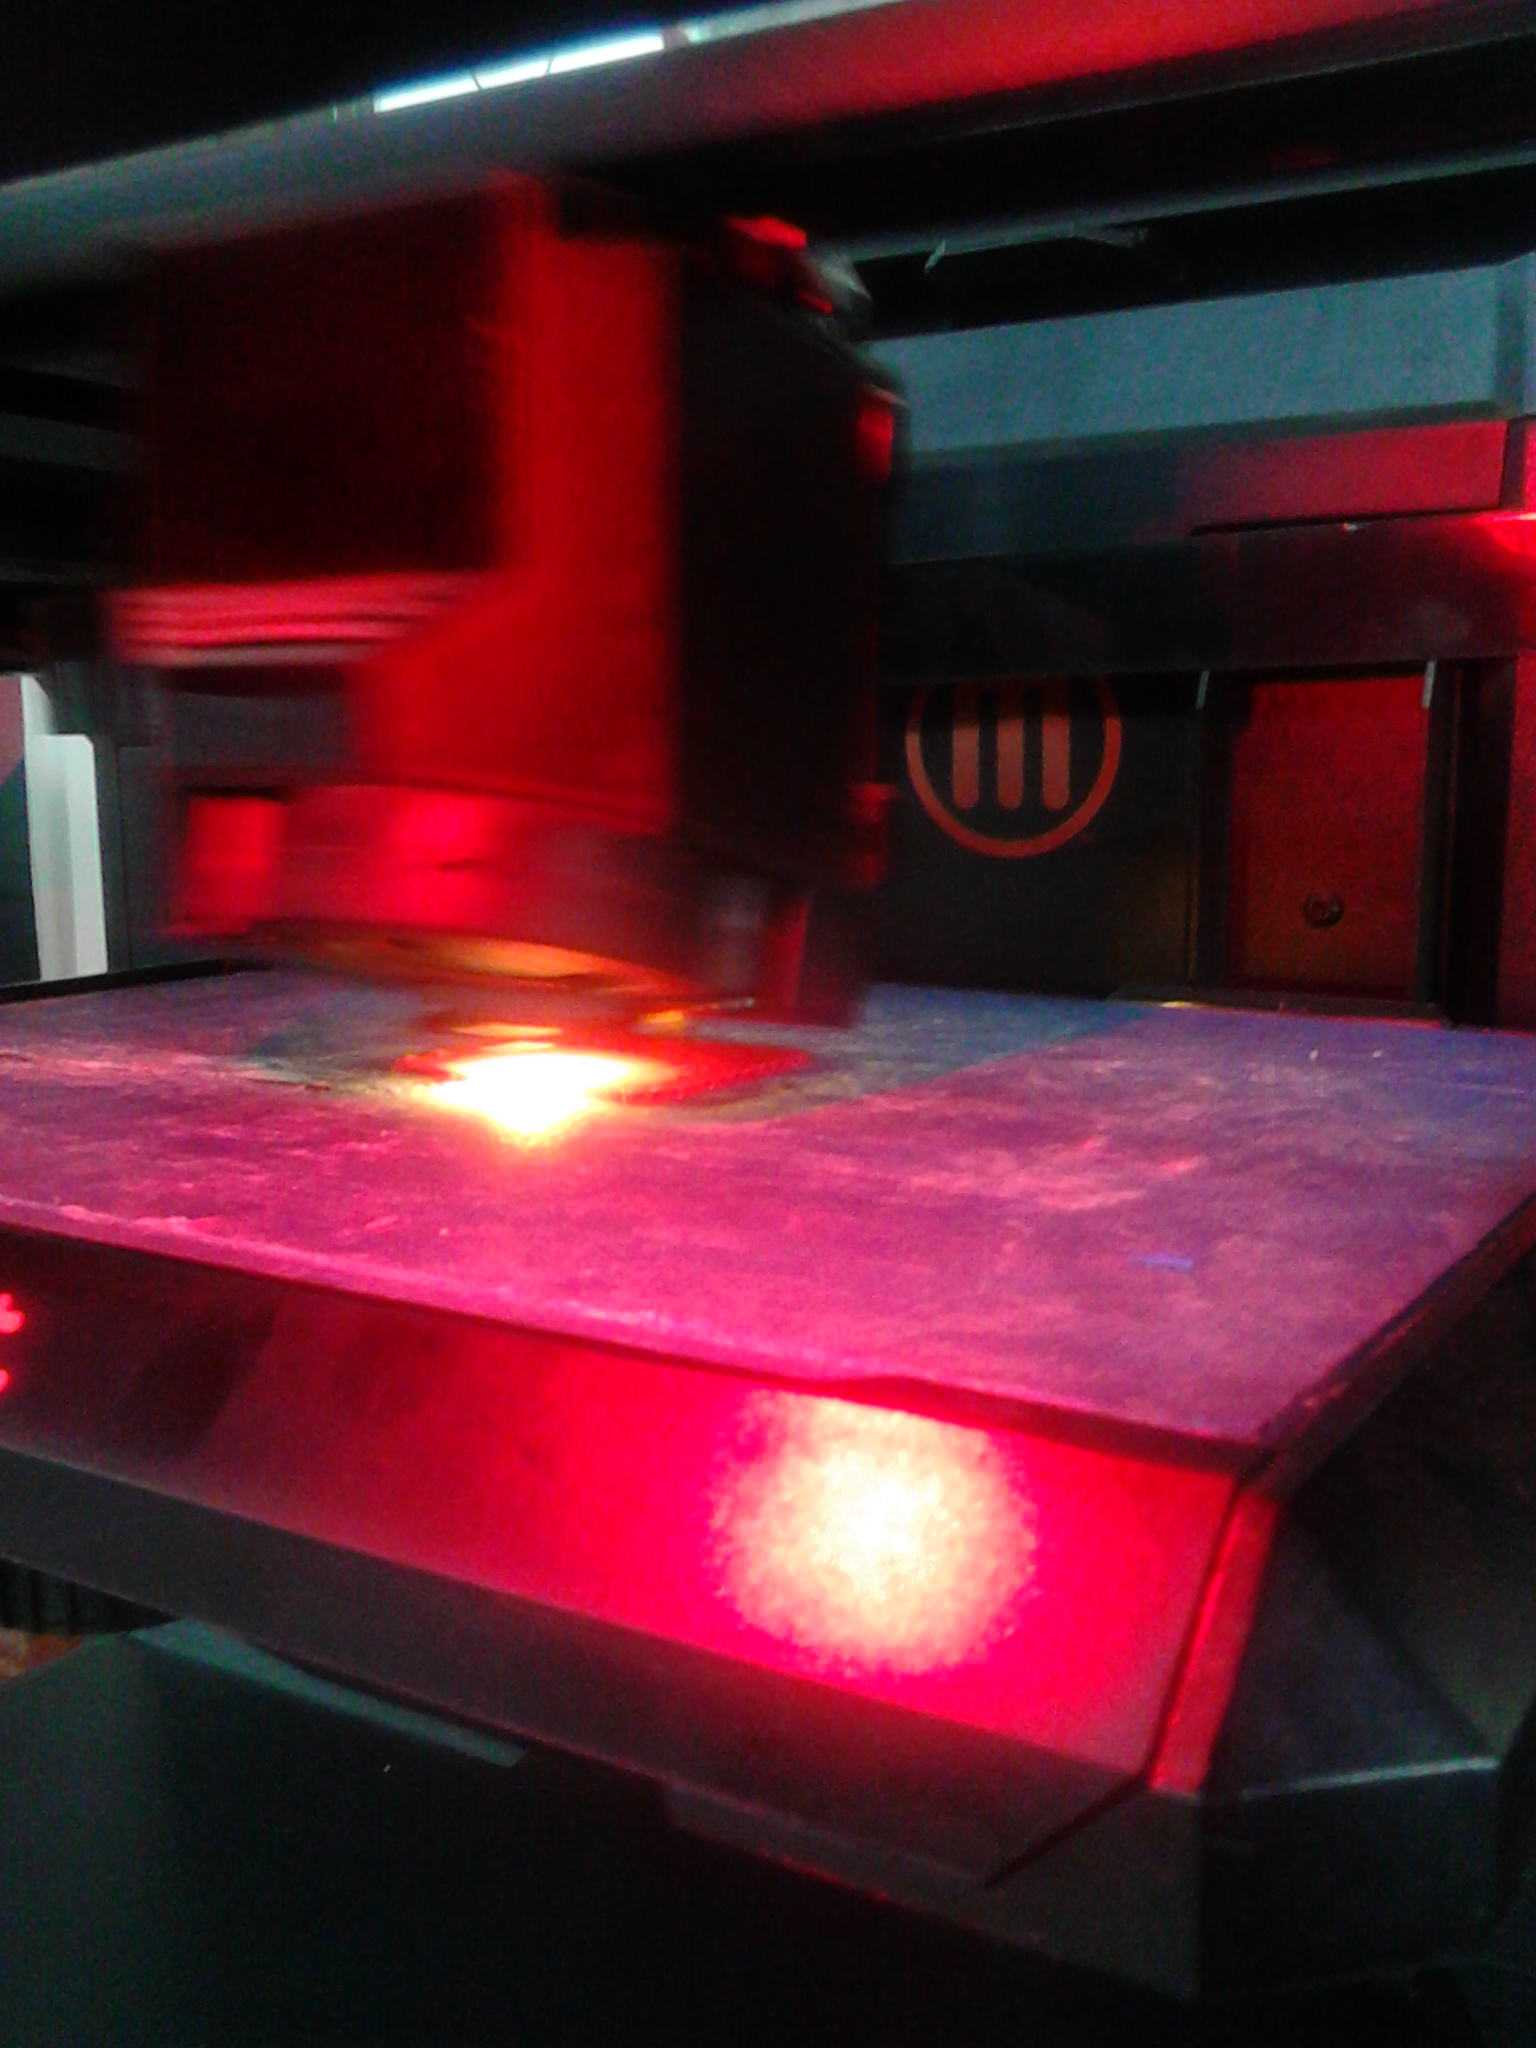
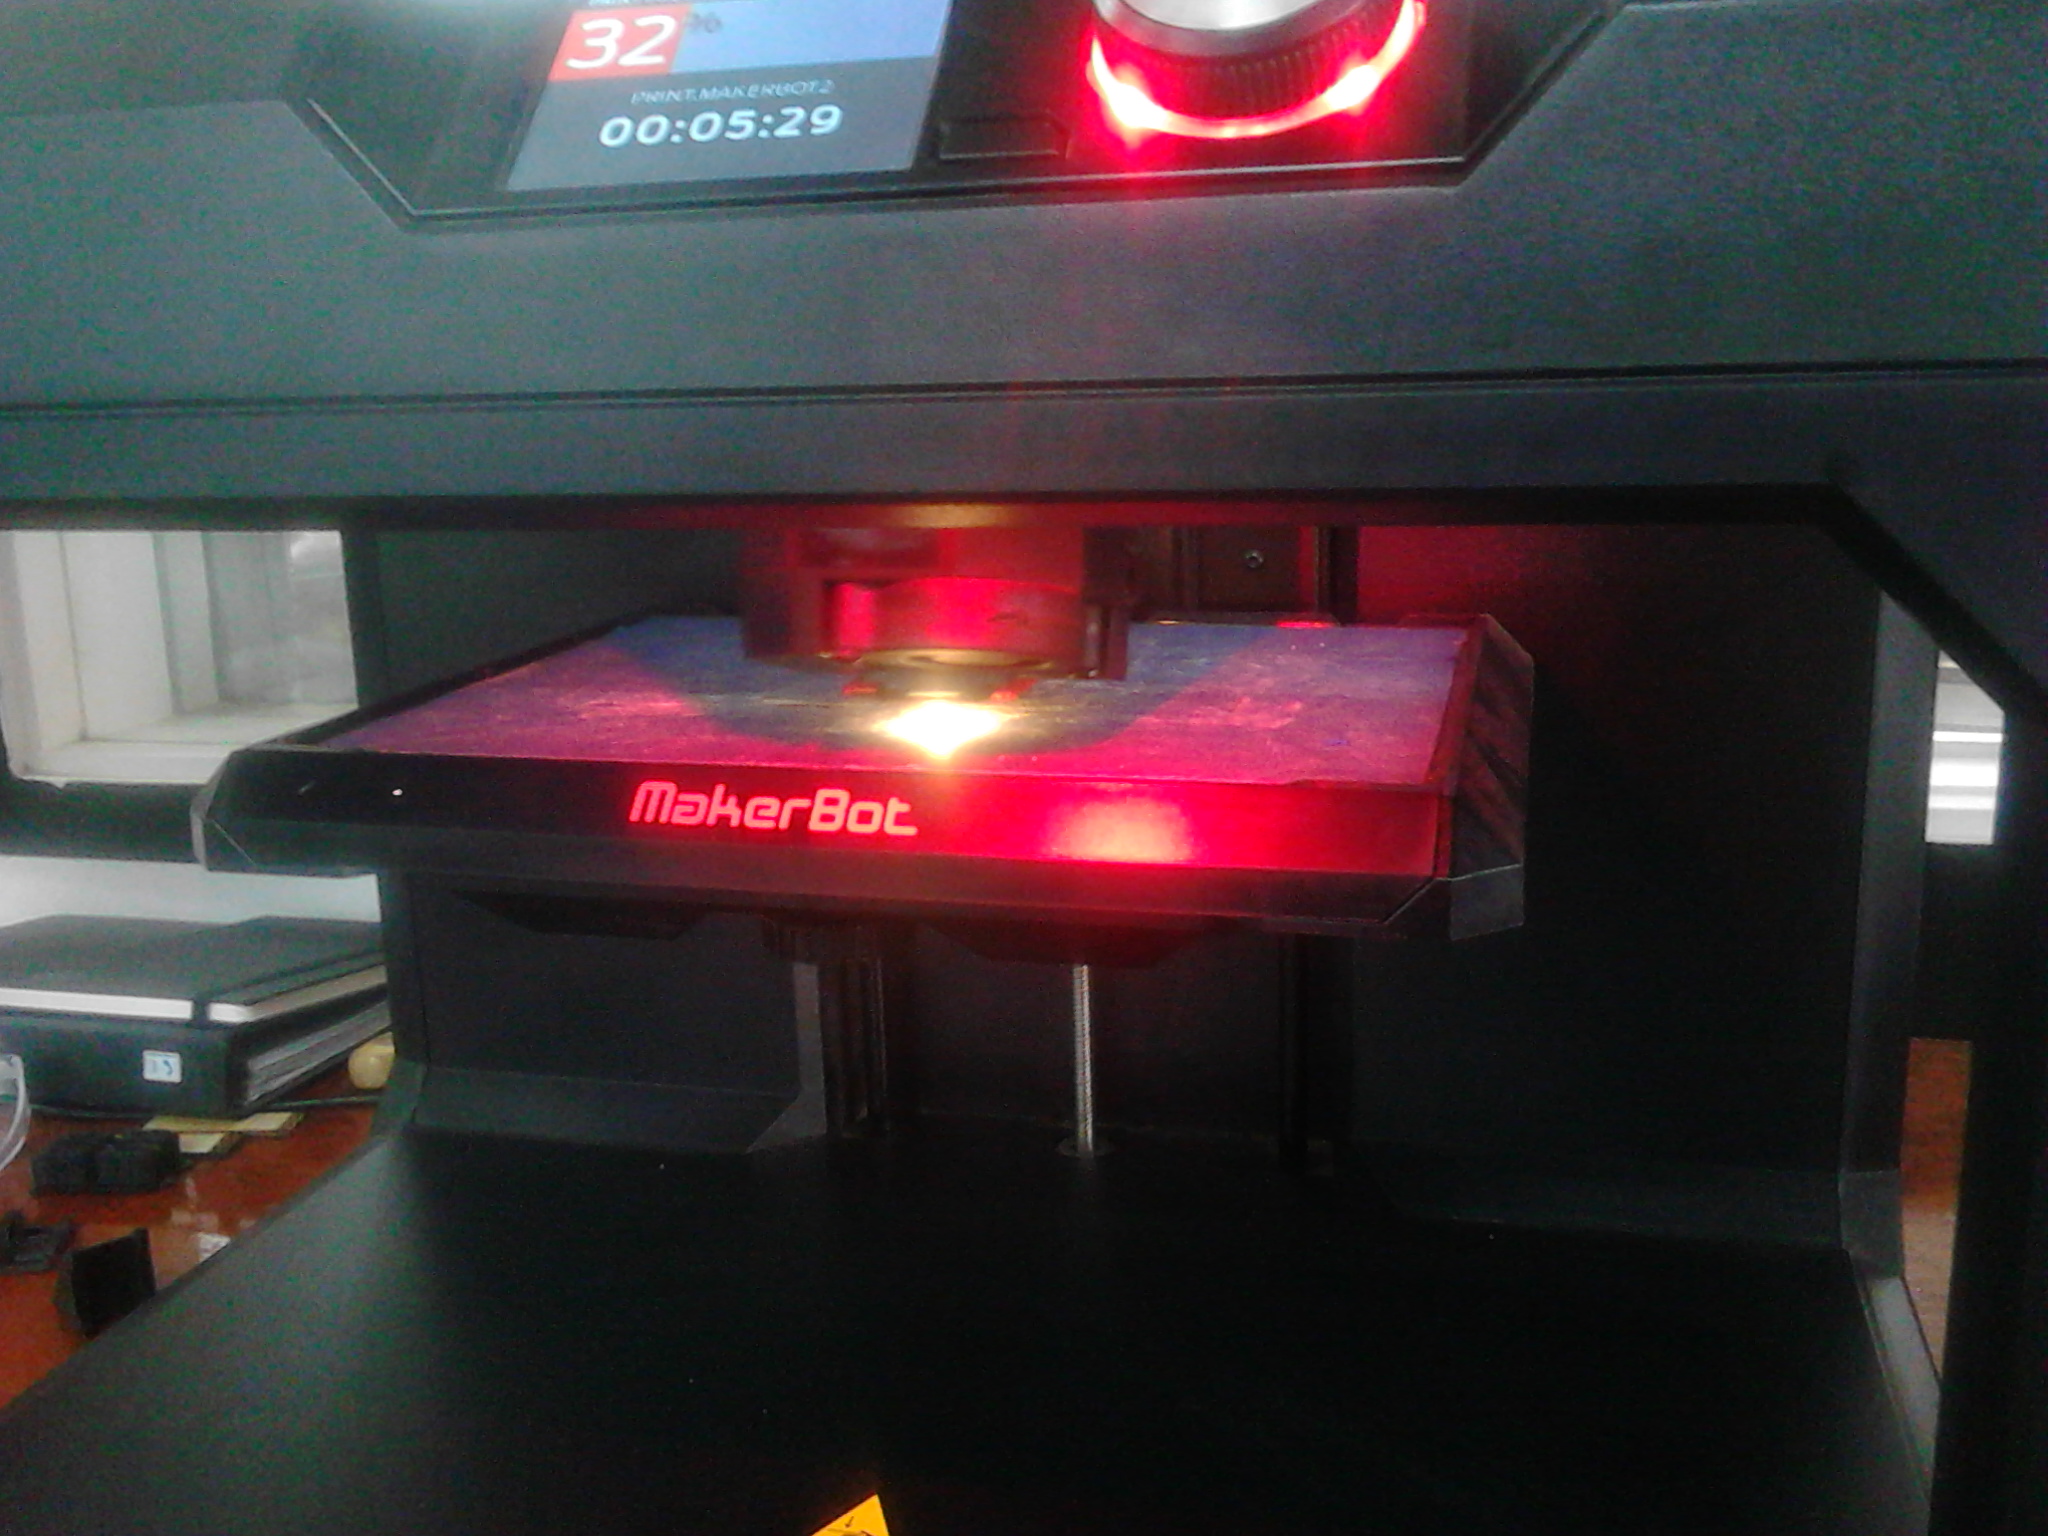
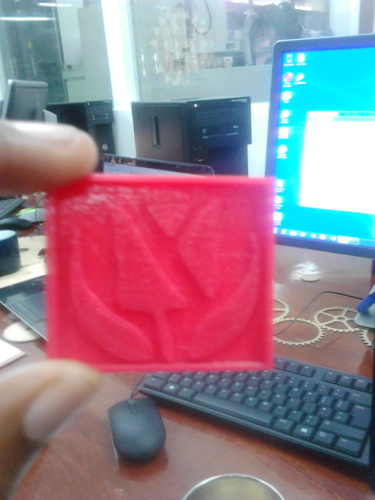
OUTCOME
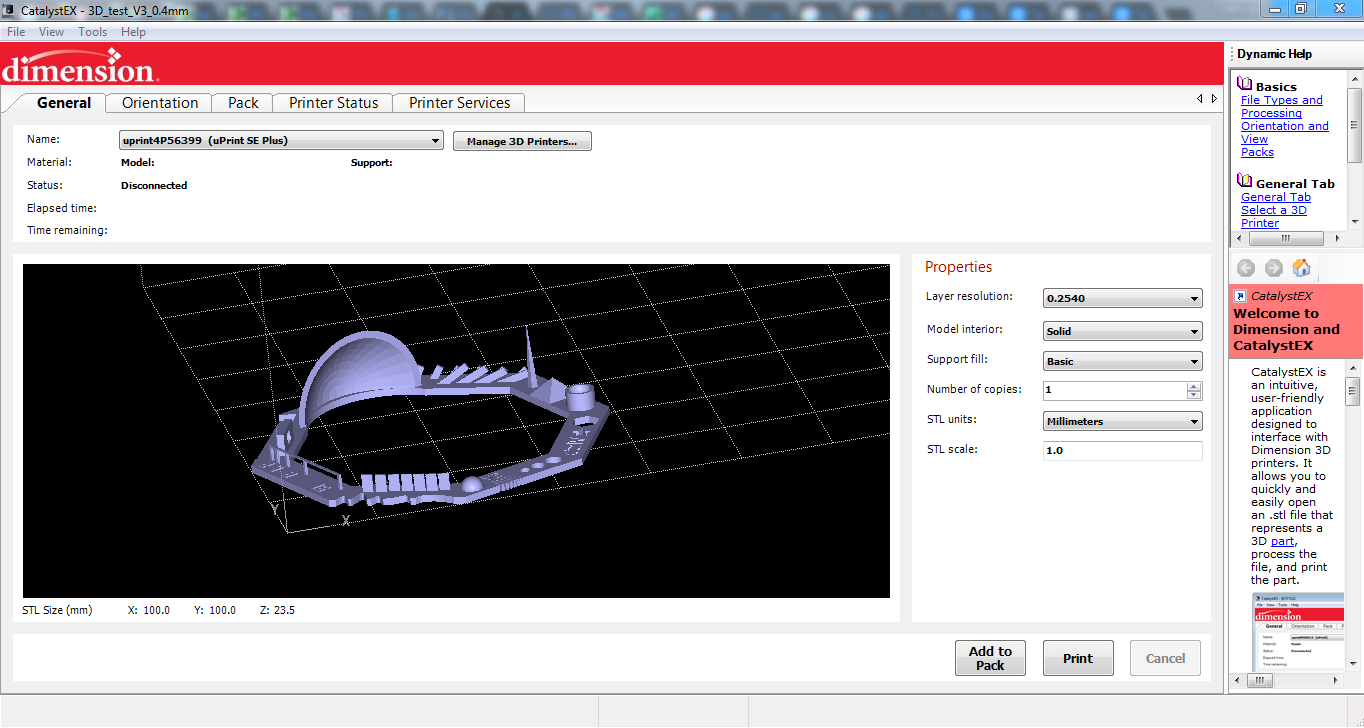
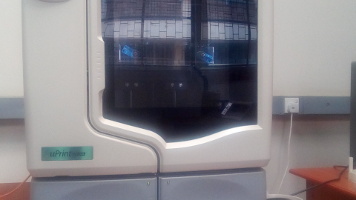
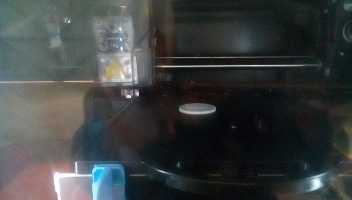
Uprint test
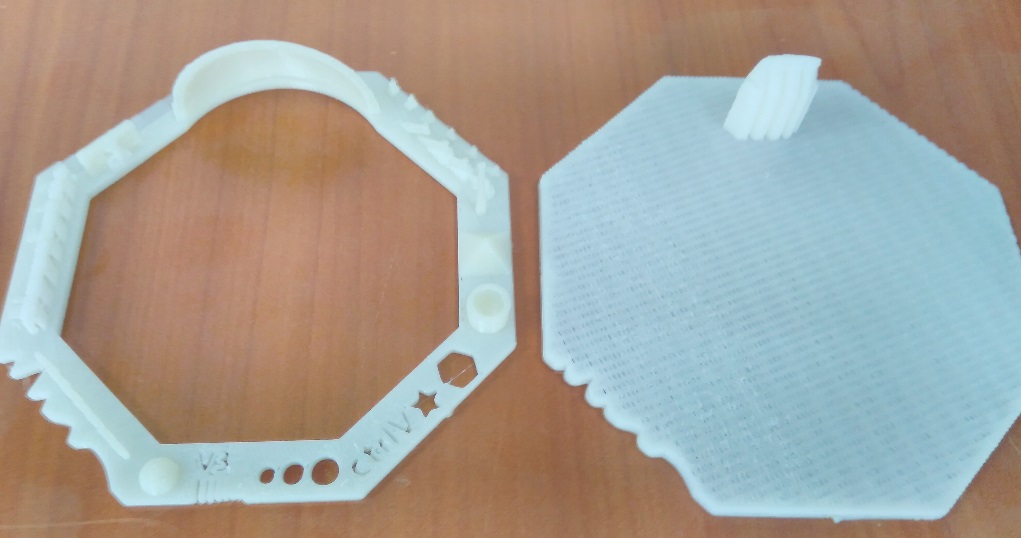
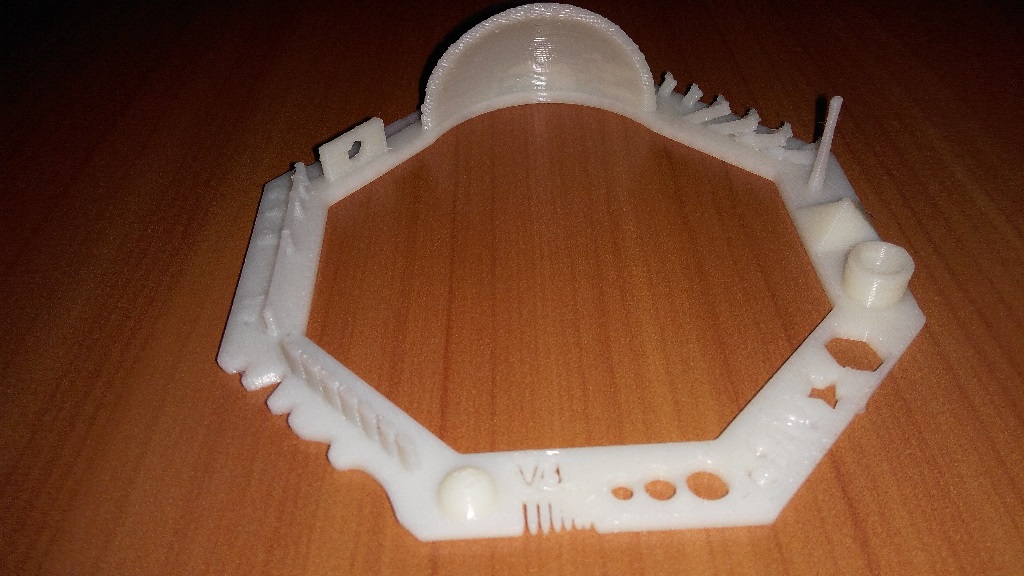
The next printer to test was the uprint SE plus. for this we used a model from thingiverse for test your own printer
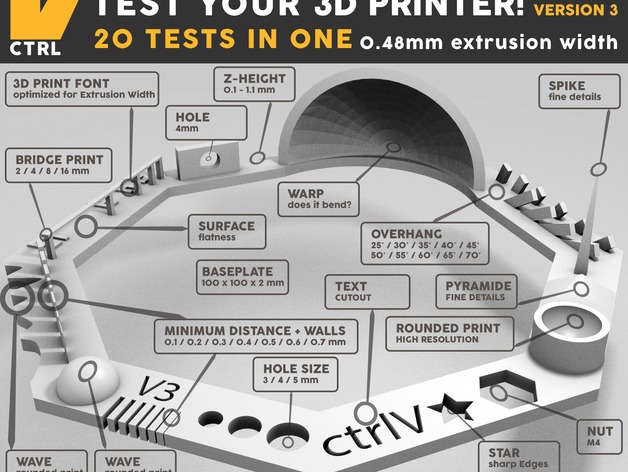
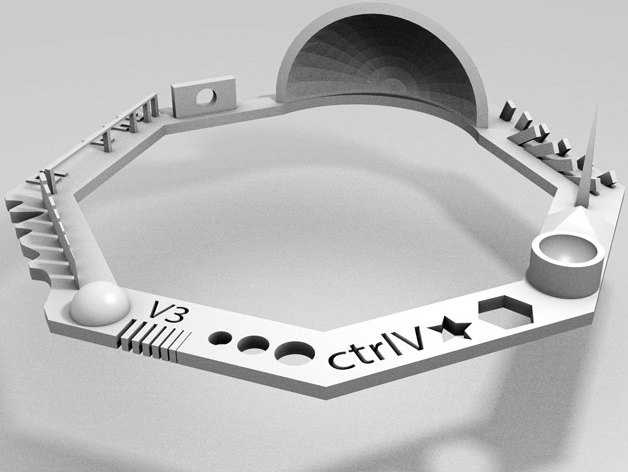
Parts of the test
The test is designed to test for the following parameters
- Nut, Size M4 Nut should fit perfectly
- Wave, rounded print
- Star, Sharp Edges
- Name, Complex Shapes
- Holes, Size 3, 4, 5 mm
- minimal Distance: 0.1, 0.2, 0.3, 0.4, 0.5, 0.6, 0.7 mm
- Z height: 0.1, 0.2, 0.3, 0.4, 0.5, 0.6, 0.7, 0.8, 0.9, 1.0, 1.1 mm
- Wall Thickness: 0.1, 0.2, 0.3, 0.4, 0.5, 0.6, 0.7 mm
- Bridge Print: 2, 4, 8, 16 mm
- Sphere, Rounded Print 4.8mm height
- Sphere Mix, 7 mm height
- Pyramide, 7 mm height
- Overhang: 25, 30, 35, 40, 45, 50, 55, 60, 65, 70°
- Warp, does it bend?
- 3D Print Font, optimized for 3D printing
- Surface, Flatness
- Size, 100 x 100mm x 23.83 (10mm width)
- Spike, minimum Layer Time, 21 mm height from Bottom (include Baseplate)
- Hole in Wall, 4 mm diameter, check for proper print
- Raft Test, raft should be just under the model
- Retract Travel, check retract settings for longer travel
having powered the uPrint SE plus sending the file was easy. All i had to do was to run CatalystEX and send the file to the printer. This machine does not have an option to print without the support material since the software automatically generates them on its own. However, you can specify how much support can be used i.e. BASIC, SMART or SURROUND. Raft for every print are also auto-generated.
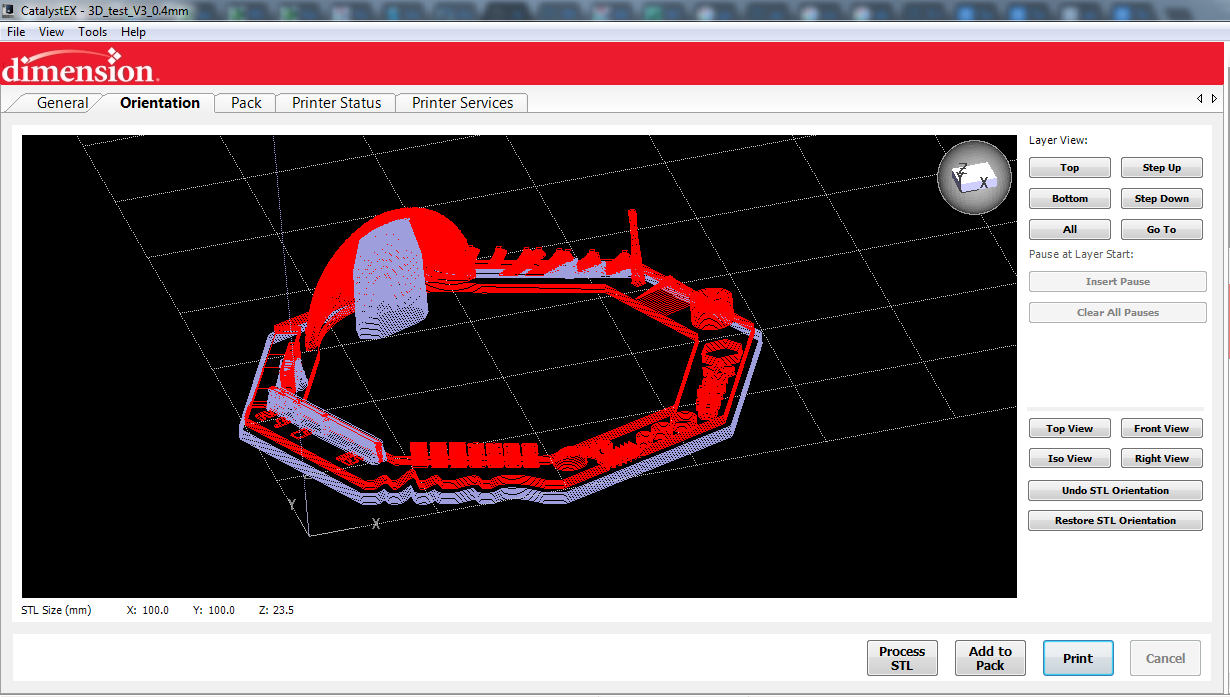
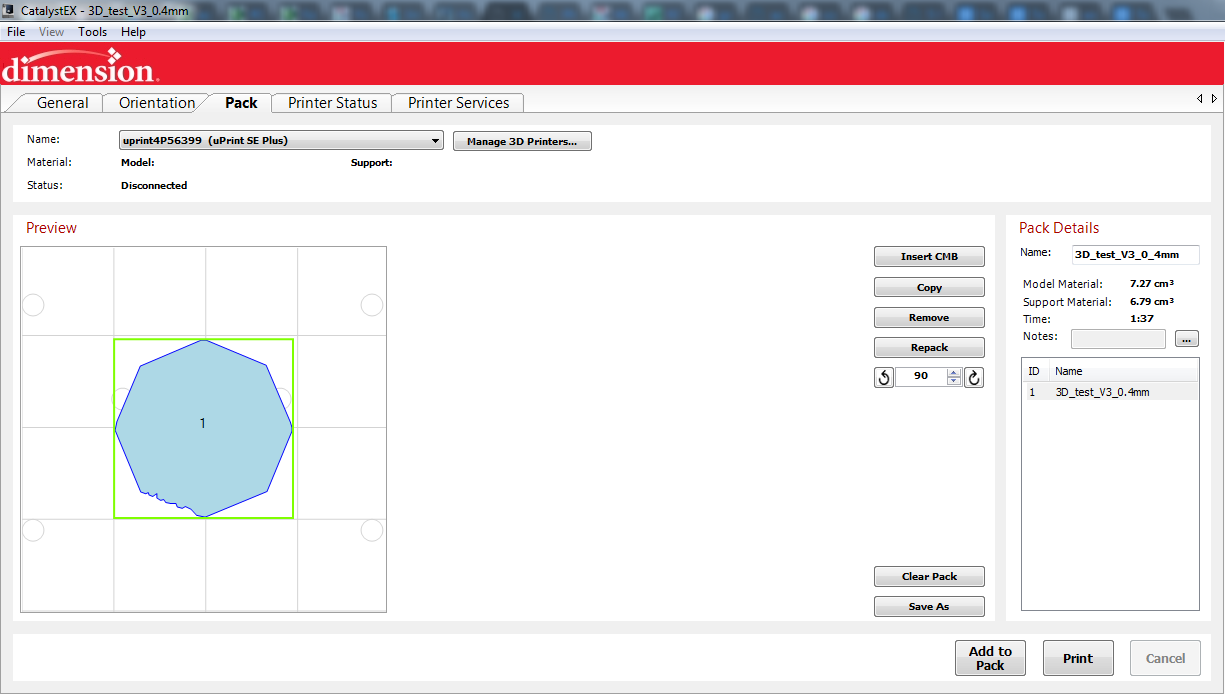
With basic support,the model took 1 hour 37minutes to print.

Learning outcomes
During the testing period i learnt that:
- When you place your object with the widest surface at the bottom the print takes less time and the outcome is better
- The bed of the 3D printer needs to be clear of debris for a perfect print.
- Using less support material reduces the time taken to print the model
Task2: 3D PRINTING
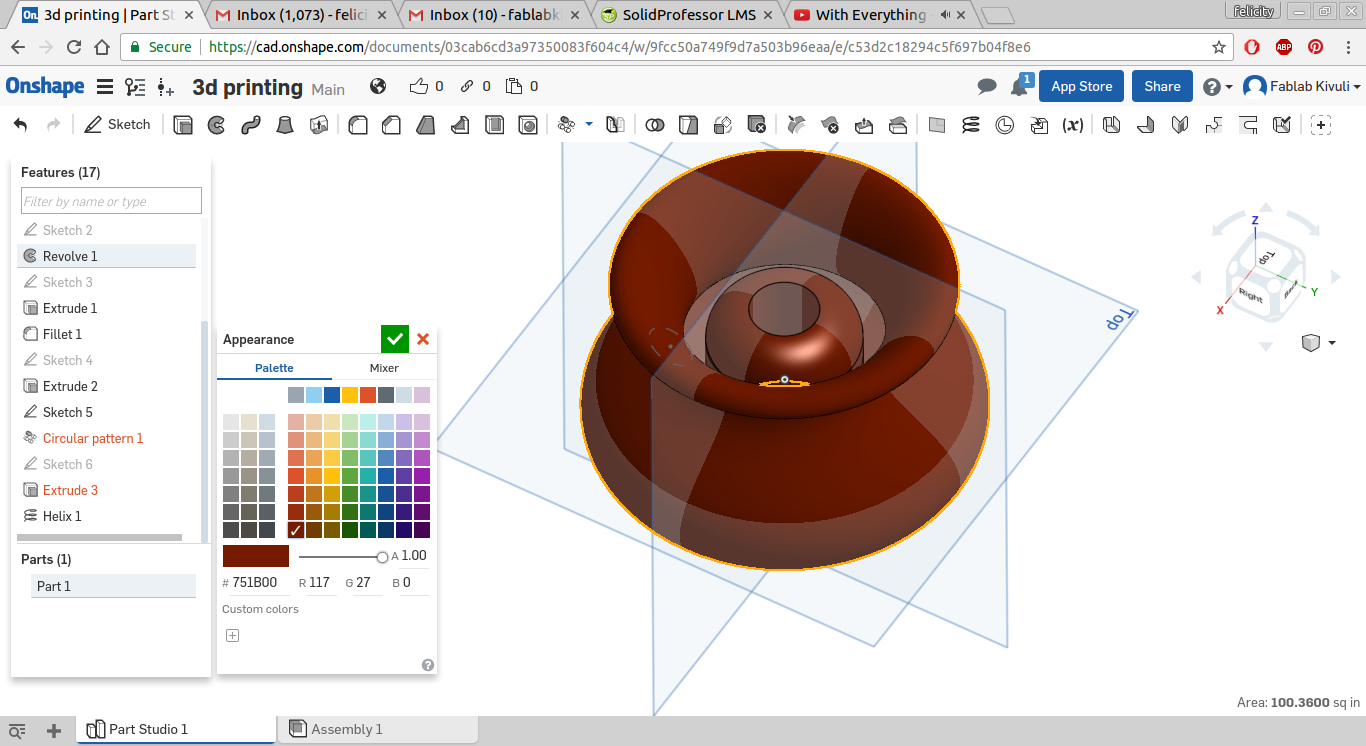
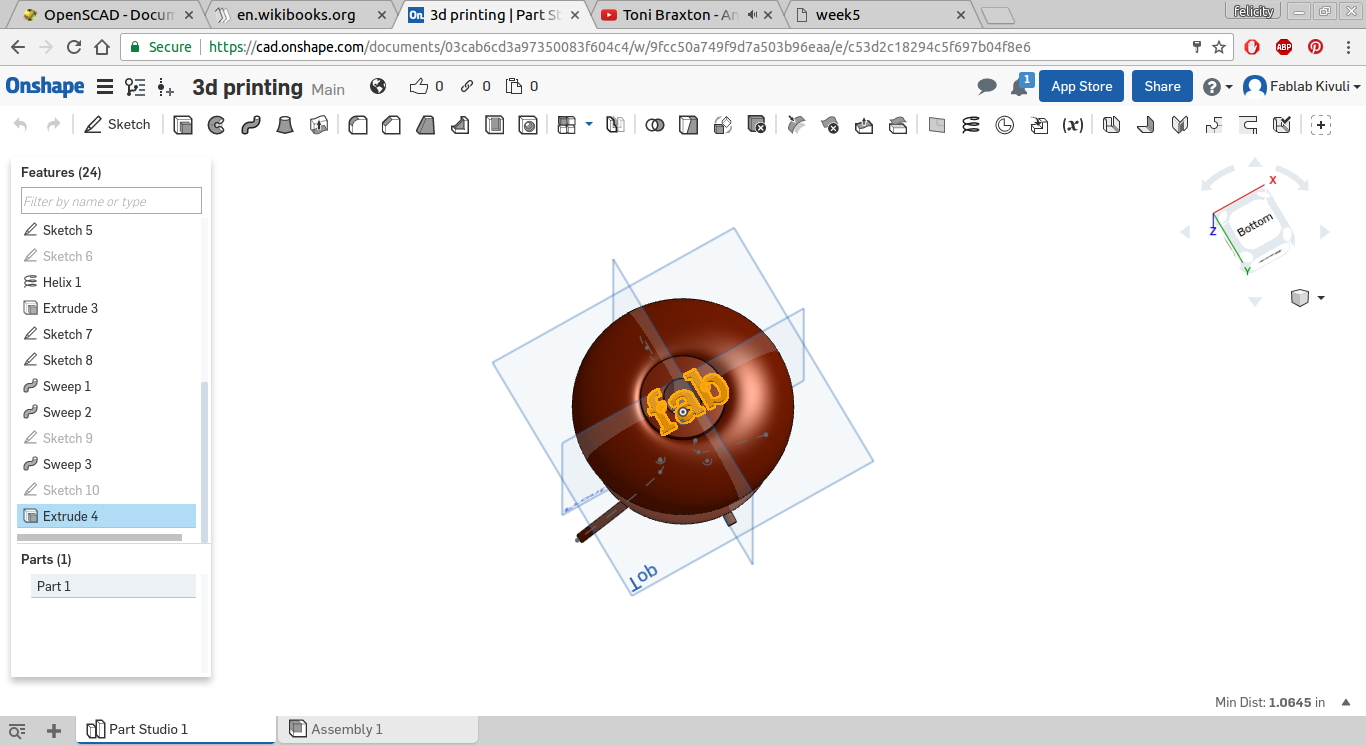
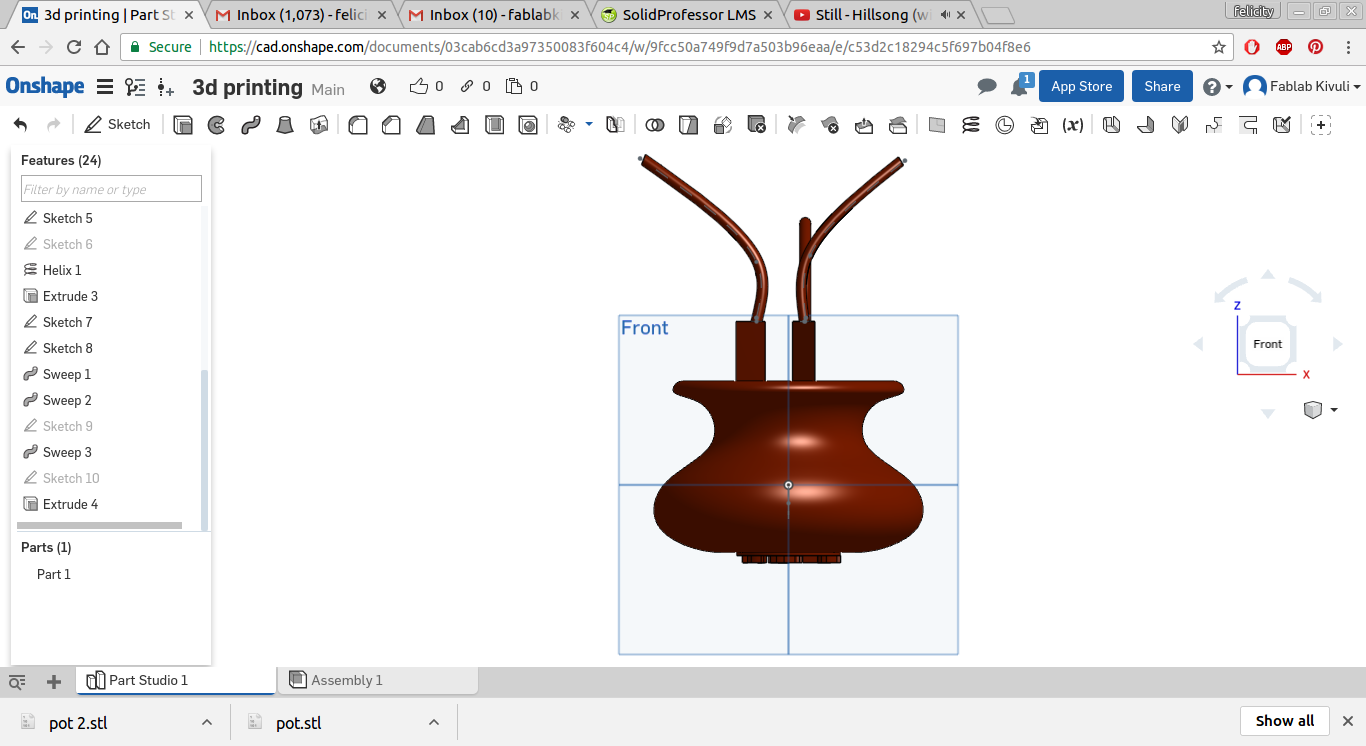
My software of choice was onshape which is a cloud based collaborative software that i find easy and convenient to use. I modelled a pot. you can find the model here
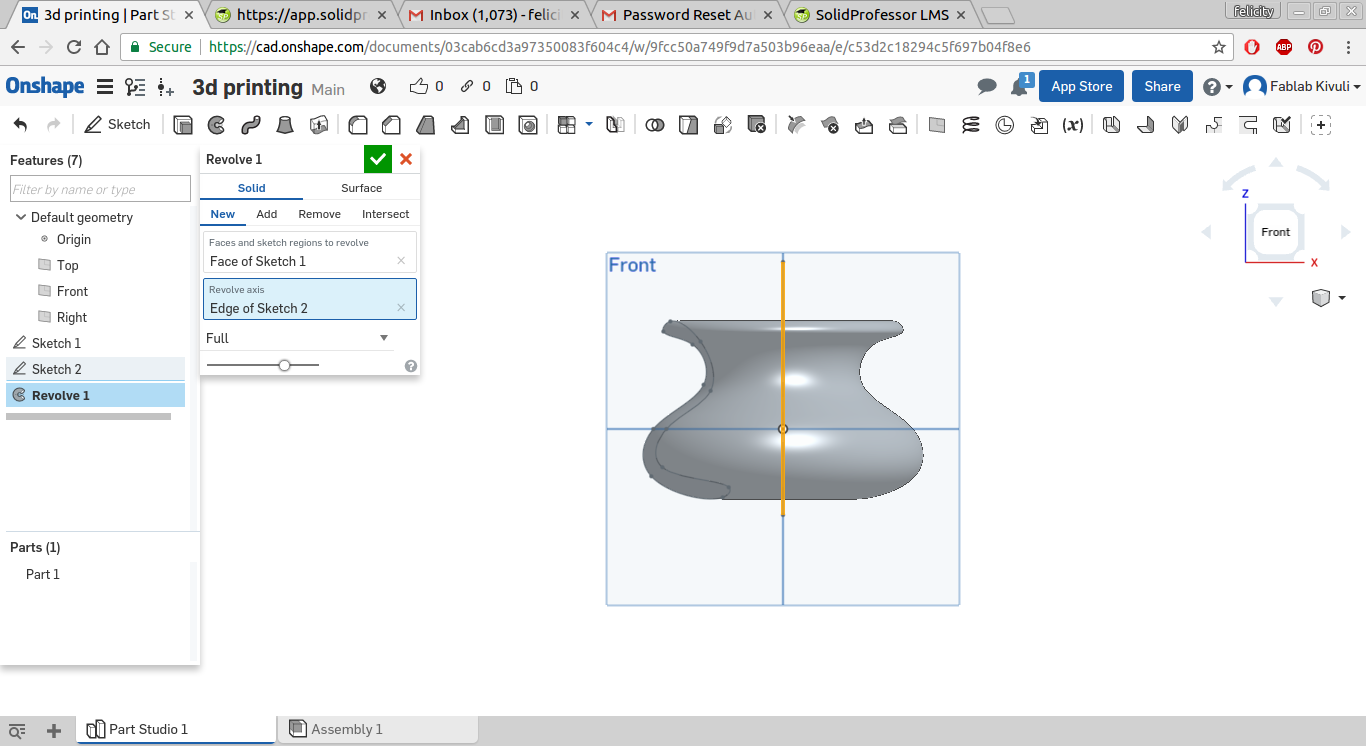
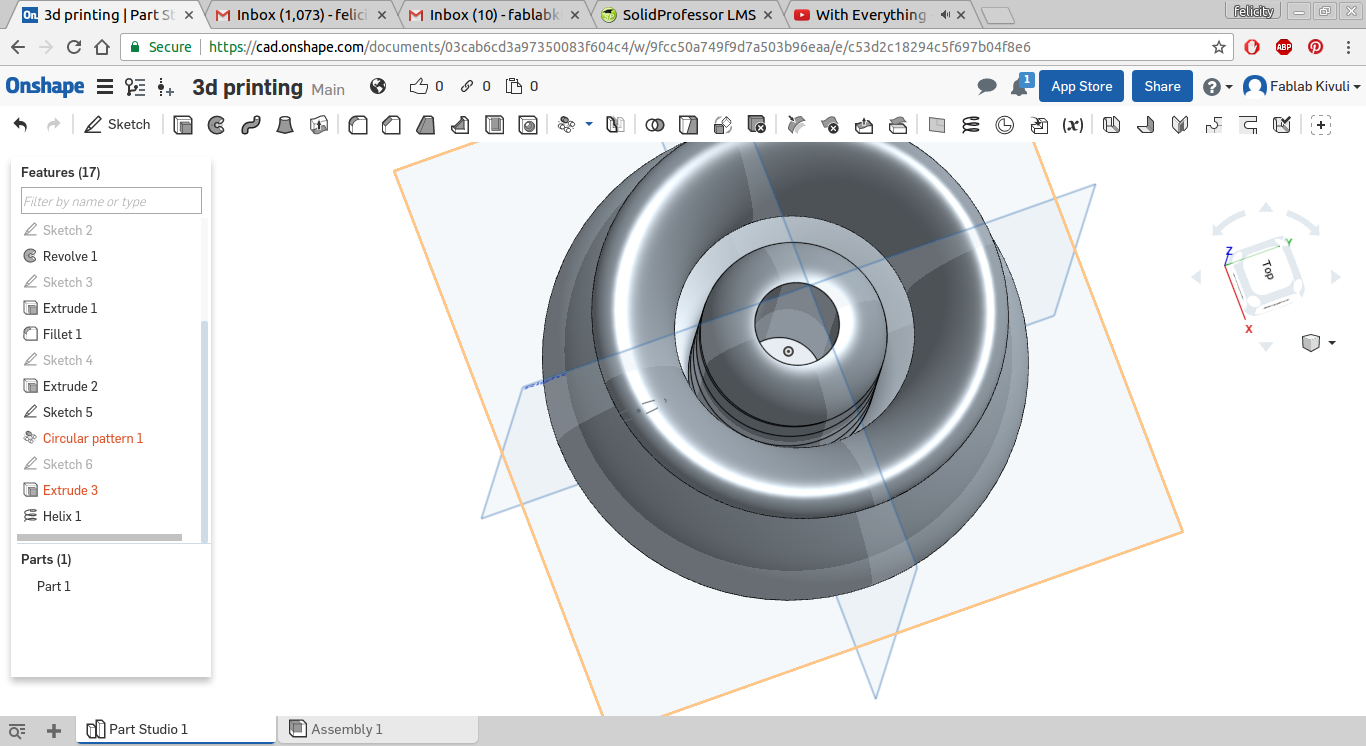
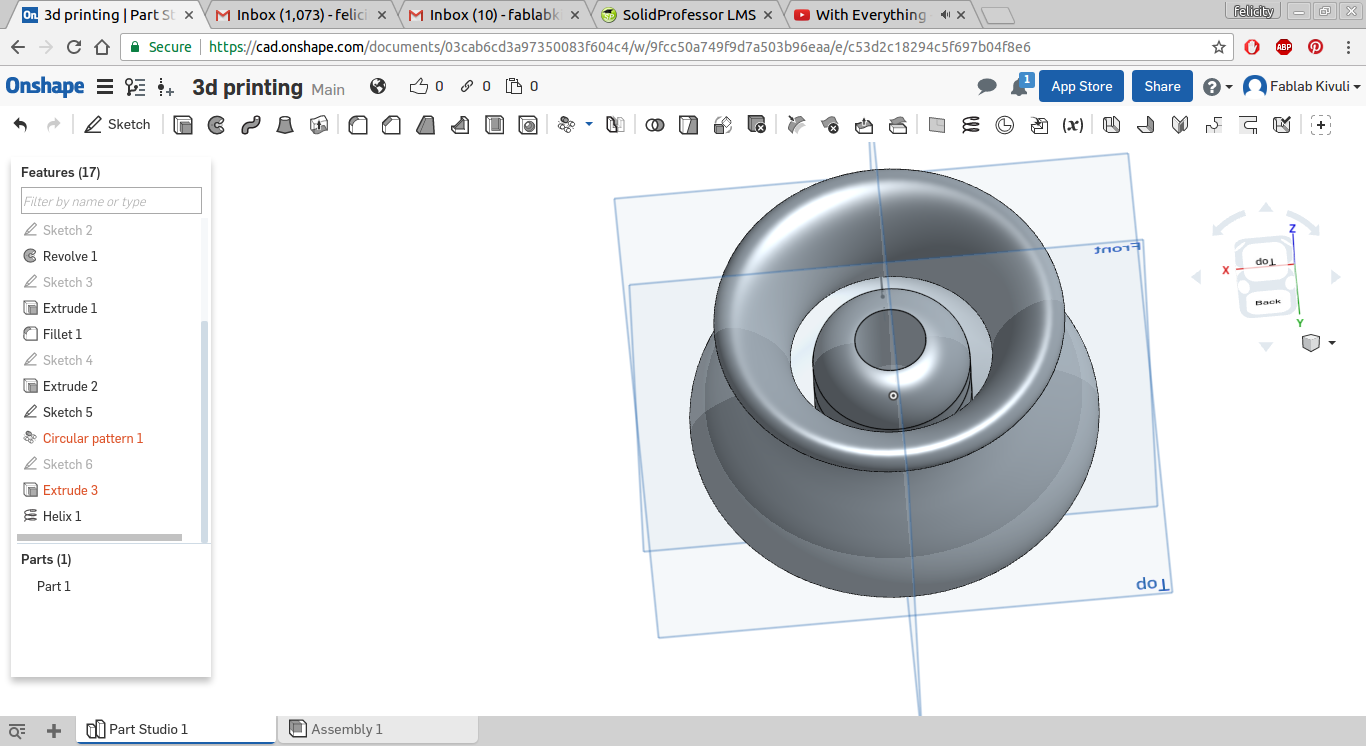
I decided to play around with sweep functions to increase the complexity of the model. I even rendered the color and the material of the model and even added text. The model is hollow on the inside and has protrusions coming out of it hence making it impossible to do it subtractively. I then exported the stl file
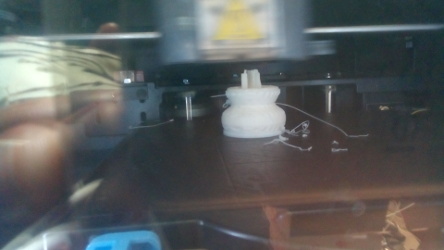
The printer used for printing the model is called uprint SE plus.
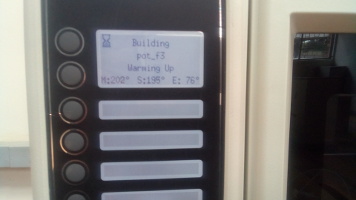
The software that interfaces with the printer is called dmension. it works similar to other 3d printing softwares. here you can scale up or down the size of your model and get a time astimate of how long the printing process will take
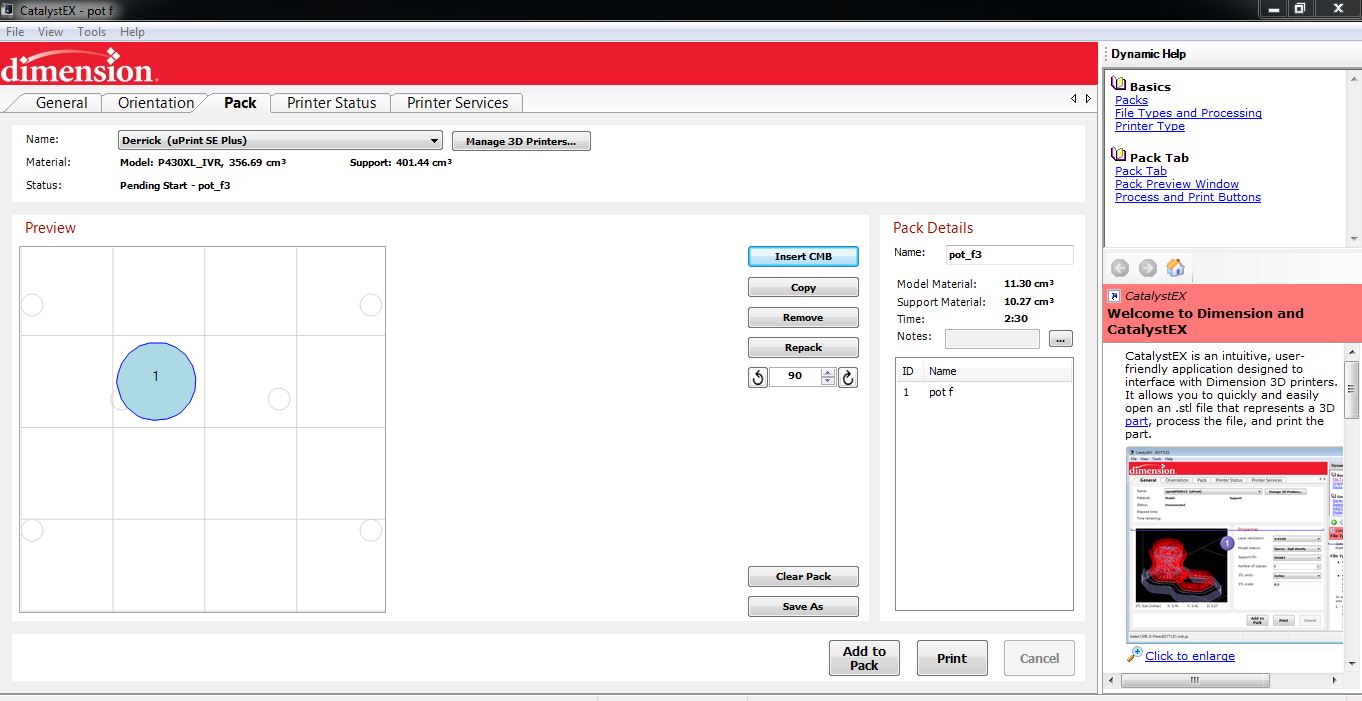
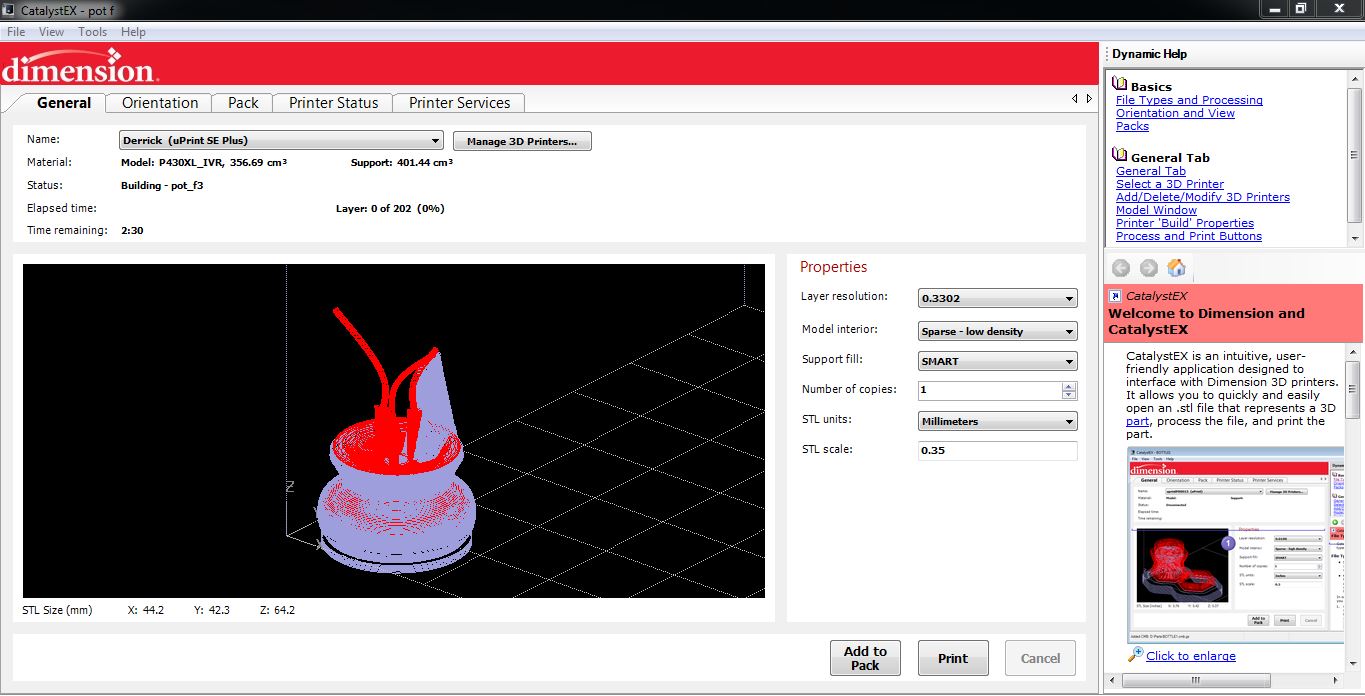
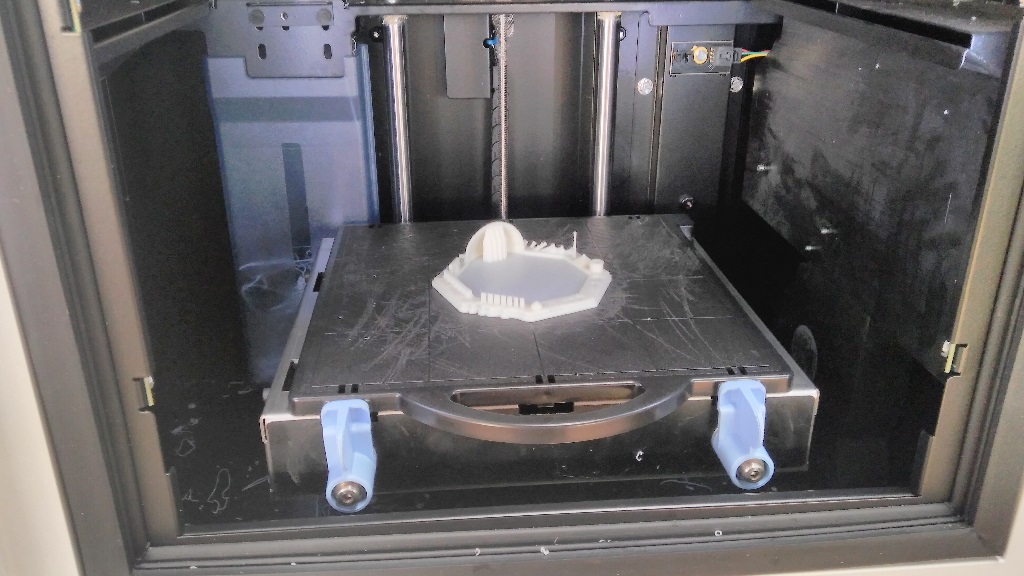
After scaling down the model to a size small enough to take a considerable amount of time (about 2 hrs) it was time to fire up the printer. The material used is ABS heated to 240 degrees.s
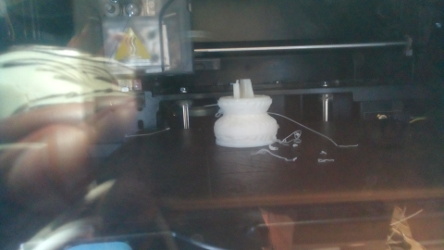
OUTCOME
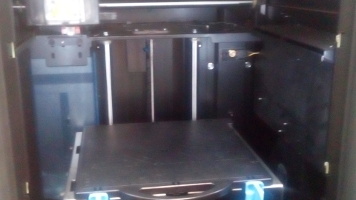
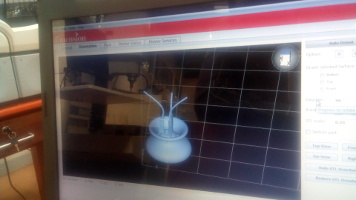
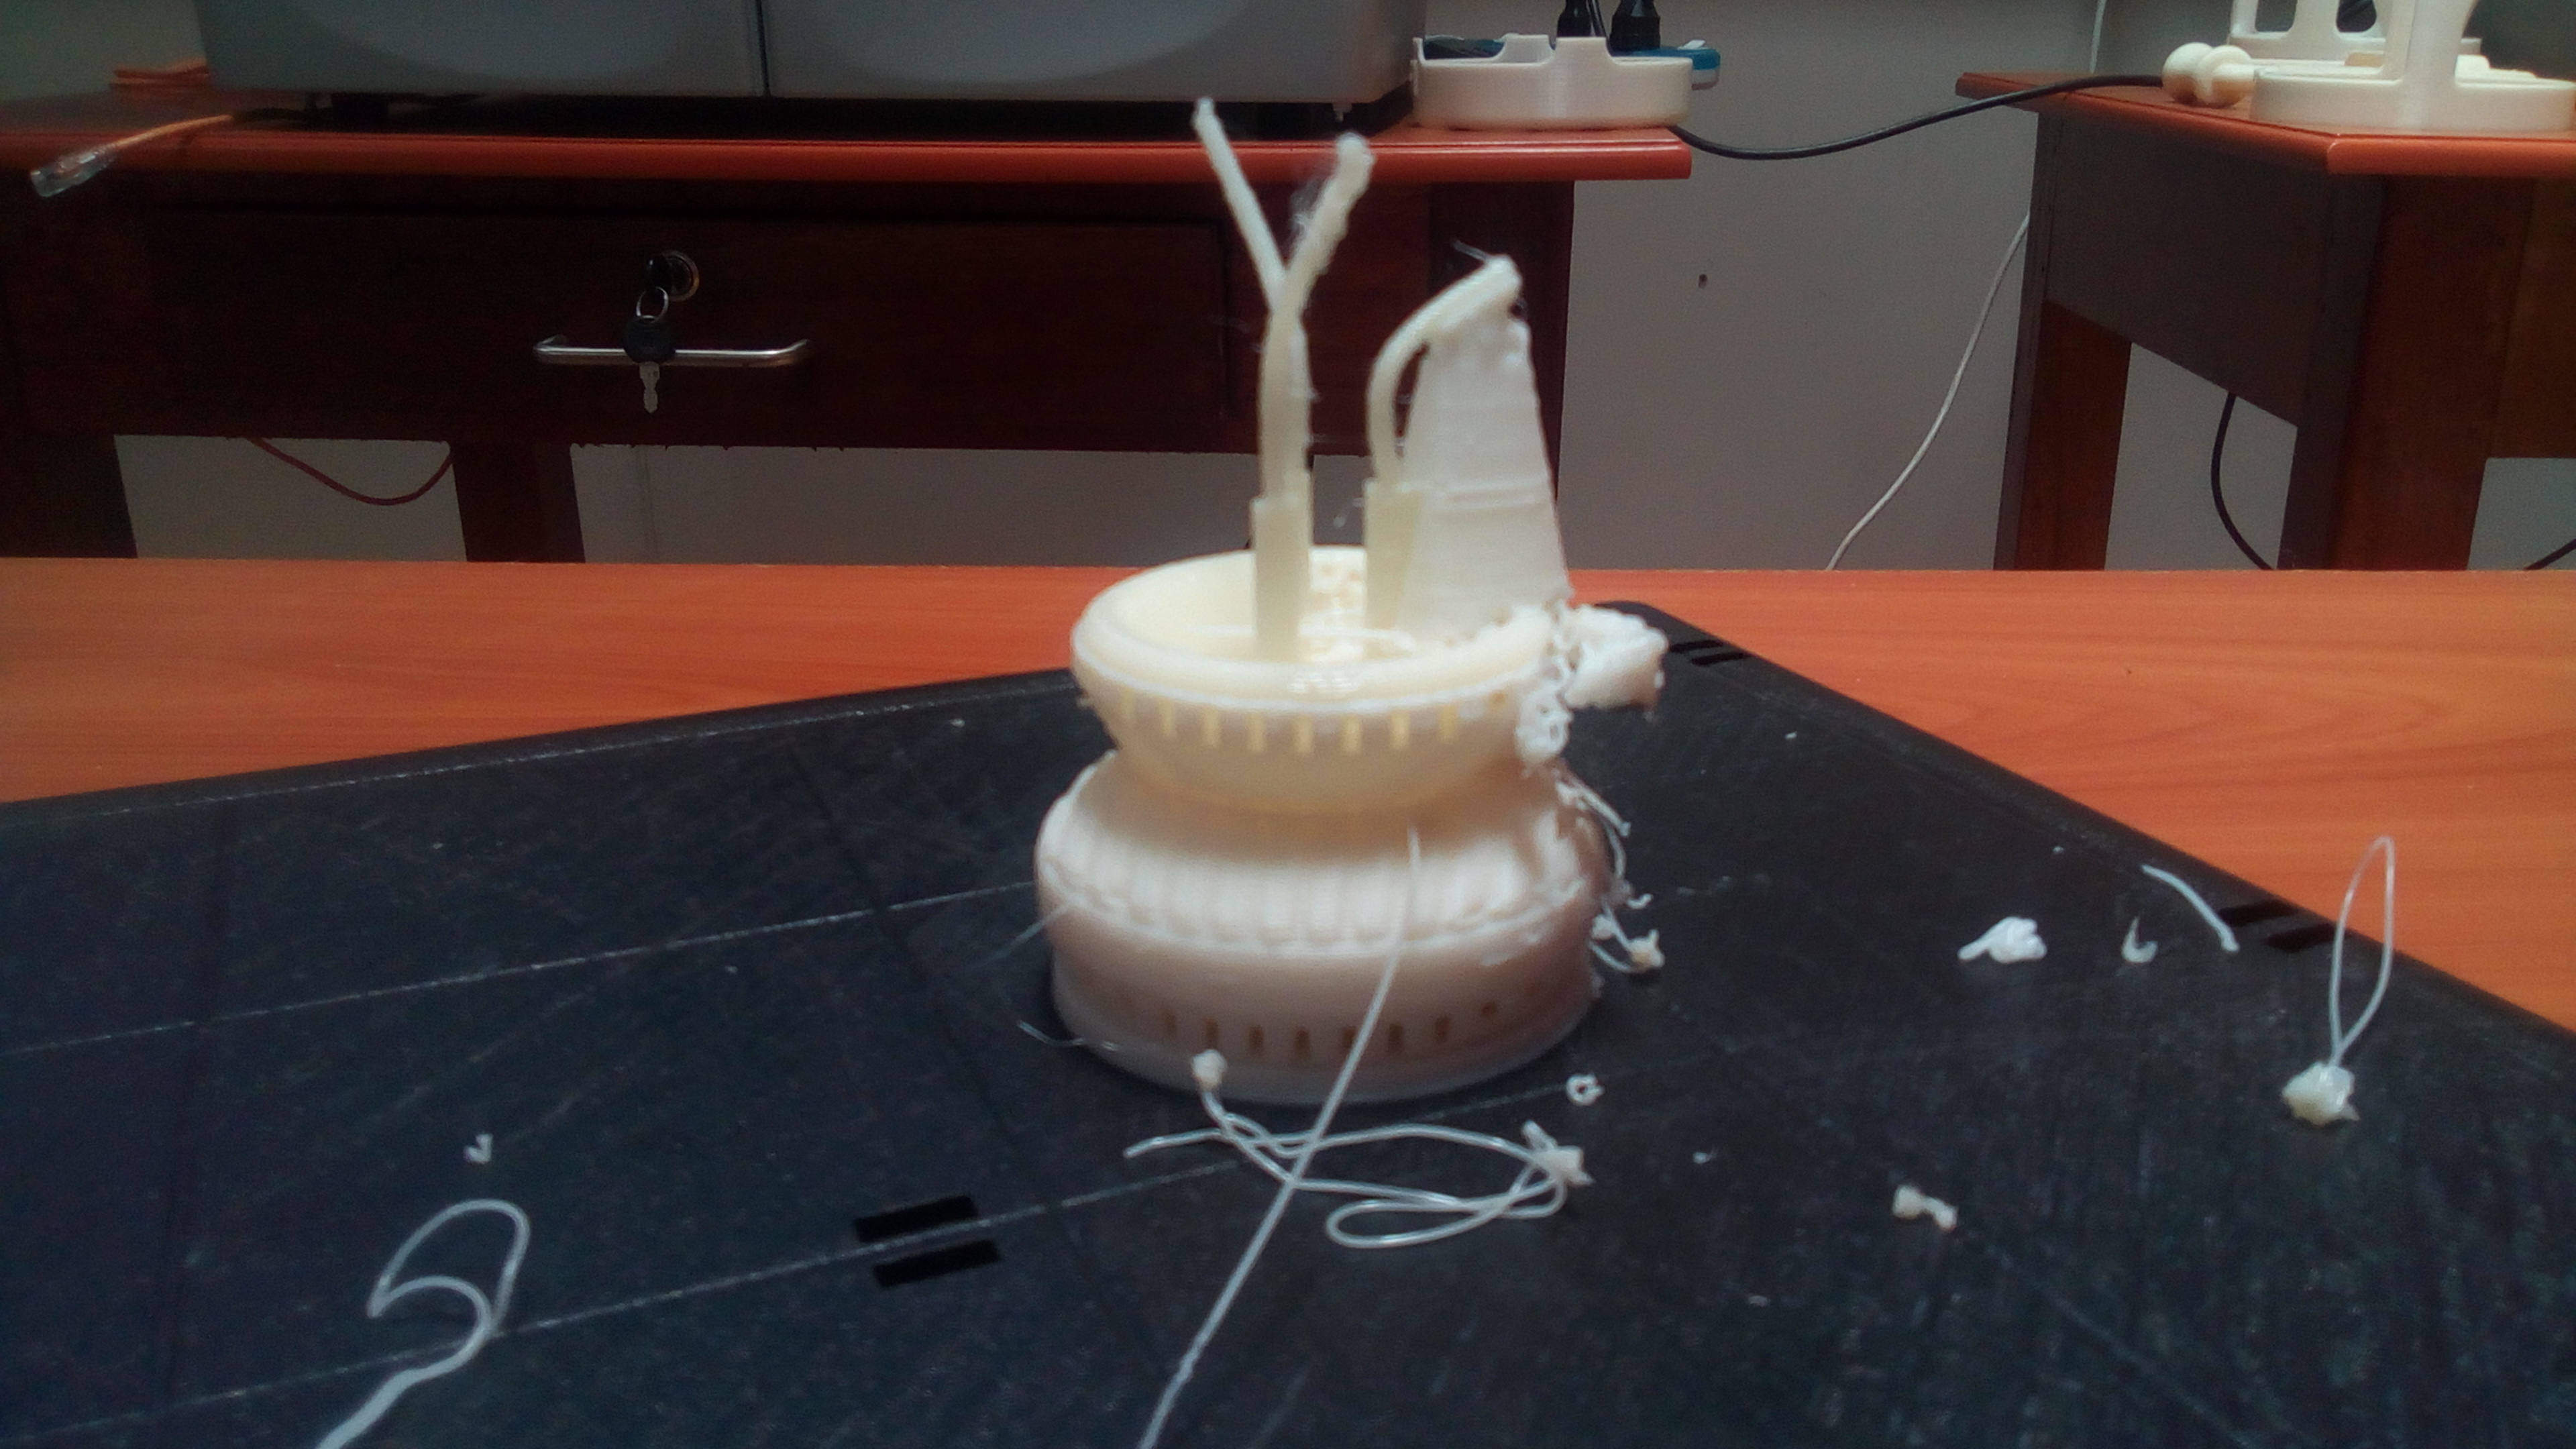
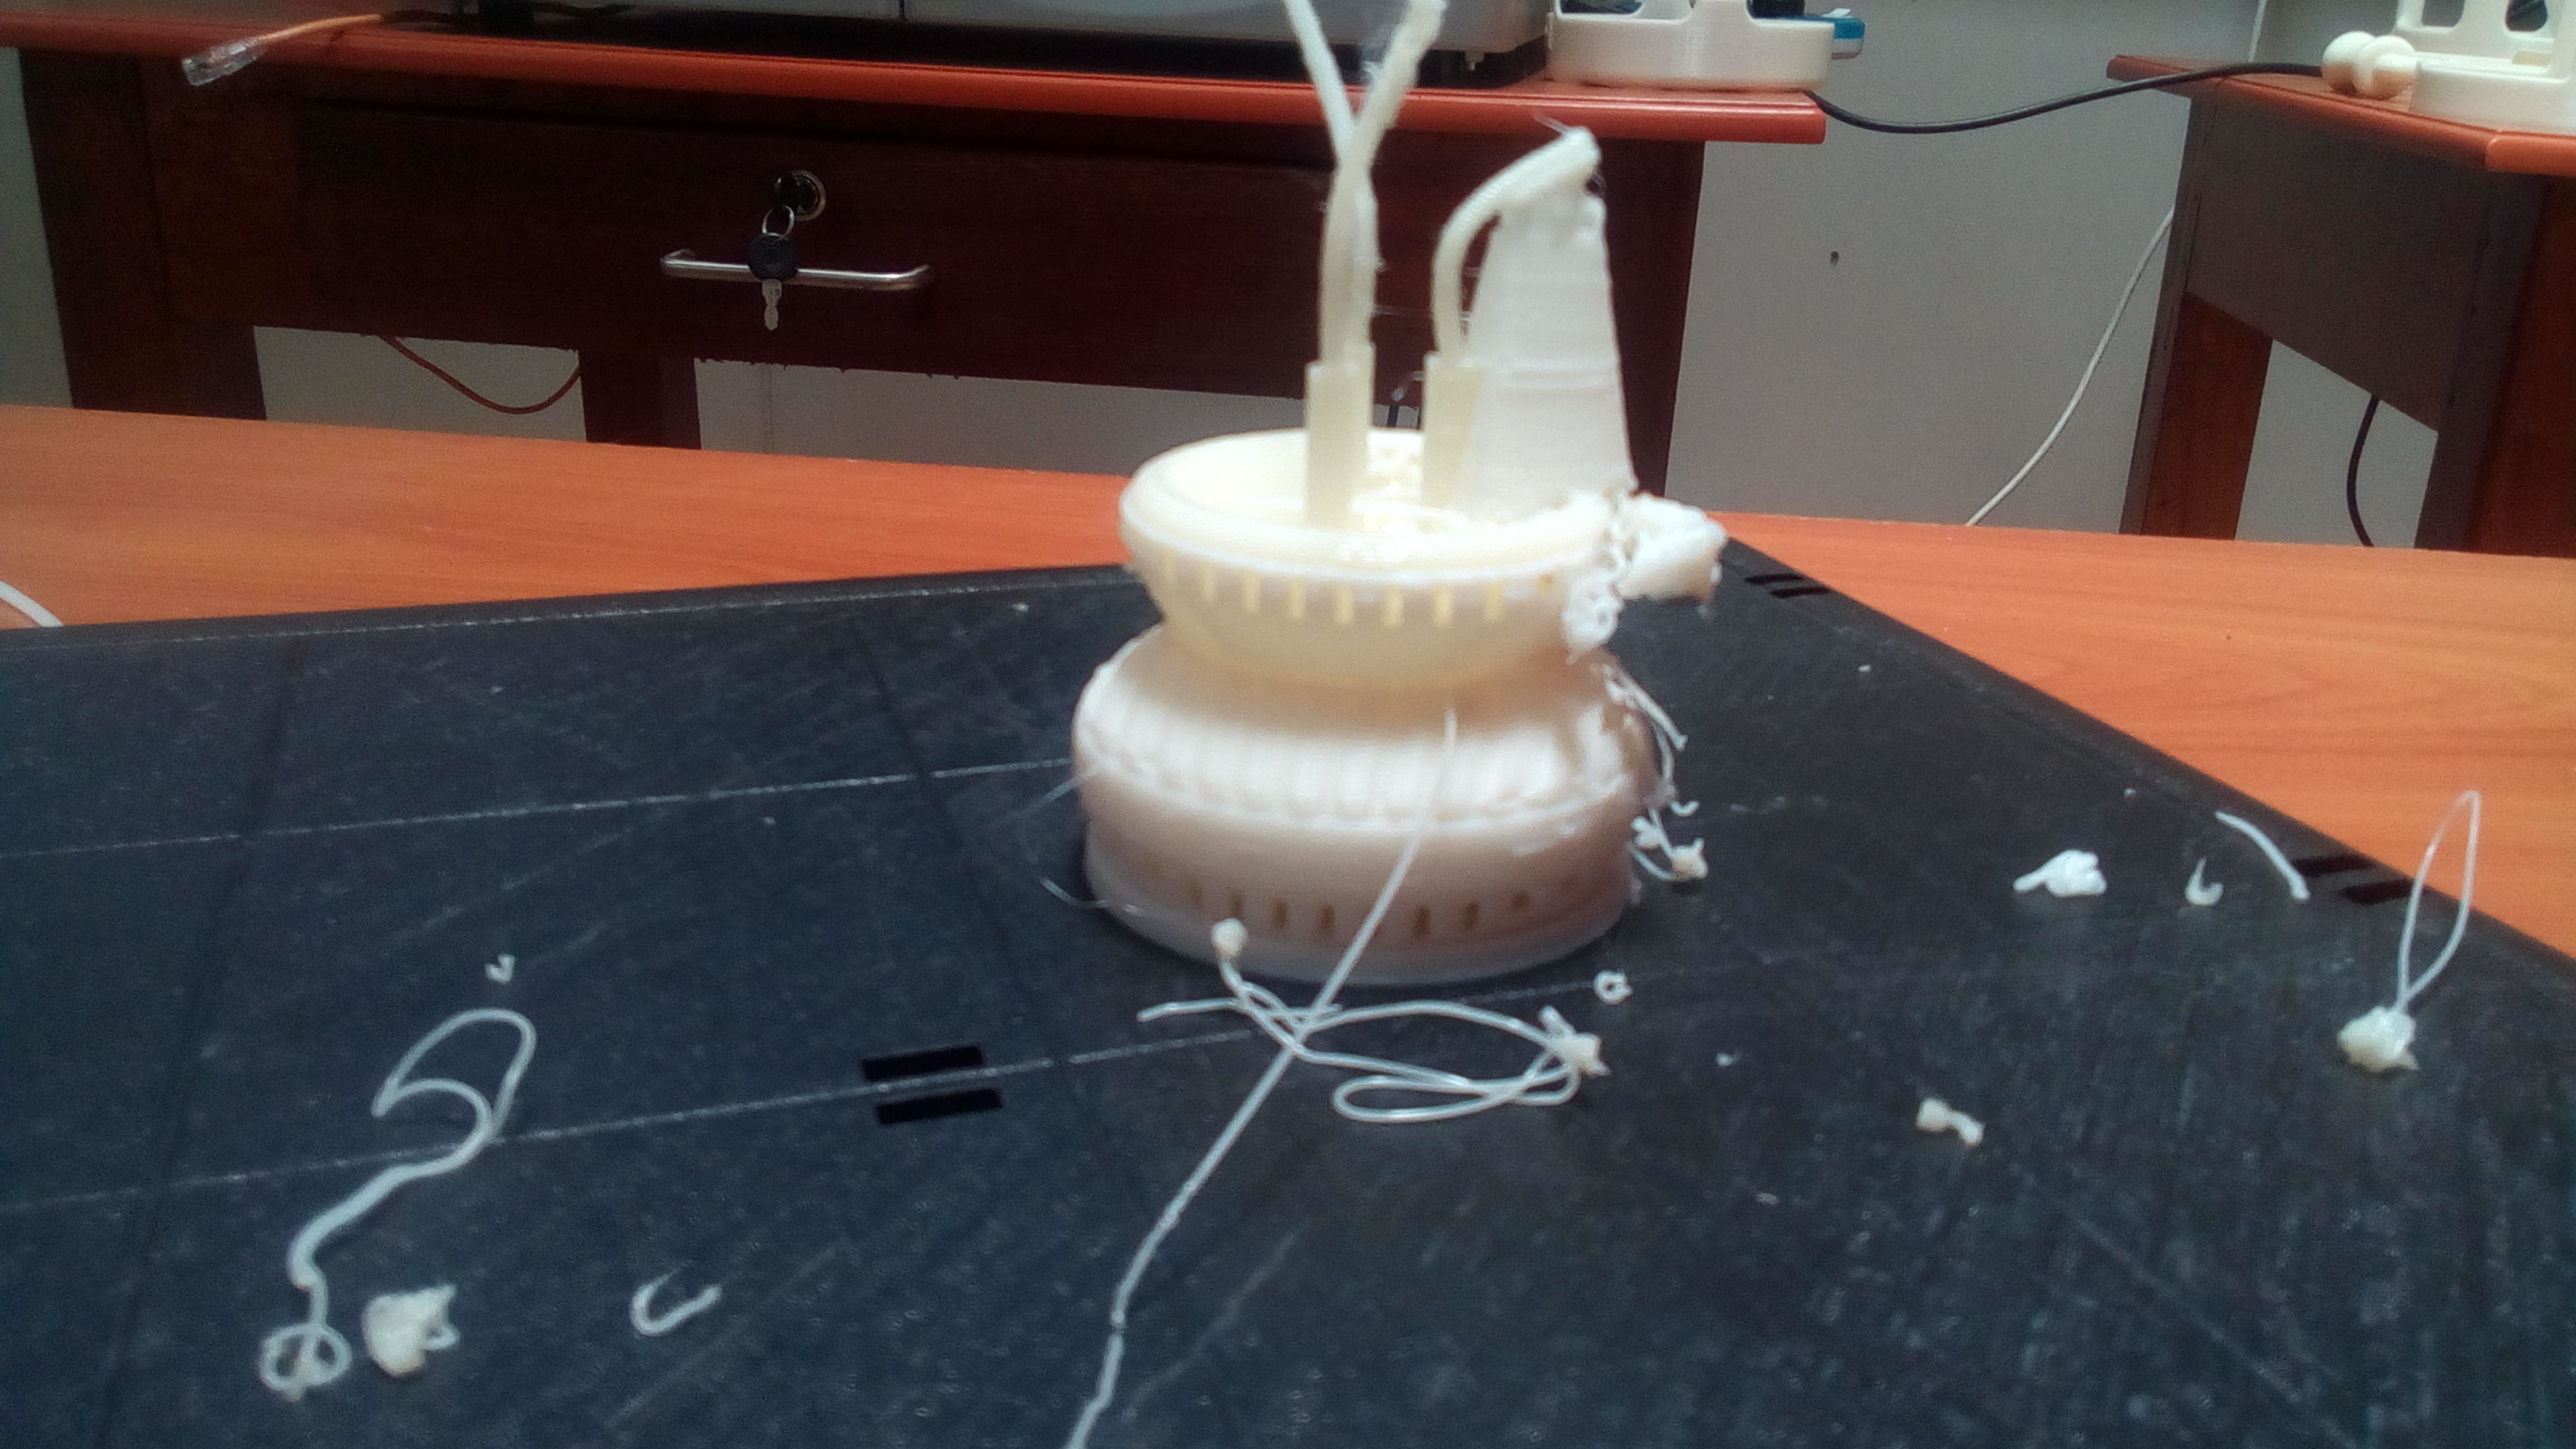
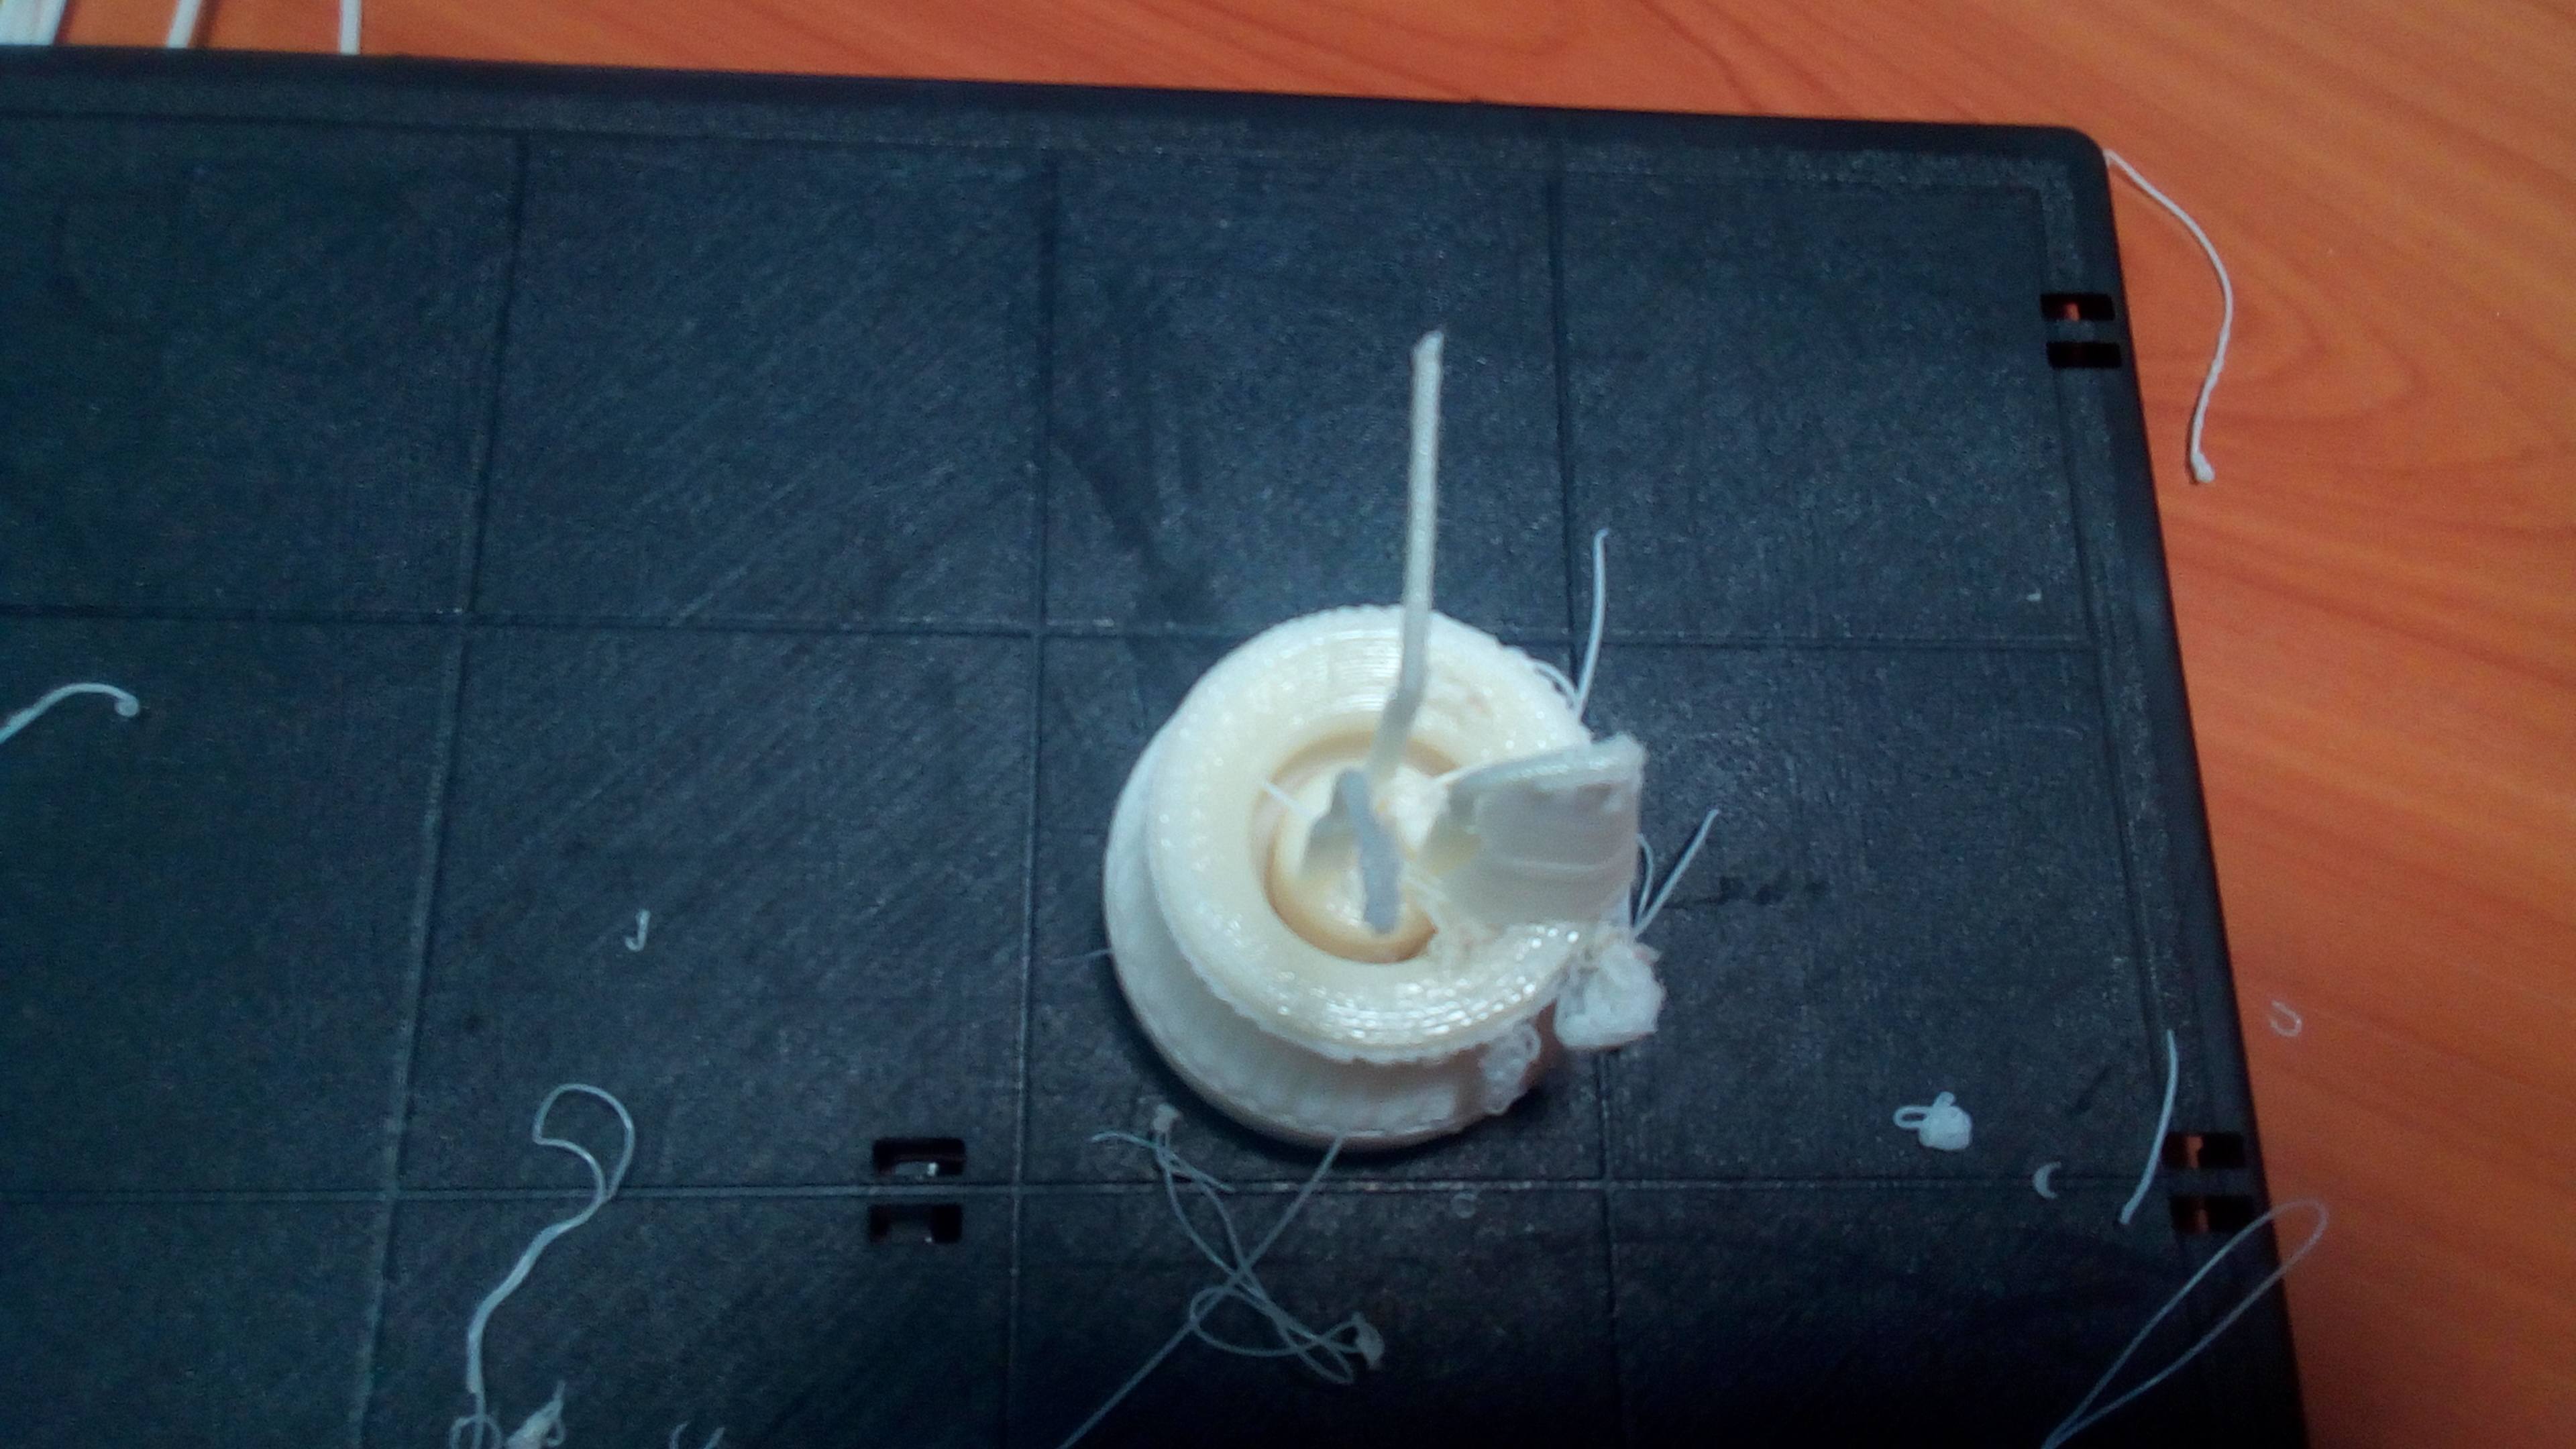
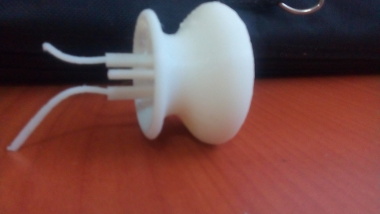
These are pictures of the model when in the process of printing
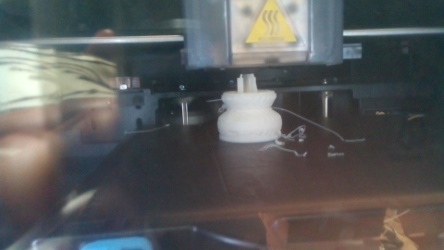
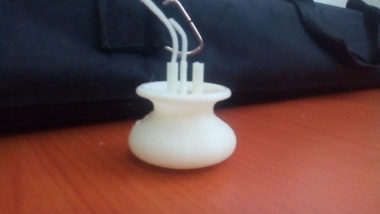
This is the complete model with supports and all
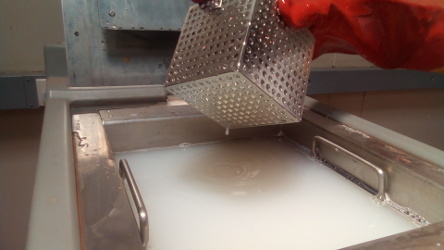
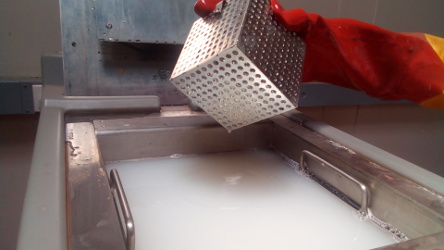
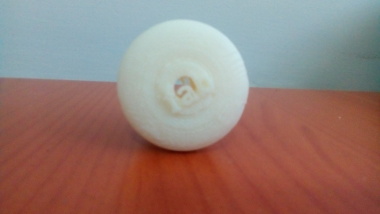
The printed part needs to be immersed in a solution of sodium hydroxide and water heated to about 70 degrees celcius to remove the support material
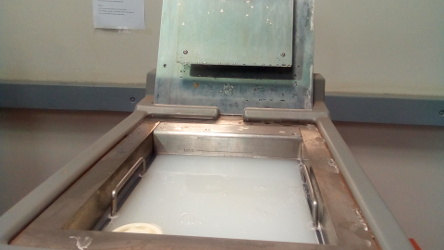

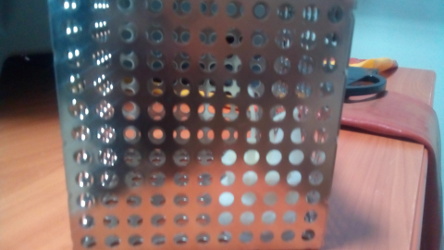
In order to totally submerge the model a metal cage is needed so we placed the models inside and dunked them in the liquid (Do not forget to put on safetyware)