Introduction
This week was a pretty challenging week mainly because i have very little experience with composites. However it is always exciting to learn something new. This week we are required to ;
- read the material safety data sheet (MSDS) and technical data sheet (TDS) for the resins that you're using
- design and fabricate a 3D mold (~ft2)
- and produce a fiber composite part in it
Material Data sheet
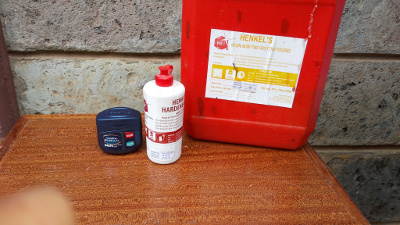
The available material was fiberglass and polyester resin. shown below
resin
As stated in the material safety data sheet,some of the risks involved in handling polyester resin include:
- Flammable liquid and vapour.
- Causes skin irritation.
- Causes serious eye irritation.
- Harmful if inhaled.
- Suspected of damaging the unborn child.
- Causes damage to organs through prolonged or repeated exposure.
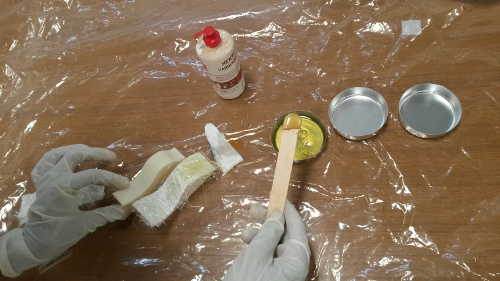
This meant covering our mouths and noses as we handled the resin and also wearing protective gloves. unfortunately this limited the ability to take pictures of the progress
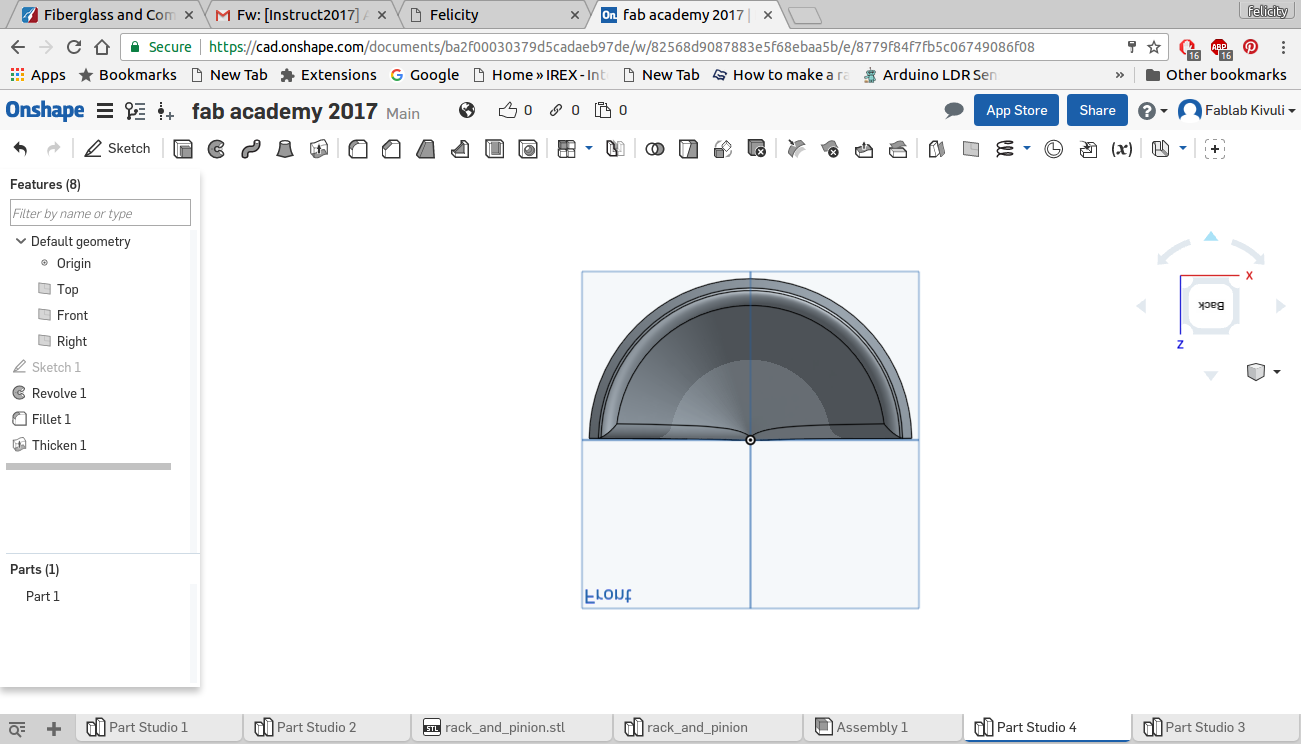
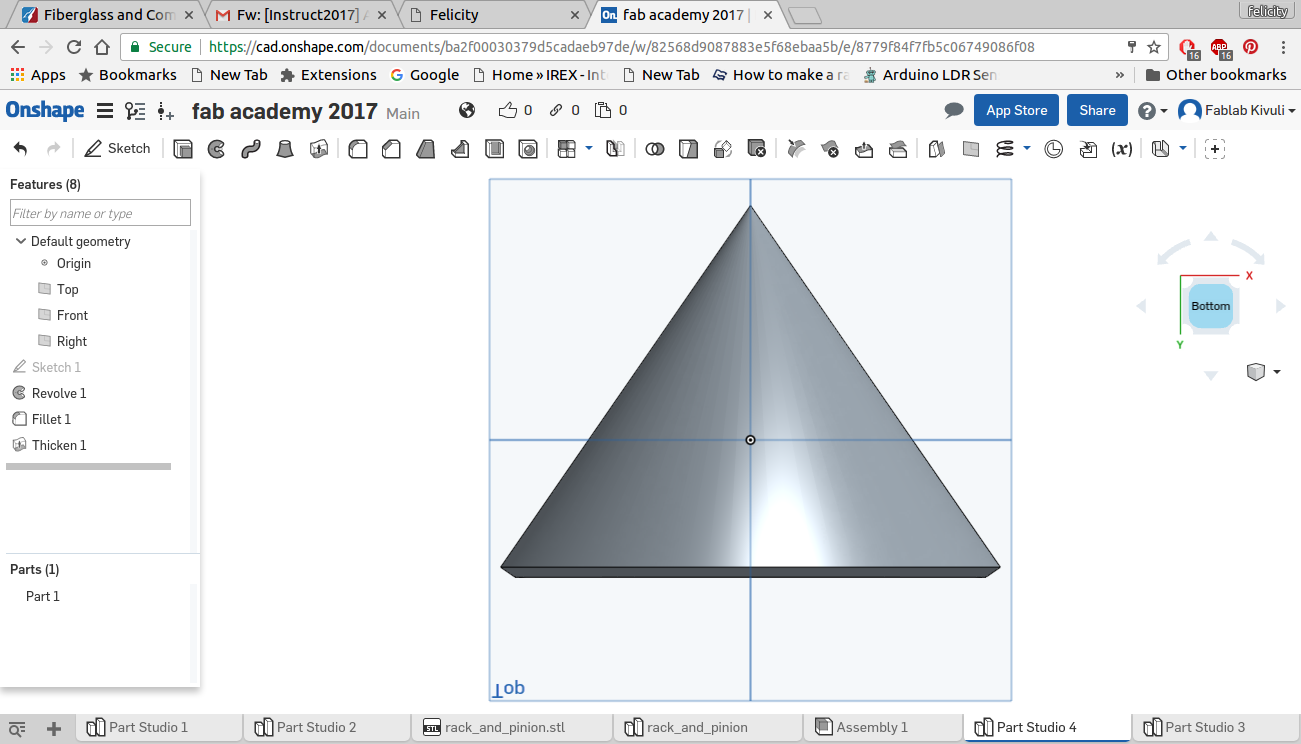
The mould
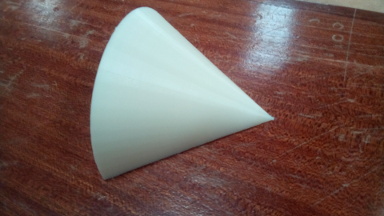
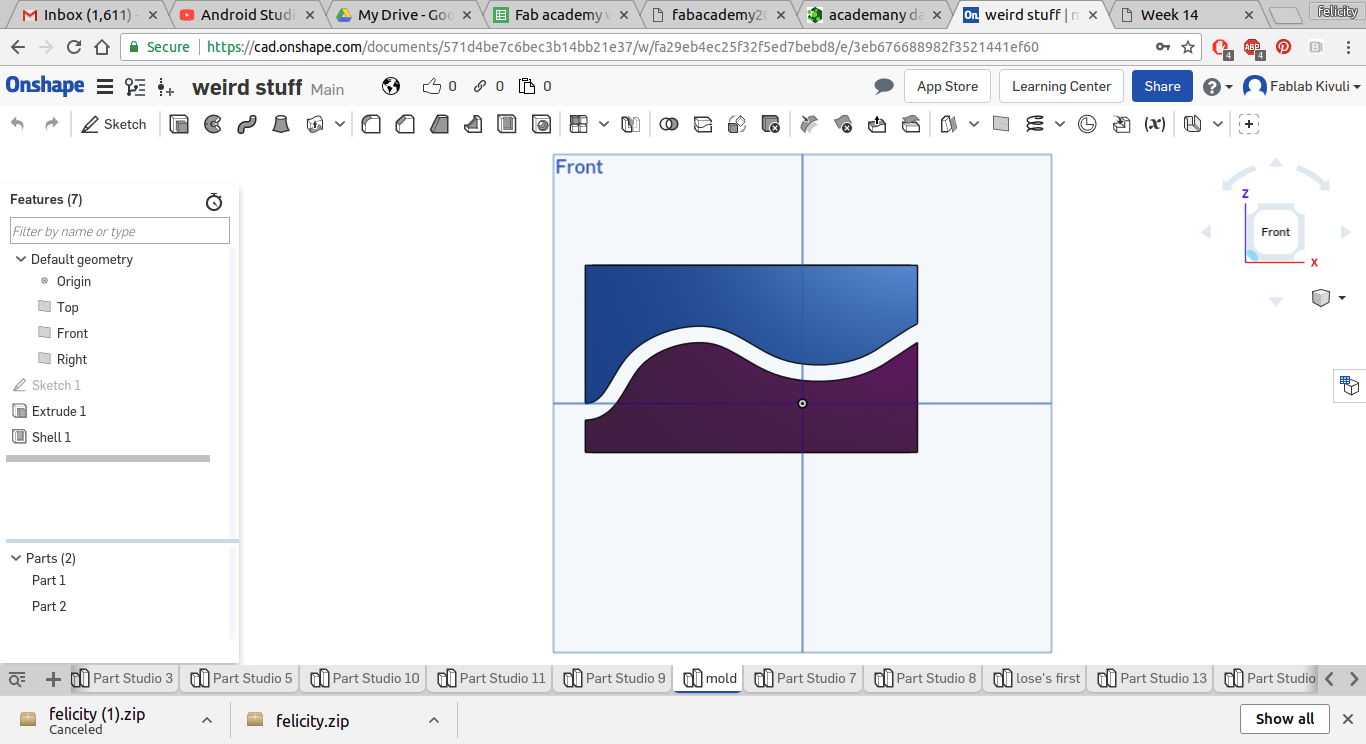
I chose to design the mould in my favourite software, Onshape. I made a design of a conical shape since i prefer to work with curves when it comes to moulds.
Download
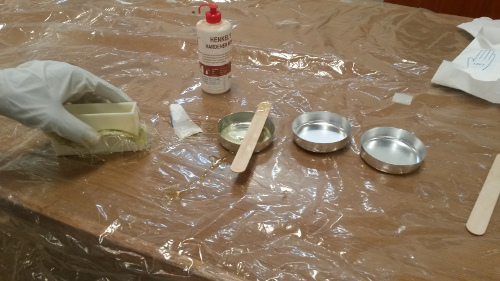
Making the composite
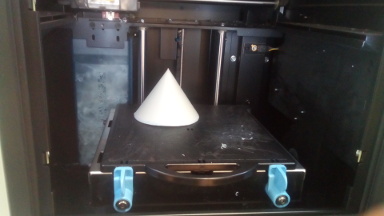
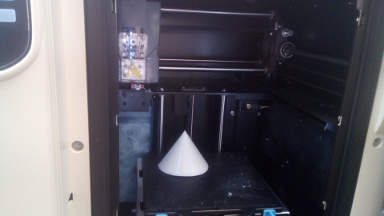
To make the part i first printed it out on a 3D printer.
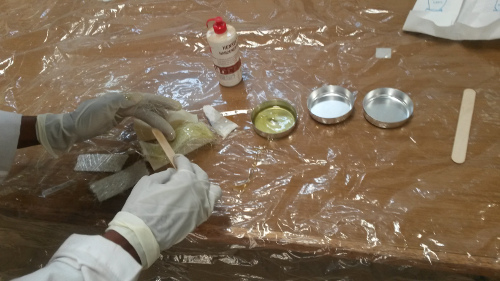
I then smothered it in release agent which was in this case vaseline. I then began to layer pieces of the fiber glass mat and applying a mixture of the polyester resin and hardener. The process was very sticky and messy at first but i got used to it. the fibers were however quite rough around the edges.
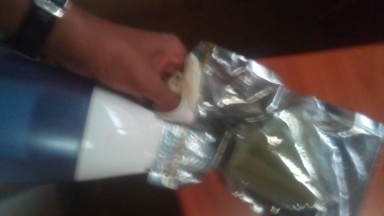
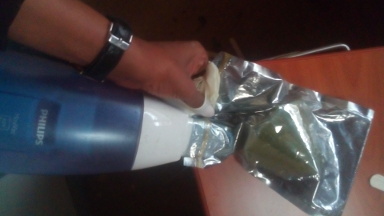
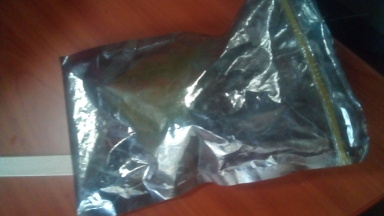
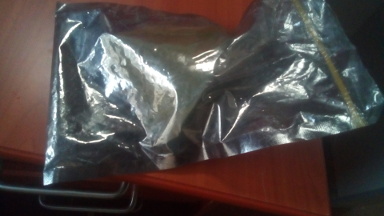
In order for the outcome to be compact i needed to apply pressure on the object. I chose to make use of atmospheric pressure. I placed the object in a zipl0ck bag that is air tight and sucktioned the air out using a handheld vacuum.
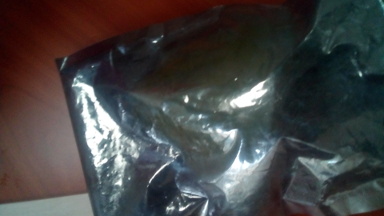
having removed air from the bag i sealed it using the zip and let the object stay inside
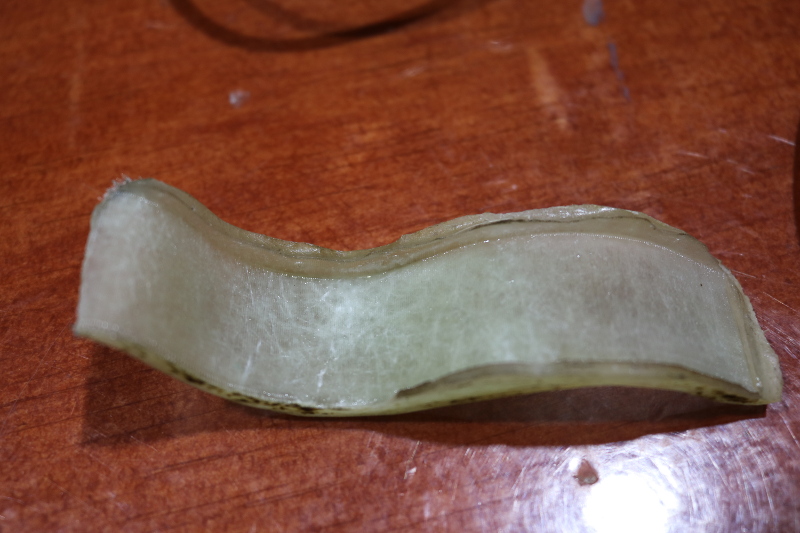
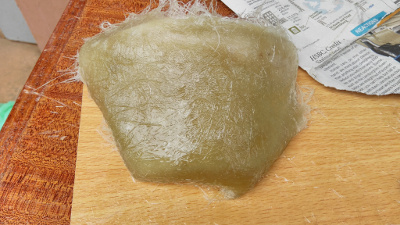
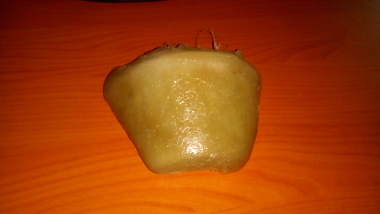
outcome
24 hours later this is what i had
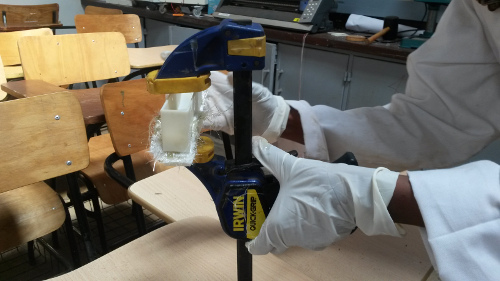
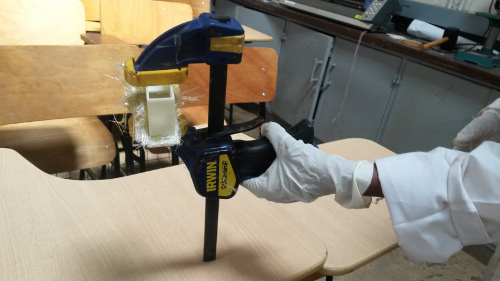
Compaction
Since the improvised vacuum bag i used in the above experiment did not work as desired, i tried a different method by using clamps and sandwiching the fiberglass between two 3D printed pieces.
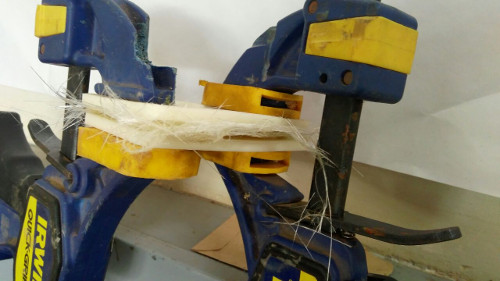
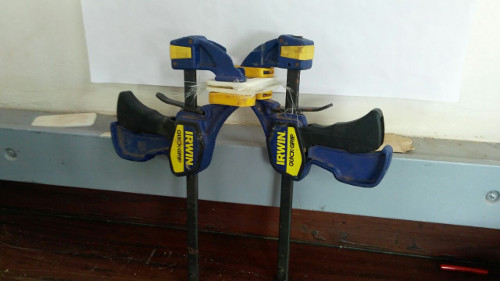
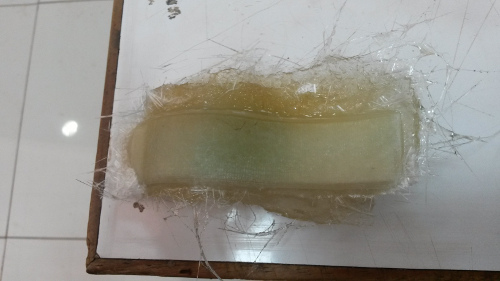
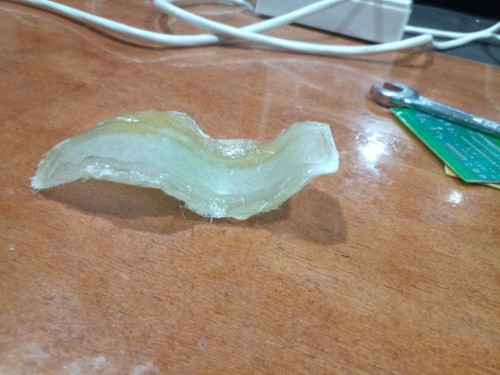
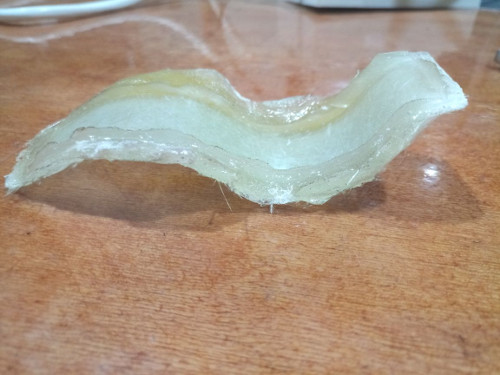
After leaving it for 24 hours i checked and these were the results
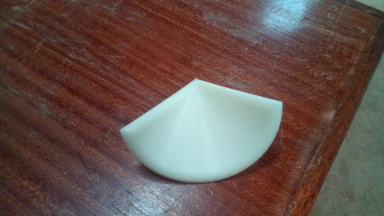
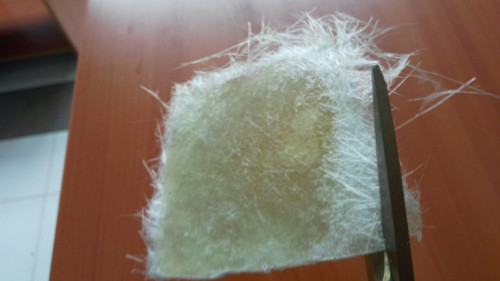
since the edges were abit rough i cut them up with scissors
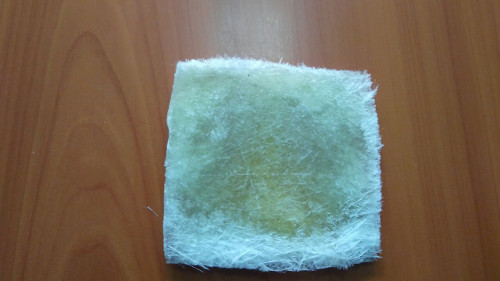
The outcome was as shown below
Problems and solutions
The main challenge was managing the stickyness of the fiber once it mixes with the resin and hardener. Tis can be managed by applying some release agent (vaseline) on your rubber gloves before handling the mixture
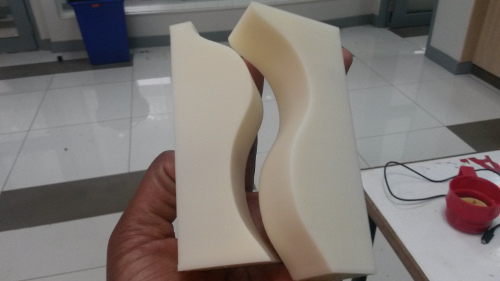
2 Part Mold
Since the last experiment did not come out too well i decided to do a two part mold as shown below
I then printed it out on a 3D printer
I then began mixing the resin and hardener
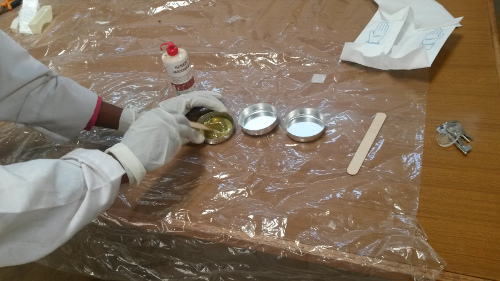
And then i applied a release agent on the mold to avoid sticking
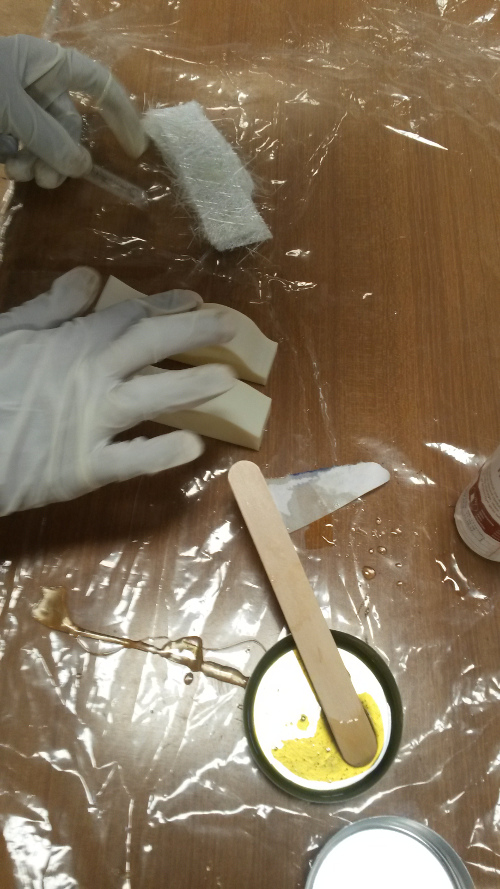
I then began the layering process with a layer of fiberglass accompanied with the resin-hardener mixture.
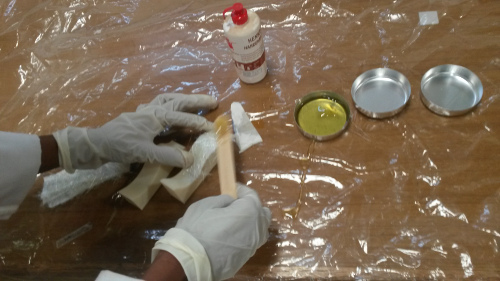
I then put the two parts of the mold together as shown beolow
I then put the mold in a clamp and clamped it tightly as shown below
After a few hours i began the unclamping process. The removal was a bit hard since the object had stuck quite firmly.
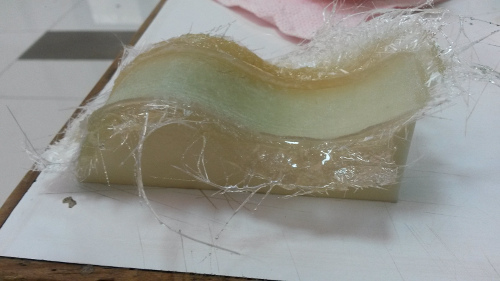
I finally managed to free up the object
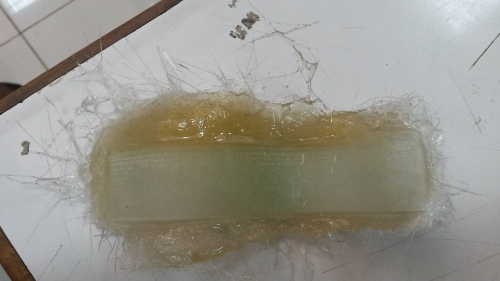
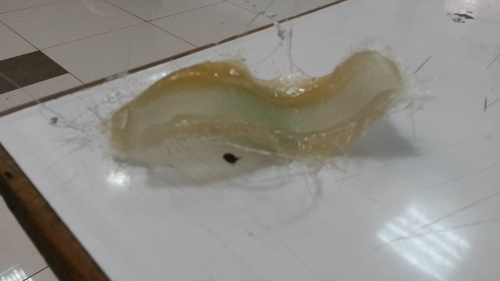
The next objective was to trim the edjes. I ws not able to trim the rough edges entirely though
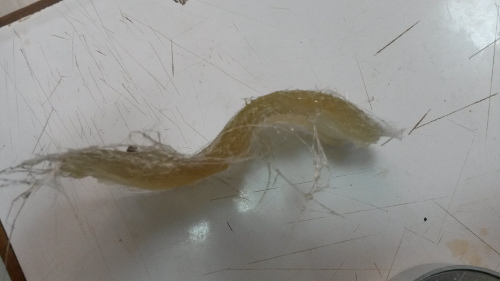
Finally after much trying i was able to get a decent amount of the rough edges off though it wasnt perfect

After much thought i used a grinder to cut off the edges and this was the outcome