Introduction
This week the assignment was to design a 3D mold, machine it, and use it to cast parts.
Items used- Machinable wax
- Roland modela
- Instamold
- Hydrostone
- water
The design
The design i used can be found in the Fab academy archives.

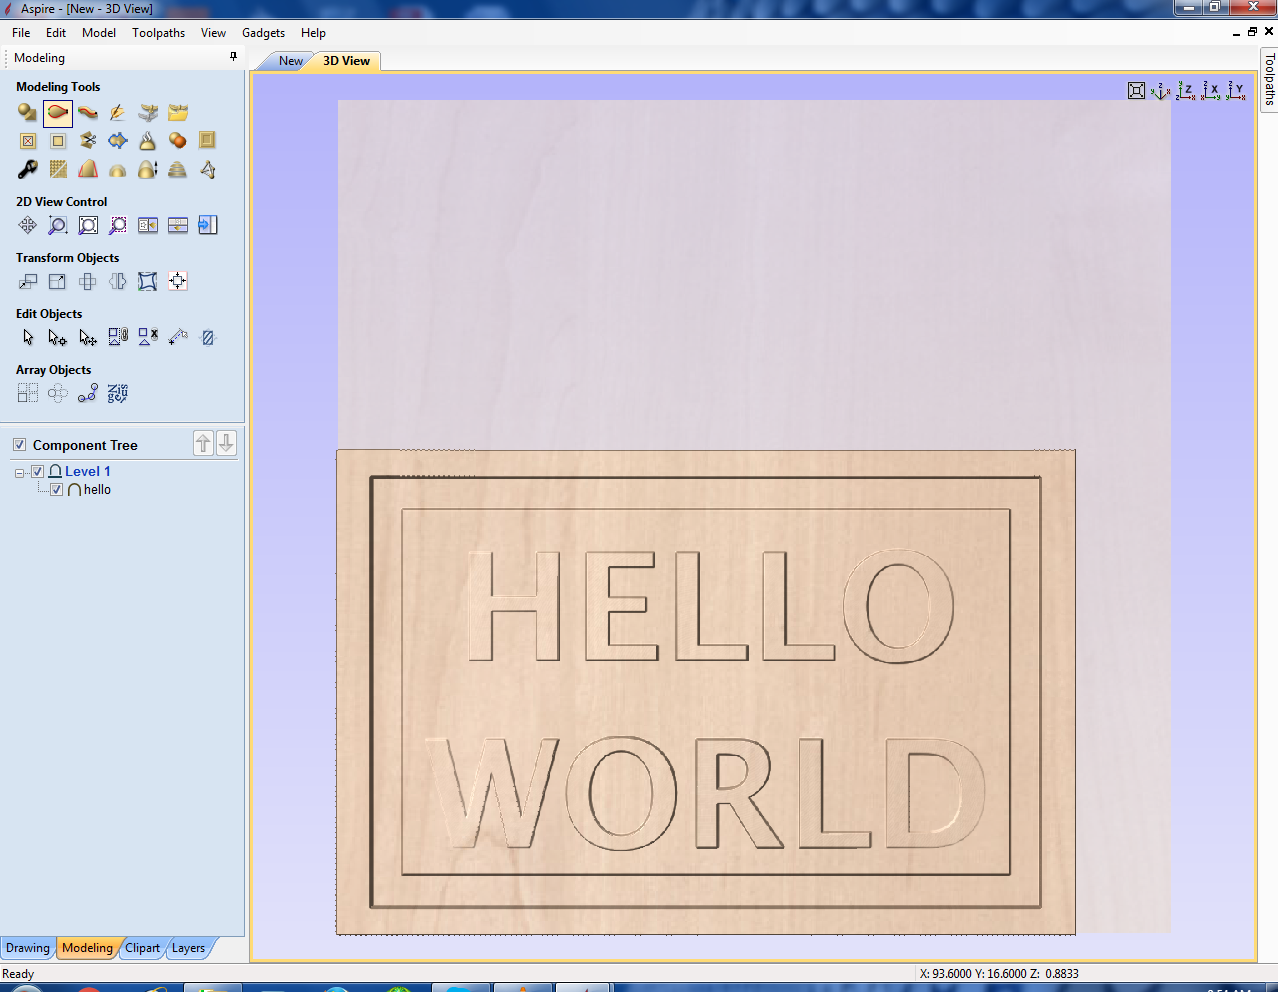
3D Modelling with Vectric Aspire
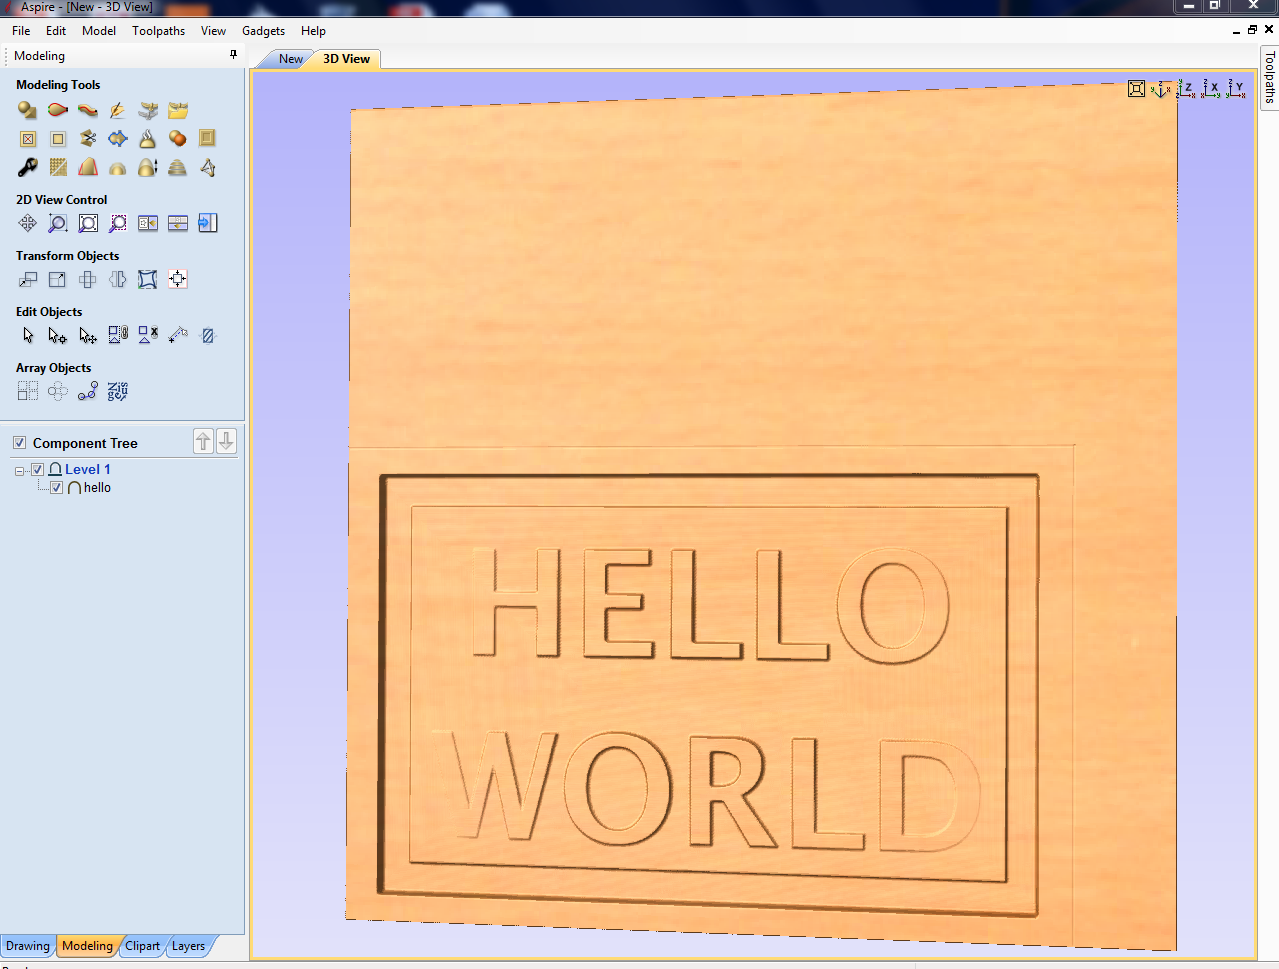
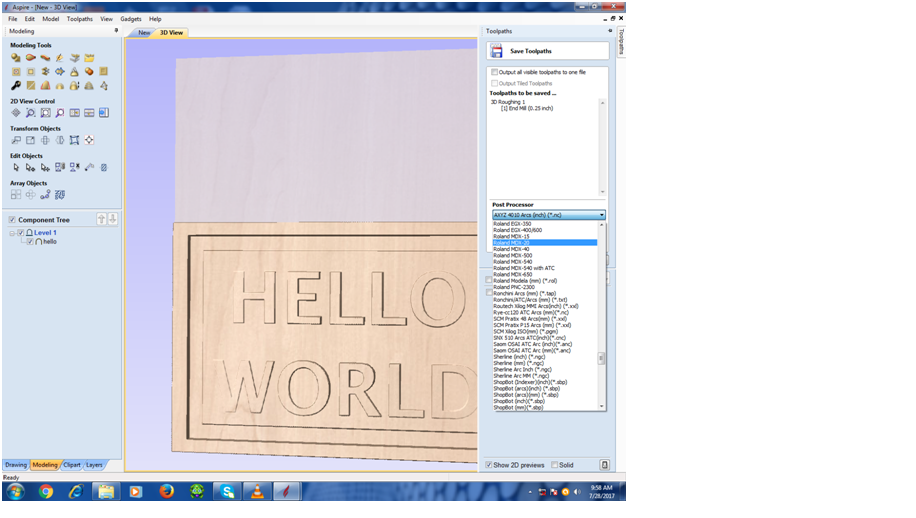
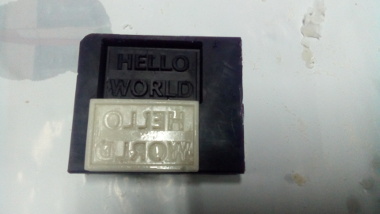
I enjoy modelling with Vectric aspire 8 since it has the capability to take a picture and transform it into a 3D model. I imported the hello world image and using modelling i was able to convert the mage into a 3D model and even alter the height and smoothness.
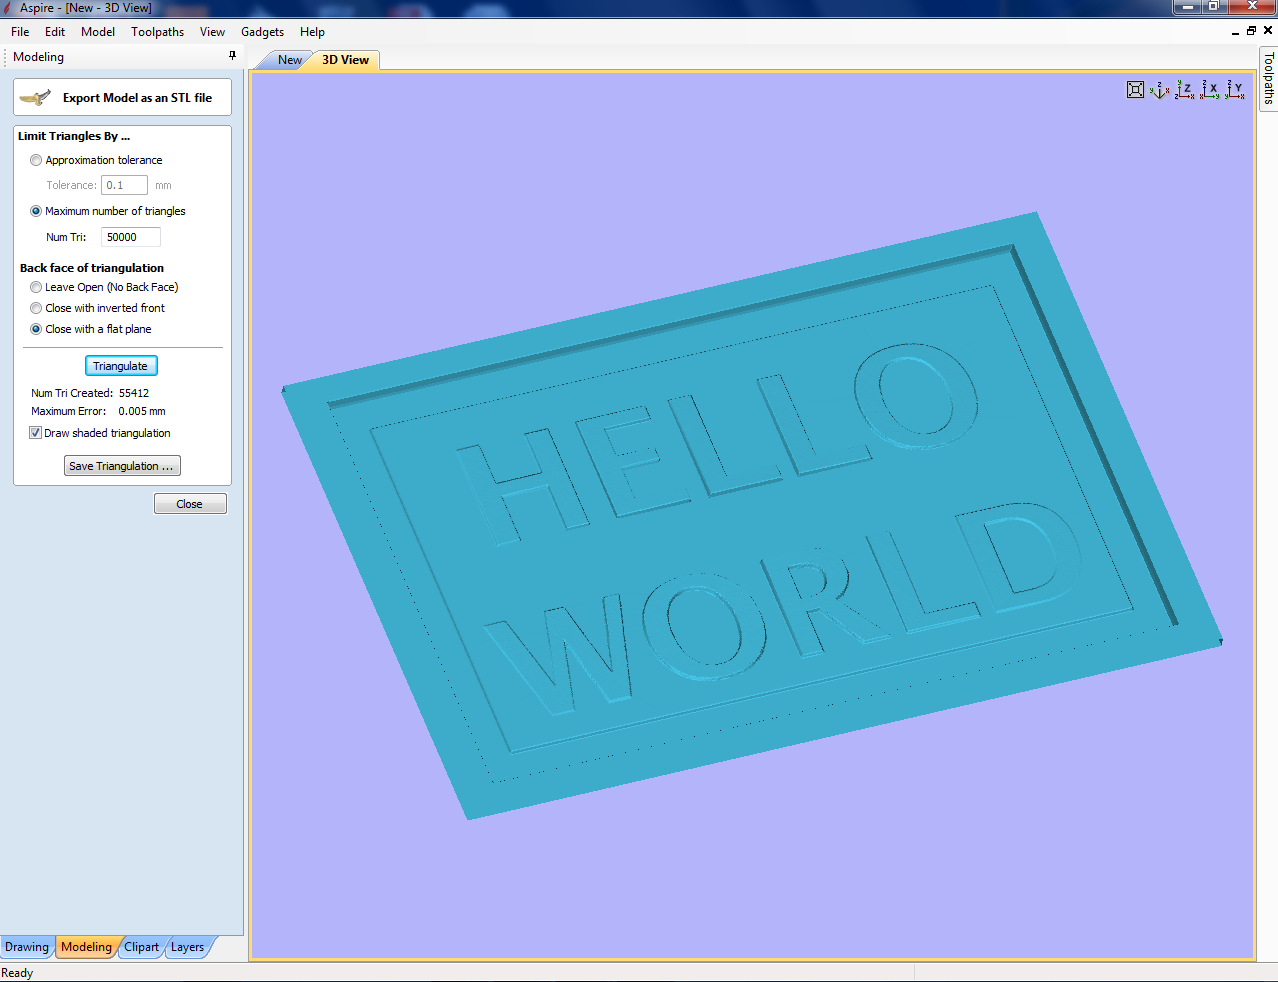
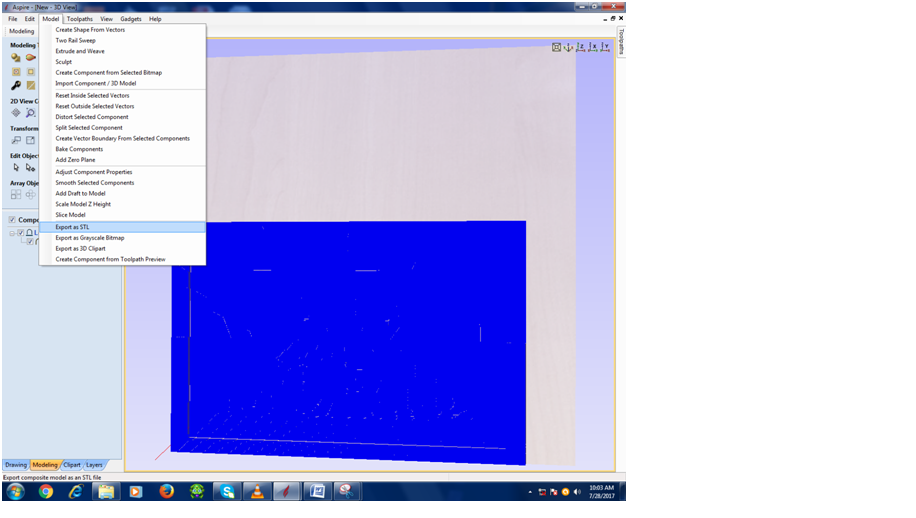
Since the software has a capability to convert the 3D model into an stl file i also generated an stl file and exported it.
I then proceeded to generate toolpaths found on the right side of the window. I generated both a roughing and a finishing toolpath.
I exported the toolpaths using the roland modela mdx20 postprocessor
You can download the toolpaths below
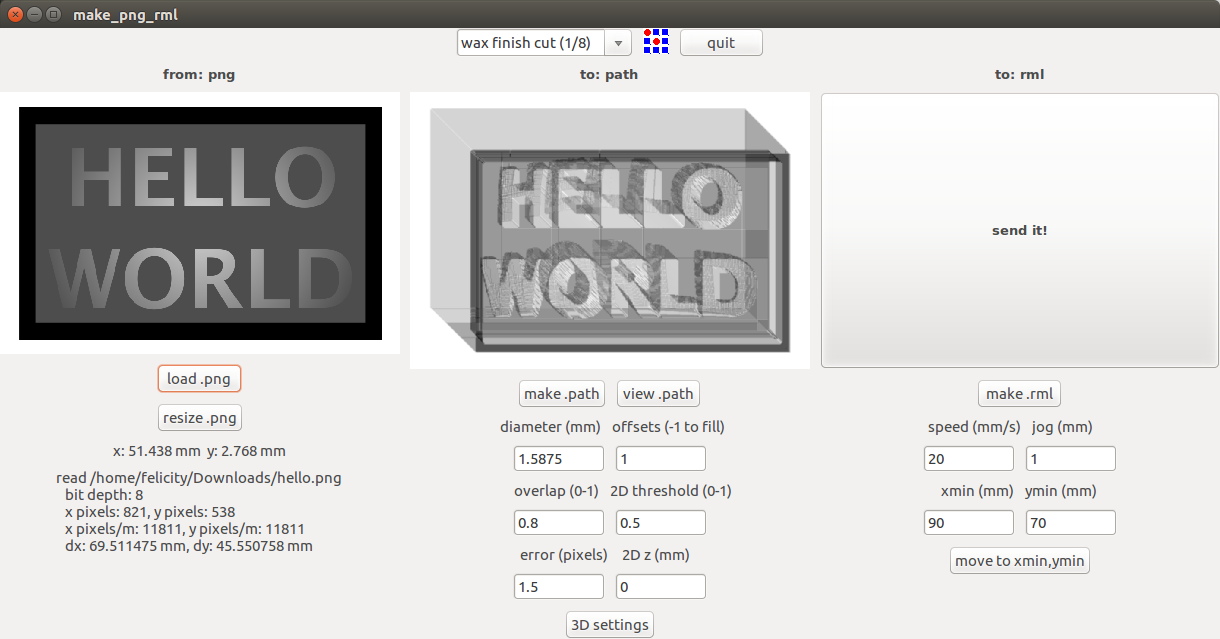
Fab modules
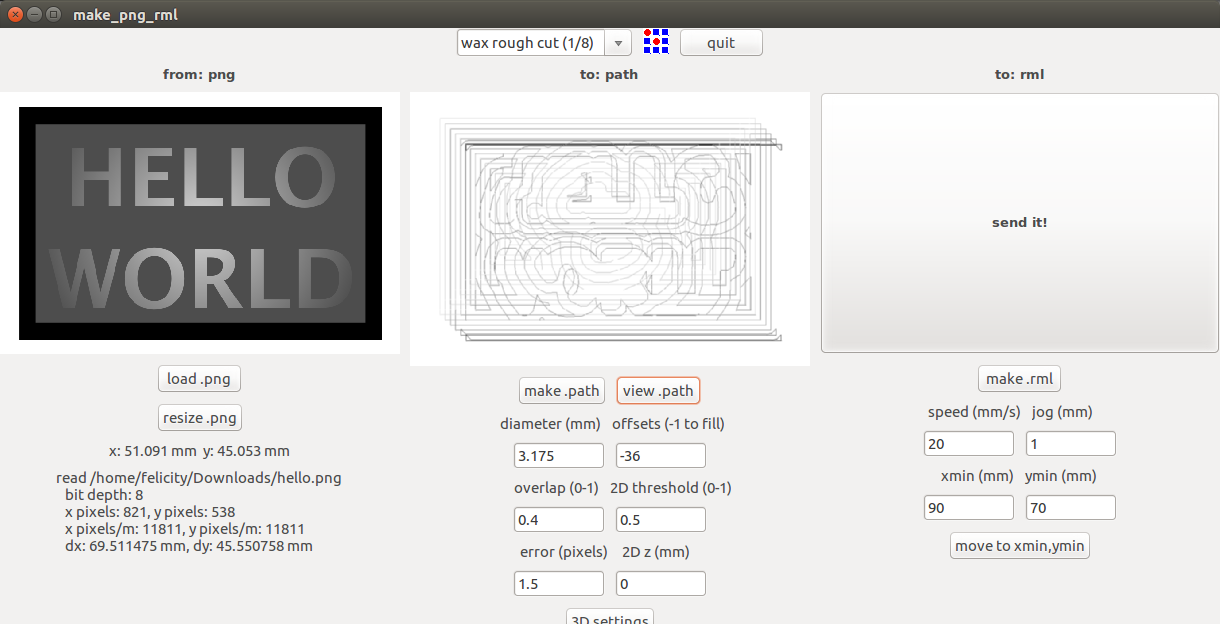
To do a rough cut i used a 1/8" tool and the following fab modules settings.
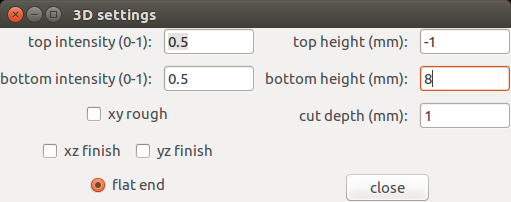
I also used the following 3D settings
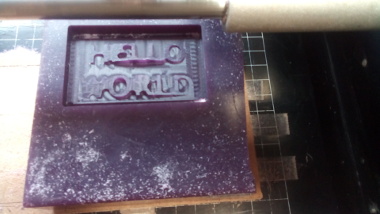
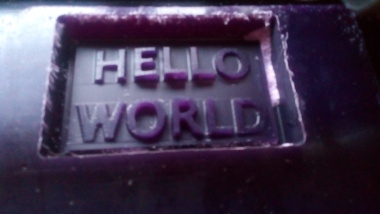
The rough cut results are shown below.
finish cut
for the finish cut i used a 1/16" tool wit the following fab modules settings
The mold 1/16"
Making the mold
To make the mold i used instamold which is originally in powder form and is mixed with water in a 1:1 ratio.
instamold

making the mold
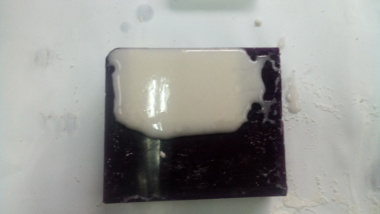
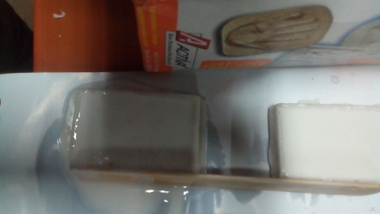
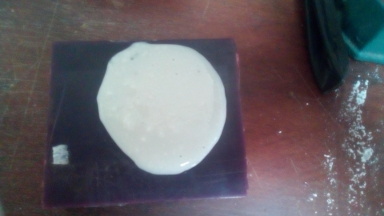
Depending on the liquidity of the mixture i had different outcomes. The firs one was too thick hence the mould was not well defined
The first mold was not very successful
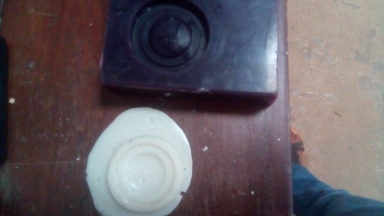
after a few trials i finally got it right
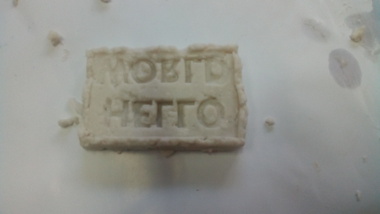
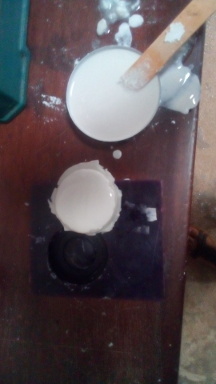
Casting
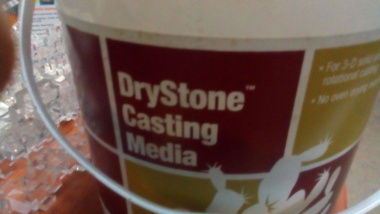
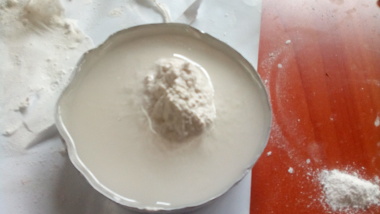
The casting material available in our lab is hydrostone so i went ahead to use it. Just like the instamold the mixing ratio is 1:1. The mixture. The mixture take approximately an hour to dry up and is ready for removal.
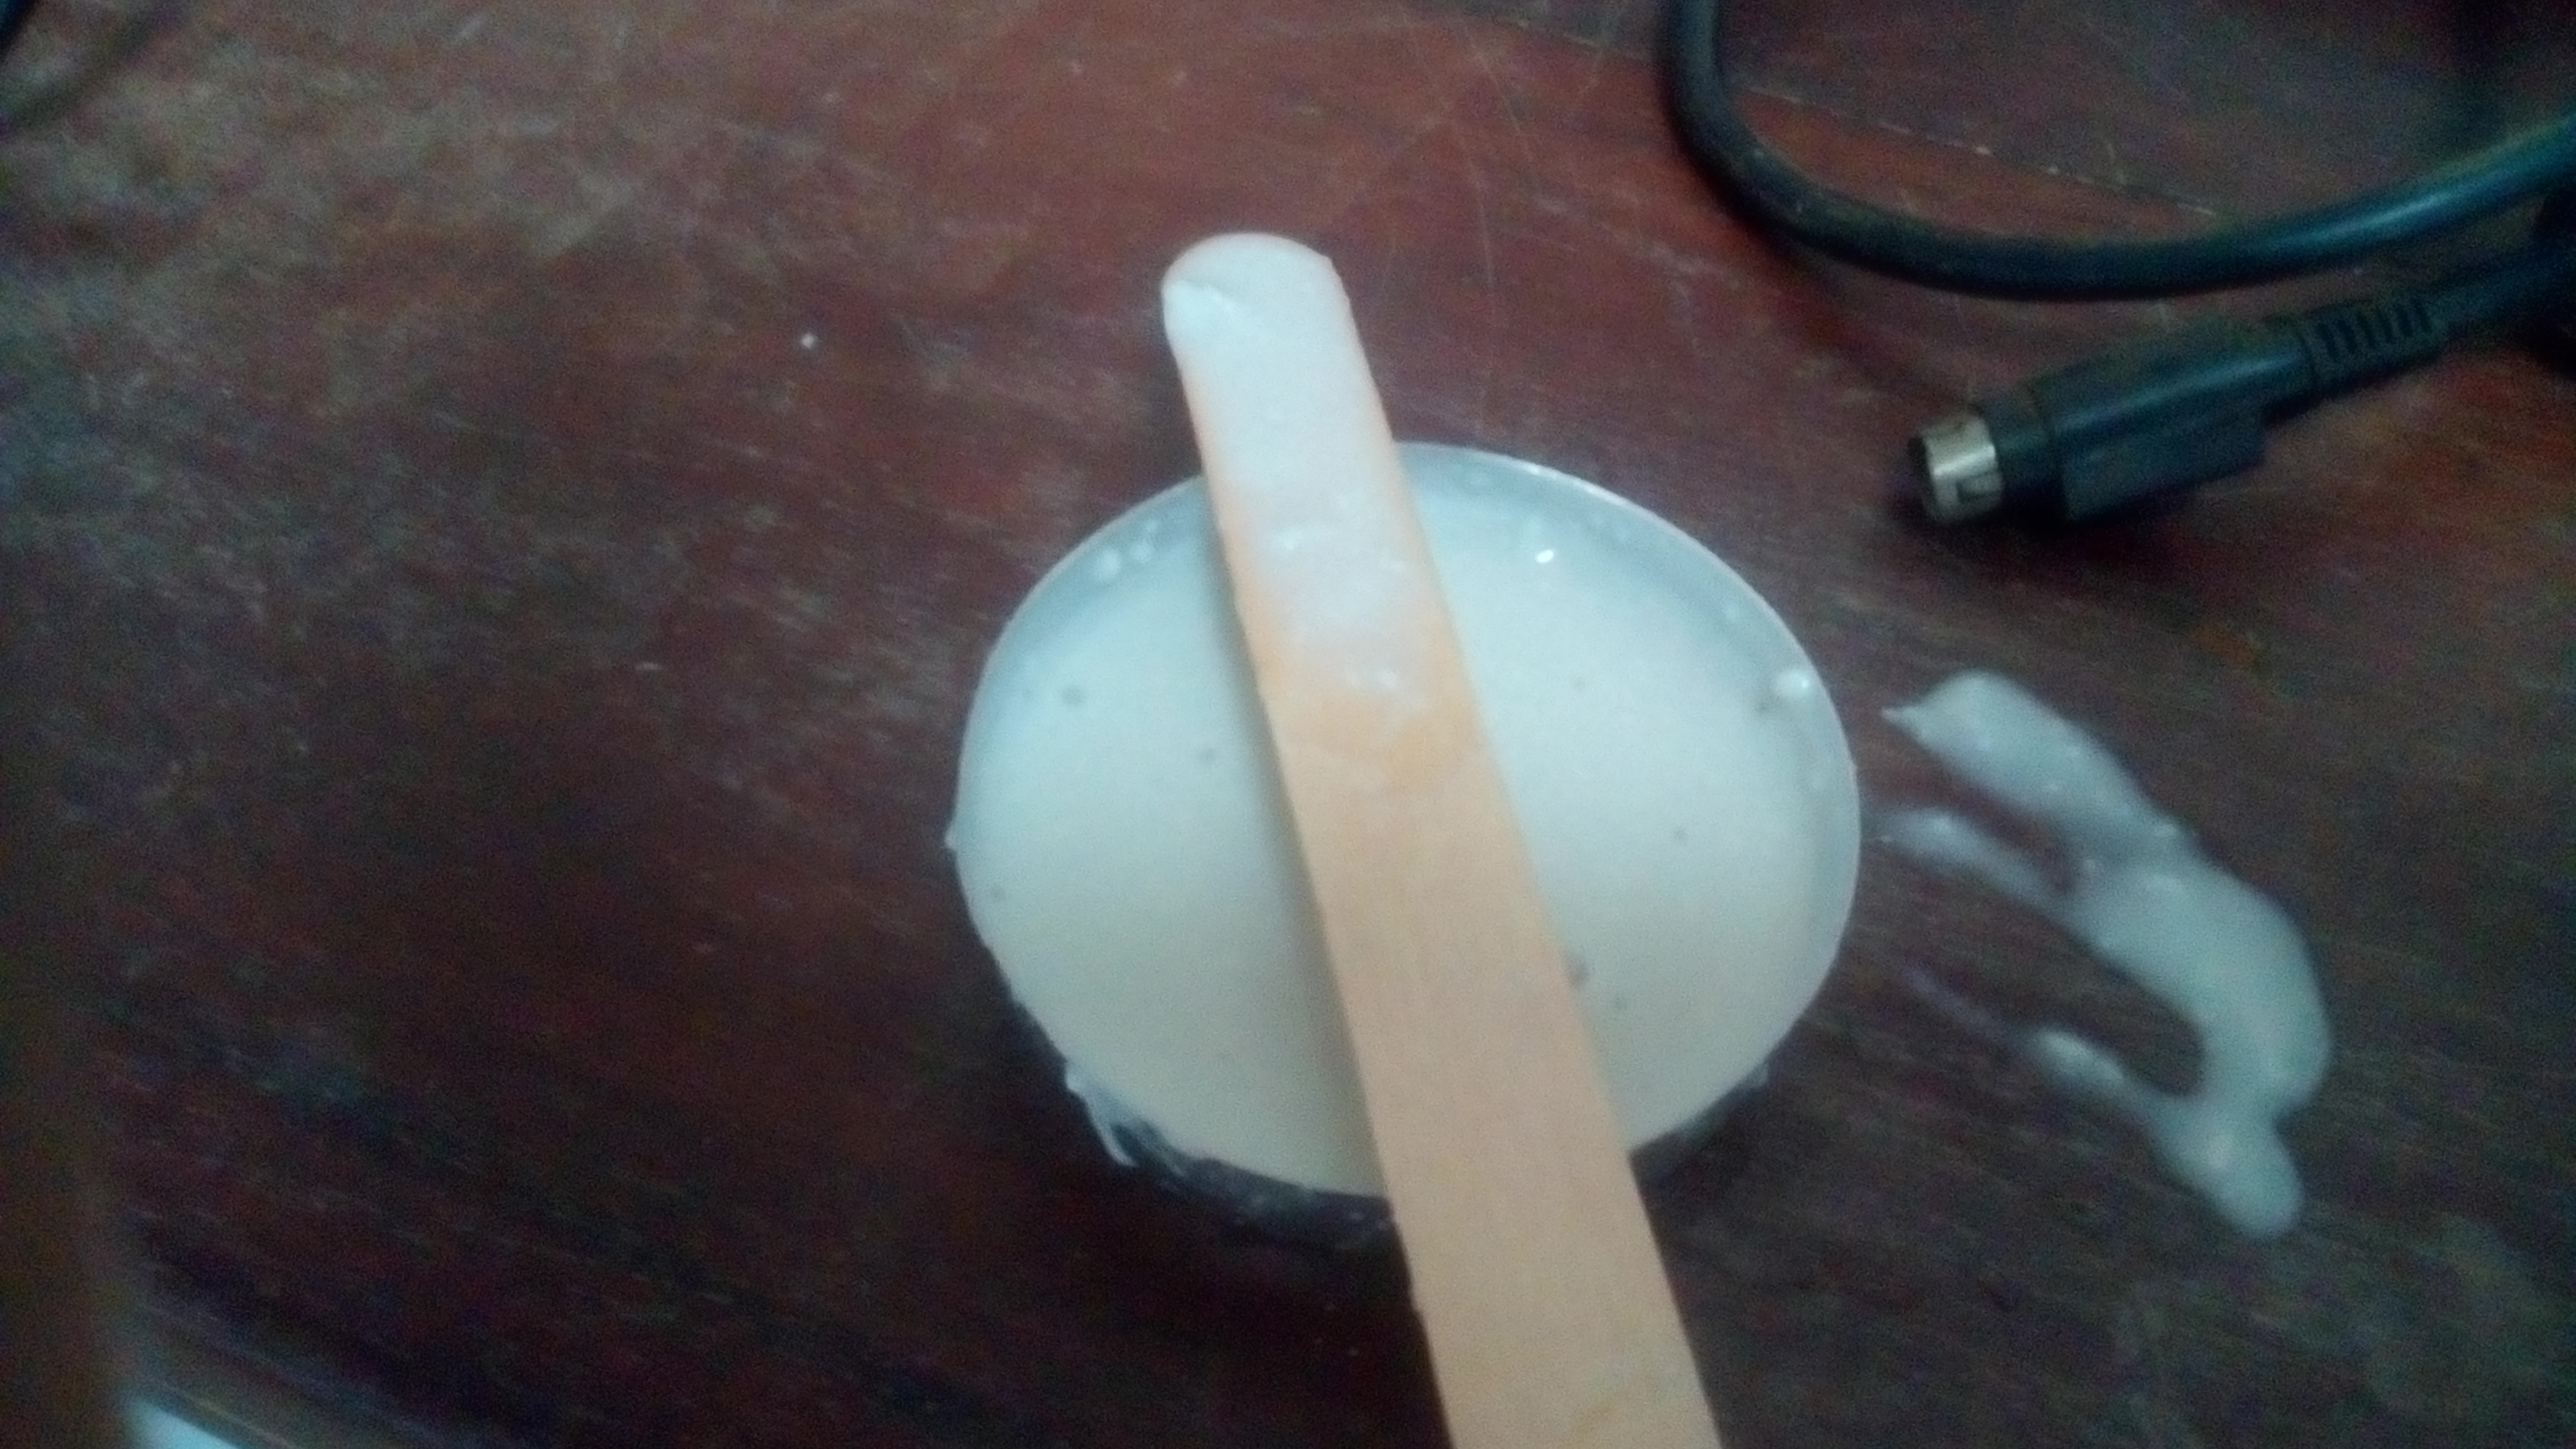
The casting media
Mixing the media with water
casting
Removing the cast object
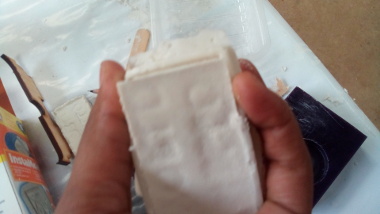
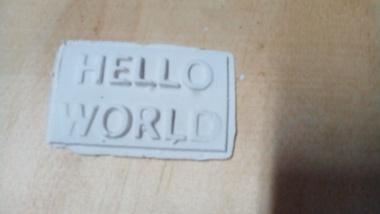
Outcome
The final cast object
Working with stl files
I furthet went on to try to work with stl files. I began by designing a model in onshape as shown
2D sketch
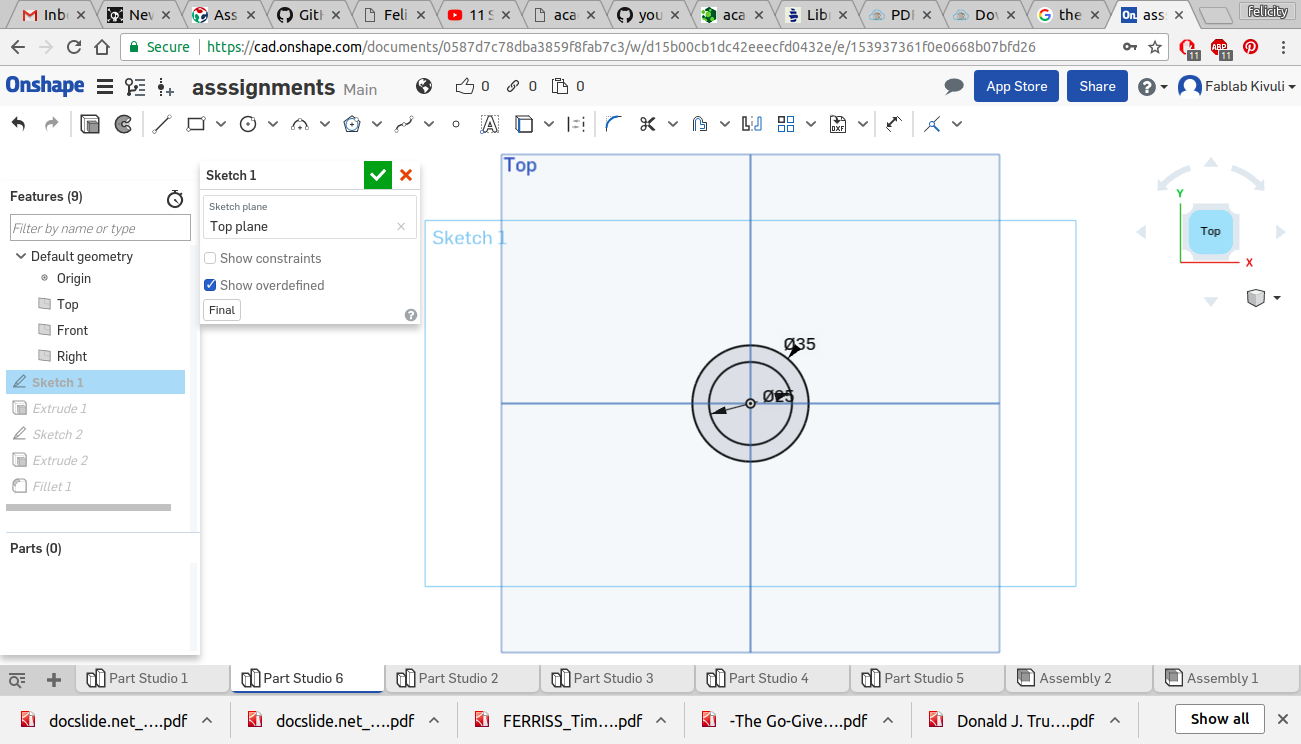
extruding
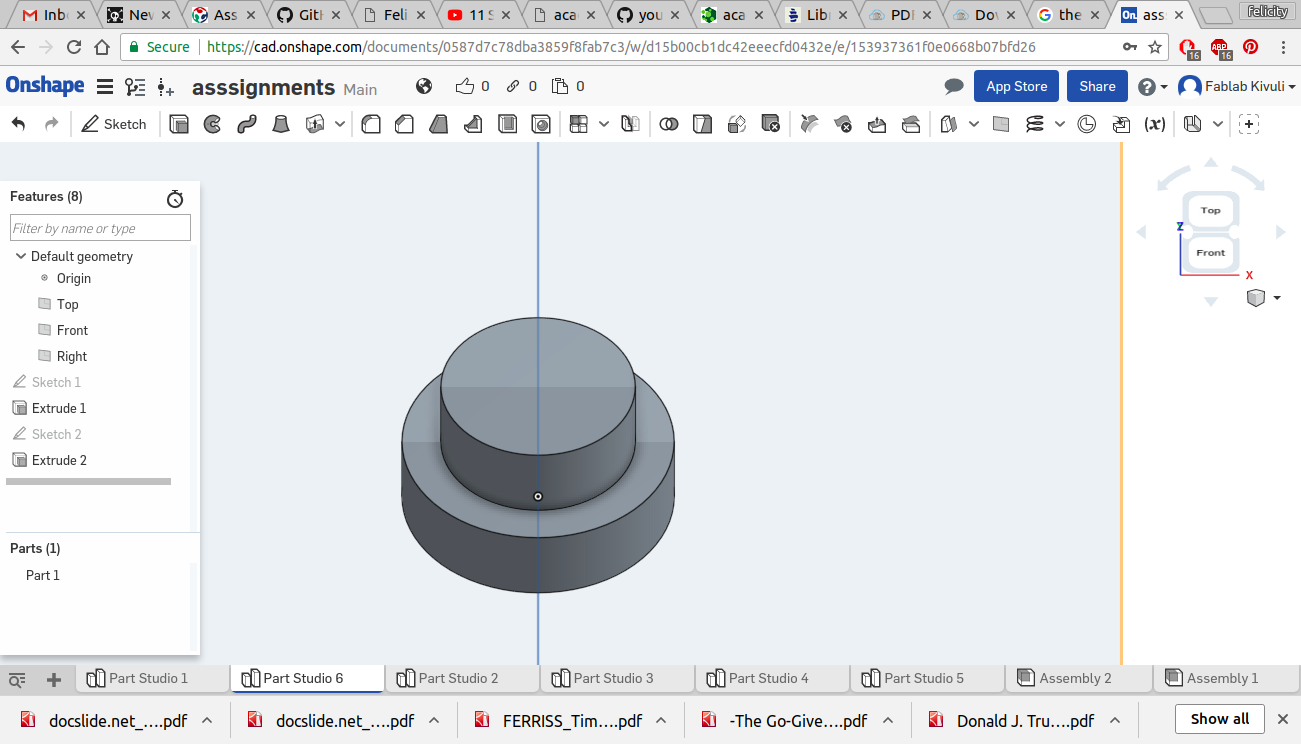
filleted model
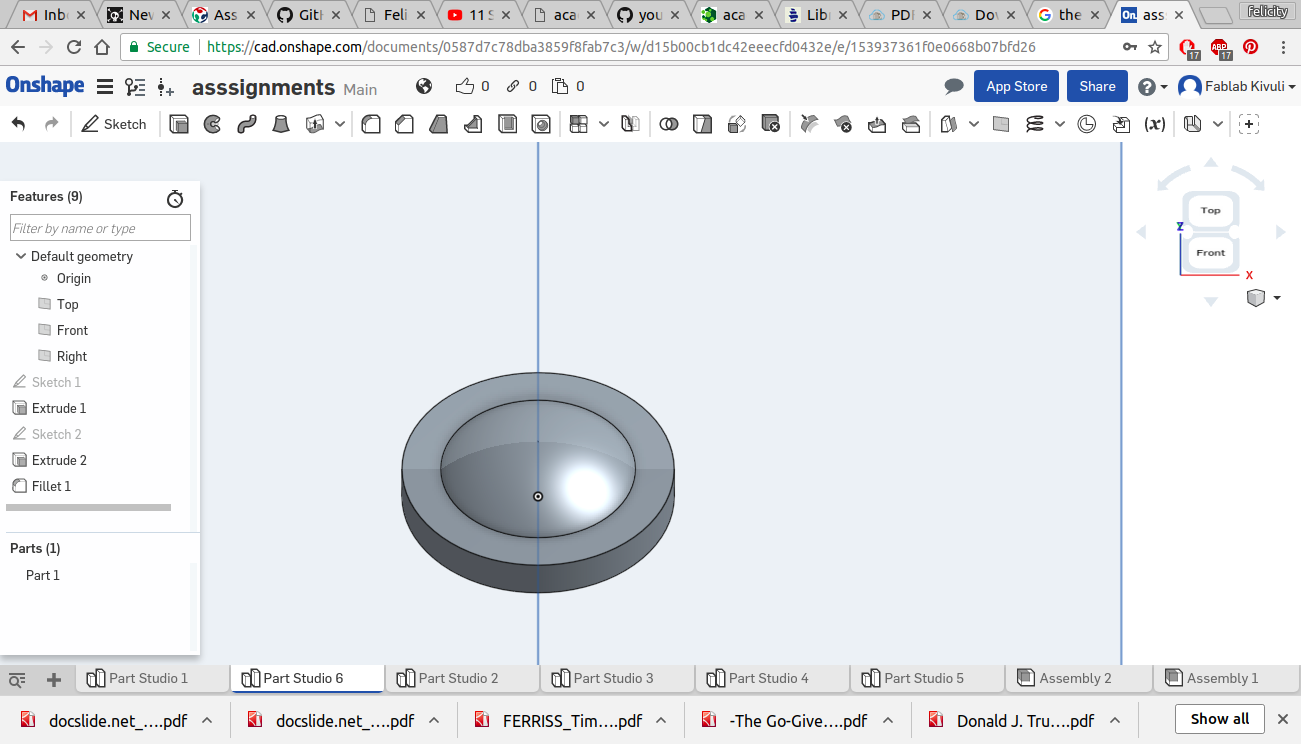
The model can be found in this link here
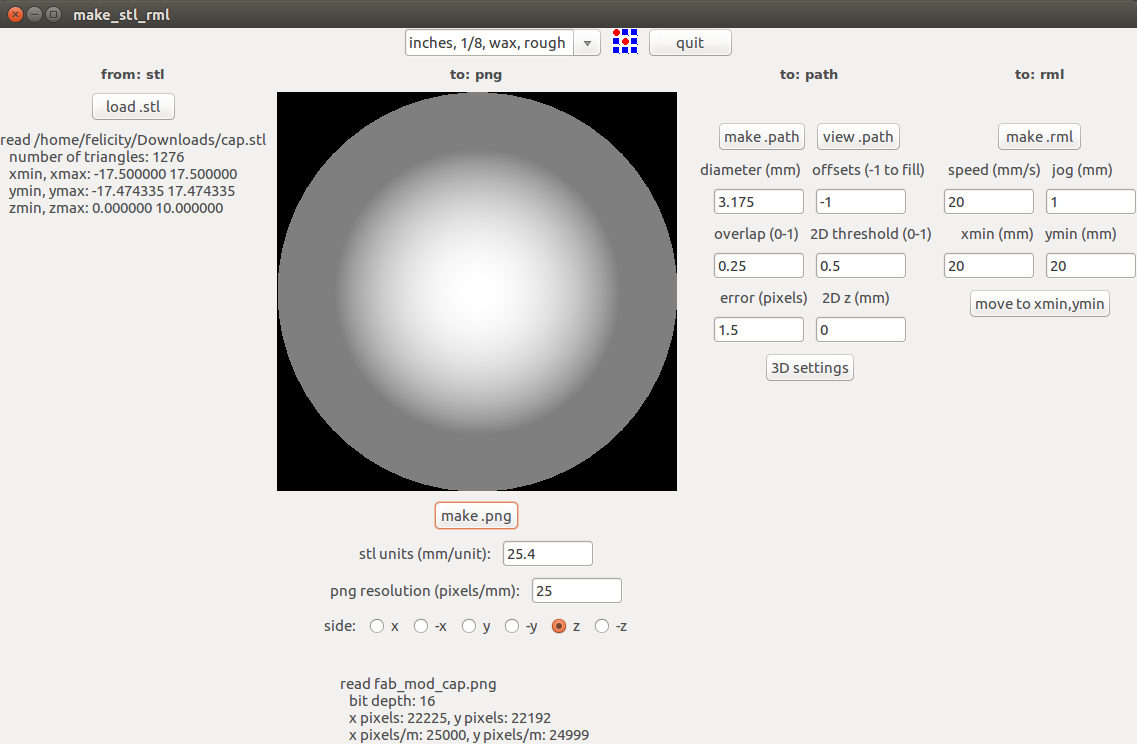
I then exported the stl file and imported it into the fab modules to convert it to a png image
Fab modules
On sending to the modela the following were the results
Roughing
finish
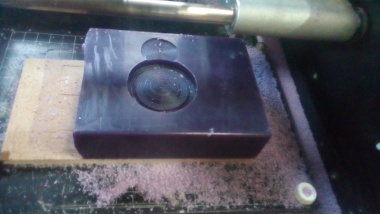
I then went ahead to the mould making stage
mixing
mould making
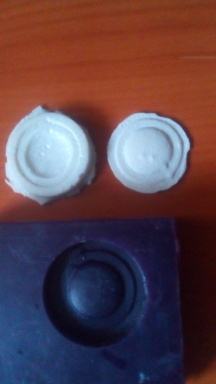
The outcome of the moulding process is seen below
mould
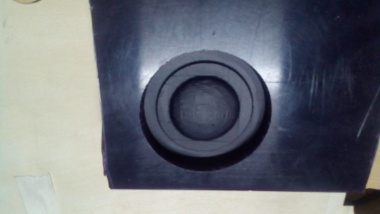
Then i went on to cast with hydrostone casting media
Casting
The final outcome is as shown
Outcome