Bootstrap template
Project management
This week the main goal was to:
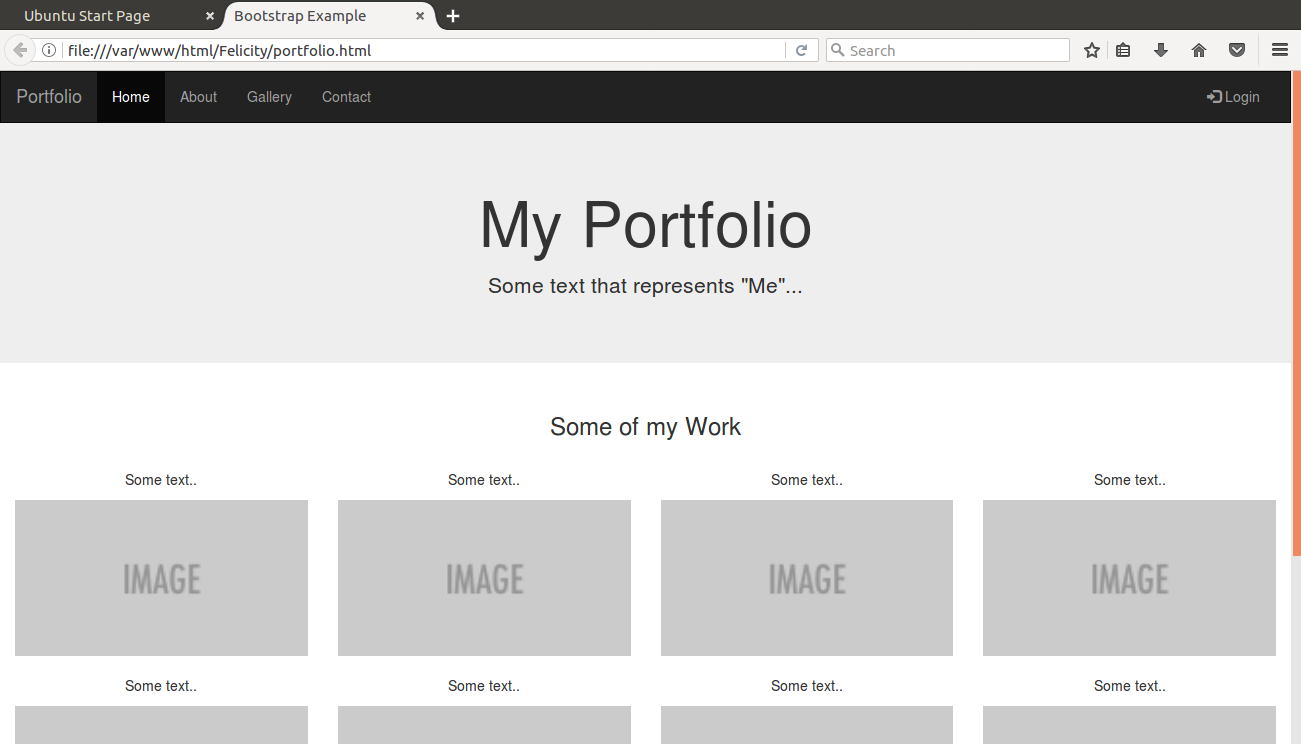
In the web design excersice i began by going through w3 schools site for teaching web design. I chose to use bootstrap template for the design excercise to easen the design work. the template can be found here
Bootstrap template
Since I am currently using ubuntu 16.0 I chose to use a lammp server and view the website directly using localhost. For writing and editing the code I used a text editor called sublime text It is very easy to use and has the capacity to assist you as you write code and autocomplete tegs. This is beneficial in saving time. The color codes used are also useful in debugging
Sublime text

sudo rm /var/www/html/index.htmlTo change permissions use the command
sudo chmod u=rwX,g=srX,o=rX -R /var/www
Sudo chmod 777 (filepath)This gives permissions to the image file
Like Subversion, the Centralized Workflow uses a central repository to serve as the single point-of-entry for all changes to the project.The default development branch is called master and all changes are committed into this branch. This workflow doesn’t require any other branches besides master. users start by cloning the central repository. In their own local copies of the project, they edit files and commit changes; however, these new commits are stored locally—they’re completely isolated from the central repository. This lets users defer synchronizing upstream until they’re at a convenient break point.
To publish changes to the official project, users “push” their local master branch to the central repository. This adds all of the local commits that aren’t already in the central master branch.
Installing git in ubuntu is as simple as keying in the following command on the terminal
sudo apt-get install gitThis is done simply by keying in
git clone ssh://user@host/path/to/repo.git(You should run this command while in the dorectory in which you wish to clone the repository) After cloning the remote repository named Fablabnairobi the files in the remote repository were now locally stored in the computer.
This is done in two steps. Copy the desired files into the repository and then using the following command check the changes that have been made in the repository
git statusThis command will show you the changes made to the repository.
git add -a
Once this is done, use the command below to commit the changes
git commit -m "(tag)"The tag should be included for this to work. The tag should be a statement brief and relevant to the changes made
To push the files the following command is used
git pushNOTE: if the cloned repository already exists use the
git pull command instead otherwise you won't be able to push
Git supports many ways to reference a remote repository. Two of the easiest ways to access a remote repo are via the HTTP and the SSH protocols. HTTP is an easy way to allow anonymous, read-only access to a repository
SSH, or secure shell, is an encrypted protocol used to administer and communicate with servers. When working with a Linux server, you will spend most of your time in a terminal session connected to your server through SSH.
SSH key pairs are two cryptographically secure keys that can be used to authenticate a client to an SSH server. Each key pair consists of a public key and a private key. The private key is retained by the client and should be kept absolutely secret. Any compromise of the private key will allow the attacker to log into servers that are configured with the associated public key without additional authentication. As an additional precaution, the key can be encrypted on disk with a passphrase. The associated public key can be shared freely without any negative consequences. The public key can be used to encrypt messages that only the private key can decrypt.
The first step to configure SSH key authentication to your server is to generate an SSH key pair on your local computer. To do this, we can use a special utility called ssh-keygen, which is included with the standard OpenSSH suite of tools. By default, this will create a 2048 bit RSA key pair, which is fine for most uses. On your local computer, generate a SSH key pair by typing:
ssh-keygen
The utility will prompt you to select a location for the keys that will be generated. By default, the keys will be stored in the ~/.ssh directory within your user's home directory. The private key will be called id_rsa and the associated public key will be called id_rsa.pub.
Usually, it is best to stick with the default location at this stage. Doing so will allow your SSH client to automatically find your SSH keys when attempting to authenticate. If you would like to choose a non-standard path, type that in now, otherwise, press ENTER to accept the default.
Once the pair has been generated this is the kind of message you will see on your terminal
Your identification has been saved in /home/username/.ssh/id_rsa.
Your public key has been saved in /home/username/.ssh/id_rsa.pub.
The key fingerprint is:
a9:49:2e:2a:5e:33:3e:a9:de:4e:77:11:58:b6:90:26 username@remote_host
The key's randomart image is:
+--[ RSA 2048]----+
|     ..o         |
|   E o= .        |
|    o. o         |
|        ..       |
|      ..S        |
|     o o.        |
|   =o.+.         |
|. =++..          |
|o=++.            |
+-----------------+
You now have a public and private key that you can use to authenticate. The next step is to place the public key on your server so that you can use SSH key authentication to log in. To add the public key to your server check for the section where there is a provision to add a key as seen below

In the "SSH Key content" box, paste the content of your SSH public key in its entirety, into the larger box as shown.
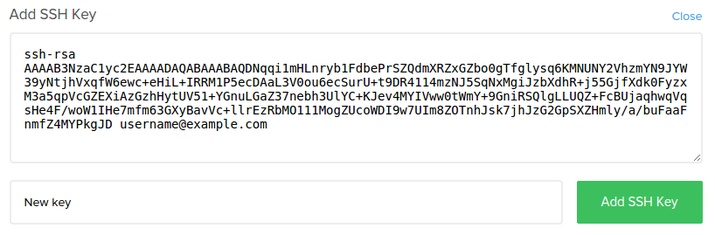
This will enable you to log in to your git server from the computer with your private key.
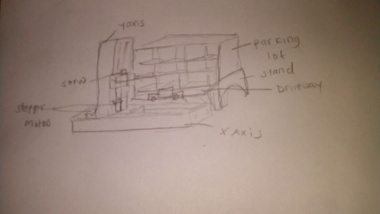
Finding parking space is a major problem in Nairobi city. A big number of the city occupants find it hard to find an empty slot especially in the city center. The process is time consuming and most parking spaces are not safe hence leading to stolen car parts. I believe a secure structure that is multilevel to maximise in vertical space will be a suitable solution to solve this particular problem. The car park will be able identify which slot is empty and assign park the vehicle on behalf of the client.
sketch