- Week 5 +
3d scanning and printing

Tasks
Following two exercises are to be done in this week
- 3D scanning: 3D scan an object (optionally print it)
- 3D printing: Design and 3D print a small object that could not be made subtractively
Task 1- 3D Scanning
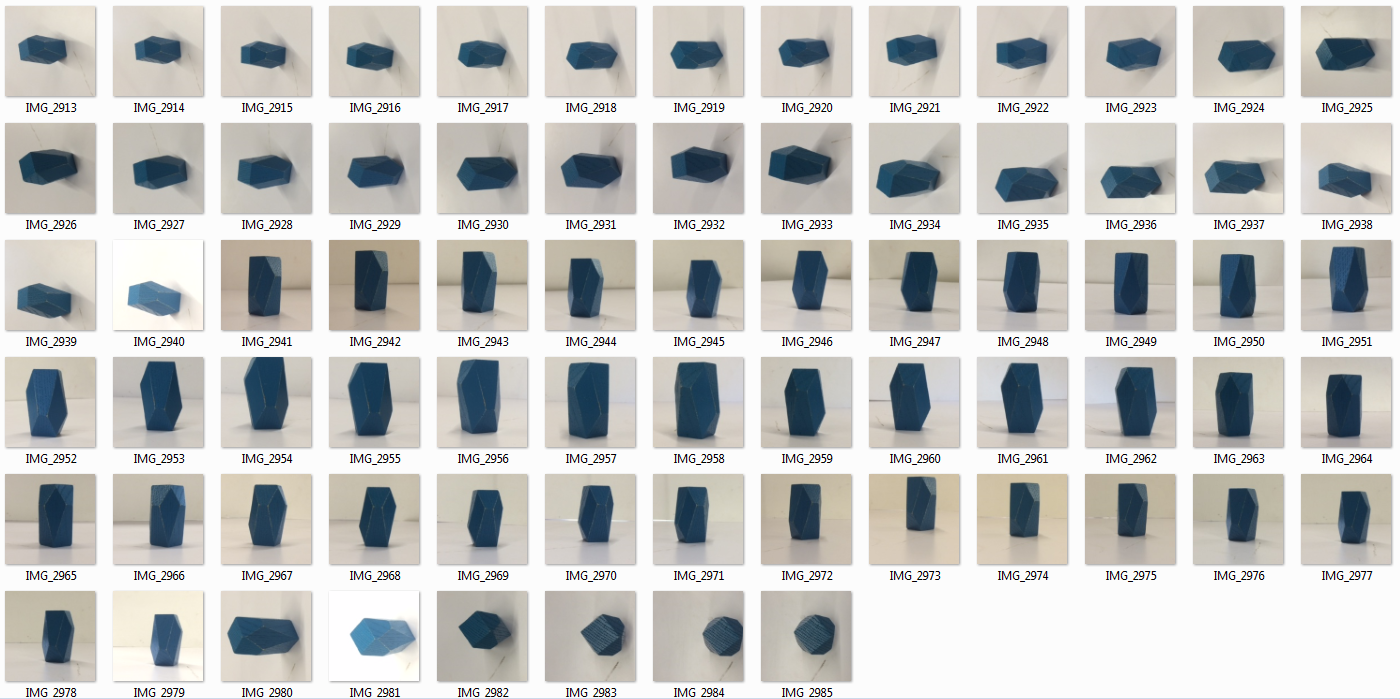
For 3D scanning an object, I decided to scan a wooden building block. I took a few photographs of it all around by keeping it at the center, on table top of contrasting color. I took pictures of its elevation from all the sides, top view and approximately 15 degree angle from the horizontal surface.
Later, I used Autodesk Recap360 to stiches them all together. Since, I had an account with autodesk, it was easy for me to login and start using it.
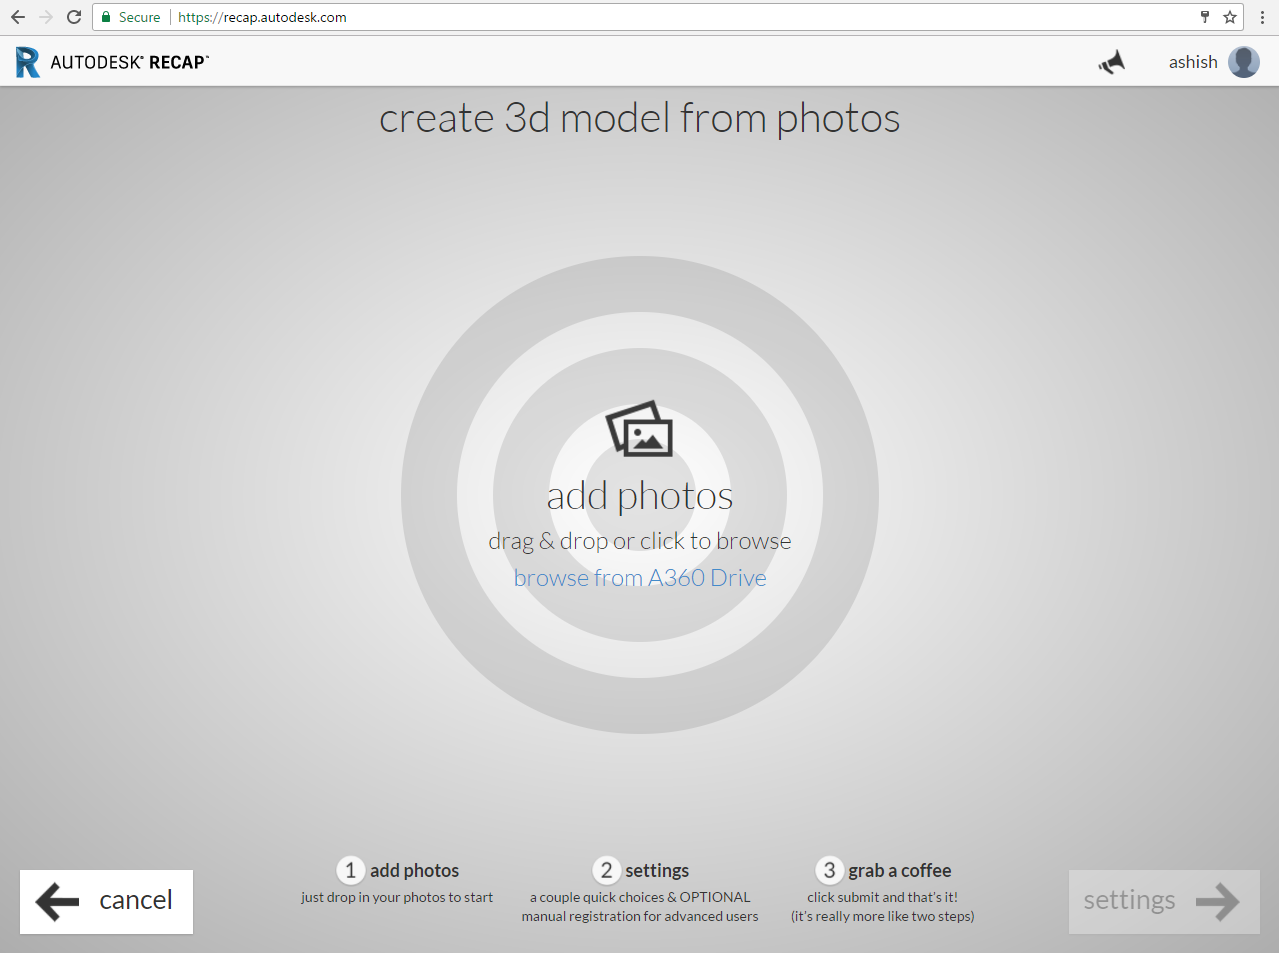
The interface is very easy, I just had to upload all the photographs.

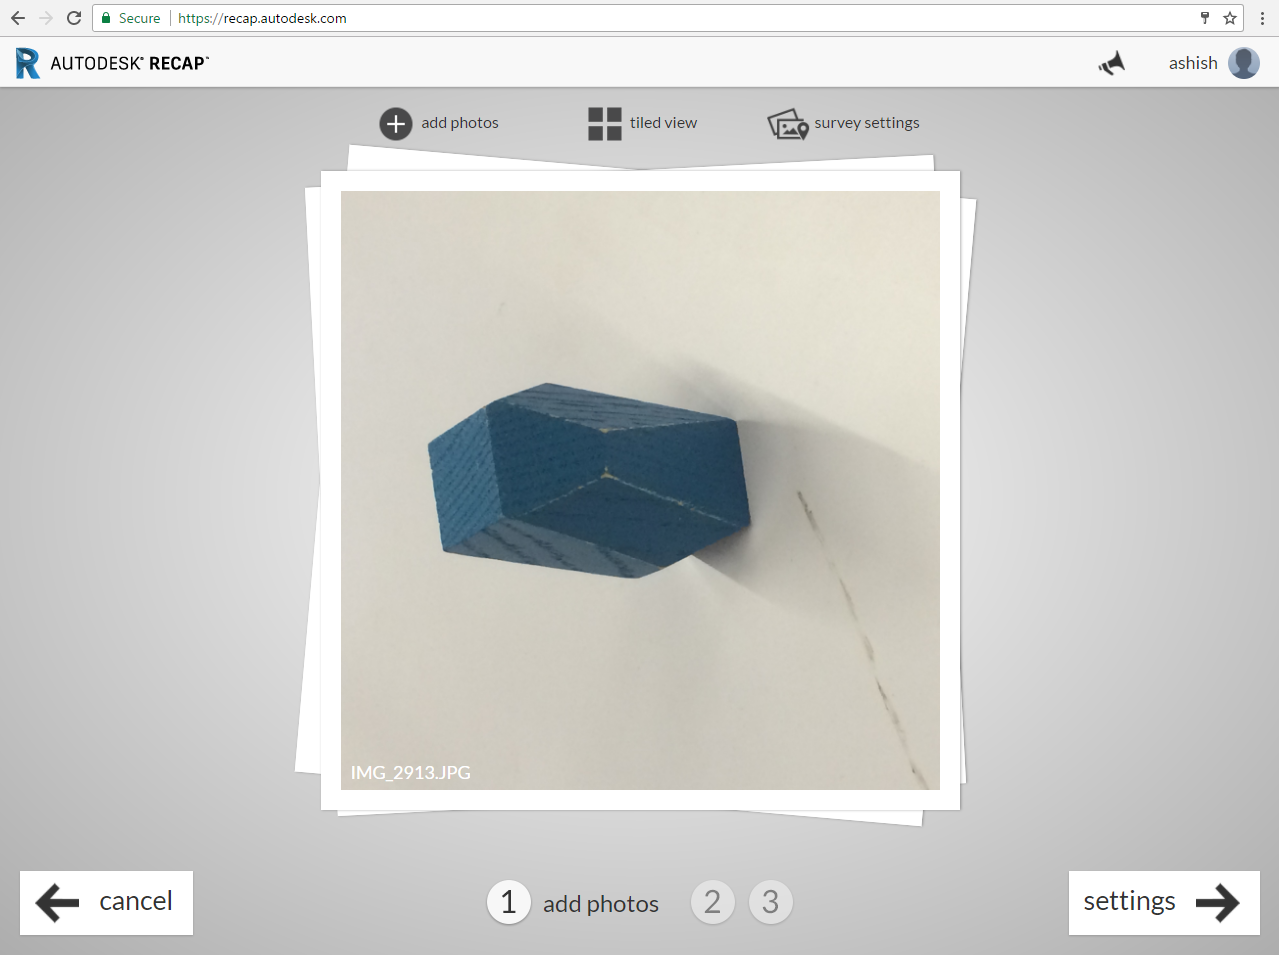
Then I had to give it a name and checked on smart cropping and smart texture. This is my second try, because I had uploaded selective photographs in first attempt the scanning could not happen. So in second attempt I added all photographs I had taken.
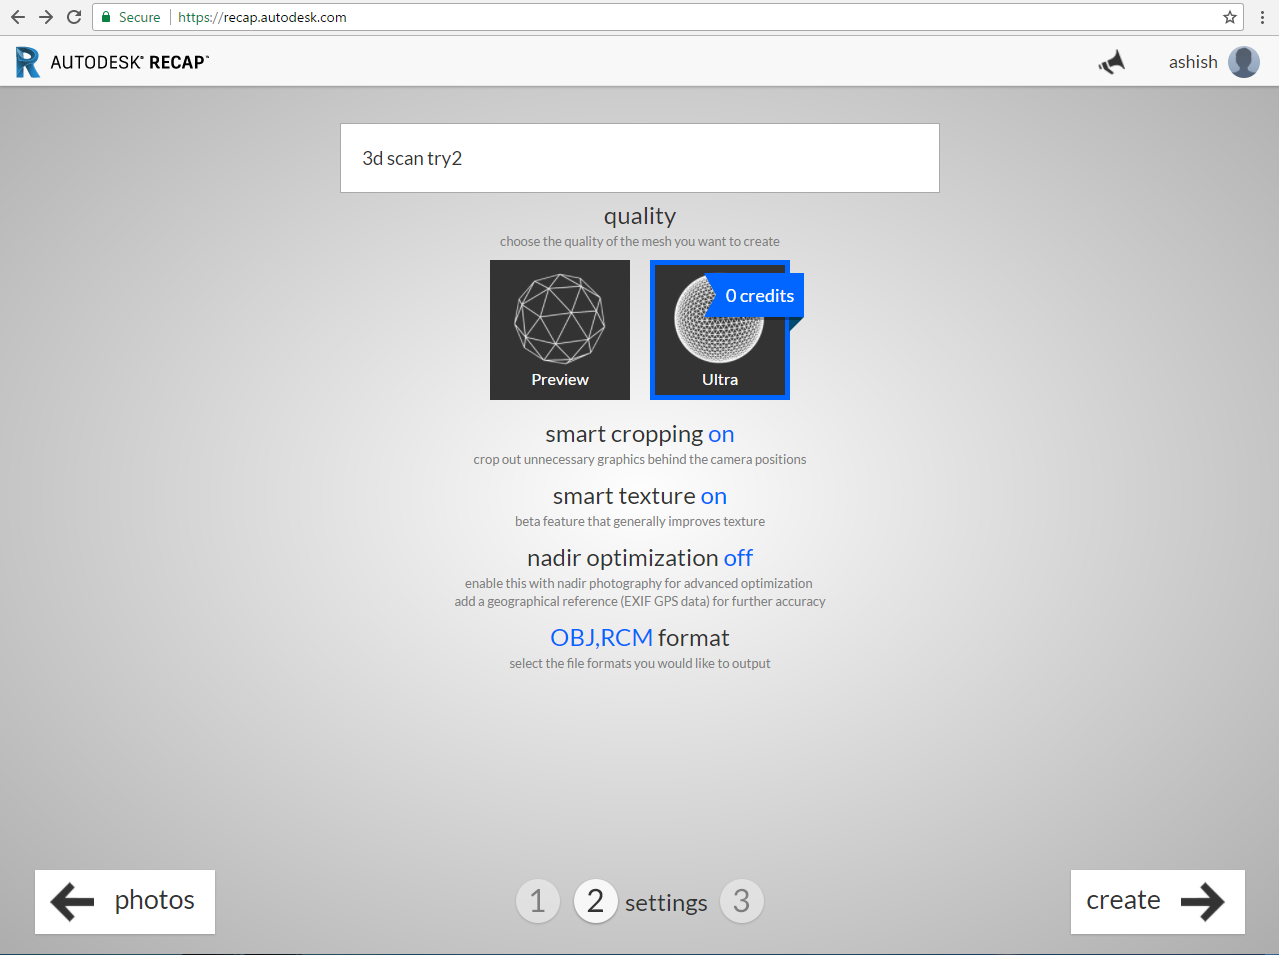
Now, I clicked on create tab and it took a while to recap360 to stitch them well.
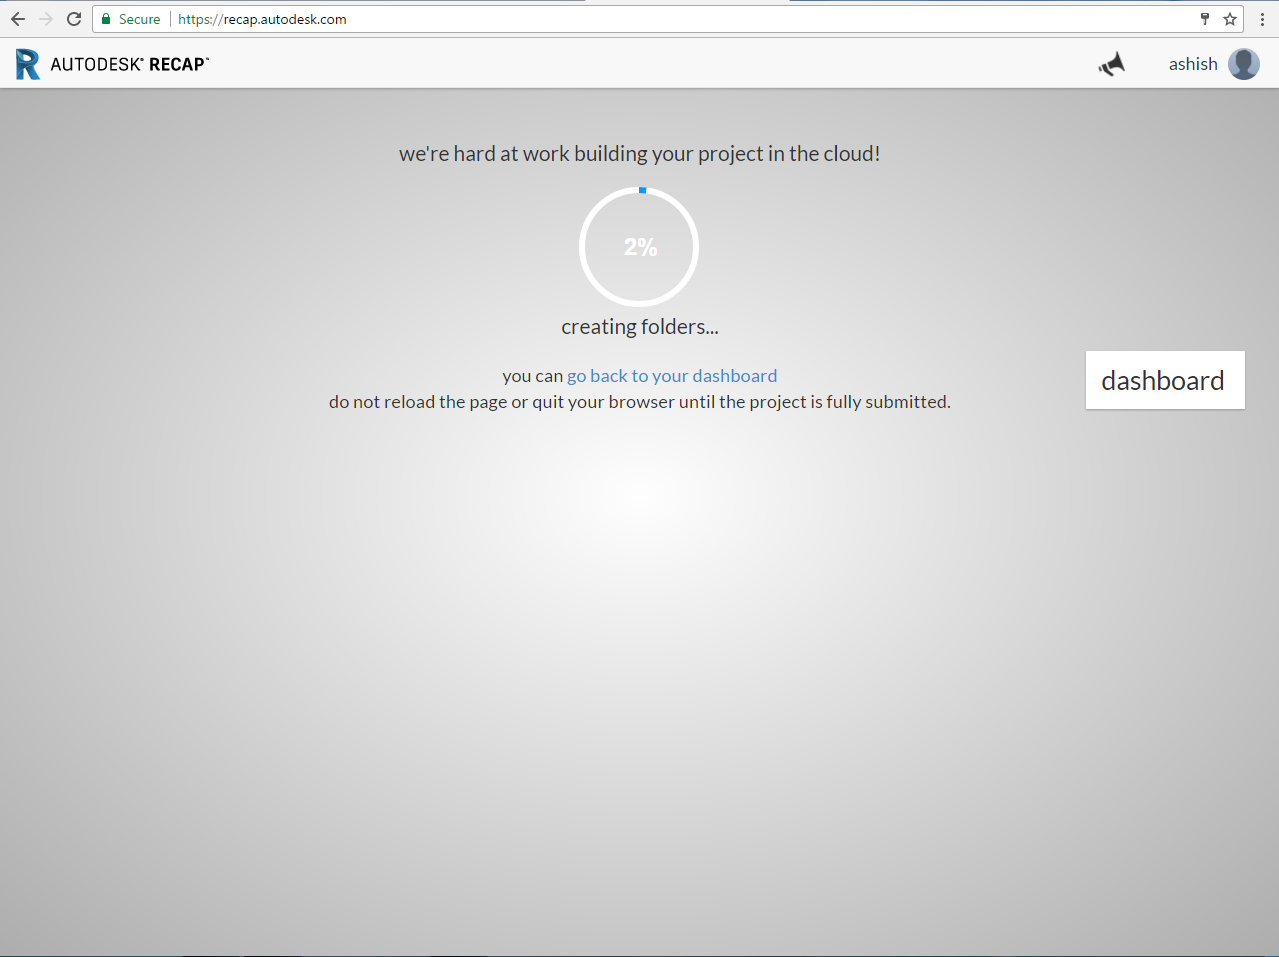
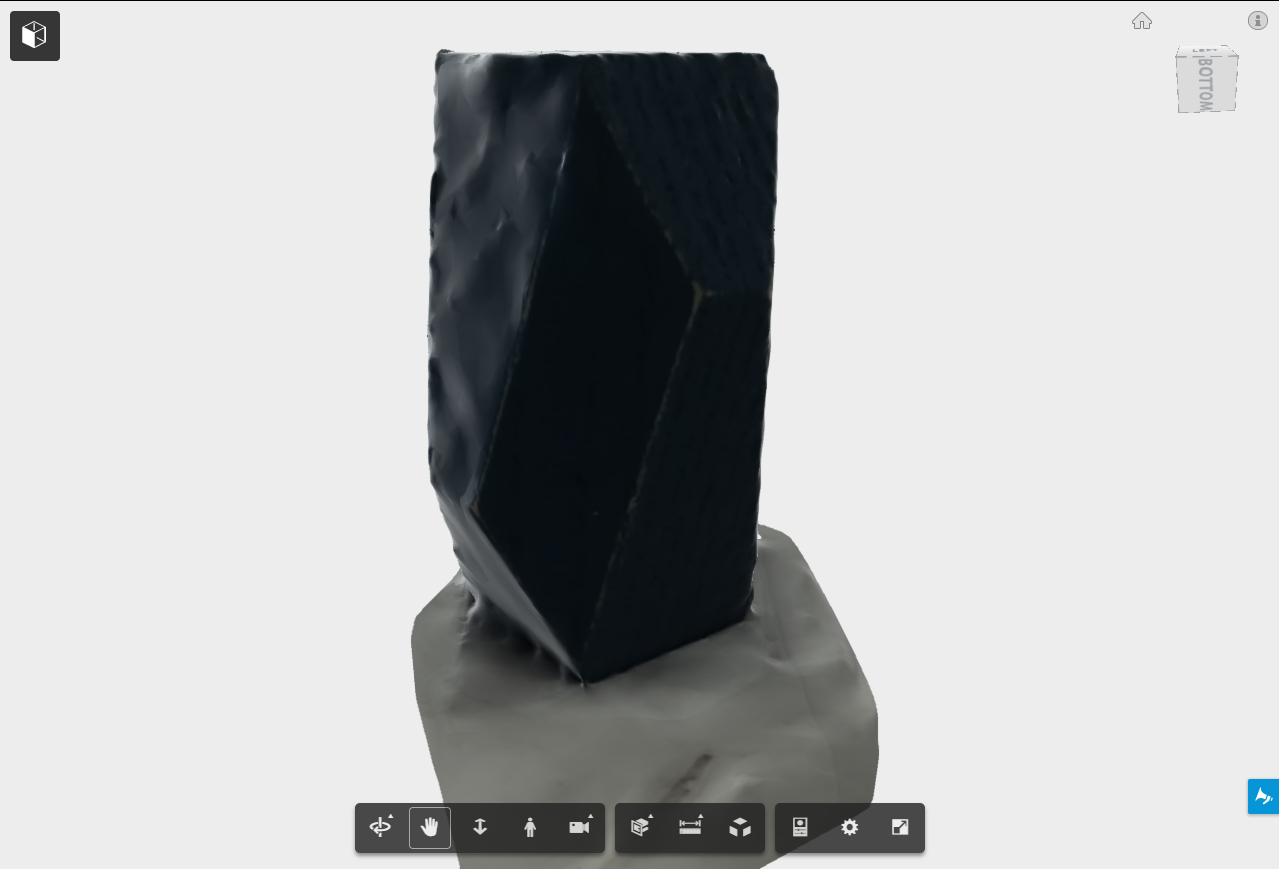
This is how it the final scanned object looks like.
When the file was ready, I downloaded it in .obj format and opened in rhino to remove its base surface. I created a rectangular plane and moved it close to the part I wished to split. The using mesh split command I trimed off its base.
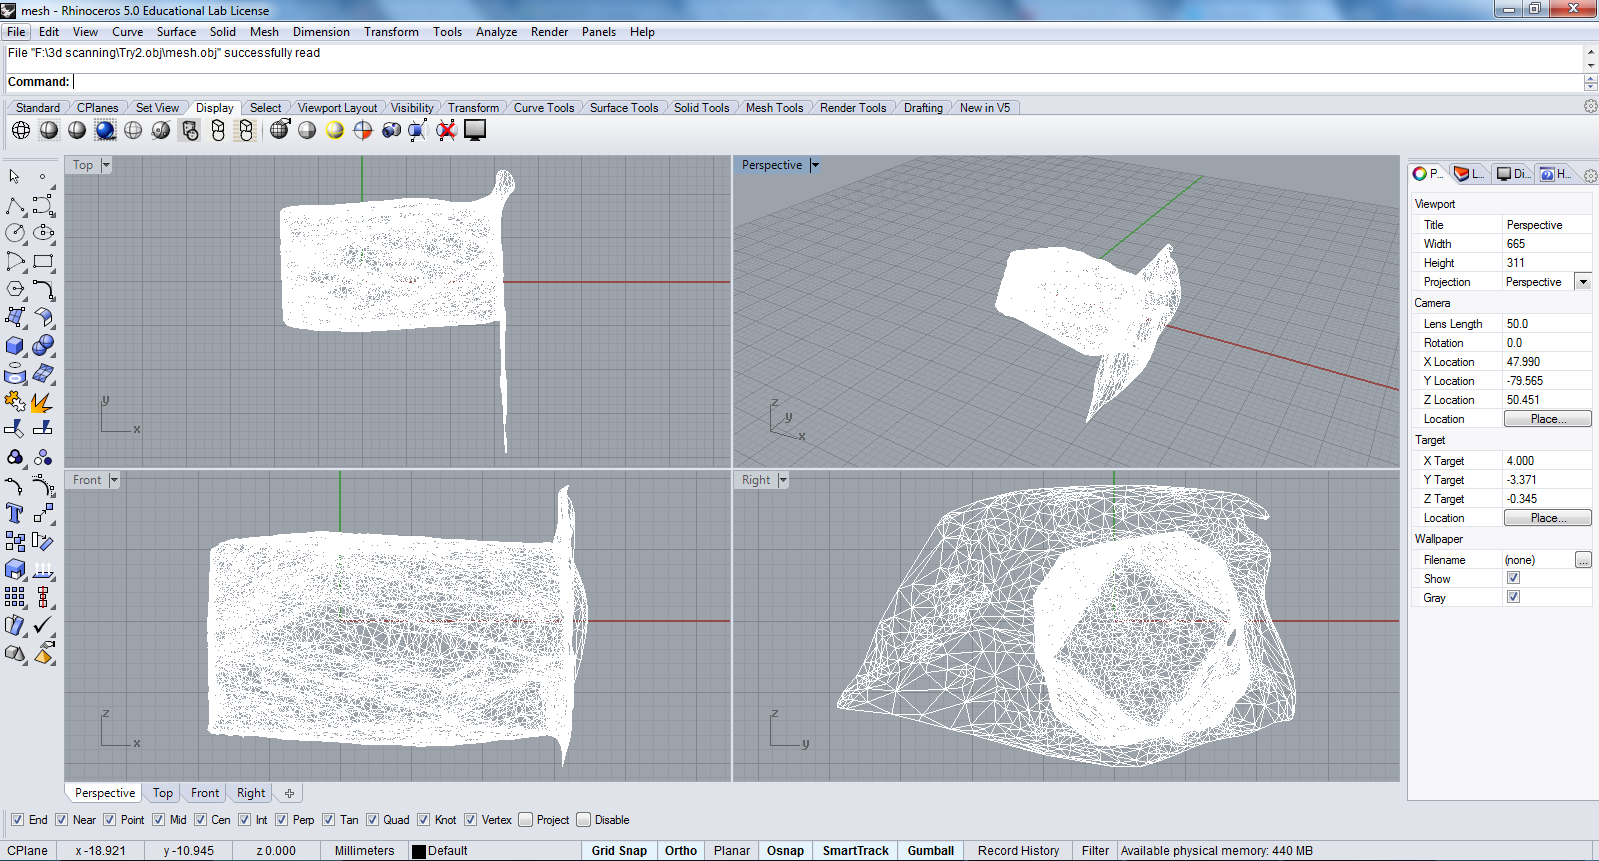
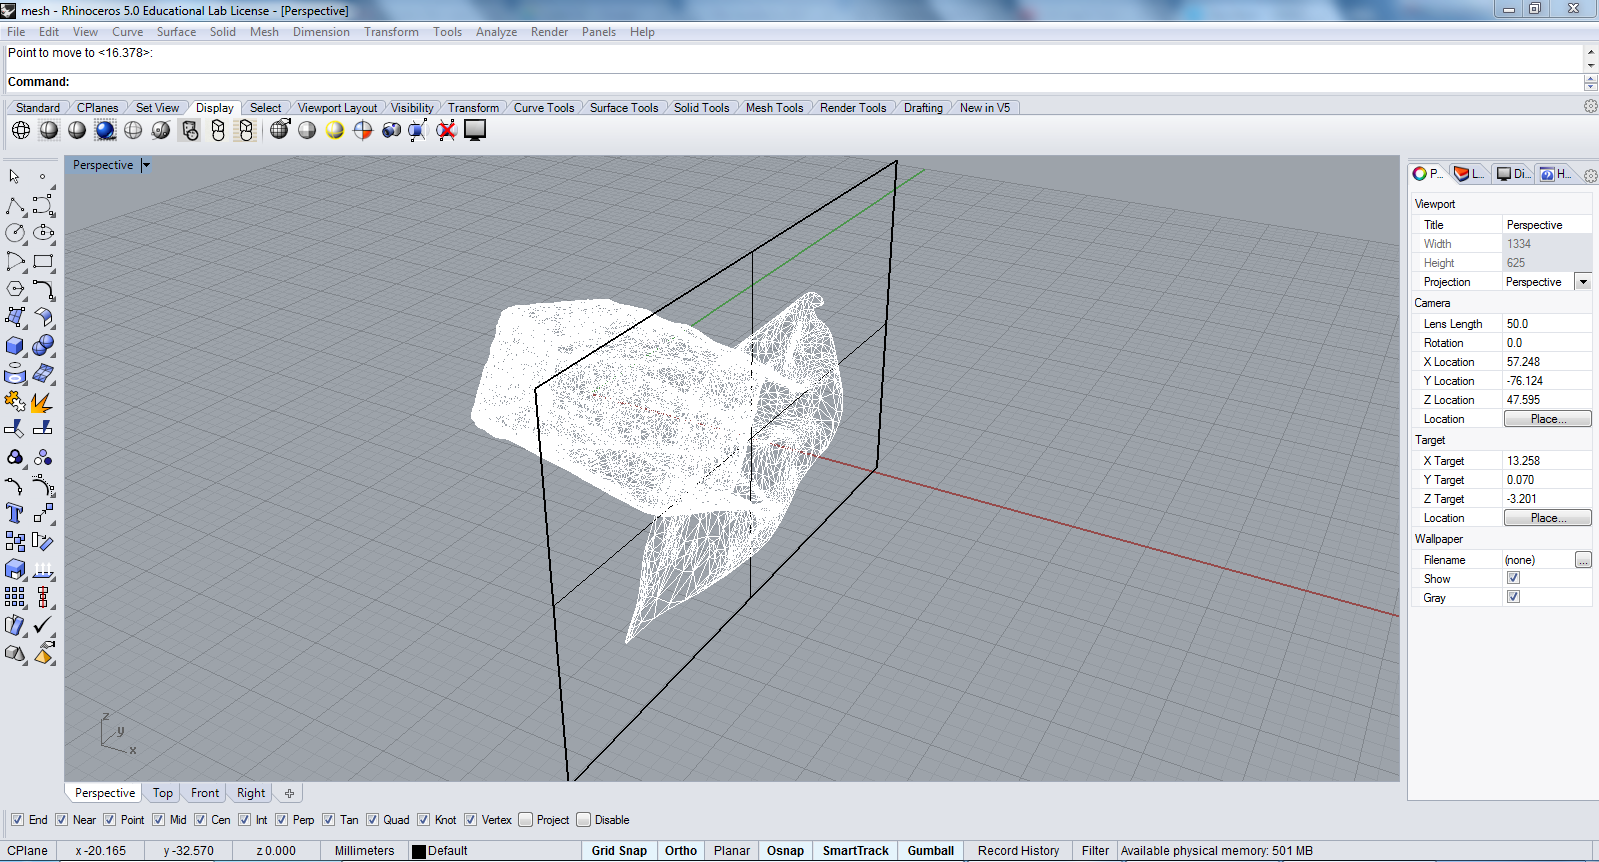
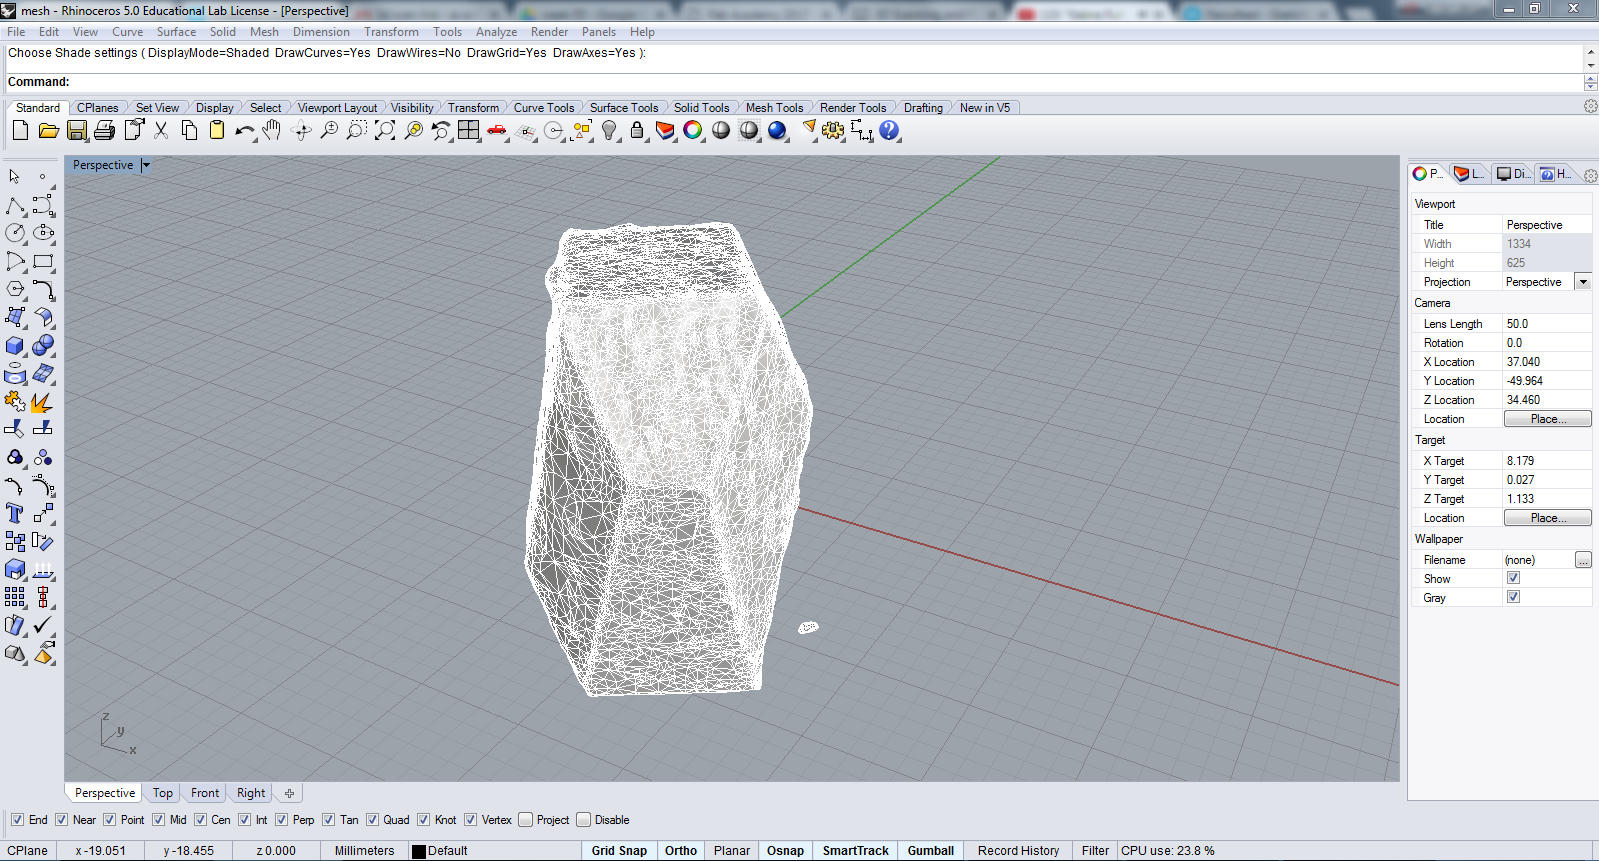 This is how finally the scanned object looks in three dimensions.
Task 2- 3D Test Printing
To check the limitations of 3D printer- Ultimaker 2+ that we have in our lab, we as a group did a test print. To do so, we downloaded a test file from thingiverse. We leant from the website that this is a hard to print testfile. We didn't know if our printer is ready for such a complex file. But it would be great if we print this file so that we may easily check the problematic printing/slicing stuff.
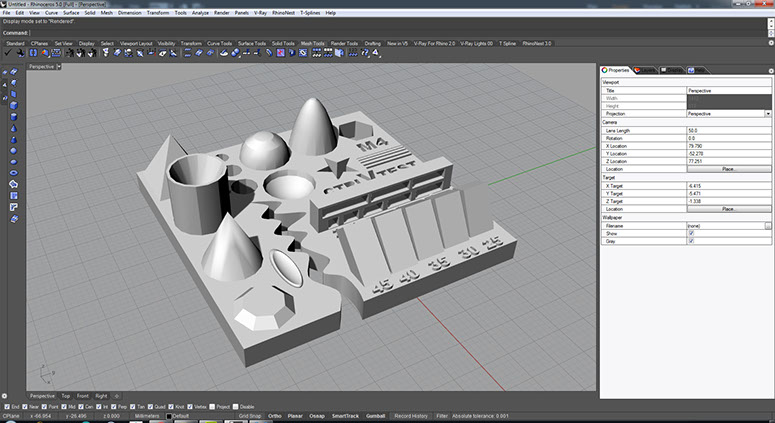
At first we opened the print file in rhino to check clear dimensions that can be taken as reference to compare later with printed object.
Then we imported the file in Cura and set the following settings to get the g.code, it is a file format required for printing. The Nozzel size here is 0.4mm and Material for printing is ABS, Acrylonitrile Butadiene Styrene is an oil-based thermoplastic. It has slightly higher strength, flexibility, and durability than PLA, the other printing filament which we have in our lab.
Print Setup
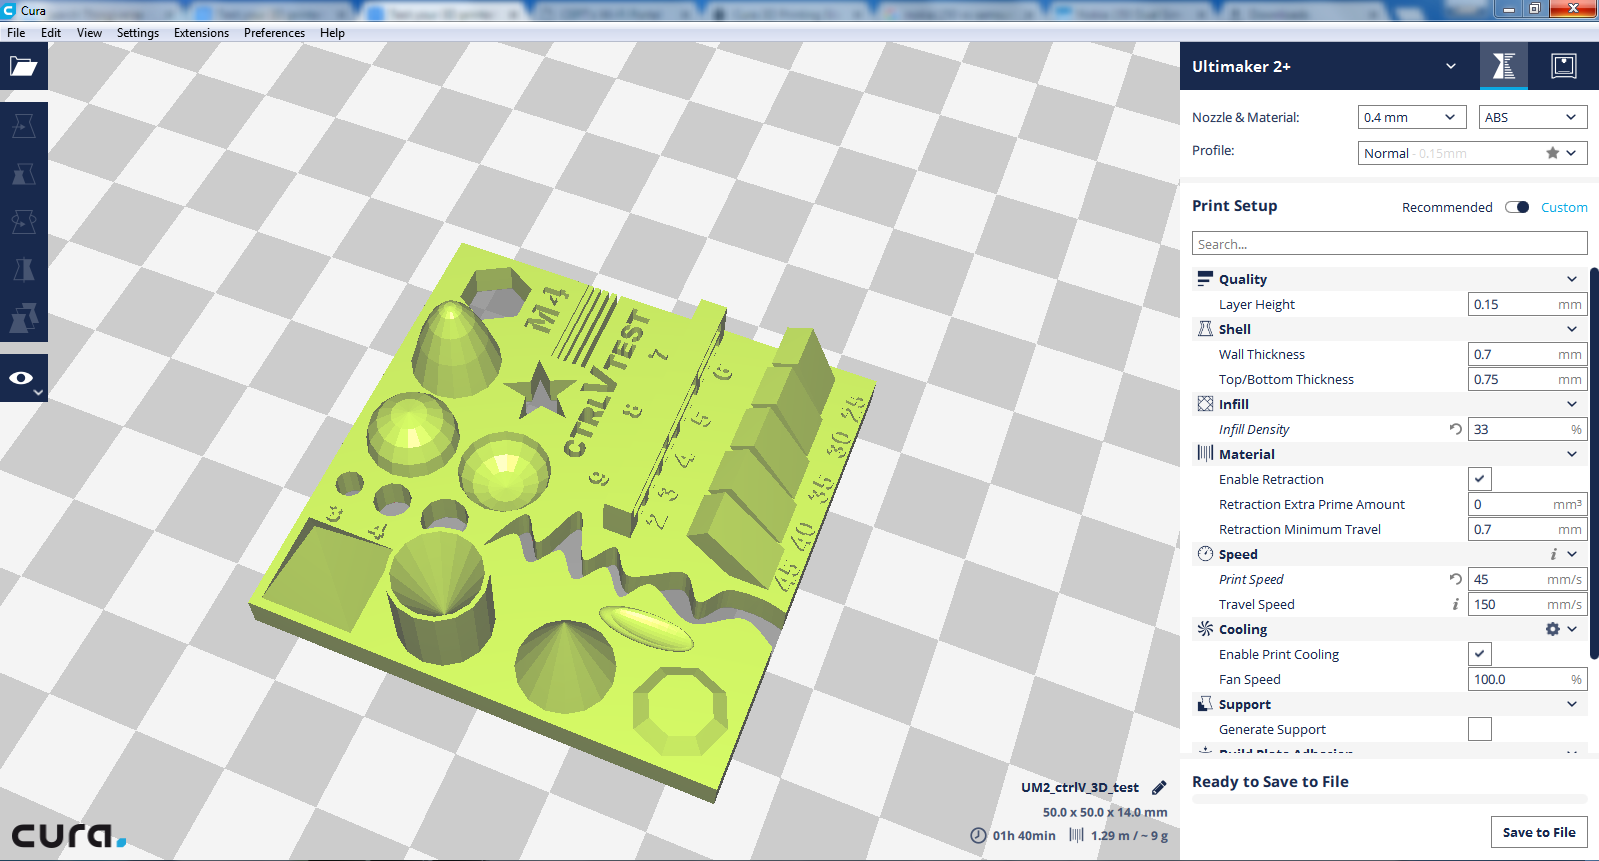
The projected printing time it shows is 1 hrs 40 mins. After setting up the printfile, we transferred the g.code to external card reader. And then loaded the testfile into Ultimaker 2+. Following are the data sheets we referred to get more information about ABS and also take a note of technical properties and saftey precautions of the printing material.
First attempt Failed: As seen the image below, our first print failed. It got displaced from its printing position.
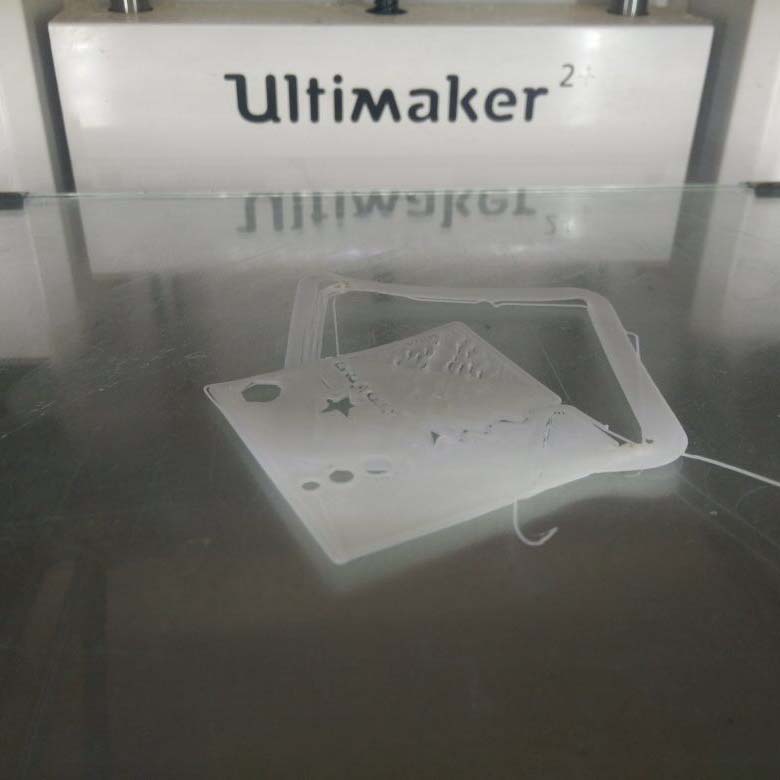
Lesson Learnt: Do not leave machines unattended. If we had seen warping on the edges before, as seen in the image, we could have aborted the print right after the brim started to warp. We learnt form our instructor that the bed is not levelled and also we kept the printing outer casing open which did not allow inside temperature to remain constant. Now, in our later print we will ensure we do not repeat the same mistake.

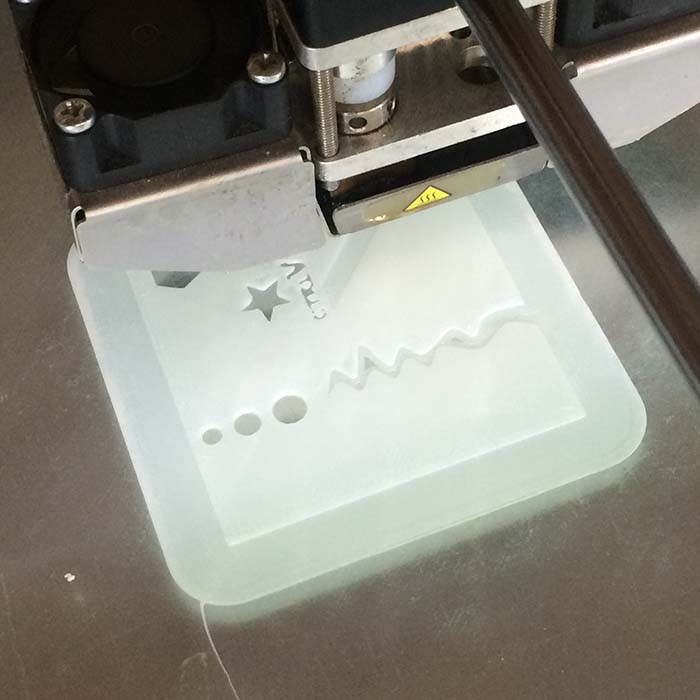
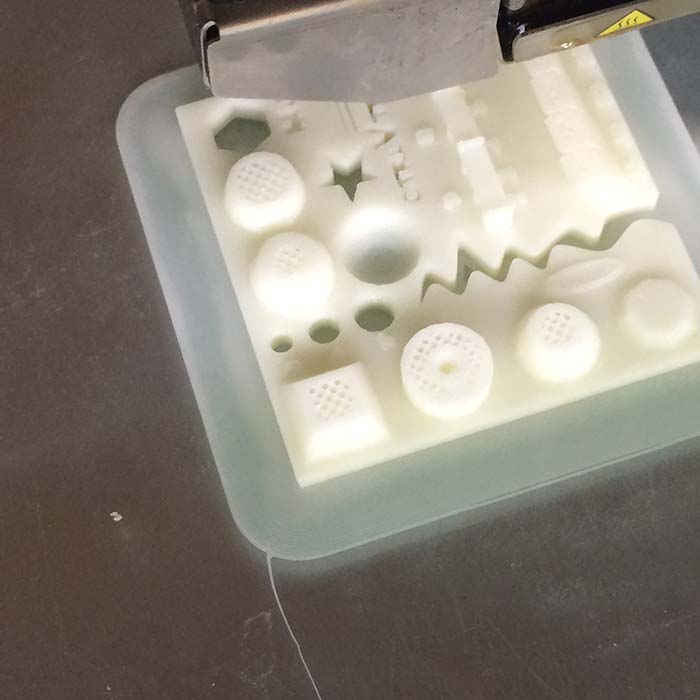
We levelled the bed and kept 250˚C nozzle temperature. We also kept the casing closed to ensure plate temperature is maintained and we get a good quality print in second attempt. And this time we got a good intact print. Print process could be seen in the images below, taken at different stages of printing. There is also a video compilation os the same.
It took close to 2 hrs to print including setting up of the machine.
Following two images were taken after removing the brim neatly.
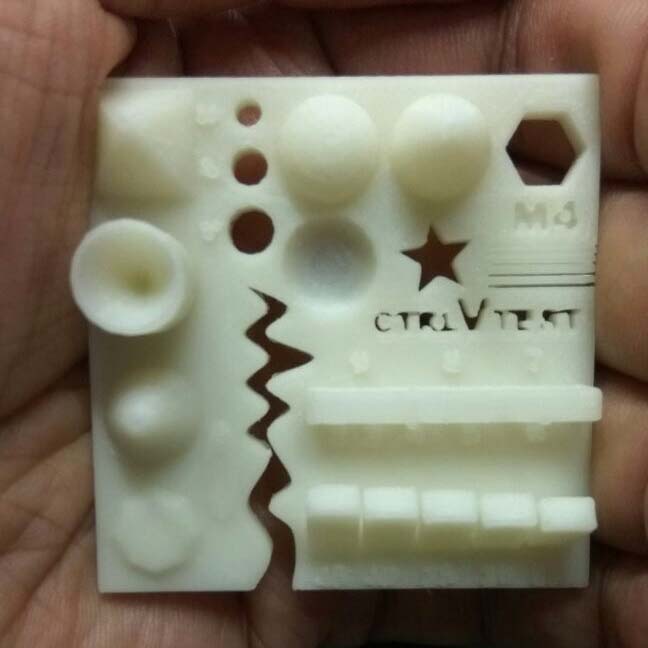
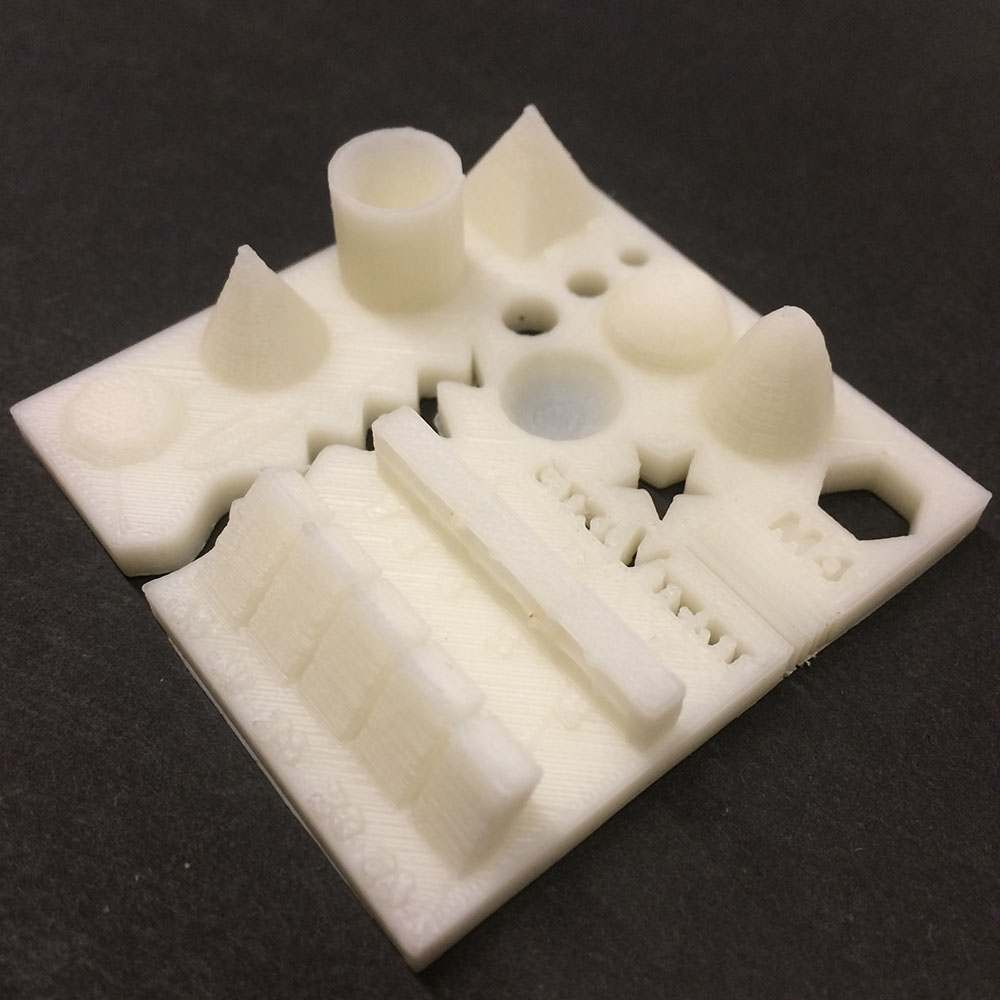
Following are the observations we made:

Conclusion
From 3D test printing exercise we learnt a lot of things. It is important to choose appropriate parameters for complex printing. There could be a lot of things that could go wrong, so first timers must read data sheets of the materials before getting on to printing. From next time onwards, I will be careful about setting up the right parameters, to checking of the bed level, to knowing about the printing material, and last but not the least, ensuring that the right bed temperature is maintained and melting temperature is set.
Our group page for 3D printing exercise can be accessed here.
Task 3- 3D Printing
Design
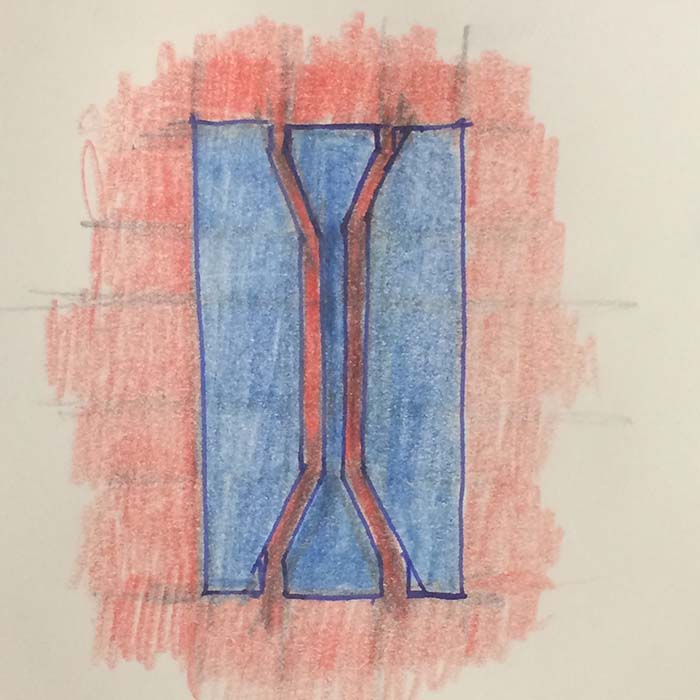
For individual 3D printing exercise, I designed two cylinders, one inside the other. There is a change in the diameter of the base to the diameter at the middle part. This geometry restricts the inside cylinder to fuse with the outerside cylinder and also its sliding out. This allows both inside and outside object to remain within each other. The sketch below tries to explain the longitudinal sectional geometry of the same.
Basically, this object is inspired from an Indian folk musical instrument called Damaru. I am trying to make a little modern version of it, by replacing the tradition leather cord with a stiff stick shaped inner core that is inside the hollow cyliner. I am curious and excited to see if it is going to work or not. Would it be producing sounds similar to the original or very different than it or it won't sound good at all.
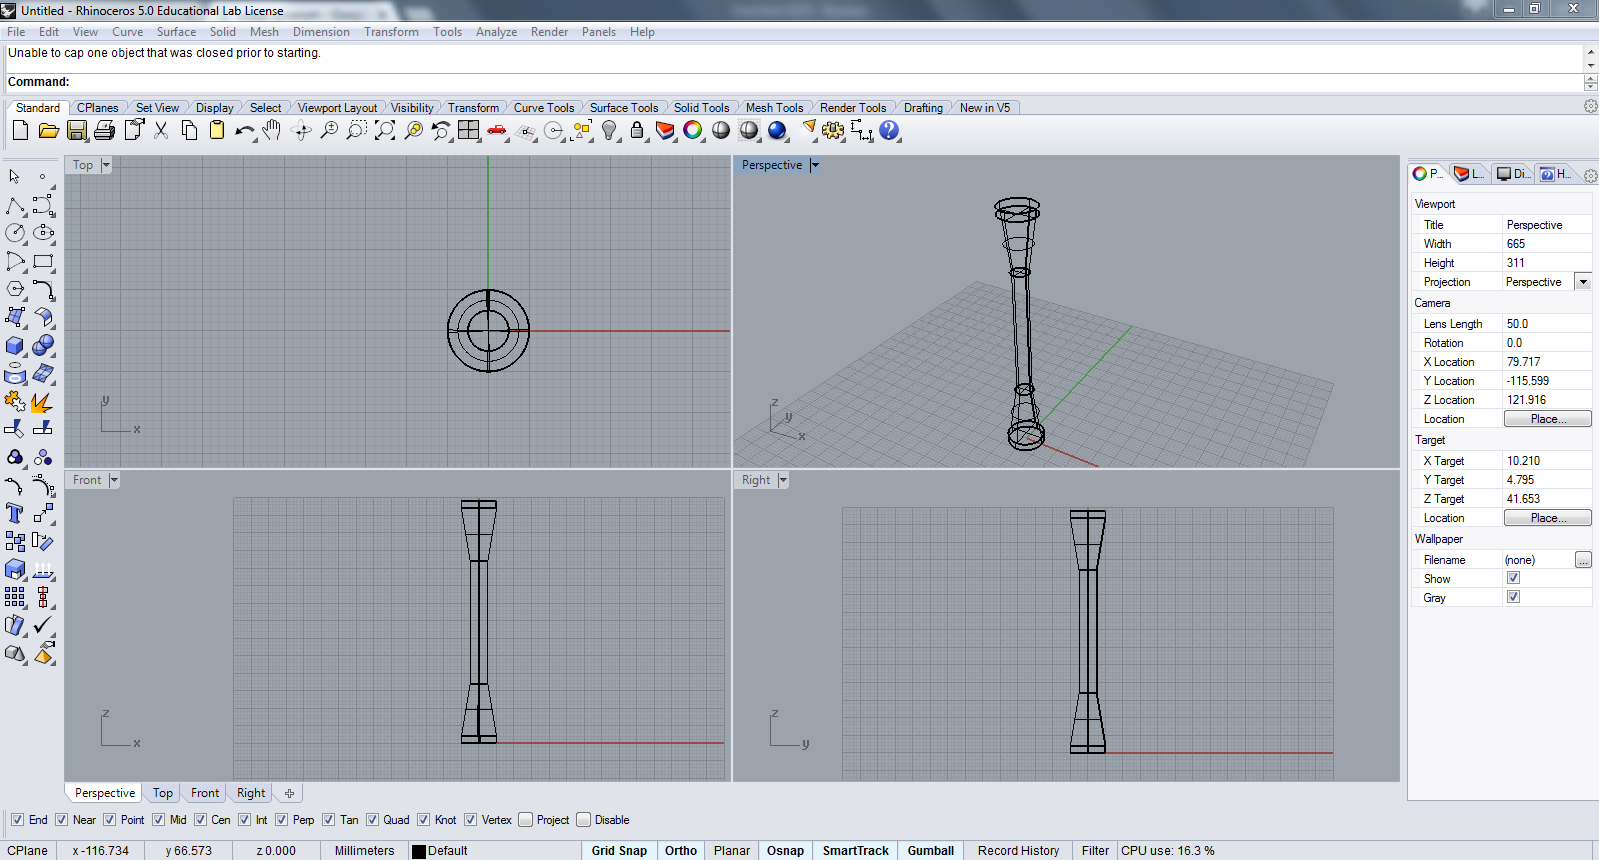
To make 3D of the above sketch, I used rhino software. First I created the inside object using two polysurfaces Cylinder and TCone. Basically, it has a base, a shaft and a capital. Base is created using cylinder command, then the connection between the base and shaft is made using TCone command. And then shaft is created again using cylinder command. Similarly, capital is created as I base and connection is created, but in reverse order. In the image below one can see how it looks like.
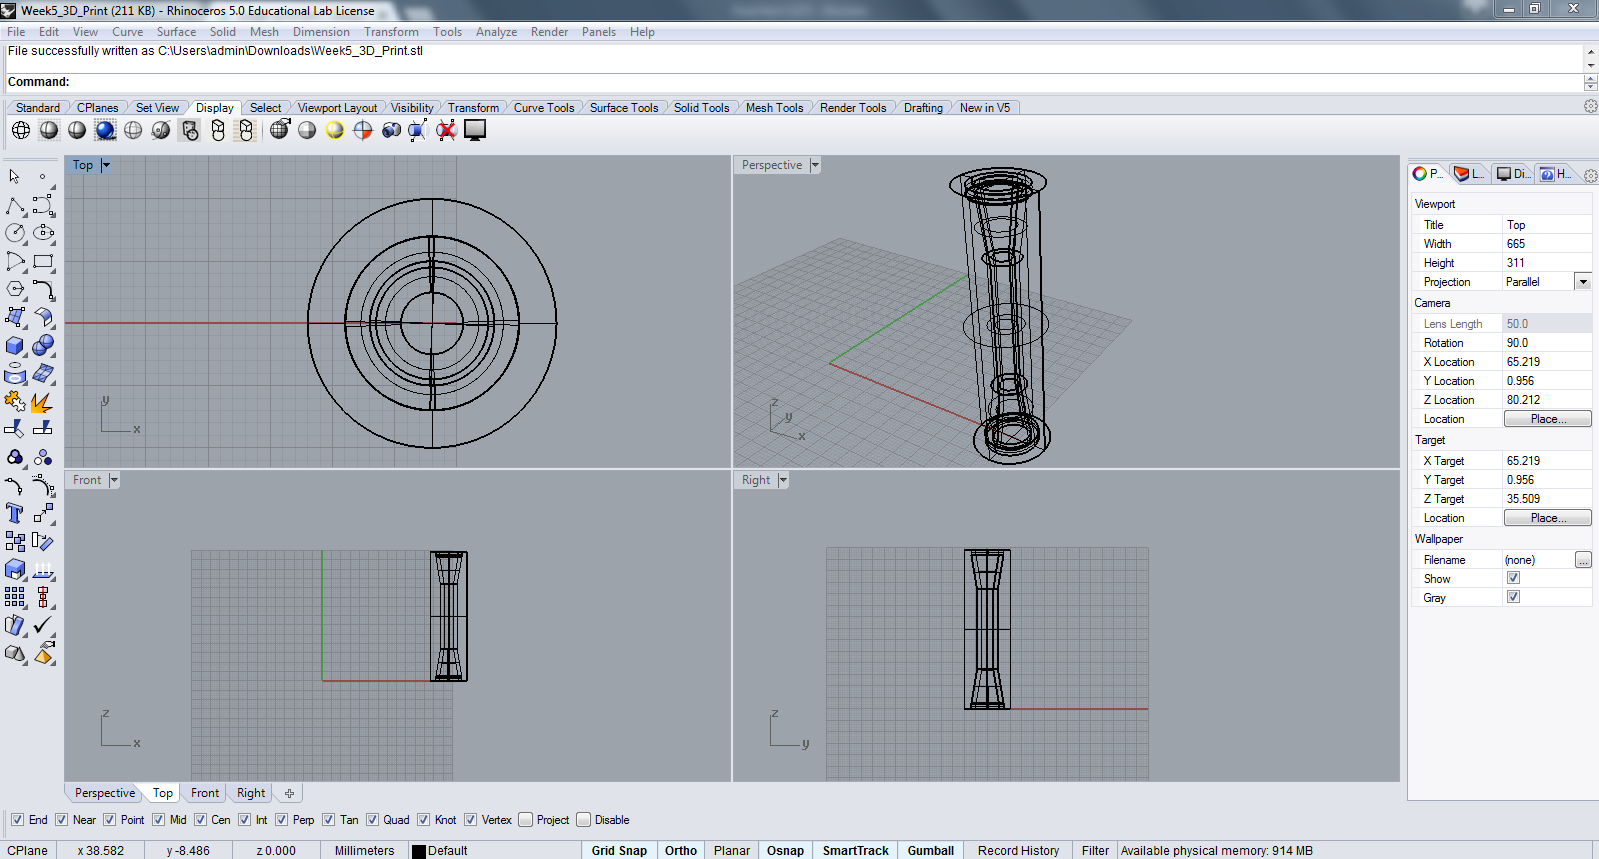
Once I had the inside object, I created another surface using Offset Command ensuring that inside and ouside objects are sufficiently spaced, restricting the inner object to come out of the outside cylinder. Lastly, I made another Cylinder to complete the geometry. Now the only thing left was to cover the top and base surfaces. To complete the model good for printing, I used Cap Command to cover the top and bottom surfaces and my favourite BooleanUnion Command to join all polysurfaces and make it a closed solid geometry. The final 3D model can be accessed here.
Preparing Model for 3D Printing
After generating 3D in rhino I saved it in .obj format. Then opened it in Cura to generate g.code. Then I provided all required parameters for the print. Nozzle size is 0.4mm and material I am using for this exercise is PLA, Polylactic Acid is a biodegradable thermoplastic, made from renewable resources like corn starch or sugarcane. The main benefit of PLA is that it's easy to print. Print quality I have kept is normal with light infill.
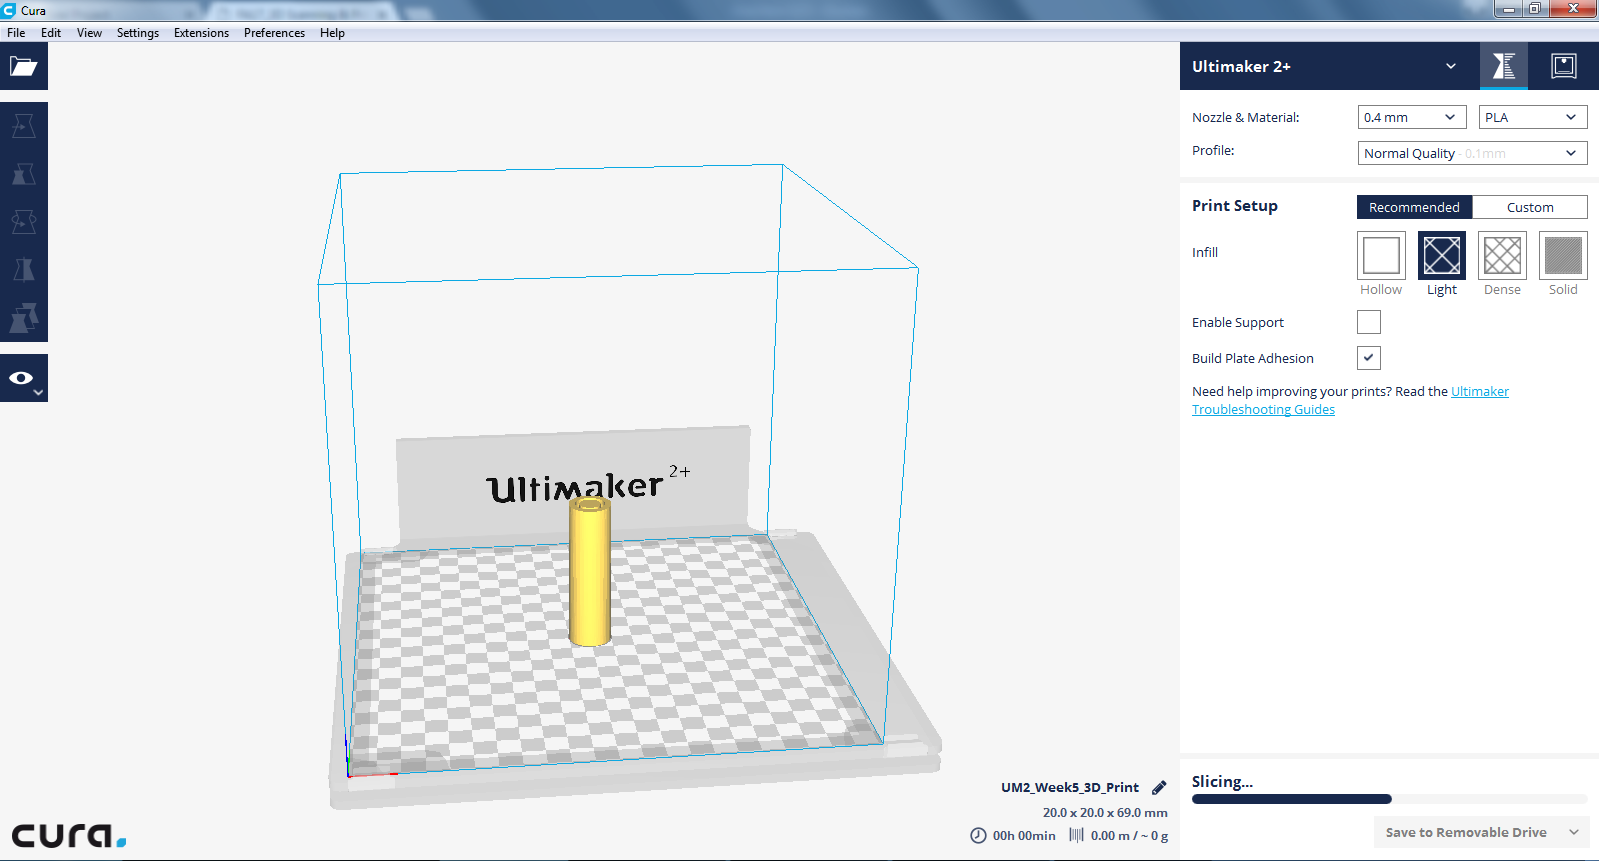
Print Setup
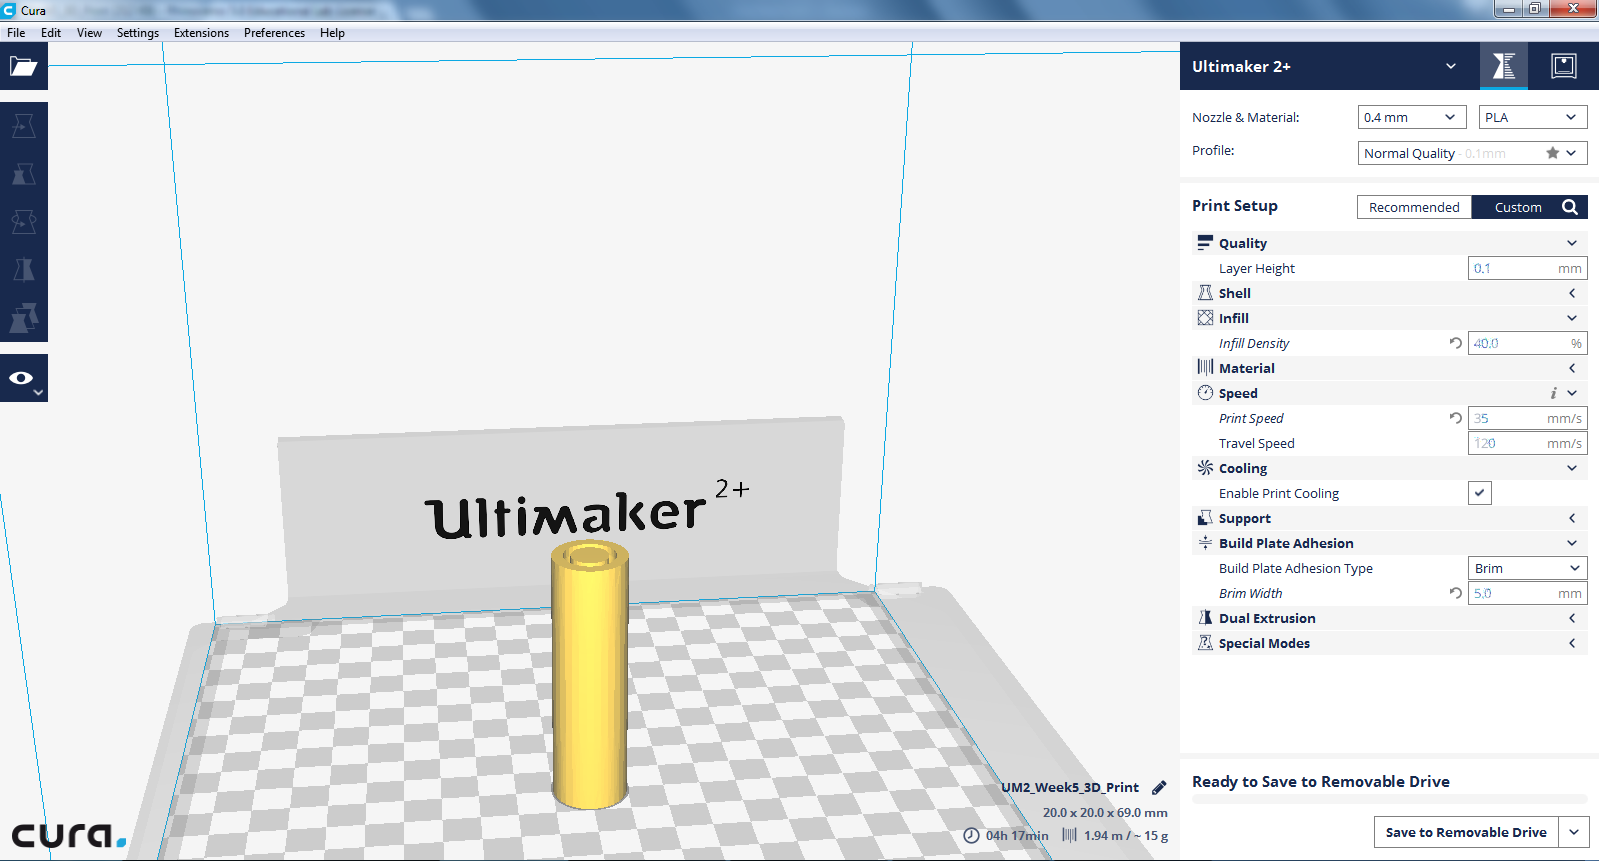
The projected time to print came out to be 4hrs 19 mins. It seems to be a lot, but I am hoping to get a good quality print.
Data Sheets
Following are the data sheets I referred to understand the technical properties and saftey measures to be taken for PLA filament.
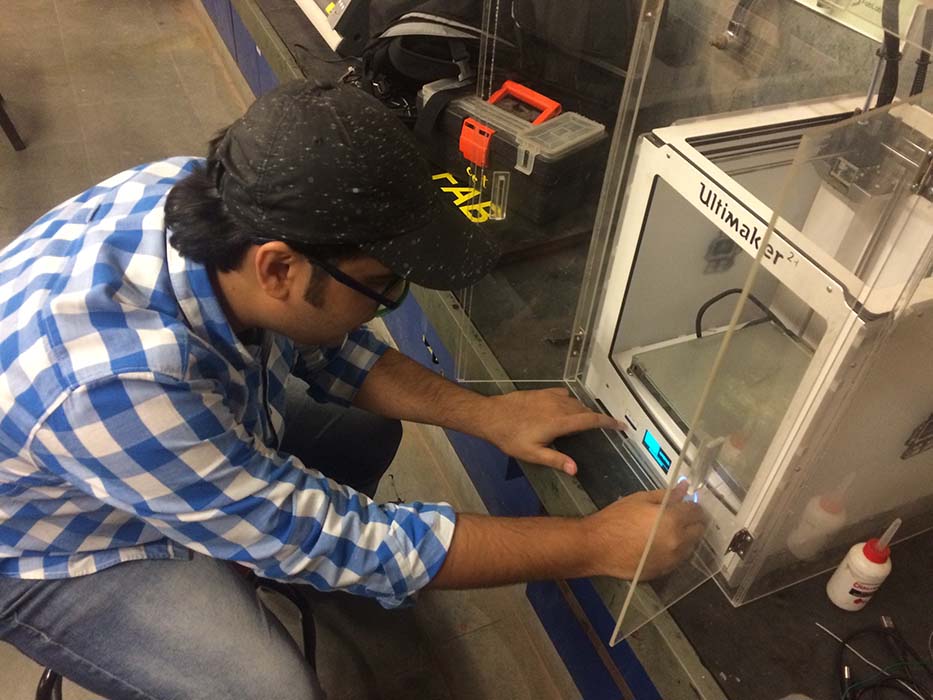
Setting-up the Machine and Printing
After setting up all the parameters I saved the g.code into external memory card. And inserted into ultimaker 2+ to finally print the object. I ensured that the plate is levelled and clean.
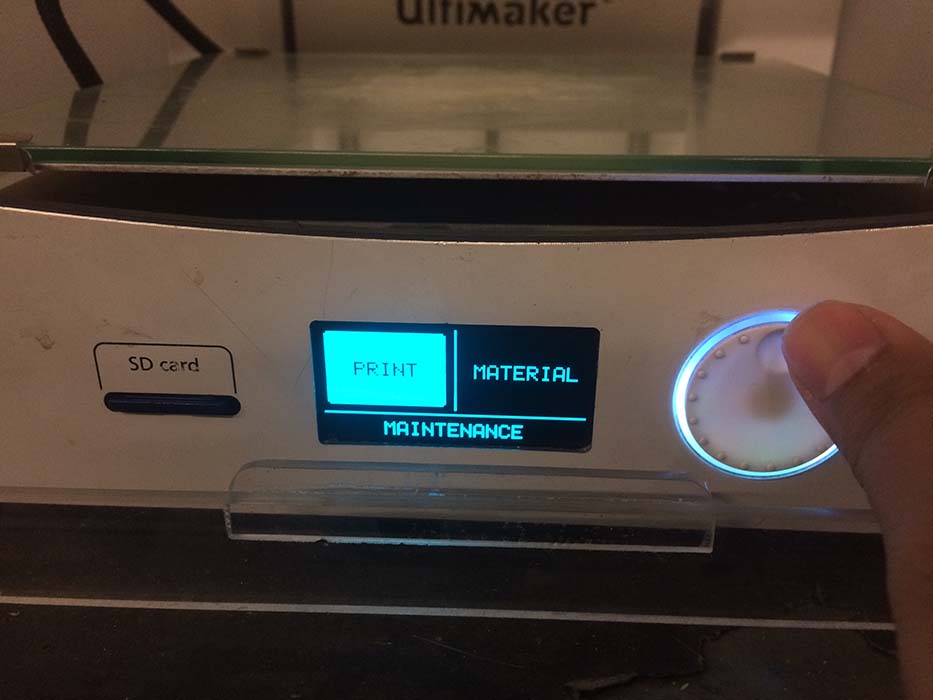
Once the machine is on and SD card insert, I see there are three options - Print, material and Maintenance. I selected print option to move further.
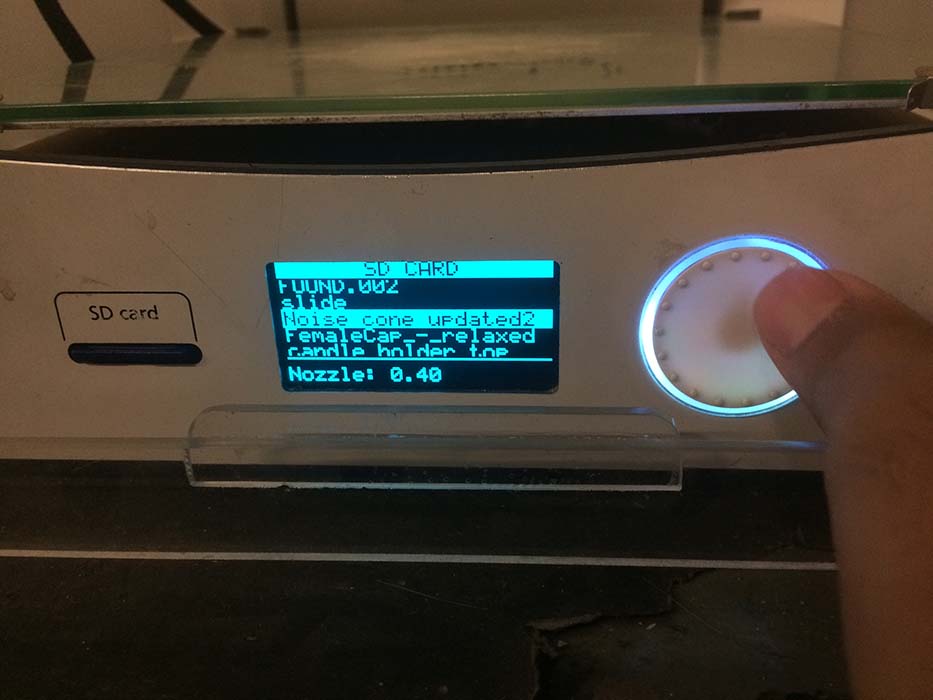
This is what I see once selecting the print option. All the files that are there in the memory card. I choose the file I had transferred and hit on the print.
Printer is preparing to print the file. Showing 4hrs printing time. Id something goes wrong, one may hit pause and ma even abort it.
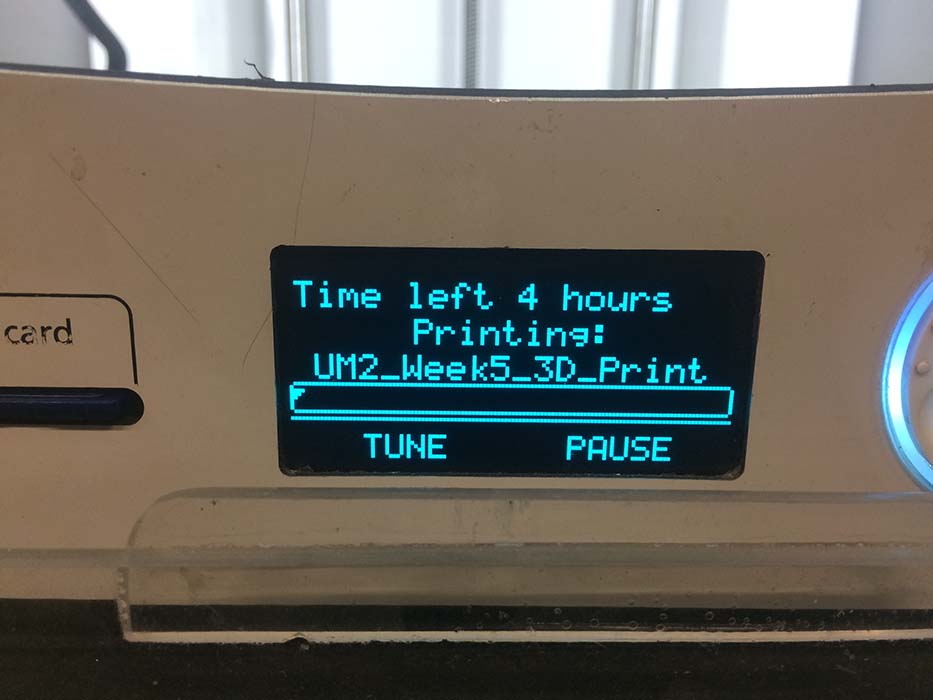
So far, No warping, no damages, looks a good print! But a lot of questions, Is it going to work? Is it tough enough to remain in use for a long? or It's going to ruin?
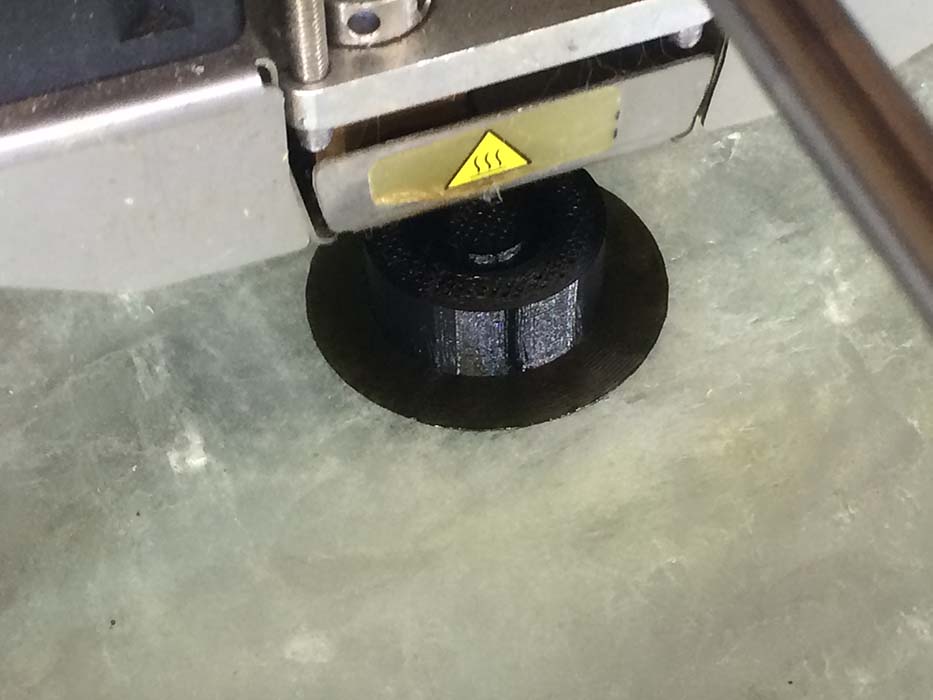
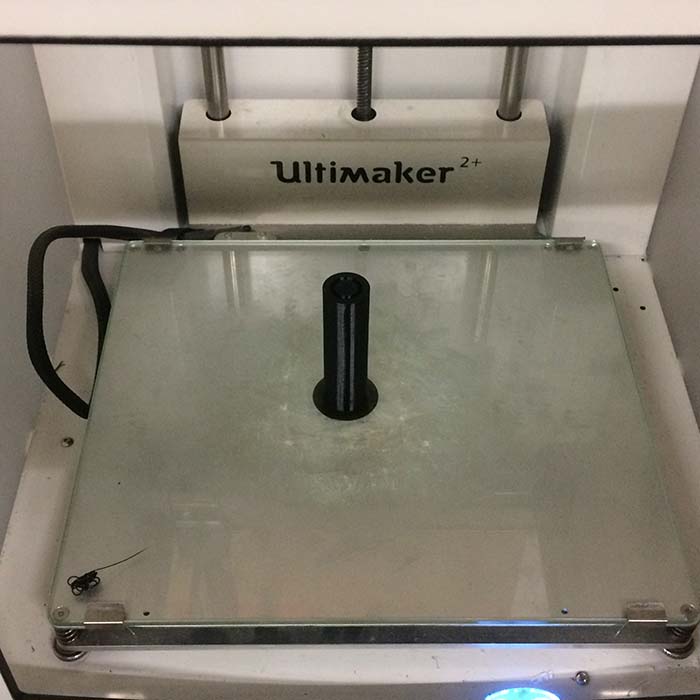
It looks good and seems intact. Let's see if it sounds good also. I allowed it to cool down before removing it.
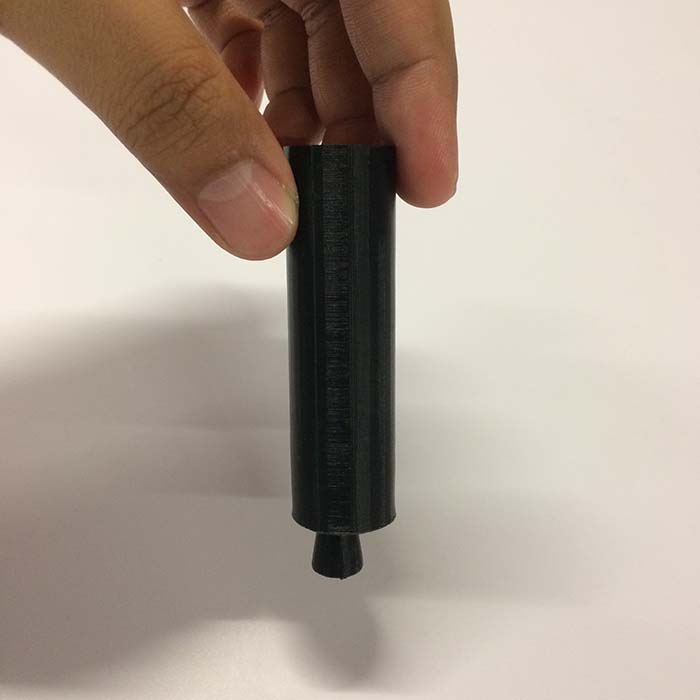
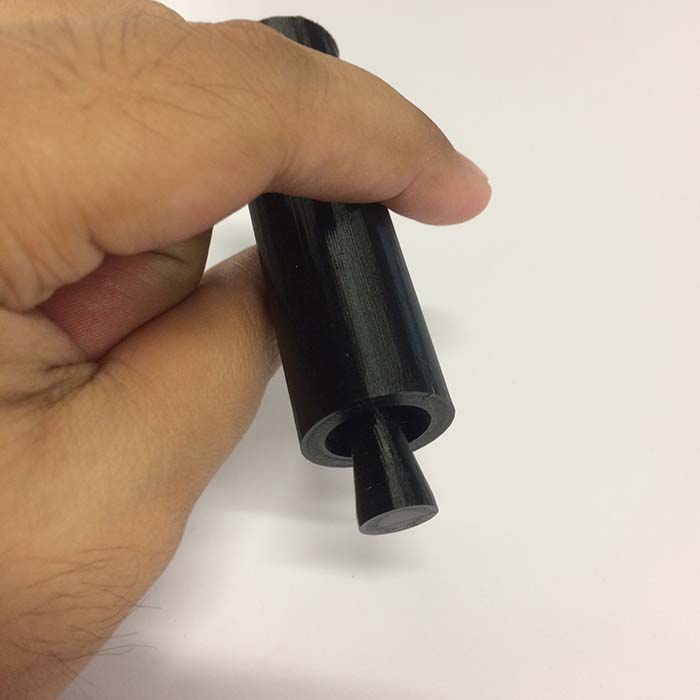
In following photographs I am trying to show that the inside and outise objects are not fused and are sliding smoothly one inside the other without the inner one sliding out of the outer.
Below video shows 3D print in progress. It is a series of small clips recorded at different stages of the printing. It has been edited and combined in OpenShot.
final object
This video demonstrates the 3D printed small object that could not be made subtractively. I tried to test the sound quality by holding it from the middle portion and shaking it well, surprisingly a distinct sound is produced, similar to the original instrument, but slightly harder than the it. This tiny little Damaru is sounding good.
Links
Week 5 FilesWeek 5/ 3D Print/ g.code
Material Info
https://recap360.autodesk.com
https://remake.autodesk.com
http://www.openshot.org