Muhammad Asim Samejo
Composites
This week is all about composites:
-
assignment
- read the material safety data sheet (MSDS)
- and technical data sheet (TDS) for the resins that you're using
- design and fabricate a 3D mold (~ft2))
- and produce a fiber composite part in it
The aim of this assignment is to understand the basics of composites. Composites (as the name suggests) is a material composed of two or more materials having having very different physical and chemical properties. These materials can be stronger, lighter, or less expensive when compared to traditional materials.
In our lab we are mainly working with epoxy resin based composites. Fiber used for this purpose is burlap which is cheap and fairly strong material.
The epoxy rasin we are using in our lab is Entropy Resins . The MSDS for the material is available on the container itself.
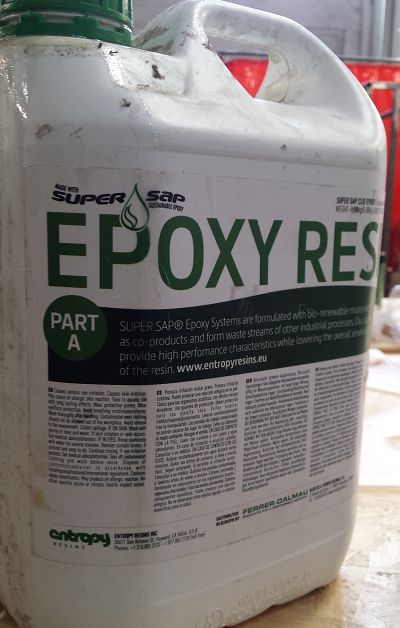
Part-A Epoxy Resin from Entropy.
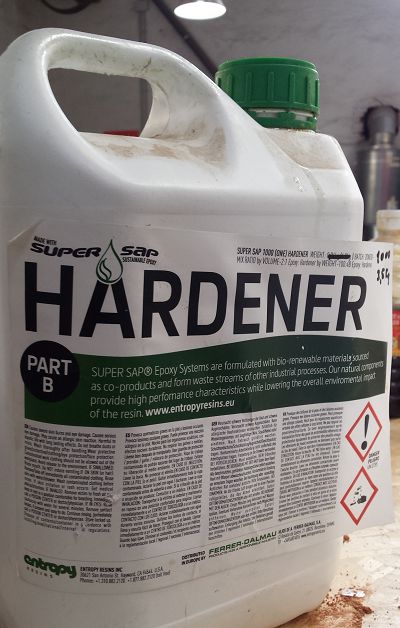
Part-B Epoxy Harder from Entropy.
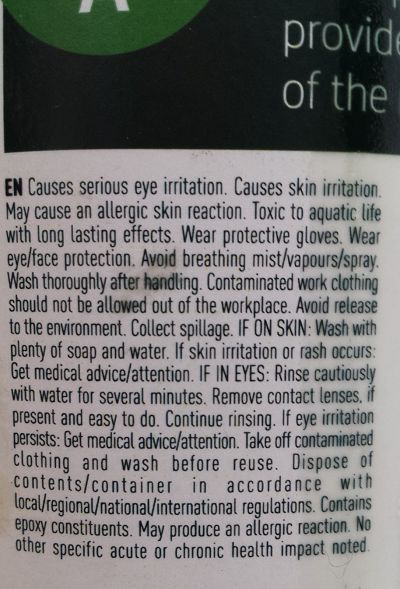
MSDS for Part-A Epoxy Resin.
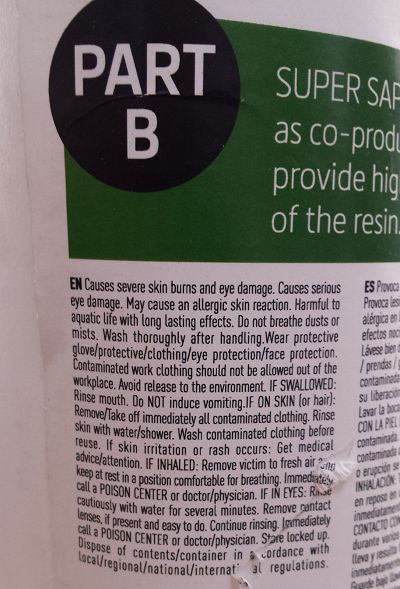
MSDS for Part-B Hardener.
This is commonly used material. Some important technical parameters are as follows:
| Parameter | values |
|---|---|
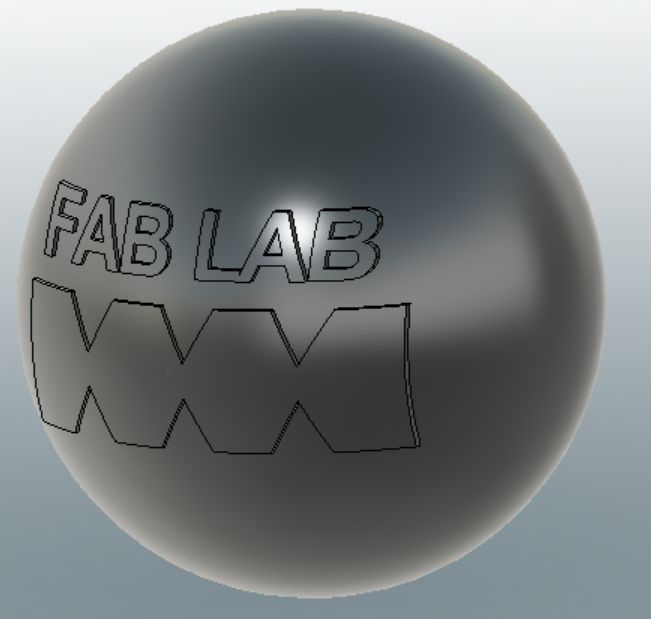
The process of making a composite object starts with the 3D design of the object. For this project I have set out to make a globe made out of burlap with some simple text and design on it.
Preparing the Mold
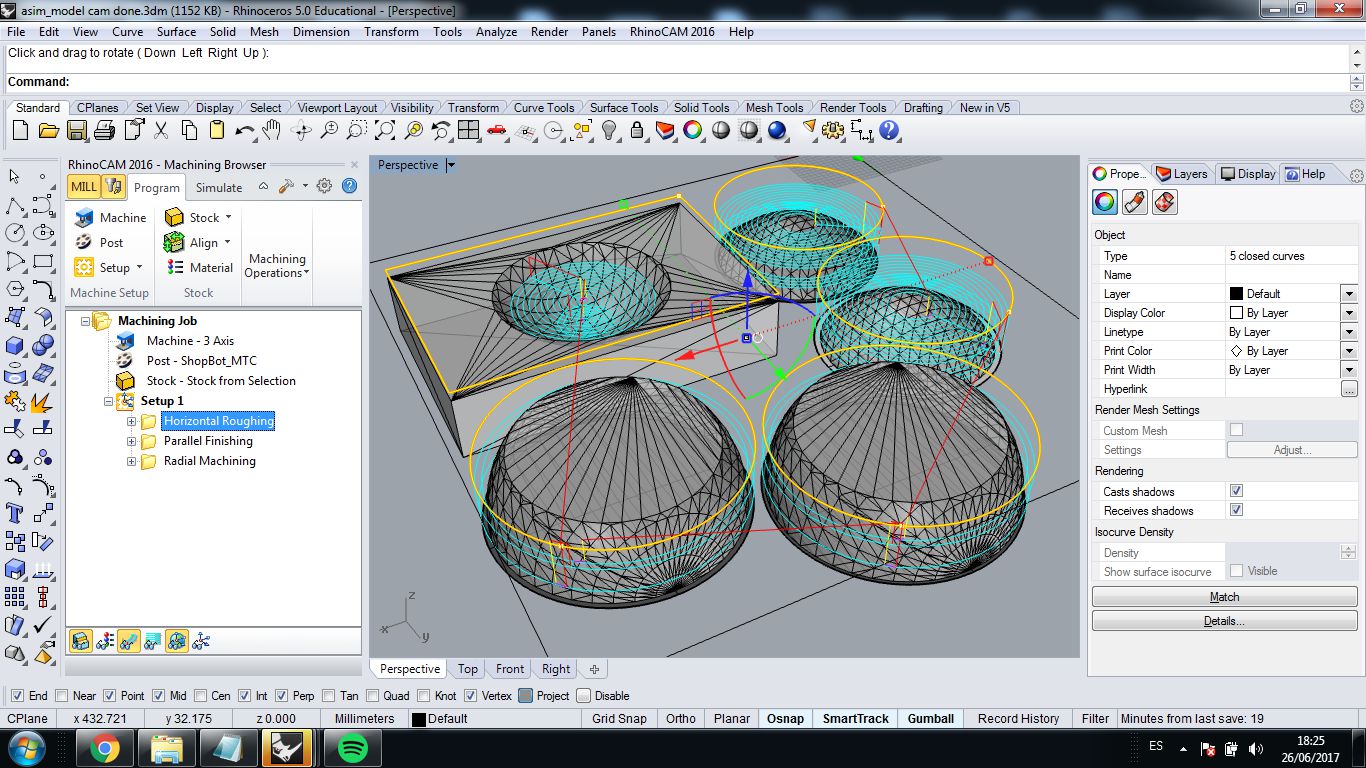
I modeled the globe using Fusion 360 (as I am much more comfortable with it). The rendering of the design below.Once the design was ready I imported the file to Rhino as .obj file. I used RhinoCam to prepare the milling project. The first and foremost thing was to align the components on the stock. Three processes were created roughing, parallel finishing and radial machining jobs.
Three jobs were created
- Horizontal Roughing
- Parallel Finishing
- Radial Machining
This job makes the surfaces (to be worked on later) smooth.
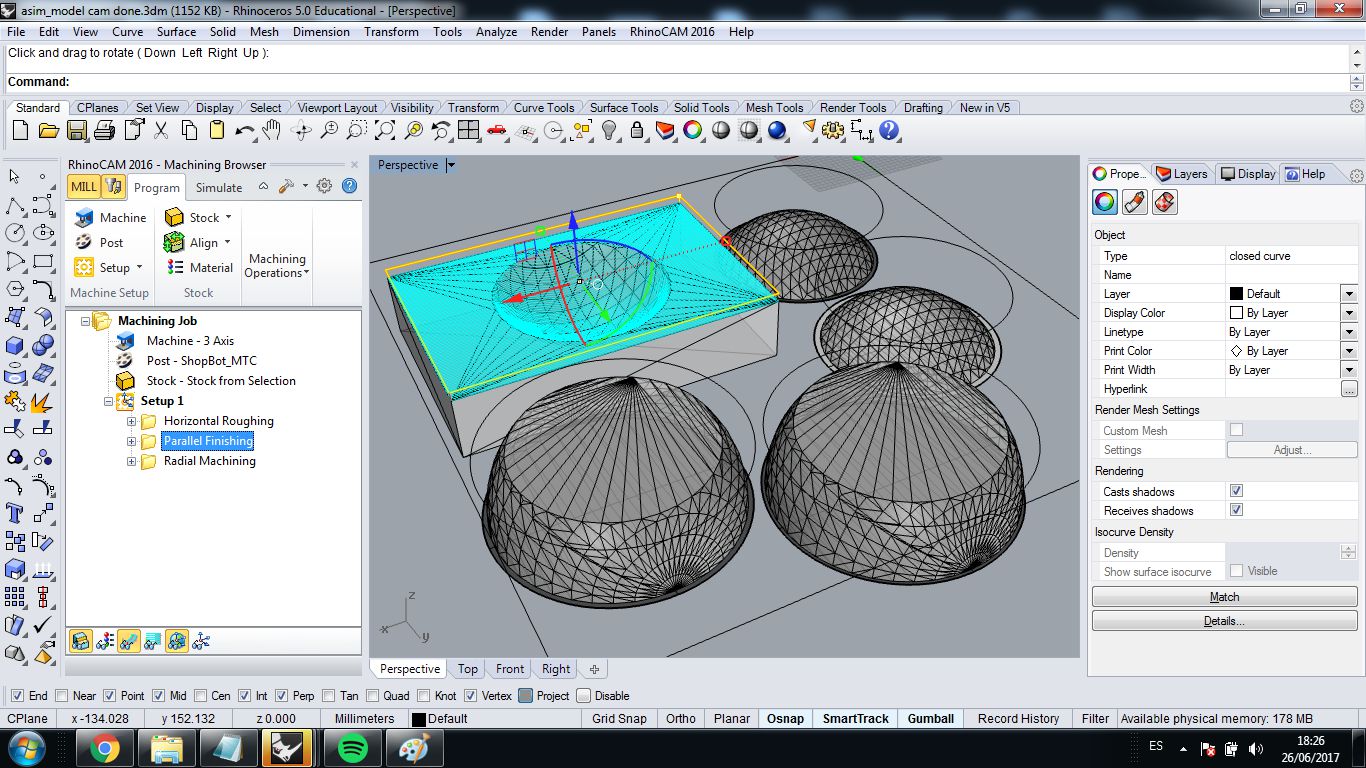
Creates the required results with linear milling operation.

Creates the required results with radial milling operation.

Pre-processing files with Rhino-CAM.
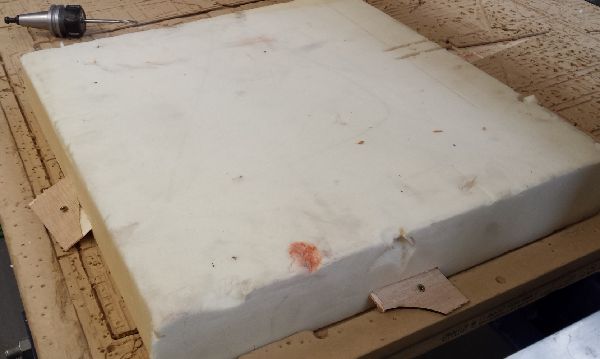
Placing and securing dense foam on the machine.
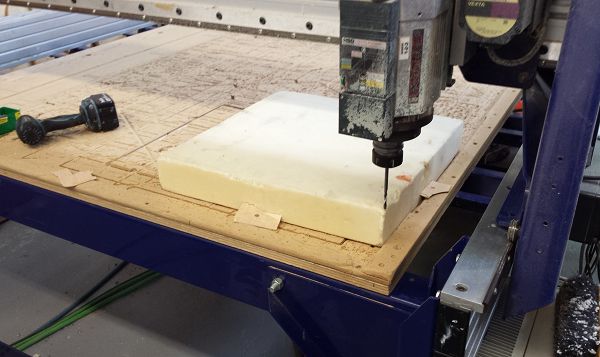
Setting up the required milling tool and the origin.
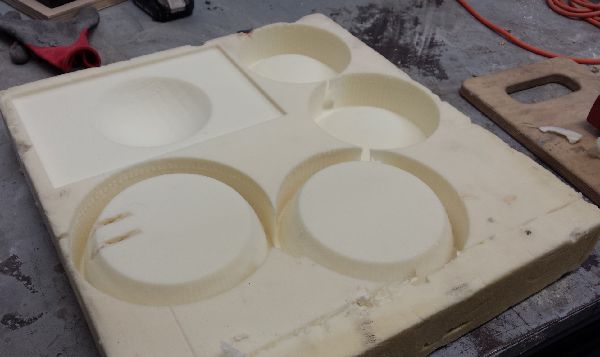
The milled output.
I started the milling process on Shopbot. One hour later I had the bits and pieces of my model scattered all over the place. After carefully cutting the material first with saw and then blade I was able to stick them together in one piece.
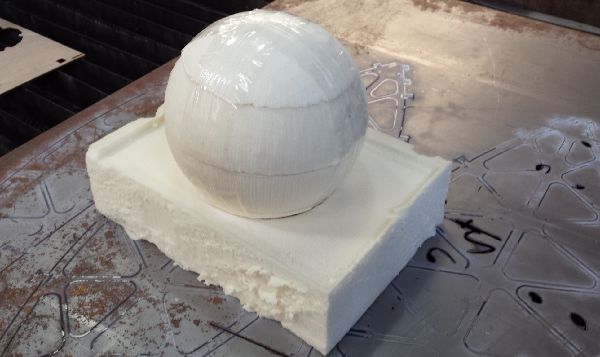
Well it was not a perfect sphere by all means but thats how far I could go.
The fabric to be composited was supposed to be laser-cut but couldn't make it due to tight schedule. Ultimately I decided to prepare thin layers of burlap fabric.
We are doing an epoxy composite which is discussed above so I had to prepare the material in prescribed ratio. The process is very complicated as it involves several layers of different material is a precise sequence to work.
The Implementation Phase
After mould was packed, I started by laying up the required layers on the vacuum table. The order in which these layers layed out were as follows.- Release film (Plastic Sheet)
- Composite Design
- Thick perforated sheet for absorbing excess epoxy resin.
- Breather sheet.
- Release film (Plastic Sheet)
The sequence is illustrated below

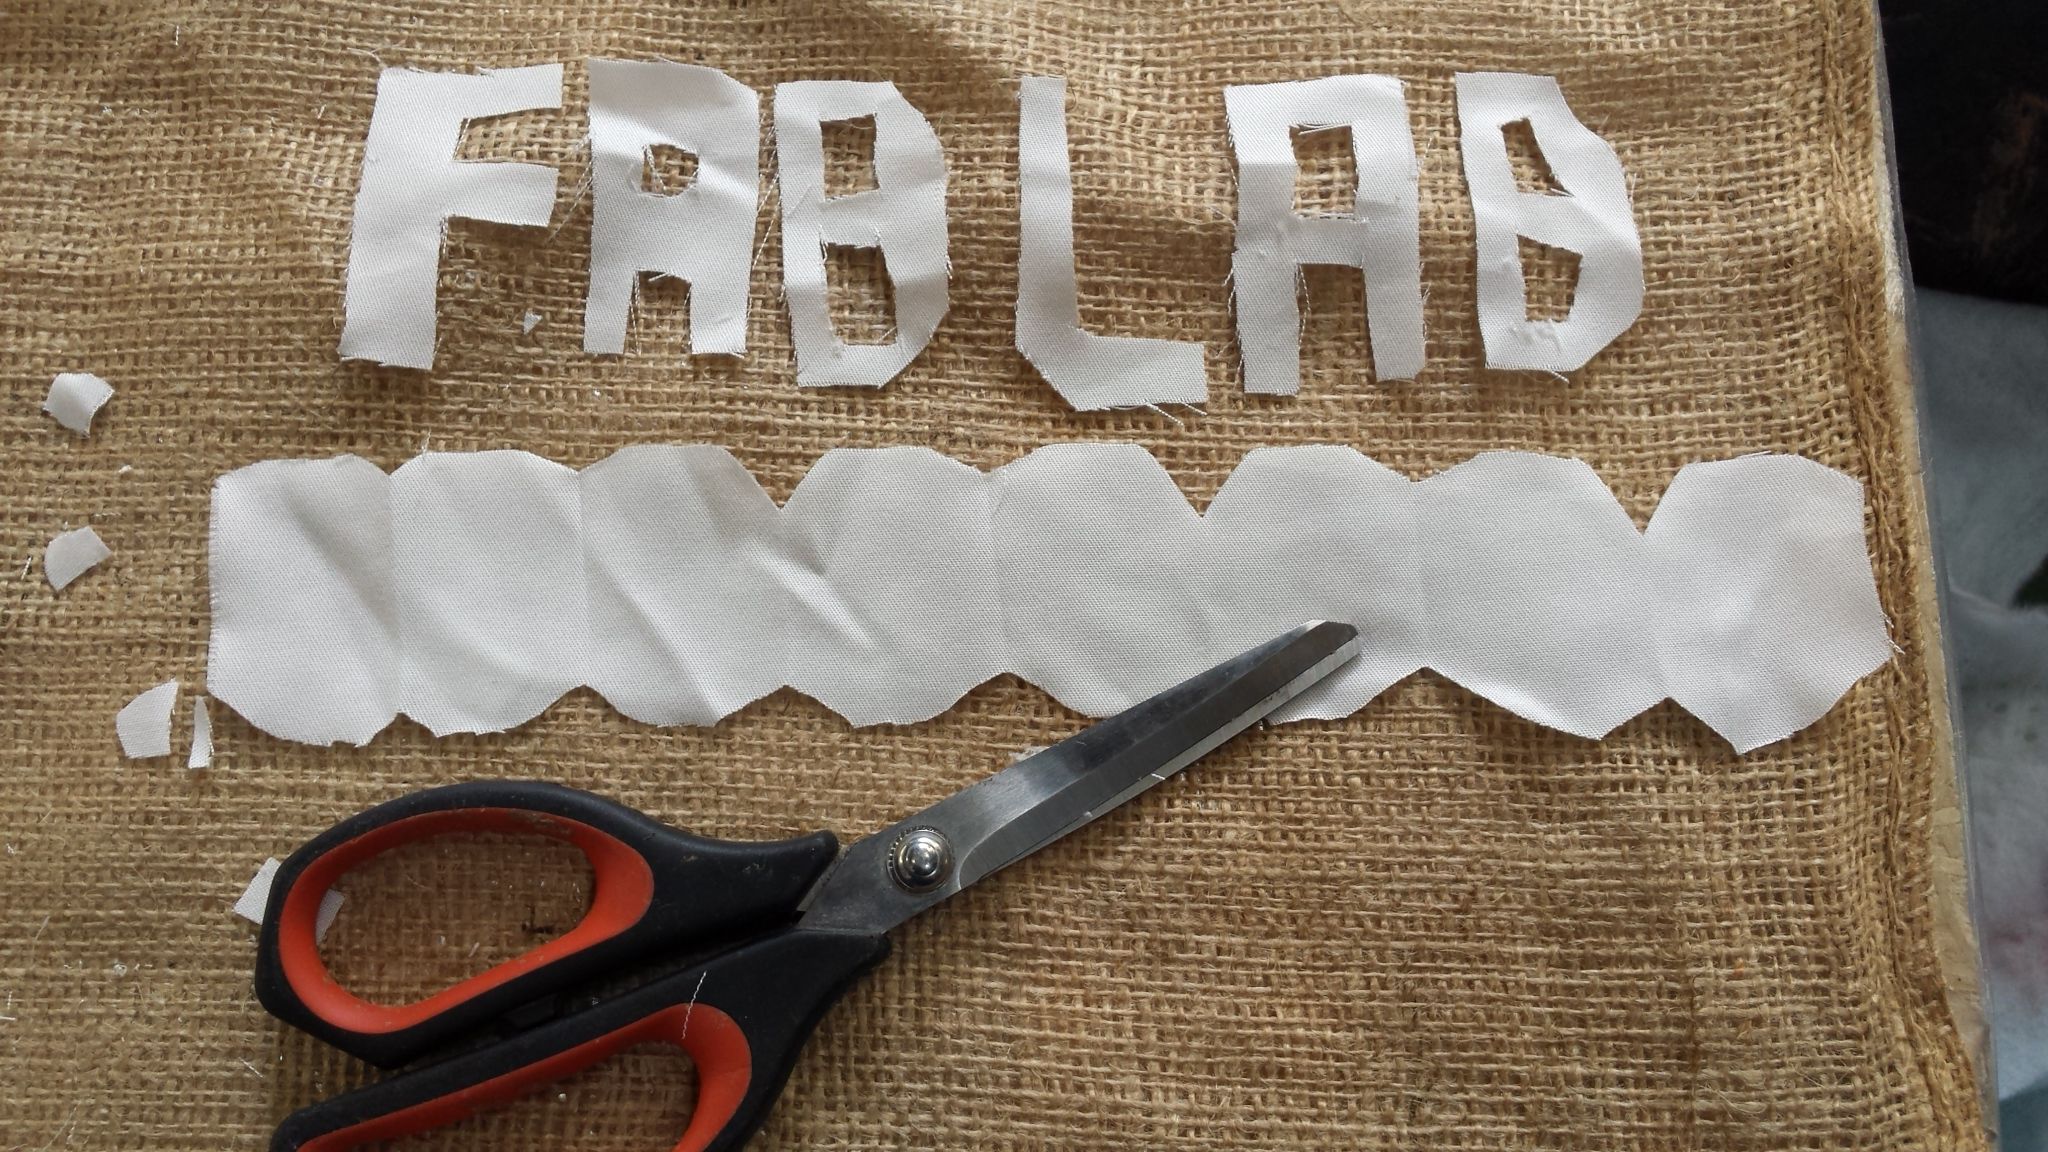
Next I started cutting the fabric. Since I was planning to make decorative sphere. I wanted to see how different type of material blend together so used thin-net like fabric with burlap and white cotton like fabric. I realized that thin net fabric would wrap the globe perfectly however a single sheet of burlap will not wrap up the mould. I decided to laser-cut the burlap sheet by unfolding the spherical surface in Rhino. But unfortunately the laser cutting machine was not available so I had to go by simply cutting the burlap in long stripes.
It was really tricky and from my experience I realized that it must be cut very very carefully. If possible exact patches of the material must be cut with careful planing.

The first thing to do as you start the assignment is to plan the fabric. How much fabric would be needed and how is it going to be laid out.
For this assignment it is very important to work in team as things can become very messy very quickly. It is impossible to take pictures if you have epoxy dripping gloves on your hands. The layers of material on vacuum machine should be in place a priori.
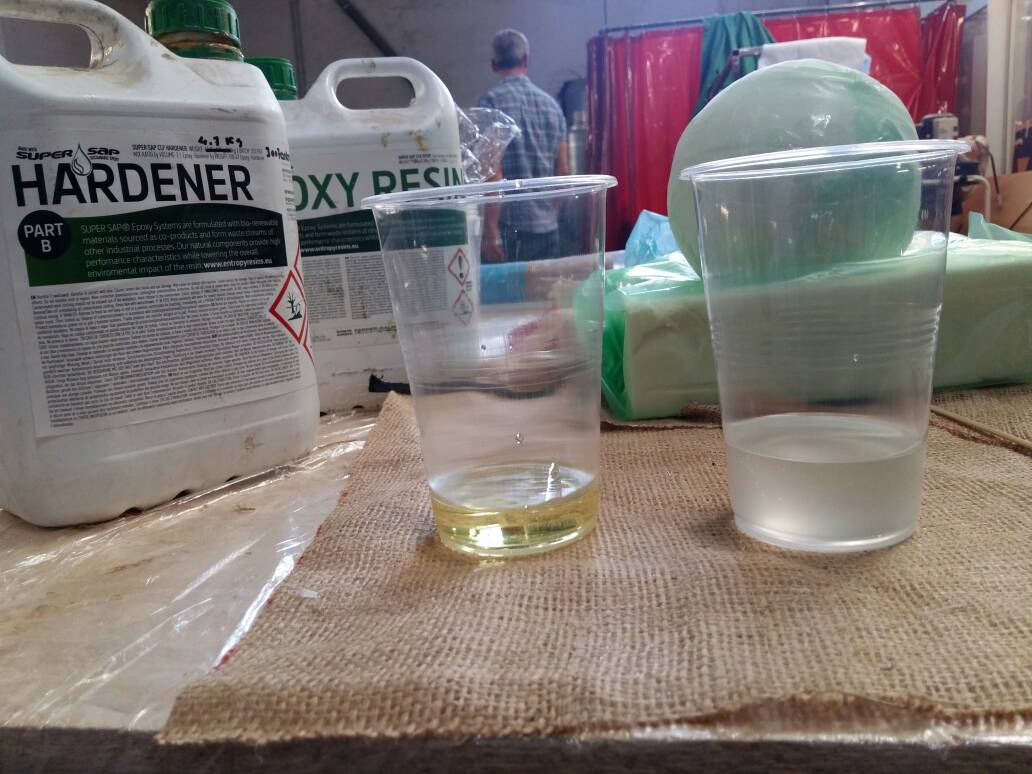
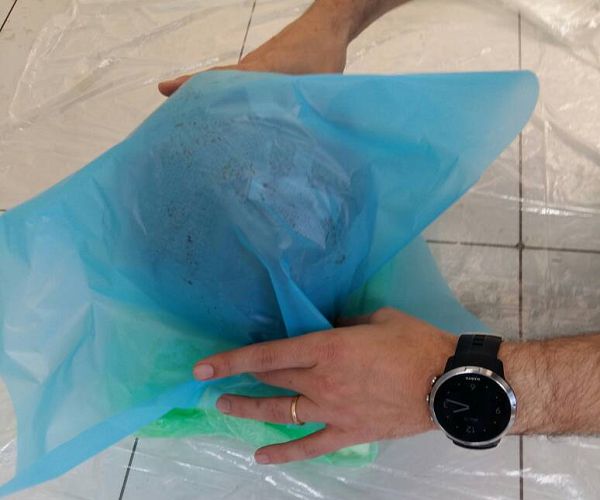
Once the material is ready I started by pouring the epoxy resin and hardner in 2:1 ratio and stirred the material for about 5 mins. Since this is an exo-thermic process the temperature of the container rises slightly.

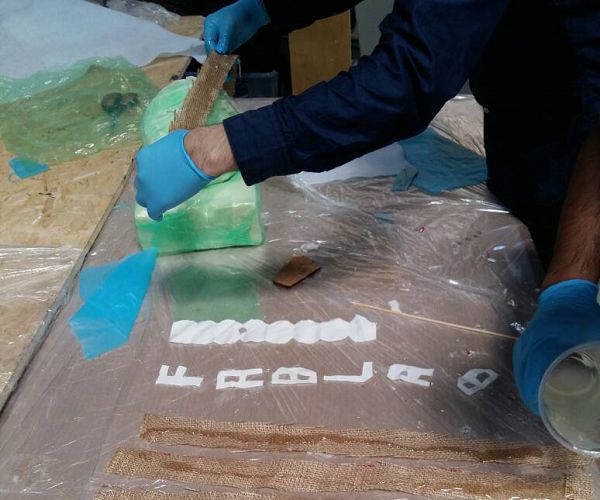
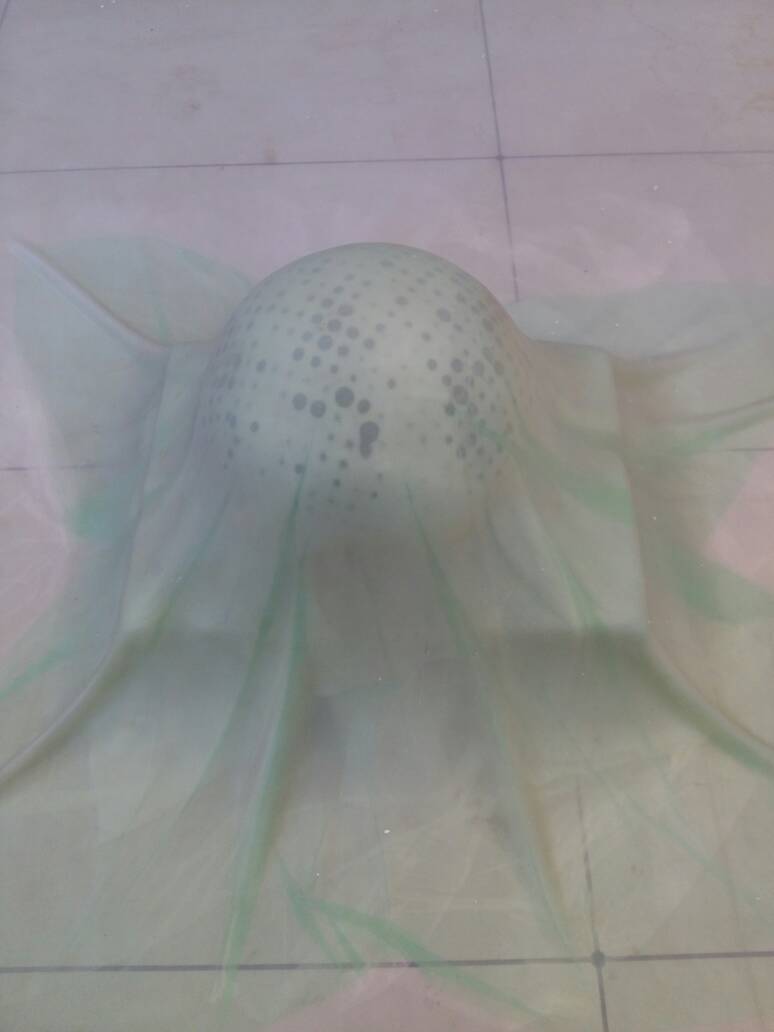
I soaked the net material with epoxy and then I started pouring the mixture on the burlap sheets and gently rinsing the burlap with a chop stick.
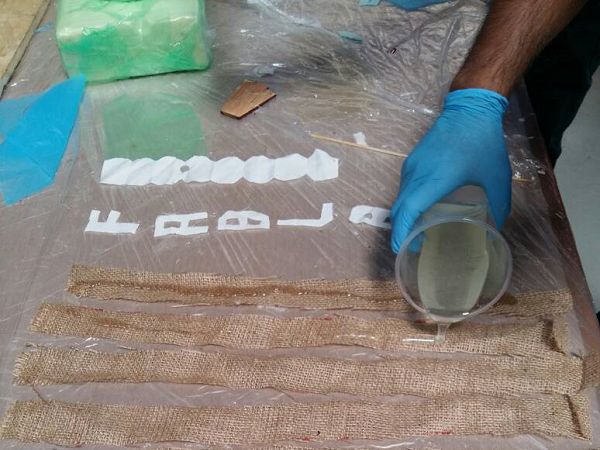
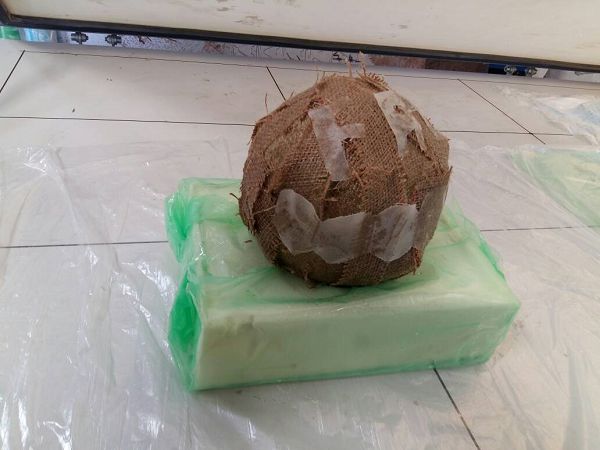
I would like to thank my friend Sohail and Fida for helping me place the burlap sheets onto the mould. This was a strange experience for me as I nearly ran out of epoxy mixture and the burlap stripes didn't fit as perfectly as I would have like. It was the exact feeling you have when you don't know what you are doing! :)
The burlap immersed material was not holding together as can be seen in the picture below.
The first layer we placed on our composite was perforated film.
Which was followed by the breather layer.
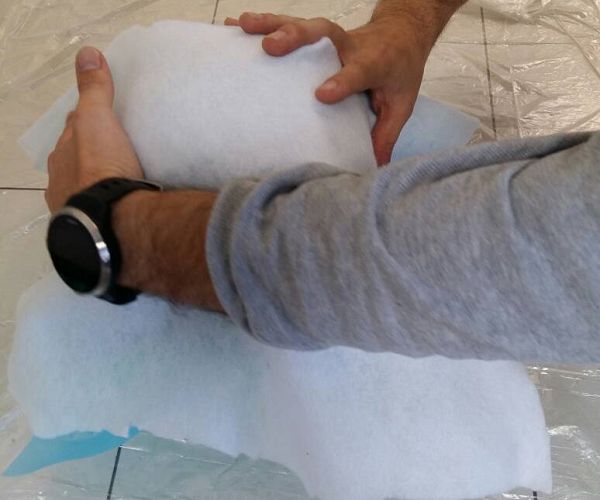
and then the release film and every thing was placed in a thinnest of plastic sheet to prevent any epoxy leaking into vacuum machine.
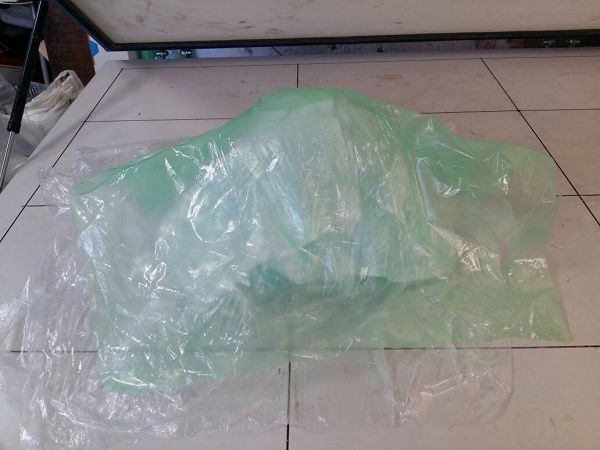
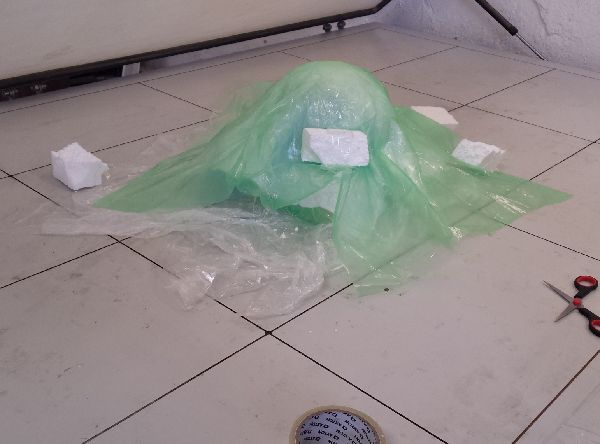
Santi advised me to put some packing materials at the sides of globe to ensure the vacuum force pulls everything downwards. So I placed packing material and had to tape it up. At this point I realized that vacuum machine may not be best suited for such designs.
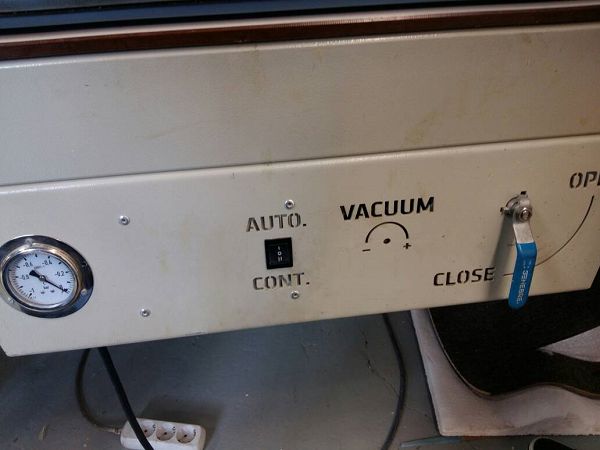
just after squeezing everything in place I slided the lid down and santi turned the vacuum machine on.
a few minutes later I noticed that the epoxy rasin was oozing out onto the breather layer which means I was in business :)
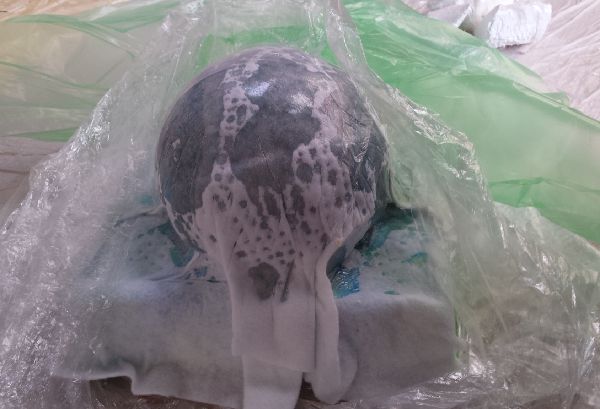
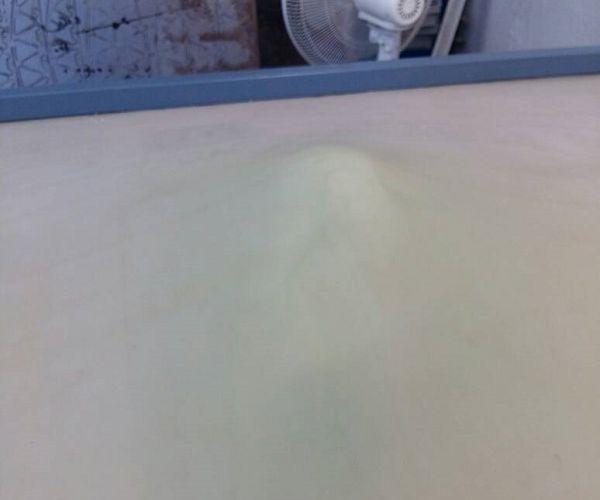
The next morning I found this lump of a material.
My instructor remarked that probably I had used more epoxy than required. I noticed that due to vacuum sucking everything down, the epoxy resin has settled as a layer at the perimeter of the base plate hence I didn't get an exact sphere I would have wanted. But that was a useful experience to take away.

The white text and design are barely visible.
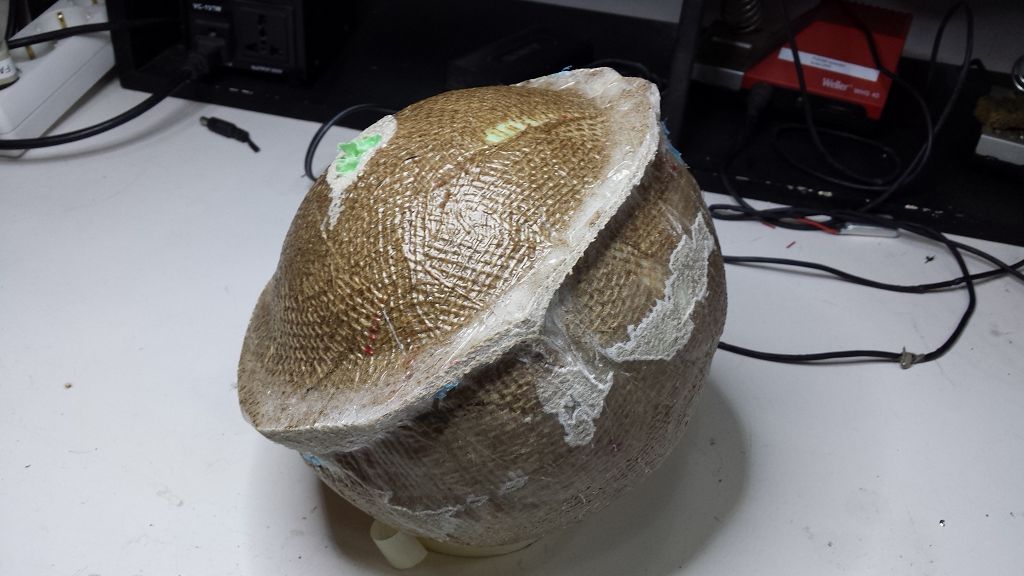
The pressure of vacuum machine created undesireable results.
Learning Outcomes
- Composites are very useful,light wieght, durable and cheap material which can be designed to customized size and shapes.
- This process require evacuation of air from the material through vacuum machine or vacuum bags.
- Although very robust and useful, composites may not be the weapon of choice if we require highly precise design with minute details.
Downloads
Autodesk Fusion 360 files here.find all source files here.

This work is licensed under a Creative Commons Attribution-ShareAlike 4.0 International License
Copyright © 2017 Muhammad Asim Ali
This work is licensed under a Creative Commons Attribution-ShareAlike 4.0 International License
Copyright © 2017 Muhammad Asim Ali