Muhammad Asim Samejo
Input Devices
This week is all about sensors:
- measure something: add a sensor to a microcontroller board that you have designed and read it.
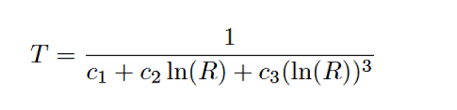
For this assignment I chose to use temperature sensor. The sensor considered for this assignment is a 10k Ohm thermister. The resistance of thermistor reduces significantly with the increase in temperature and thus are known as Negative Temperature Coefficient (NTC) sensors. The datasheet of the sensor considered for this assignment is here . The temperature resistance relation of this sensor is known as stienhart-hart equation.
On the Fab Academy page on input assignments a very elegent PCB schematic is already available and I choose to use the same design adding a couple of LEDs for debugging purposes.
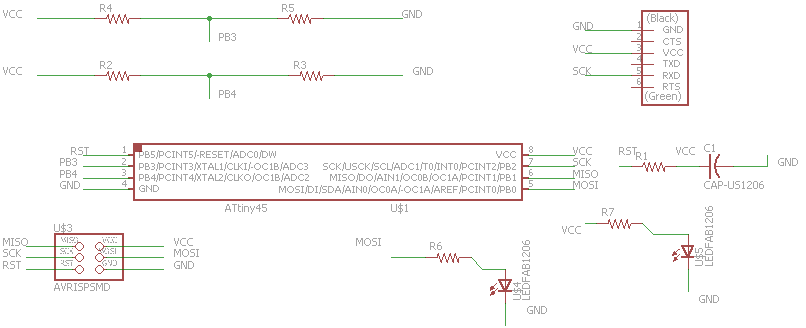
Electrical Schematic with tiny45.
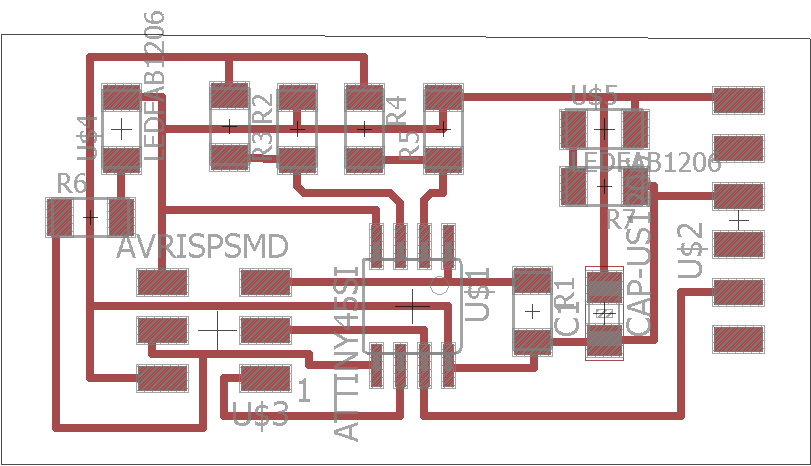
Final PCB layout.

Png file for traces.

Png file for the cuts.
The result of the PCB milling was not completely clean. It's hard for me to exactly figureout the reason but I think either the tool or inappropriate adjustment of tool on z-axis could have caused this issue. I used sharp blade to smoothout the rough surface and checked the traces multiple times (with DMM) to avoid further complications.
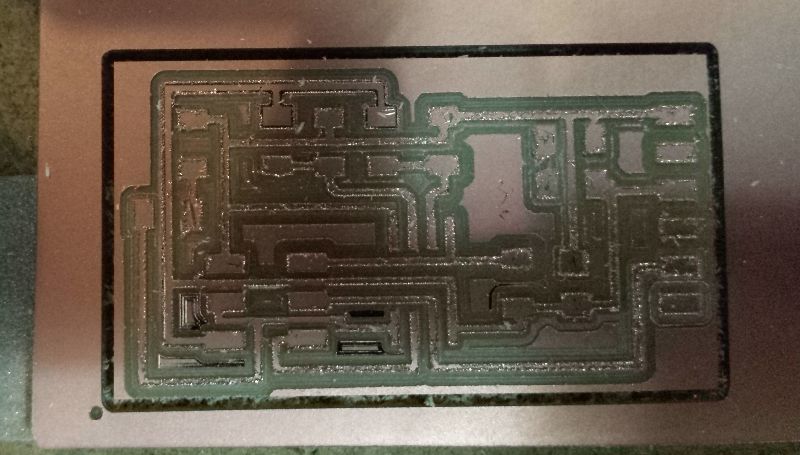
The rough PCB after milling.
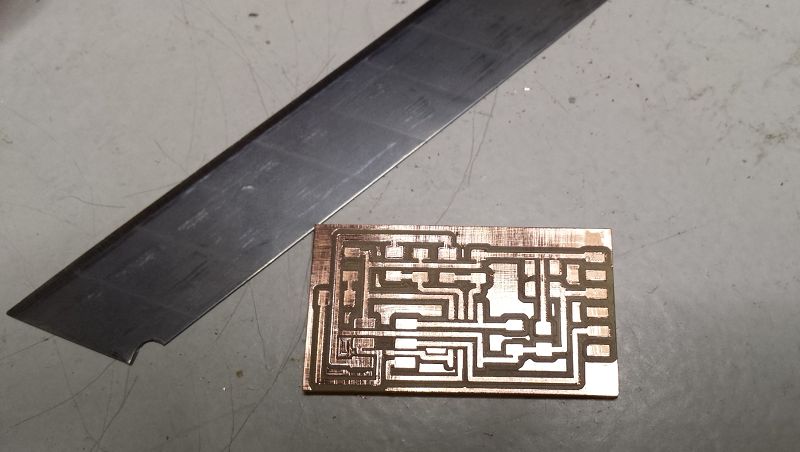
little-bit of face lift with blade.
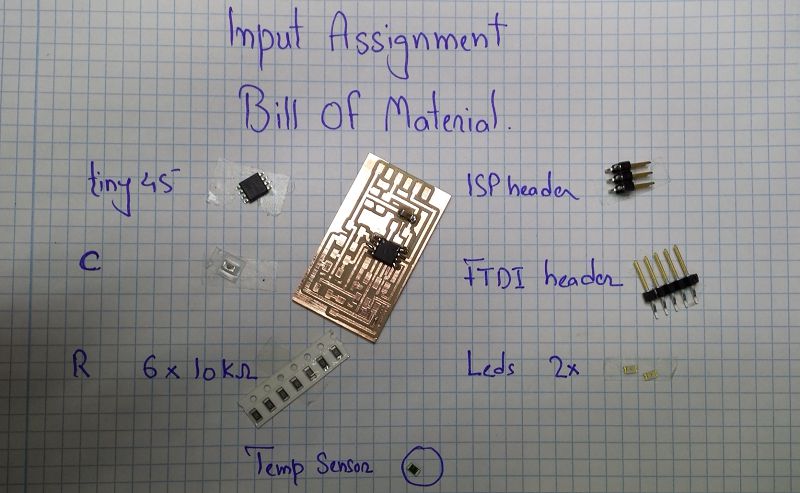
Stuffing the board with components.
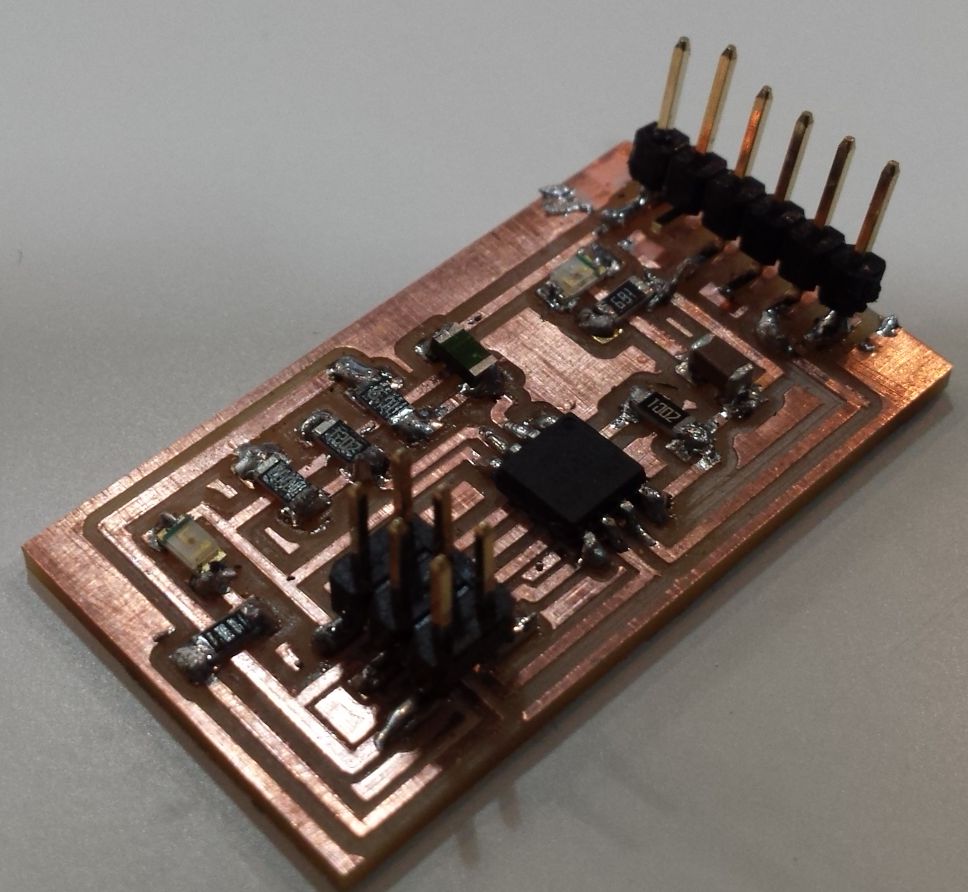
The completed board.
Once the PCB was ready I uploaded the bootloader to the micro-controller as done in assignment 8 . The results were plausible. Next I used this Arduino sketch to test the sensor data in the serial terminal. The output values of the sensor were as expected.
Next up I was to upload the C-code provided by Prof. Neil on Attiny45 which was worked like charm however I was not able to recieve data on the terminal. However I faced dificulty in interfacing the python-code provided by Prof. Niel to interface with computer through serial port. It seems the primary resaon for that is difference in Python versions. The code is written for version 2.7 Python while I am using the latest the version (i.e. 3.6). Although there are several IDEs available for coding and debugging python code but I prefer to use python terminal Idle which is simplistic and yet provides sufficient debug information.
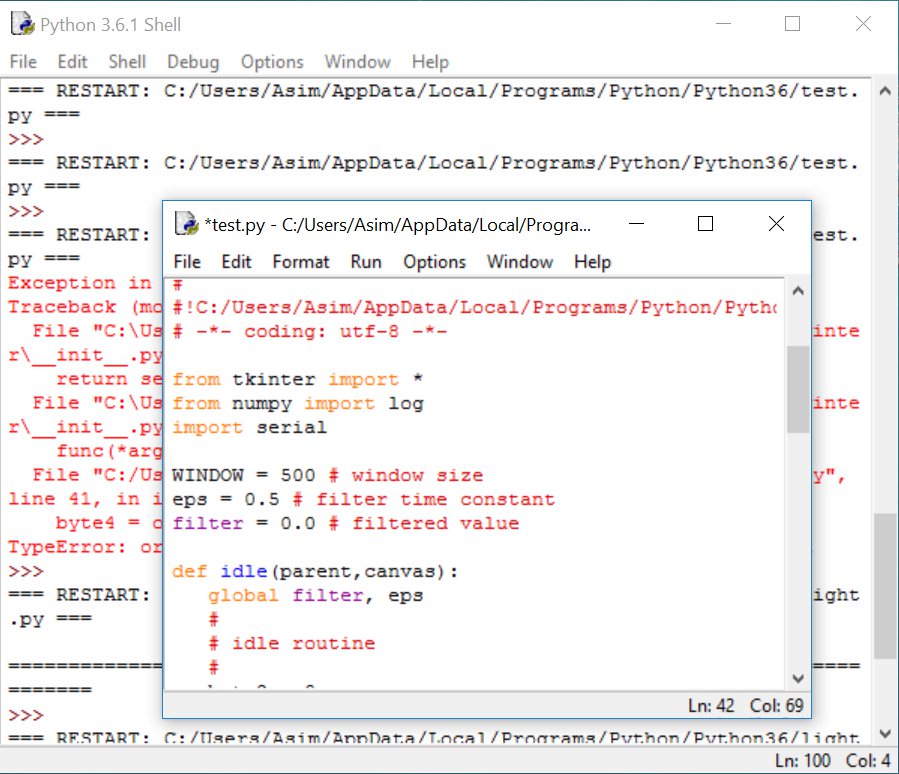
I came across acouple of problems while getting the code to work.
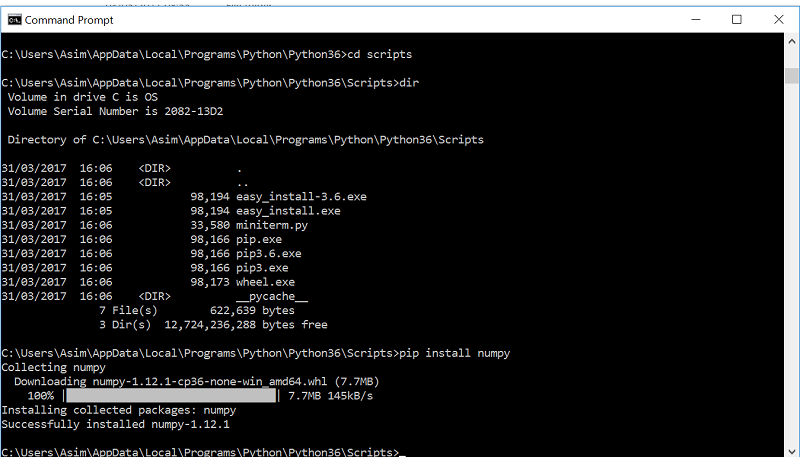
- Numpy library not available: after alot of sifting through related pages I found that numpy package can be installed through pip script which is available in C:\Users\youraccount\AppData\Local\Programs\Python\Python36\Scripts>.
- Tinkter library not available: after looking up on internet I found that 'Tinkter' should be replaced with 'tinkter' this is a difference due to Python-2.7 and Python3.0- versions of the language.
- Determine the serial port: For this problem I used the following command I found in the documentation of pyserial package 'python -m serial.tools.list_ports'.
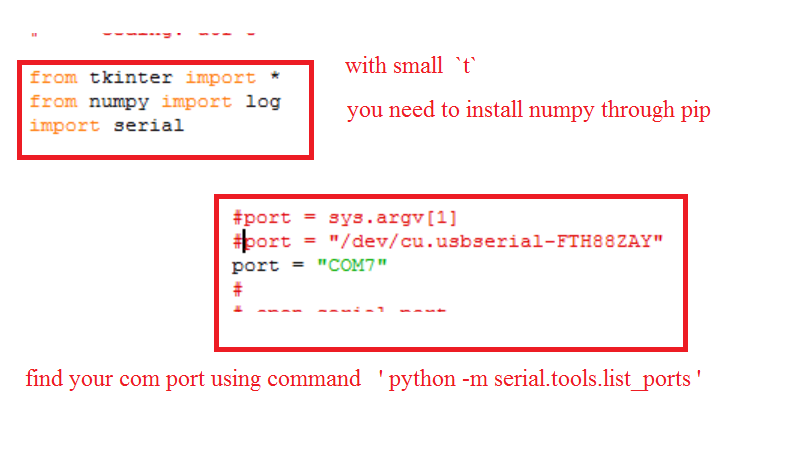
Essential changes required in python code to work with windows and python 3-.
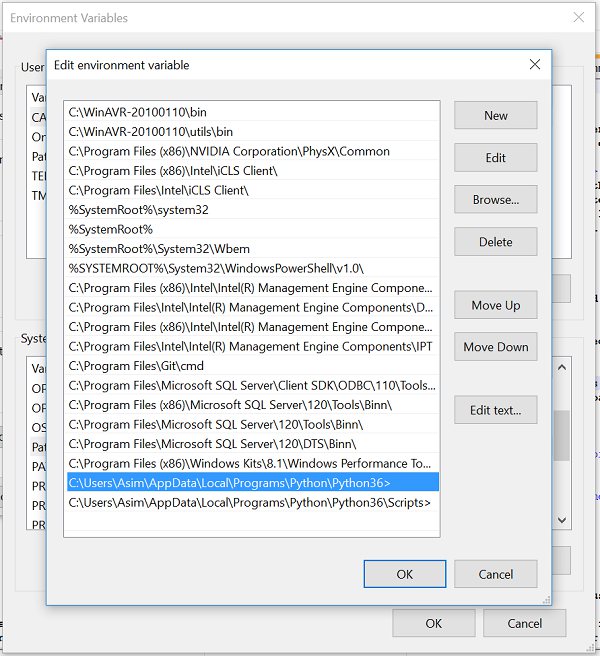
NOTE: For windows users it is better to add the python working directory path to the system path; this simplifies call to python scripts from command prompt.
After having the C and Python codes in place successfully, I was able to get the serial values to display on computer.
Learning Outcomes
- This assignment underpins the idea of using lowcost sensor boards to retrieve values from one or many sensors and use flexibility of modern programming languages to process the data.
- The Attiny family has only 4k of memory, therefore using arduino enviroment to write a basic code involving only a few float-type variables fails.
- Python provides a flexible and friendly environment to retrieve data from simple micro-controller boards and further process it.
Downloads
find all source files here.

This work is licensed under a Creative Commons Attribution-ShareAlike 4.0 International License
Copyright © 2017 Muhammad Asim Ali
This work is licensed under a Creative Commons Attribution-ShareAlike 4.0 International License
Copyright © 2017 Muhammad Asim Ali