
05. 3D SCANNING AND PRINTING
INTRODUCTION
The goal of this assignment is learn how use the 3D printer and scanning, and identify the advantages and limitations of them.
Students should have:
GROUP ASSIGMENT
Test the design rules for your printer(s)
INDIVIDUAL ASSIGMENT
Described what you learned by testing the 3D printer(s)
Shown how you designed and made your object and explained why it could not be made substractively.
Scanned an object
Outlined problems and how you fixed them
Included your design files and 'hero shot' photos of the scan and the final object
GROUP ASSIGMENT: 3D printer test
Settings for de differents 3d printers that we have in our fablab:
3D PRINTER
On the one hand, with the 3D printer we can do our own products in a personalized and exclusive way, and we can make replicas of objects that we need. On the other hand, we must take into account some factors:The very action of gravity in the process of cooling the filament to be ejected causes a deformation in certain parts of the geometry of the piece.
In 3D printing is important the angle formed by the vertical geometries with respect to the Z axis.

There is also the bridges, depending on their lenght, it si possible that suffers a deformation.


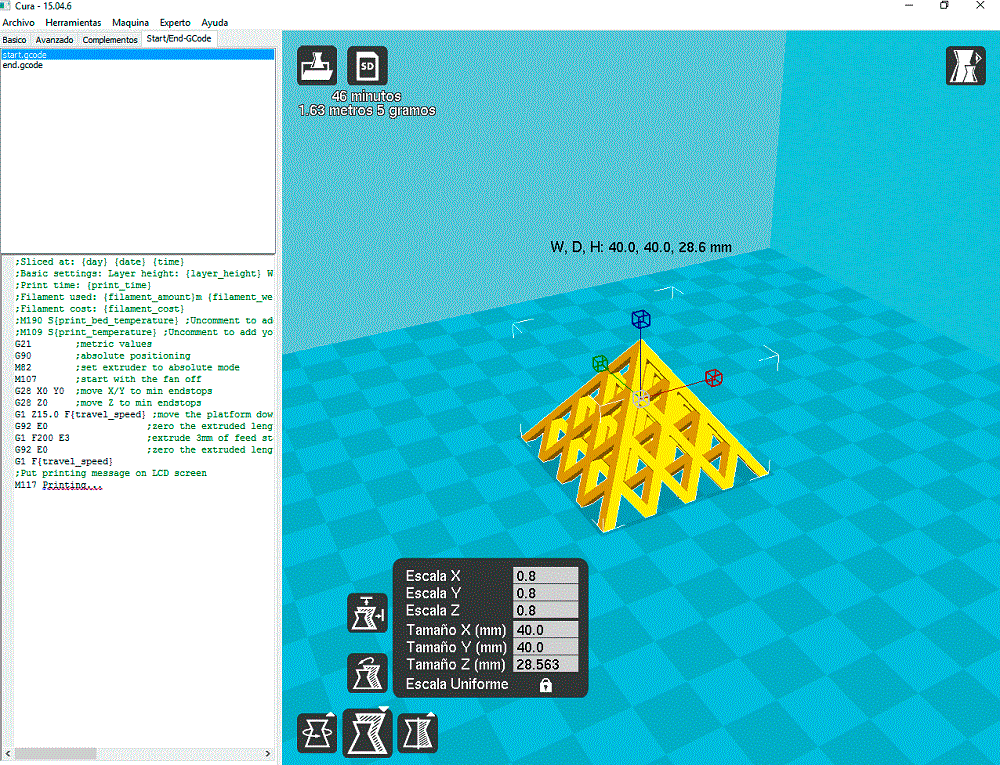
I used SolidWorks to do my design for the 3D printer. I did a pyramid. It could not be made substractively because is not a solid pyramid, this one has a internal structure, in this way there are some spaces in it that has not material.
For do it, I went to the 'sketch' window in the menu of Solidworks and I chose a plane and I draw a square and I extruded it like a pyramid (I extruded and I did it with a certaing angle to do the pyramide). After I did two sketch more, equals, one in the Front Plane and the other in the Right Plane, both of them to hollow out the pyrmaide. I save it in format 'stl'.
After that, with Cura I opened the 'stl' file, where in the left tool bar is possible to change the differents features, the most important:
Quality: thickness of the layer, thickness of the wall
Filler: top and bottom thickness, density
Speed: printer speed, temperatures.
Also, you can see the time to print the object on the left top of your object. You can also change the size or move and rotate it (on the right bottom of yout object).
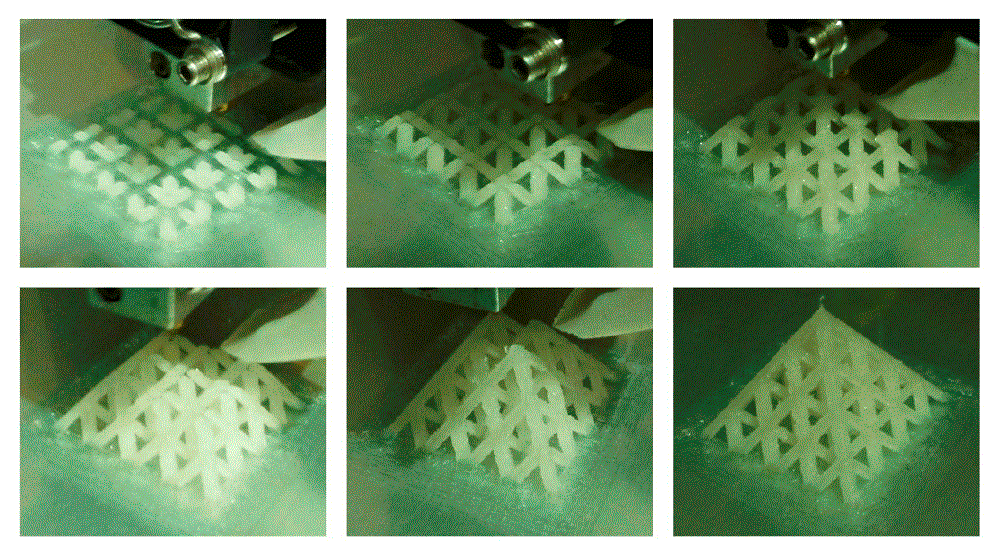
I save this file in a smd target in 'gcode' format. I put this in the 3D printer and I begin to print it (before begin to print it has to warm the base).
I had some problems with my design because it has not a only base, it have some bases and it move them when it did the different levels, to solve it I did a light base that when it finish to print all the object, I cut it with a cutter.
DOWNLOAD FILE:
Pyramid (SLDPRT) Pyramid (GCODE)SCAN
On the one hand, with the 3D scanner you can scan any object, and is a quickly and easy way to obtain an object. But, on the other hand, depending on the surface or if there are some holes, the quality is not the best, and it is difficult to obtain only the object, because the base of it rest on an other object (like in my case, that I put on a stool).
I did the scan using photos (49) and the Autodesk software.

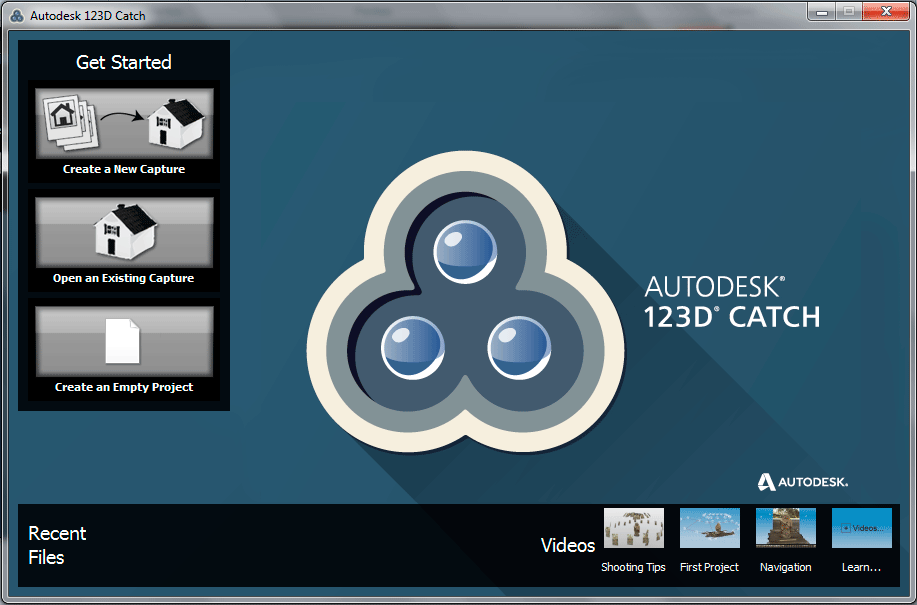
I used Autodesk 123D Catch. I open the software and I selected the option Create a New Capture.
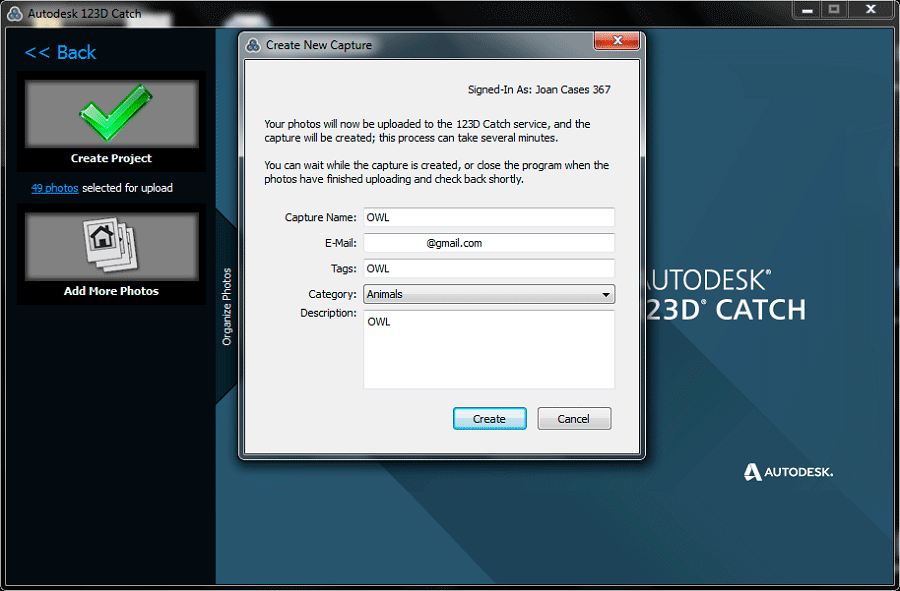
Here I selected all the photos that I wanted and after I cliked Create Porject, later it appeared a window where I had to put the Capture Name, Tags and Description.
When I finished it, the software upload the the photos, create the capture (model 3D) and dowload the capture.

When I had the model 3D I deleted the parts that I did not want.
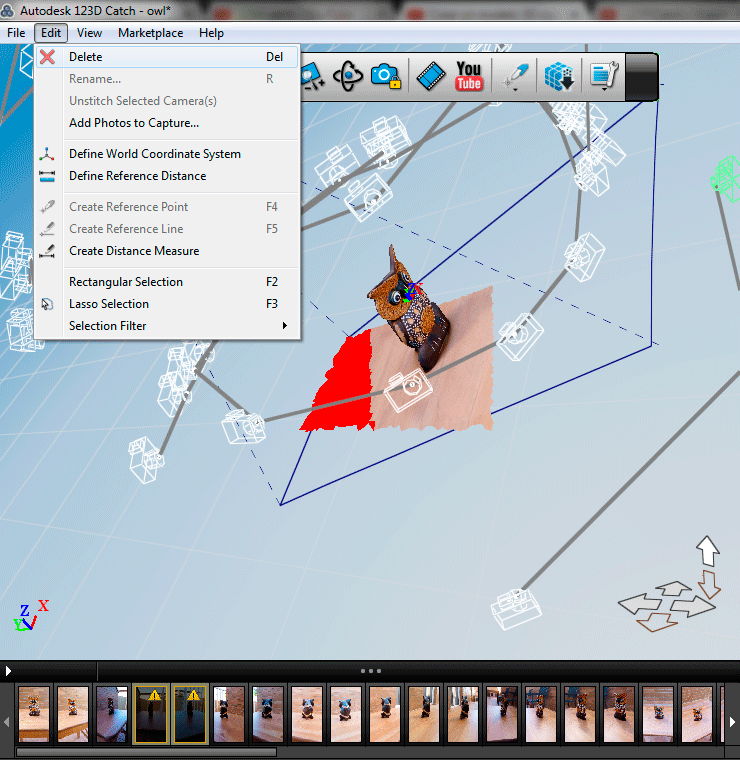
After that, I Generate Mesh and later I click on File and Export Capture as..., I saved as a OBJ and I opened with Rhinoceros and I saved as a STL.
DOWNLOAD FILE:
week 5


