09 - mechanical design
During this week’s assignment we had to design and make a machine that we operate by hand and will later automate. This was a group assignment and I worked together with Blanca Rosas on this machine.
The concept for this machine was to build a machine that can either sort or pick and place LEGO bricks. We quickly decided to use Nadya Peek’s reconfigurable stages for this project and used those as the leading design for our machine.
STEPS:
In short the steps we took where:
01 - concept and visualisation
02 - building the stages
03 - building structure around the stages to keep them in place
04 - making a gripper
05 - designing a bed
06 - final assembly
01 - concept and visualisation
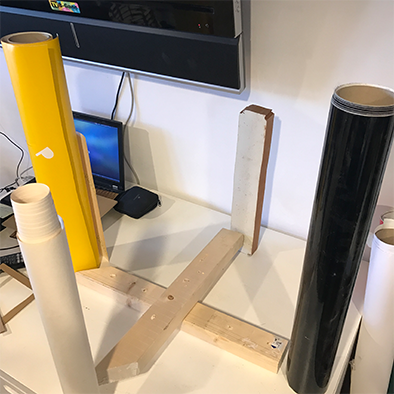
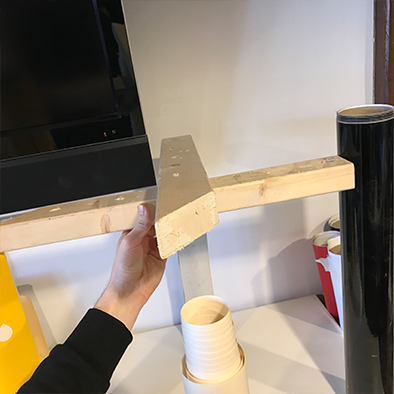
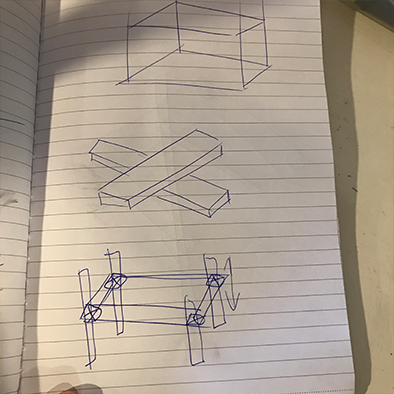
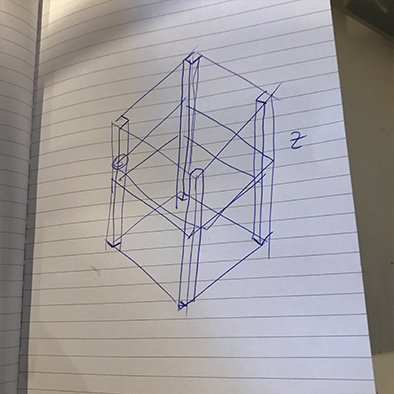
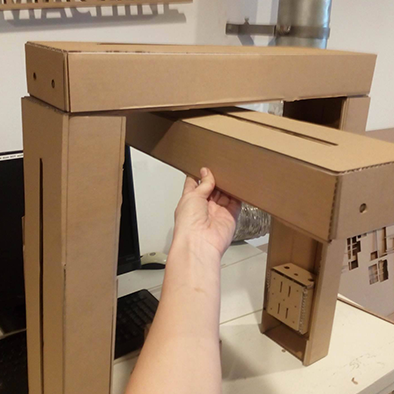
To get a first idea of what we wanted to build we used simple materials from the lab to visualize ideas and the position of the stages. We then made sketches, but soon we found out that we needed to see what the stages look like in terms of size, stability and weight etc. so we quickly moved to making them.
02 - building the stages
To build the stages, we downloaded the files and instructions from this this page.
We used 3mm cardboard that we laser cut on our BRM laser cutter, and as soon as we had the parts we started glueing everything together.
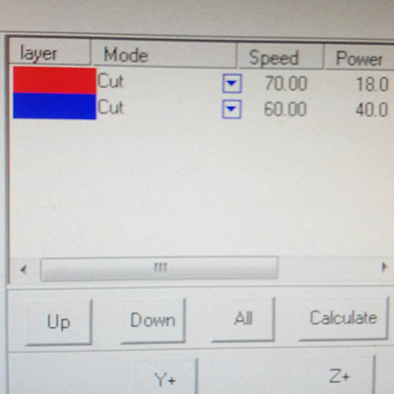
These are the laser settings we used on a 100 watt laser:
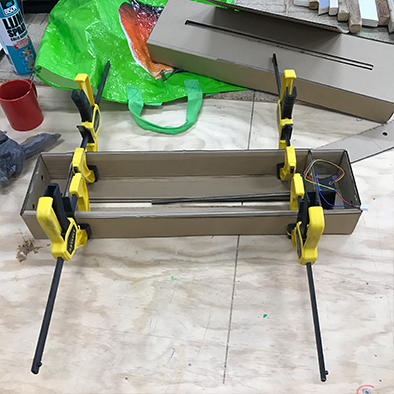
We used clamps to press everything together nicely.
Our kit was missing aluminum rods in the right size, so we bought wooden rods instead.

We went on to assemble the moving part and attached the plastic part that screws onto the motor screw and added plastic rings to reduce friction.
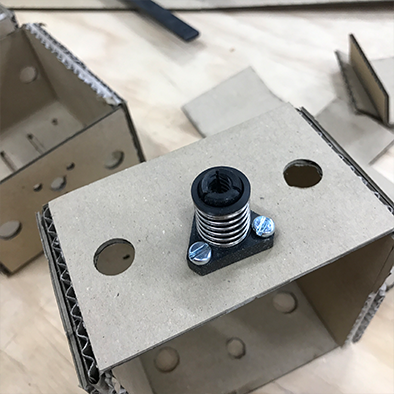

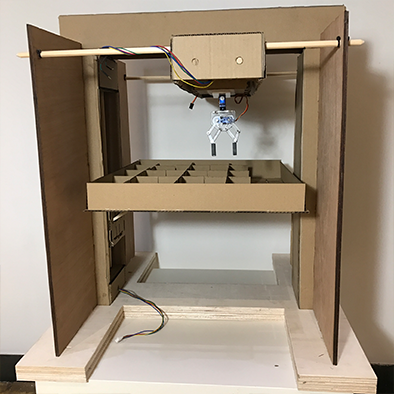
Fully assembled, the stage plus motor looked like this, and the last step is to add the front of the moving part which we covered in velcro.
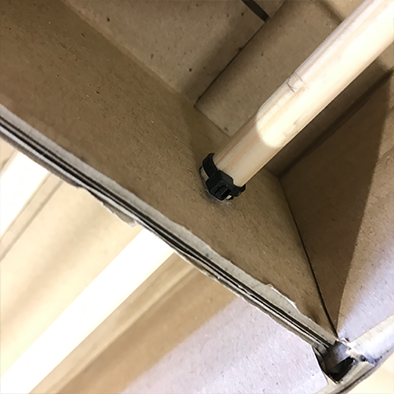
To keep the wooden rods from moving, we added small tie-wraps on either end to keep them firmly in place.
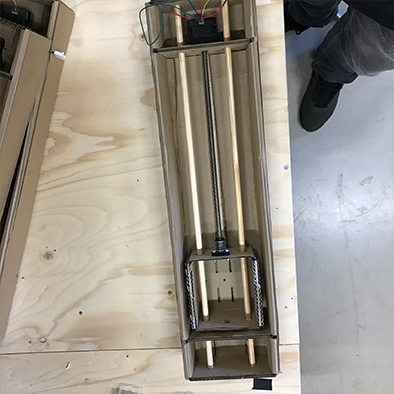
We made a total of three stages for X,Y,Z axis.
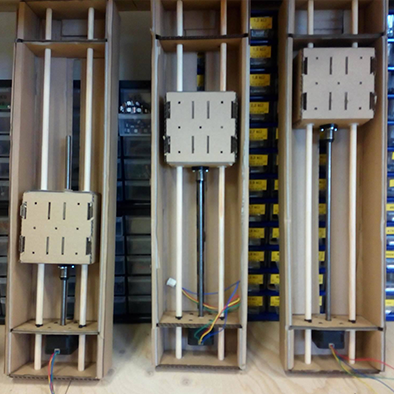
This is how we want to configure them:
03 - building structure around the stages to keep them in place
After we had the stages we went on to build a structure around them to keep them in place. This is the point where things went a little murky in the process. The big mistake we made was in planning and designing the machine. We didn’t make a 3D design, or masterplan for the machine, in stead we just manually kept building and improving everything around the stages. If we would build the machine again we would take a different approach but it was very insightful to do everything manual/analog to really get a good feeling of what this machine requires and endures in terms of forces.
We divided tasks between the two of us, and Blanca got started with a base structure for the stages and I started working on the gripper.
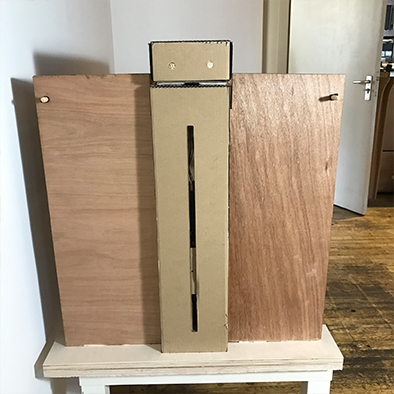
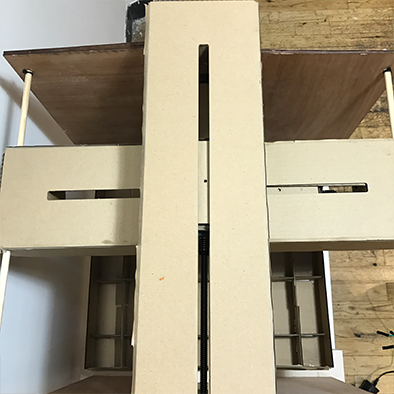
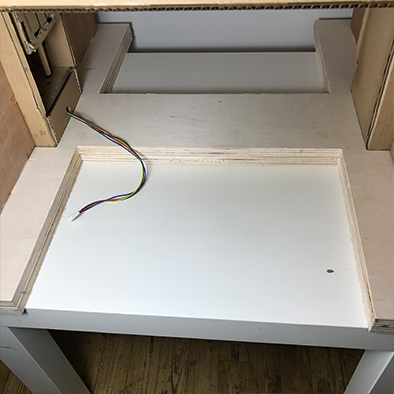
Blanca used the Shopbot to mill a sturdy base out of thick plywood, we made two and glued them together to get a nice and heavy base that keeps vibrations at a minimum.
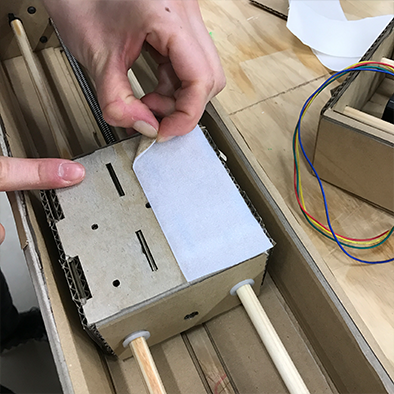
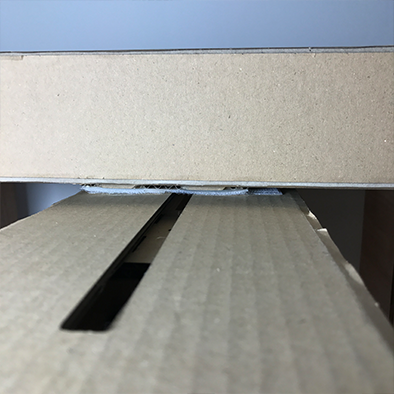
After we put the stages in the base that Blanca made, we had some doubts about the stability of the stage that holds the gripper, as it is placed underneath another stage. That is why we made a support system along the vertical stages that holds rods on which the stage can slide.
04 - making a gripper
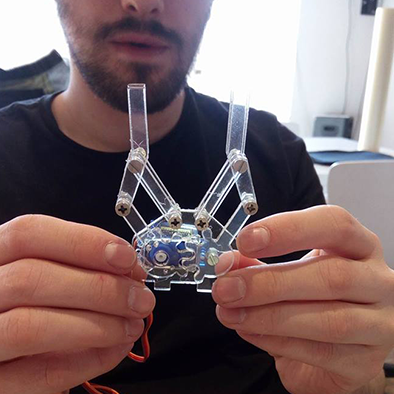
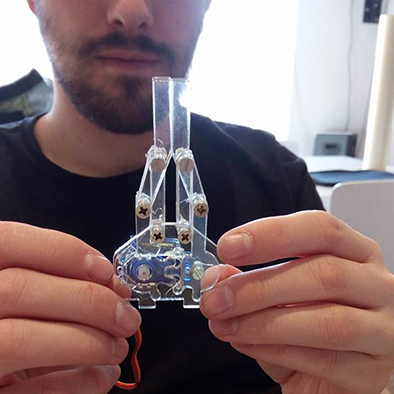
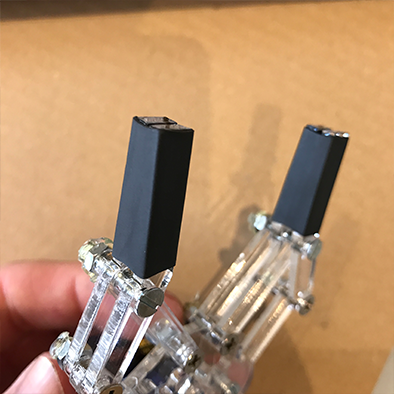
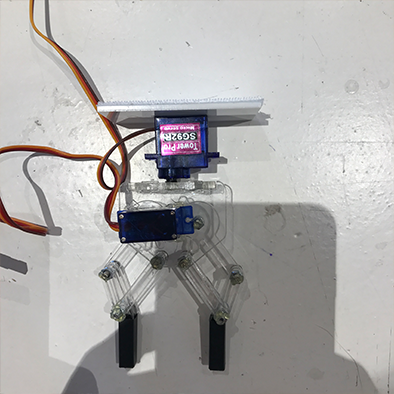
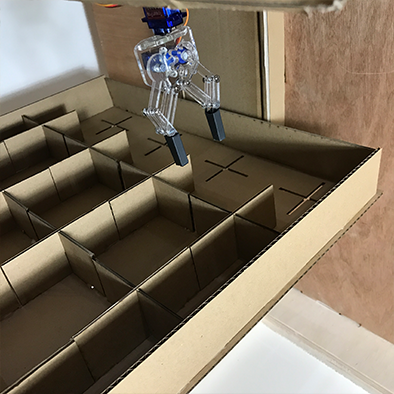
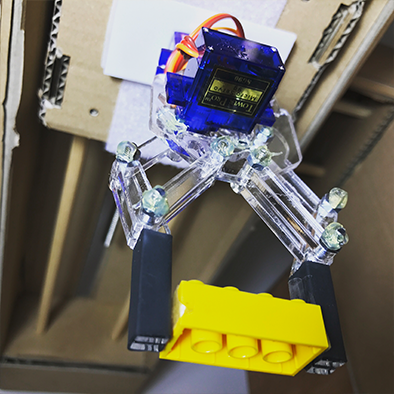
I worked on a mechanical gripper that can pick up bricks using a servo motor, I used this file from Thingiverse as the basic design. After laser cutting it out of 3mm acrylic I hacked some pieces together to make it more compact, make the servo fit better and I added shrink tubing around the end to give it a better grip.
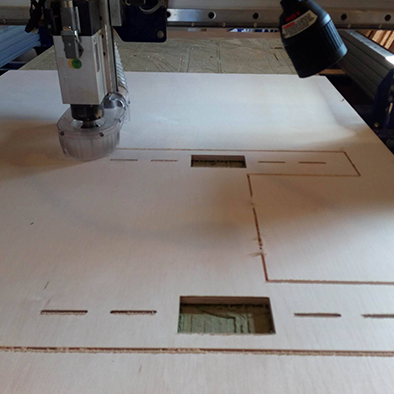
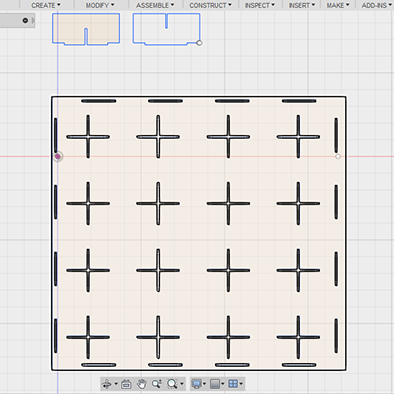
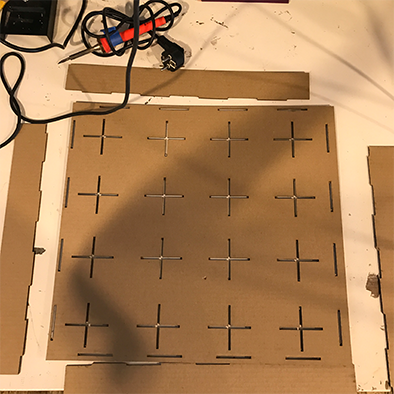
05 - designing a bed
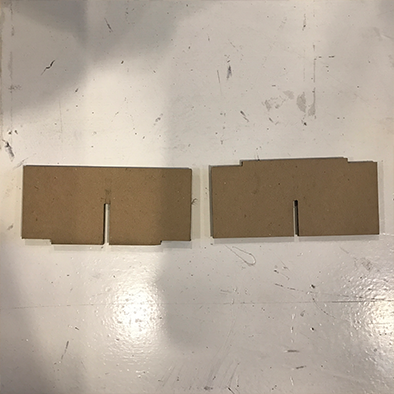
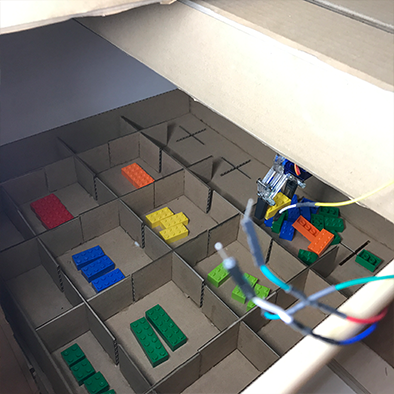
The last thing we designed and built was the bed of the machine, because the machine needs to hold a wide variety of parts and we wanted it to be reconfigurable we designed a bed that allows various dividers to be placed to create either small or big pockets.
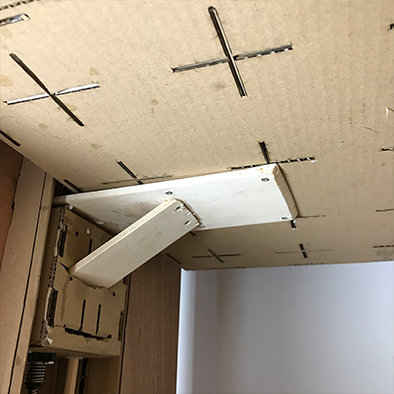
The bed rests on a wooden support that we drilled screws through to grip through the cardboard.

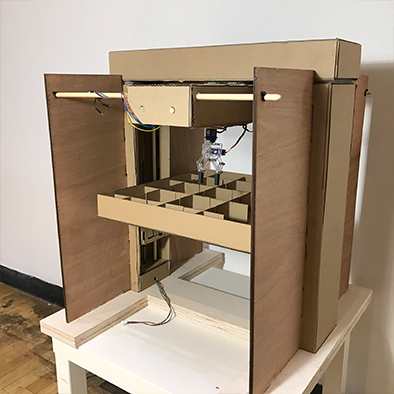
For the final assembly we tried to keep the machine easy to take apart and put together, so we used velcro to connect the stages to each other and to the gripper.


HERO SHOTS

bed DXF

gripper DXF
base DXF