Bonus 2
Making a carboard Lamp
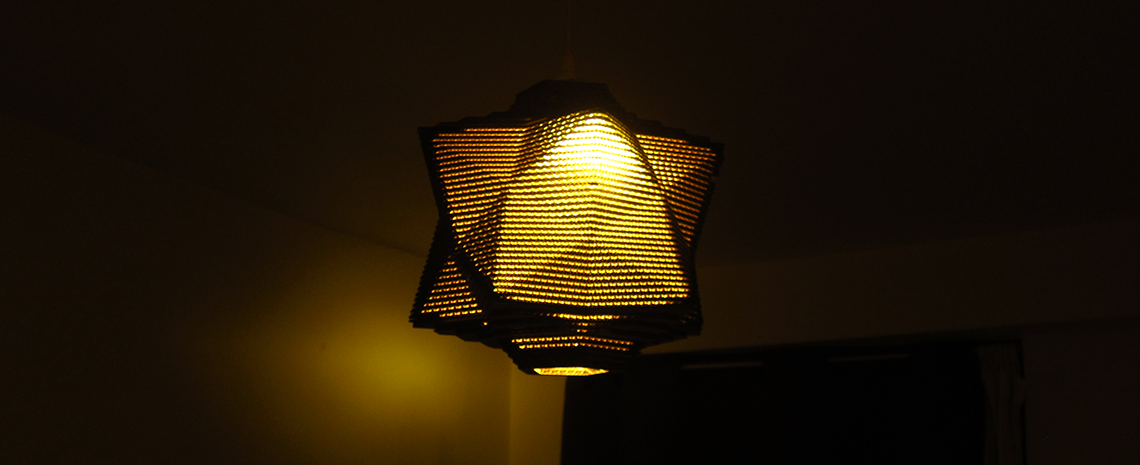
In this section, I show how I made a star-shaped cardboard lamp.
Softwares and material used :
I was inspired by a lamp I saw on Pinterest and I wanted to try to create my own version of it.
For this I started with Rhino and drew a pyramid with 5 sides.
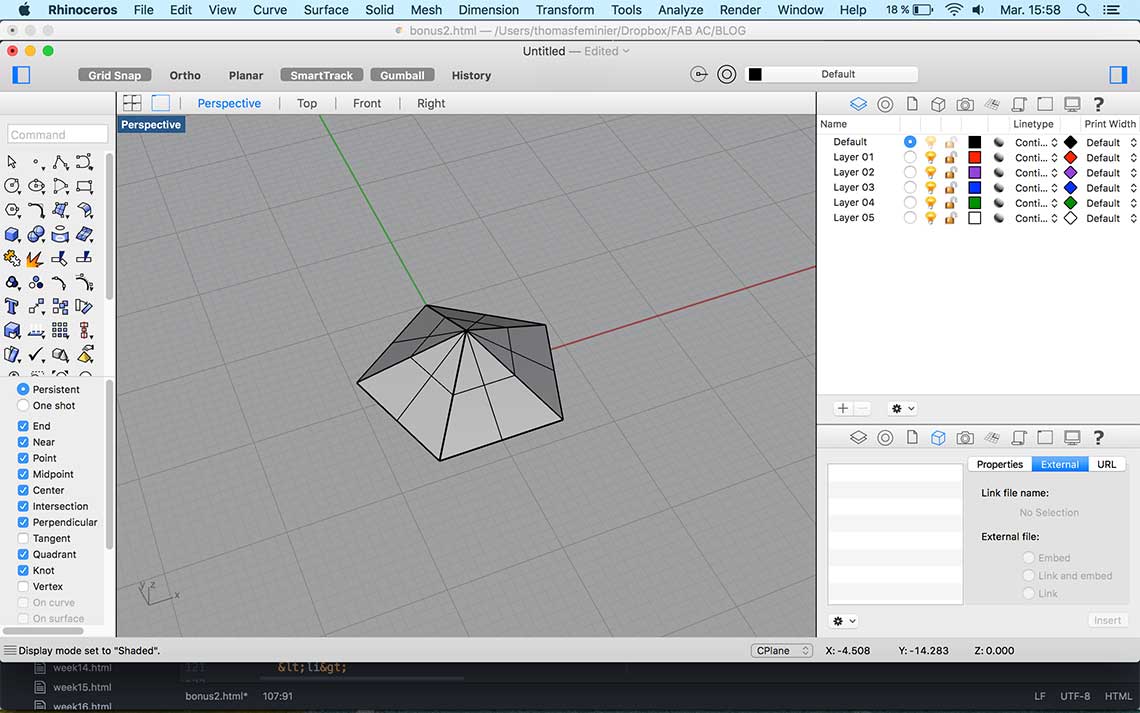 This would be the first pyramidal face of the dodecahedron I wanted to create : With pyramidal faces, it would look lik star.
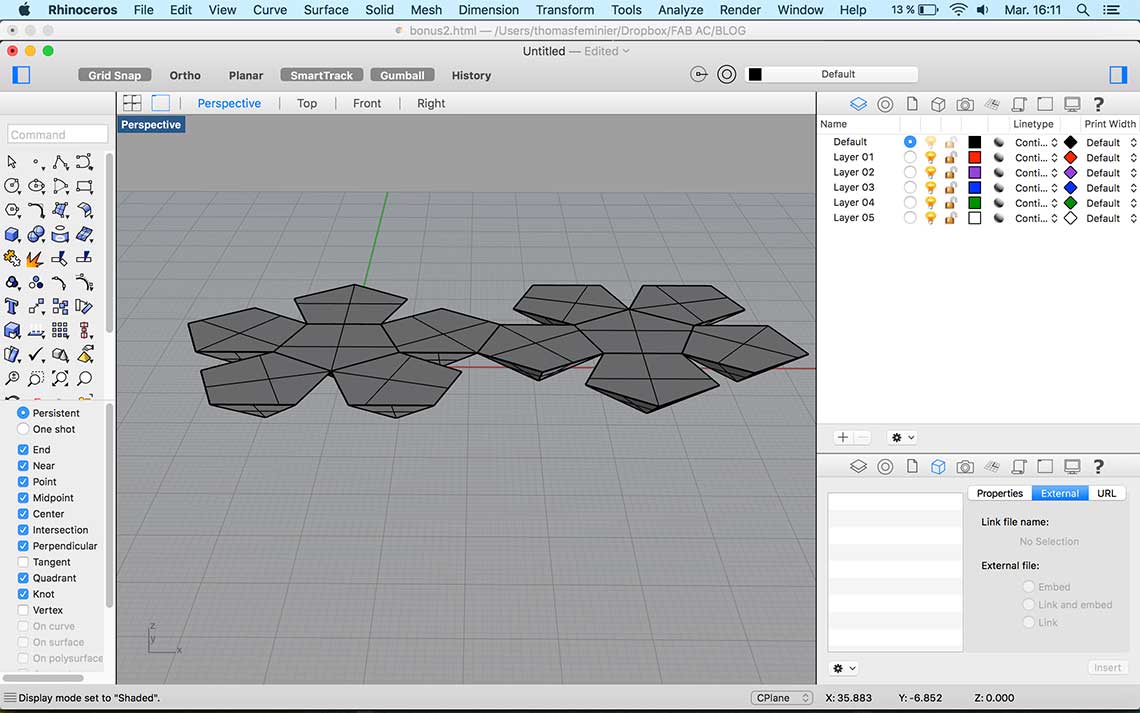
So I created 11 copies of the original face to have 12 of them and to create the flat shape of the dodecahedron :
 Then I had to apply a 3D rotation to each face, using the correct angle, in order to "fold" correctly the shape and create the final volume. The value of the dihedral angle is 116,56505° so the rotation angle must (180-116,56505)=63,43495°.
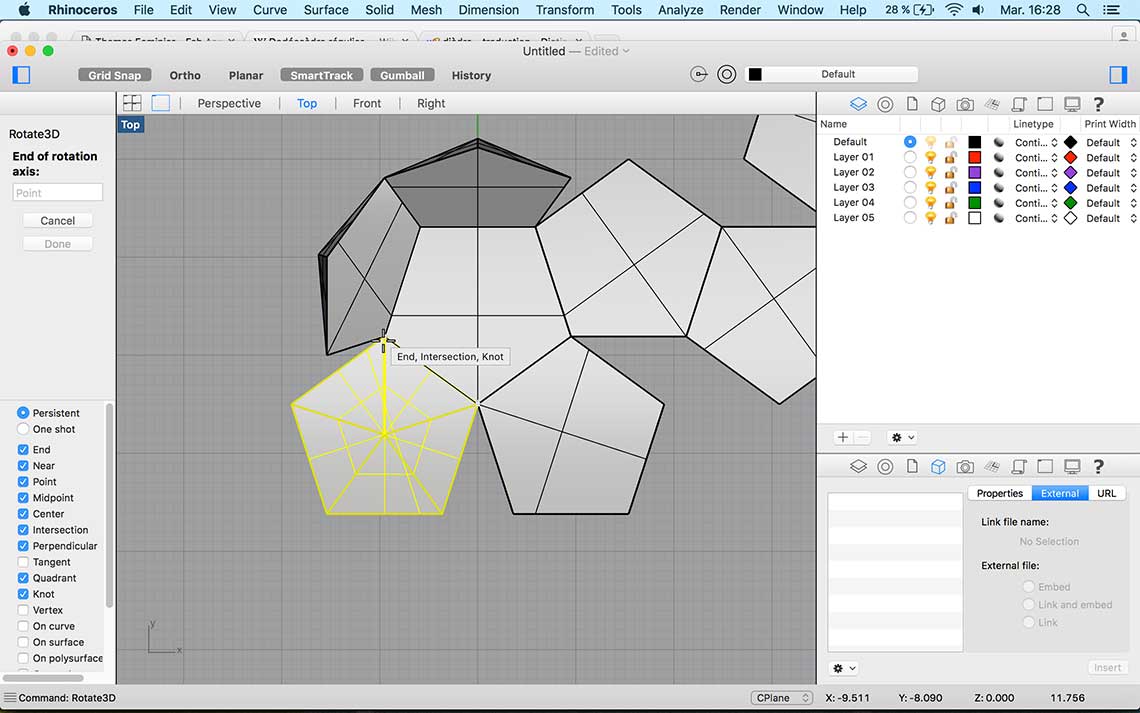
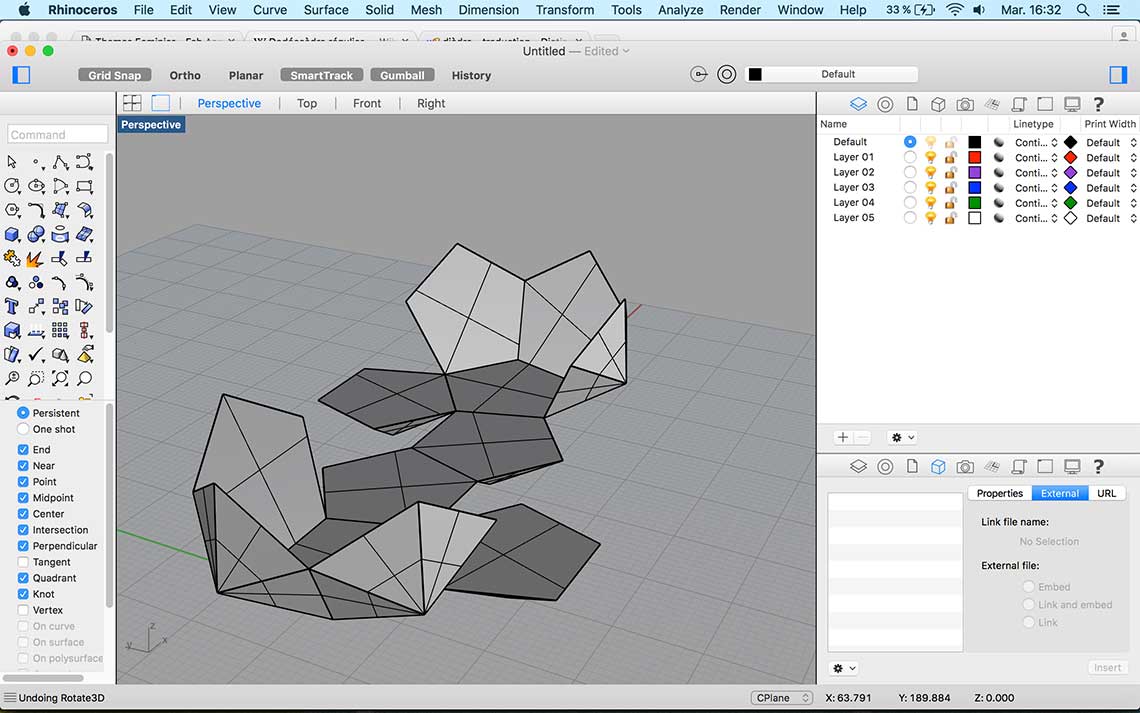 Once all the faces rotated correctly, the result is a nice star like this ! (here I changed the height of the pyramids to make the star shape more visible) :
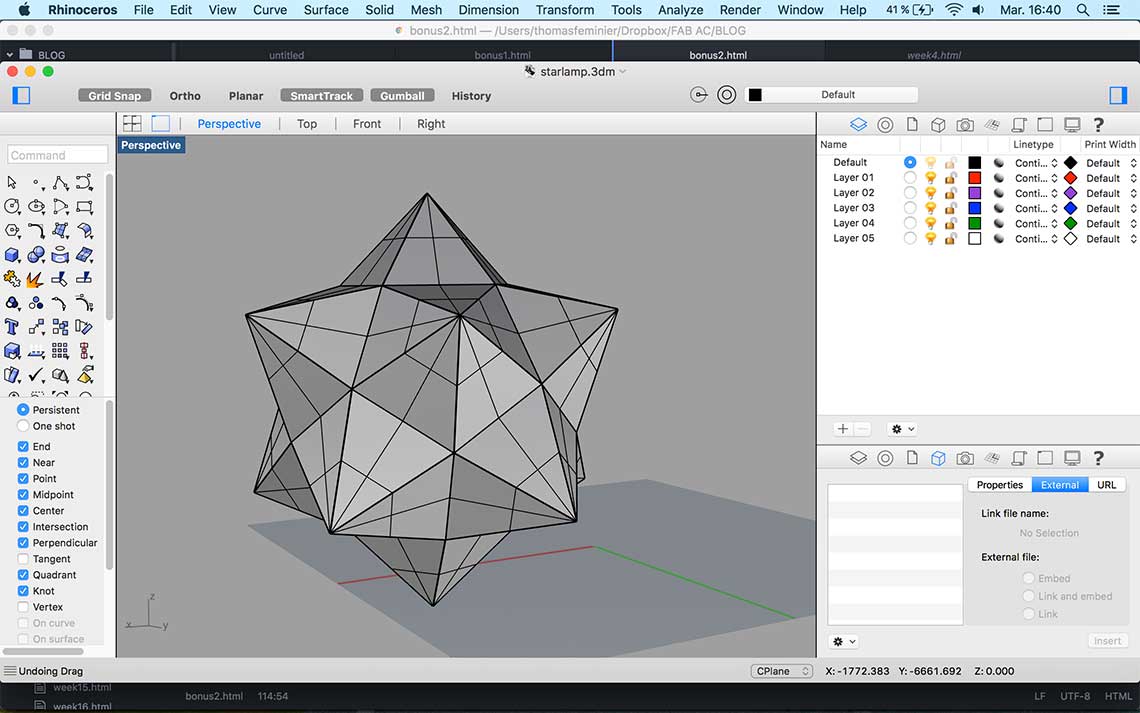 After this I duplicated the shape, scaled it at 95% of its size, and exatacly centered the two shapes to each other. Then I applied a boolean difference on the bigger one with the smaller one, to make it hollow.
 Finally I trimmed the top and bottom of the star to allow the passage of the screew of the bulb and to allow more light to pass through and I made a circular hole the same diameter of the screw to be able to fix the lamp on it.
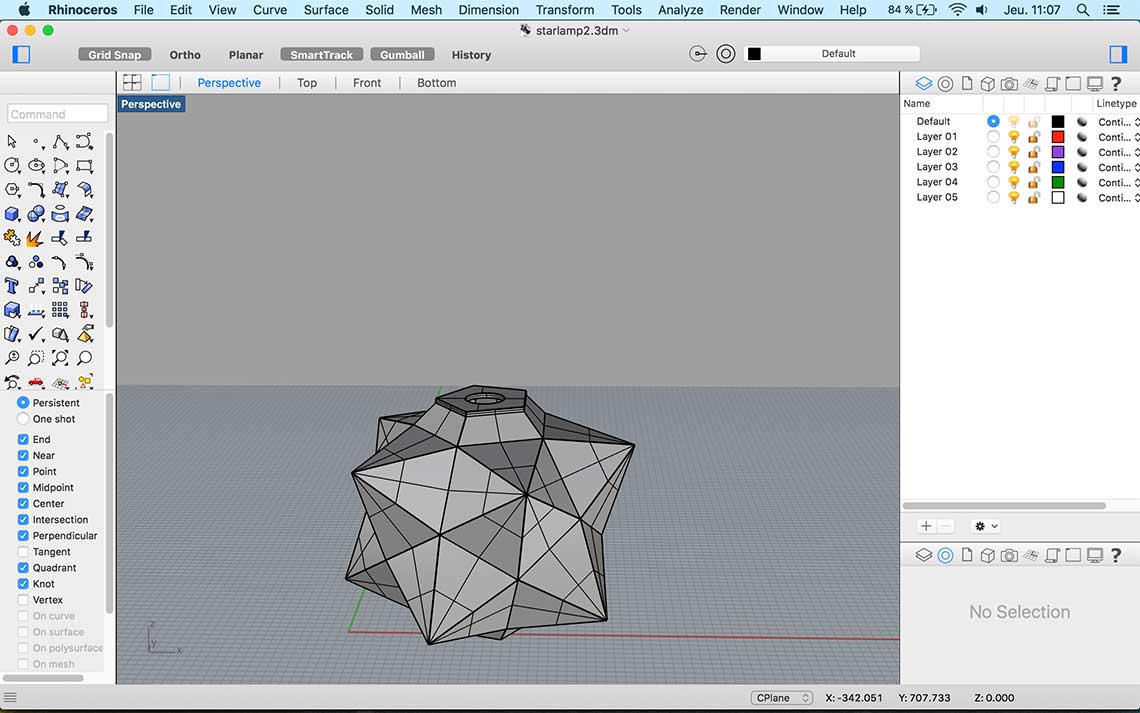 My lamp shape was now ready to be sliced !
2. Slicing
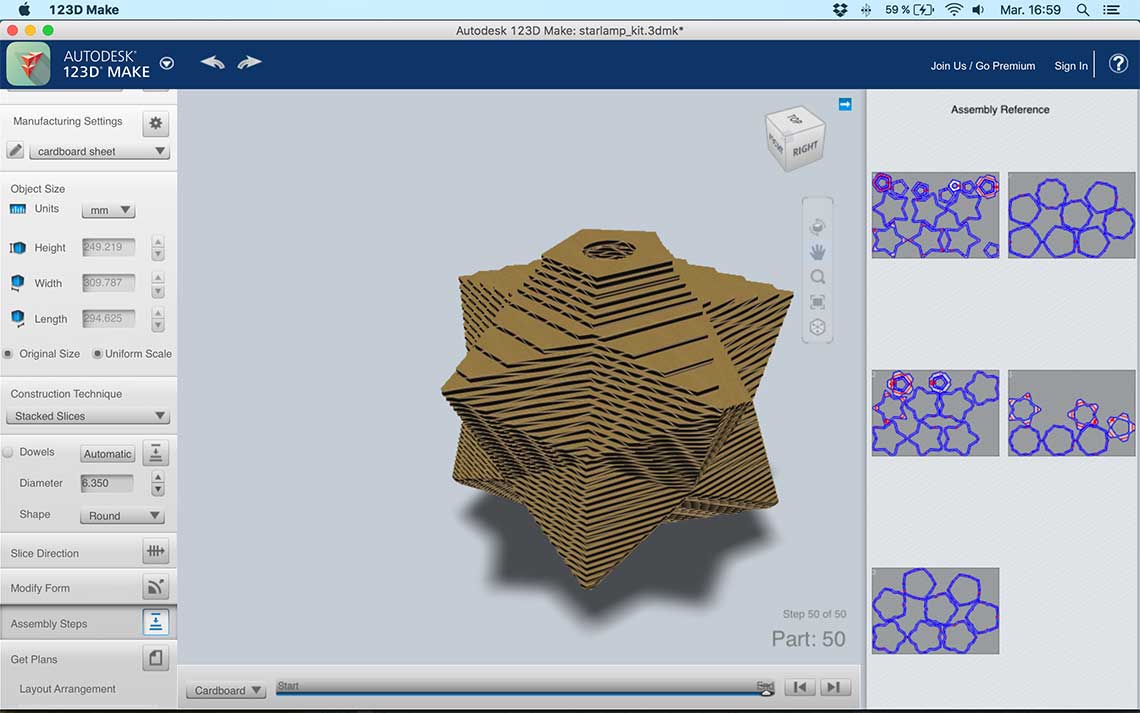
This step is pretty simple. I used the software called 123D Make which perfect for what I needed to do. First I exported my star shape with the .obj extension and then imported it into 123D Make. Then for the construction technique I used "stacked slices", I selected the righ thickness for the material (6mm), the right dimensions (be careful to check the "original size" box to avoid any surprise !) and I modified also the dimensions of the sheets.
 Once all parameters are set correctly, you only have to click on "get plans" and then "export" and your plan is ready to be cut ! The plan includes numbers for each part that are in a different color from them shapes.
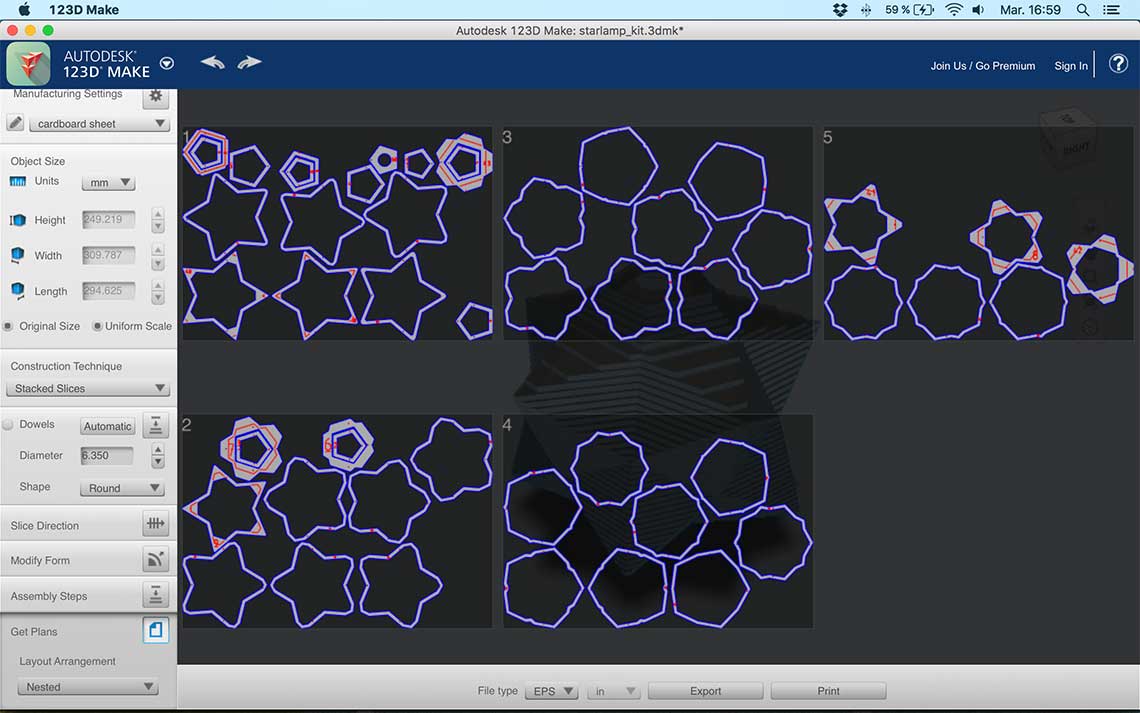
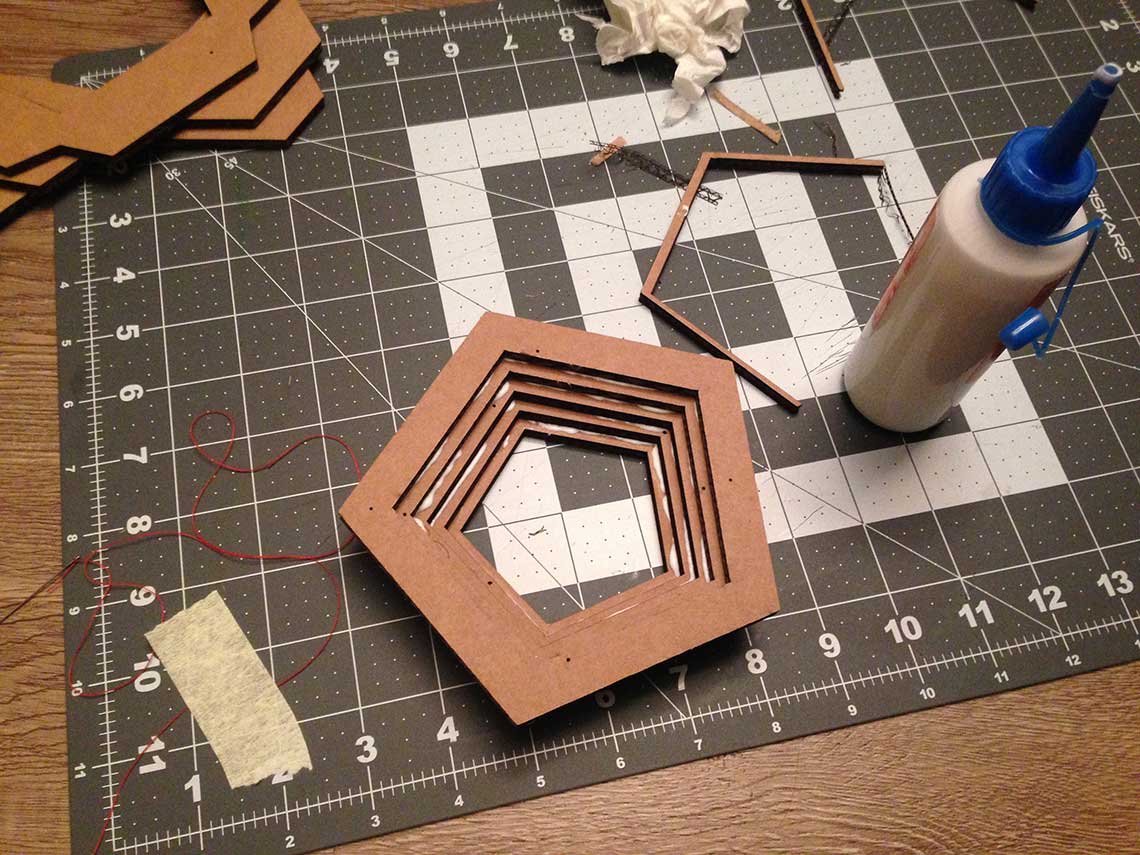
3. Cutting
Really simple step and not too long : it took around 45 mins to cut all the parts : I just told the laser cutter to cut all the black lines (the shapes of each part) and to engrave the red ones (the number of each part).
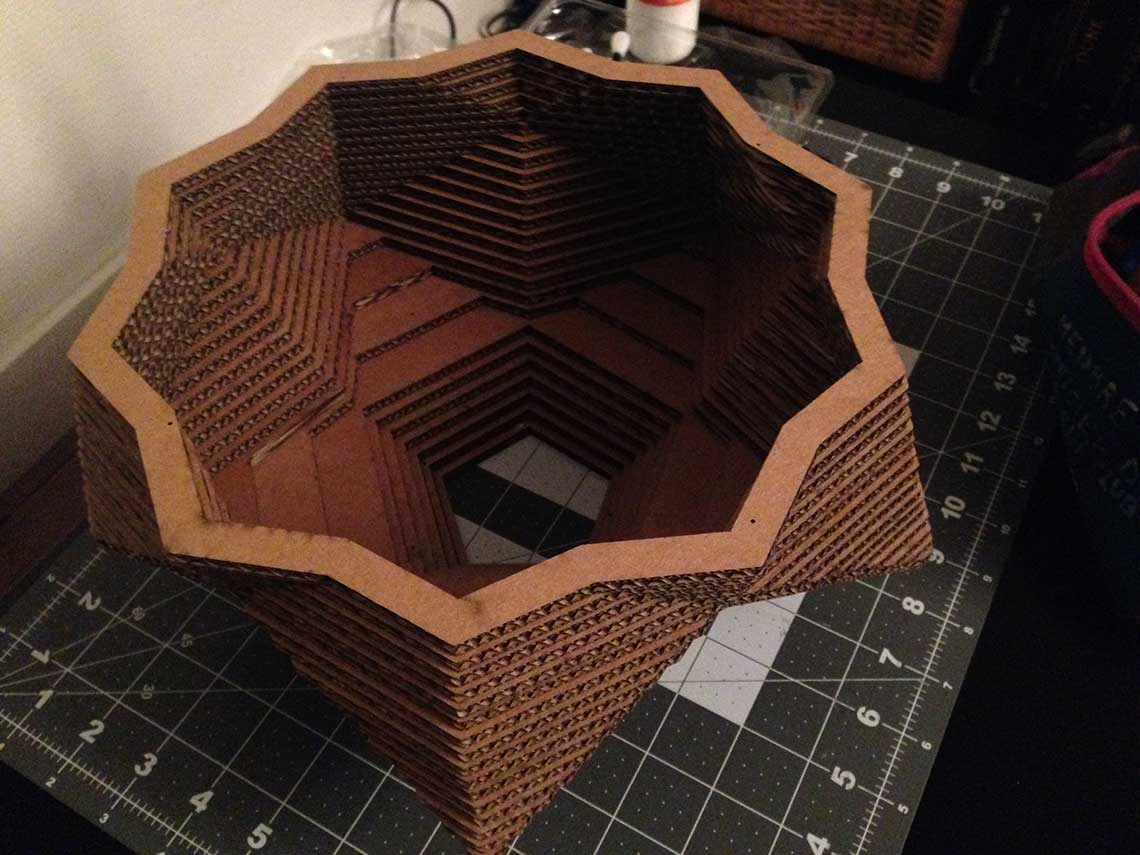
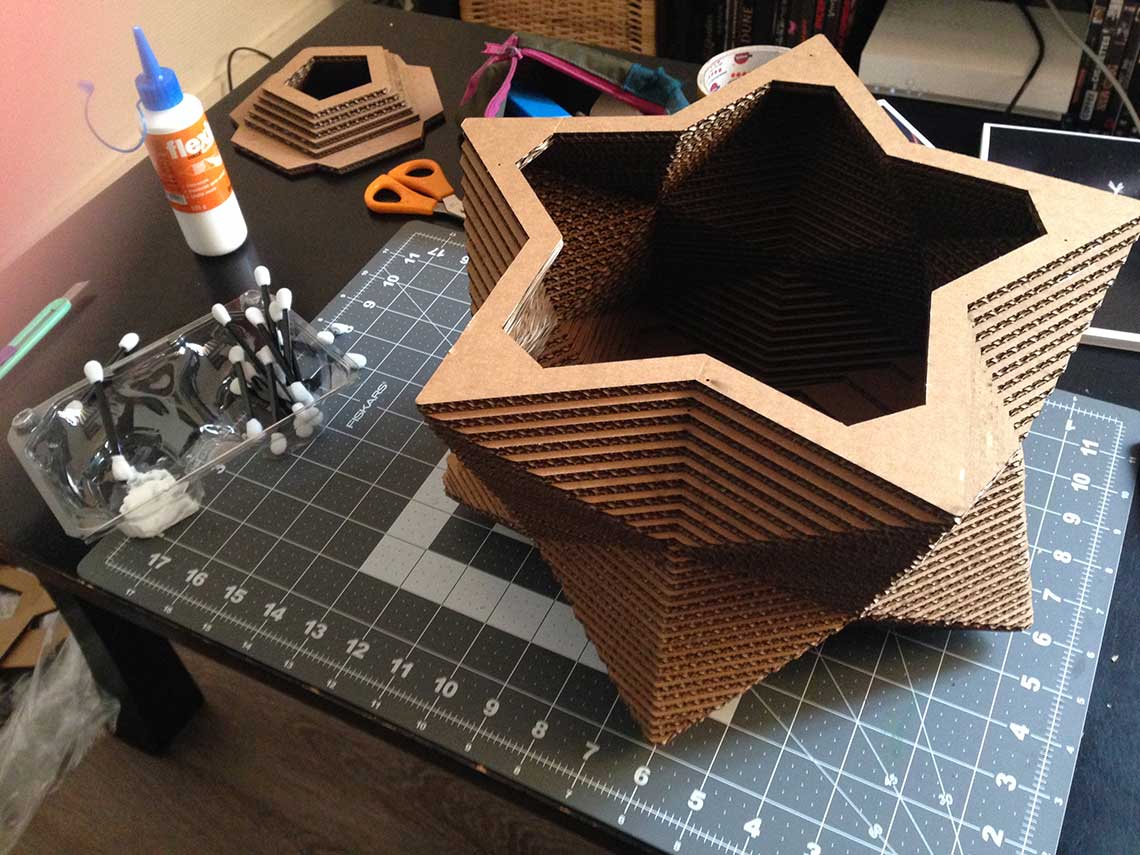
4. Assembling
This is the longest part but it is fun too ! The 123D Make plans are pretty well made so you only have to glue on piece on top of the following one, using the number assiociated to each one. I had 50 parts so it took 2 hours to glue. I just did not glue the 5 last layers on the bottom to be able to attach the lamp to the screw...