Making an Assebly Kit

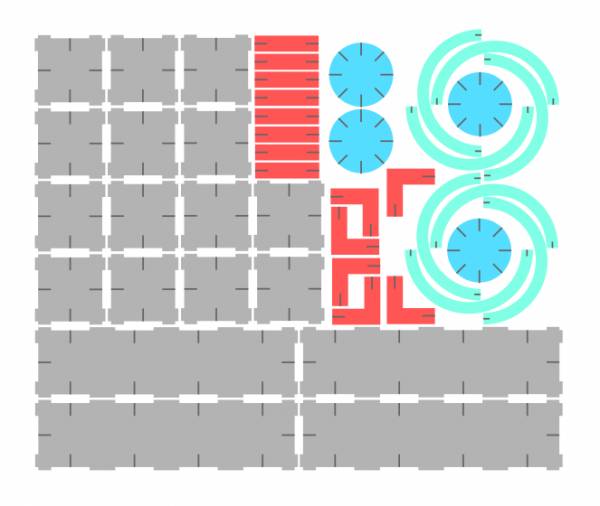
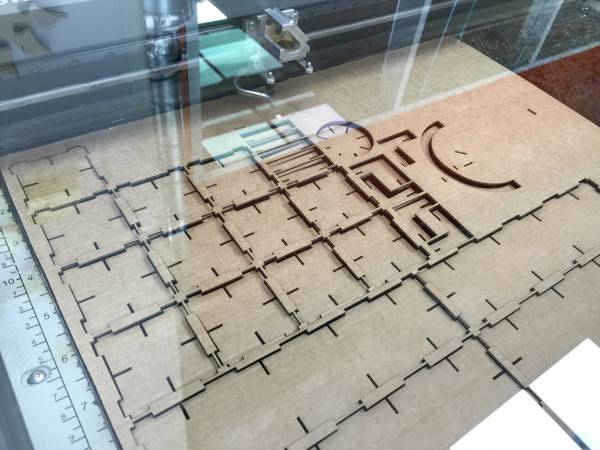
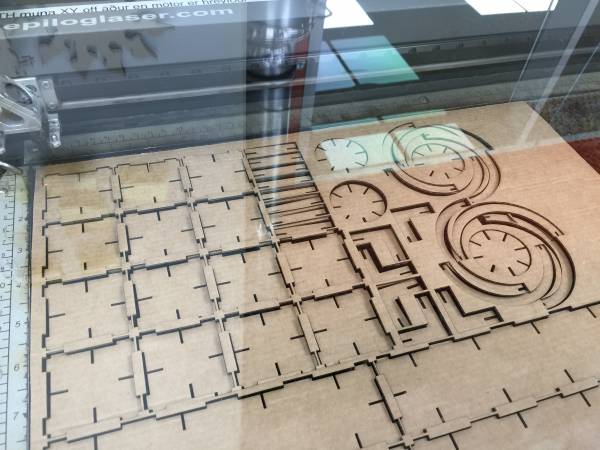
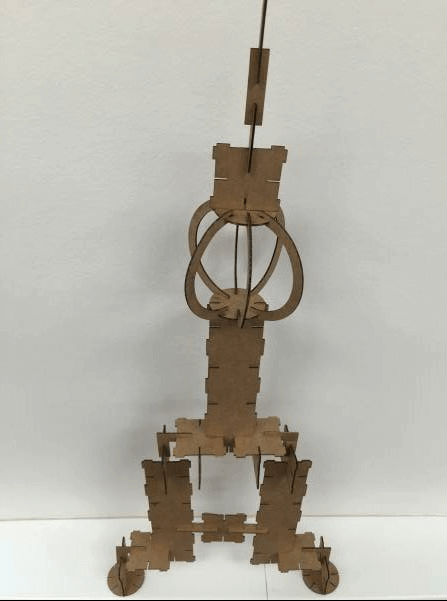
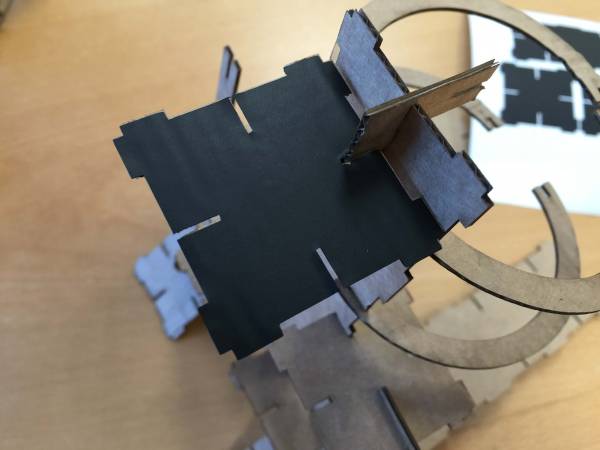
  • This week I made an assembly kit with a laser cutter and a cardboard. I wanted to make something that reminded me of legos, something simple, straight forward and fun, with it’s limitations but some that you could work around.

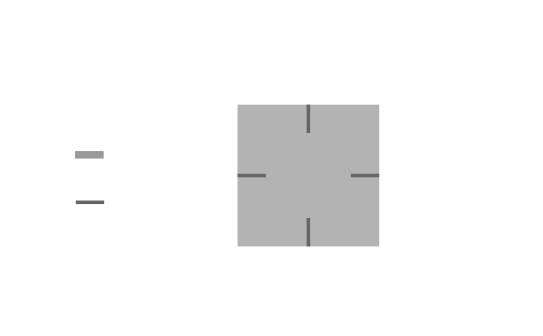
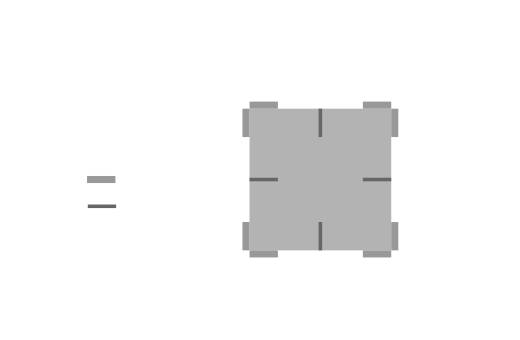
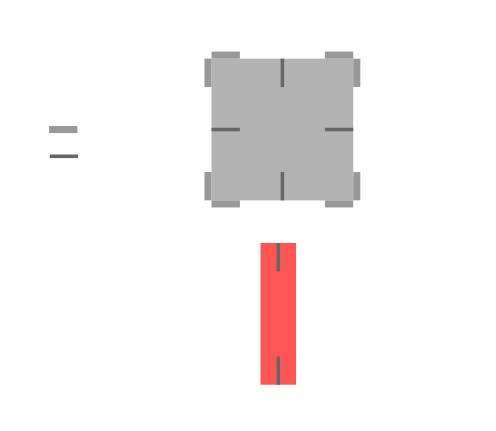
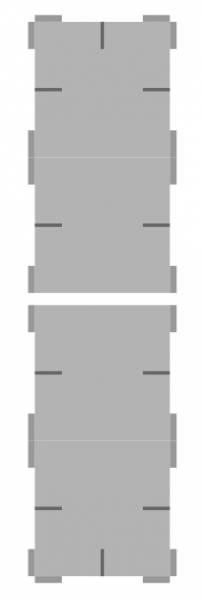
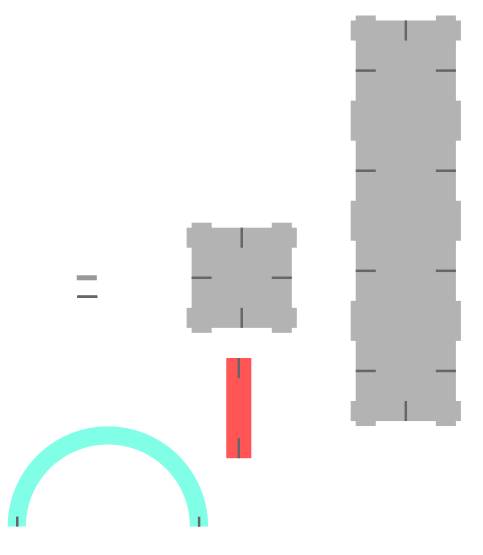
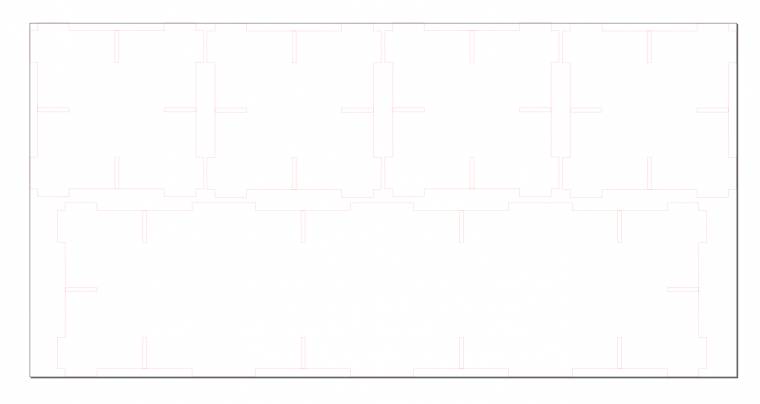
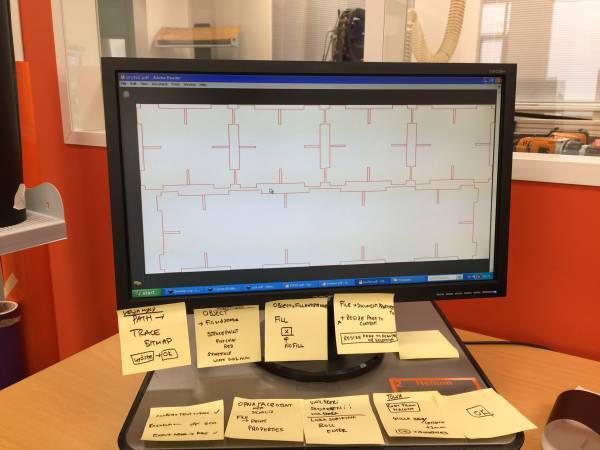
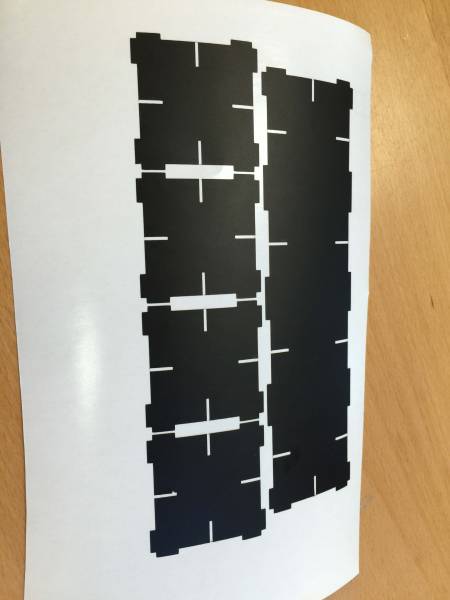
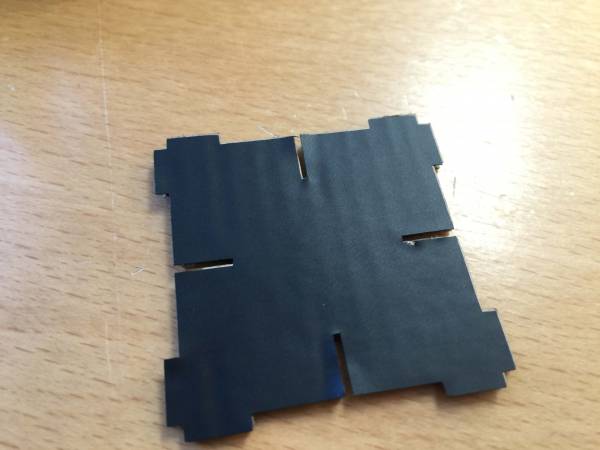
  • Starting in inkscape I made a square (40x40mm) and a rectangle (1x8mm) to make the cutouts in the square. I first made a master cutout that I made all the clones with, where if you change it in any way, the changes would apply to every clone.I made another master rectangle, which wasn’t a cutout but a addon knob to be able to assemble the kit in many other different ways. One thing to note I discovered that to unify clones with another object you need to unclone them first.

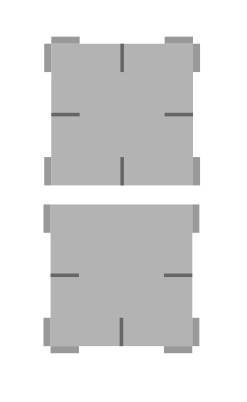
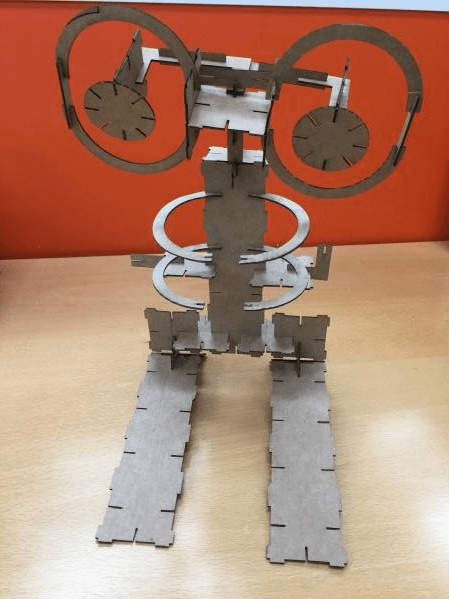
  • I wanted this to be my main building block and have it work the same way no matter what way you turned it, but that would create a small problem where the knobs would sometimes interfere with each other hence the limitations.

Adding Shapes

  • Next I started making some more shapes still using clones of the same master cutout.

  • Here I made a half circle, the cutout is smaller, I cloned one of the clones and cloned it again so I was able to make the two cutouts the same size.

  • This one I assembled using 4 squares and the union feature.

  • The kit so far.

  • The last minute I decided to add more shapes to it, beginning with a circle having eight cutouts, doing the four first ones using align and then copying all of them and rotating 45 degrees.

  • Then I made a 90 degree shape.

Final Steps

  • Next up was setting it up in a material-efficient manner for the laser cutting. Just to be sure I made a version with fewer pieces to test the joints. Also selecting the master cutout to take the fill from all the clones. The pieces assembled great in first try and the knobs gave a nice “click” sound when assembled.

  • Next moving on to the final kit. I cut a cardboard roughly the same size as the kit in whole (280x330mm).

  • Setting up the lazer is pretty simple. You first need to load the mateial and select a starting point for the lazer. You do that by turning off the X,Y axis and manually move the pointer to where you want the it to start. The lazer in my case prints down to the right.

  • Next you need to set the focus of the lazer because the thickness of materials may vary.

  • Then in the computer I opened the pdf file I made and went to print. In there I go to preferences and set up the "speed", "power" and "Freq." to cut the material correctly. We have a list of settings in the lab for the most common materials being used.

  • I noticed there was a slight curve in the cardboard which was impossible to notice without seeing that some pieces were cut improper and didn’t make that “click” sound. This only happened to the ones around the middle of the cardboard, having the most curve. But the pieces nevertheless worked and here is some things I managed to make with one copy of this kit alone.

Adding Color

  • For the vinyl cutter I took the same file I used to test the joints and cut it in black vinyl.

  • I’m going to use this to apply some color to a plain looking cardboard.

  • I included laser cutting in my final project.