With that done I had plenty of time to read up on how I would go by reading the signal from the board. The most straightforward way seemed to be using the terminal in linux.
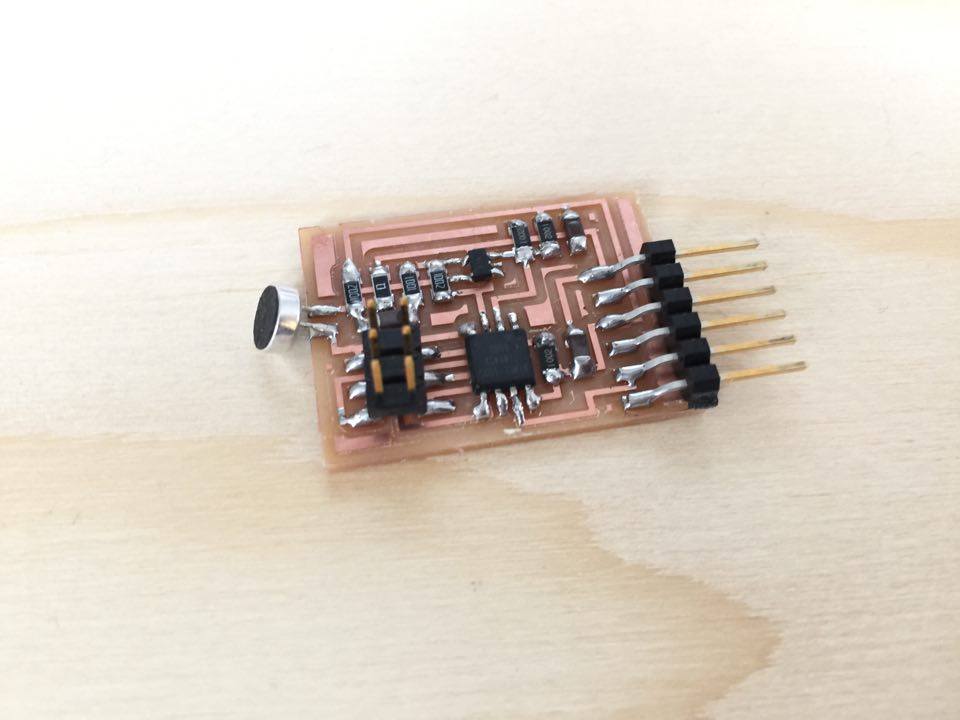
In linux I downloaded the C file, the .make file and the .py file for my board. I put them all in the same folder on my desktop. I then plugged in my board and the programmer.
In the terminal I located that folder and then wrote:
sudo make -f hello.mic.45.make
sudo make -f hello.mic.45.make program-avrisp2
I was using the avrisp2 but if you use the fabISP you should write:
sudo make -f hello.mic.45.make
sudo make -f hello.mic.45.make program-usbtiny
I then disconnected the the programmer but kept the board connected to the USB.
Now the board is programmed and I just had to use the python code to read the input.
I used the command "ls /dev" to locate the USB connection to the board.
In my case it was called ttyUSB0.
Once located I typed:
python hello.mic.45.py /dev/ttyUSB0
It gave me a small window reading the soundwaves the board was picking up.
I included input devices in my final project.