This week we will learn the process of molding, different techniques to do the same, casting using it etc. I haven’t molded much except once during prefab which didn’t work out well. Neil’s lecture explained the processes in detail. A brief research on the topic gave me the following ideas about molding and casting
- Molding : It is a hollow solid structure into which a liquid, which eventually hardens, is poured to which forms the shape of the mold.
- Casting: It is the counter of molding. It is the process of pouring the liquid material and the rest which I have mentioned above.
Molding and casting processes are used widely for making materials in plastic, ceramic, glass, metals etc. Also have this weeks class note as references.
Molding
Molding can be done in many ways using a variety of materials. The common ones are
- machinable wax
- rigid foam
- rigid foam
- silicone
- plaster
- metal
- casting rubber etc.
In our lab we make molds using Modella in machinable wax. The process can be done using Fabmodules itself. We should give input as .stl and the machine as modella. The process includes two steps. Rough cut and finish cut.
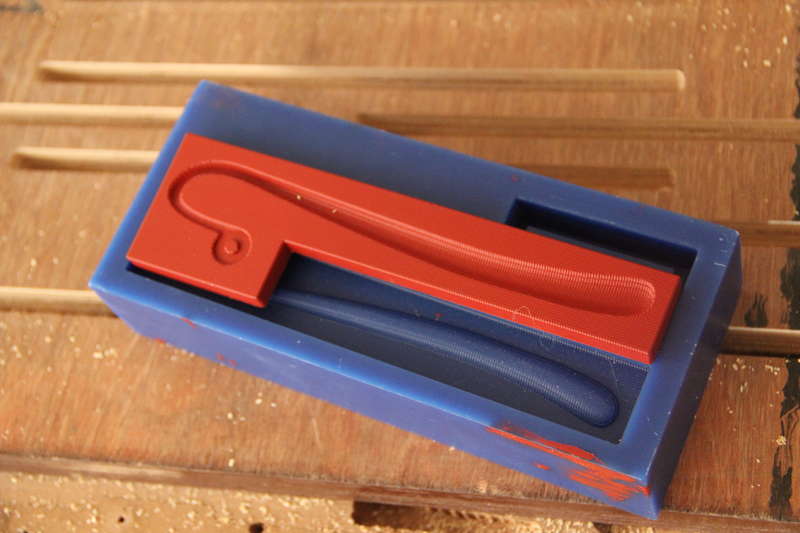
I have decided to make a metal book-mark, which will be very useful for the reader in me. Since it has to be cast in metal, I need a three step molding and casting process. I made the positive mold in wax, then the negative mold in heat resistant resin and finally did the metal cast. The design of the mold was done in Rhino and exported as .stl.
The process
1. Machining
I took a block of machinable wax and positioned it in Modella. Chose 1/8 flat bit for roughcut and did the finish cut using 1/8 ballnose. After this i did one more pass of finish cut using 1/16 flat drill bit.
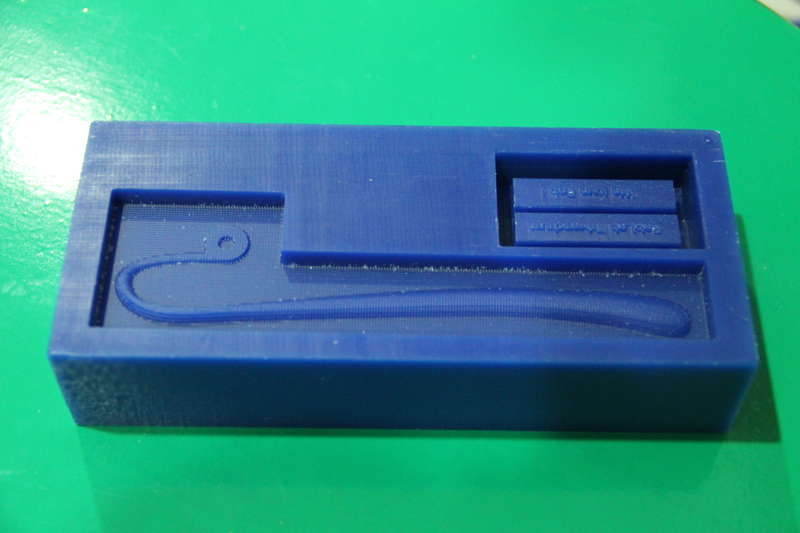
2. Molding
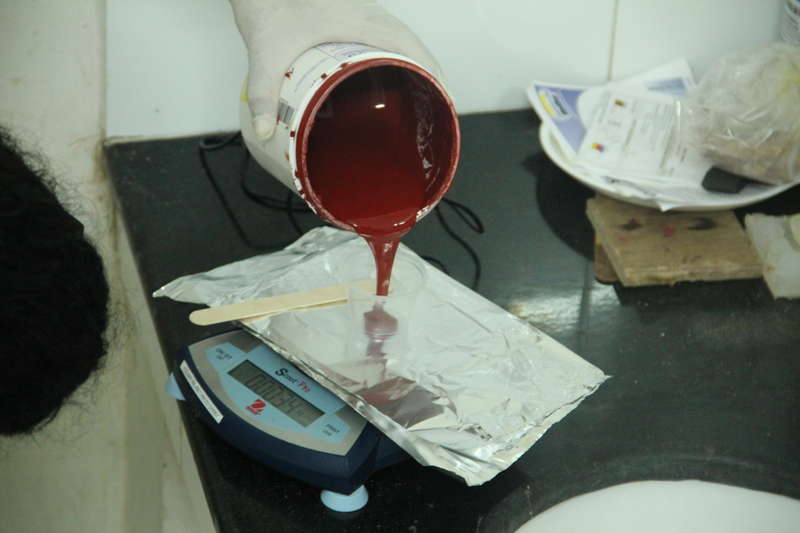
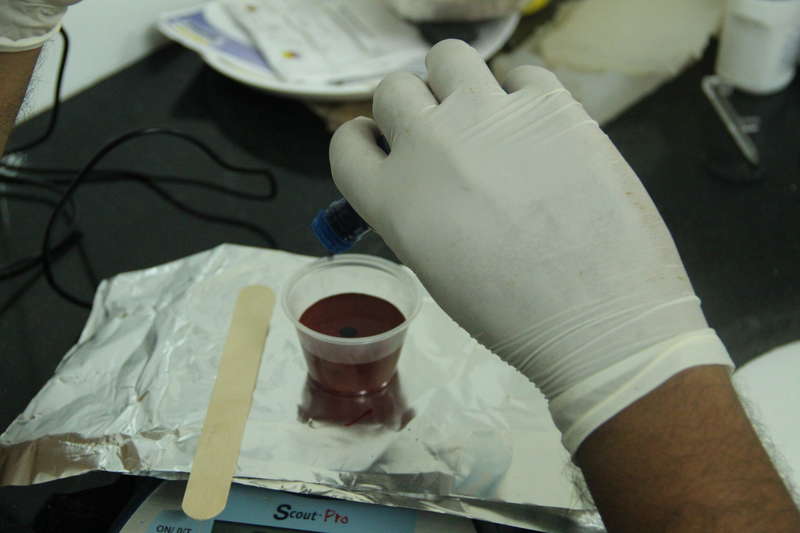
For molding I need heat resistant material. So i chose Mold Max60. The proportion of silicon to hardener is 100:1 by weight. I took 50g of silicone and 1.5g of hardener. Care was taken while mixing them, I made sure that the stirrer was not taken out of the mix while stirring which prevented unwanted bubbles. Also while pouring onto the mold I tried to have a very narrow stream pouring to the cavity, which can further reduce bubble formation.


Left overnight for setting. In the morning it was all ready for casting.
3. Casting
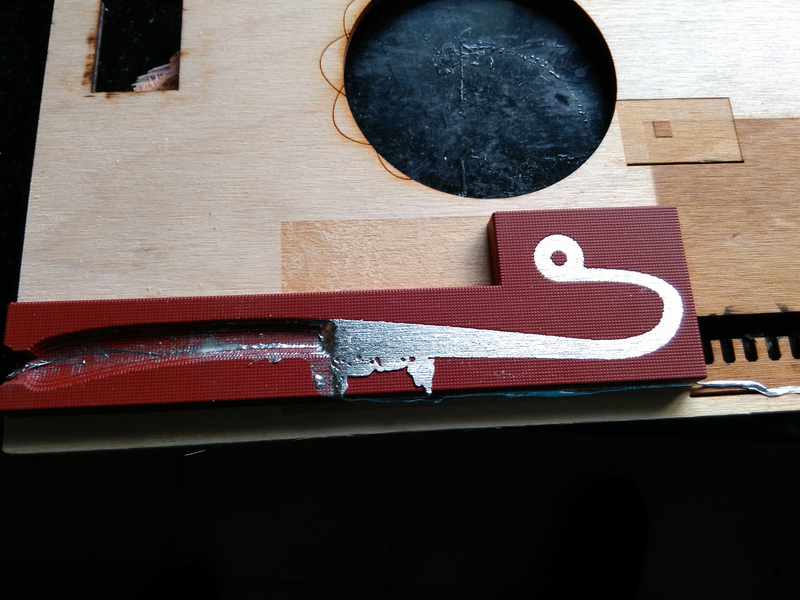
Took a piece of the babbit metal and left it in the furnace for melting. Casting was indeed a trouble. I didn’t get expected results in the initial tries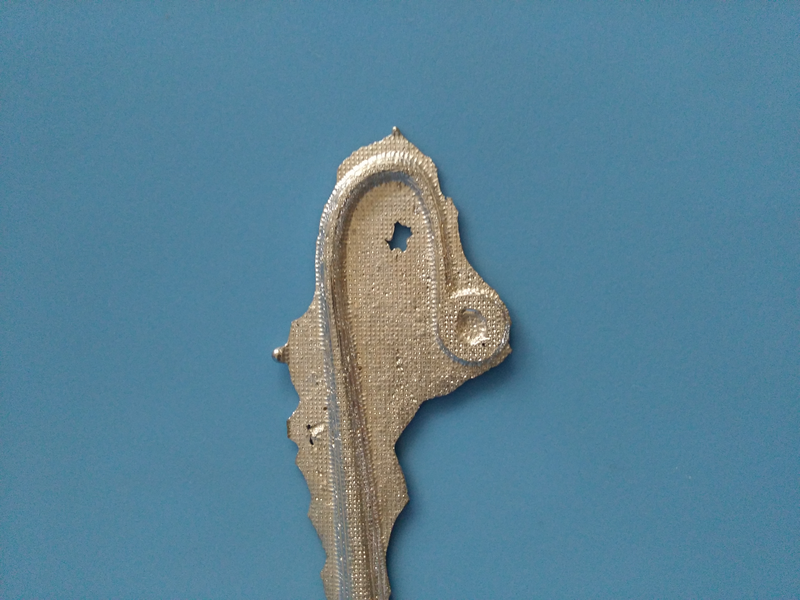
The above happened because of excess metal and uneven distribution of it. I decided to try a different way by cutting a small grove at one side and pouring the metal through it.

The second failure was due to a leak through the sides because of lose clamps. It came out fine in the third try.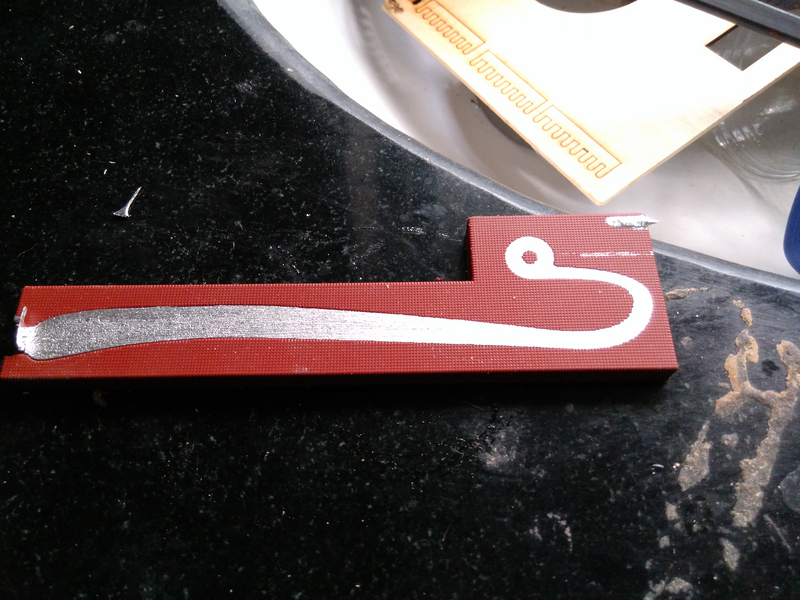


As you can see it came out beautifully. I am very much satisfied and surprised by the result. It is brittle now and can break any time, wont even withstand small flex. I think treating the metal could yield better physical properties. After procrastinating this assignment this long, I am happy with the result.